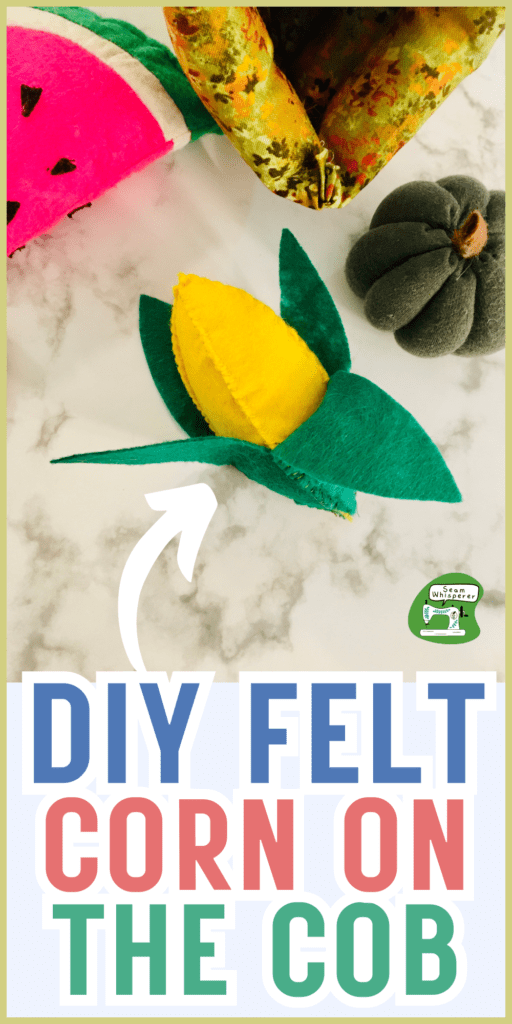
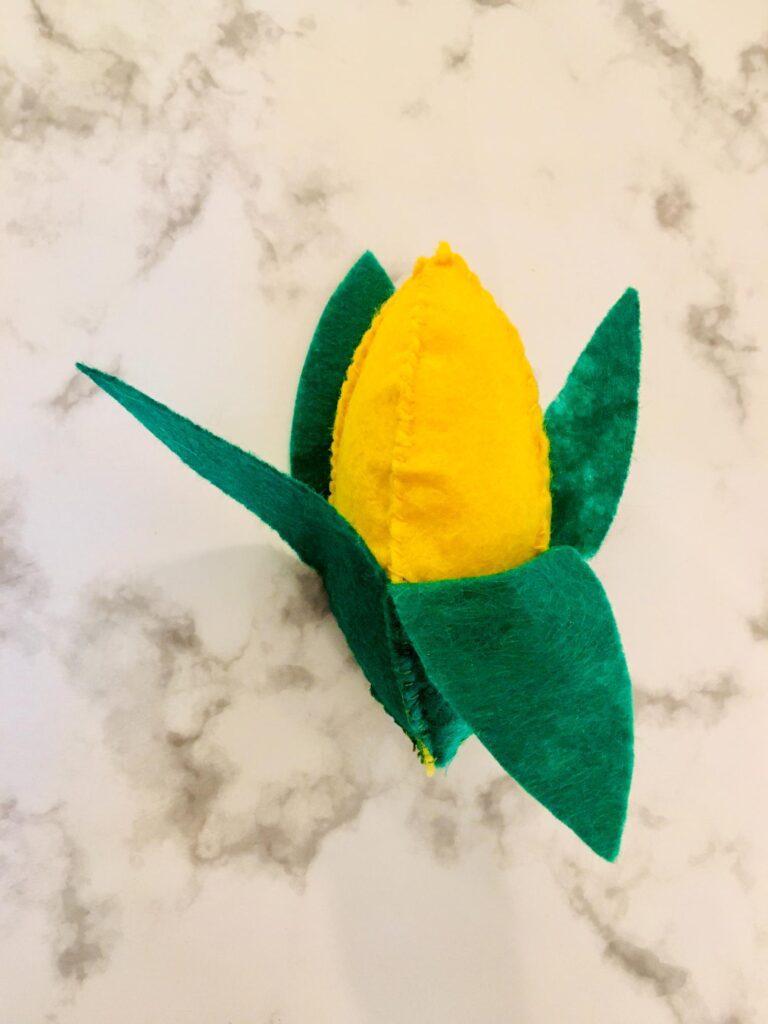
Learn to make the easiest mini corn on the cob from felt, your kids will love to “shuck” it!
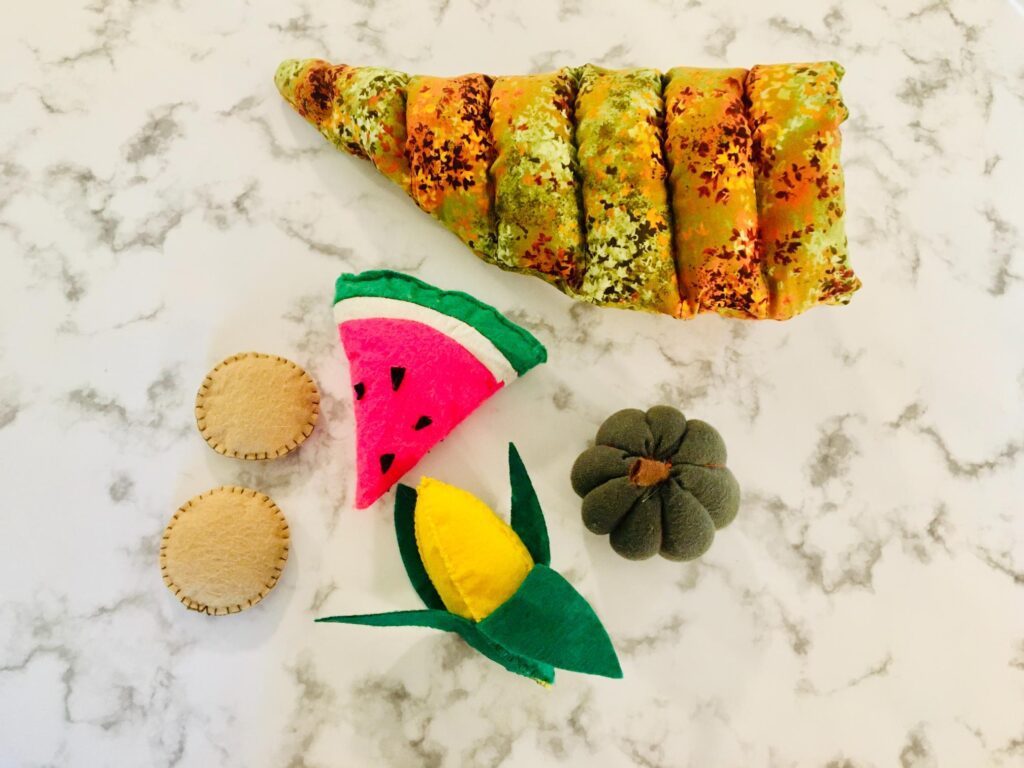
I have been waist deep in fall sewing projects! I recently sewed up a fabric cornucopia and it needed some food to go inside it. This mini corn on the cob is the perfect addition!
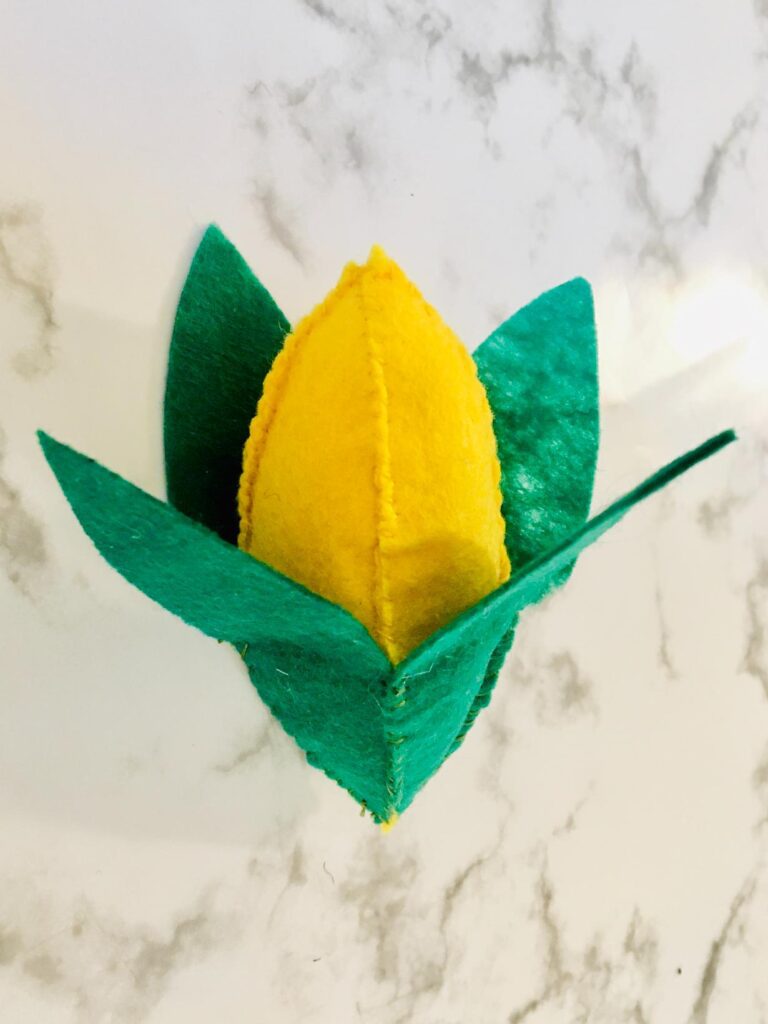
You can make these any size, with 3 sides or 4. It comes together quick, let me show you how!
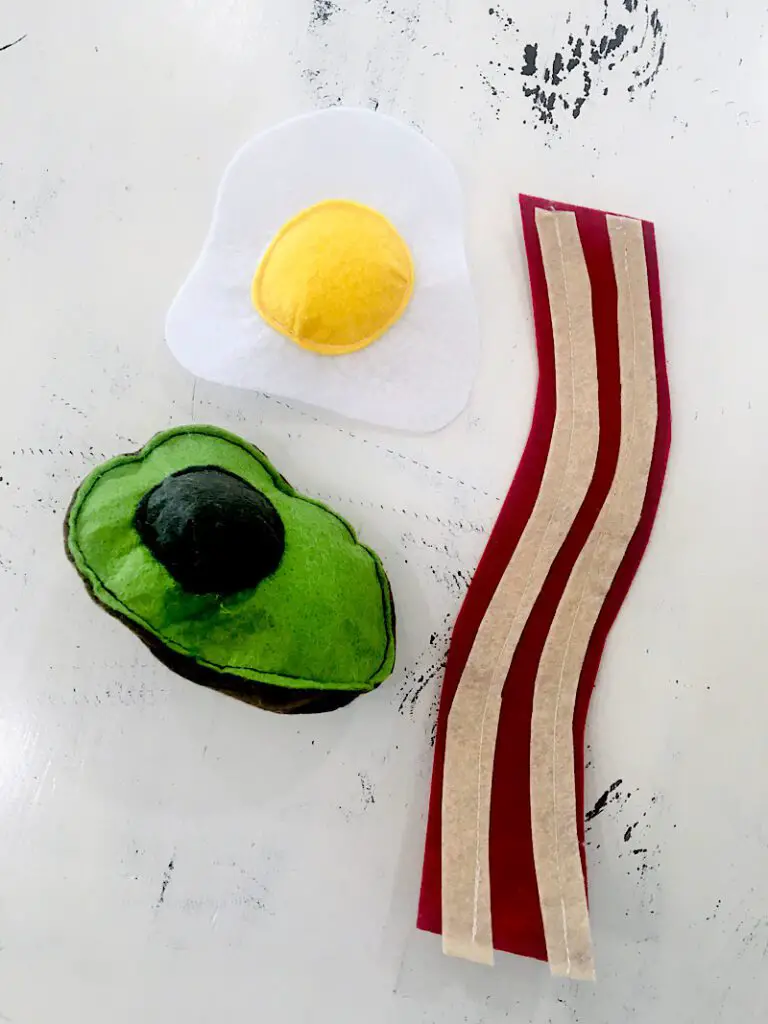
Also check out my other play food tutorials:
Supplies Needed
- Yellow & Green Felt
- Yellow & Green Thread
- Sewing Needle
- Stuffing
How To Make A Felt Corn On The Cob
I have a video tutorial below, as well as a more detailed written tutorial if you scroll down here!
Step 1. Cut Out Your Pieces
The template for this pattern is very simple. Draw a pointed oval on a piece of paper, any size you want the corn to be. I folded a paper in half and drew a half pointed oval to make sure it was symmetrical, then cut it out and opened it up.
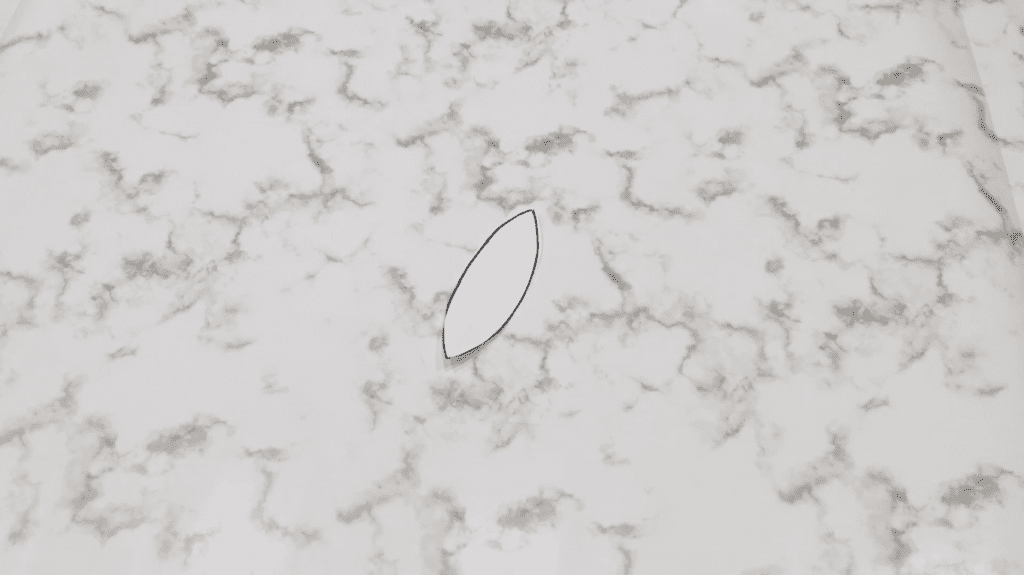
You can make your corn plushie 3 sided or 4 sided. They both look good, it is just up to you! I made mine 4 sided.
With your pattern, cut out 4 yellow felt pieces and 4 green felt pieces (or 3 and 3).
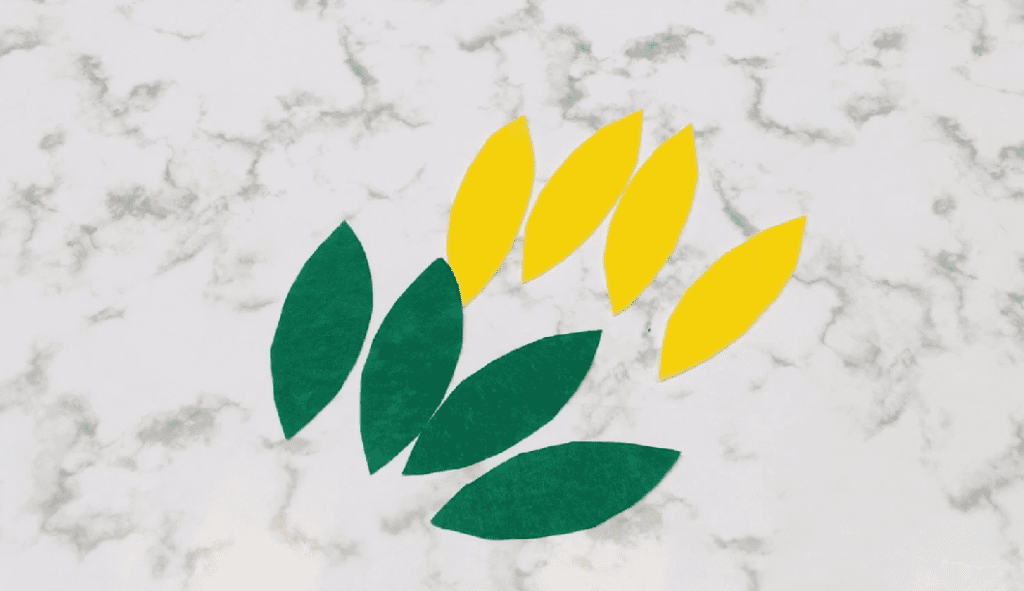
Step 2. Sew The Corn Husk
Stack the green pieces on top of the yellow pieces.
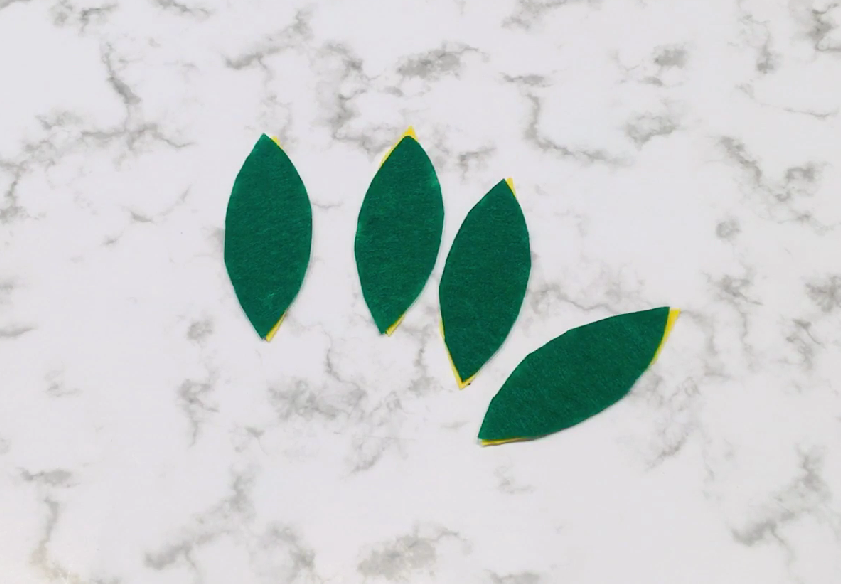
Layer two of the stacks together so the greens are on the outside, and the yellows are facing each other.
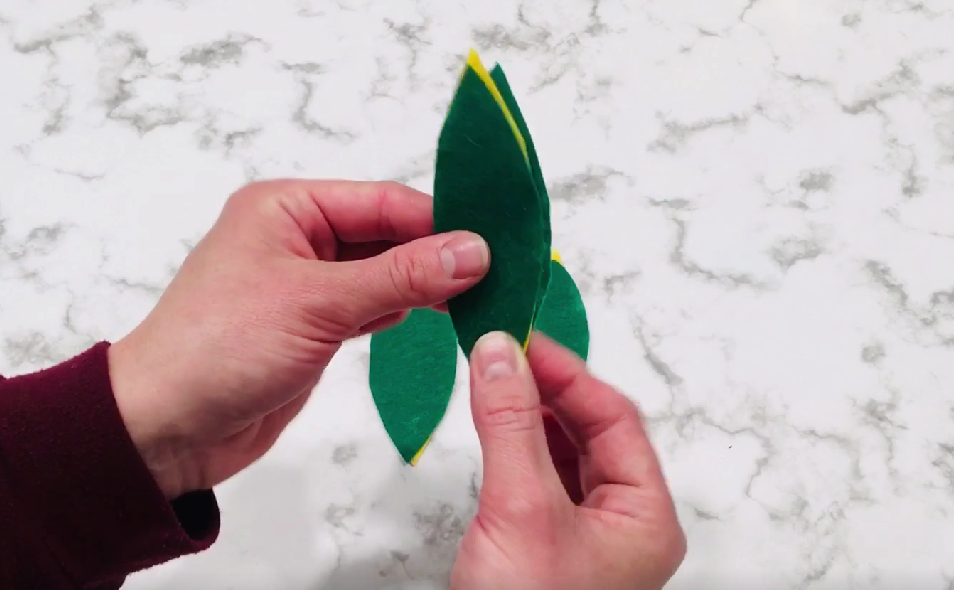
Using green thread, sew down one side of the felt, from the middle of the oval to the bottom point.
Make sure to sew through all four layers.
Now open up the sewn layers, and you will have green on the outside, and yellow on the inside.
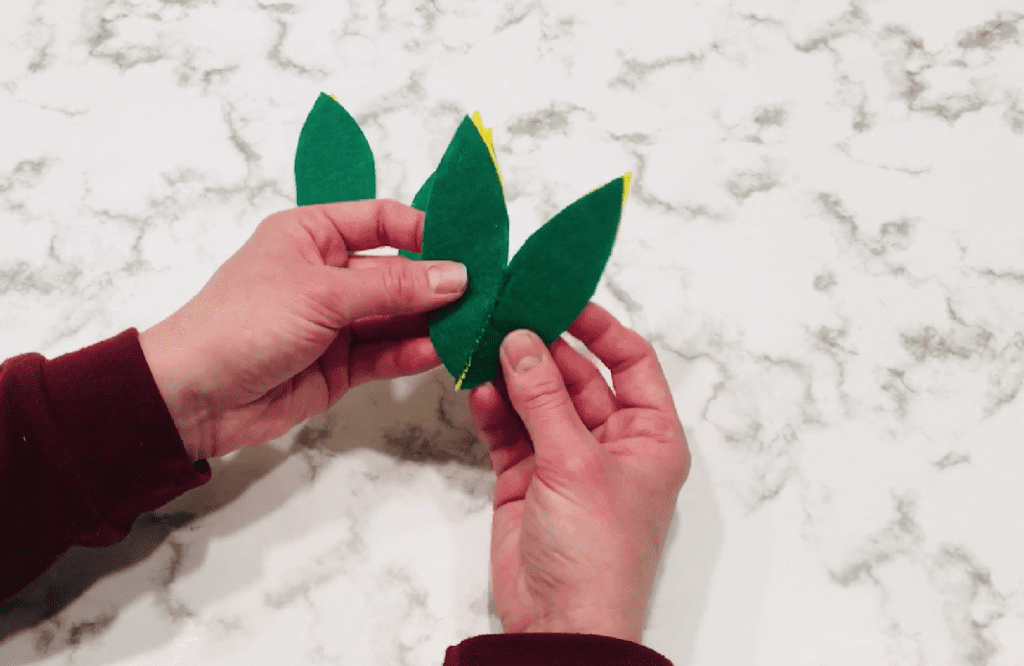
Add another stack of felt with the yellow side facing one of the ovals you just sewed. Then, sew them together the same way you did the first time.
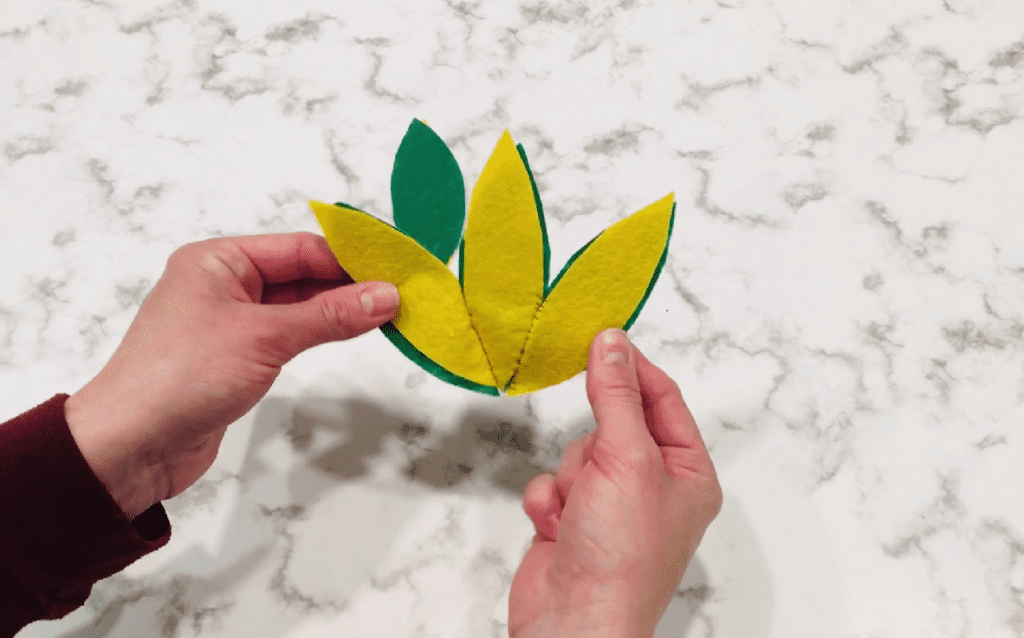
Continue this process until all four stacks are sewn together into a “circle”.
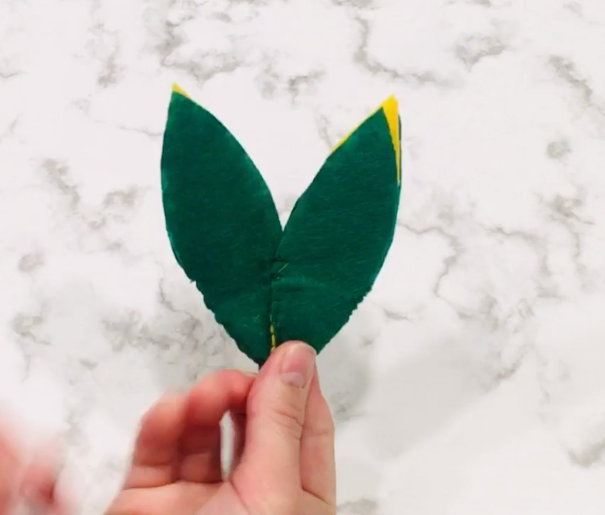
Step 3. Sew The Corn Cob
Position two adjacent yellow pieces together so their edges are lined up, and sew up the side to the top point with yellow thread.
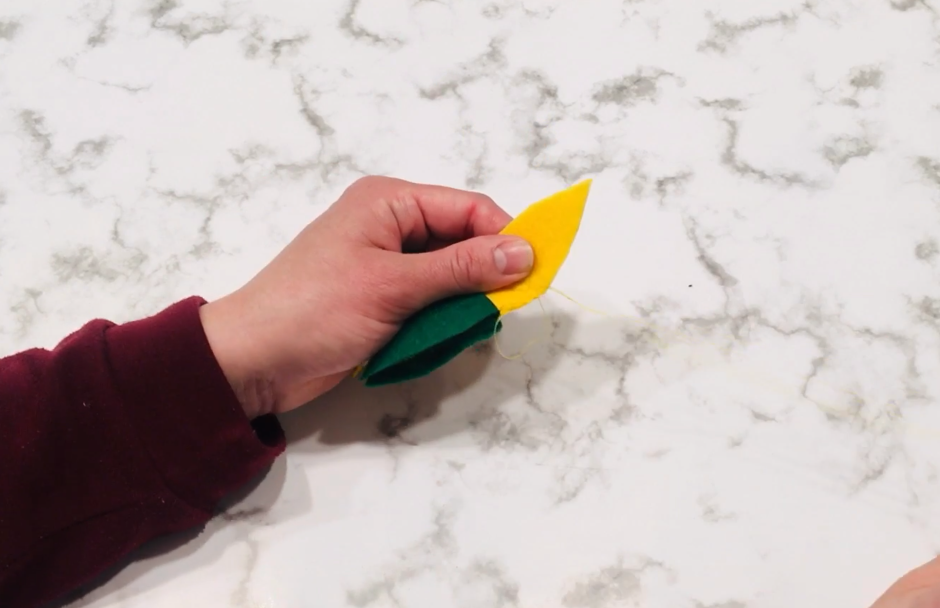
Continue this process until all the sides are sewn up, except one.
Use the final unsewn side to stuff your corn cob. Fill it as full as you can with stuffing.
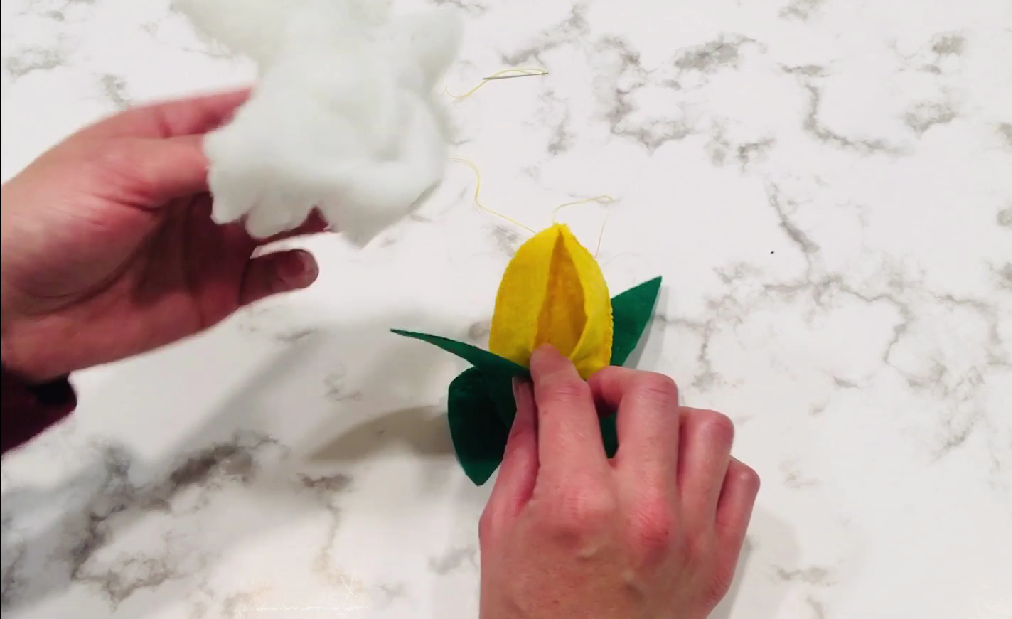
Then, position the edges and sew up the side to the top point.
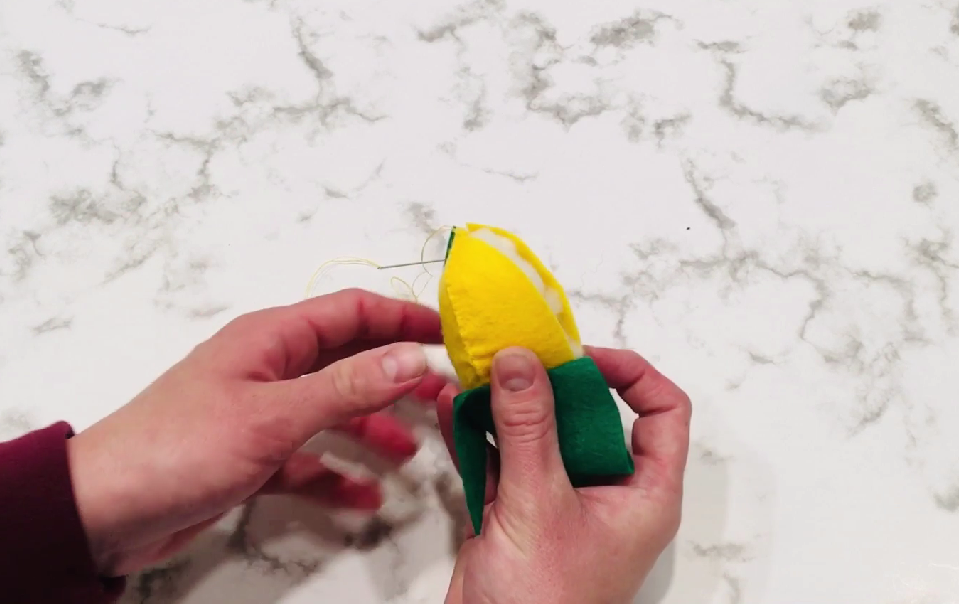
Then you are done!
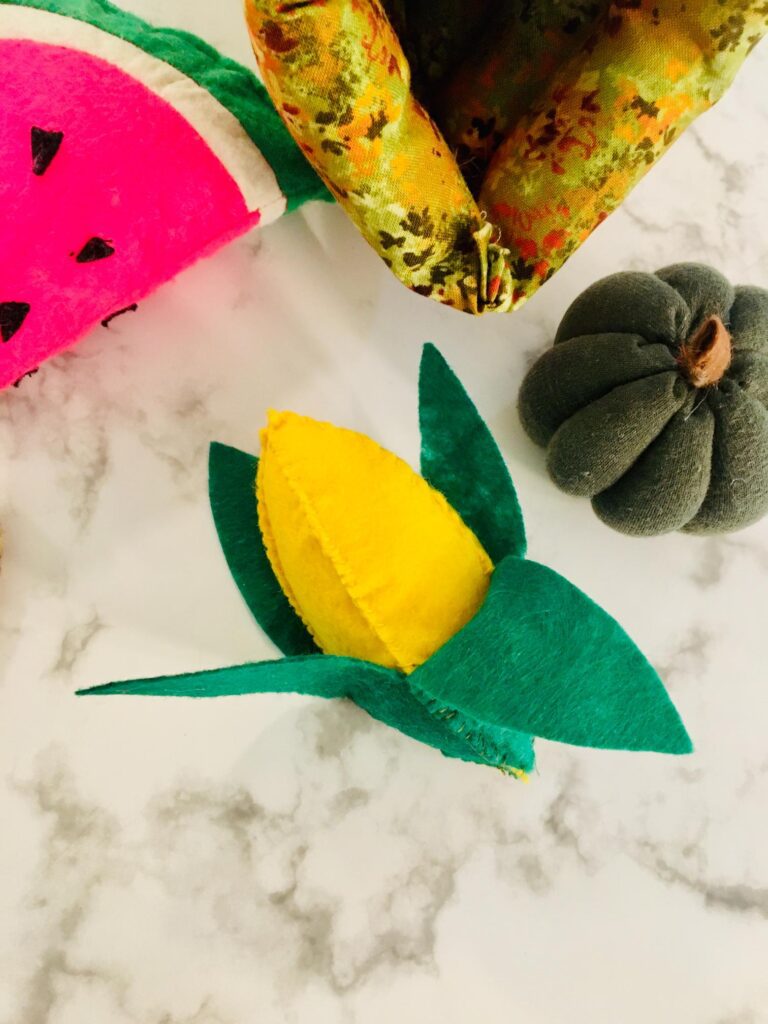
This cute little corn makes a great addition to the fabric cornucopia!
I hope you liked this easy play food tutorial, let me know if you have any questions! And please pin this post to pinterest if you liked it.
