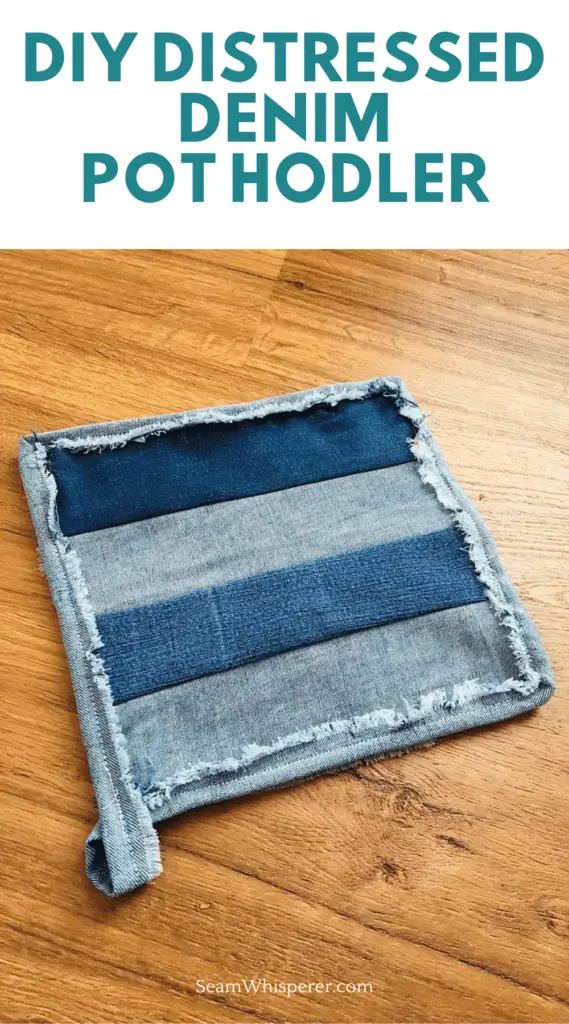
Upcycle your old jeans into a super cute and quick distressed denim pot holder!
If you have the tendency to hold onto old denim like I do, you are going to love this cute and trendy DIY project! Using only a pair of jeans or two and some insulation batting, you can make a striped pot holder with frayed edges in only about 30 minutes!
This post may contain affiliate links. Read the full disclosure here.
About This Tutorial
This project is very quick, it only took me 30 minutes or so! It is a great one for beginners and makes a fun gift.
The finished pot holder is about 8.5 inches square. You can customize this tutorial to make a pot holder any size you want, just use your own measurements instead of the ones I give below.
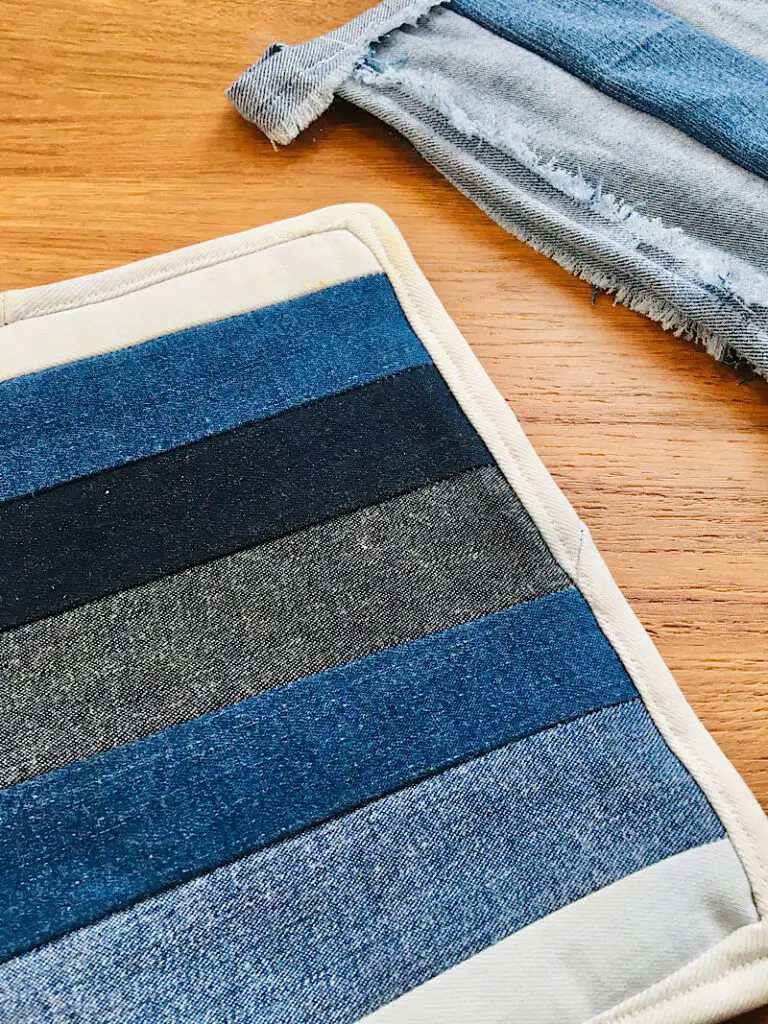
If you don’t prefer the frayed look, you can use bias tape binding (or make your own) to finish the edges and make them look crisp.
To get the striped look, I used one pair of jeans and simply flipped the pieces over to use the back to get the lighter color stripes. If you have a few different colors of jeans, you can arrange the fabric strips so that it makes a gradient pattern which would be really cool also.
Denim that has florals on it would be cute for this project too.
Supplies Needed
- Sewing Machine
- Fabric Scissors
- Rotary Cutter, Mat, and Acrylic Ruler (I use this brand)
- Sewing Pins
Materials Needed
- At least one pair of jeans
- Matching Thread
- Insul Bright (If you have never used it before you can look at one option here, or use an alternative heat resistant material)
How To Make An Upcycled Denim Pot Holder
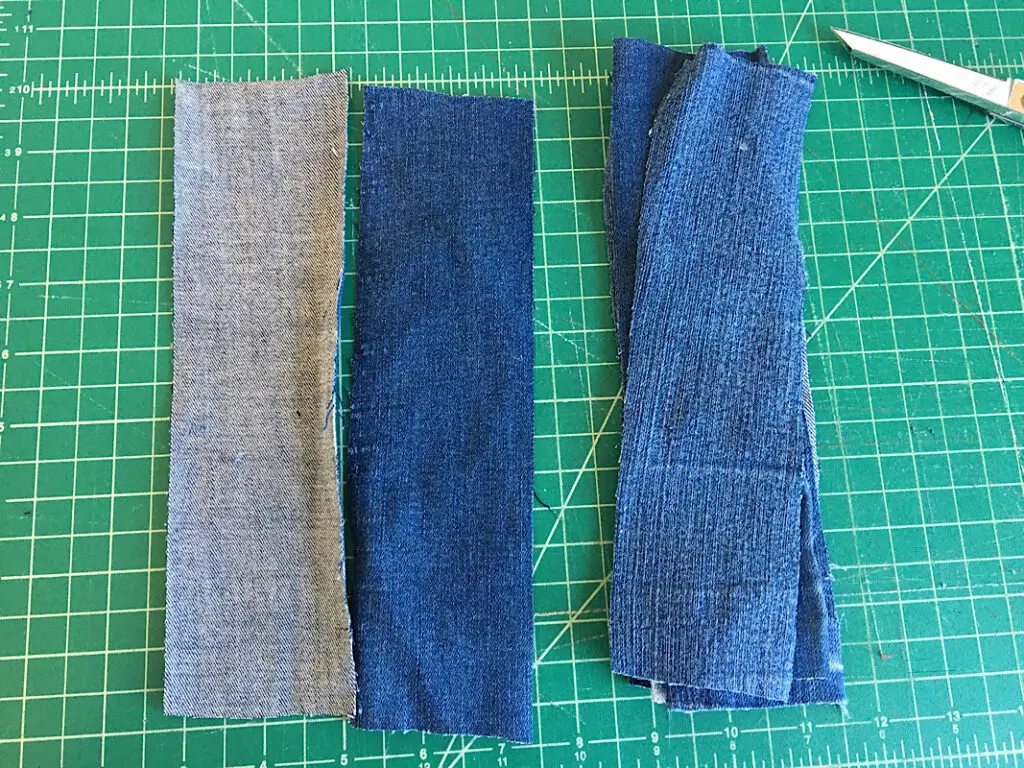
Step 1. Cut The Denim
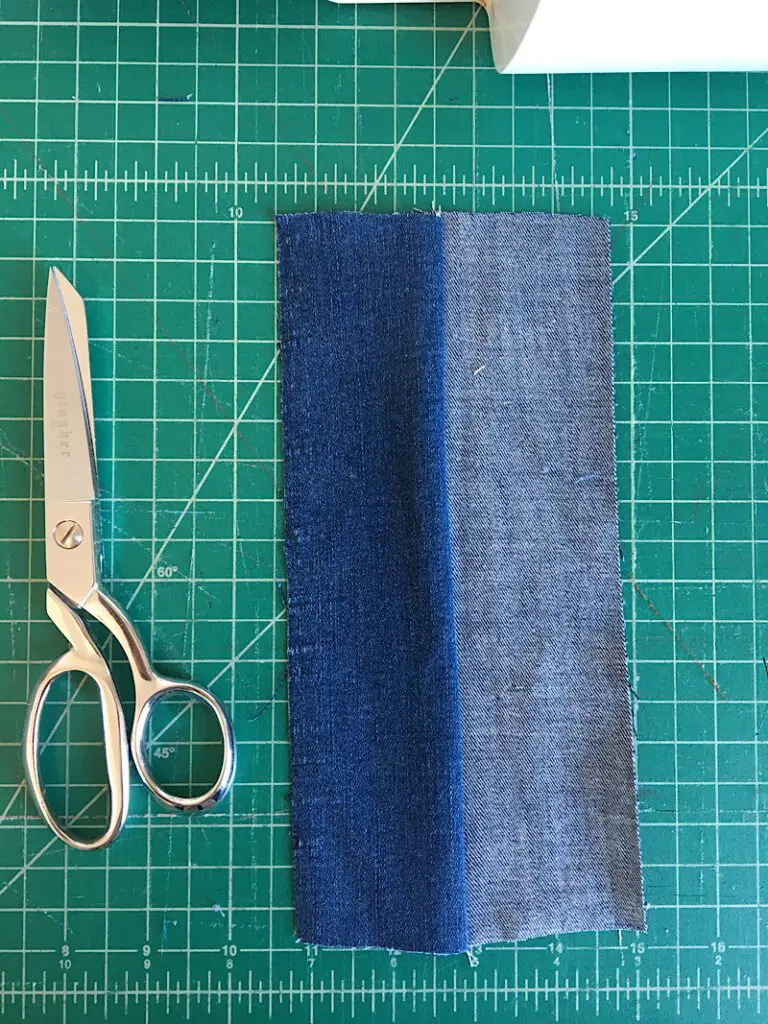
Open up one leg of your jeans and cut out 8 strips of denim that are 2.5″ by 8″ in size. (Save the other leg of the jeans for later)
Each side of the hot pad will have 4 stripes.
Step 2. Sew The Strips Together
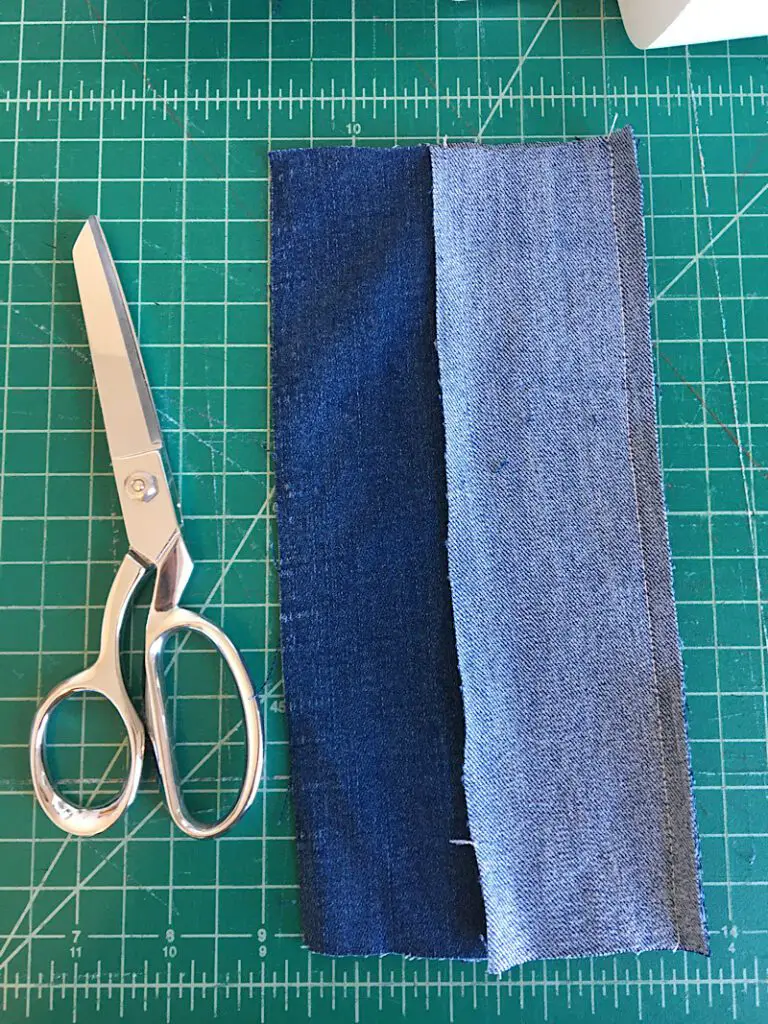
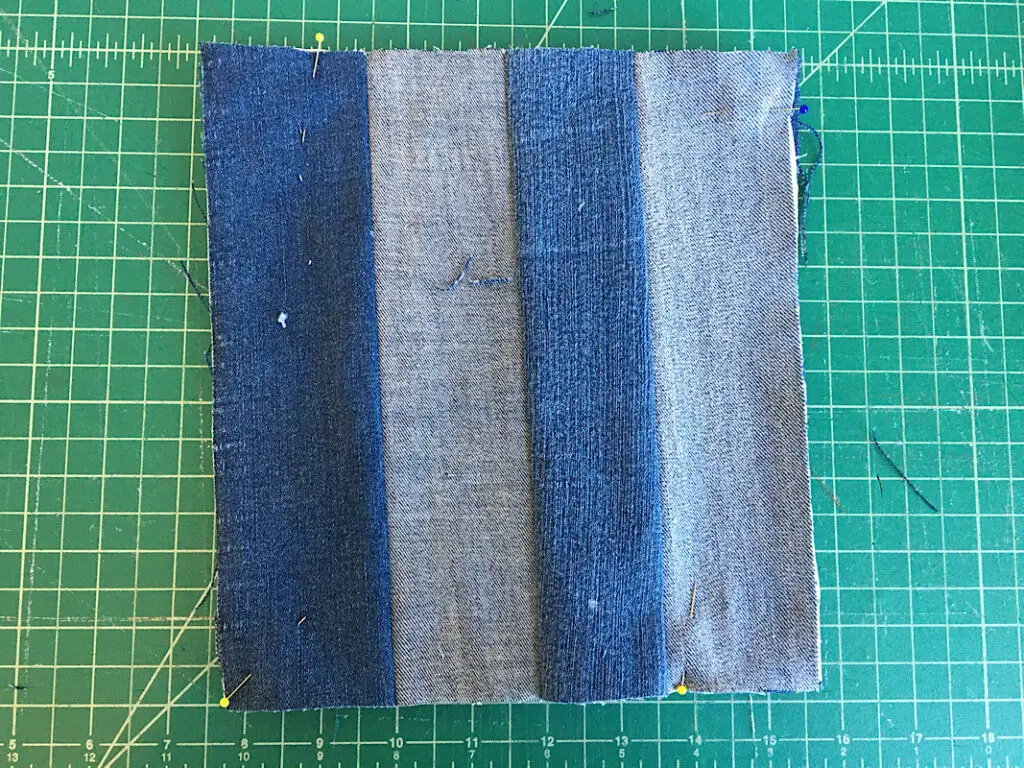
Place the first two strips of denim together right on top of each other (right side facing wrong side) then sew down the long edge with a 3/8’s inch seam allowance. Then, open it up.
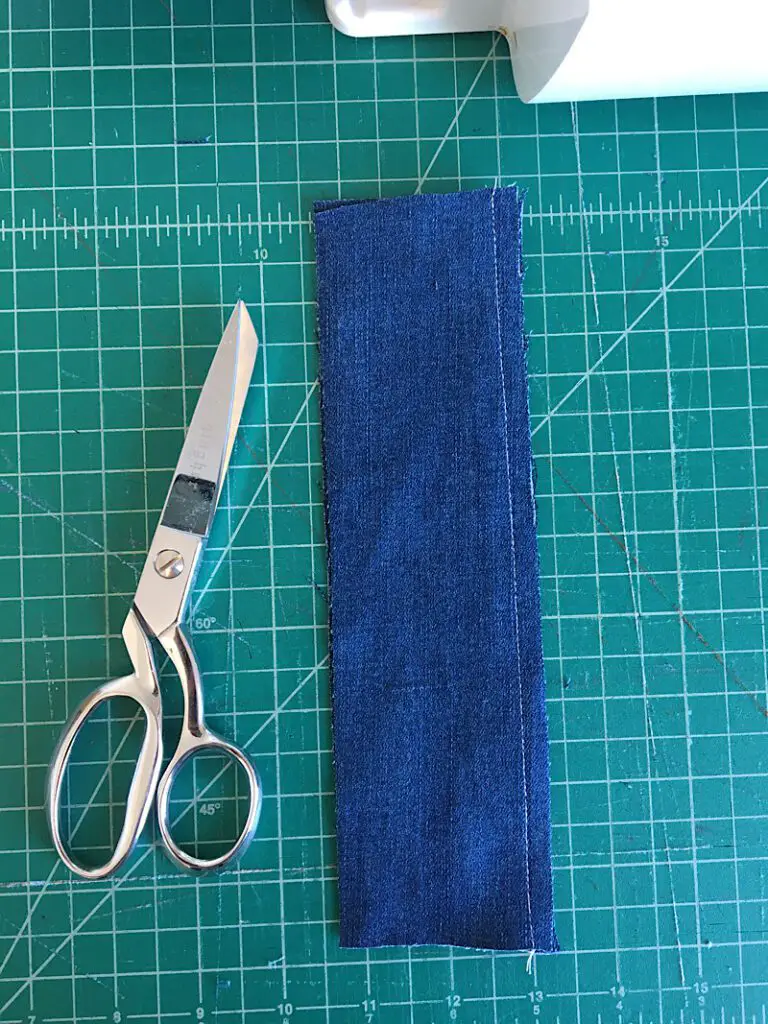
Then, sew the next strip onto the rightmost side by laying it on top the same way you did before (with the wrong side facing the right side). Sew down the side again, and open it up.
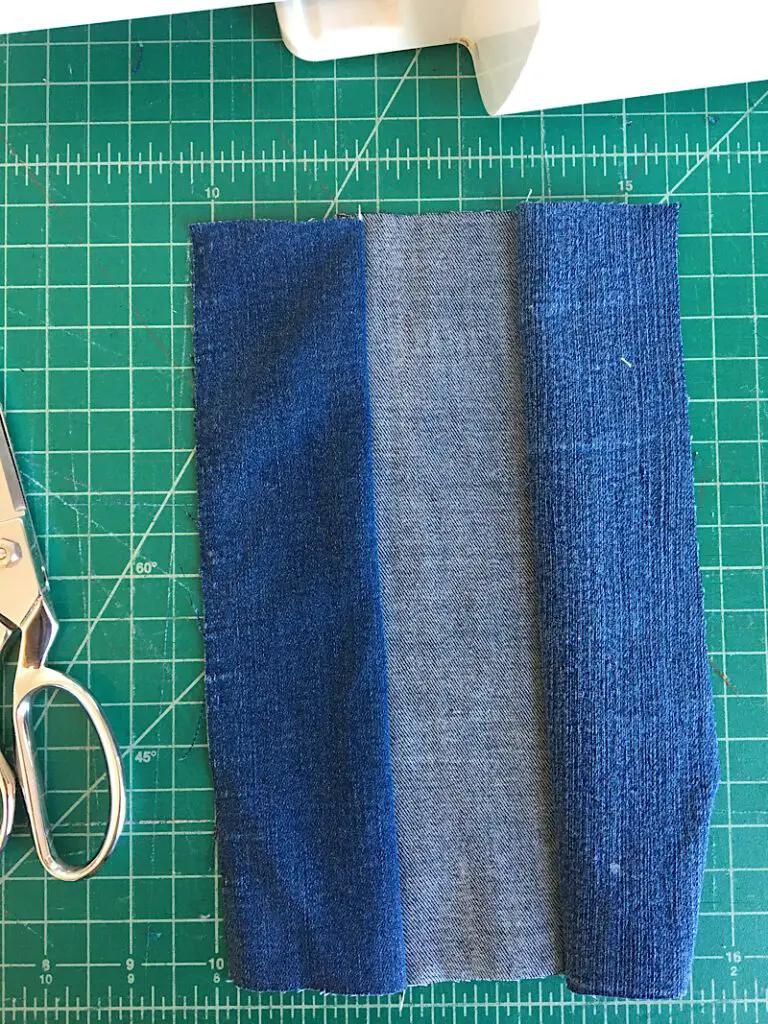
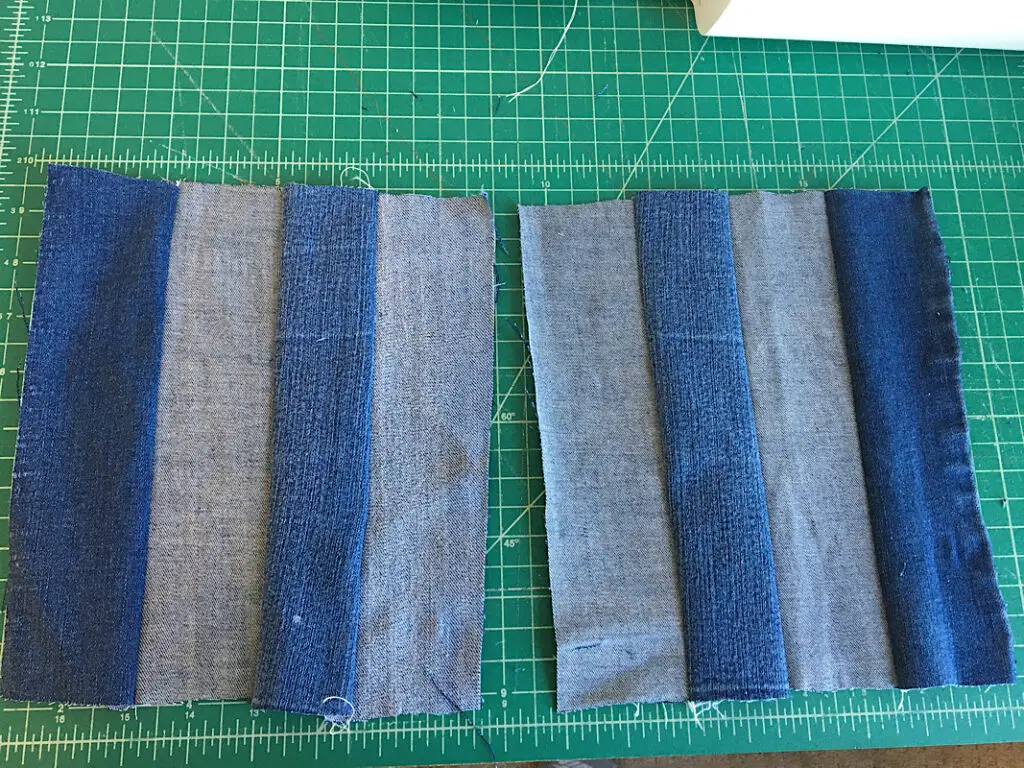
Do the same thing with the fourth strip, and then repeat these steps to make the back piece as well. You will end up with a front and back with 5 stripes each.
If they are a bit uneven, you can use the rotary cutter to trim them square.
Step 3. Add The Insulation Batting & Sew
Cut out a few layers of your insulation material to be the same size as your square. I used a few cotton cloths since I didn’t have any Insul Bright around.

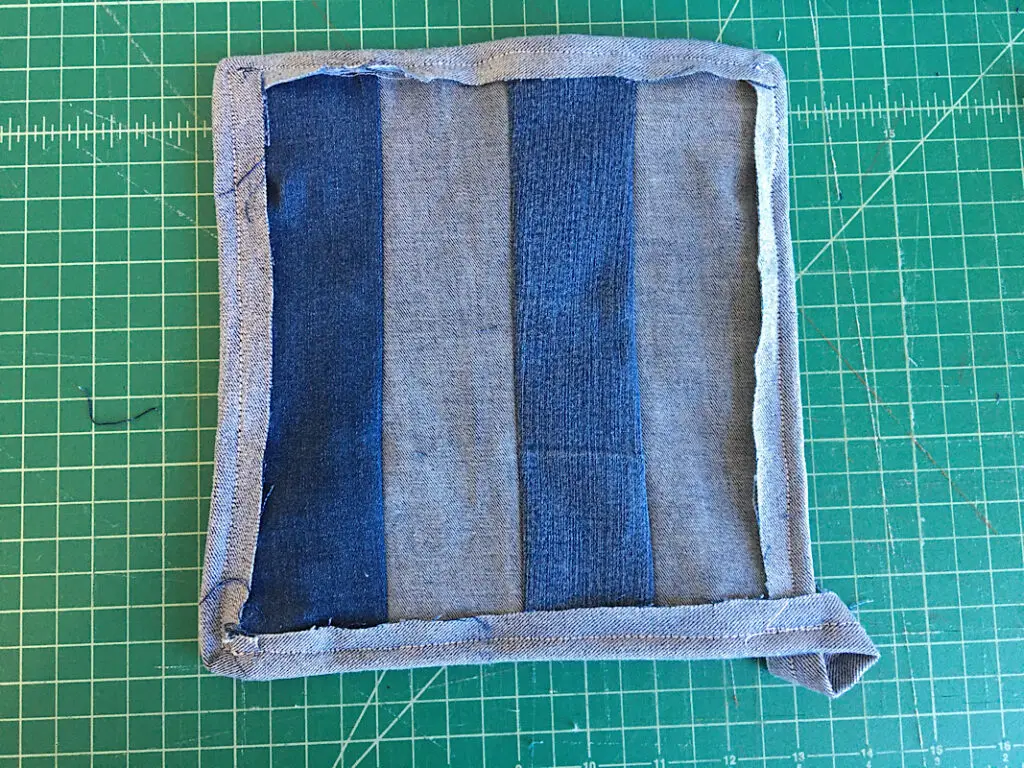
Now you need to layer the back, insulation, and front together. Lay the back piece down on the table with the right side touching the table.
Then lay the insulation on top. Finally put the front piece on top with the right side facing up. The right sides should be facing outwards in this layer sandwich.
Pin around the edges.
Sew around the perimeter of the pot holder with a 1/4 inch seam allowance.

Step 4. Cut & Sew The Binding
From your remaining jean pant leg, cut long strips that are 1.5 inches wide and as long as you can make them. You will need to make a single piece of binding that is at about 40 inches long. I was able to do this by joining two strips.
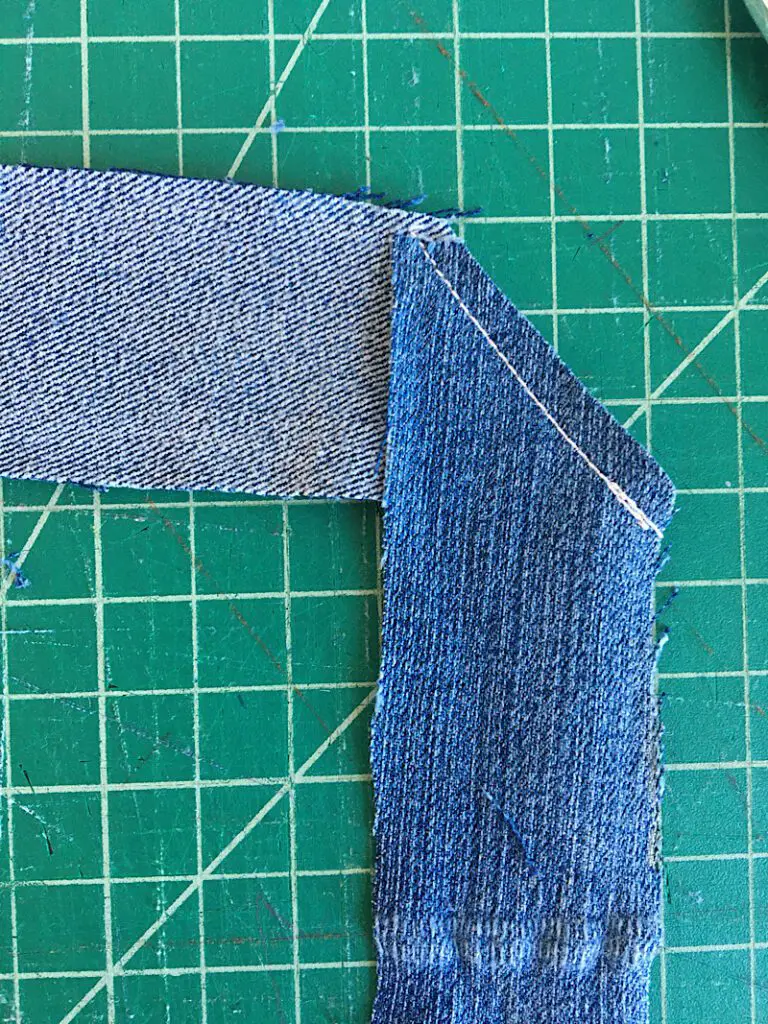
To join the strips, place them with right sides together at a right angle aligning the corners, then sew diagonally across the corner like in the image below.

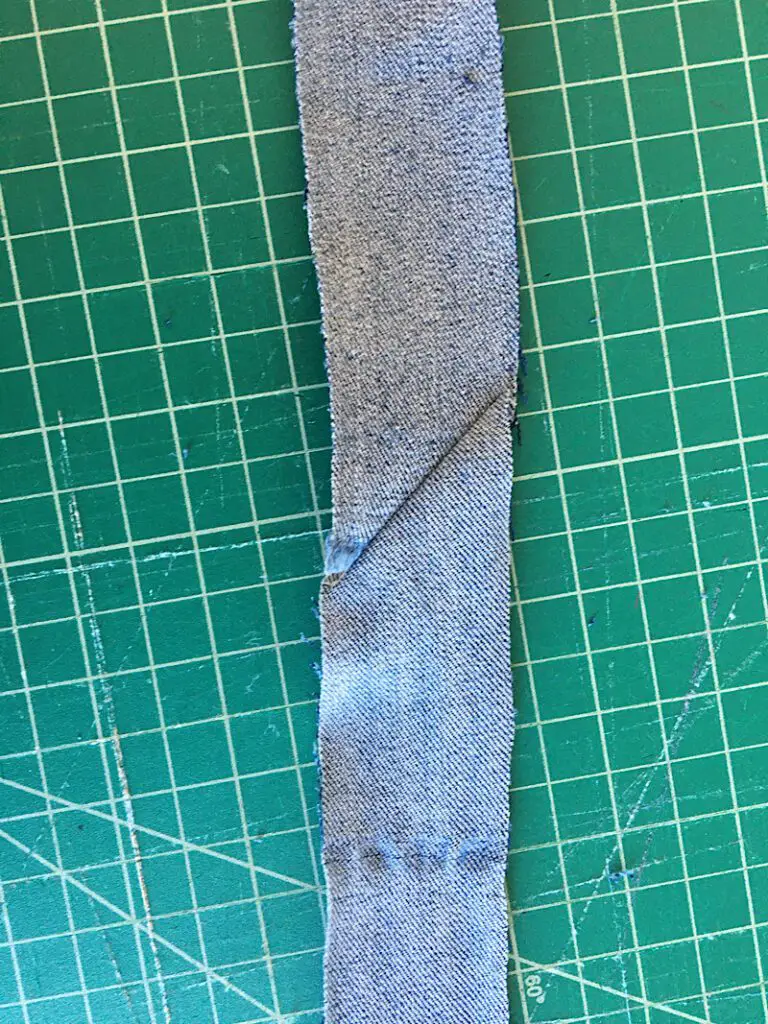
Trim the outer portion of the corner, then open up the binding
To attach the binding, fold it in half and place it around the edge of the pot holder, starting at one corner and working your way around. Pin it as you go.
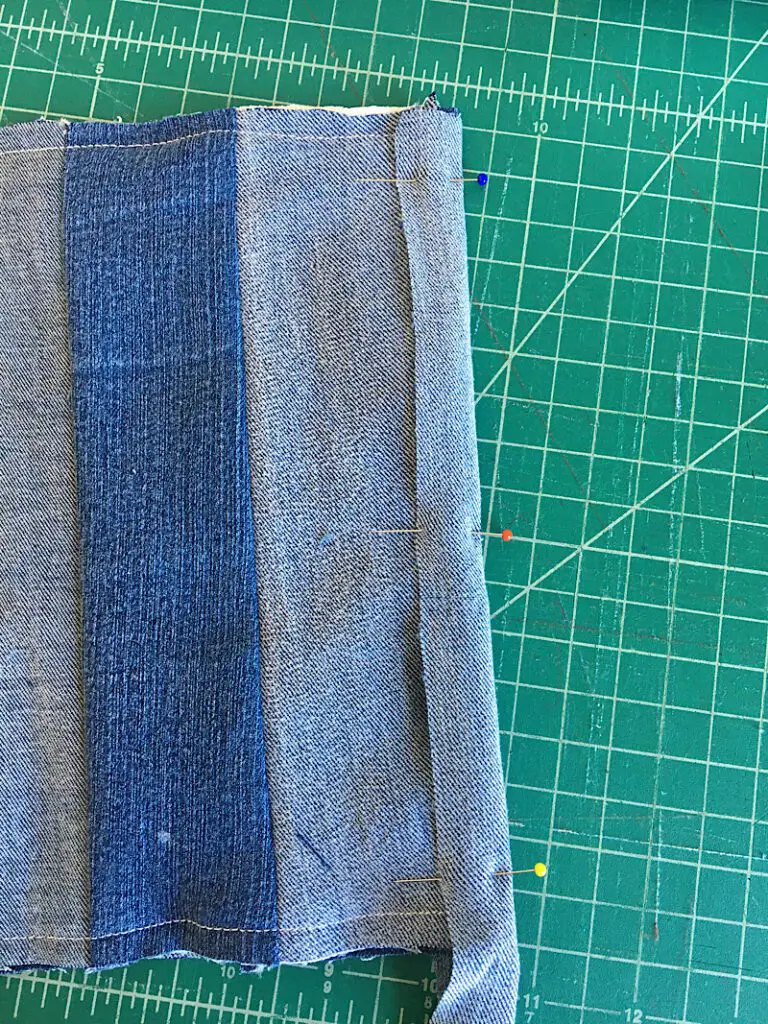
As you get to corners, fold the binding to make a mitered edge.
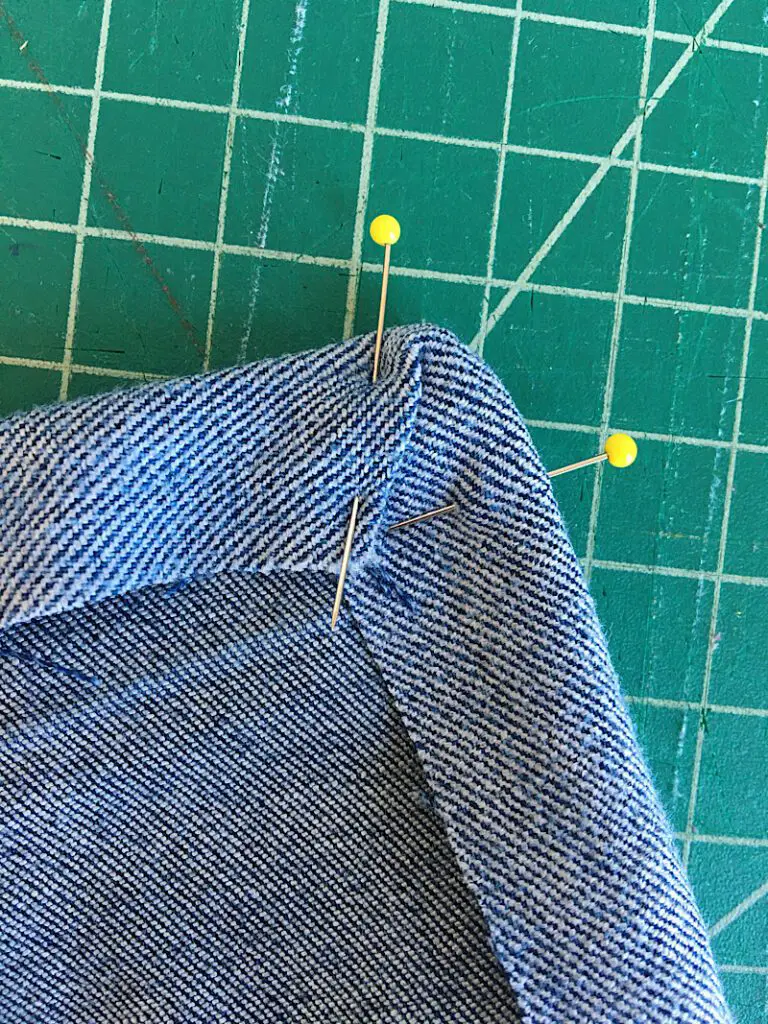
Leave a few inches loose at the end.

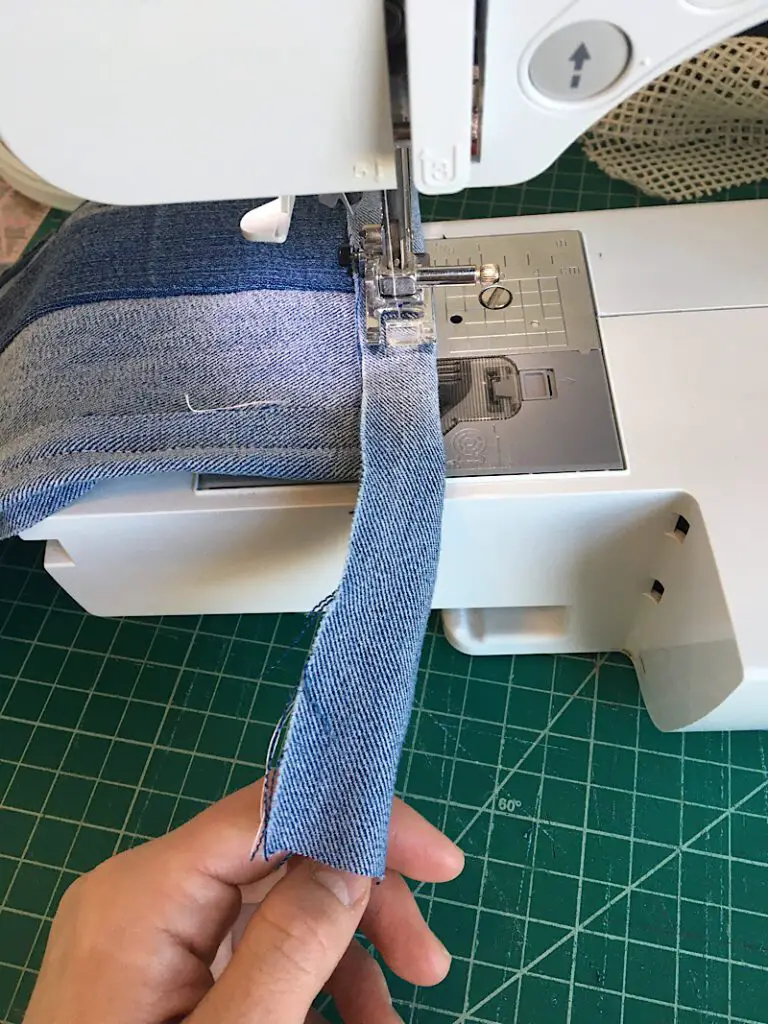
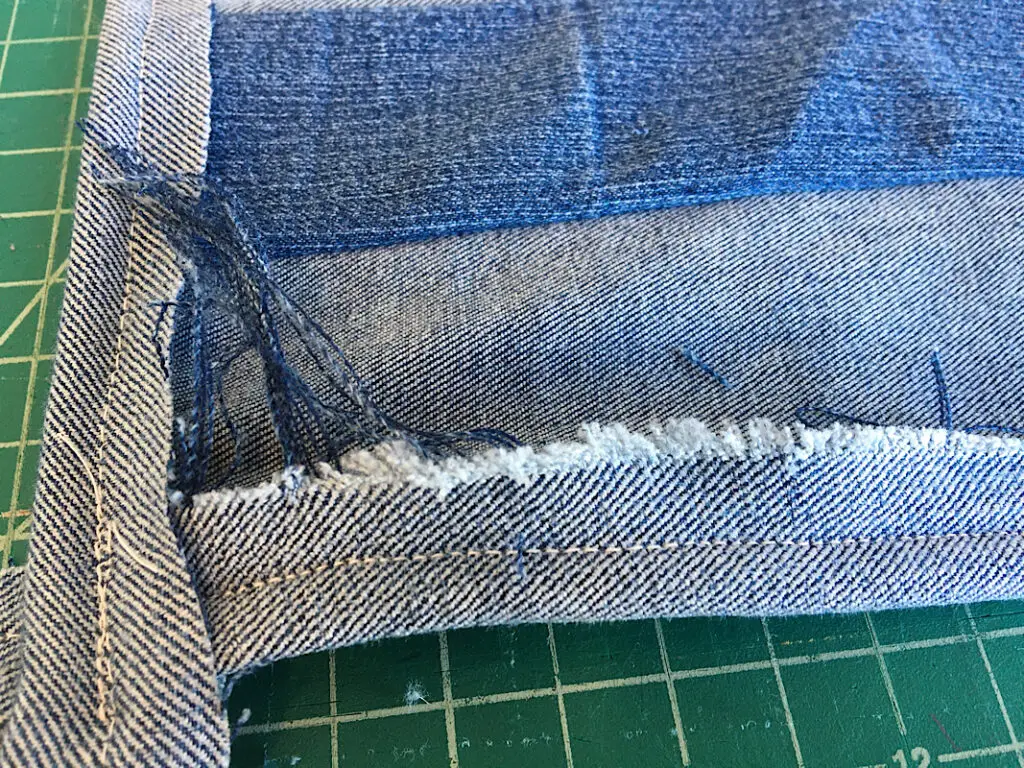
Sew around the perimeter of the pot holder through the binding with a 3/8th’s inch seam allowance. When you get to the end, you will have to fold the binding in half and place it around the edge of the pot holder and over the corner you started at.
Leave a tail at the end that is several inches long, and sew right down it to sew the binding in half.
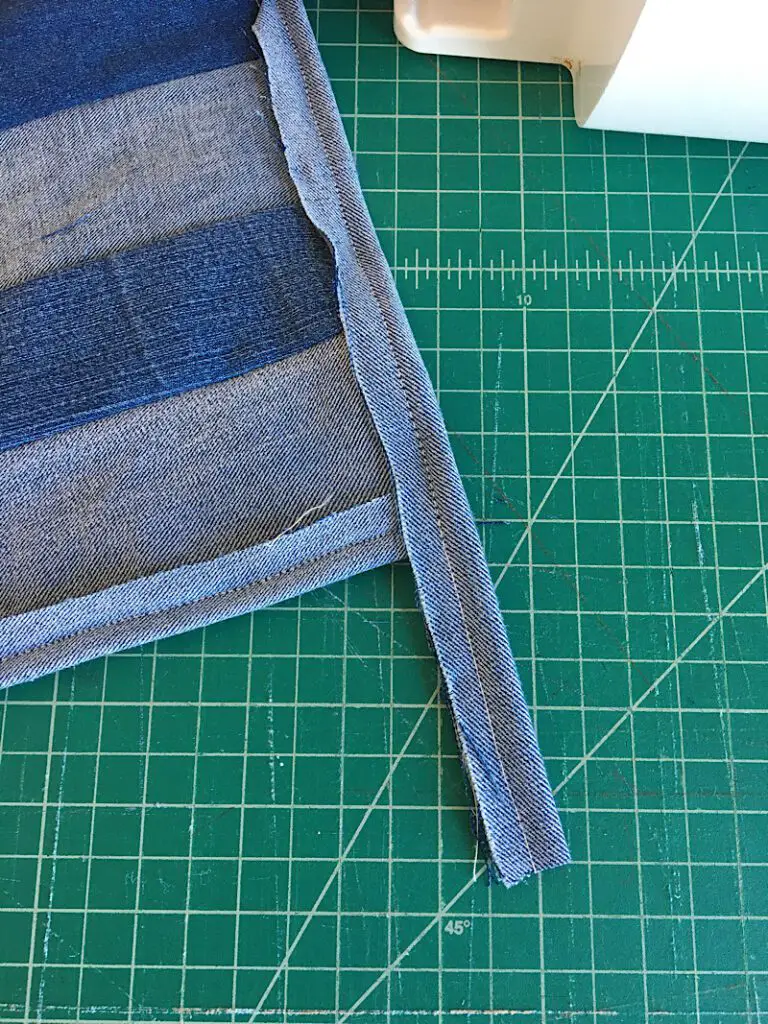
Now, to make a loop on the corner of the pot holder, fold the tail over itself to form a loop, and sew the end to the pot holder.
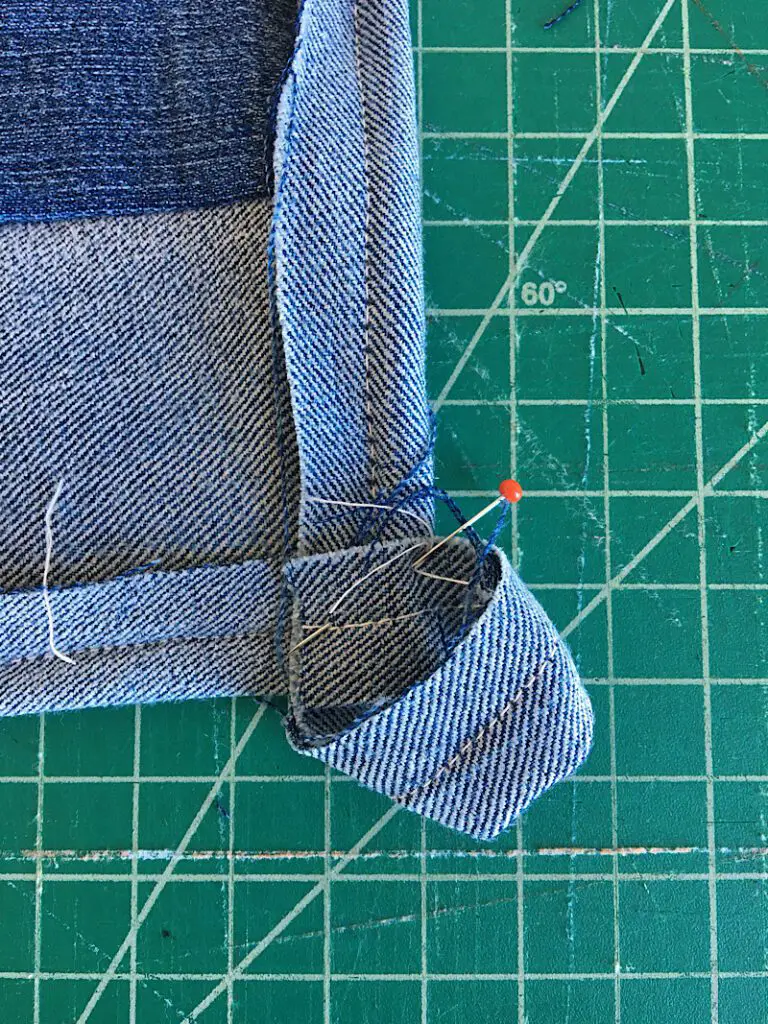
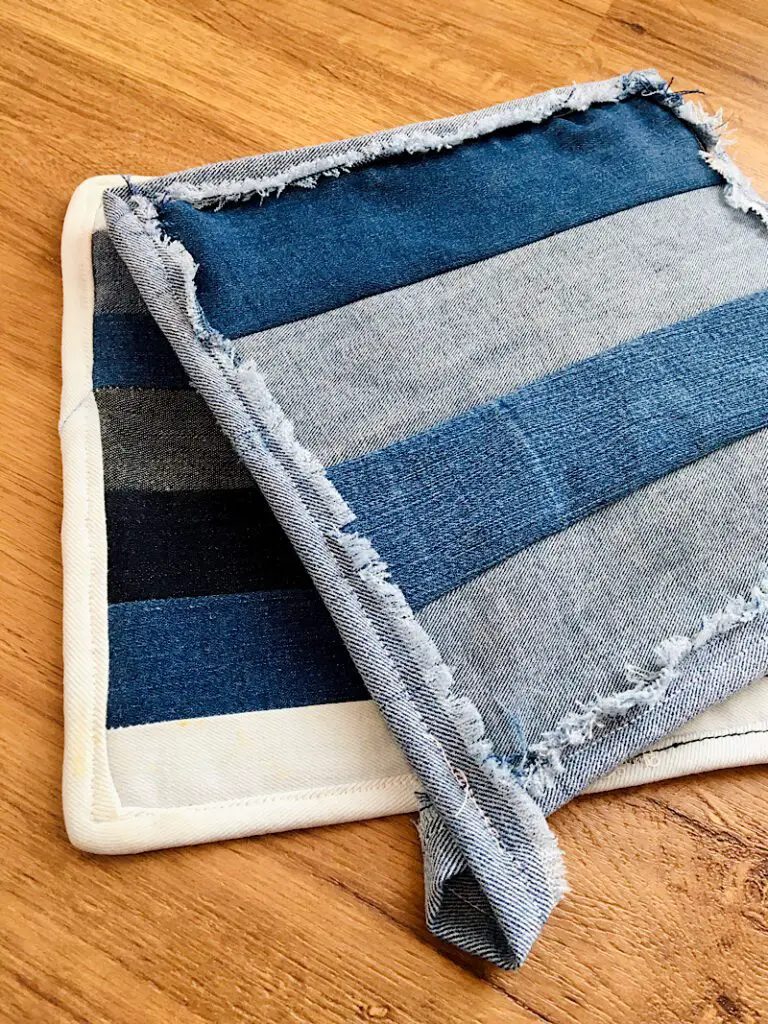
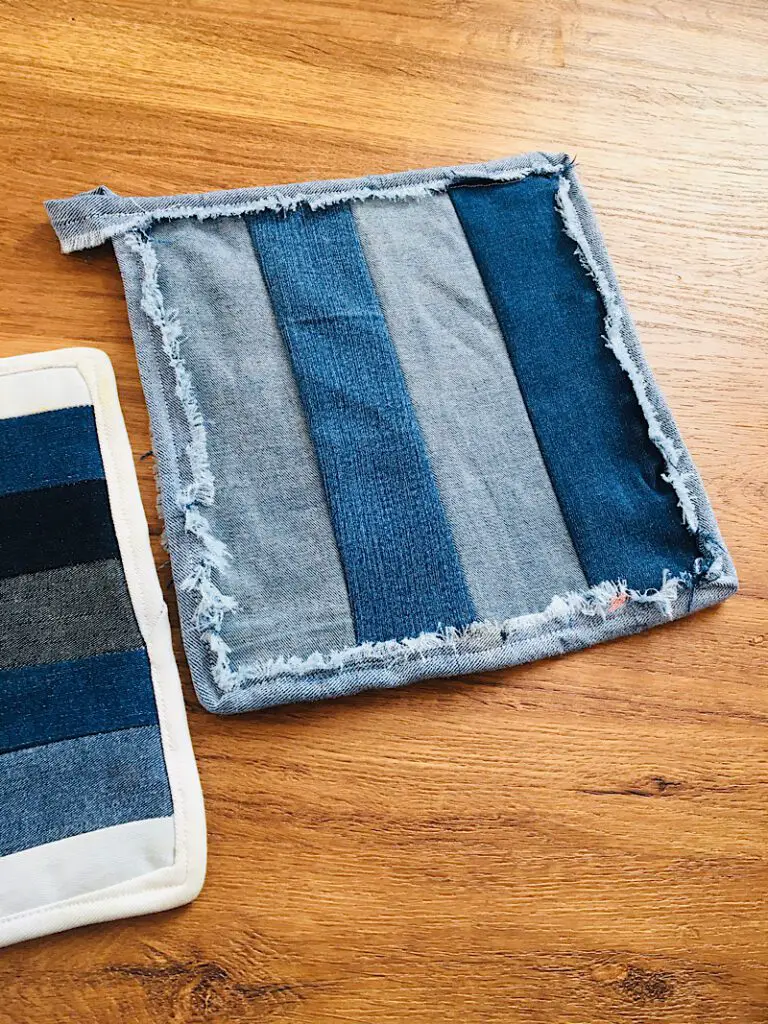
Now you have an awesome pot holder with a messy looking binding, but next is the fun part which makes all the difference, fraying it!
Step 5. Distress The Binding
Using a seam ripper, carefully pull out the long threads that are parallel to the edges of the pot holder until there is enough of a frayed edge to give it a distressed look.
It might help to clip slits into the edge of the binding and remove smaller strings.
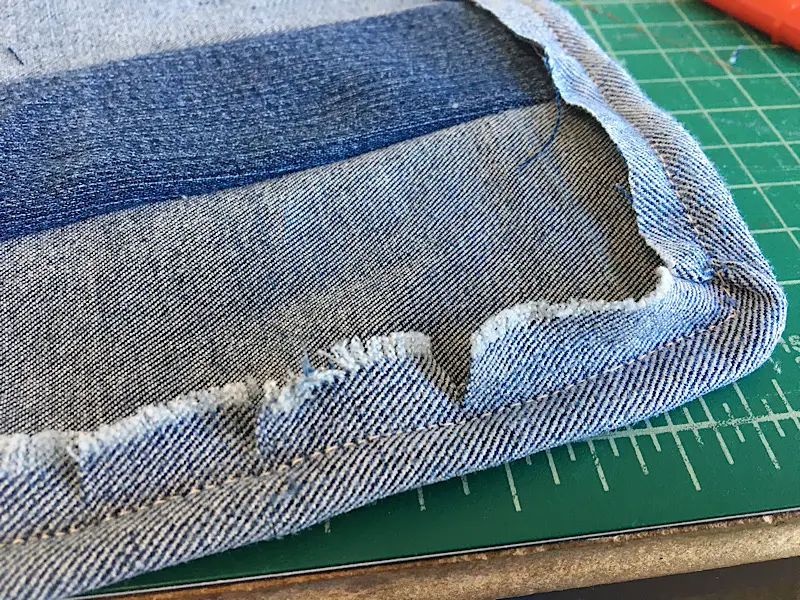
Just keep going until you think it looks good, but don’t get too close to the stitch line or it could fall apart.

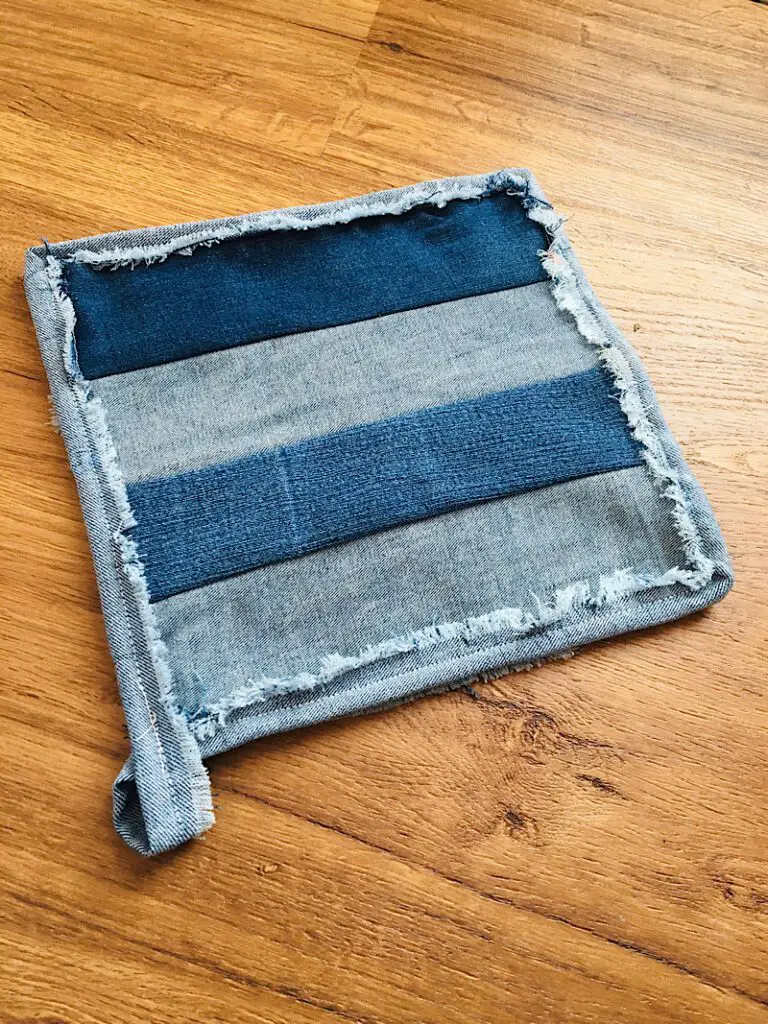
When you’re done fraying it, you’ve completed the project!
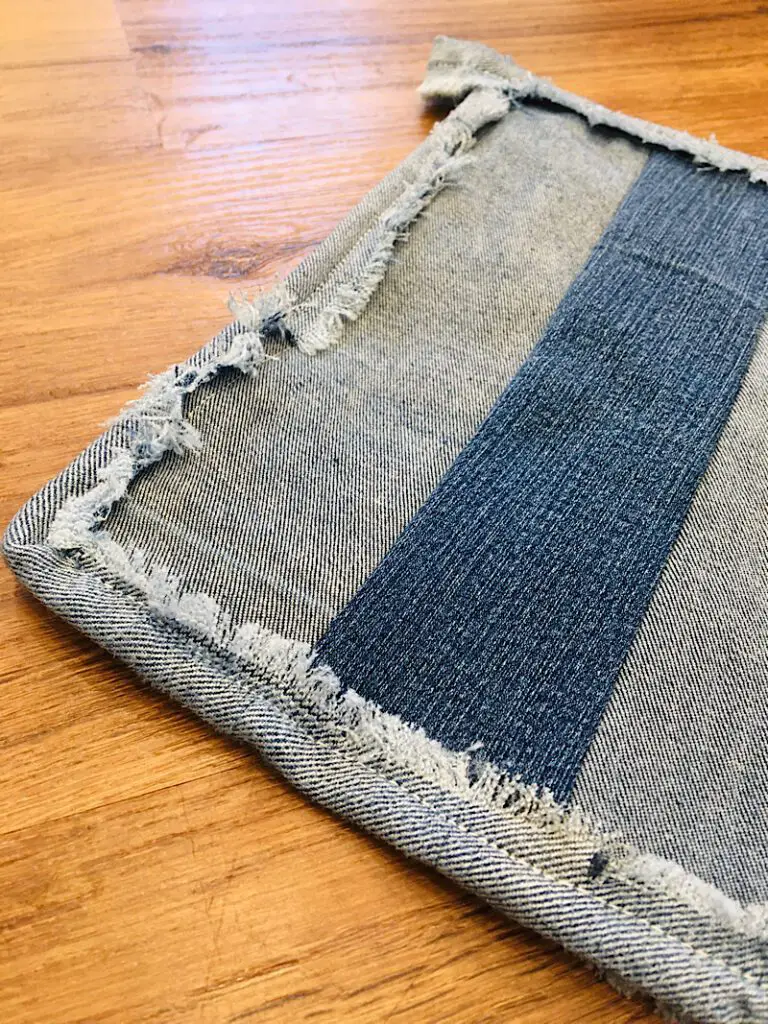
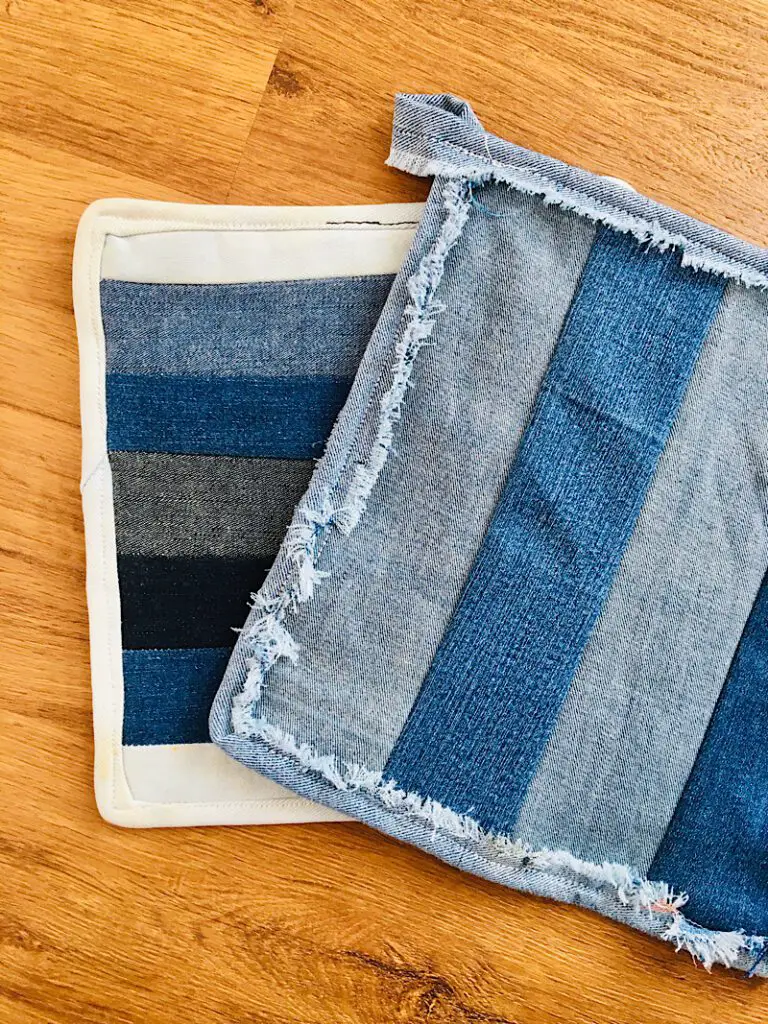
I think it looks so cool! I also made one with a clean binding and more colors of denim. They are both really fun and I like the nice big size.
Conclusion
These upcycled denim hot pads are such a unique and fun way to use up your old jeans. I have made two of them, but I might have to experiment and make even more!
If you liked this project, Pin it to Pinterest so others can find it too. And join my email list for more awesome sewing projects.