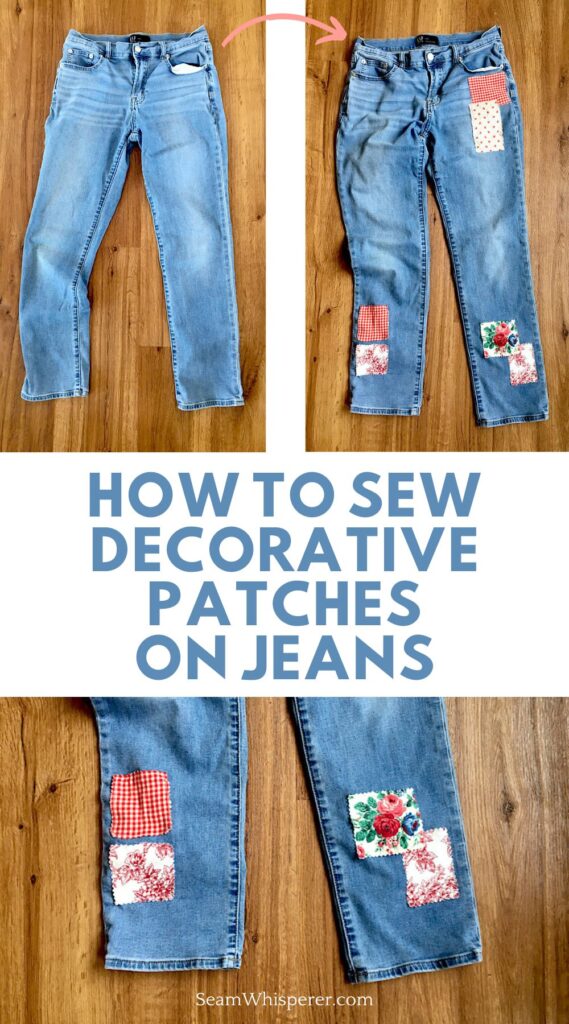
Refashion a boring pair of denim into stylish and interesting patchwork jeans!
This is one of my favorite pants refashion projects, because it turns out unique and beautiful every time. A little bit hippie, a little bit county, a little bit rebellious, these jeans are a statement piece all their own.
Although you can make patchwork jeans with fabric glue or double sided fusible interfacing for a no-sew solution, I prefer the look, feel, and washability of sewn-on patches.
It isn’t too tricky, you can do it by hand if you prefer. Let me show you how I machine sew decorative patches onto my jeants!
This post may contain affiliate links. Read the full disclosure here.
Supplies Needed
- Sewing Machine
- Pinking Shears (Here is an example if you don’t know what pinking shears are.)
- Sewing Scissors or thread snips
- Matching Thread
- Fabric Scraps for the patches
- Craft Glue Stick
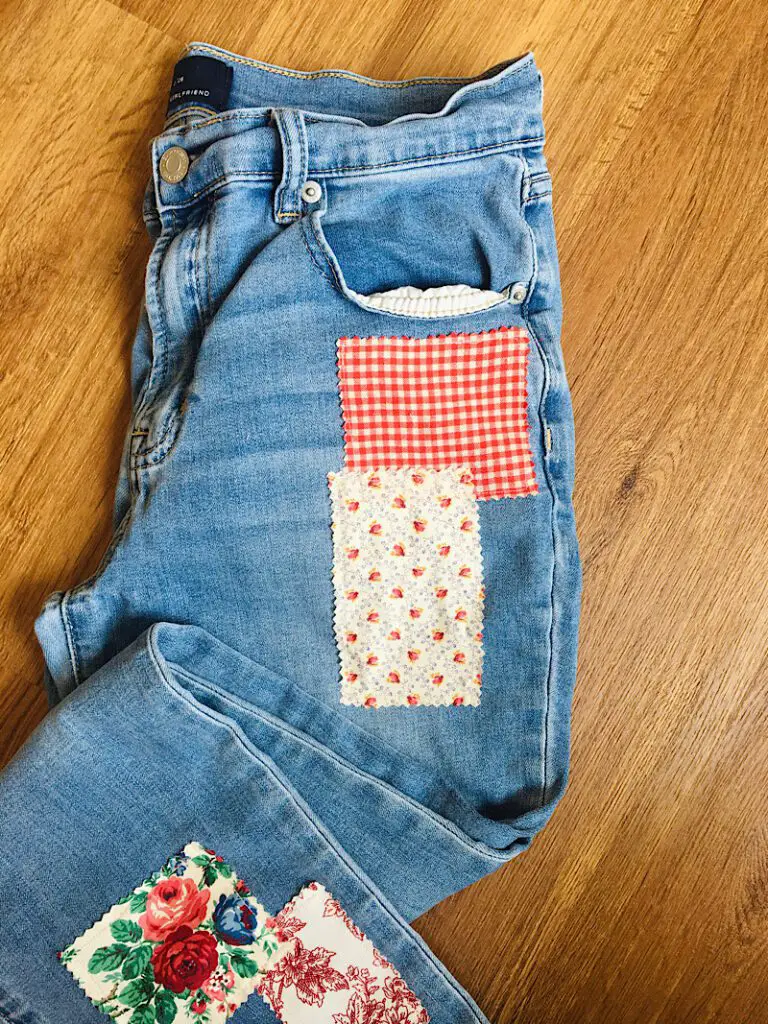
How To Sew Decorative Patches On Jeans
P.S. If you are interested in sewing a handmade wardrobe that reflects your style, you have to check out some of my favorite sewing pattern shops on Etsy. There are some seriously talented pattern designers who make beautiful women’s patterns that you can print and sew at home!
UPDATE: I now have a video tutorial of this project! Check it out here:
Step 1. Cut The Patches
When I do patchwork jeans, I like to coordinate the fabric scraps so they look good together. This time I decided to do a red/cream theme so I picked out a few fabrics that had those colors.
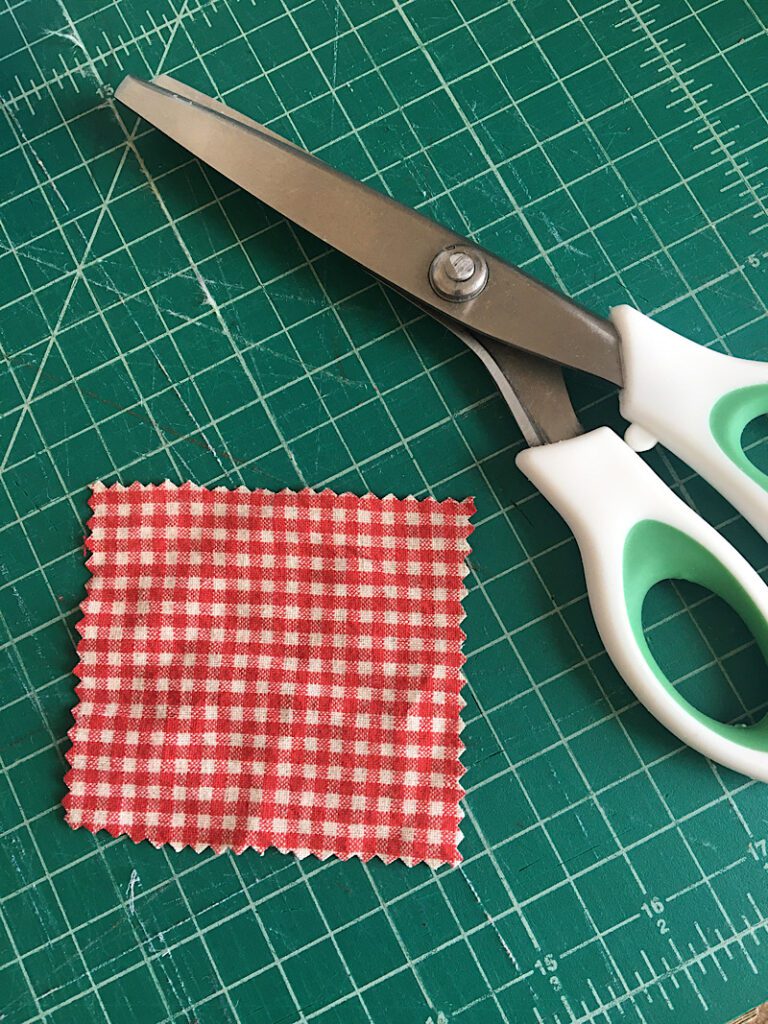
After deciding what fabrics you will use, cut out several shapes with your pinking shears. You can do squares and rectangles like I did for a more traditional patch look, or choose another shape to be creative.
Cutting your patches with pinking shears will give them the zig zag edge and help them not to fray. If you don’t want to use pinking shears, you can also fold the fabric on all the sides to hide the raw edges, embrace the frayed look of the edges, or use knit fabrics that won’t fray.
Step 2. Arrange The Patches
Next, flatten out the jeans and arrange the patches until you come up with a layout that you like. Try overlapping the patches slightly or putting a long shape next to a short shape to mix it up.
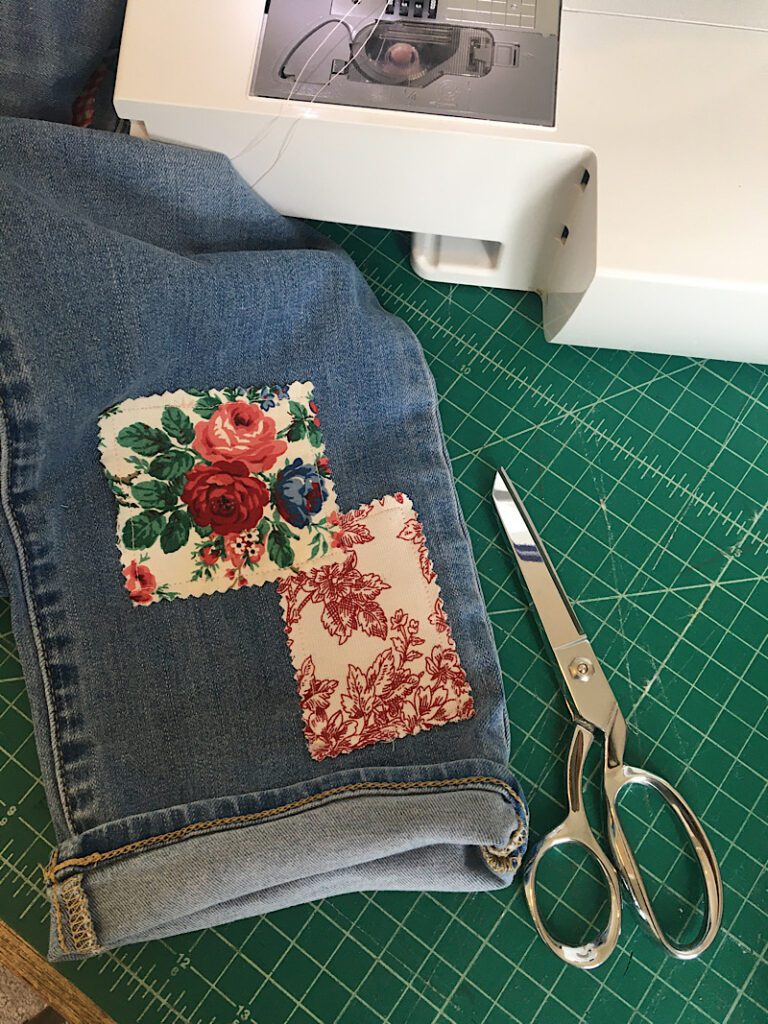
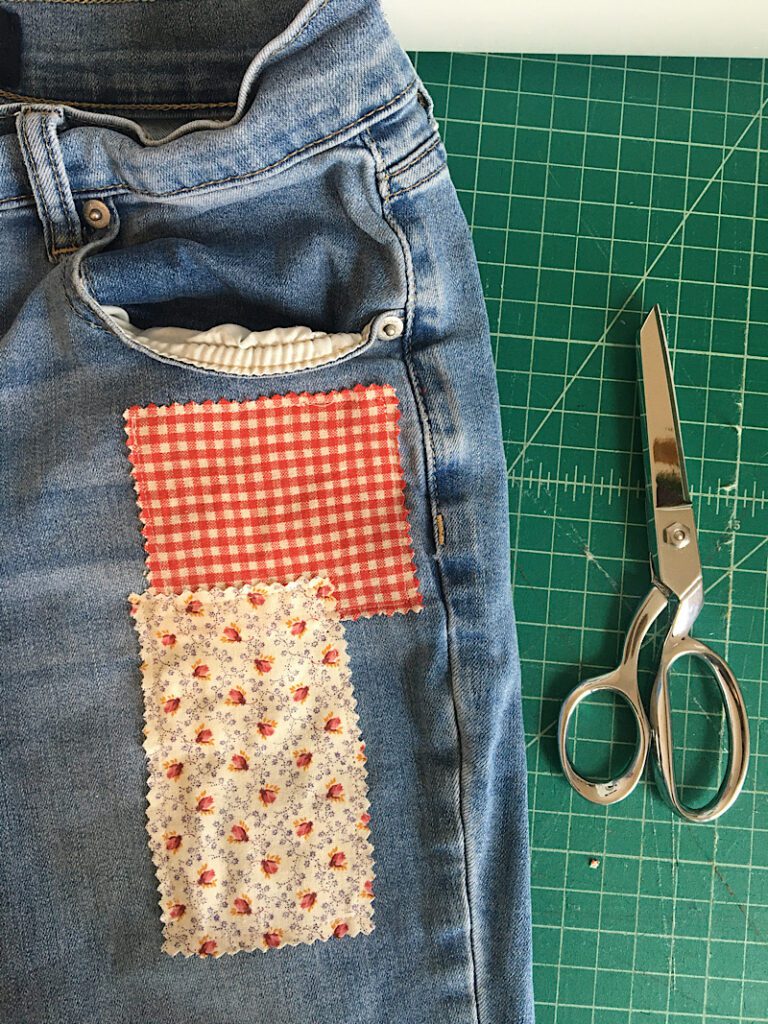
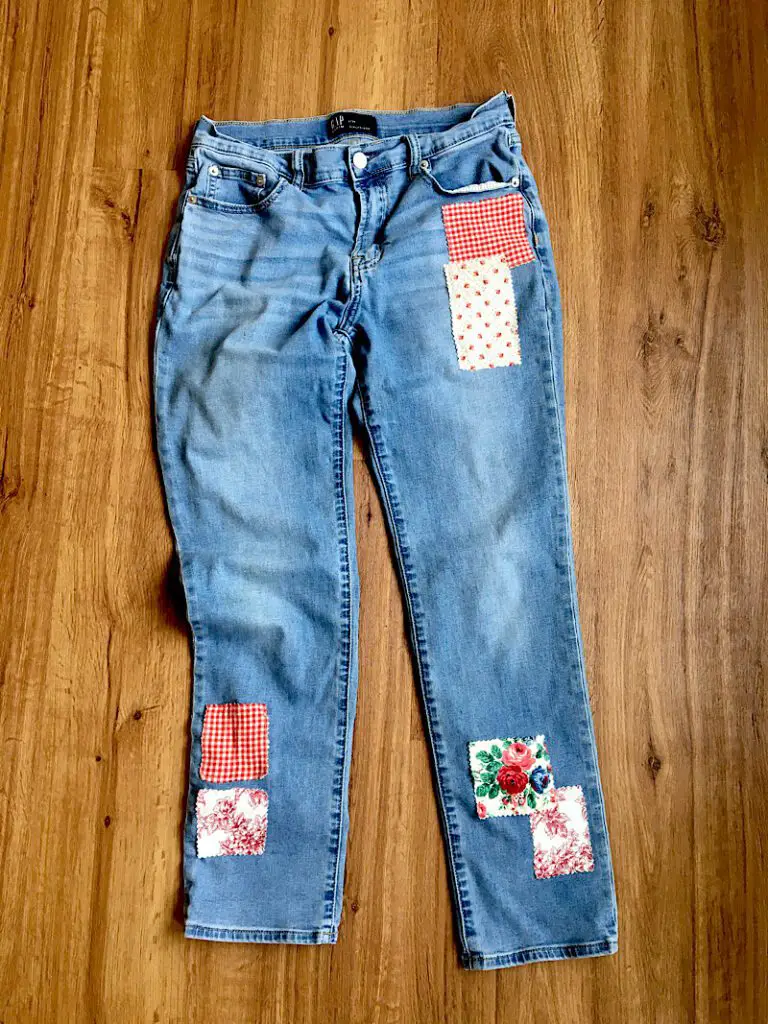
I decided to do some patches by the pocket, and some down at the ankle.
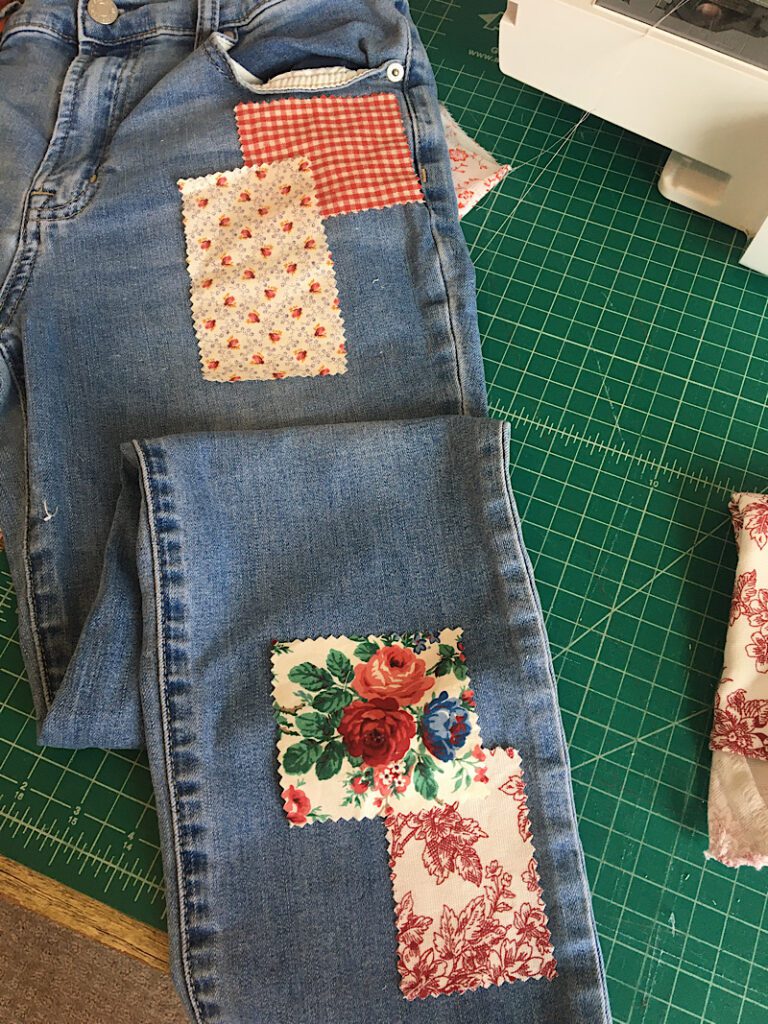
Next, use your craft glue stick (or spray adhesive if you have some) to temporarily glue the patches to the jeans where you want them to go. This makes sewing much easier.
You could just pin them if you want, but I promise, it is easier with the glue!
Step 3. Sew The Patches Onto The Pants
Sewing the patches onto the legs of jeans with a sewing machine is a bit tricky because it is such a small space. But it is possible!
Your first instinct will be to put the leg of the jeans around the arm of the sewing machine bed like this:
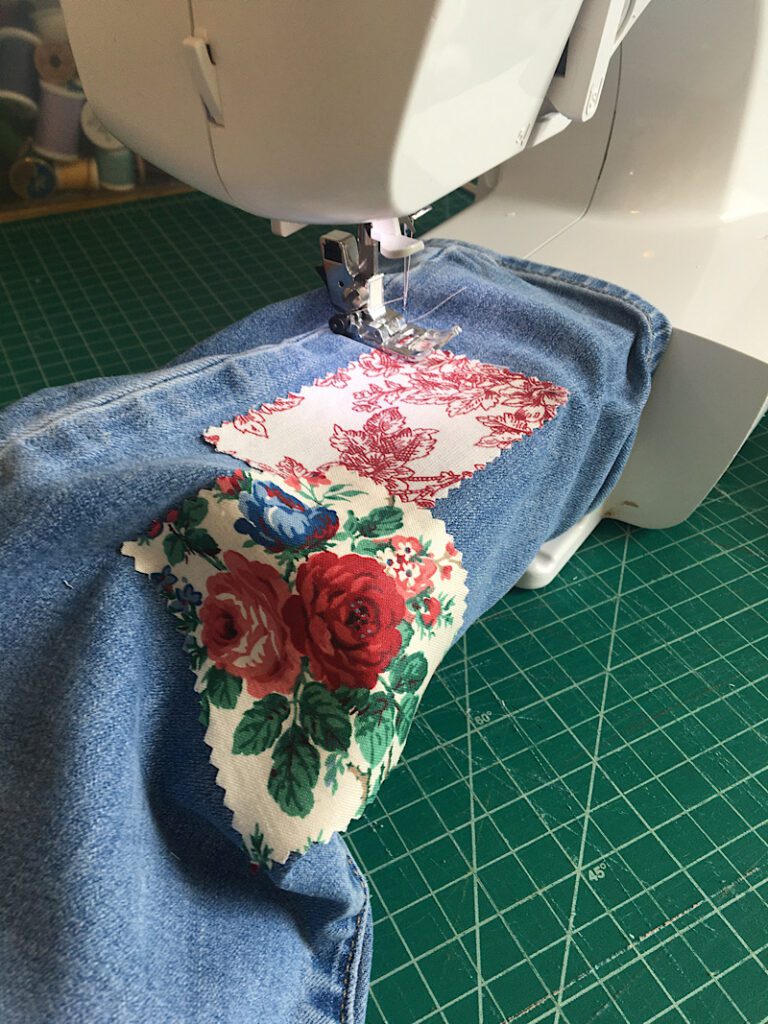
But the problem with this is that you won’t be able to pivot and sew around the side edges of the patches.
If you want to sew with the leg of the jeans around the sewing machine arm like this, you can try just sewing the top and bottom lines of the patch and leaving the sides open (you could hand sew the sides), or just sew large up and down zig zags from the top to the bottom of the patch. These two methods don’t require pivoting the jeans to sew around the perimeter, but aren’t as cute in my opinion.
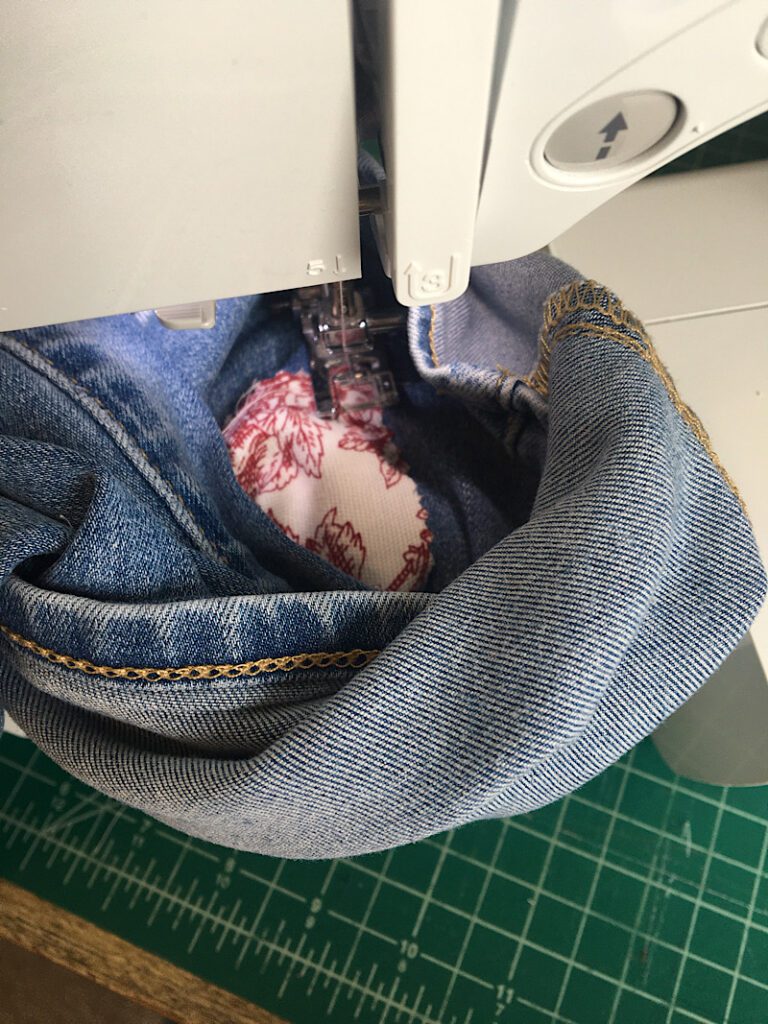
To sew around the perimeter of the patch, you will have to fold, roll, or bunch up the jean leg so that it can fit on the needle plate, while leaving a small flat space where you will sew. You will have to frequently readjust the jeans and pivot the needle as you sew around.
Here are the finished ankle patches:
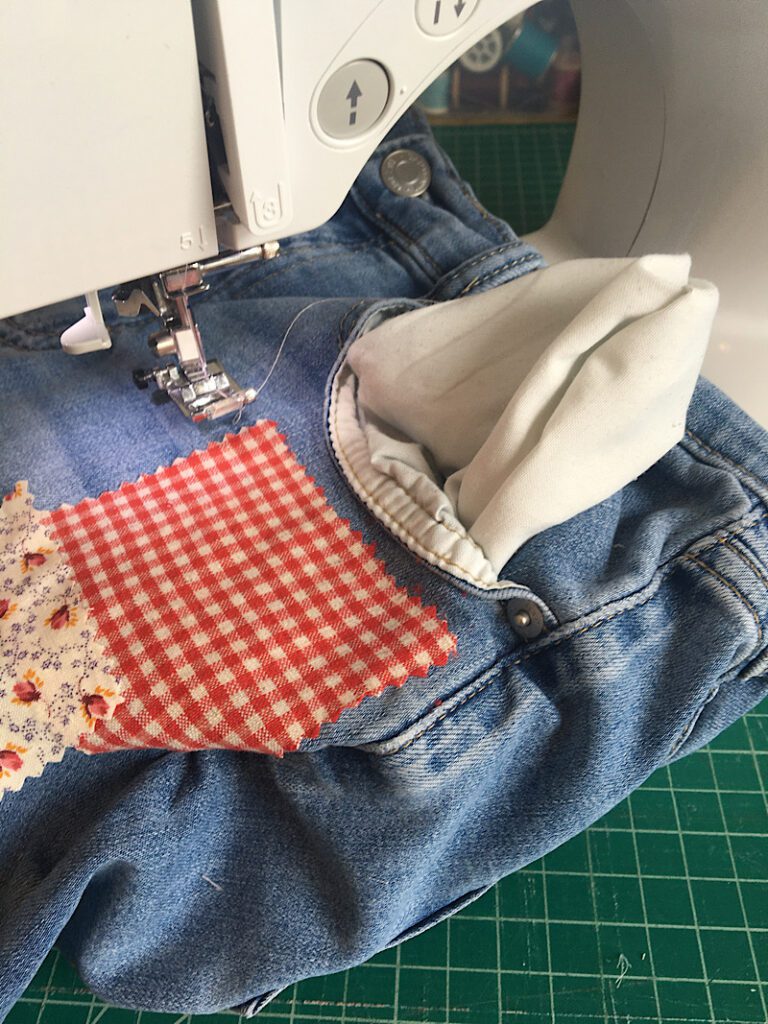
After sewing on the patches on the ankle, I sewed the pocket ones as well.
Remember to flip the pocket out of the way so you don’t sew through it!
Here is how the pocket patches looked when completed:
I then added two patches on the other ankle, then I was done! I am so pleased with how they turned out!
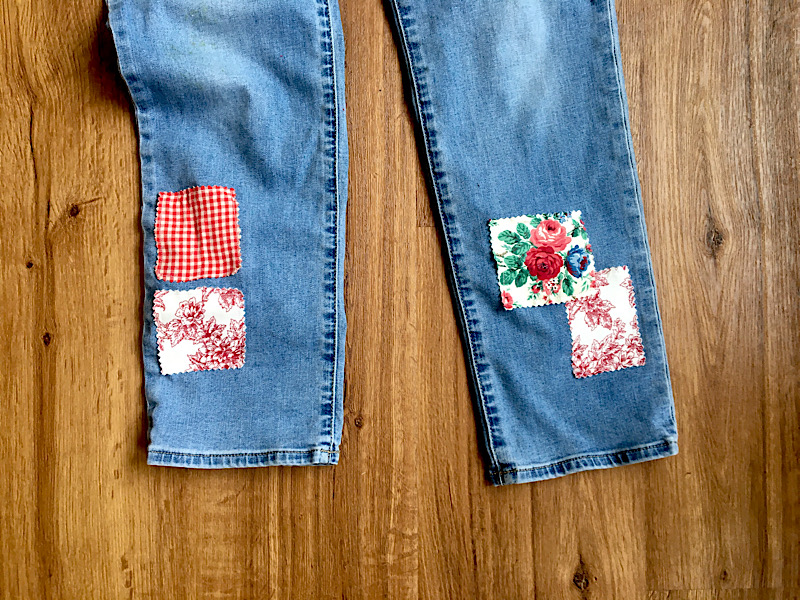
I have a lot of patchwork jeans saved on my Pinterest boards…. it has been at least 10 years since I made a pair!
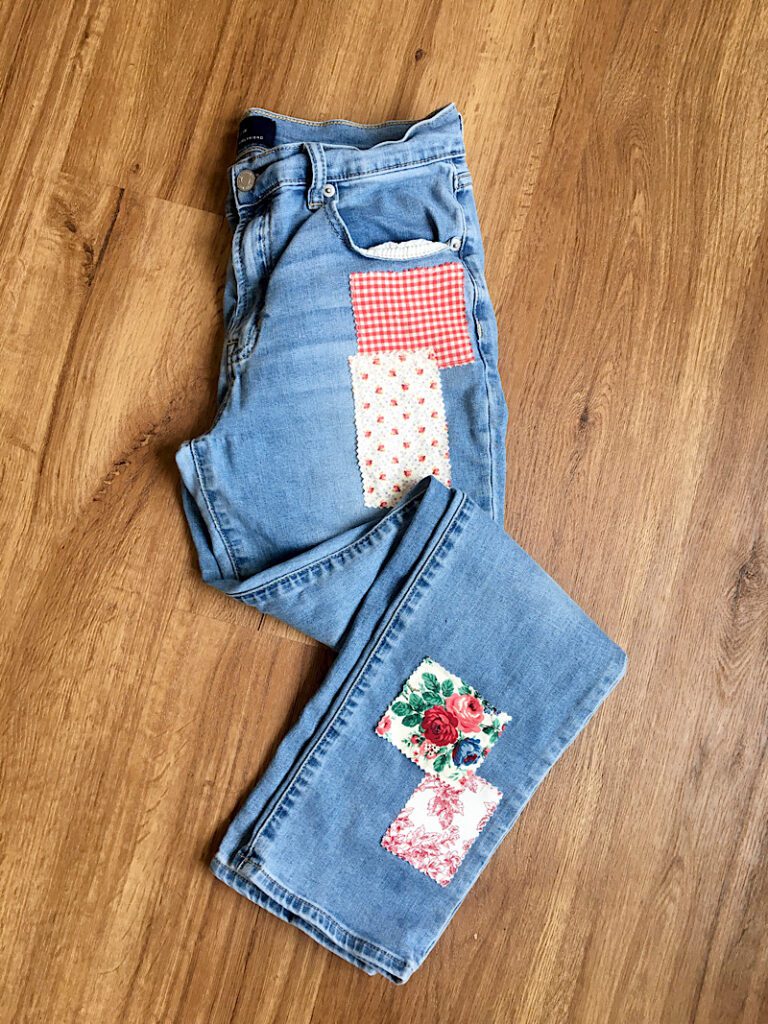
I liked these jeans so much, I made another pair! Here is how they turned out:


If you liked this tutorial, be sure to check out my other clothing upcycle and refashion posts here.
Pin this post to pinterest and join my email list for more sewing content!

Hi!
WoW! Thank you for sharing your expertise and making the art of sewing on patches accessible to everyone.😍
Cheers 😇