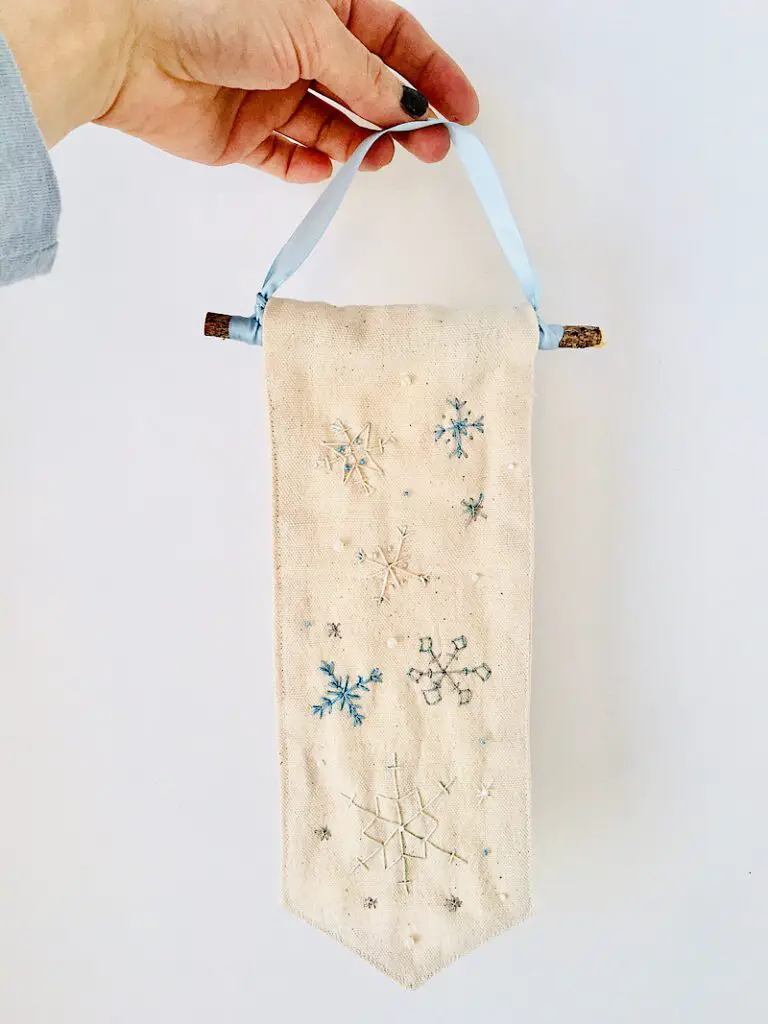
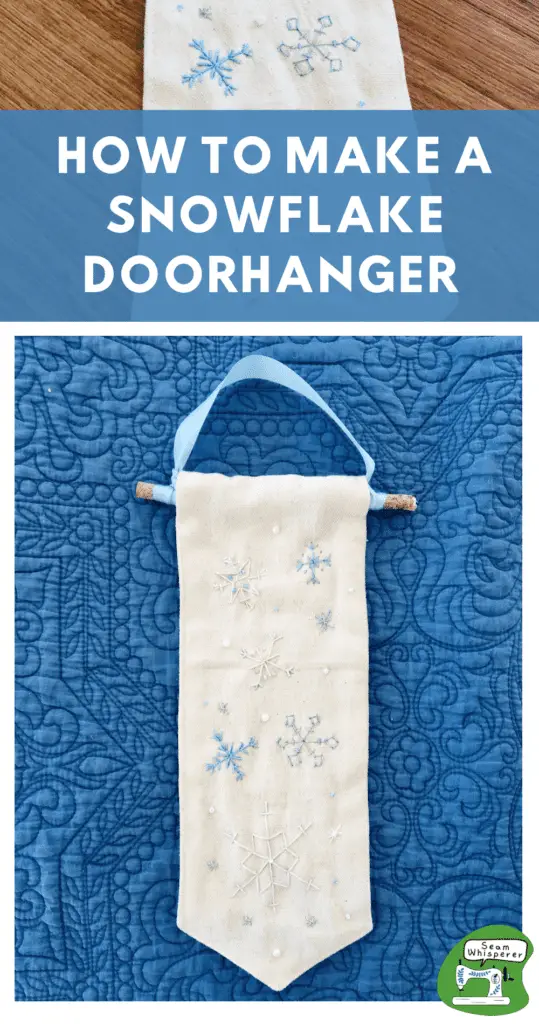
Follow this step by step tutorial to make your own snowflake door hanger. Perfect for doorknobs, front doors, or even walls. This festive banner is made with blue, off-whites, and silver thread so it will blend in with your other winter decor!
If you are looking for snowflake themed DIY winter decor that is NOT Christmas themed, I’ve got an adorable craft for you today!
I used to make and sell canvas banners on Etsy, so you think I’d be sick of them. But I got this idea and just had to try it out.
This post may contain affiliate links. Read the full disclosure here.
About This Tutorial
This project involves sewing as well as embroidery. If you are new to embroidery, there are lots of great videos online you can watch. Although these snowflakes seem complicated, they actually are all made with a single stitch– the backstitch! This is a great beginner embroidery project.
I don’t go extremely in depth in the embroidery of these snowflakes, I expect you to be able to figure them out yourself. This was my first time doing them, and if I can do it, so can you.
If you need a deeper dive into snowflake embroidery, I recommend you check out this snowflake tutorial by Amanda at Wandering Threads Embroidery. It is very helpful and well done.
Supplies Needed
- Sewing Machine
- Fabric Scissors
- Disappearing Ink Marker
- Embroidery Needles
- Small Embroidery Hoop (5-8 inches)
- Sewing Pins
- Iron & Ironing Board
Materials Needed
- White or Cream colored Canvas Fabric– 5×24 inches (no heavier than 7 oz weight)
- White or Cream Embroidery Thread
- Baby Blue Embroidery Thread
- Metallic Silver Thread
- Tiny White and Blue Beads (Optional. You can just embroider french knots in the places I did beads if you wish.)
- 5 inch long dowel or tree branch, about 3/8ths inch thick.
- Baby blue or White Ribbon
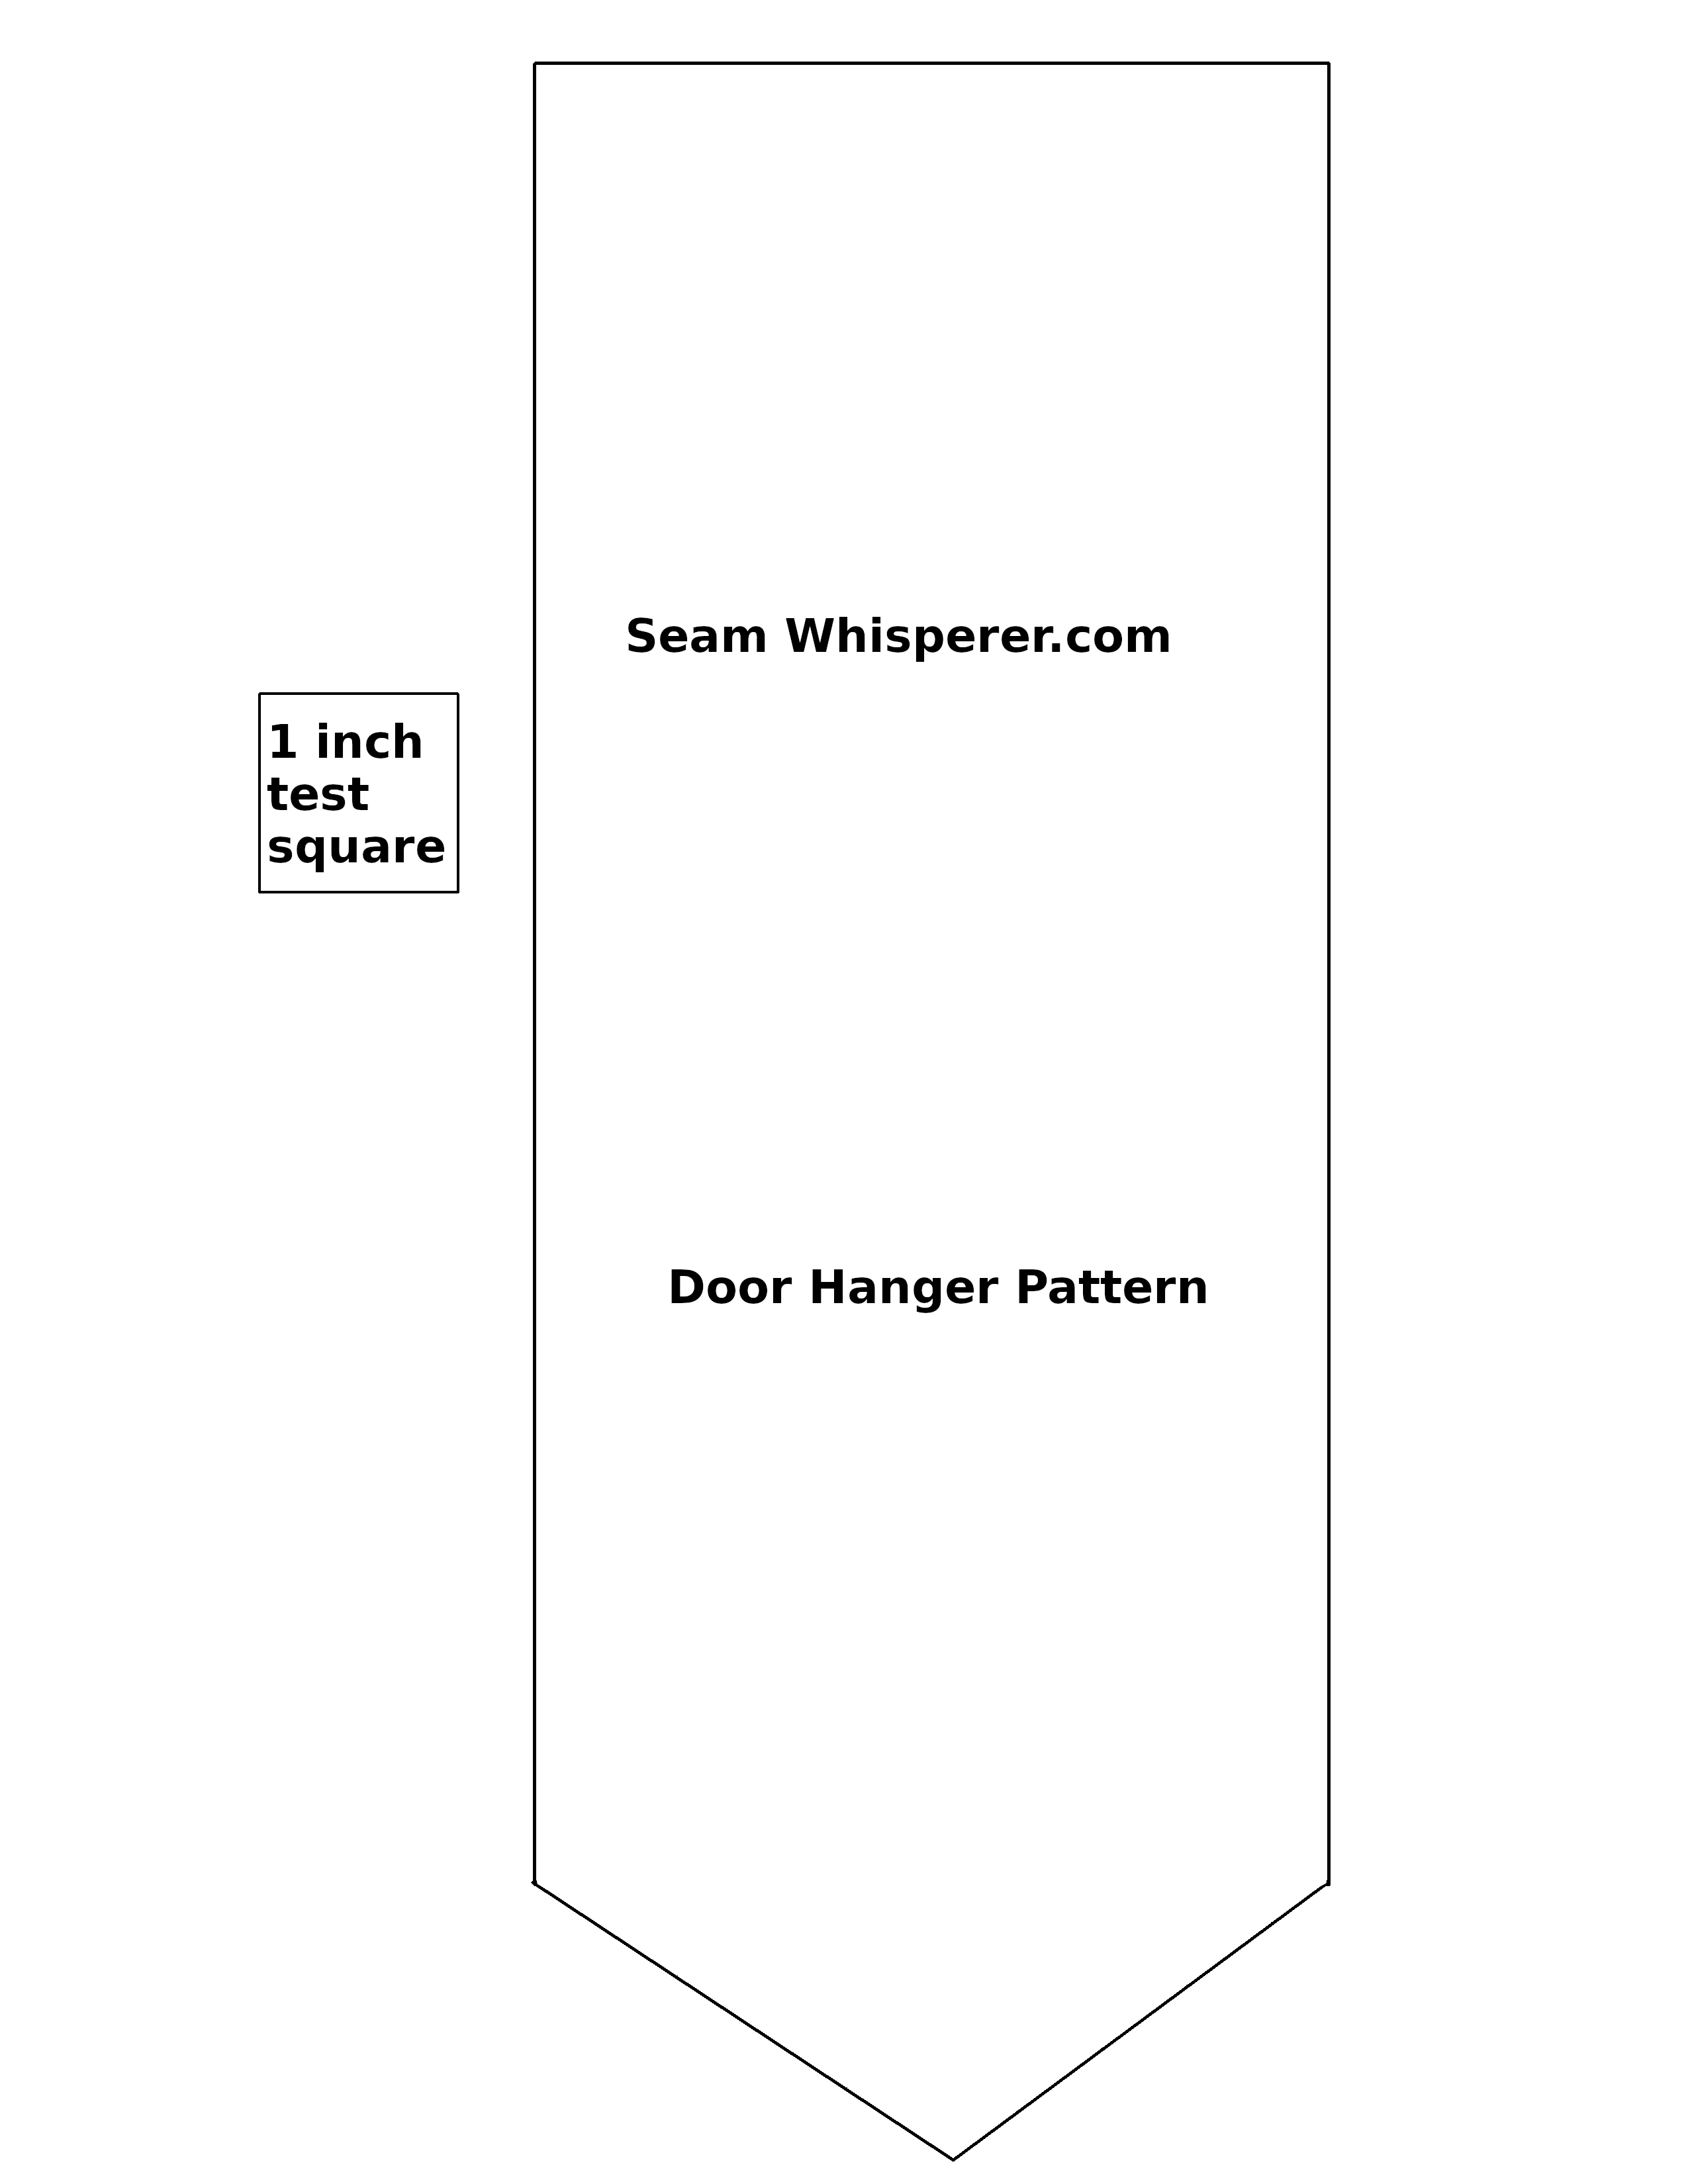
- Banner Pattern (Download it below.)
How To Download The Banner Pattern
Download the pattern by clicking on the button below. Print it at 100% scaling, and measure the 1 inch test square to make sure you printed it right!
How To Make An Embroidered Snowflake Door Hanger
BEFORE I start, I want to note that I sewed the banner first then embroidered it, which means you can see the back of the embroidery on the back of the banner. It is messy. But that is just how I made it, so that is how these photos show you to do it.
If you want a very clean look, you should trace the banner on the fabric first, THEN embroider the snowflakes on, and then sew it and turn it right side out.
If you choose to do the snowflakes before sewing the banner, you can also put a paper behind the fabric and trace the snowflakes on, instead of free-handing it like I did.
Read the instructions first and decide how you will do it!
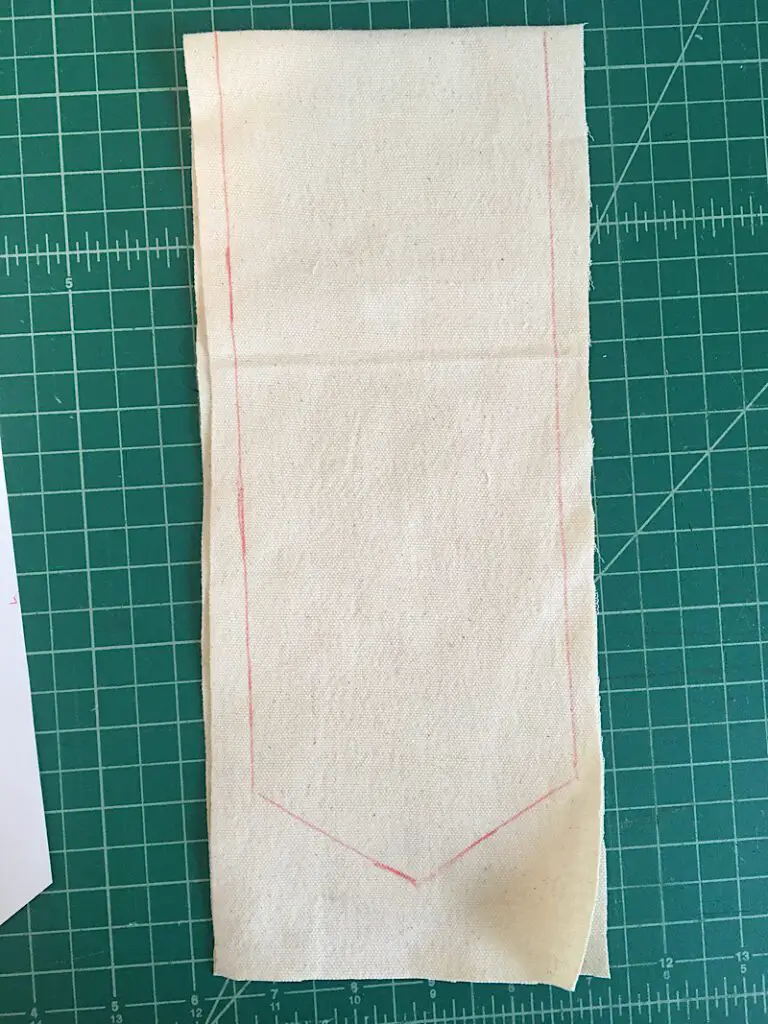
Step 1. Trace The Banner Pattern
Fold your canvas fabric in half so it is 5 inches wide and 12 inches long.
Cut out the banner pattern (or draw your own on another piece of paper) and place the top edge of the pattern on the folded short edge of the fabric.
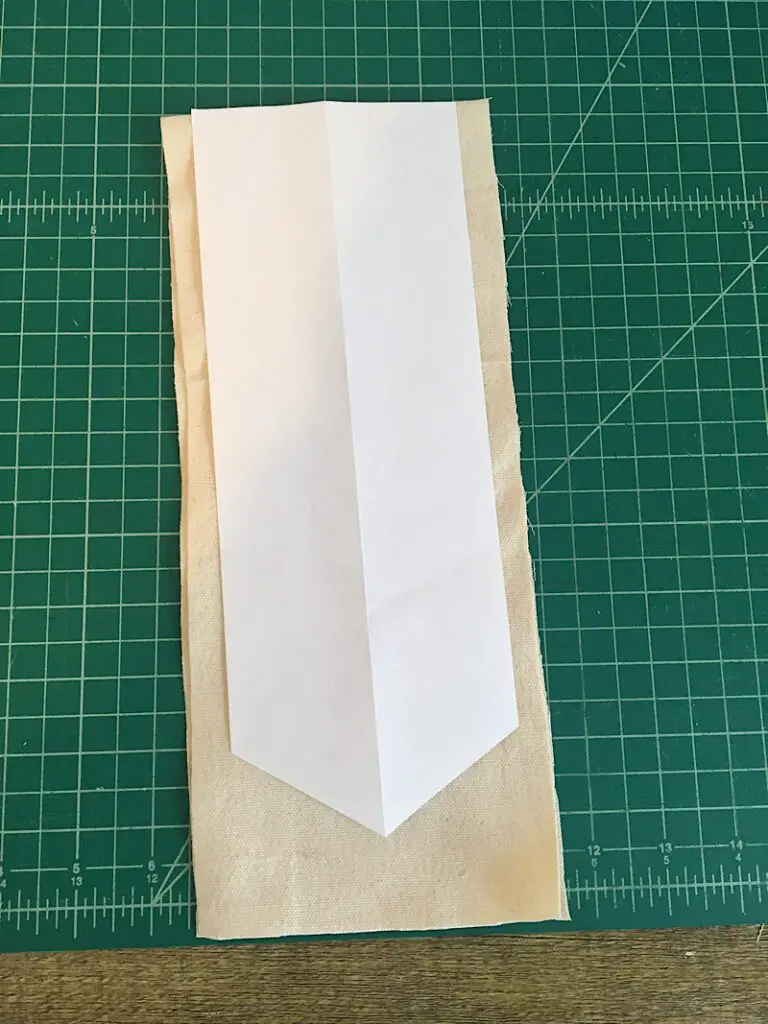
Trace around the edges of the pattern with a pen or disappearing ink marker. (The line will end up hidden inside.)
Remove the paper pattern, and carefully pin around the banner so it doesn’t shift as you sew.
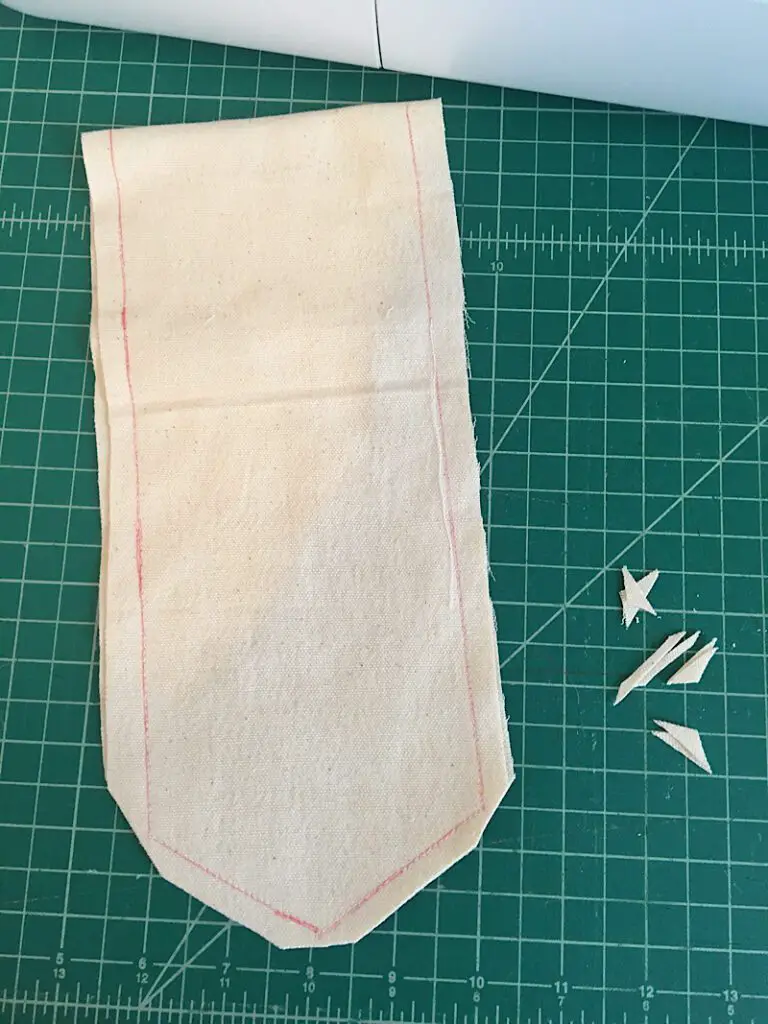
Step 2. Sew The Banner
To sew the banner, you will sew directly on the line you just traced. This makes sure your banner is the exact perfect shape!

You are going to sew down the two sides and the bottom point of the banner, and not across the top folded edge.
Start on the right side of the banner, about 4 inches from the top folded edge. (This leaves a gap so you can turn it right side out later.)
Sew down the banner, pivoting at the corners, and ending 1-2 inches from the folded edge on the other side.
Remove the banner from the sewing machine, and cut a seam allowance around the sewn line about half an inch away. Also carefully trim the excess fabric from the corners without cutting too close to the stitches.
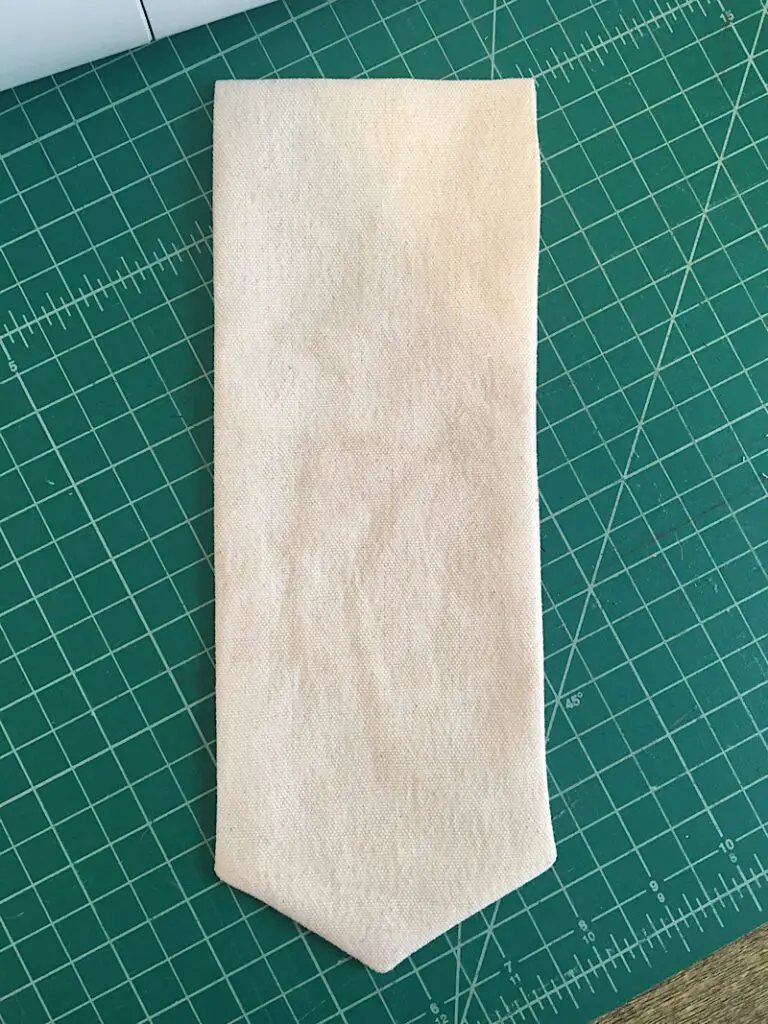
Step 3. Turn & Topstitch
Turn the banner right side out through the large gap that you left. Carefully use something pointy like a pencil or a knitting needle to gently poke the corners of the banner out and give them their shape.
Give the banner a very good press with your iron, and make sure to fold under the fabric at the gap and press it too.
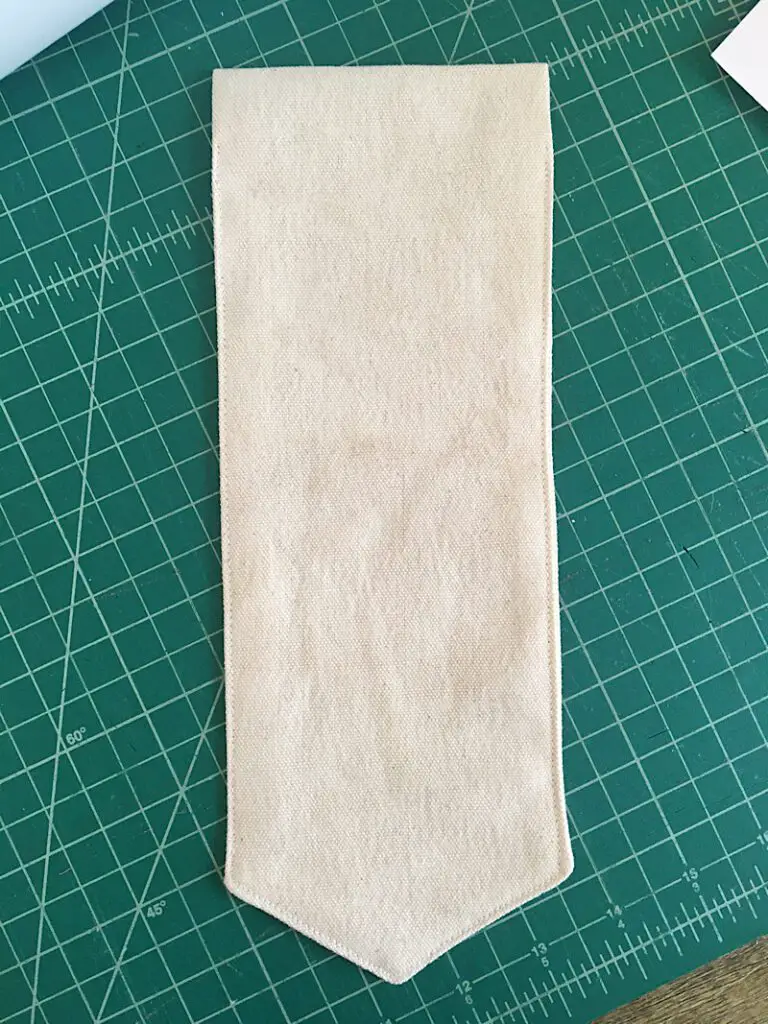
Now you will topstitch around the edges of the pressed banner.
Start and end 1 inch away from the folded edge so that you can later insert your dowel/branch into the holes at the top. Topstitch about 1/8th inch away from the edge of the banner, all the way around.
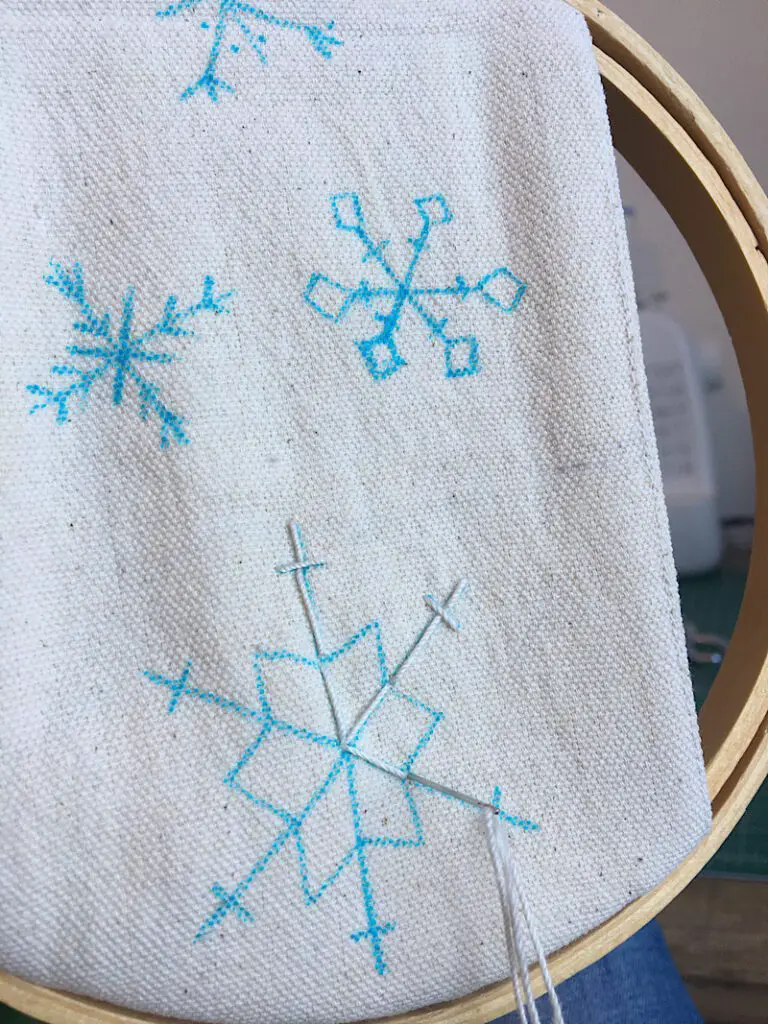
Step 4. Draw The Snowflakes
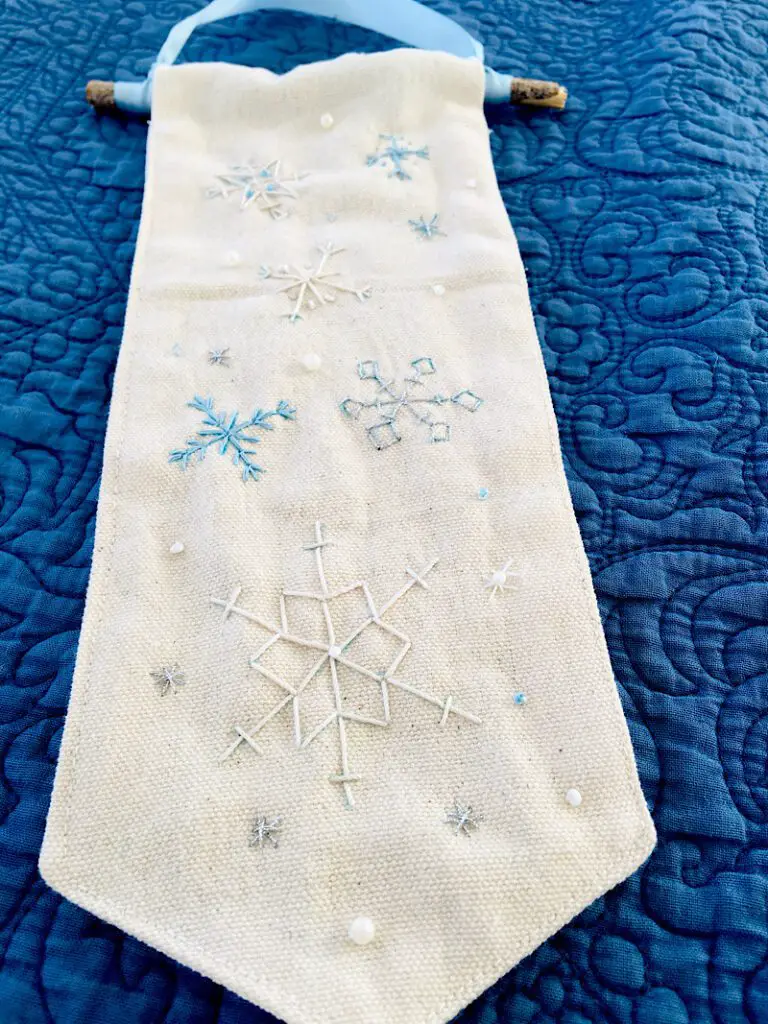
Using your disappearing ink marker, draw several types and sizes of snowflakes around the banner. You can also add dots where you want to add beads (they look like tiny falling snow.)
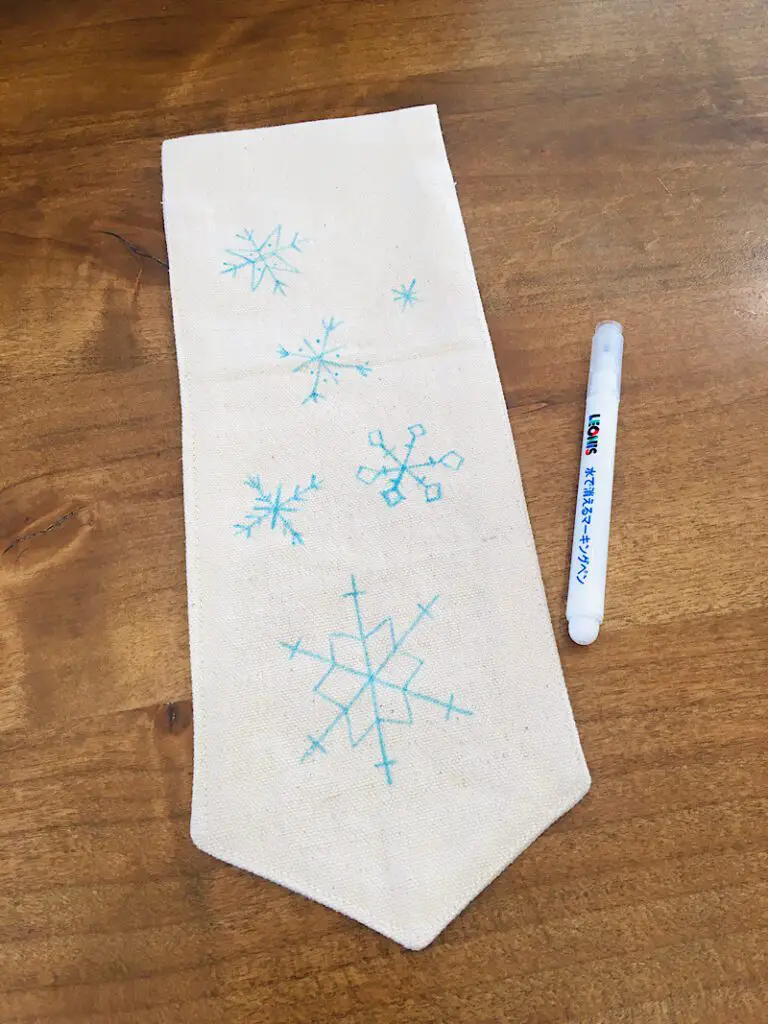
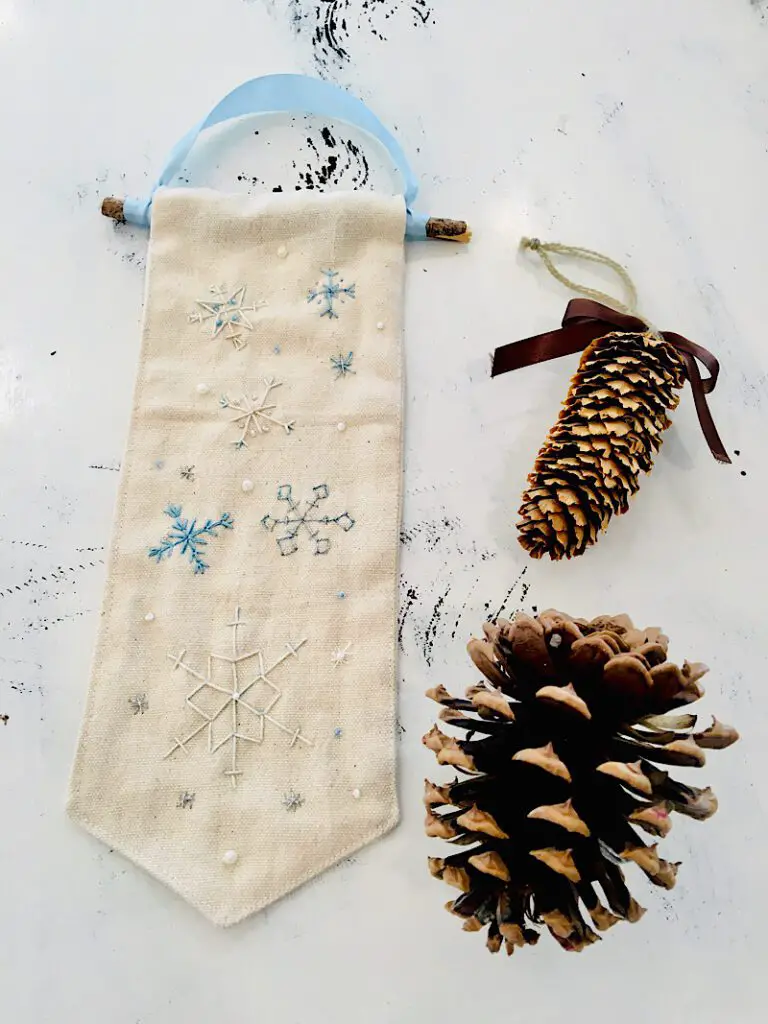
I did a large snowflake at the bottom, and several smaller ones around the rest of the banner. I also added additional tiny snowflakes and beads afterwards to fill in gaps.
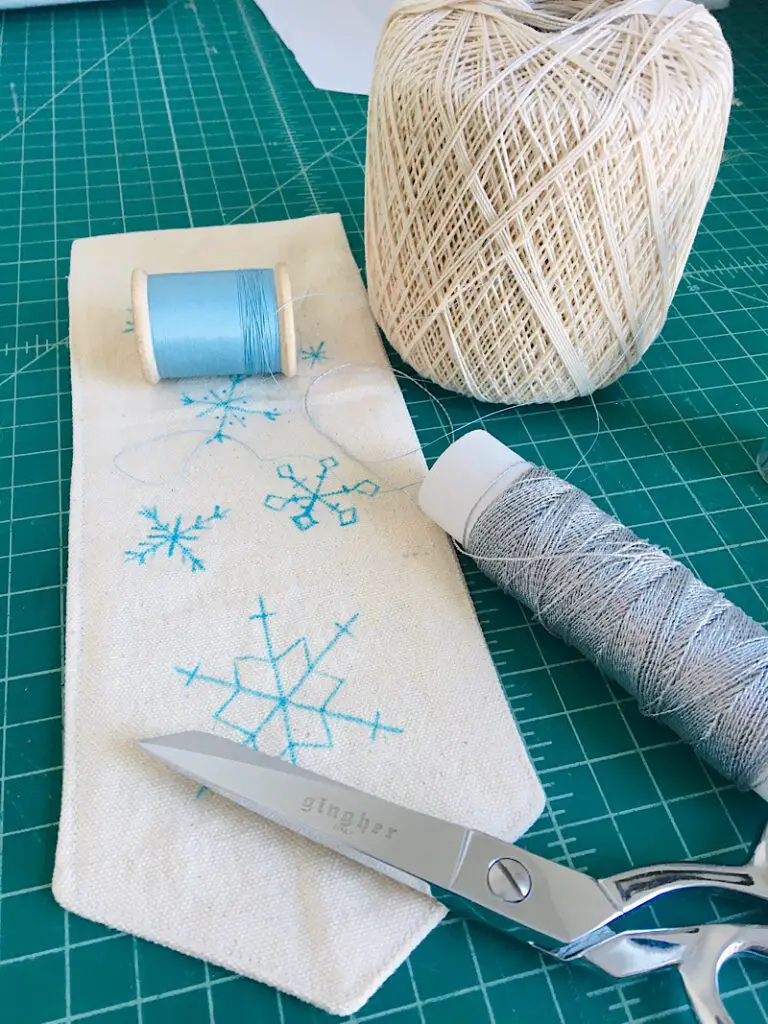
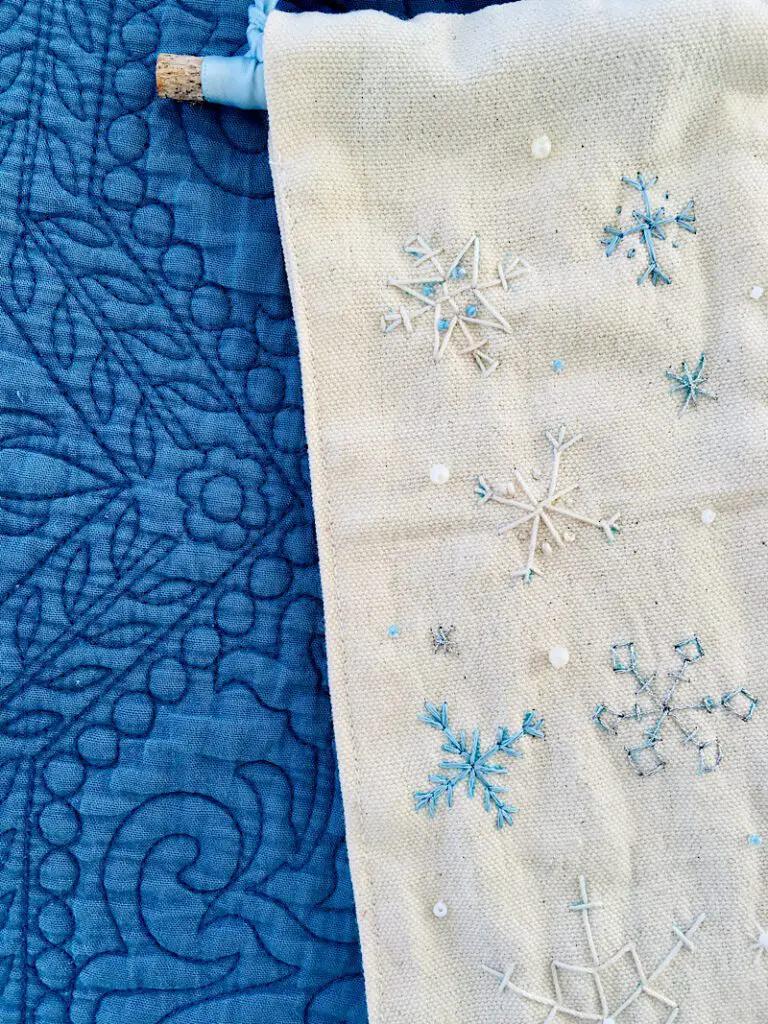
Step 5. Embroider the Snowflakes
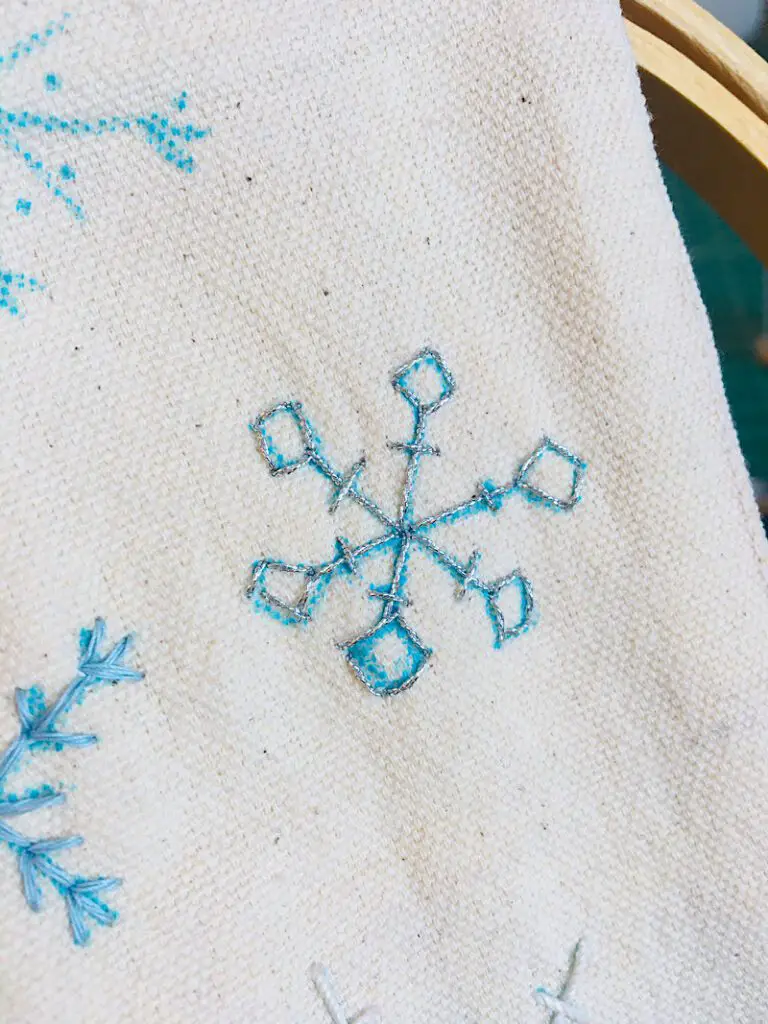
Gather your embroidery threads. I chose to use a thick baby blue thread that I doubled up, a cream embroidery floss, and a metallic silver thread.
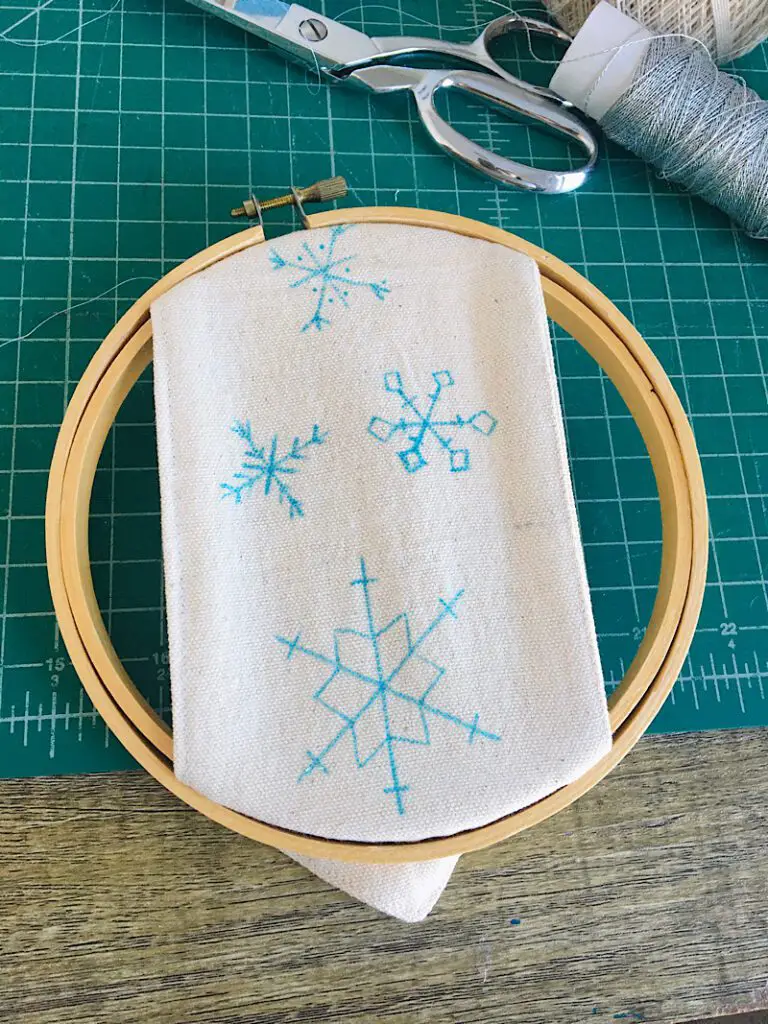
Place your banner in an embroidery hoop.
Embroider the first snowflake by making backstitches right on top of the lines you drew. Instead of making long backstitches, I recommend you break each line up into several smaller stitches for a better look.
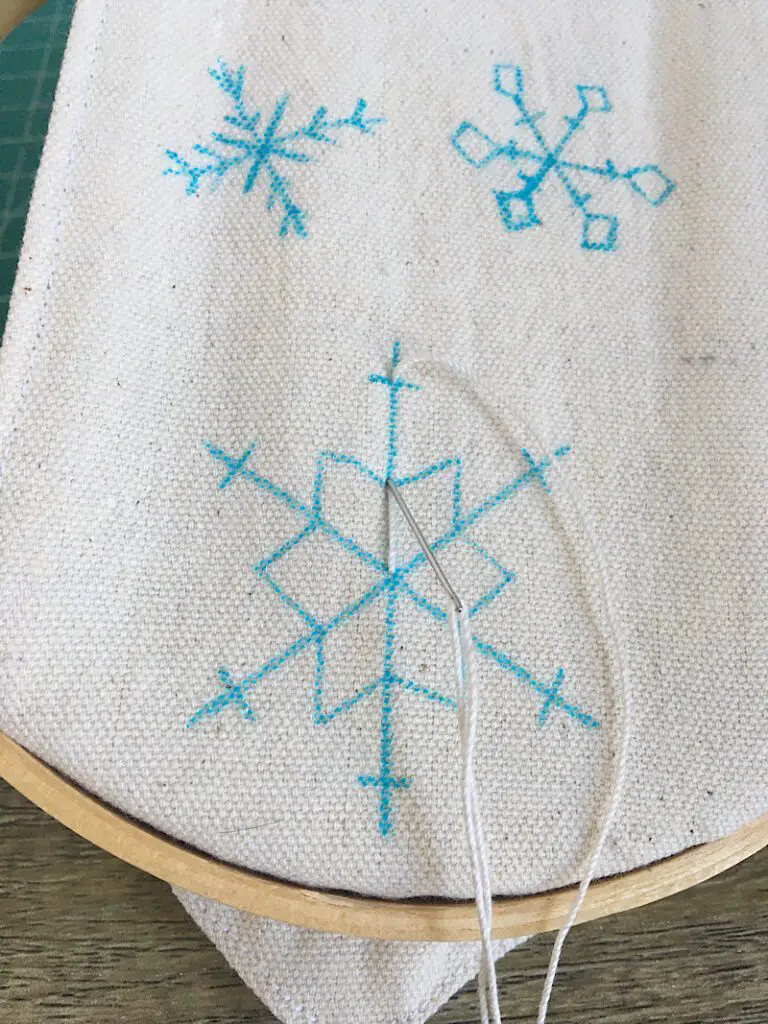
Work your way around the snowflake one stitch at a time.
Once the snowflake is complete, wet a rag with some water and dab (don’t rub) the ink of the marker, and it will disappear!
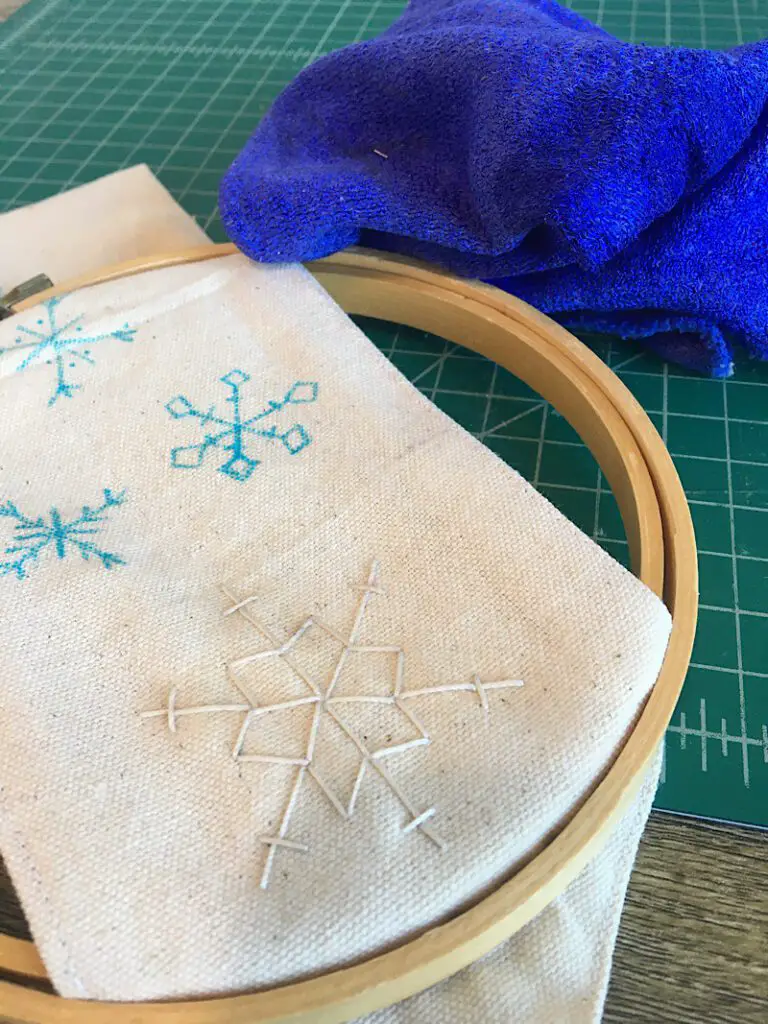
Then get a new color of thread, and embroider the other snowflakes the same way. You can use other stitches if you want, but I just used backstitches for each one!
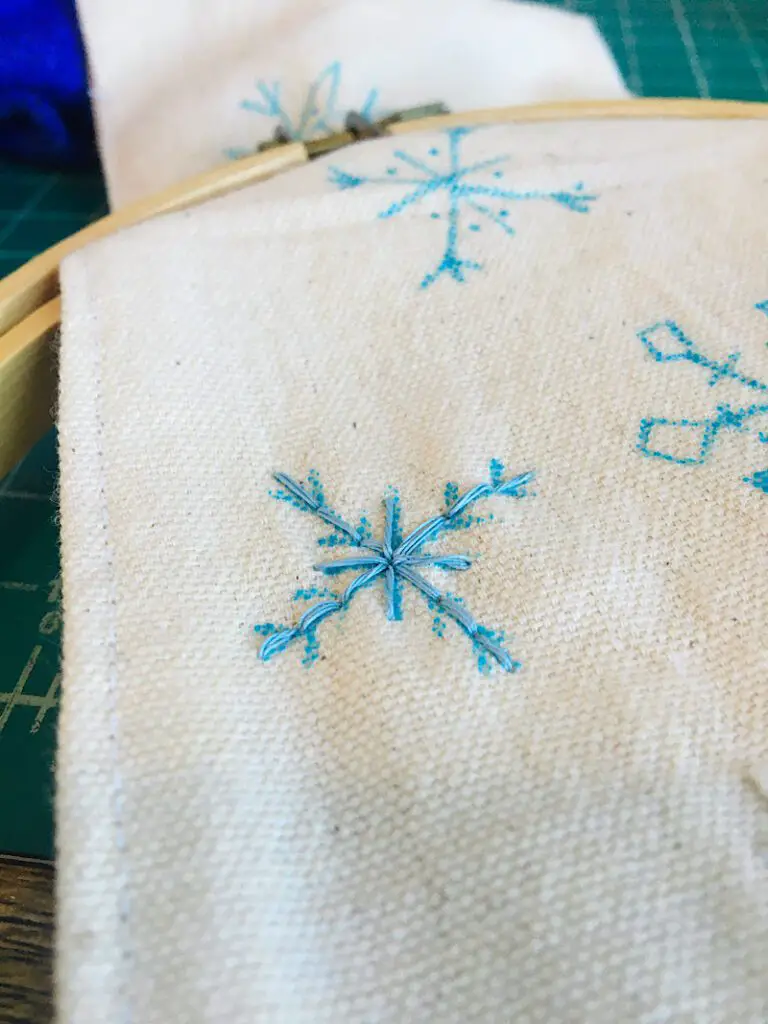
Finally, add beads around the banner where you think they will look nice.
I added some to the snowflakes, and some in the negative space to look like falling snow. I had two sizes of white beads to add some dimension.

Step 6. Add The Dowel & Ribbon
Insert the dowel or branch through the holes on the top of the banner.
Then, tie ribbon or string around both exposed ends of the dowel. Alternatively, you could drill holes on both sides of the dowel and thread the string or ribbon through it.
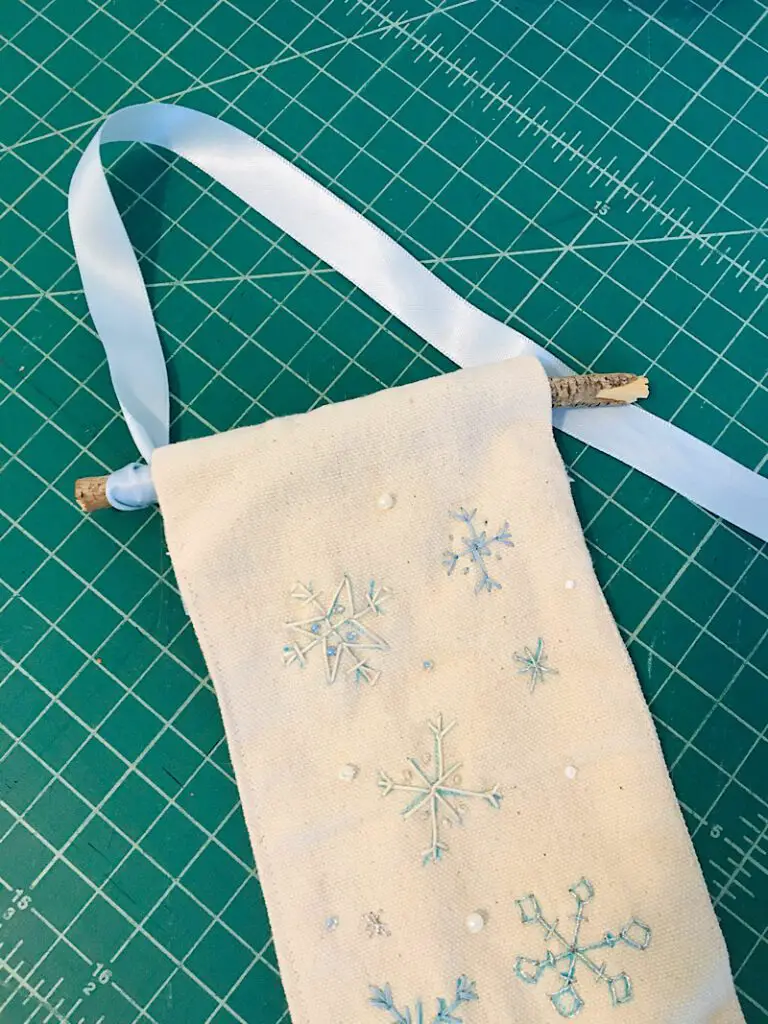
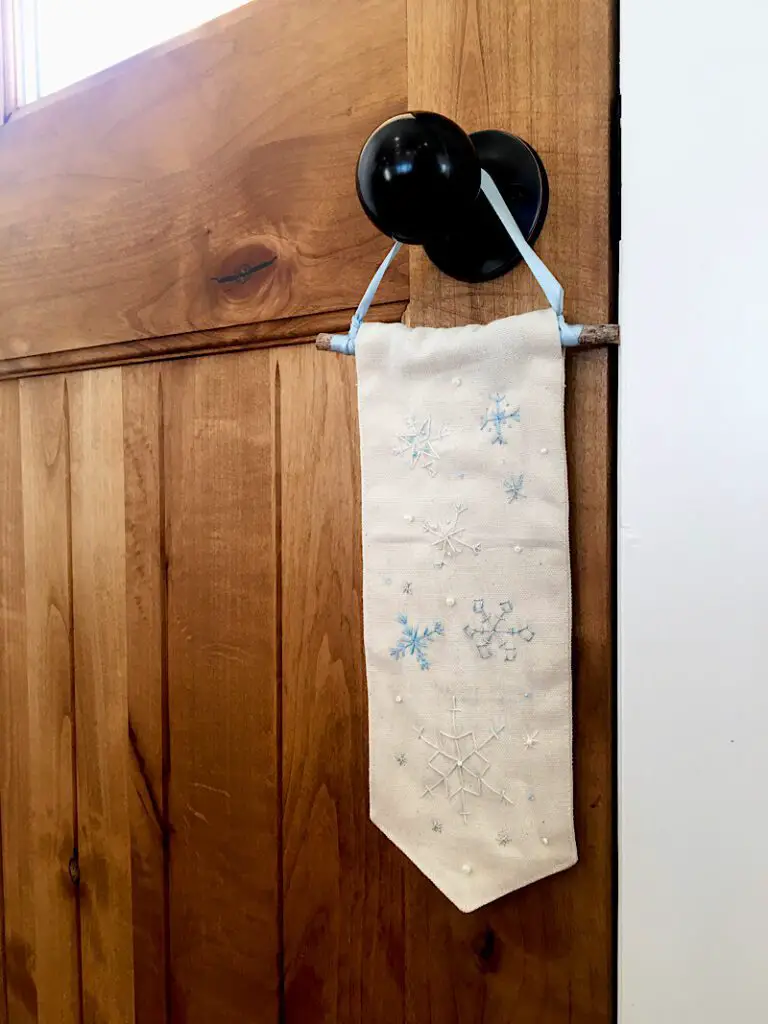
Now you can hang it from a doorknob or hook!
This completes the snowflake door hanger. Of course, it would also make a cute wall hanging!
Conclusion
I originally was going to add the words “Let it snow” to this craft, but I decided to let the quiet snowflakes speak for themselves. I love the way it turned out, and can’t wait to display it on our front door knob!
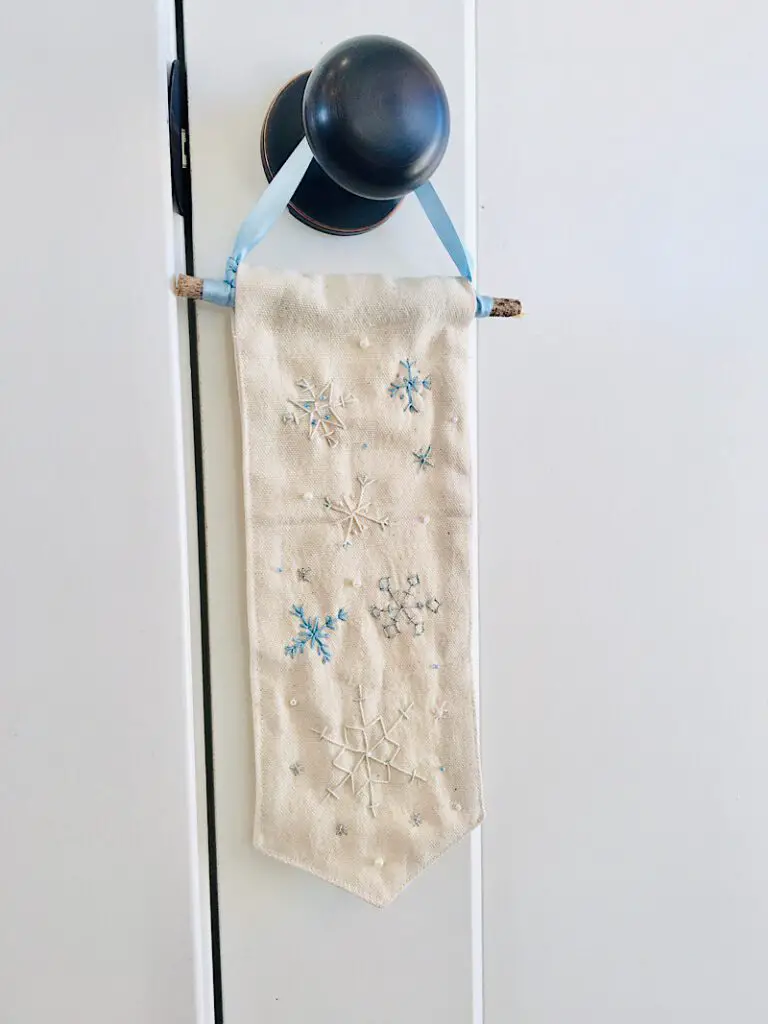
It is such a simple and pretty piece of decor, which I like a lot. Only when you get quite close can you see how magical it really is! Those little details are a breath of fresh air after all the bright lights and colors of Christmas (Which I’m not knocking, but it’s nice to be able to change up the decor!)
I used to make and sell these banners on Etsy, using this exact banner sewing method. If you have questions on banner making or snowflake embroidery, I would love to help you out!
Leave a comment below and I will do my best to respond soon. Make sure to pin this post and sign up for my email list.
If you want more free canvas banner templates, check out this post!
fantastic post well done thank you