Update an old sweatshirt or top with some quilted applique for a charming look that is perfect for autumn!
My sister in law gave me this gorgeous colored sweatshirt from Target, and I wore it so much I ruined it with oil stains. It is still so soft so I wanted to refashion it into something new and wonderful!
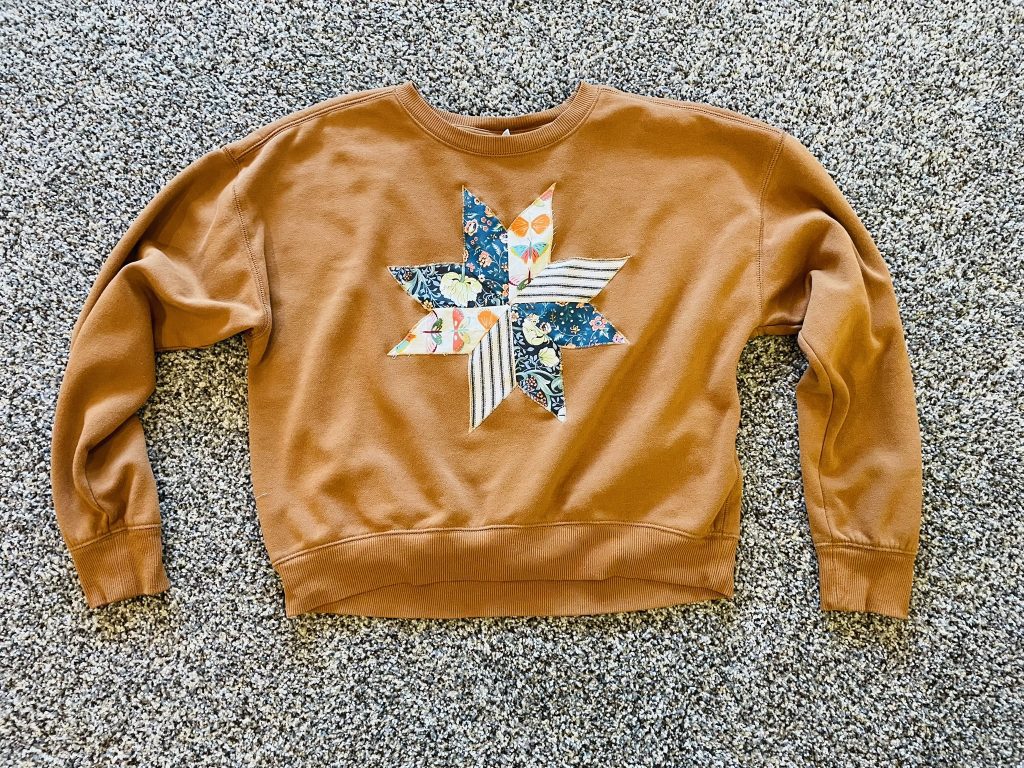
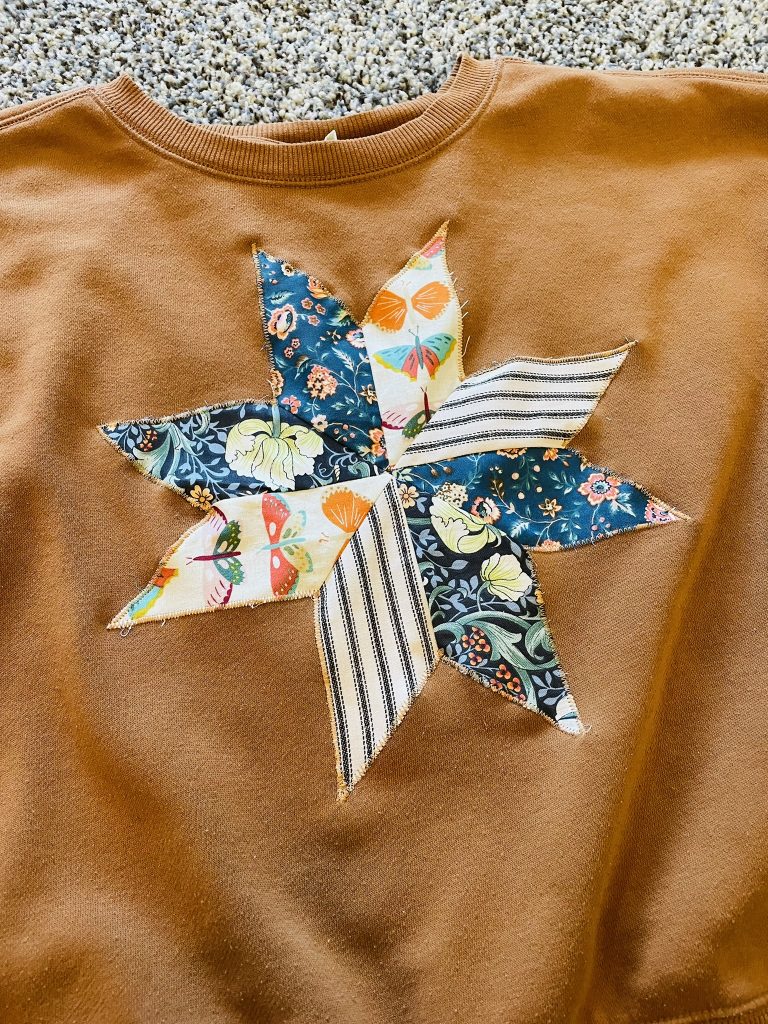
Plus, I have been obsessed with the quilted-everything trend lately, so I made a simple 8-pointed-star applique to cover the stains, and made my sweater wearable again!
Supplies Needed
- 4 Colors of Quilting Cotton Scraps
- Glue stick (optional)
- Thread the same color as your sweatshirt
How To Make A Quilt Block Applique Sweater
Note: I am calling this a mini-tutorial because I did NOT take enough pictures for each step. Sorry! My baby kept trying to get in the pictures!
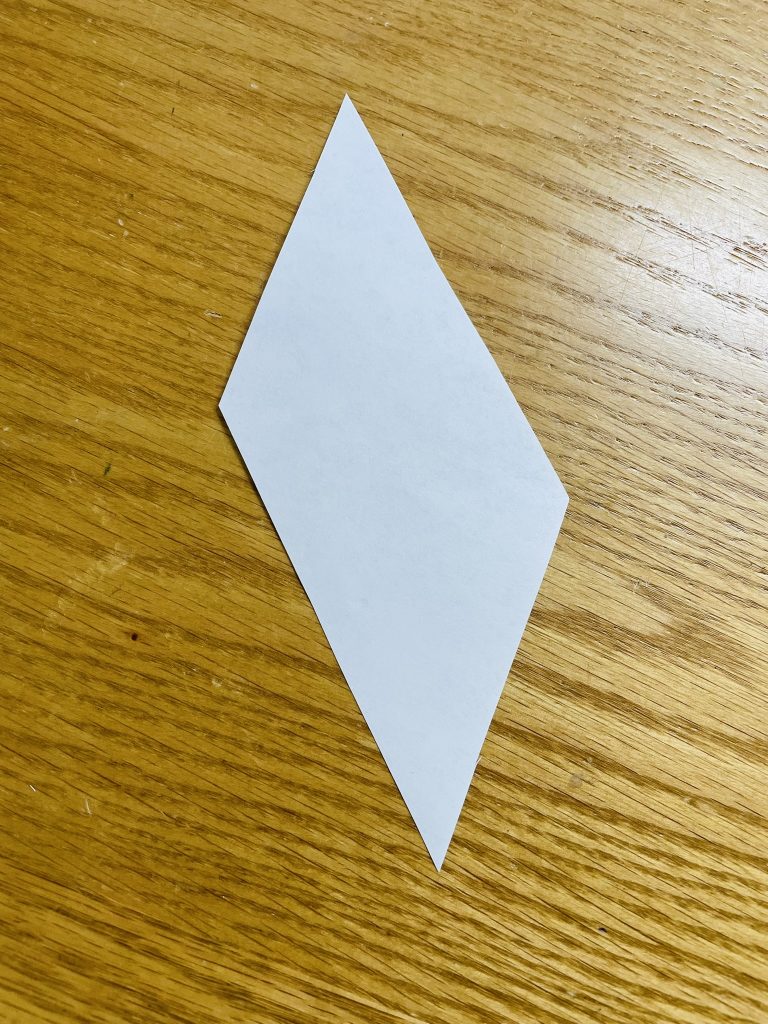
Step 1. Make A Pattern
To make your 8 pointed star, you will need a diamond template. I made my own by drawing a Parallelogram the size I wanted it to be. You can measure and draw your own, or you can print off an outlined template (like this great free one) and cut it out.
Step 2. Cut Out Fabric
Use your template to cut out 4 fabric pieces, then flip the template over and cut out 4 more opposites.
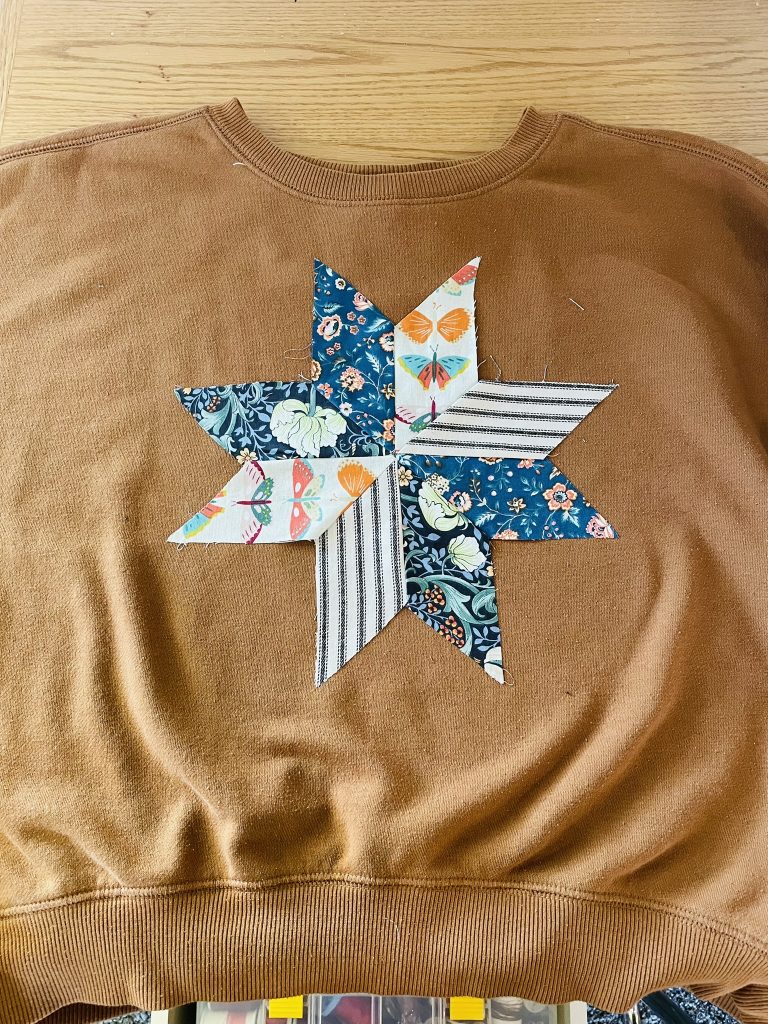
Step 3. Connect Star Pieces
Lay out all your fabric pieces in the order you want them to be. I had to switch their order until the design looked balanced and nice.
Then, start sewing them together by facing two pieces right-sides-together, and sewing down the seam with a 1/4 inch seam allowance.
Open up the piece, press it with your iron, then continue adding and sewing the remaining pieces until they are all sewn into one 8 pointed star.
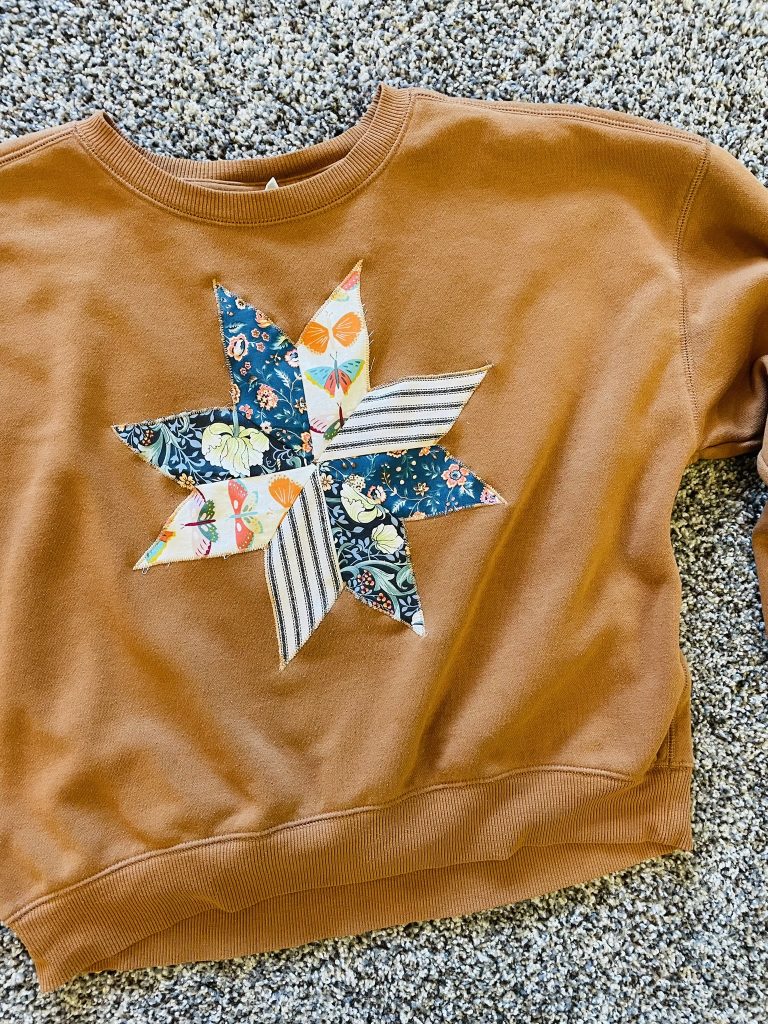
Step 4. Place Star Block On Sweater
Make sure the star “block” is pressed nicely, and then lay your sweater out flat on the table. Position the star on the sweater and either pin it in place, or use a glue stick to really hold it down.
When I do applique I like to use a gluestick so that nothing shifts as I applique. You can do what you prefer.
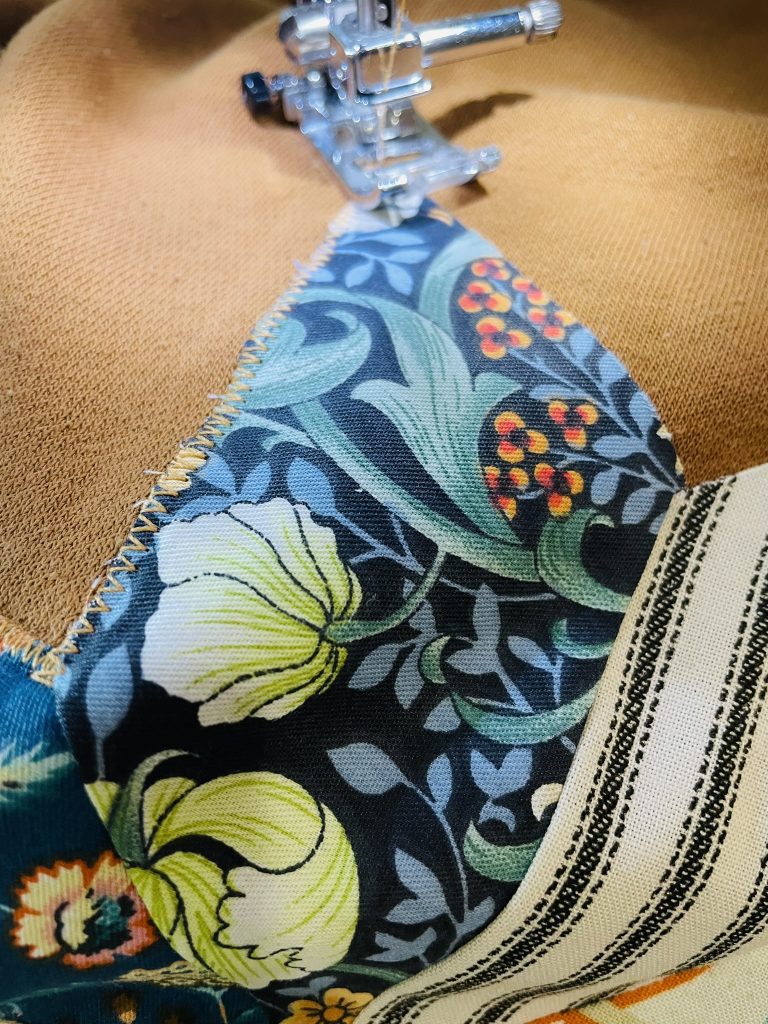
Step 5. Applique The Edges
Finally, applique the star to the sweater by sewing a zig zag stitch with a short length around the entire perimeter, encasing the raw edge under the center of the stitch.
Once you have sewn around the whole star, you are done!
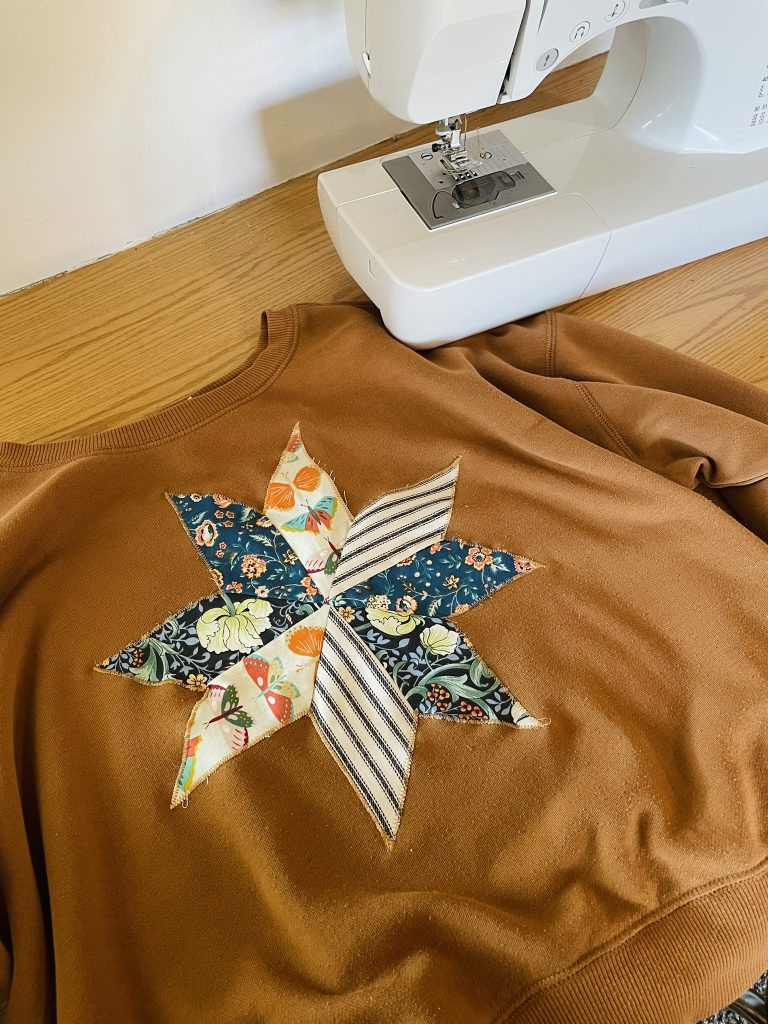
Trim the excess threads and then try it on to see how cute it looks!
I love it and am happy I get to wear it again!
I also saw the cutest gost quilt applique sweater in our facebook group this week. You can do any shape!
Have fun!