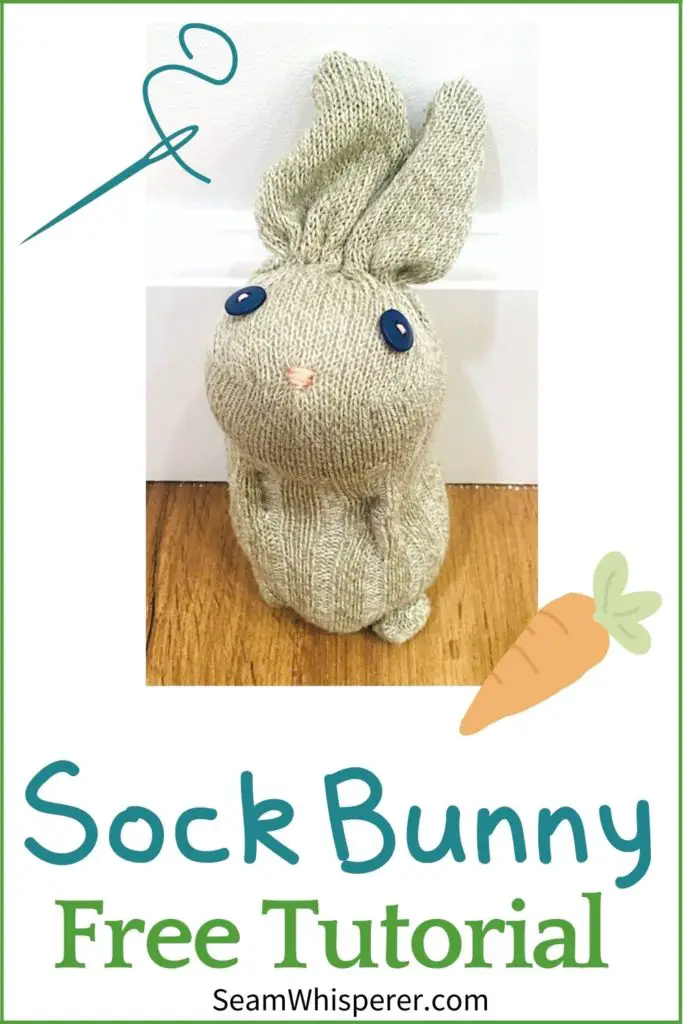
Use this sock bunny tutorial to learn how to transform an old sock into a cute little spring bunny. This sewing tutorial will walk you through step-by-step with photos, which makes it great for new sewers!
Upcycling an old sock is such a fun way to keep it from the landfill! These plush bunnies are so snuggly, you won’t be able to stop at just one!
If you have more socks to upcycle, make sure to try out my cute DIY sock fish tutorial as well.
This handicraft is great for spring, Easter, or just for fun and only takes a few materials.
Let me show you how!
This post may contain affiliate links. Read the full disclosure here.
About This Tutorial
For this sock bunny craft you can utilize socks that have holes in the toe area.
There are multiple ways you could make the eyes and nose. You could use felt, buttons, or just embroidery. You could also embroider a mouth if you want.
Supplies Needed
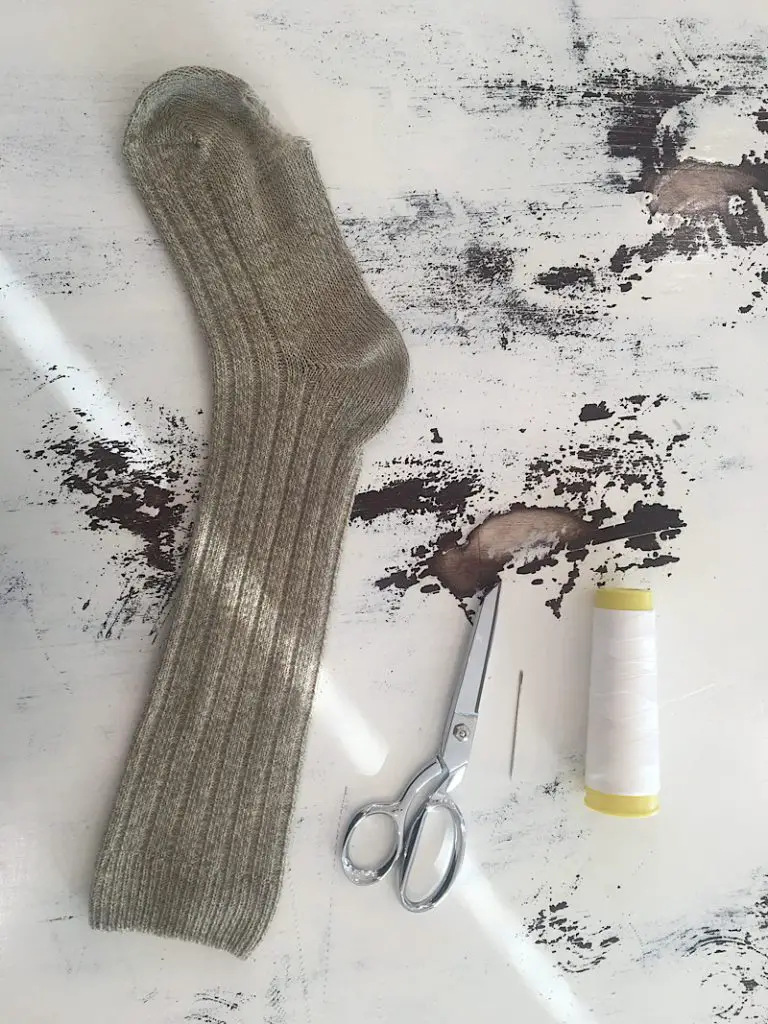
Materials Needed
- 1 long sock (I used a sock that went to just below my knee. You can use any length of sock, but your bunny will of course have different proportions and be shorter if you use a shorter sock.)
- Matching All Purpose Sewing Thread
- Pink Embroidery Floss or thread for the nose
- Two little buttons for the eyes
- Fiber Fill Stuffing (I used old fluff from the inside of a pillow.)
- Rice (Optional, to make it stand up better)
How To Make A Sock Bunny
1. Cut the Sock to Form Bunny Ears
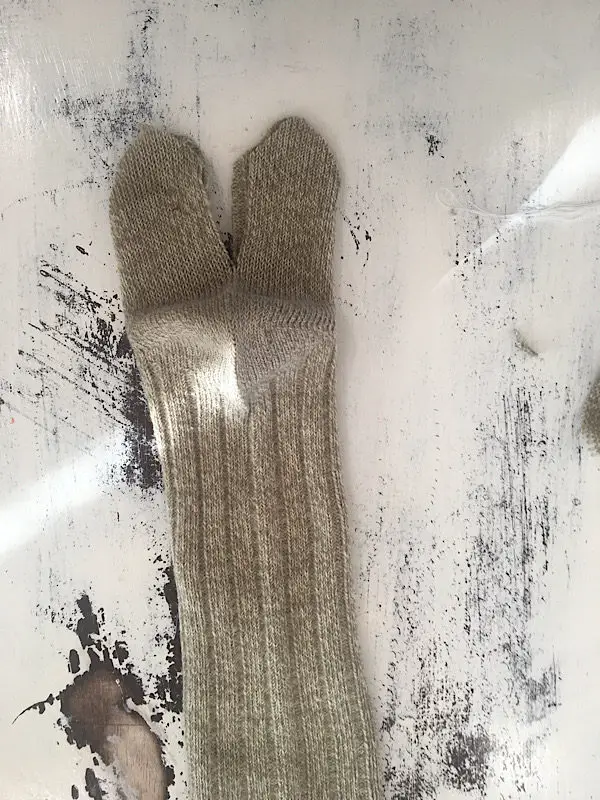
First, flip your sock inside out. Then cut off the toes of your sock (about an inch and a half or so in length).
Flatten your sock the opposite way you normally would, so that the heel is on the top sticking up. The heel is going to turn into the face later on.
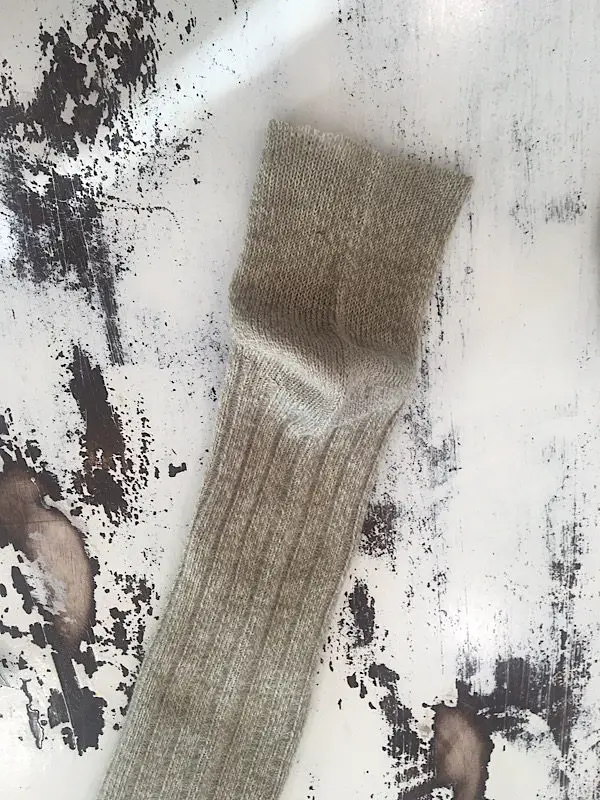
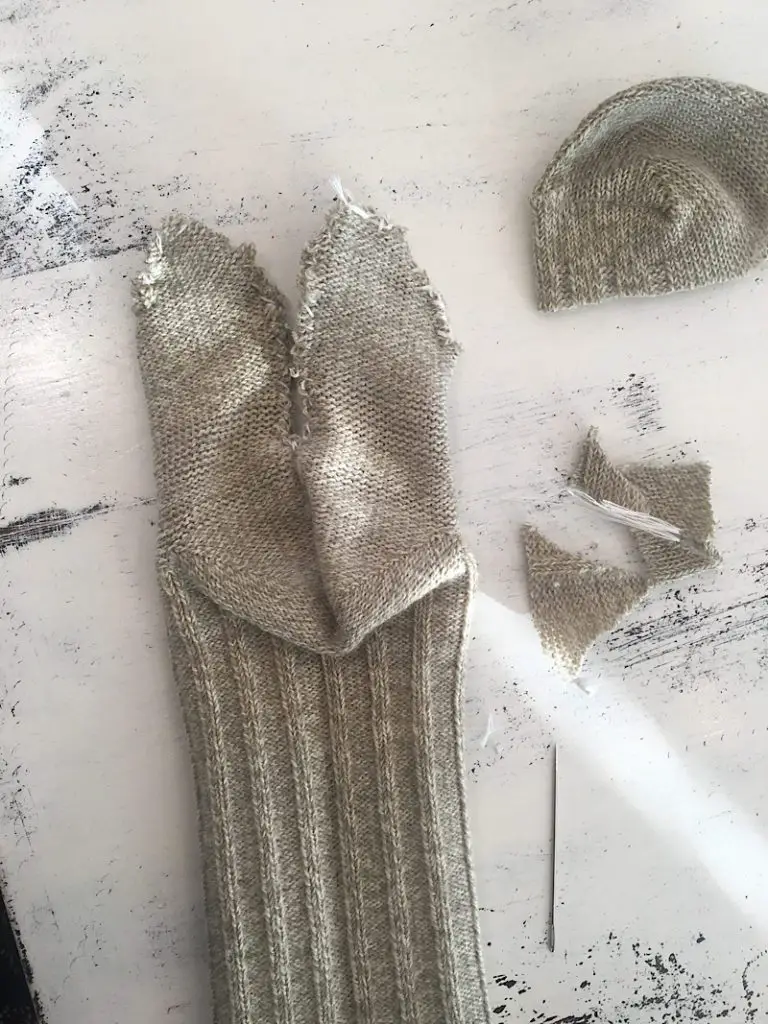
To cut the ear shape, cut a slim “V” shape in the middle of the sock down to the heel. Stop right above the heel area. Round the tops of the ears a little bit as well.
Sew around the raw edges of the ears you just cut to enclose them.
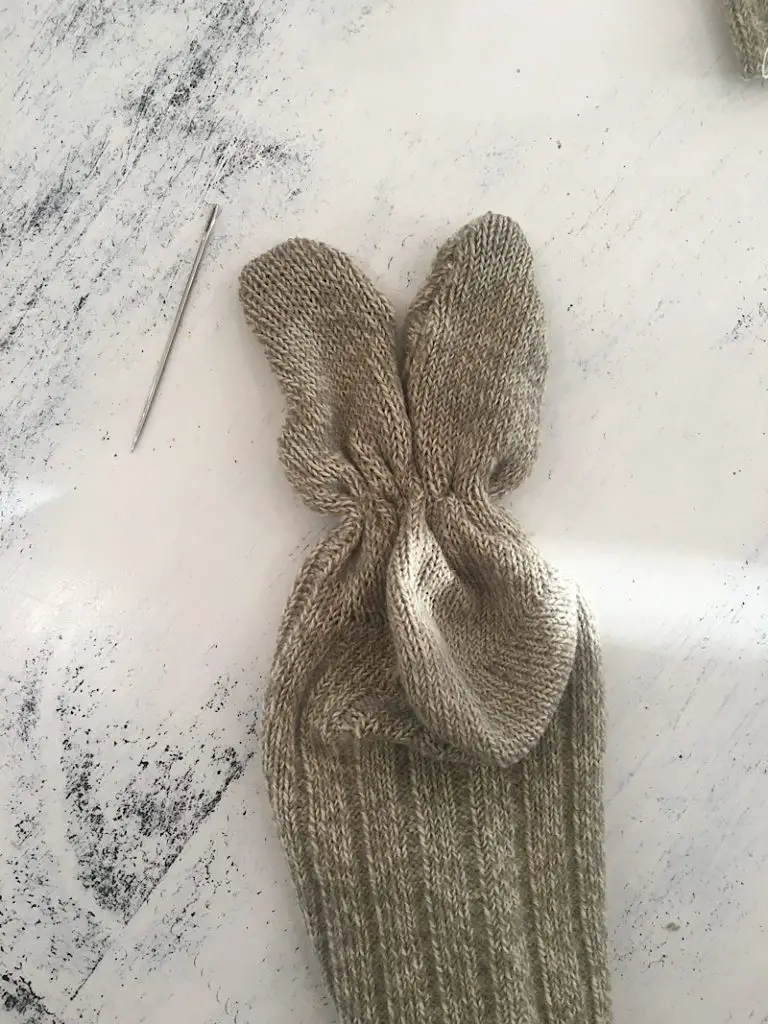
2. Sew The Bunny Ears
Turn the sock inside out, and use your fingers to turn the ears out.
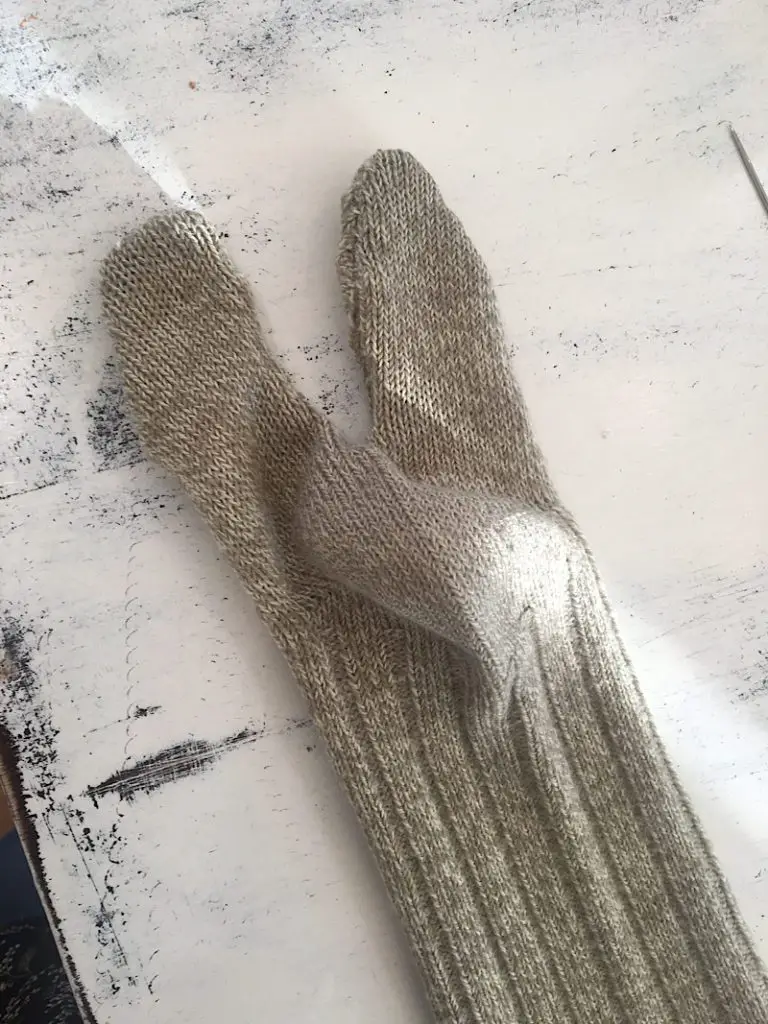
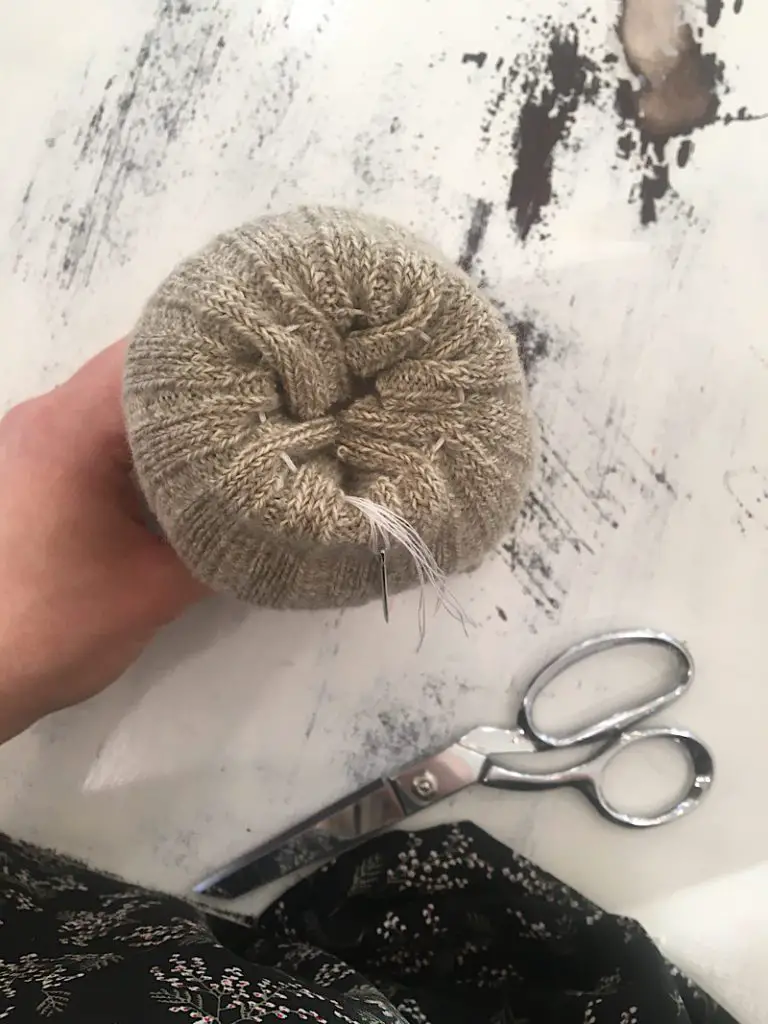
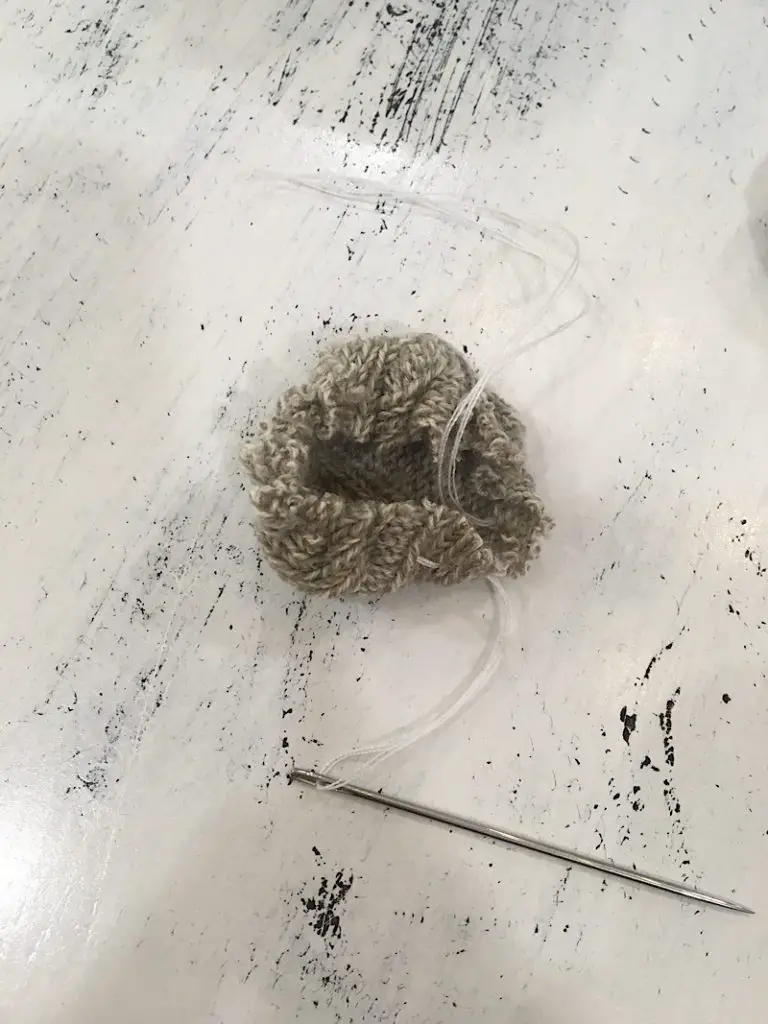
To finish the ears, you are going to gather them right above the heel of the sock to give them some shape.
Weave your needle up and down through both ears, then back again to where you started sewing. Pull the threads tight and tie them into a knot or two to close.
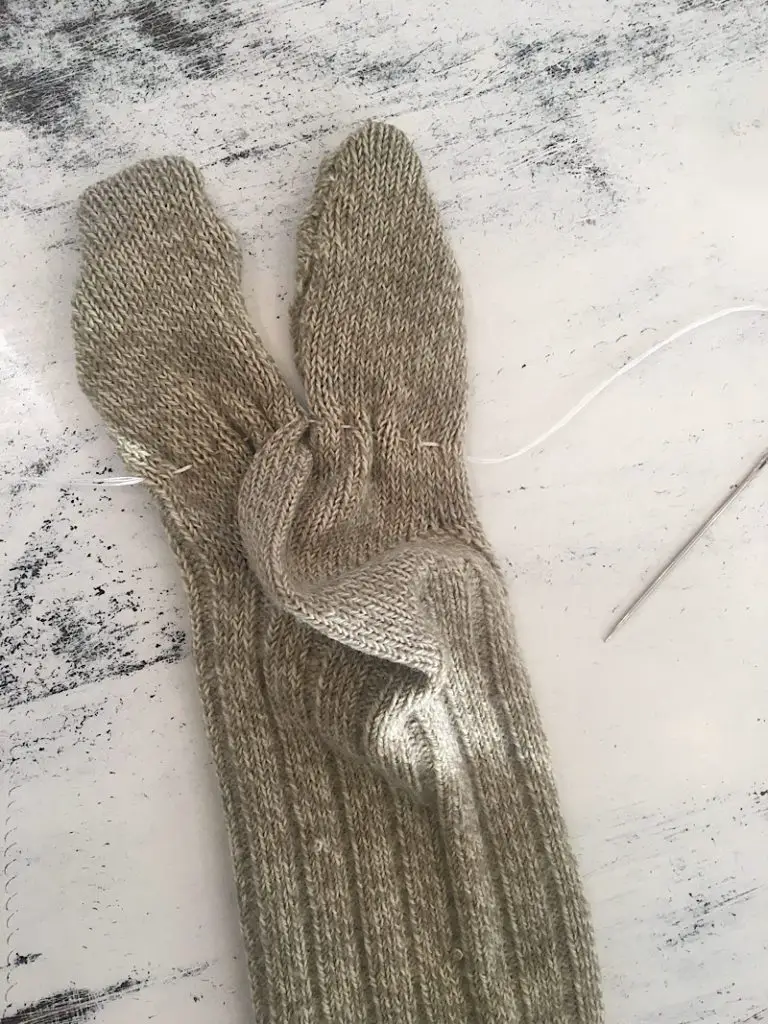
The ears should now look like this:
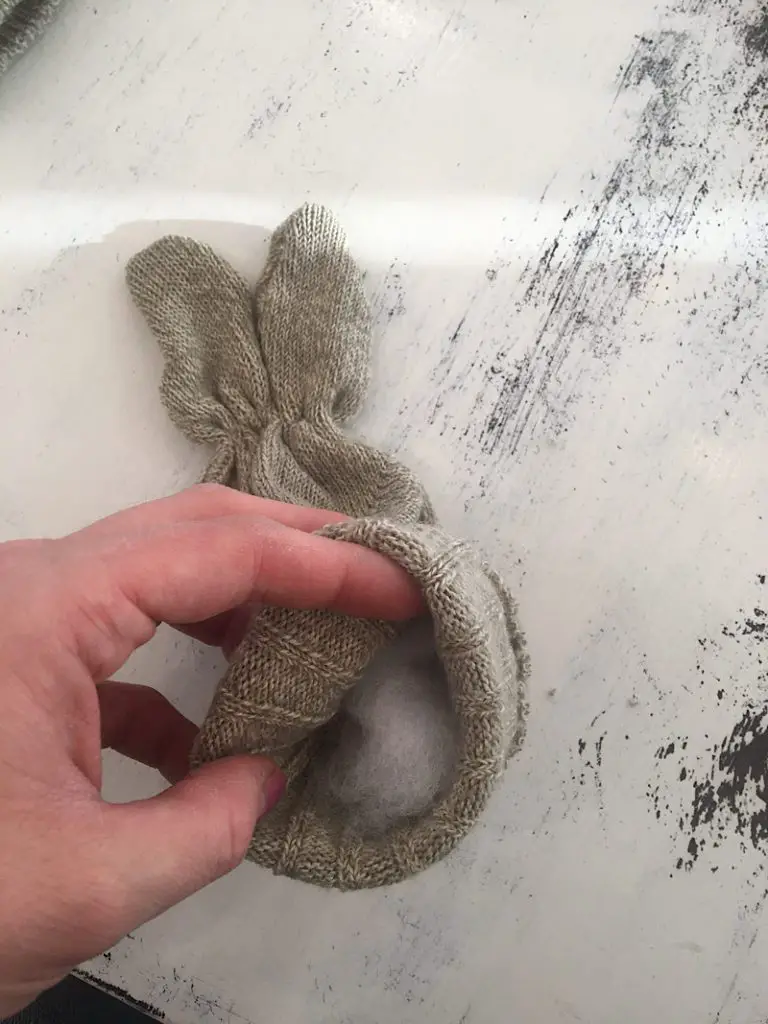
3. Stuff & Sew The Bunny’s Body
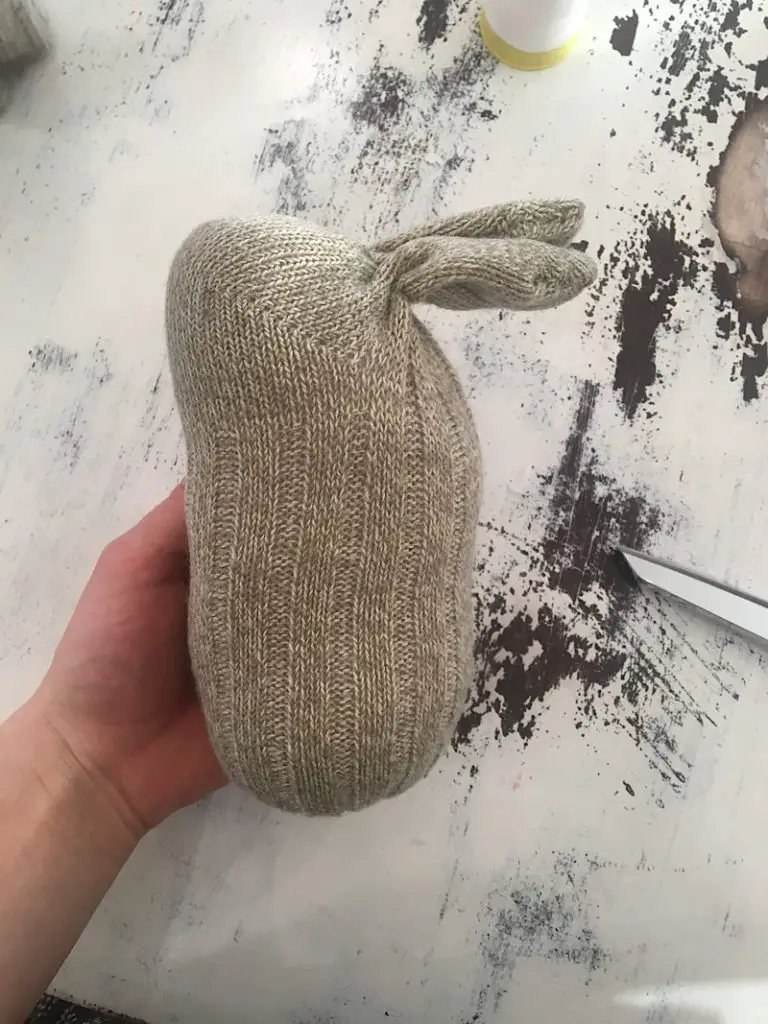
After sewing the ears, you are ready to stuff the sock bunny with some fluff.
Push the stuffing into the heel of the sock and form the face shape.
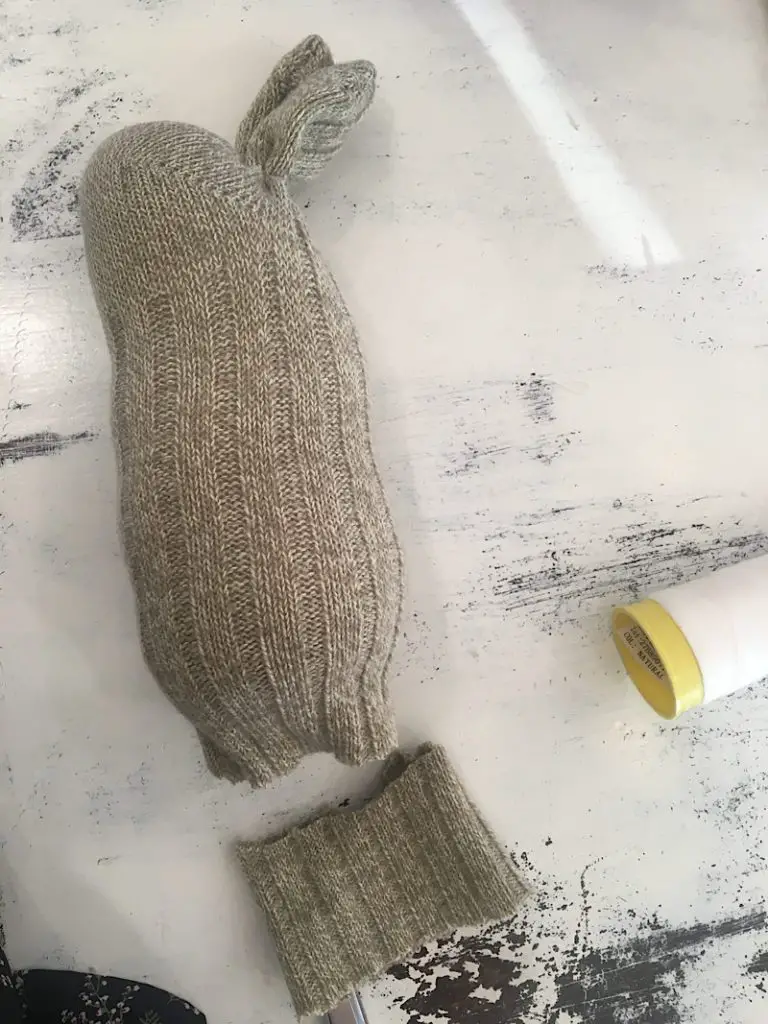
Continue to stuff the bunny to make the body. You may also add rice to the bottom to make the bunny heavier and stand better.
Determine how tall you want your bunny to be, and trim off the excess of the sock.
You will need about 3-4 inches of sock to make the legs and tail of the bunny (Or if you have 2 socks, you can make a tall bunny without trimming the sock, and use the second sock to make the feet and tail.
To close the body, sew around the bottom edge of the sock and pull the threads tight. Make sure to push the edges into the sock as you close the hole, so they aren’t sticking out the bottom.
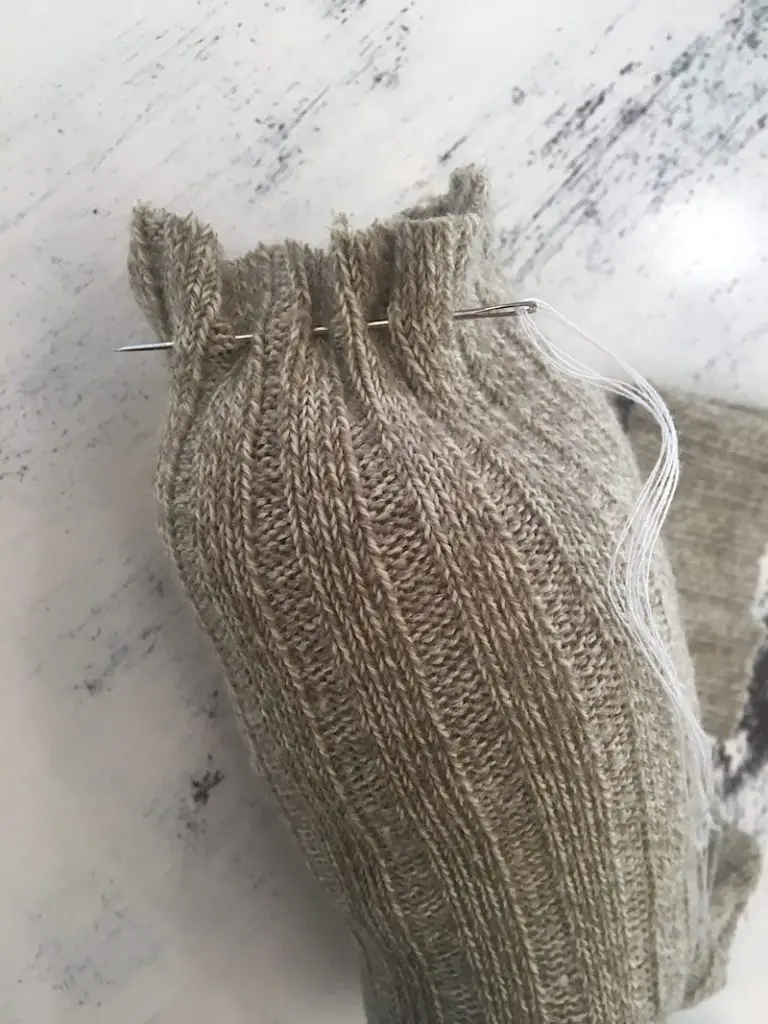
Pull the threads tight and knot them closed to seal the hole.
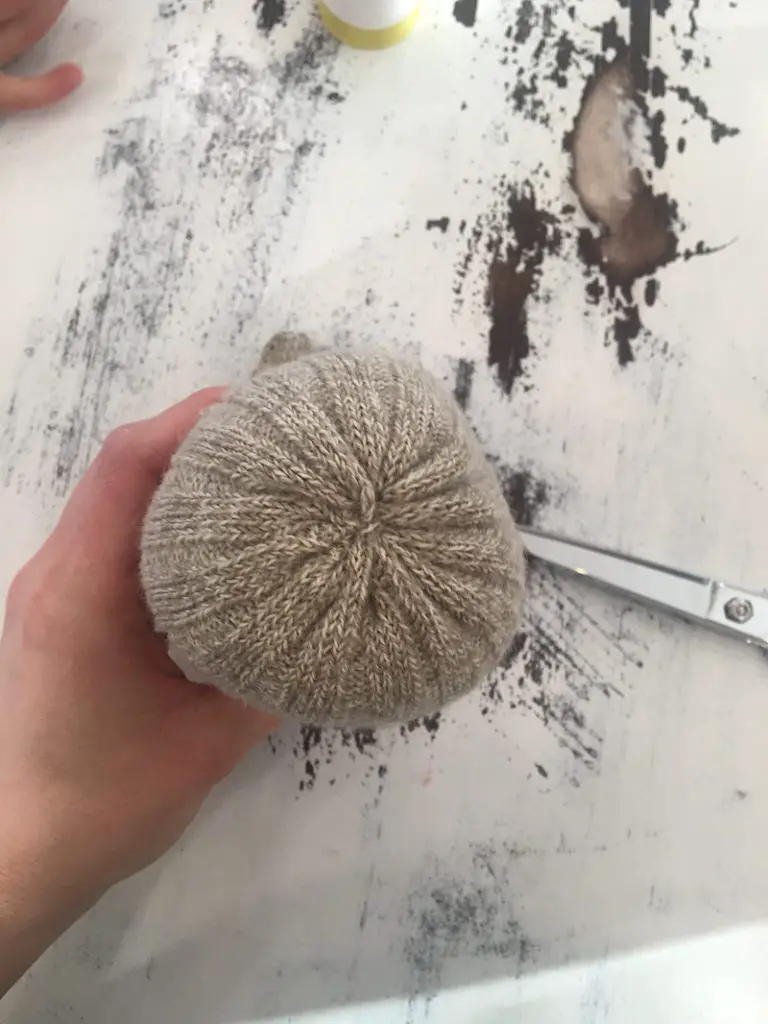
The bunny’s body is looking good now!
4. Make the bunny tail and feet
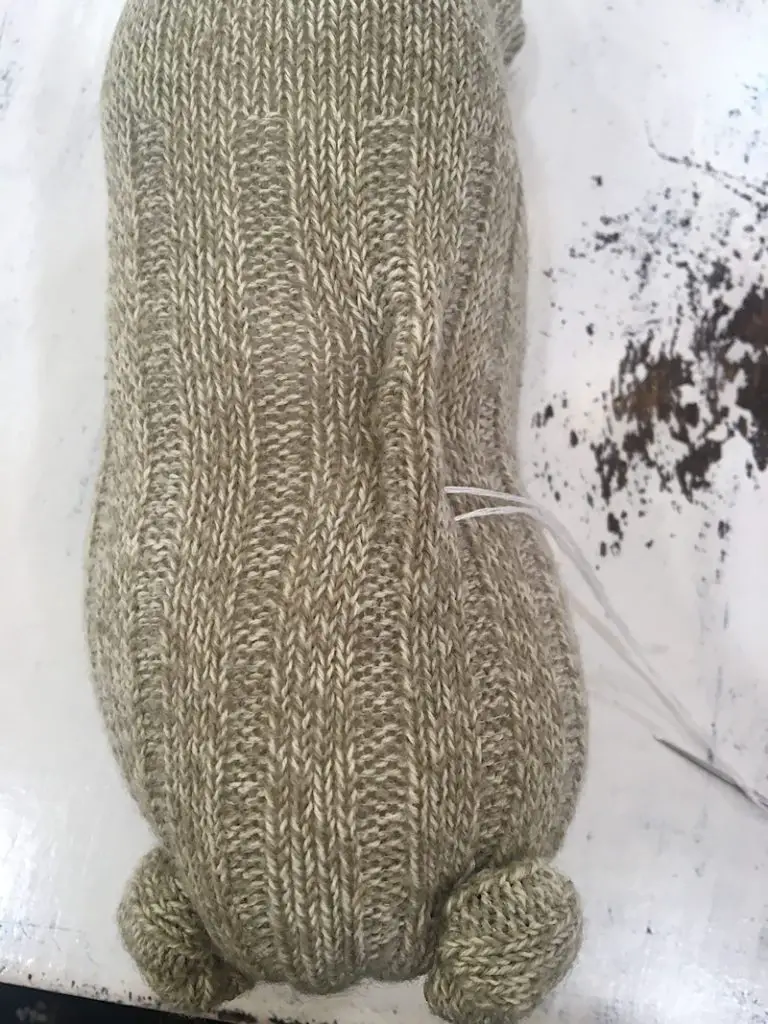
From the excess sock you trimmed off, cut 2 circles about 2 inches in diameter. (To make this easy, I cut a half circle on the fold of the sock).
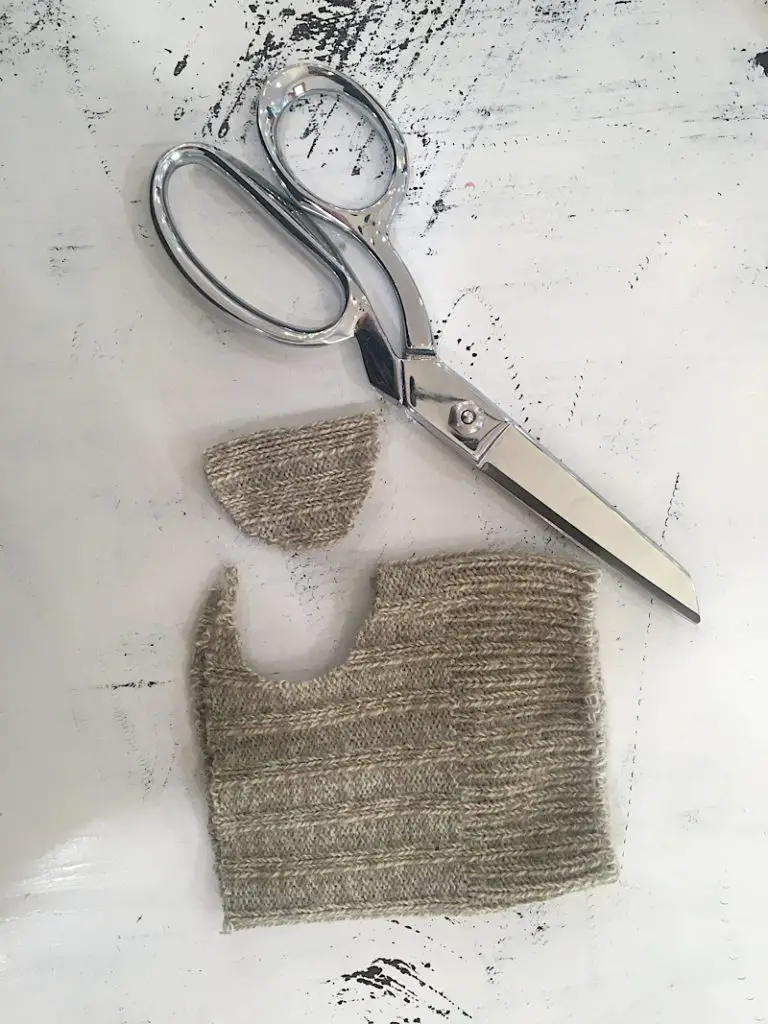
Sew around the edges of the circle, then pull the threads a little bit to start to close the hole. Before closing it all the way, fill it up with stuffing. Then, pull the threads tight and tie a knot.
After making the tail and 2 feet, sew them to the bunny’s body wherever you think they look good!

5. Sew the Bunny’s arms
The arms on this bunny are meant to look like they are tucked down how a bunny looks when it stand on its hind legs. This step is a little confusing to explain with words, so make sure to look at the photo I have below!
To sew the arms, you will be making a ladder stitch. Decide how long you want the arms to be, and mark it with pins on the top and bottom if that helps you. I just eyeballed mine.
You will insert the needle on the right side, and exit about an inch away towards the left. Then, above the point you just exited, insert the needle again on the right side, going towards the right. Keep repeating this until you have made enough stitches to give you the height of arm you want.
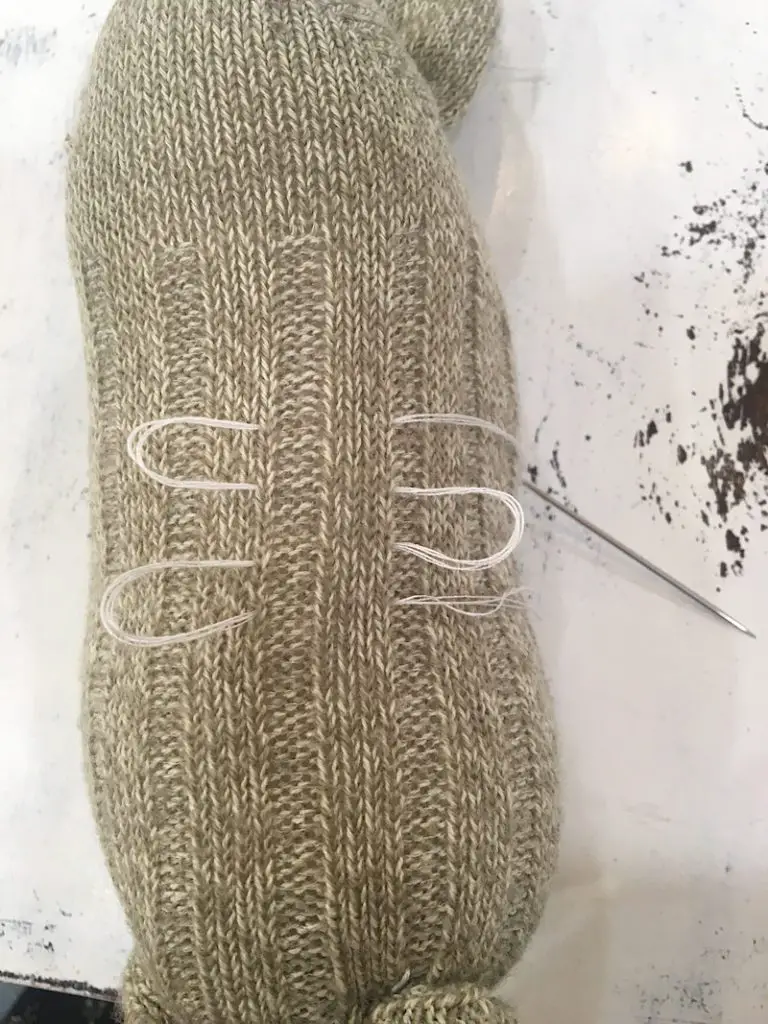
When you pull the threads it will create the tube-like arm shape. Repeat these steps to make the other arm as well.
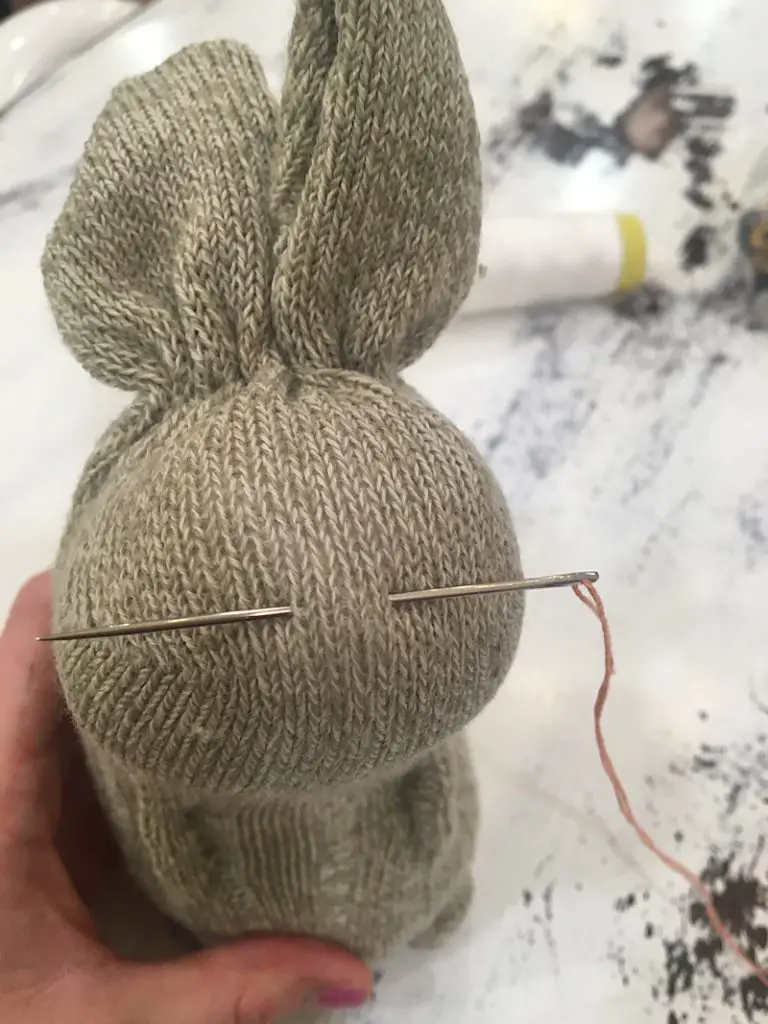
6. Stitch on the nose and eyes
To make the bunny’s nose you will have to do some embroidery-like top stitches.
Think of it as a little upside down triangle on the tip of the heel of the sock.
Start by making one line at the top of where you want the nose to be, and gradually making each line shorter until it looks how you want it.
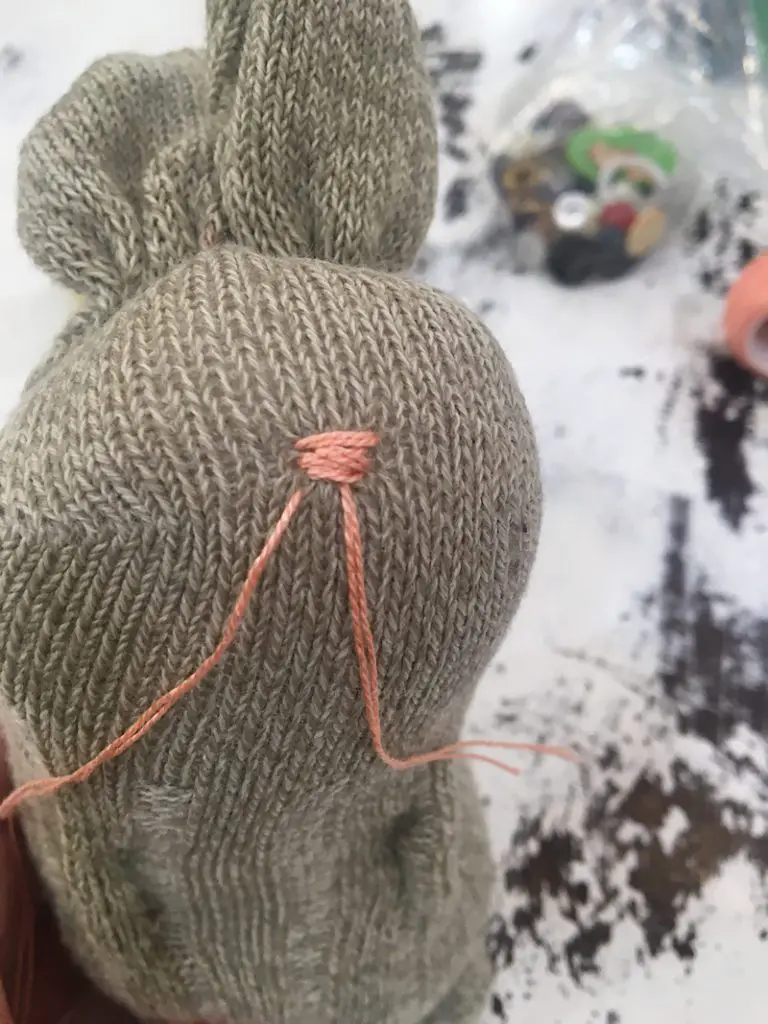
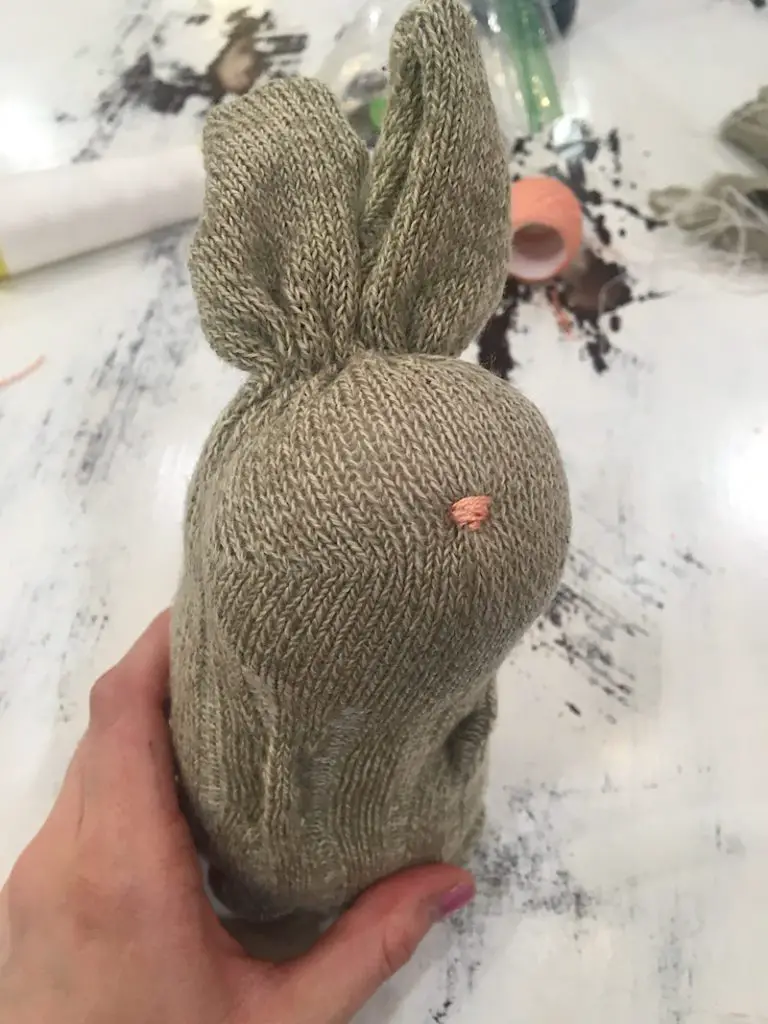
Tie a small knot as close and tight to the nose as you can. Then, with your needle, poke the ends of the threads through the face to the back of the head, and trim the thread. This will hide the threads inside the bunny.
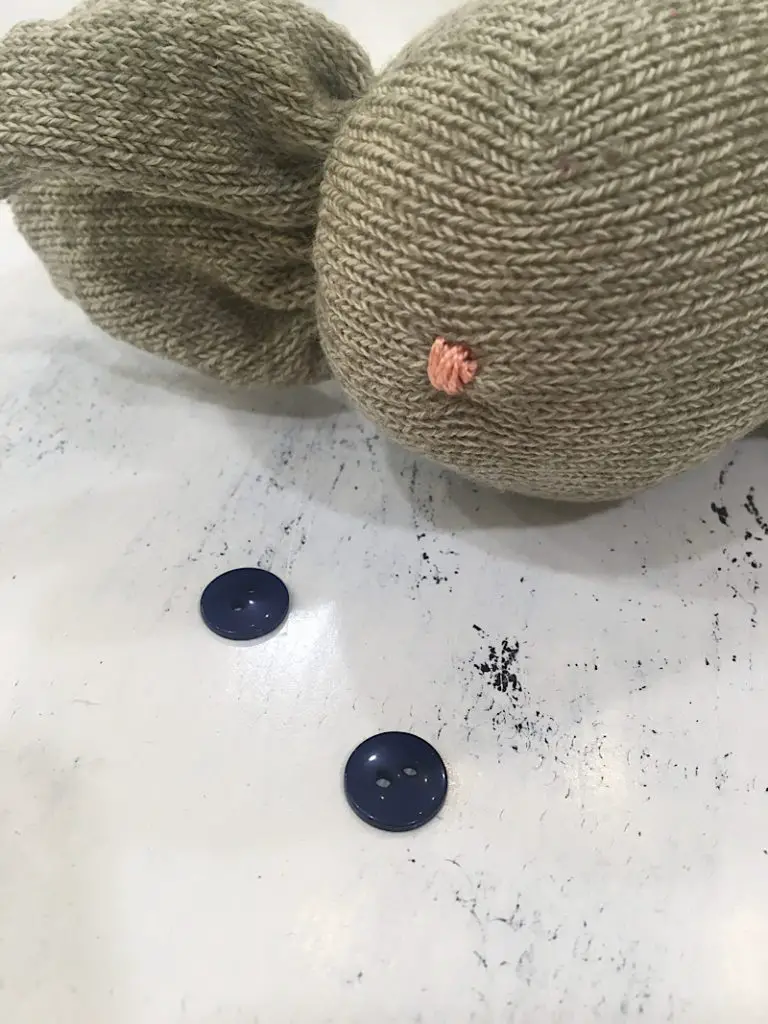
To attach the eyes, place the buttons on the face to determine how far apart you want them to be. Then sew them on, and hide the thread ends inside the bunny like you did with the nose.
Then you are done!
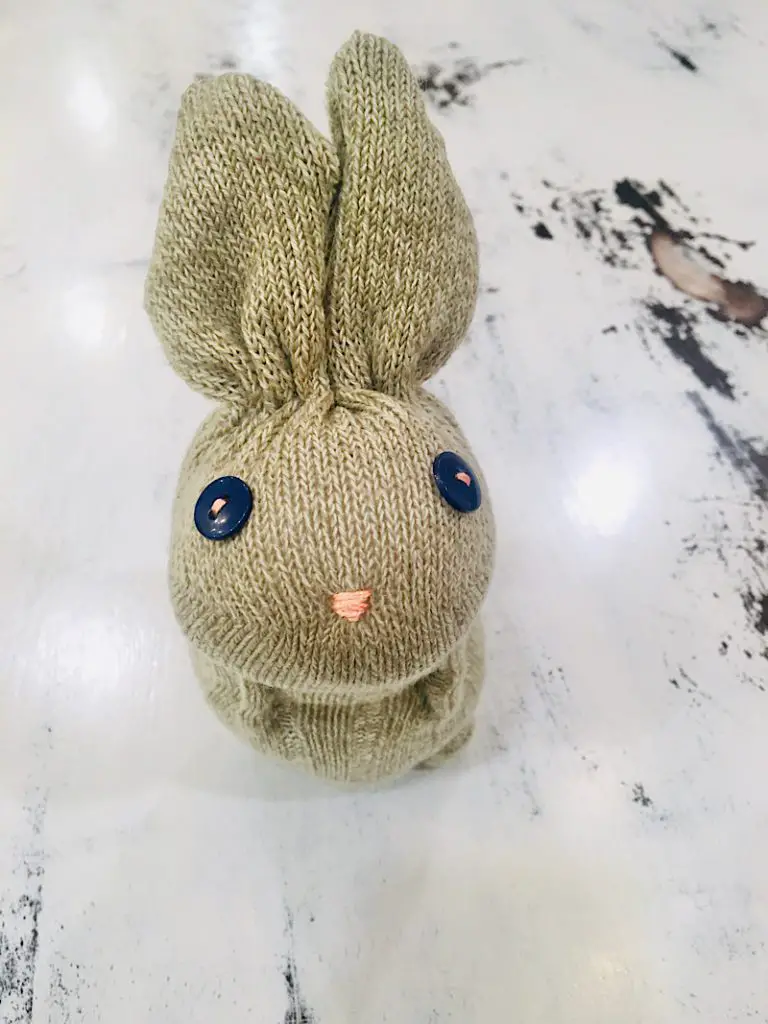
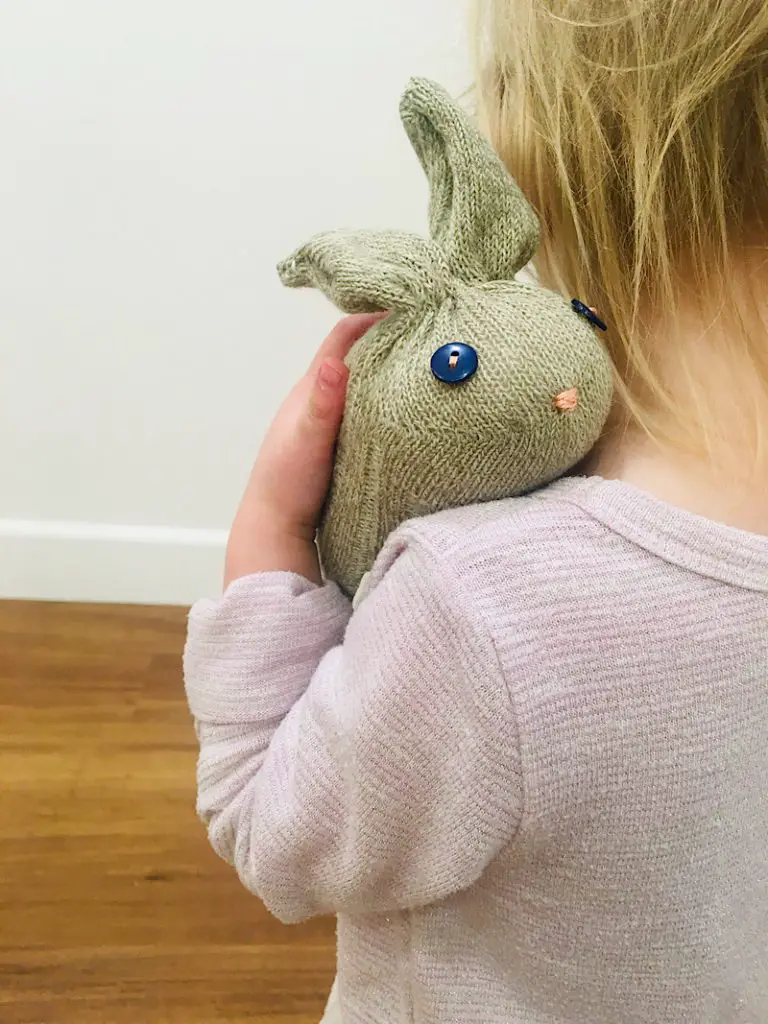
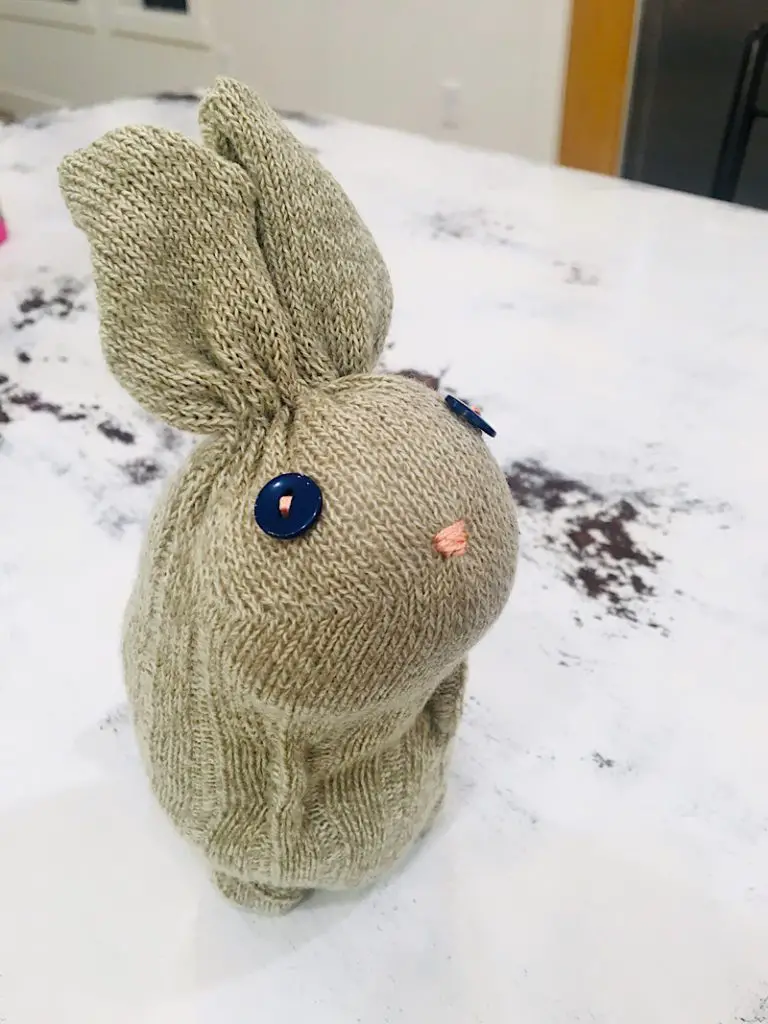
Here is a flood of photos of my finished bunny so you can see all the angles.
You can see that using the heel of the sock made it’s cute little face turn up like a real bunny does when it is sniffing the air.
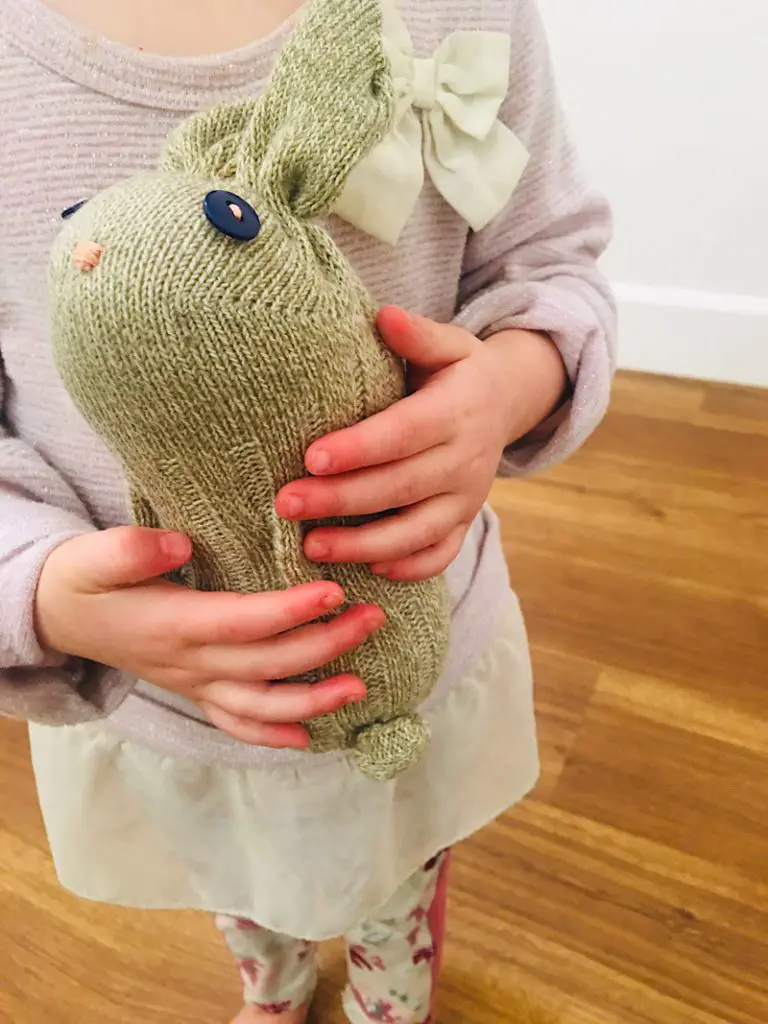
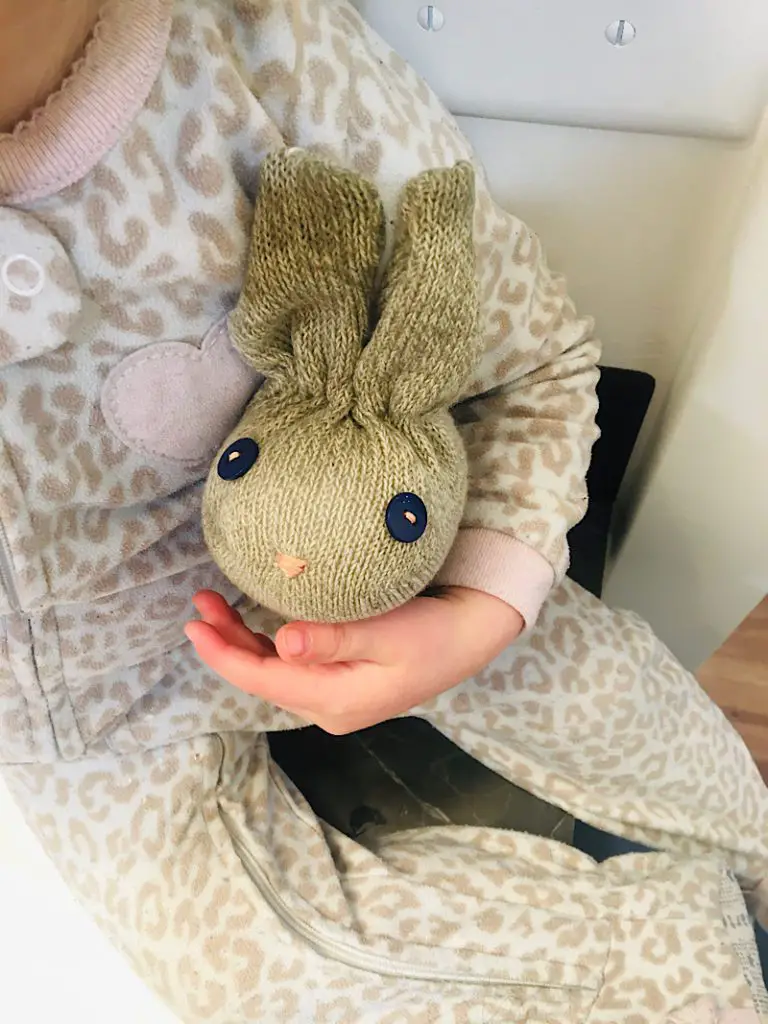
My toddler loved it! She hugged it and snuggled it.
This easy DIY sock bunny would be such a fun Easter craft or Easter decoration! Using socks in upcycle projects is so fun.
And now I think I want to make a bunch more!
Make sure to pin this post for later, leave a comment if you need any help, and sign up for my emails for more fun project ideas!
I want to to thank you for this wonderful read!! I absolutely loved every little bit of it. I have you saved as a favorite to look at new stuff you post
Thanks Rae, im glad you liked it!