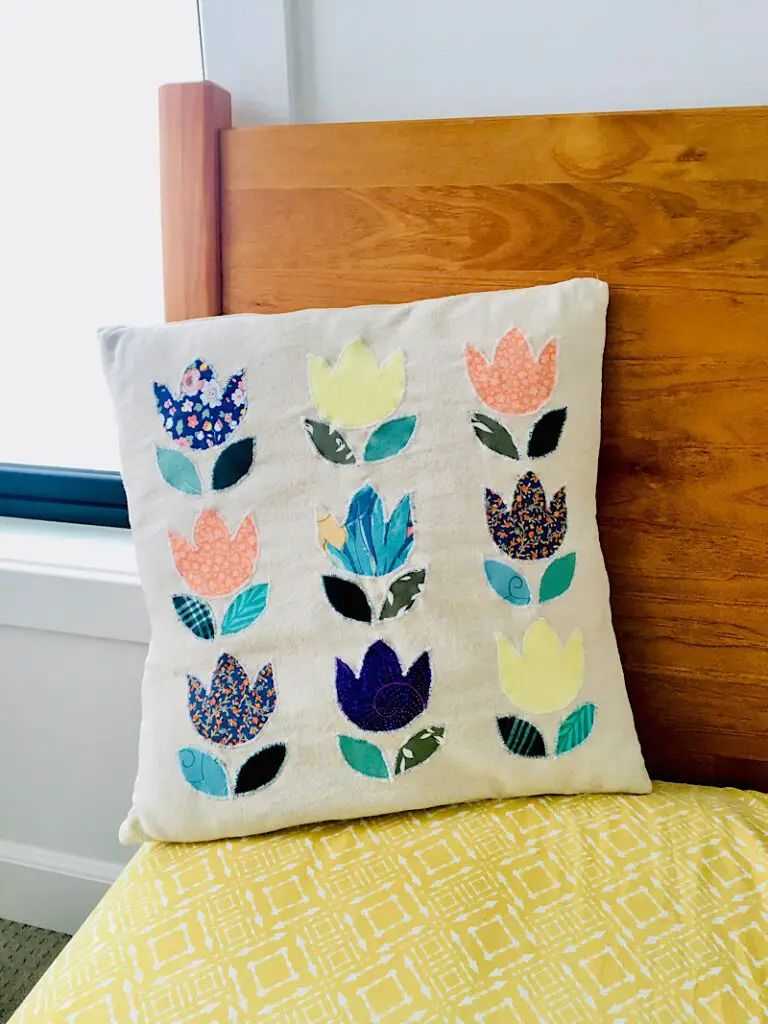
Turn your old neckties into a modern and playful tulip throw pillow cover! This project is a perfect upcycling/scrap busting craft for spring. This is also a great Cricut craft!
If you are like me, you can’t bear to throw away perfectly good neckties, even if they haven’t been worn in a while. This tie upcycle is a great way to use up that gorgeous floral, satiny and striped tie fabric. (Or if you don’t have ties, you can always try it out with scrap fabric too.)
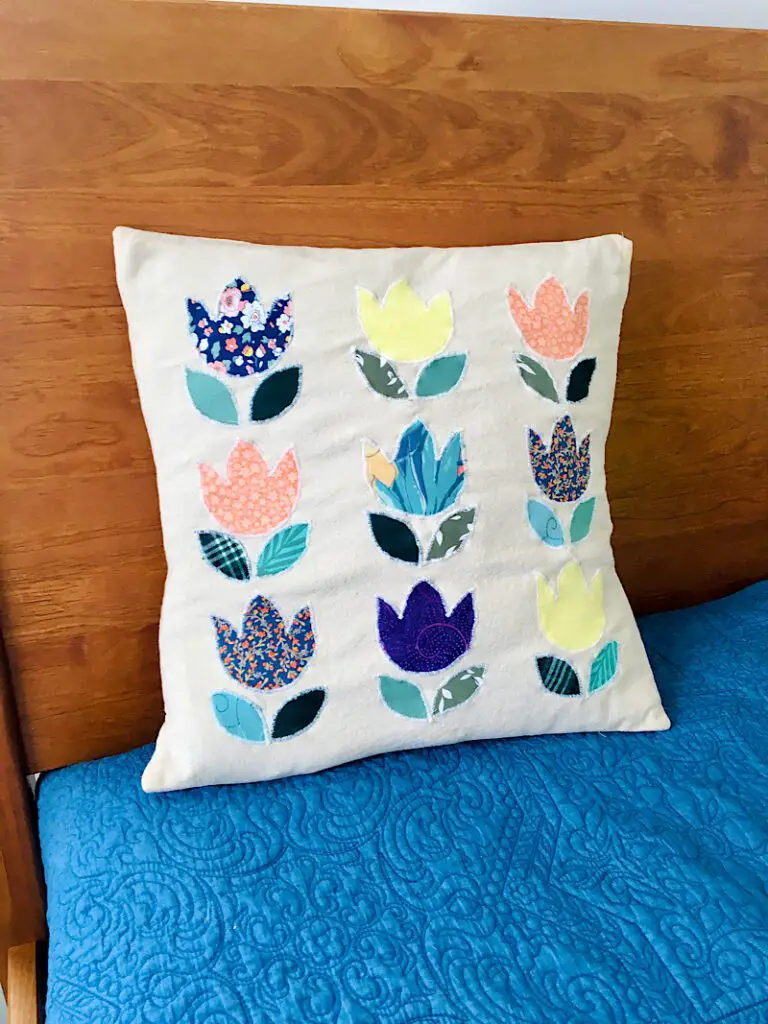
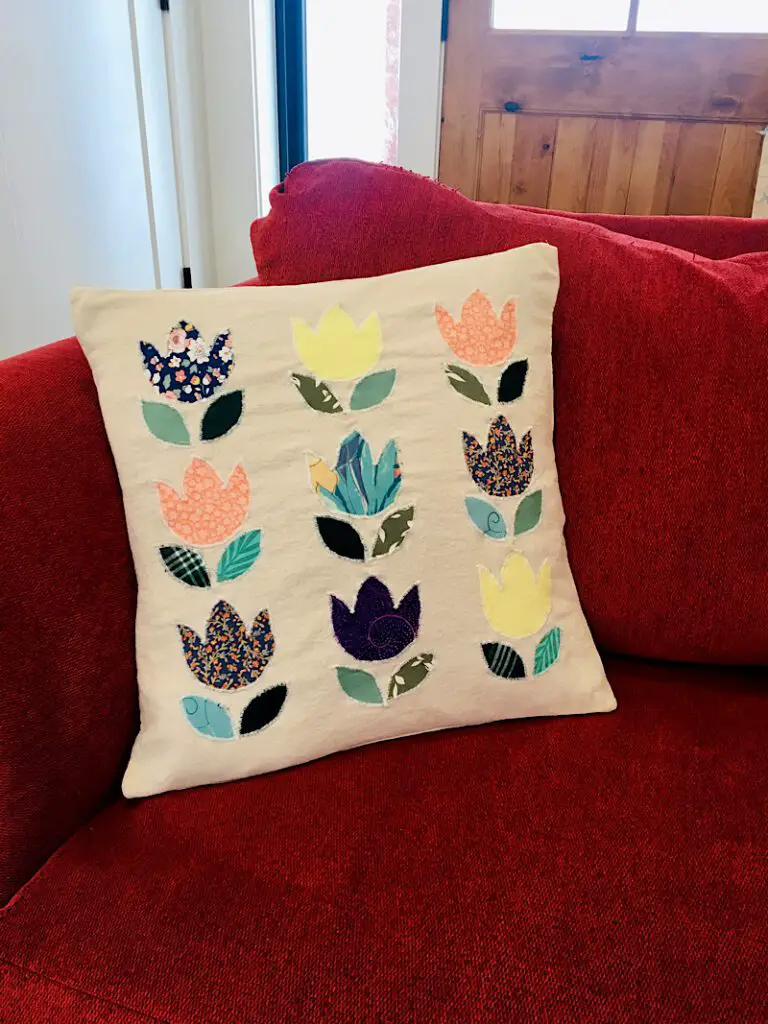
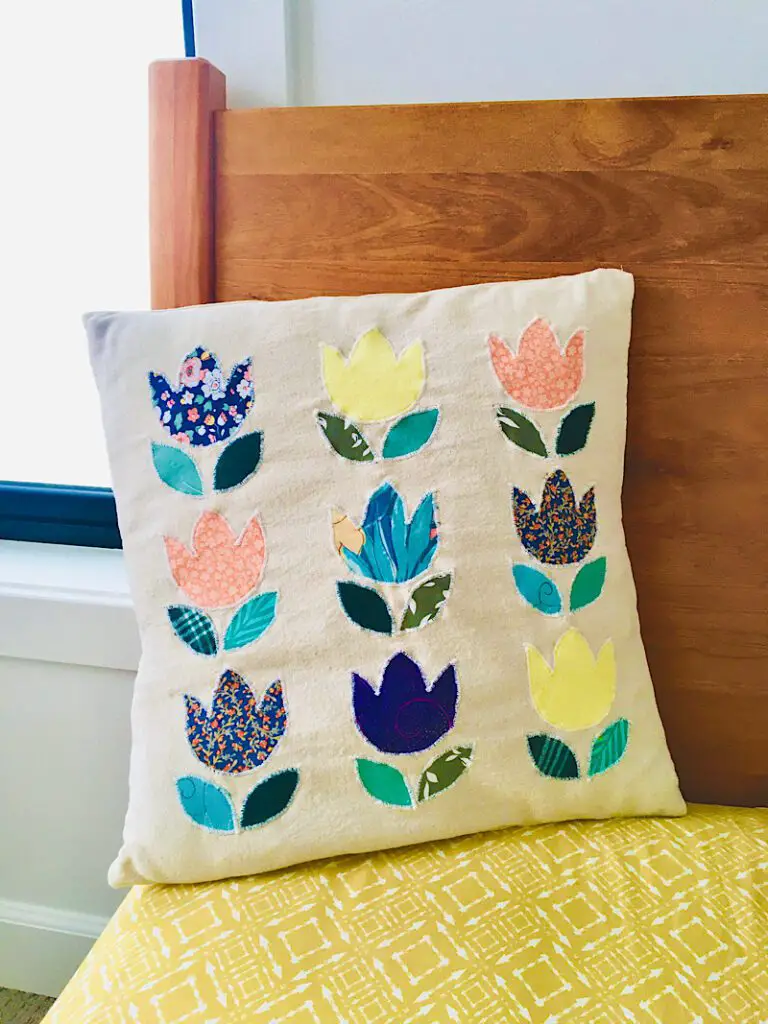
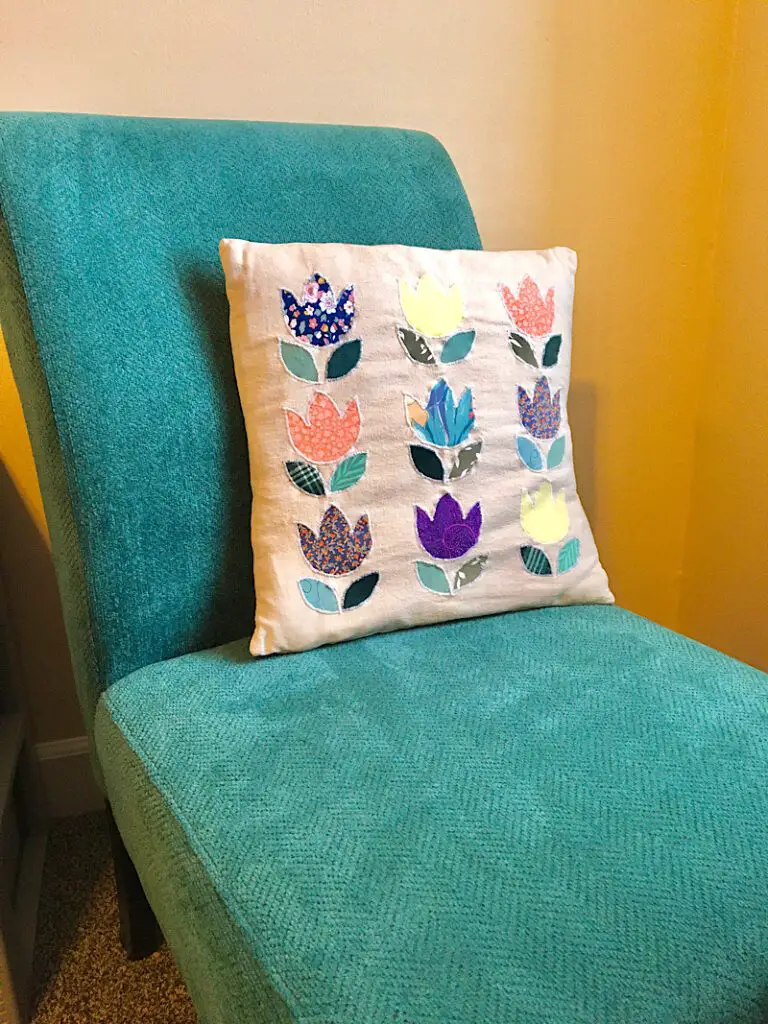
This tulip & leaf design is full of mid century modern feel. I love the retro spring vibe it brings to our living room!
This project is surprisingly easy, but yields such great results, you’ll have your guests asking “Where did you get that!”
This post may contain affiliate links. Read the full disclosure here.
About This Tutorial
You can customize this tutorial to suit any size of pillow insert you have. I will show you how to make the very basic envelope pillow cover, and you can make one the same size, or you can measure your own pillow and easily make it a different size!
When making a pillow cover in a smaller size or different shape (such as a rectangle instead of a square) you will need to make the tulips smaller, or use less of them. You can arrange them on your pillow in two rows instead of three, or print them smaller or larger by scaling up or down the print file.
It will look awesome no matter how you do it!
Lastly, this project uses the applique method. It looks hard, but trust me, you can figure it out. If you have never done applique before, try it on a test piece before trying it on the real pillow case. You might need to adjust your machine’s settings until you find the width and length of stitch you like. It took me a couple of tests before I found the settings I like.
This is my FIRST successful applique project (I haven’t stuck any others out till the end!) and if I can do it, you can too.
Supplies Needed
- Sewing Machine
- Fabric Scissors
- Seam Ripper
- Sewing Pins
- Craft Glue Stick (To attach the tulips before sewing them on. Alternatively you can use a basting spray or just pins, but it might shift while you sew if you just use pins)
- Tulip Pattern Download
- Measuring Tape
- Disappearing ink marker
- Monogramming Presser Foot (This makes it SO much easier to applique. Read more about it here.)
- Rotary Cutter, Mat and Acrylic Ruler (optional but I recommend them)
Materials Needed
- 7 oz Canvas Fabric
- 2+ Old Neckties (At least one green for the leaves, and one colored for the petals. The more variety the better! Go thrifting!)
- Thread that matches the canvas color (You will use a LOT of bobbin thread, so be ready to wind multiple bobbins worth.)
How To Download The Free Tulip Pattern
You can draw your own pattern if you prefer, or you can use the one I made! I will email you the file when you sign up for emails in the box below.
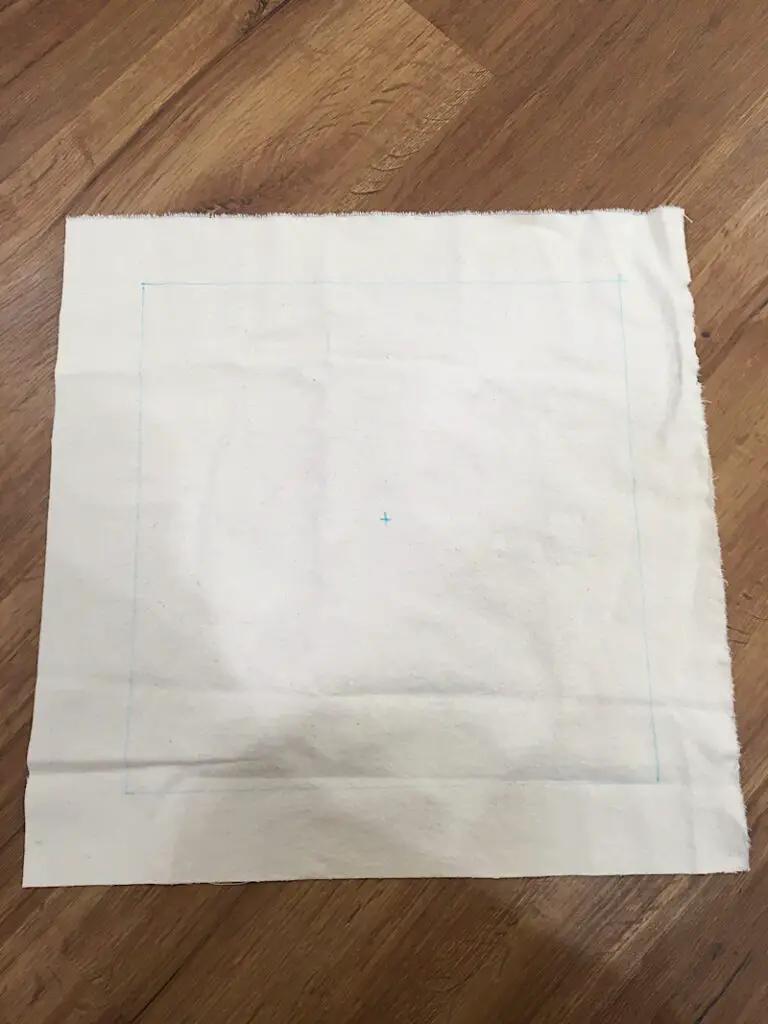
When you print the pattern, measure the 1 inch test square to make sure you printed it at the correct size. (Or you can make it smaller or bigger if you need to.)
It is easier to trace the pattern if you print it on cardstock.
How To Make An Applique Spring Tulip Pillow Cover
Step 1. Cut Out The Pillow Cover
With a measuring tape, measure the dimensions of your pillow.
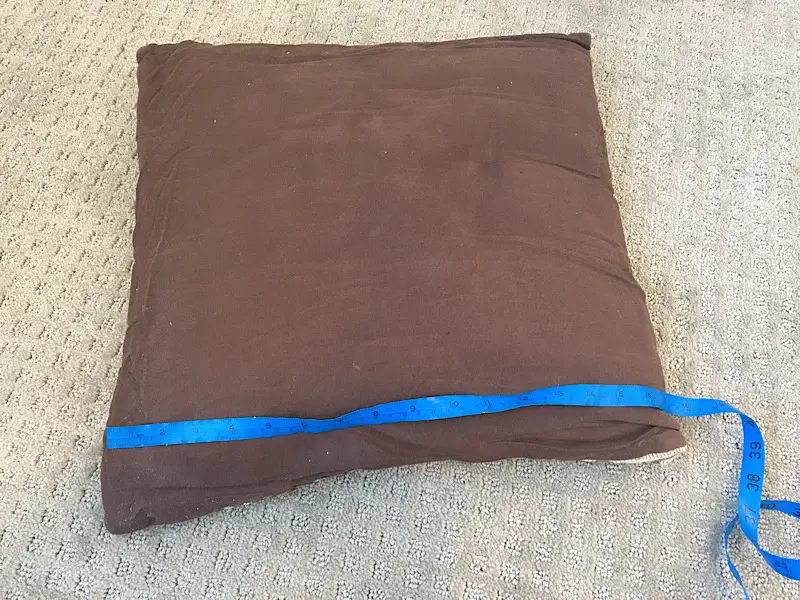
Mine was 17 inches square.
Using your rotary cutter & mat, cut out one piece of canvas that matches the pillow’s dimensions. This will be the front piece.
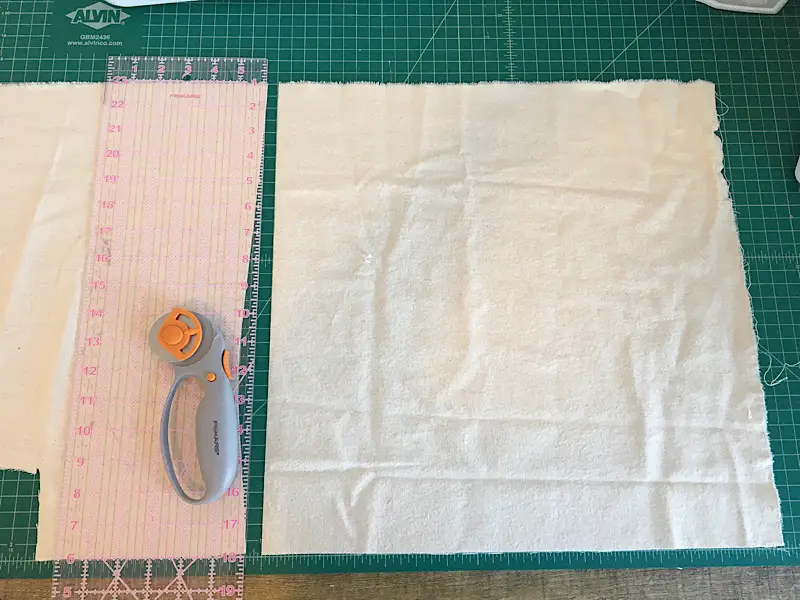
For the back envelope pieces, you want to cut out 2 pieces of canvas that are as wide as your pillow’s width, and half as tall + 2.5 inches as your pillow’s height.
(So for my 17×17 inch pillow, I cut two pieces that were 17 inches wide and 11 inches tall (8.5+2.5).
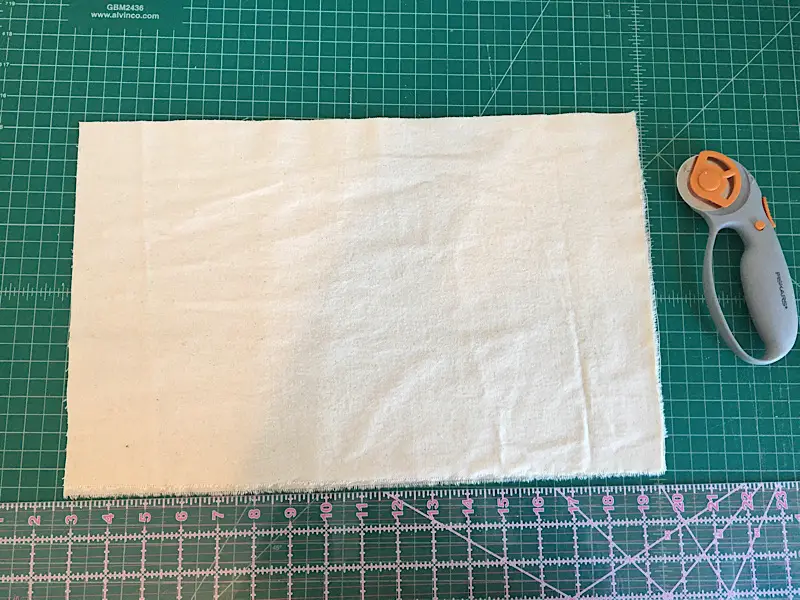
Note: You do NOT want to add seam allowances. You want the cover to be slightly smaller than the insert for a snug fluffy fit.
Now set these canvas pieces aside for now.
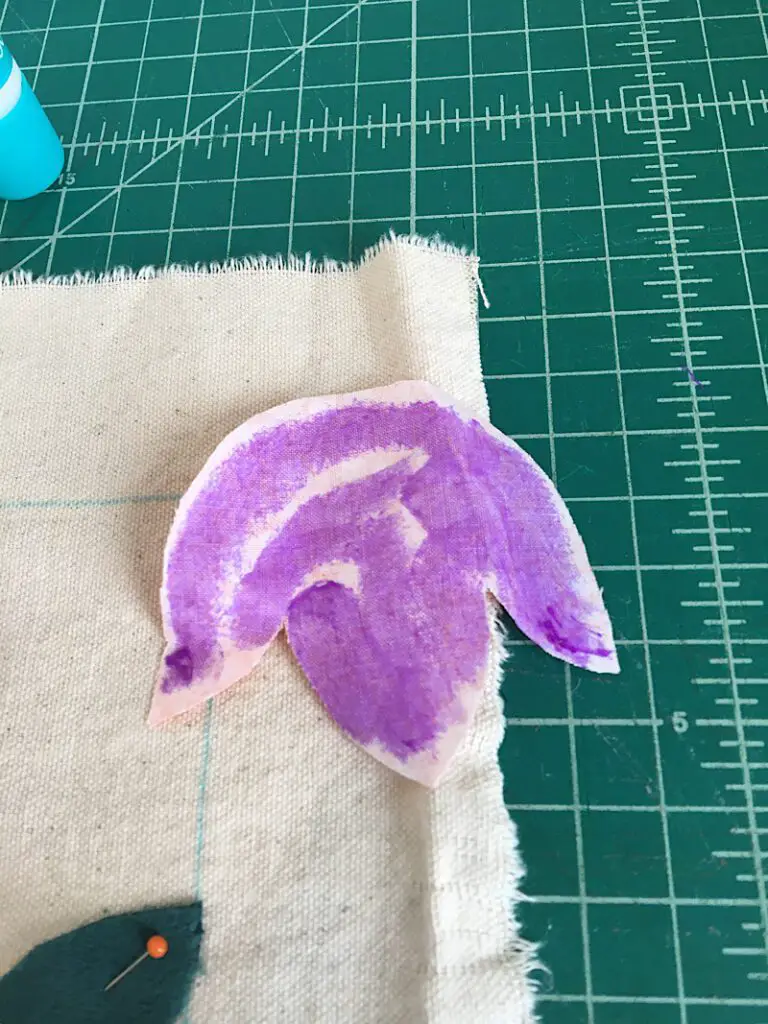
Step 2. Prepare And Cut The Ties
Print out your pattern if you haven’t yet, and cut it out.
(If you want to use the file with your Cricut machine, you totally can! Just upload it into Design Space and don’t erase the insides of the shapes, so that it only cuts around the outside.)
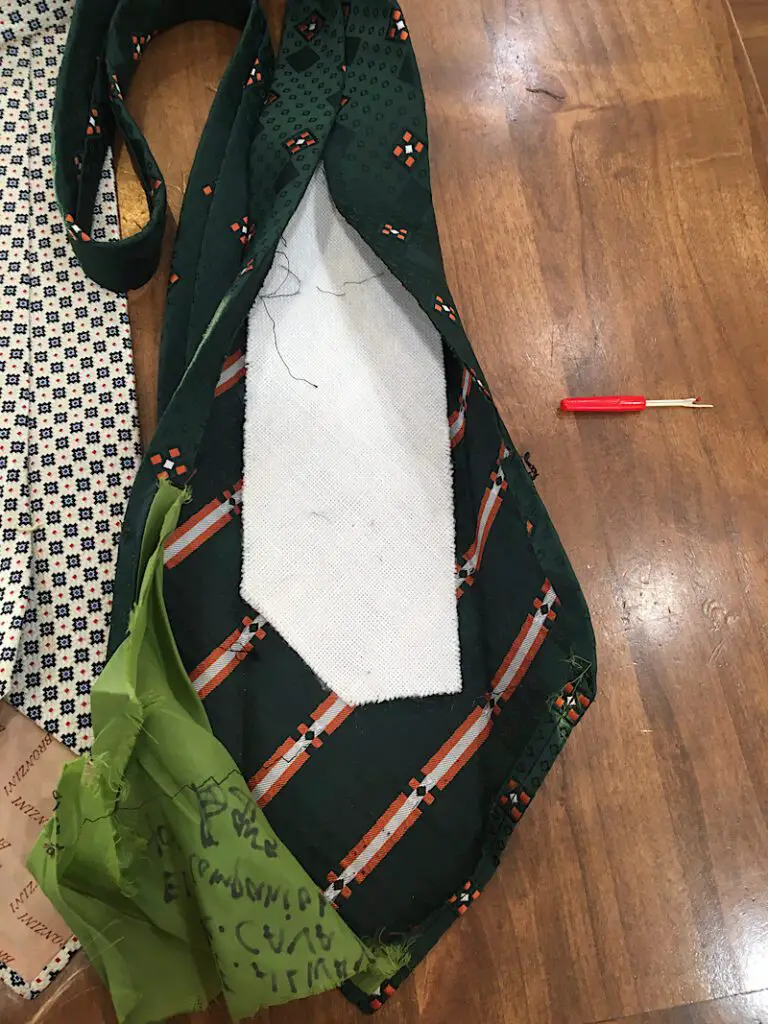
Now you need to disassemble your ties.
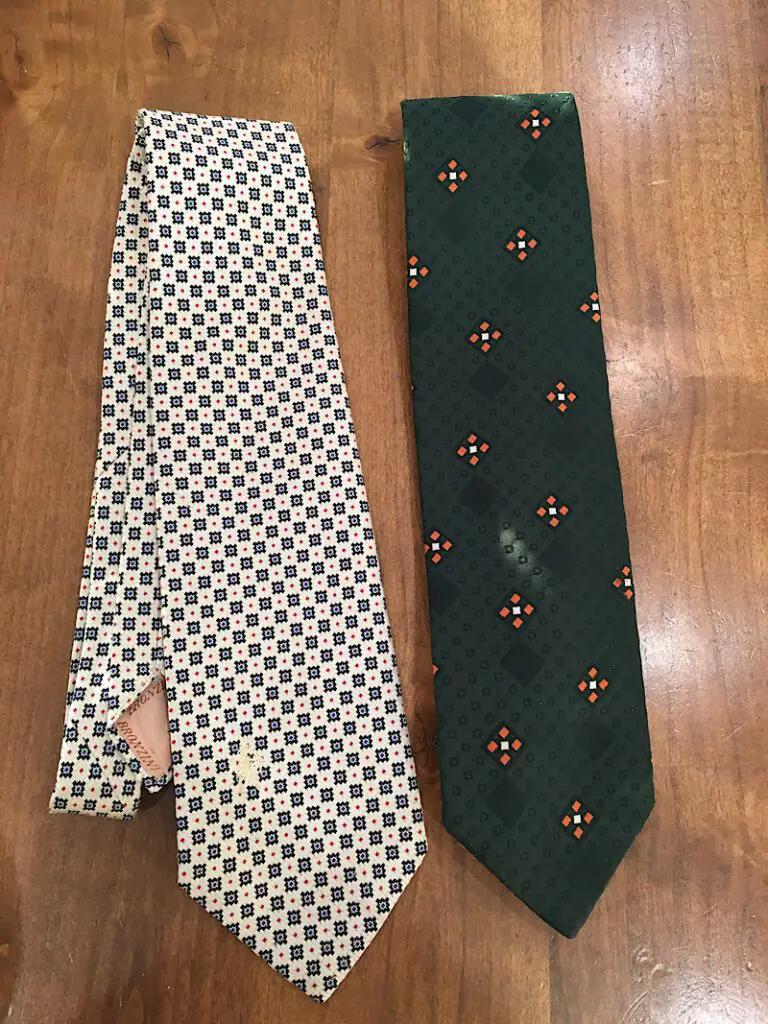
On the back of your tie, carefully seam rip the back seam to open up the tie. On some ties there is a tag, as well as a single larger stitch you may need to unstitch also.
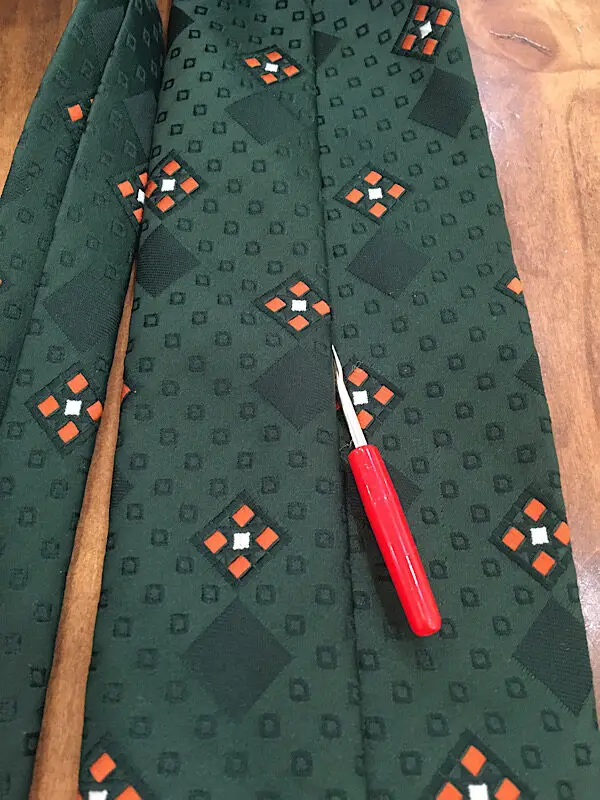
Open up the tie, and remove the thick material from the inside.
Also carefully cut off the lining. (You can utilize the lining in this project).
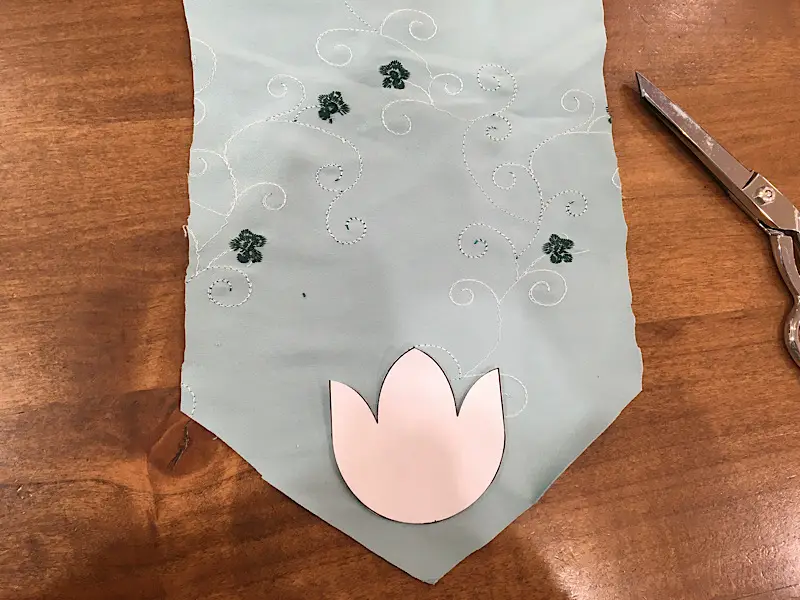
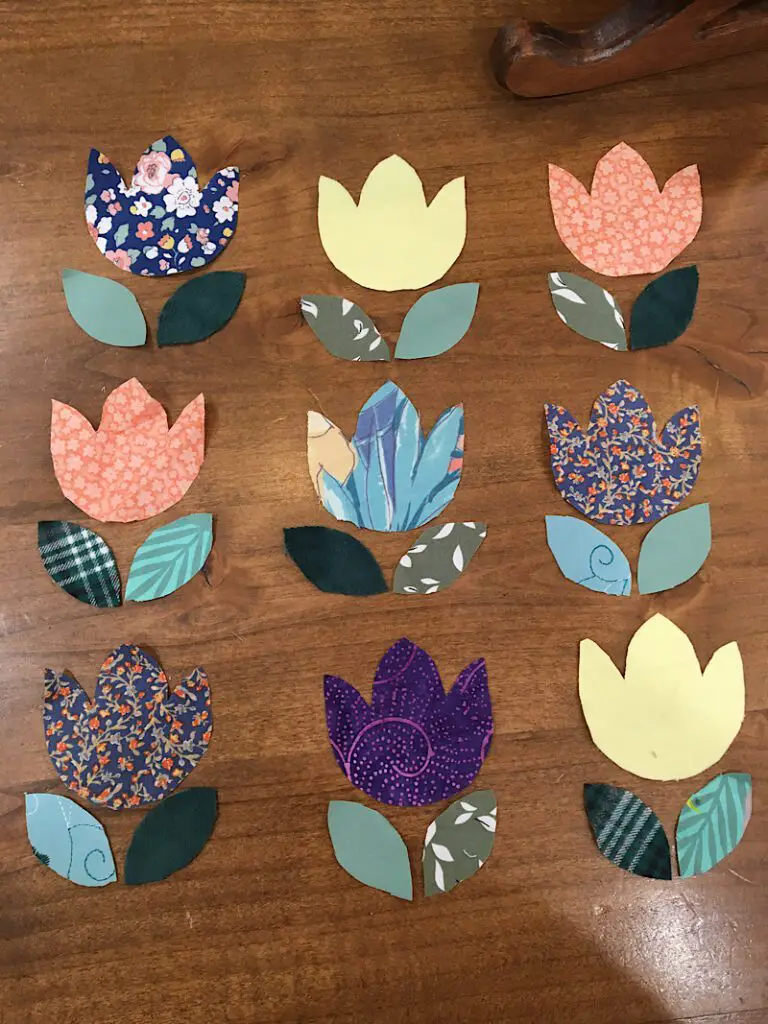
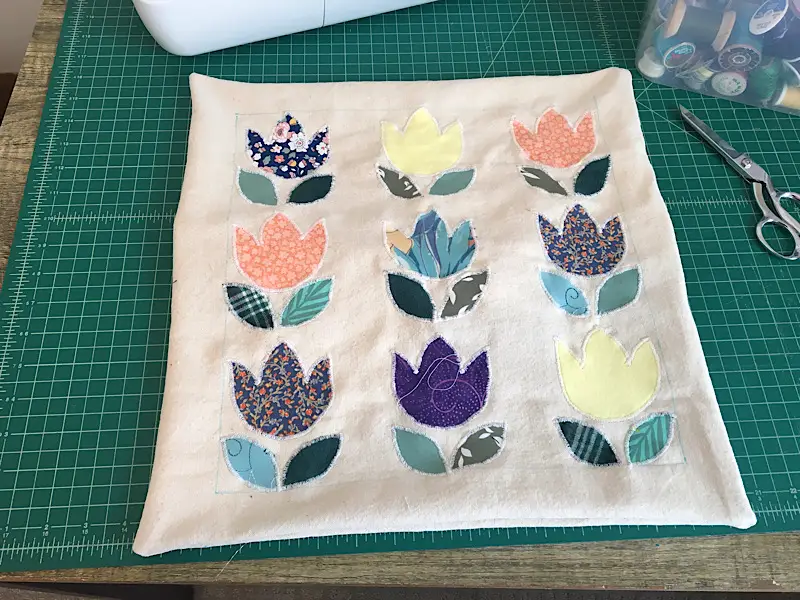
Then, flatten out your tie (press it if you need to) and arrange the pattern pieces on it. Cut out as many pattern pieces as you need for your pillow. I made 9 tulips which required 18 leaves. (Each tulip needs about 4×6 inches of space on your pillow, if you print them the regular size)
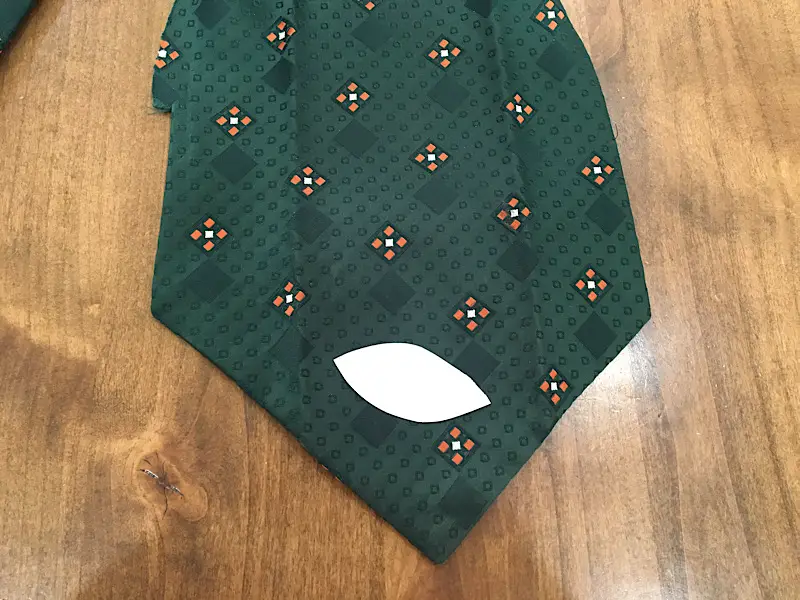
You can try to center the flowers and leaves on the decorative elements of the tie if you want.
Once you have disassembled all the ties and cut out all the pieces you need, you can discard the rest of the tie or save it for another project.
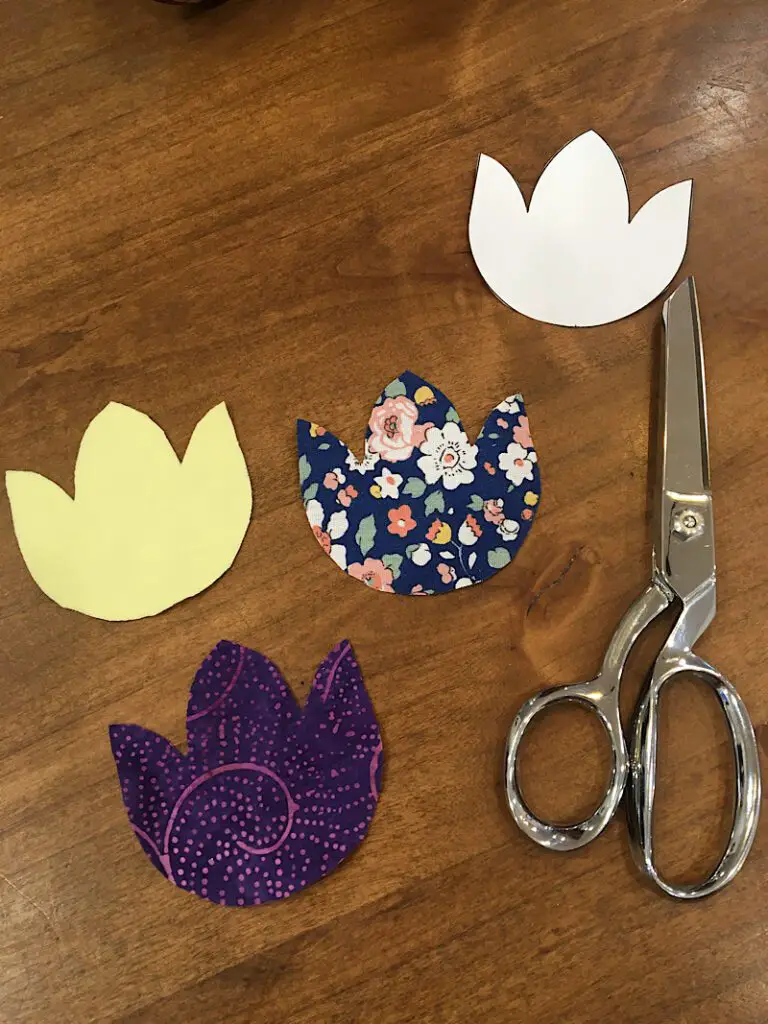
After you have cut all the pieces, take a minute to lay them out on the table to figure out how you want them to be arranged. Move the pieces around until it looks balanced. (I didn’t want two of the same color next to each other.)
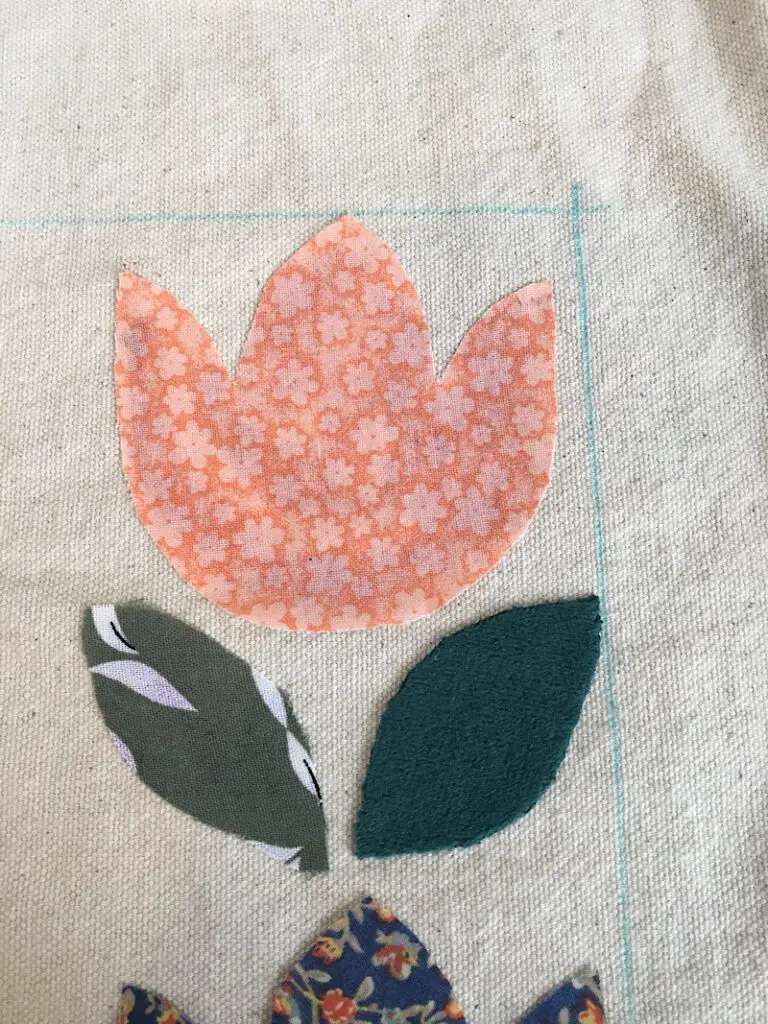
Step 3. Mark The Pillow & Place The Tulips
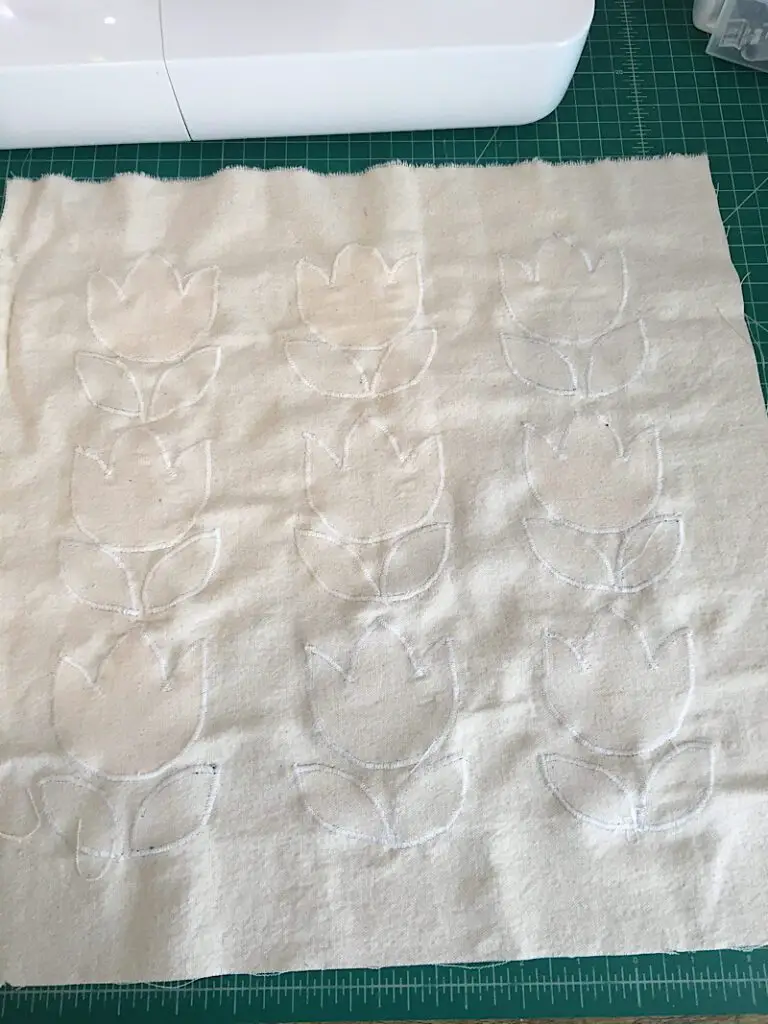
On the front piece of the pillow case, mark a 2 inch border around each edge with the disappearing ink marker. Also mark the center of the pillow.
Now, lay the tulips and leaves on the pillow inside the border you made. Don’t glue them down yet. I pinned mine down temporarily to make sure they didn’t get lost.
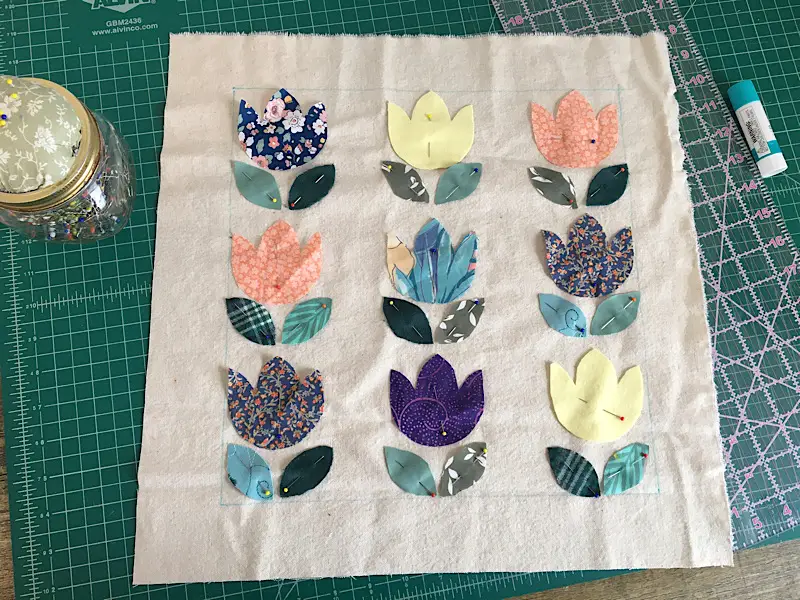
Now, use your glue stick to glue each piece to the pillow. I placed a piece of paper down so I could glue without any getting on the table.
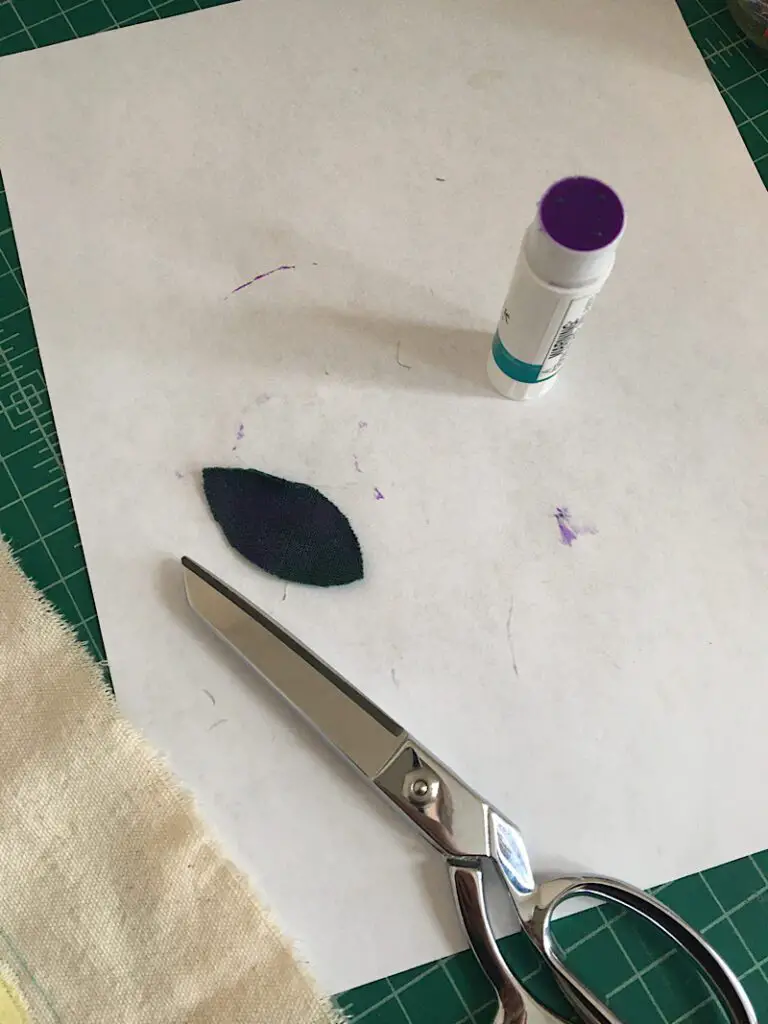
You don’t need to put the glue on super thick, in fact if you have any globs you want to get rid of them. (See the globs in the image below.)
Once the glue dries, it shouldn’t gum up your machine. But if you have too much glue or it isn’t all the way dry before you start to sew, then you might have issues with stickiness.
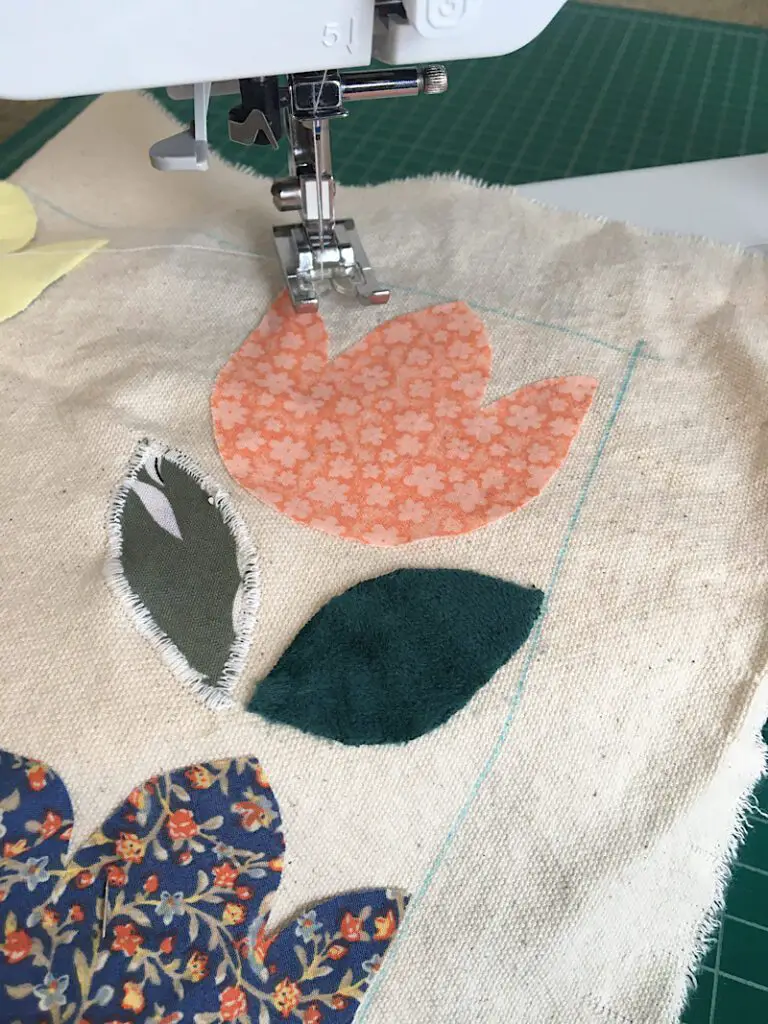
Step 4. Applique The Tulips
Put the Monogramming foot onto your sewing machine.
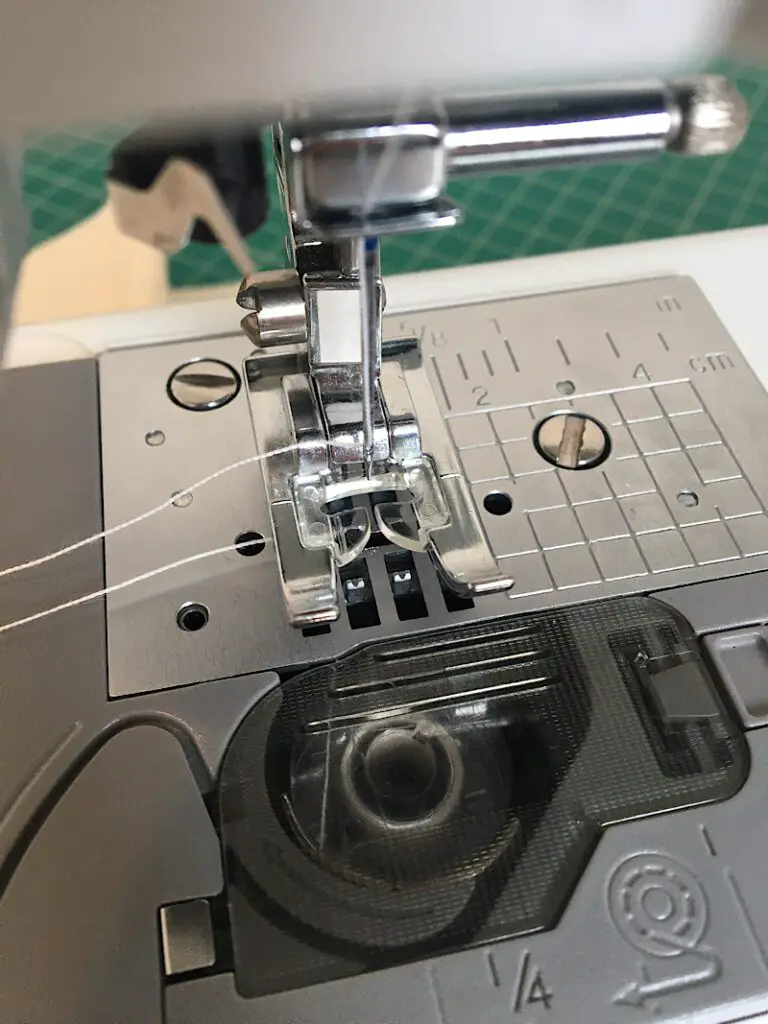
Adjust your stitch to a zig zag stich, (number 4 on my brother cs6000i) and adjust the stitch length to .5. (It may be different on your machine. You want a stitch that is close together, but doesn’t sew right on top of itself otherwise it can get stuck under the presser foot. Make some practice stitches first)
To applique the tulips, align the edge of the leaf or petal you are working on under the middle of the presser foot so the zig zag reaches into the fabric, as well as over it onto the canvas. It should encase the edge of the fabric in the stitch.
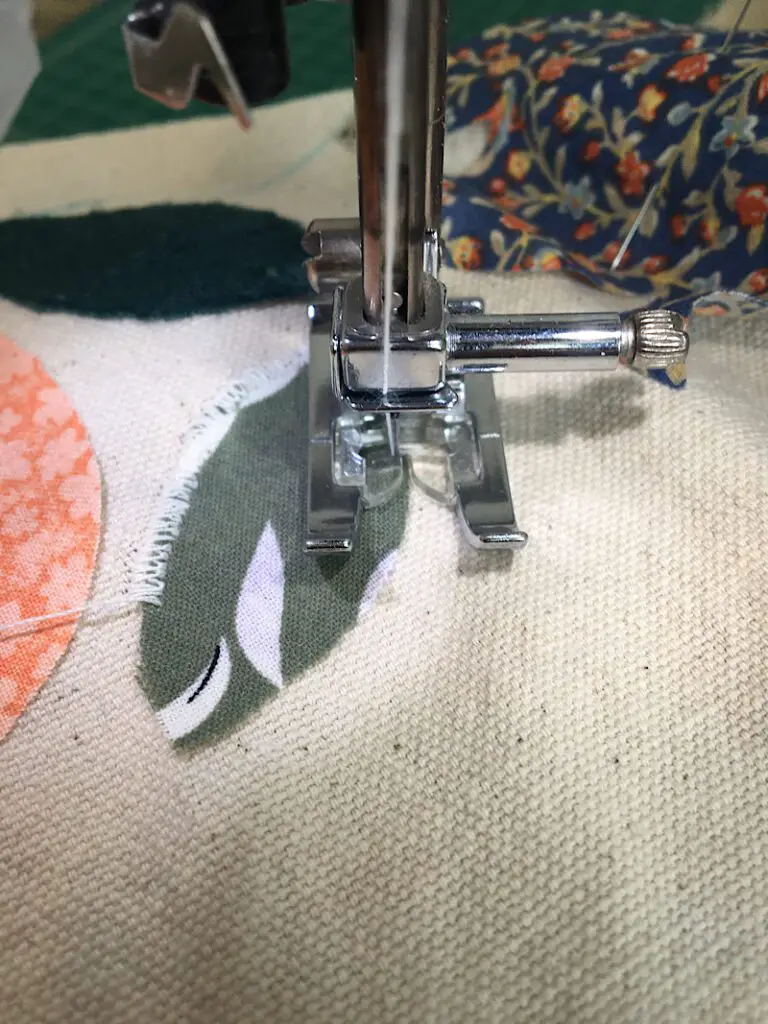
As you sew, don’t be afraid to stop, pivot the fabric under the needle at the corners, and go slow. This project has some sharp corners to pivot at, one tip I have to make it easier is this: If you need to pivot your fabric to the left to sew down the next side, make sure your needle is in the “left” part of the zig zag stitch. If it isnt, make one more stitch or turn the hand wheel until it is in position.
Same gosh for pivoting to the right.
Trim your threads as you go.
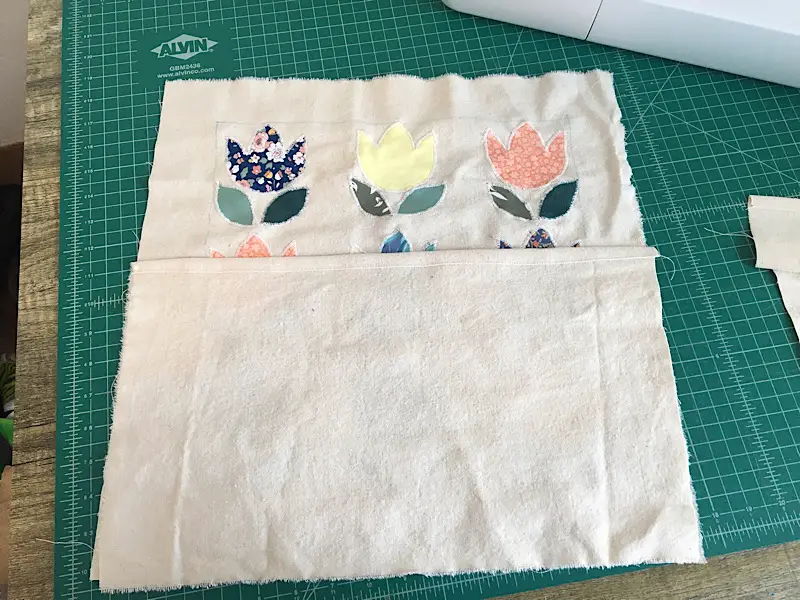
You can see that the back of the pillowcase looks really cool, too.
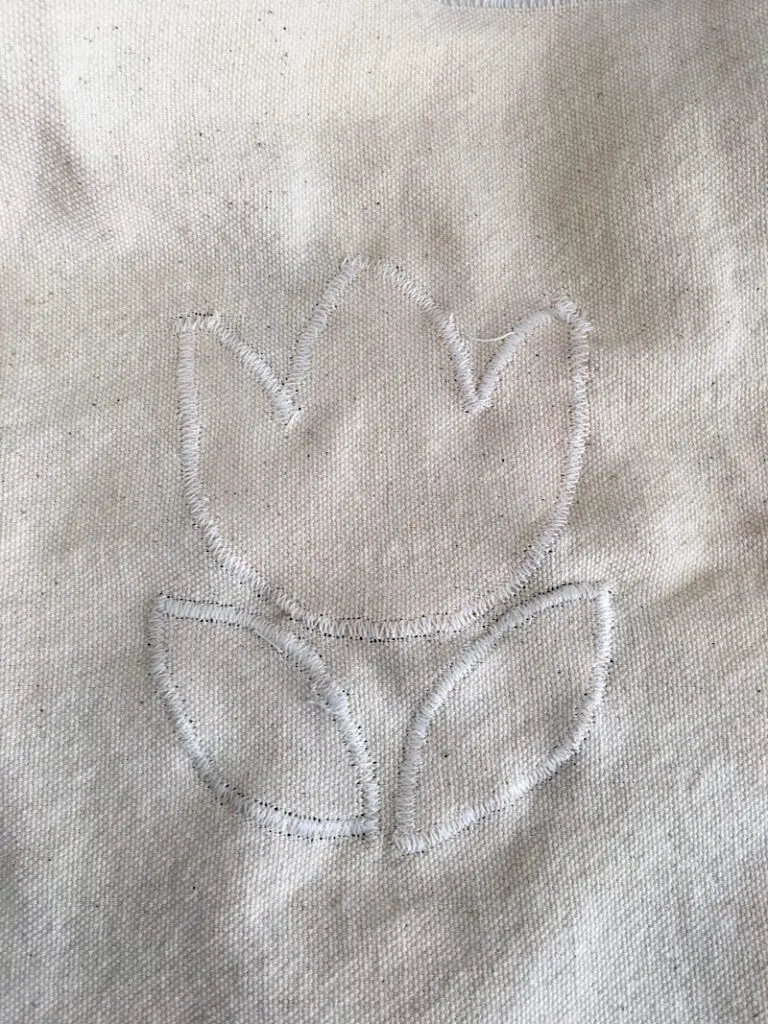
Here is one completed tulip set:
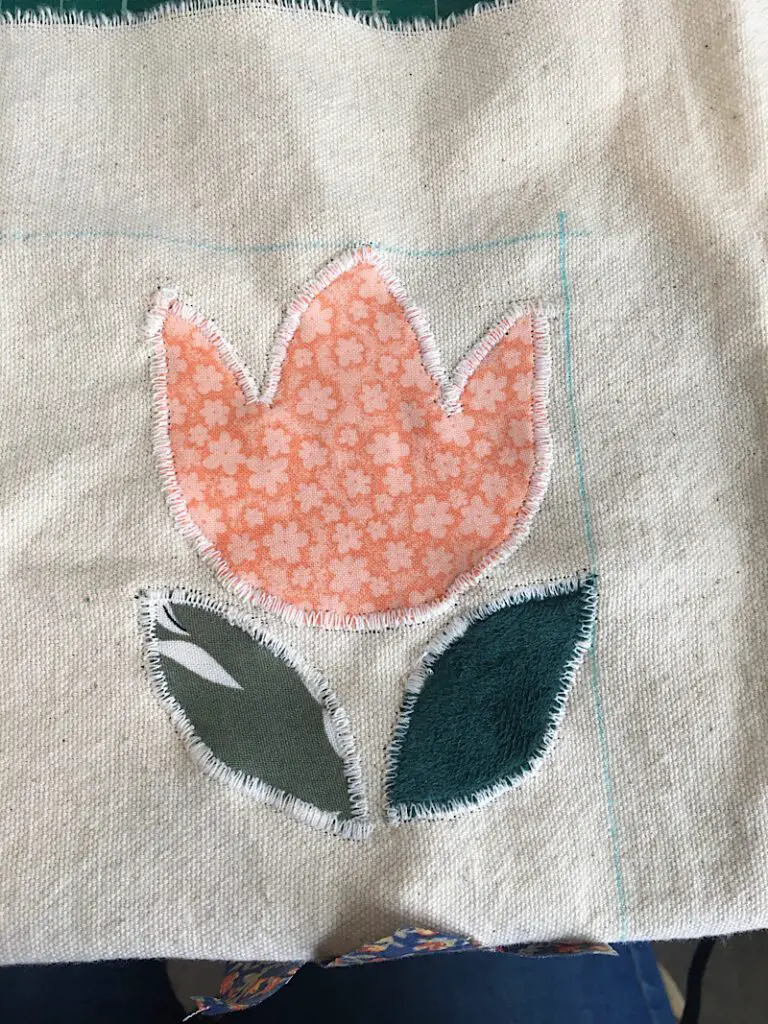
Now you just need to keep going until it is all completed!
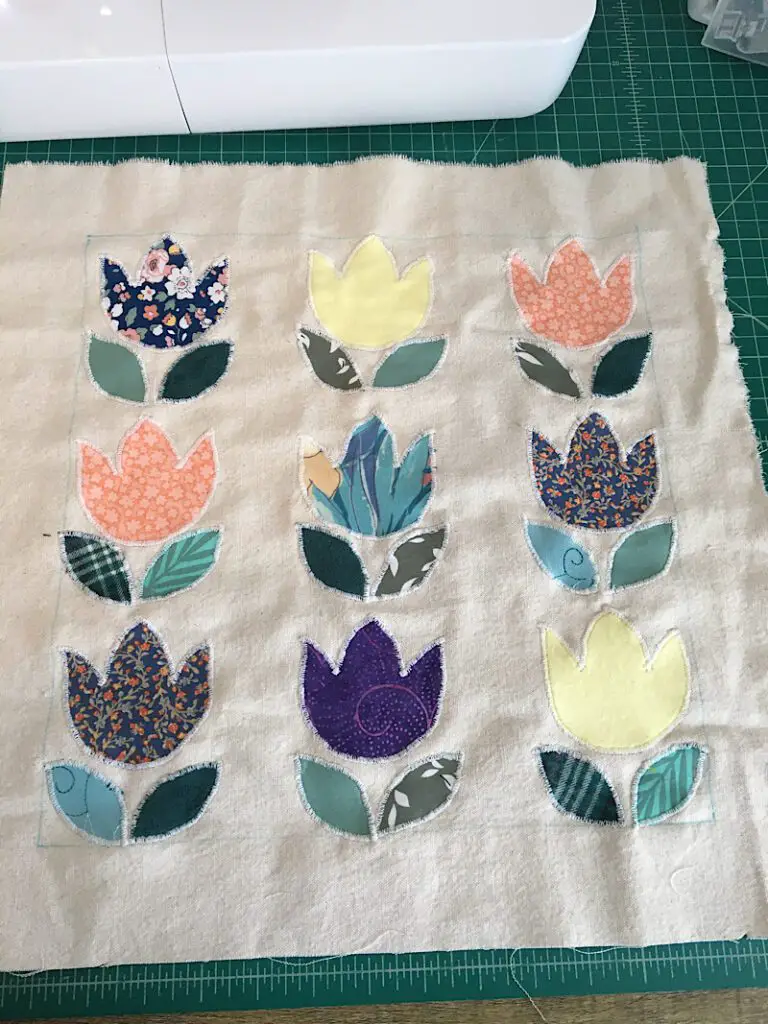
Each tulip set only took me about 5 minutes, so this was done in about an hour.
Here is what mine looked like when I was done. It isn’t perfect, but I was actually really excited about it.
Here is the back:
Step 5. Assemble The Pillow Cover
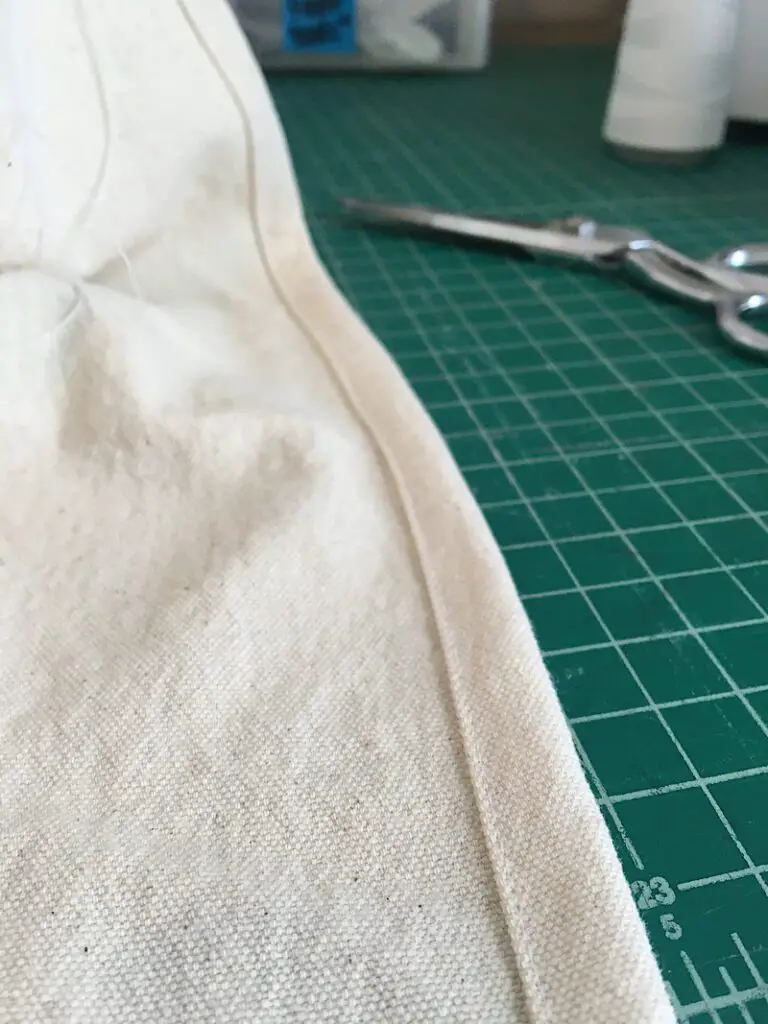
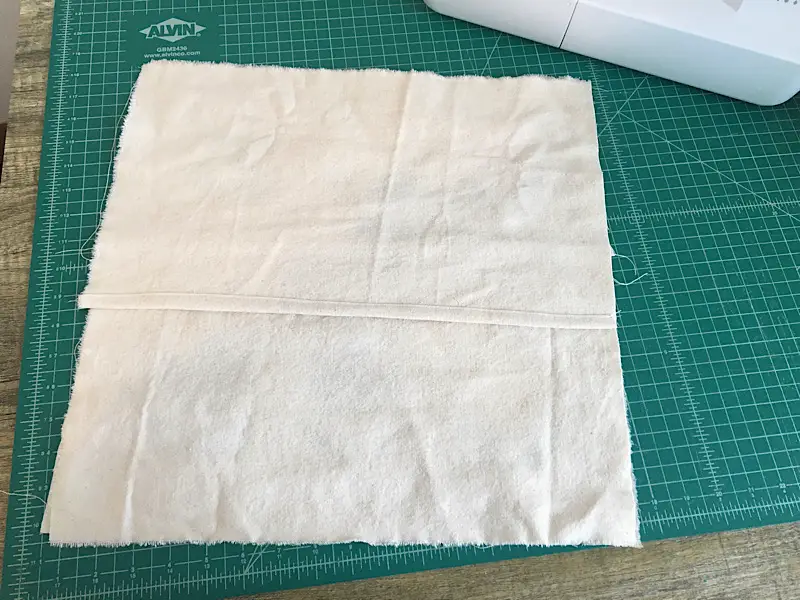
Get the two back pieces of the pillow cover. You need to hem the envelope edge that will be seen on the back of the pillow.
Fold over the edge half an inch, then half an inch again and pin it in place. Then sew a straight stitch down the edge. Repeat with the other piece as well.
Lay the completed front of the pillow on the table with the right side facing up.
Lay one of the back pieces on top of it, with the right sides touching and the hemmed edge in the center. Pin them together.
Then lay the second back piece on top, with the right side facing down, and the hemmed edge in the center. Pin them together. Make sure the overlapped section in the middle on both sides is well pinned so it doesn’t shift as you sew it.
Sew (or serge) around the four edges, then turn the pillow right side out.

Put your hand inside and poke out the corners to shape them. Turn it over and smooth it out.
Last of all, you need to wash off the disappearing ink. You can get a damp cloth and dab the blue lines away, or if your dryer has a steam setting you can steam it for a few minutes which is what I did.
Then you are done. Your spring tulip pillow cover is complete! You’d never guess you could make a tulip from a tie!
Now just put it on a pillow and enjoy!
Conclusion
I love the mod style of this pillowcase. It plays off the different fabric patterns so nicely. The different bold colors just shout “spring!” and it really brightens up the space!
Since the pillow is an envelope back, it is quick to change on and off of your pillow, and easier to sew for those who aren’t comfortable with invisible zippers yet.
If you need help figuring out any of these steps I am happy to clarify for you, just leave a comment below. Make sure to pin this post and sign up for emails too!
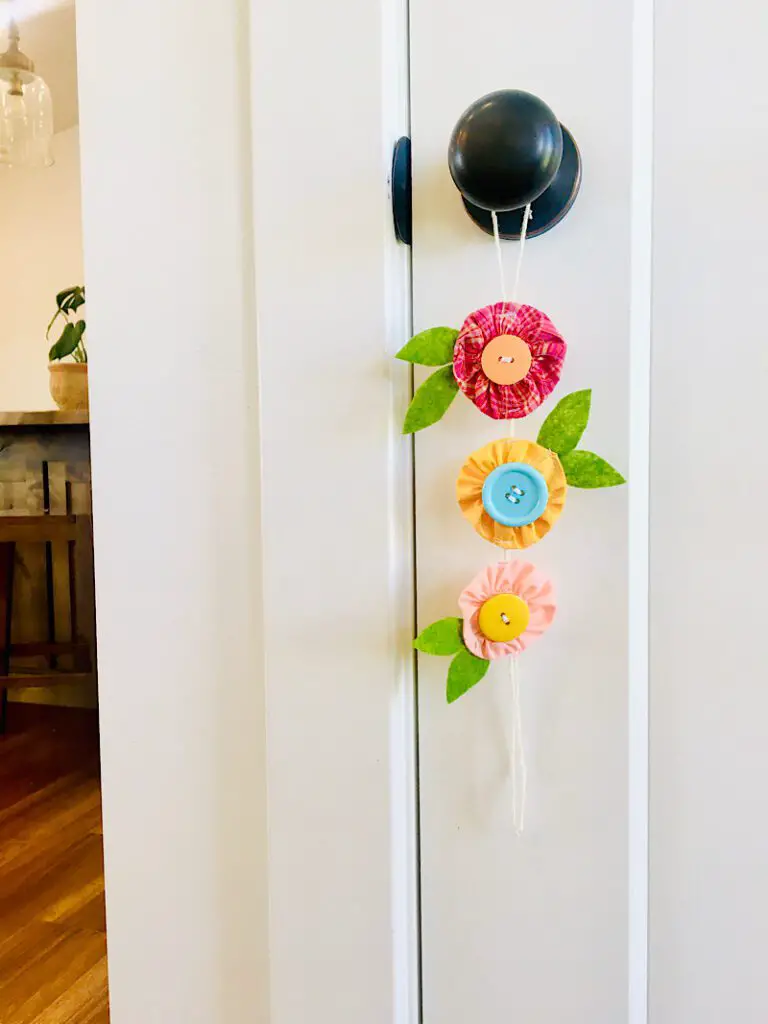
For another fun and colorful flower home decor project, check out these scrappy fabric yoyo flowers!

Lovely simple design I love it will be making for friends for Easter
Thanks Jo! I’d love to see it when you’re done!