There are so many different kinds of presser feet for sewing machines, and they all have unique uses. Some presser feet are multi-functional and can be used for various applications. Most presser feet are highly specialized in their purpose, and may break your sewing needle if used incorrectly.
Read on to learn all about the basic types of presser feet for sewing machines and what they are used for!
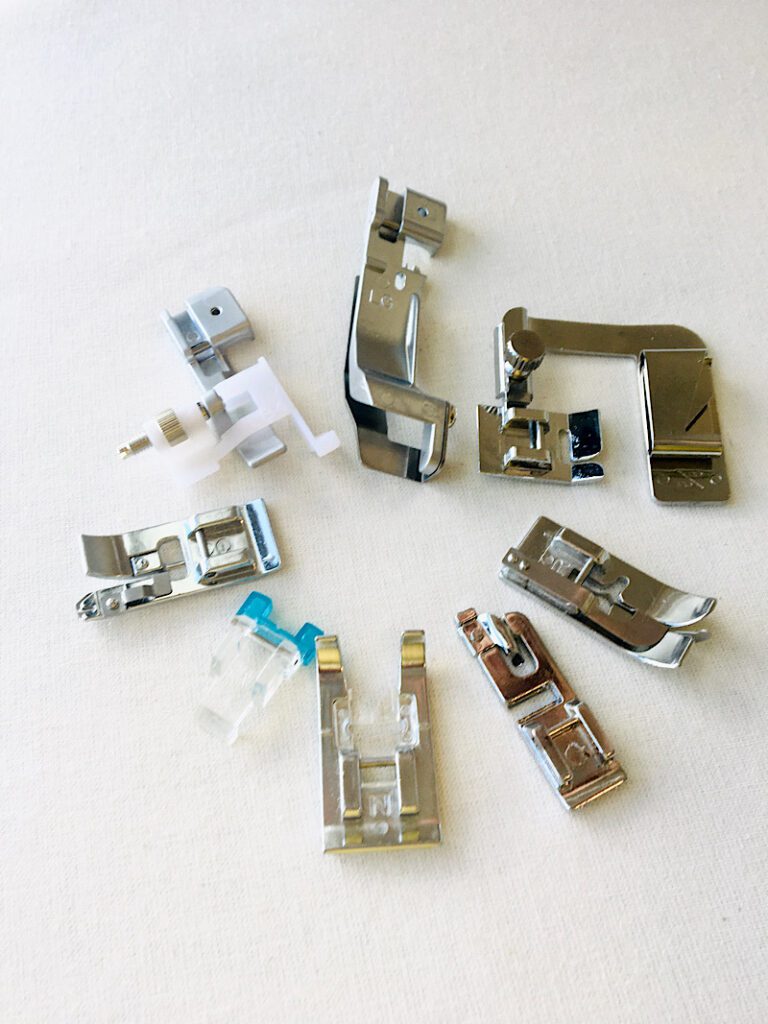
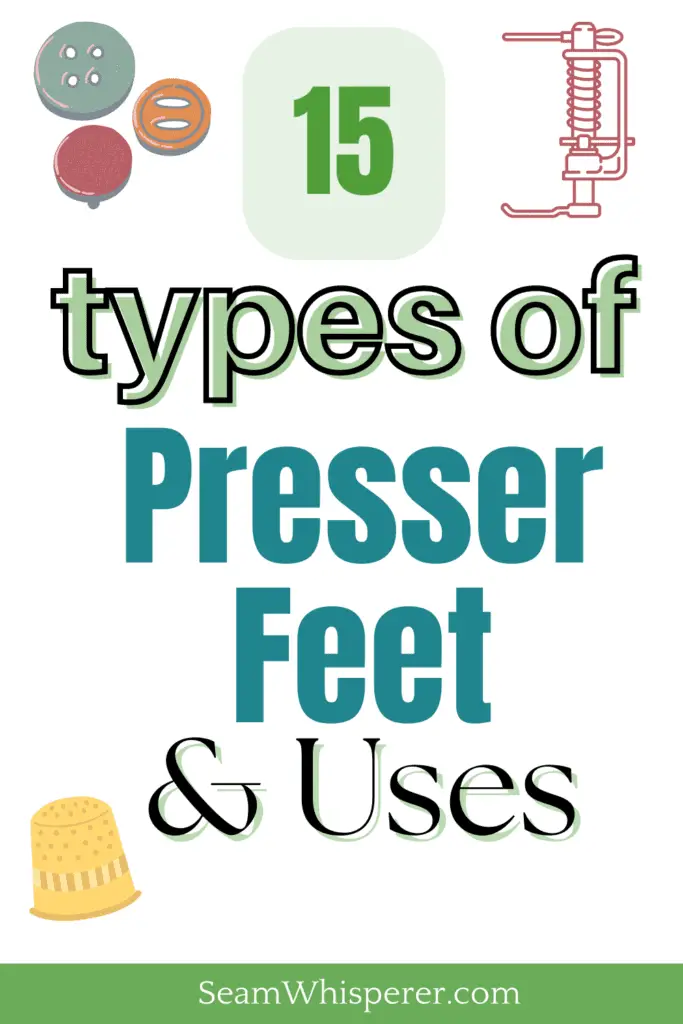
P.S. This post will be especially helpful for those of you who are looking to identify any mysterious presser feet you have. I have included a presser foot guide complete with a chart and photos.
Use this chart to “Pin” on Pinterest for later reference, or print out and put in your sewing room. You will never have to wonder “What presser foot is this” again!

This post may contain affiliate links. Read the full disclosure here.
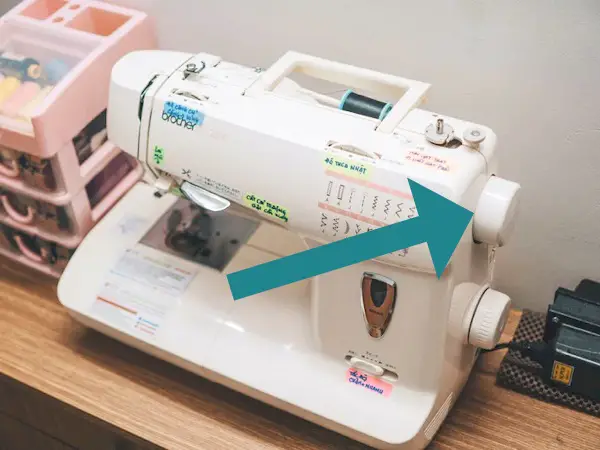
Where is the presser foot on a sewing machine?
Although the term “presser foot” may sound like it is referring to the foot pedal, (after all, you do press it with your foot!) it is actually the name of a different sewing machine part entirely. So where is the presser foot located?
The presser foot on a sewing machine is located under under the needle and above the throat plate and feed dogs. The presser foot lever raises and lowers the presser foot, allowing you to position fabric underneath. The sewing needle moves through a small opening in the presser foot.
Use my free printable Sewing Machine Parts Diagram to easily see where the presser foot is located on the machine. (Hint, it is number 14 on the list.)
What does a presser foot do on a sewing machine?
The presser foot is used to gently push fabric down onto the feed dogs which catch and pull the fabric through the machine. A presser foot can also be used for various specialty functions such as sewing a buttonhole, rolling the hem of the fabric, making gathers, or darning.
Some presser feet can be used for multiple purposes. For example, a zig zag foot can also be used for straight stitches, and a zipper foot comes in handy when sewing piping cord.
Can you use a sewing machine without a presser foot?
A presser foot is essential to producing even, straight stitches and guarding your fingers from the needle. However, a sewing machine will still sew if a presser foot is not attached. Without the presser foot you will have more ability to move your fabric in a free motion style under the needle.
Remember that a presser foot’s job is to press down the fabric towards the feed dogs. Without that pressure, your fabric will need to be moved manually.
Sewing without a presser foot generally won’t give you the best results, and can be dangerous as it is easier to accidentally pierce your finger with the sewing needle. I recommend using a darning foot (number 9 on this list) if you want to try free motion sewing.
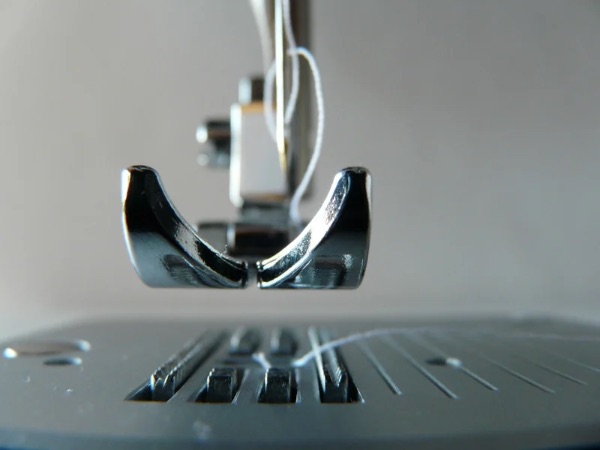
Parts of a Presser Foot
All presser feet, although different in their application, have similar parts. Every presser foot has a flat or toothed bottom side that presses against the fabric (depending on the use of the foot), as well as a way to attach to the machine.
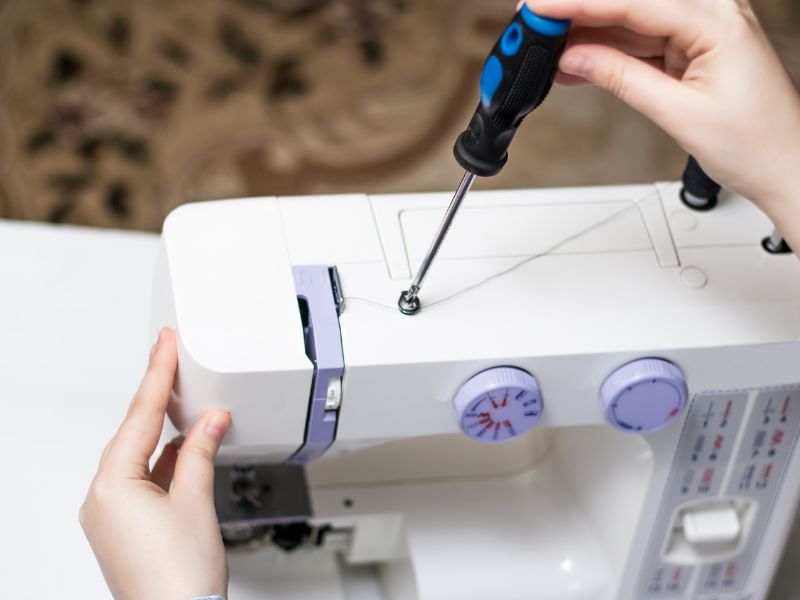
Most presser feet have a small horizontal pin or bar that is connected to the presser foot holder on your machine. Some presser feet (such as the darning foot) are attached by removing the presser foot holder and using a screw to tighten the foot directly to the presser bar.
It is common for presser feet to be labeled with a letter for easy differentiation. The presser feet that came with your sewing machine will have a key included in the manual that labels each foot by it’s letter, and gives you the exact part code in case you need to order a new one.
Now that we have some of the basics covered, lets get on to the main purpose of this article, talking about the most common different kinds of presser feet!
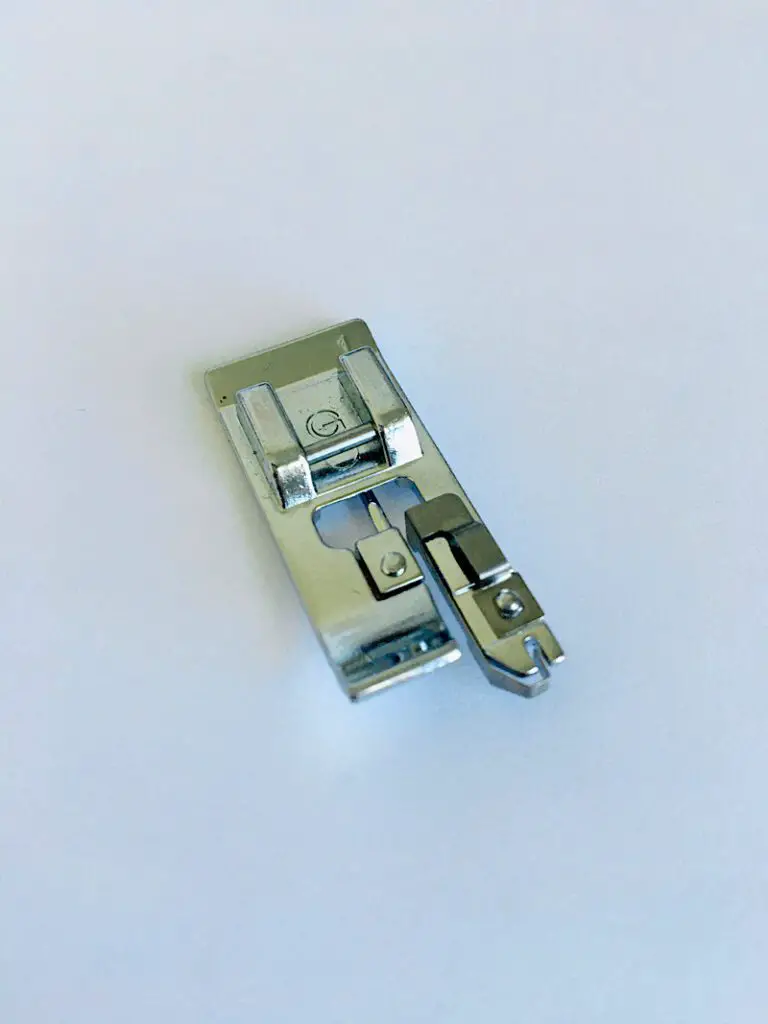
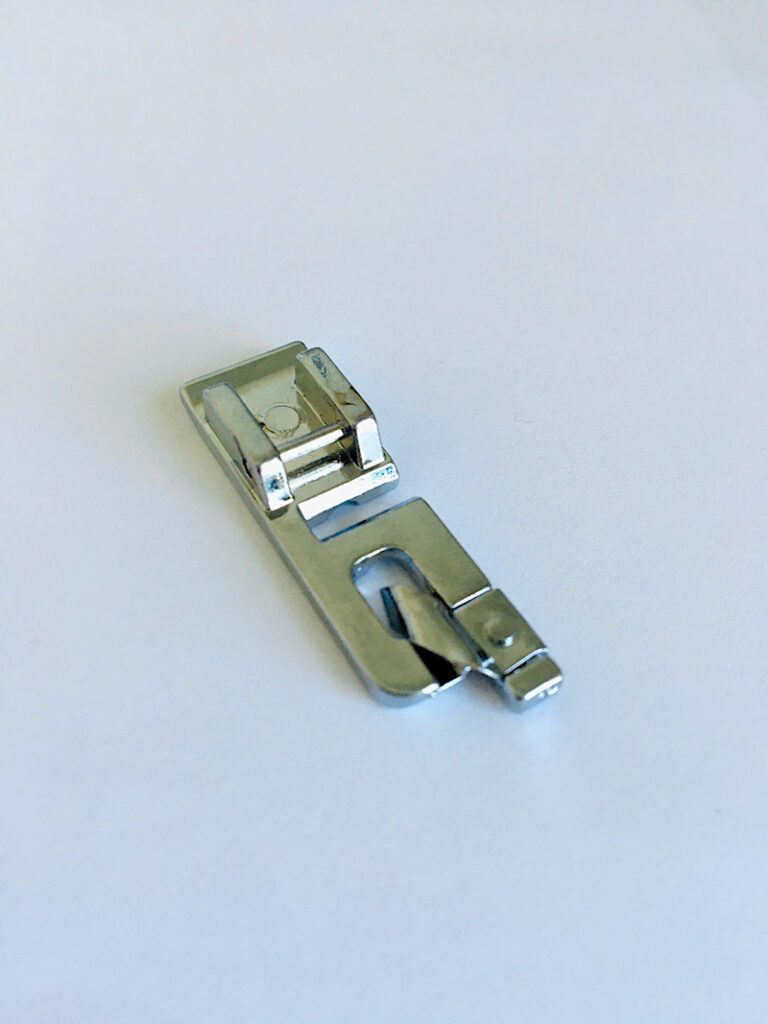
1. Zig Zag Foot
The Zig Zag foot is used for sewing zig zag type overcasting stitches as well as sewing stretch fabrics and using a twin needle. The zig zag foot has a large wide hole for the needle to pass through as it moves side to side, protecting the needle from hitting the foot and breaking.
The zig zag foot is often the basic/default foot on a sewing machine as it can also be used for straight stitches when the needle is in the leftmost, center, and rightmost positions.
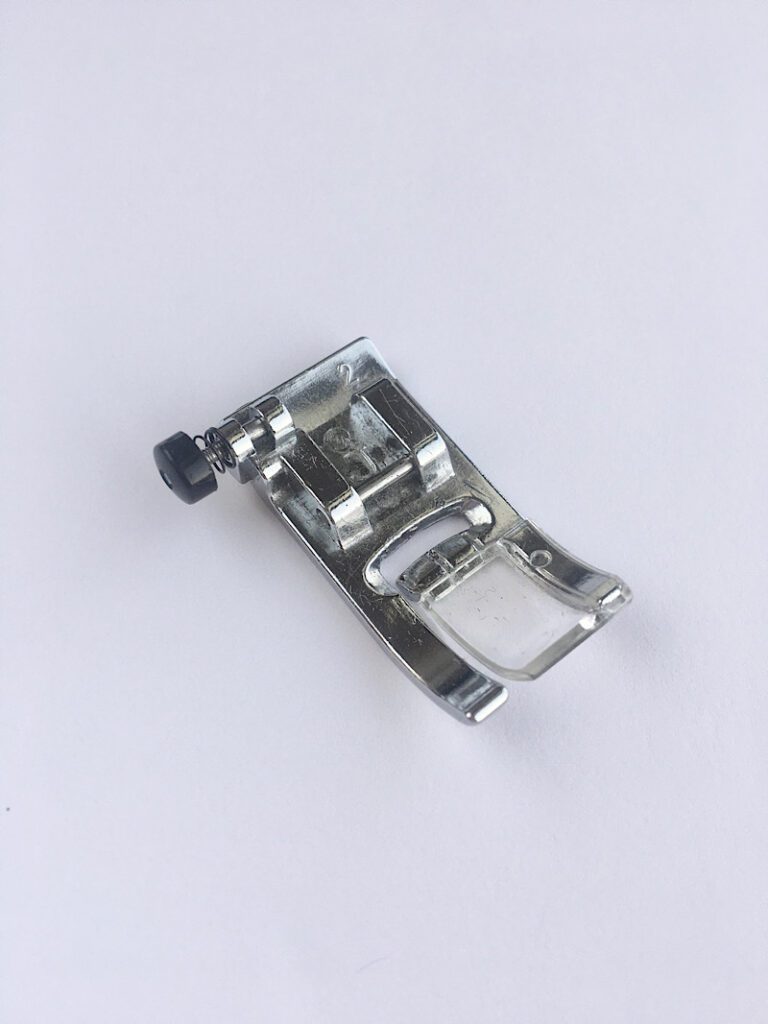
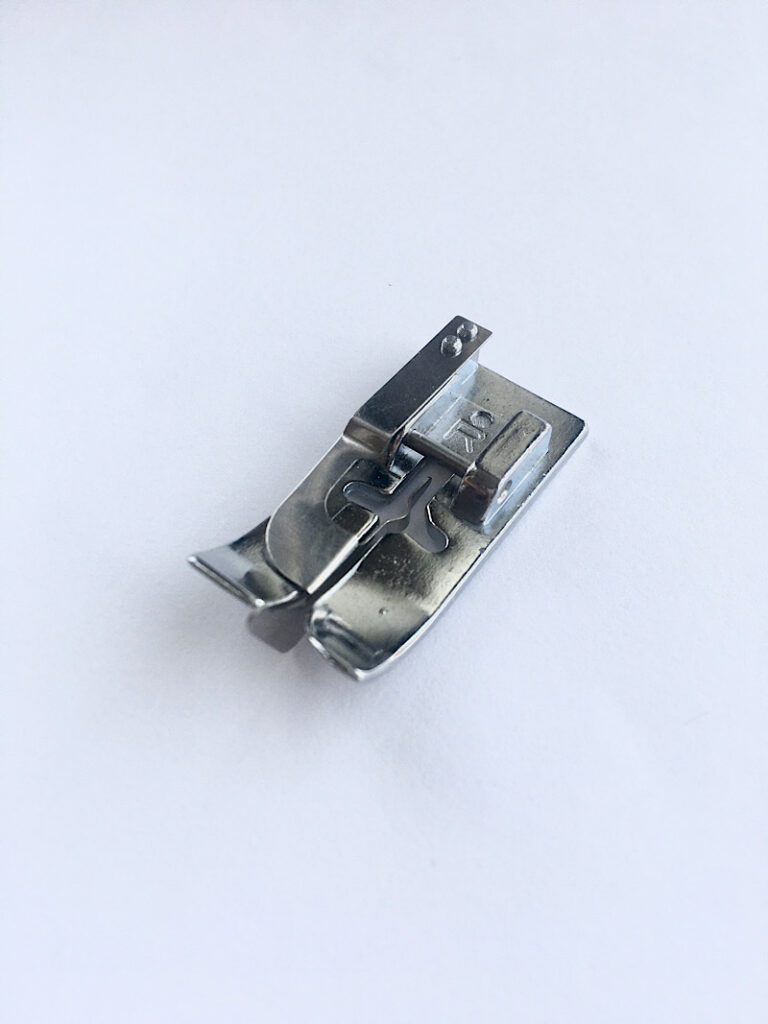
2. Zipper Foot
The zipper foot is used to easily insert different kinds of zippers to your fabric. The zipper foot can be positioned on the left or right side of the needle, which allows you to sew down the left and right sides of the zipper.
Zipper feet can also be used to sew basic straight stitches such as basting stitches, pin tucks, and gathers.
In my experience, a zipper foot also comes in handy when making or sewing on piping or cording because the edge of the zipper foot allows you to sew very close to the piping. (I used the zig zag foot to create my piping embellished pumpkin decoration!)
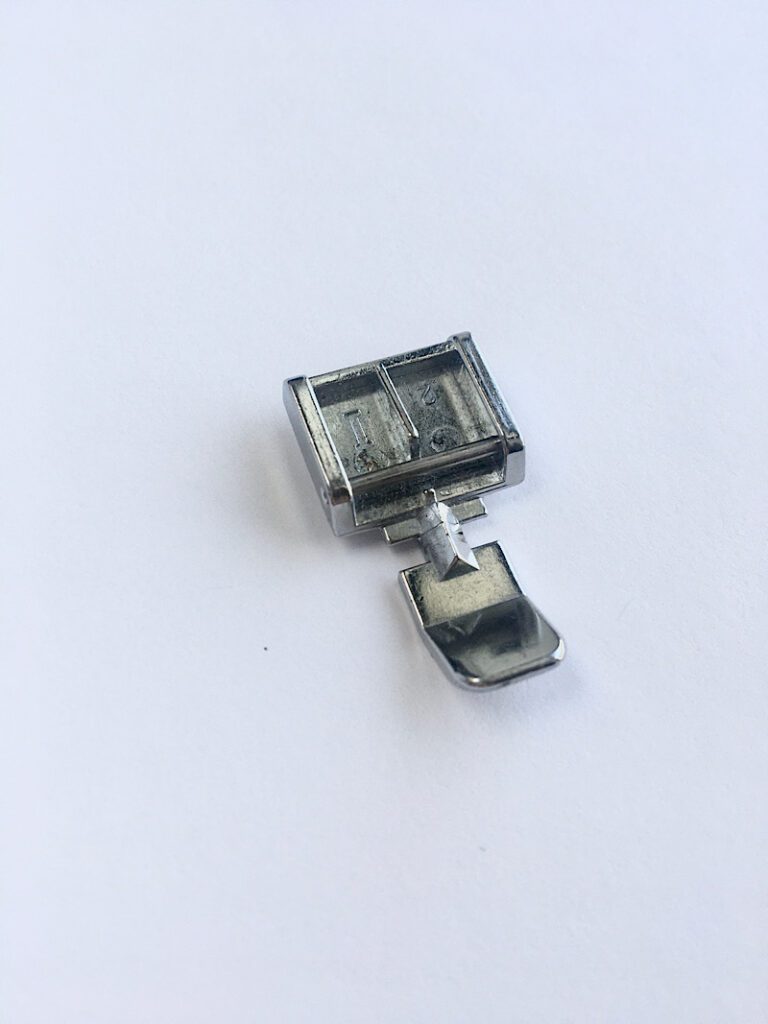
3. Buttonhole Foot
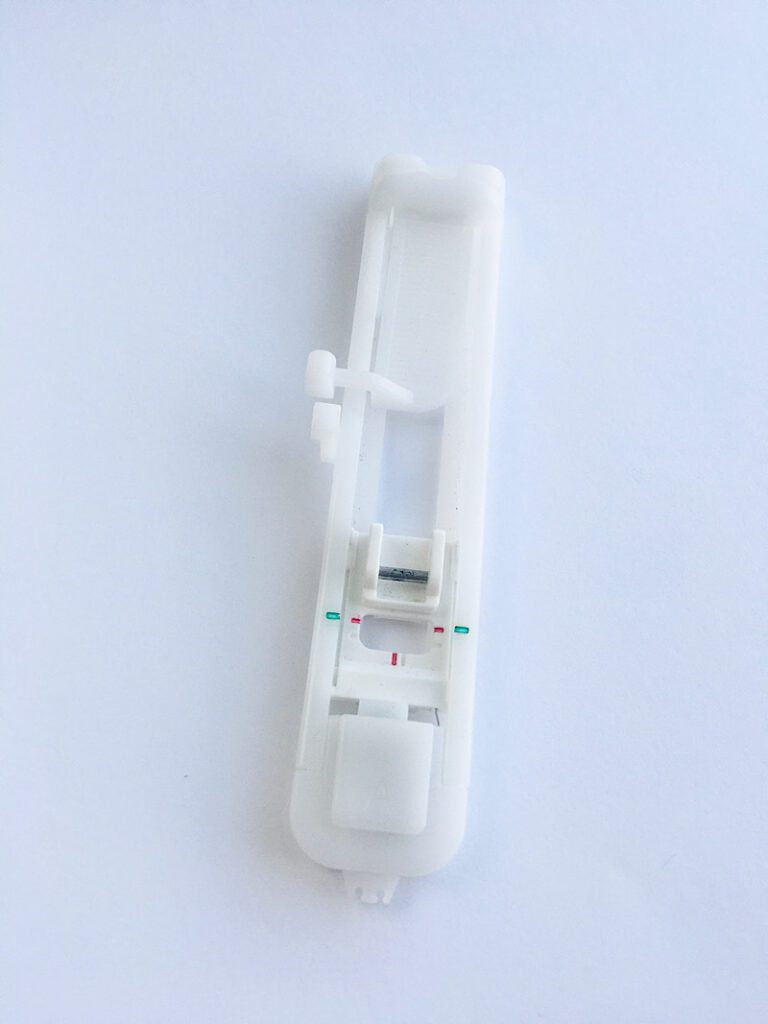
The buttonhole foot is used to sew different types of button holes in your fabric. Buttonhole presser feet have a plastic sliding guide that is used to measure your button and sew the perfect sized hole to suit.
Some types of button holes include keyholes, stretch button holes, and horizontal button holes.
4. Walking Presser Foot
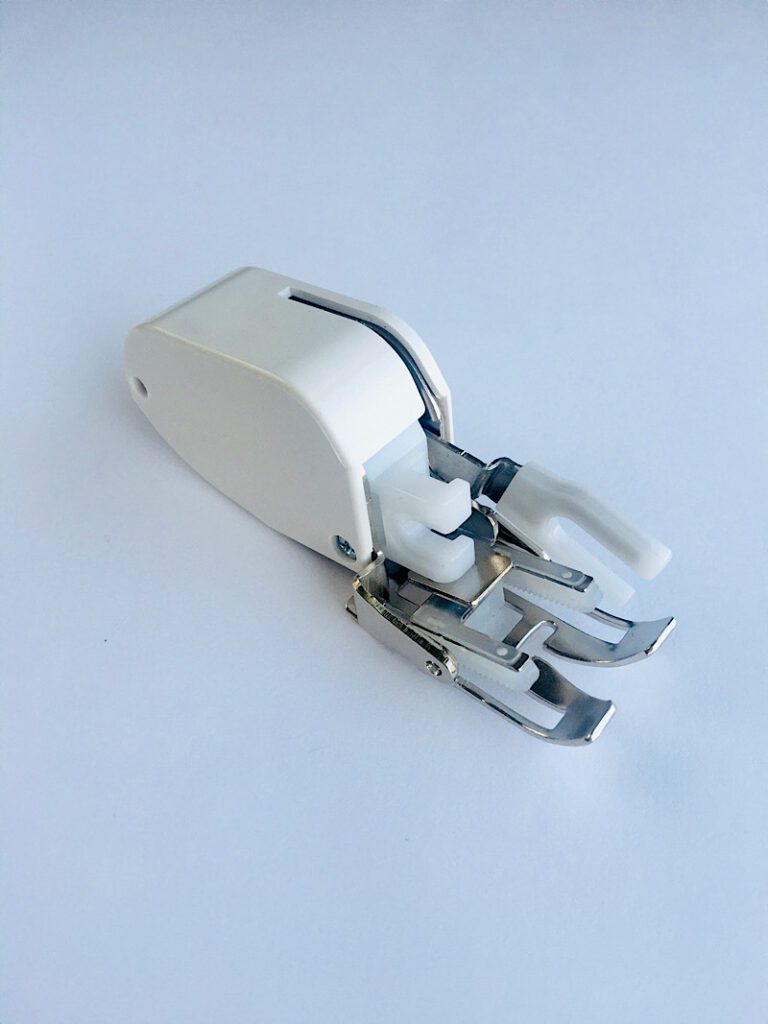
A walking presser foot is used when sewing through thick materials or quilted fabrics. The walking foot has toothed bars on the underside, which help it grip the top layer of fabric and walk it through the machine. (Similar to how the feed dogs function on the bottom of the fabric.)
As the needle moves up and down, the toothed bars on the walking foot move front to back and pull the fabric, an action that resembles walking.
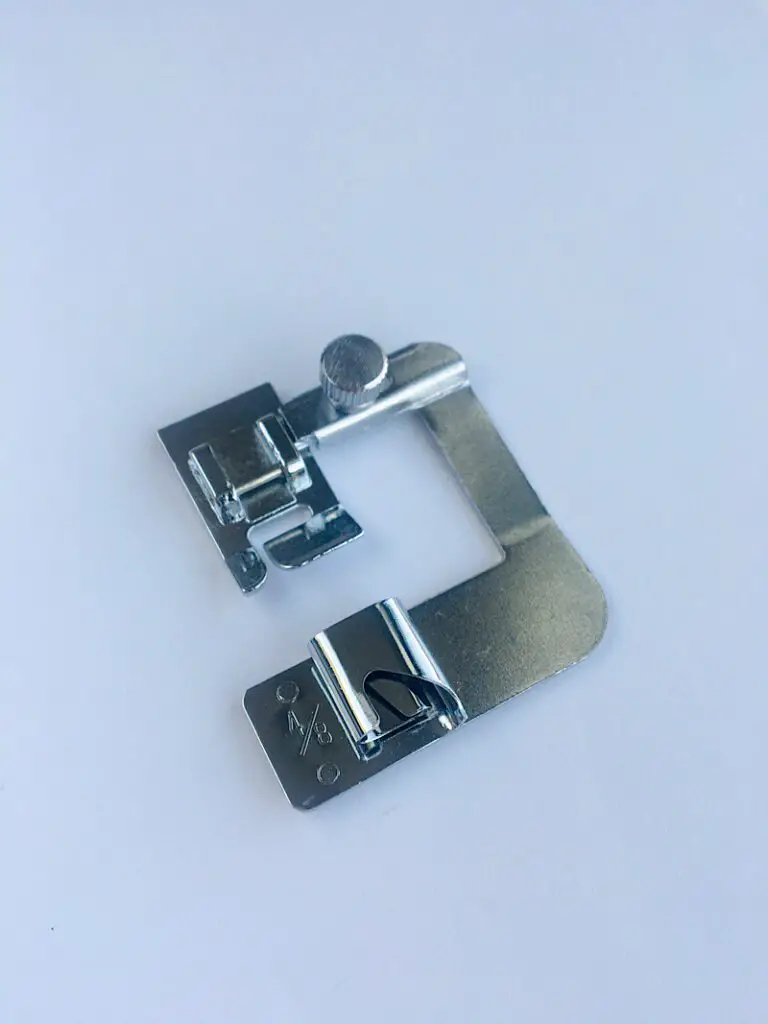
5. Overcasting Foot
The overcasting foot is used for sewing overcasting stitches, which wrap over the edge of the material to join and finish it in one pass. The foot features an edge guide which allows you to position the edge of the fabric against the foot to ensure it stays aligned with sewing.
This is similar to the operation of a serged stitch, without the knife that trims away the extra material.
I talk more about overcasting on your sewing machine vs using a serger in my guide: Serger Vs Sewing Machine. Be sure to check out that post and download or pin the free infographic to refer to later!
6. Monogramming Foot

The monogramming foot is specially designed with a clear “toe” area that gives high visibility to the needle, making it easier to preform decorative stitches such as scallops, applique, and monograms (letters). The bottom of the foot is grooved which allows the foot to move smoothly over bulky stitches.
In addition, it is used for specialty “heirloom stitching” where a large needle is used to purposely leave holes in the fabric to create a delicate lace-like effect.
I used the monogramming foot when making embroidery with my sewing machine in this tutorial.
7. Button Fitting Foot
The Button Fitting foot is designed with two widely set “arms” that are used to hold a button in place over the fabric. The button fitting foot also helps align the needle with the holes of the button to sew it onto your project.
To use the button fitting foot you must lower your feed dogs to ensure the button doesn’t move when being stitched, otherwise the needle may break.
You can learn how to use the button fitting foot and sew on a button by machine here! It is so much faster!
8. Blind Stitch Foot
The Blind Stitch foot is used to finish a hem without the stitch being visible. The foot is designed with a built in guide that helps you align your fabric, allowing the needle to barely pass through the fold of the hem.
Popular applications for blind hem stitches include trousers, skirts, and drapery.
9. Free Motion Foot
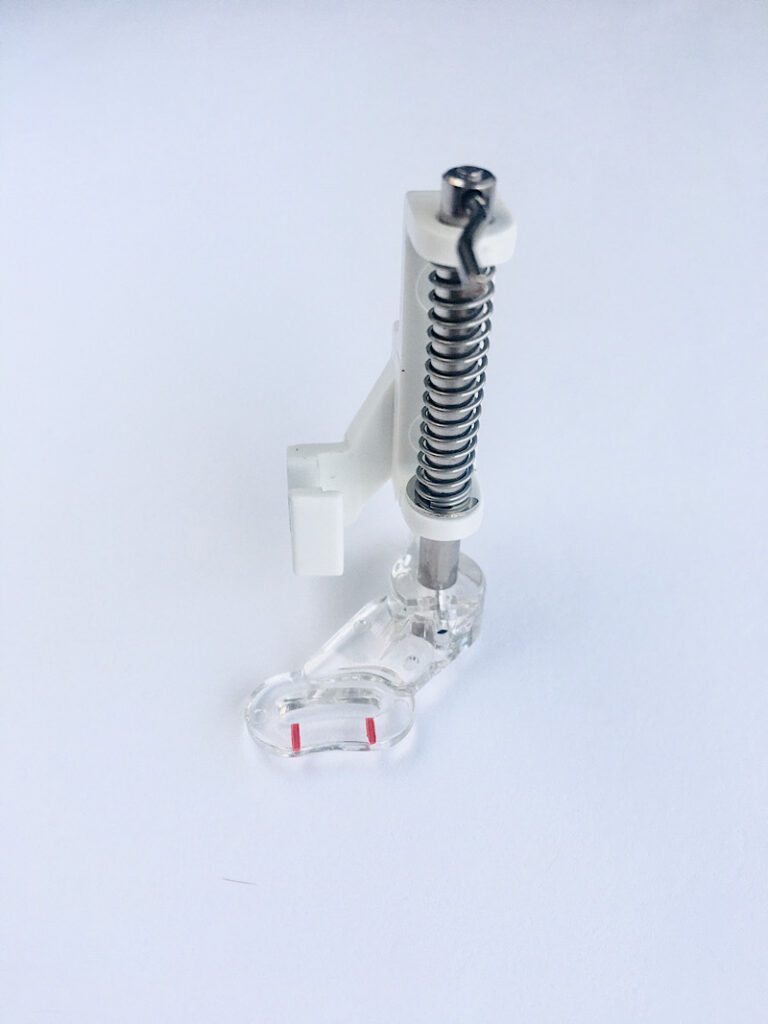
Also called the hopping foot or darning foot, the free motion presser foot is used in conjunction with dropped feed dogs to stitch freely around the fabric in any direction–without requiring you to pivot the needle or turn the material.
The free motion foot is loaded with a spring which lifts and drops the foot as you sew (which resembles hopping), allowing the fabric to remain stable enough to sew through, yet free enough to slide as you move it.
The free motion foot is commonly used for top stitching, quilting, and appliques.
Check out how I used the free motion foot to make these super cute dinosaur fossil toys!
10. Rolled Hem Foot
The rolled hem foot wraps the edge of your material through a curled channel and sews along the fold to create a neatly folded (or rolled) hem with minimal effort.
Rolled hem presser feet are made in various sizes, such as ½ inch, ¾ inch, and 1 inch, each producing a different size of folded hem. They can be used on straight lengths of fabric, as well as gradual curves such as for the hem of a circle skirt.
Although the rolled hem foot (or hemmer foot) does most of the work, to achieve great results you should hold onto the material as it feeds through the foot and gently manipulate or turn it to help it slide smoothly. Be sure to sew on the wrong side of your material, as the foot folds the fabric up and over.
11. Narrow Rolled Hem Foot
The narrow rolled hem foot is used to roll the edge of the fabric into a very tiny narrow hem, as well as stitch it down in one operation. The foot has a small metal coil that feeds the fabric through and rolls it towards the needle, making quick work of hemming lightweight and sheer fabrics.
The narrow hem foot should be used on the wrong side of your fabric, as it rolls the material up and over.
12. Gathering Foot
A gathering presser foot is used for creating soft gathers with your fabric. The foot is specially shaped to only allow part of the fabric to make contact with the feed dogs, which creates a scrunched or gathered edge. The gathering foot works best with light or medium weight fabrics that are not too slippery.
Some gathering presser feet also have a slot you can insert another layer of material in, which allows you to gather a layer of fabric, and join it to a flat layer at the same time.
13. Piping Foot
The piping presser foot (also called the cording foot) is used to create and attach piping. The foot is designed with deep channels on the underside which allow the piping to slide straight through the machine without shifting alignment.
Attaching piping to a seam with the piping foot is much faster and easier than using a zipper foot, although a zipper foot will work in a pinch.
You can learn how to make piping in this tutorial, although I used the zipper foot you can use the piping foot too!
14. Invisible Zipper Foot
The invisible zipper foot has two channels on the underside which hold open each side of the invisible zipper one at a time. These channels allow you to sew very close to the zipper’s teeth without sewing over them, which hides the zipper in the fabric when it is closed.
The invisible zipper foot is not interchangeable with the zipper foot.
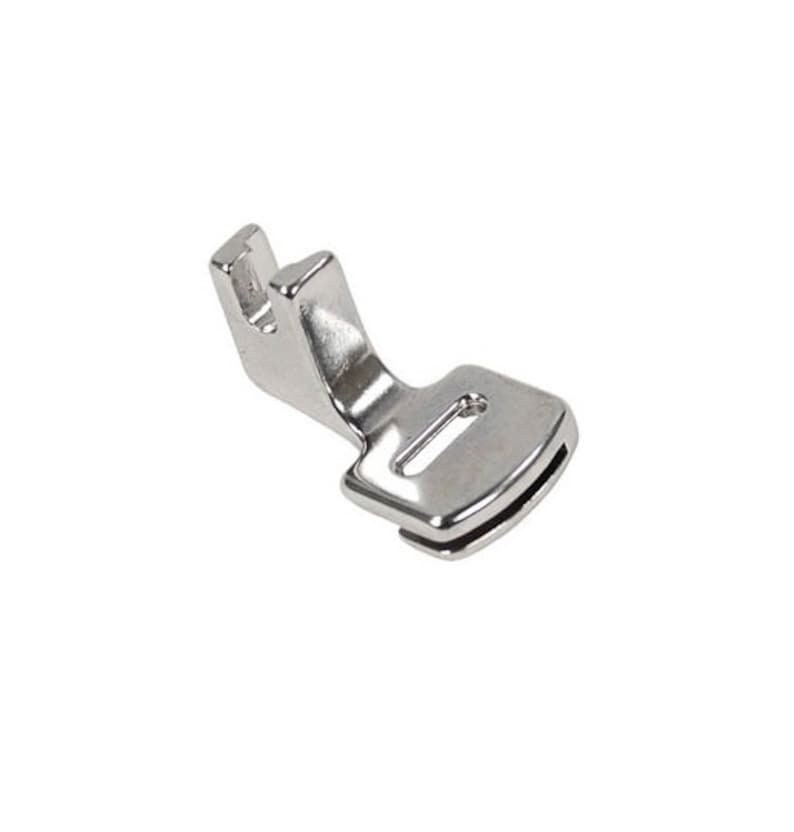
15. ¼ Inch Quilting Foot
The ¼ inch quilting foot (also called a patchwork foot) is a straight-stitch presser foot equipped with an edge guide ¼ inch away from the needle. The guide makes it easy to line up your fabric and sew perfectly straight quarter inch seam allowances when making quilts.
Many ¼ inch quilting presser feet also have horizontal markings that are used for measuring. The ¼ inch foot can also be used for top stitching.
There are many more types of sewing machine presser feet, but this article has thoroughly covered the most common ones, as well as a few special types. I hope you found this presser foot guide and chart useful.
The best way to learn about your presser foot is to practice using it!
Make sure to pin this post for later, so you can reference it whenever you need more information about your presser feet.
And be sure to sign up for my email list to be notified about more Sewing 101 articles like this one.
This is just what I was looking for! Great explanations how what to use the various feet for – I am usually confused!
Thanks for your comment Stephanie!
This is SO SO helpful! Thank you.
You’re so welcome Sasha!
do you happen to have a printable version of this information
Ashlee I don’t have a printable version yet but I should make one! You’re welcome to copy and paste to print one for yourself if you want, eventually I will get one made up!
Thank you for making this understandable!