Need help replacing the light bulb for your Brother 1034D Serger? So did I! This post will quickly show you step-by-step photos of how to open your serger to locate the bulb and insert a new one.
I have had my Brother 1034D serger for a few years now, (And here’s why I LOVE it) but after all this time the lightbulb finally went out. I figured it would be an easy enough problem to fix, but I could not for the life of me find out what kind of light bulb is the “official” bulb recommended for this serger!
The manual that came with the machine didn’t have the answer, the old lightbulb didn’t have the answer, and neither did google. So I had to take the lightbulb to the store and figure it out myself.
In fact, the outside of the machine says “Lamp Max 15W” but the inside of the light socket says 75W! So I tried a 75 watt bulb and it blew out. Back to google I went, but everyone was disagreeing on the bulb base size needed.
Finally I found the answer, and here it is…
This post may contain affiliate links. Read the full disclosure here.
What lightbulb is used for the brother 1034D serger?
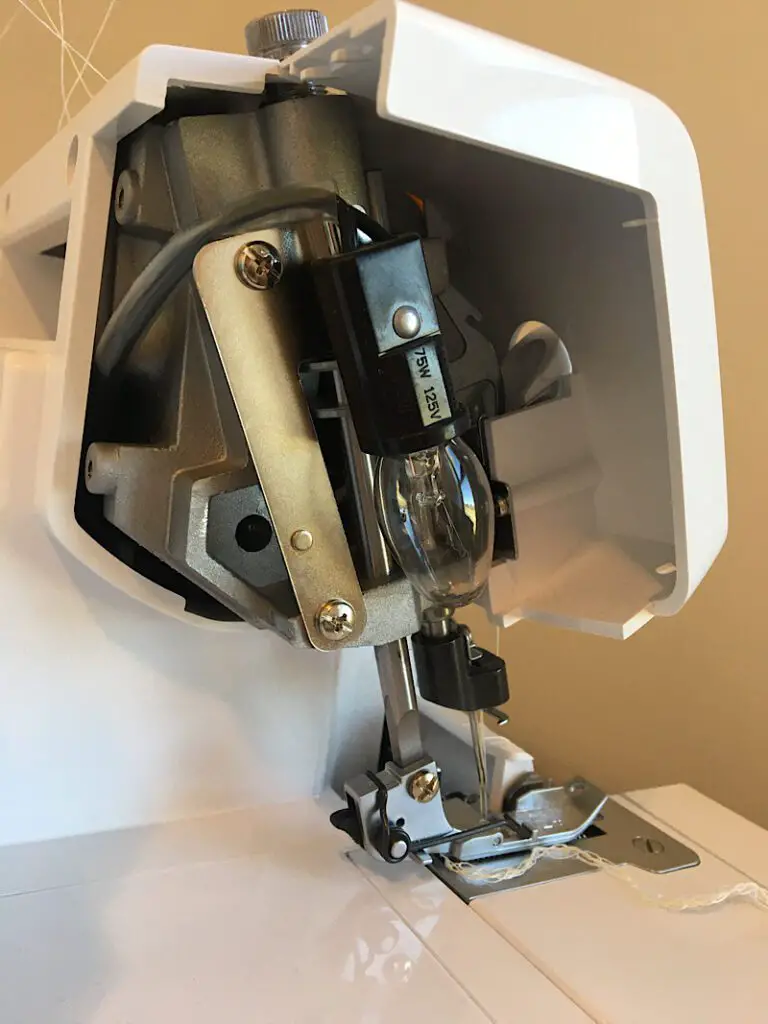
The Brother 1034D serger uses an E12 base light bulb, also called a 7/16”, C/7, or candelabra bulb. The bulb should be no more than 15 Watts.
Interestingly, this is the same lightbulb used in kid’s nightlights, which means you might have some at home already. (Provided it is under 15 watts.)
If you don’t have one already, here is an inexpensive option online.
The access point for the light bulb is located on the back of the serger above the throat plate and needle.
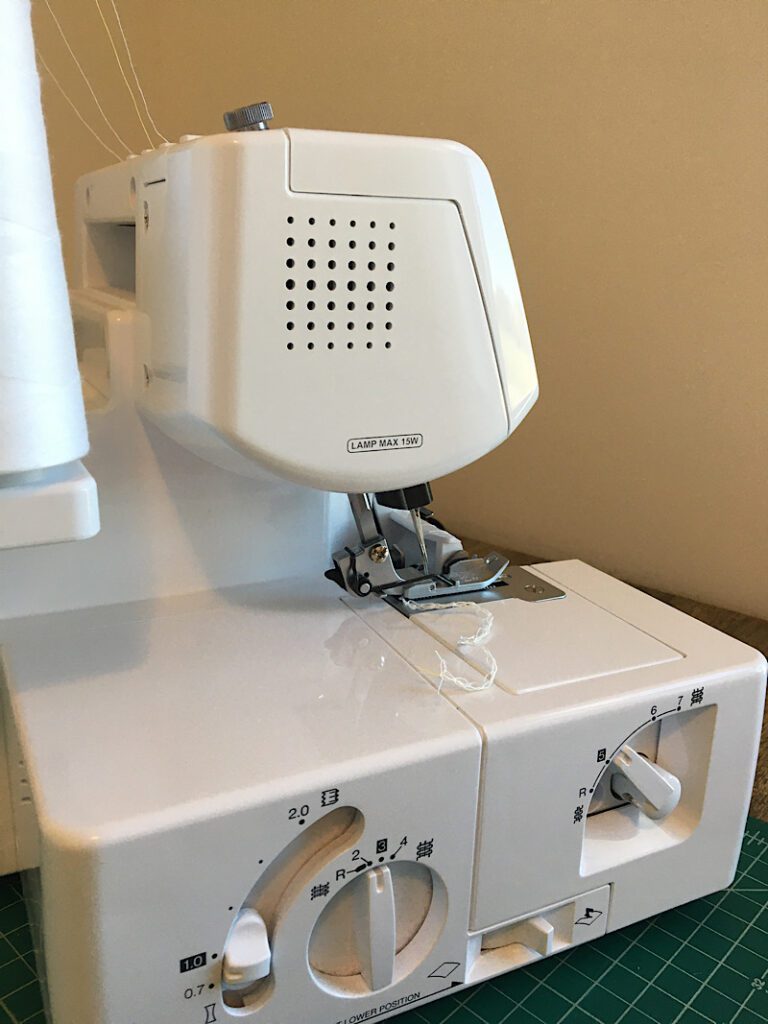
The space where the light socket is is small, but if your fingers are long enough you might be able to unscrew and rescrew the light bulbs without removing the cover. I was able to, but removing the cover is not hard either!
How To Replace The Lightbulb in the Brother 1034D Serger
To replace the Brother 1034D’s lightbulb, unscrew the two screws on the cover-plate that is located on the back of the serger. Remove the cover, and locate the bulb and socket. Unscrew the old light bulb, and insert the new one. Screw it only finger tight, do not overtighten. Then, replace the screws and cover plate.
Here are the steps in more detail, for those of you who like photos!
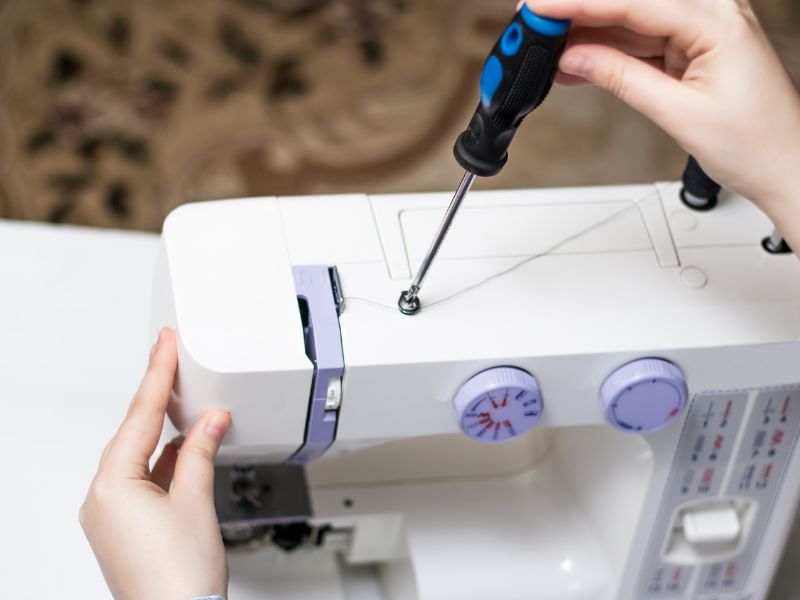
Step 1. Remove the screws
Make sure your serger is turned off AND unplugged before you work on it.
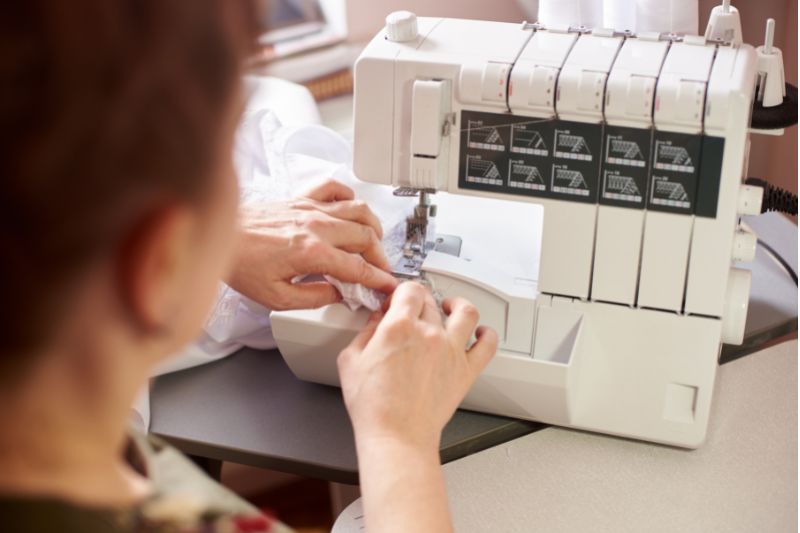
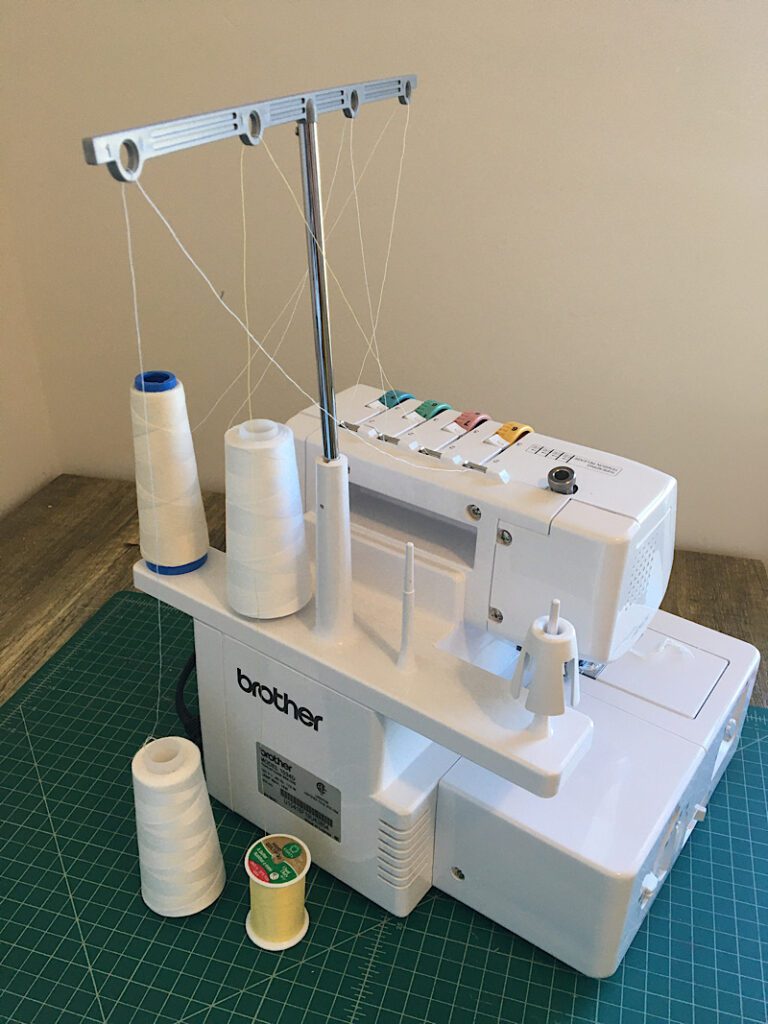
Remove the first and second spools of thread from the thread tree (the spool holder). You don’t even need to unthread the machine, just move the spools carefully away to make some room.
Turn the thread tree away from the lightbulb cover so you can access the screws.
Using a phillips screw driver, unscrew the screws and remove the cover.
Your model may have an additional metal cover around the lightbulb that also needs to be unscrewed. Mine does not.
You can now access the light bulb.
Step 2. Replace the lightbulb
Unscrew the old lightbulb and throw it away. Carefully replace it with the new lightbulb, but do not over tighten.
To replace the cover, make sure the lip on the edge of right hand side of the cover slides underneath the plastic on the serger.

Replace the screws, put the spools back on the thread tree, and you’re done!
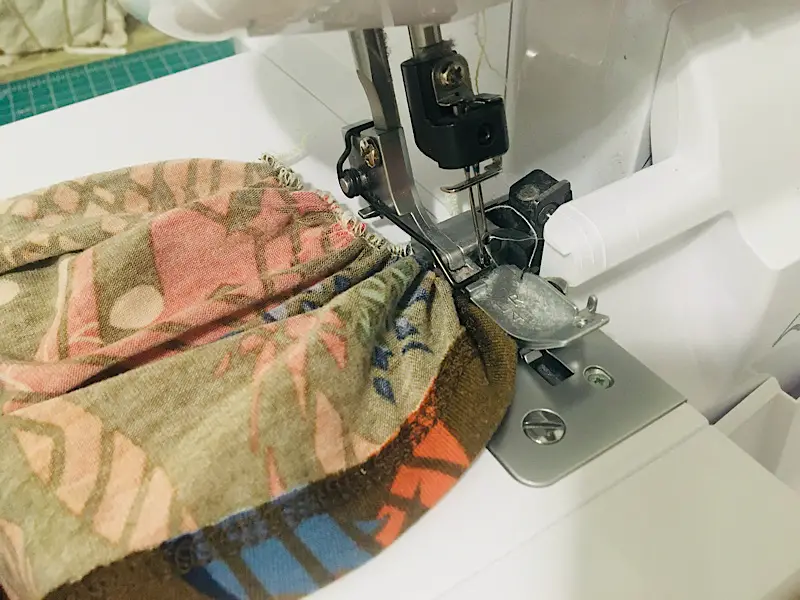
Plug your serger back on and test it out. It’s so much better to sew with light!
Conclusion
I hope this tutorial about which light bulb the Brother 1034D serger needs was helpful, I wish I hadn’t had to take so long figuring it out in the middle of Walmart with an old lightbulb in my hand! (Especially with a bunch of kids in tow!)
Let me know what other Serger questions you have in the comments below, and make sure to sign up for emails for more helpful tips.