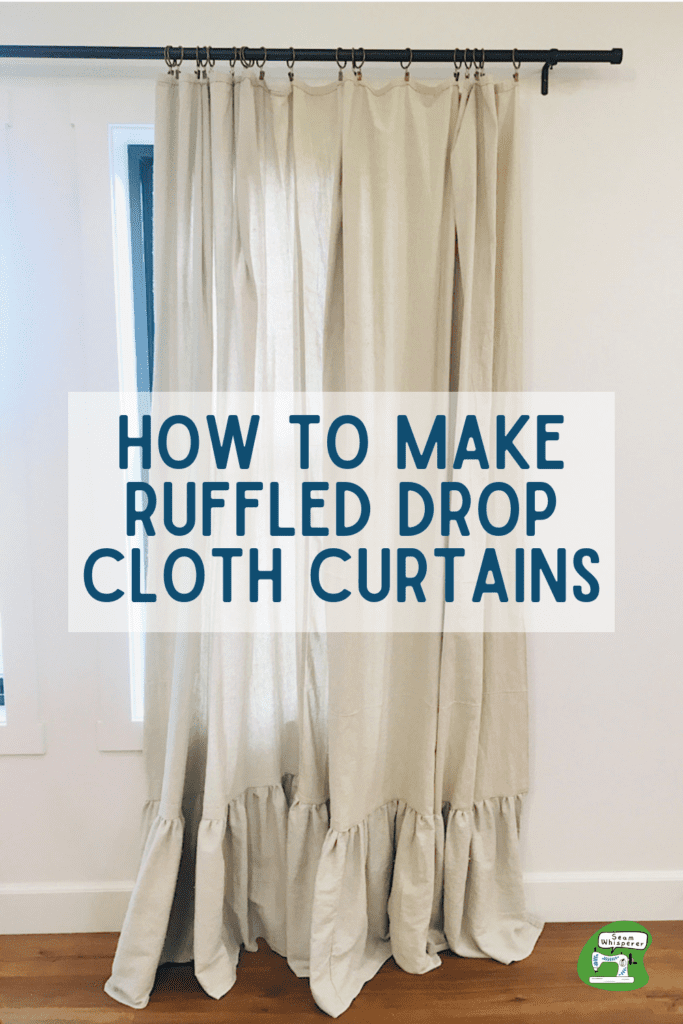
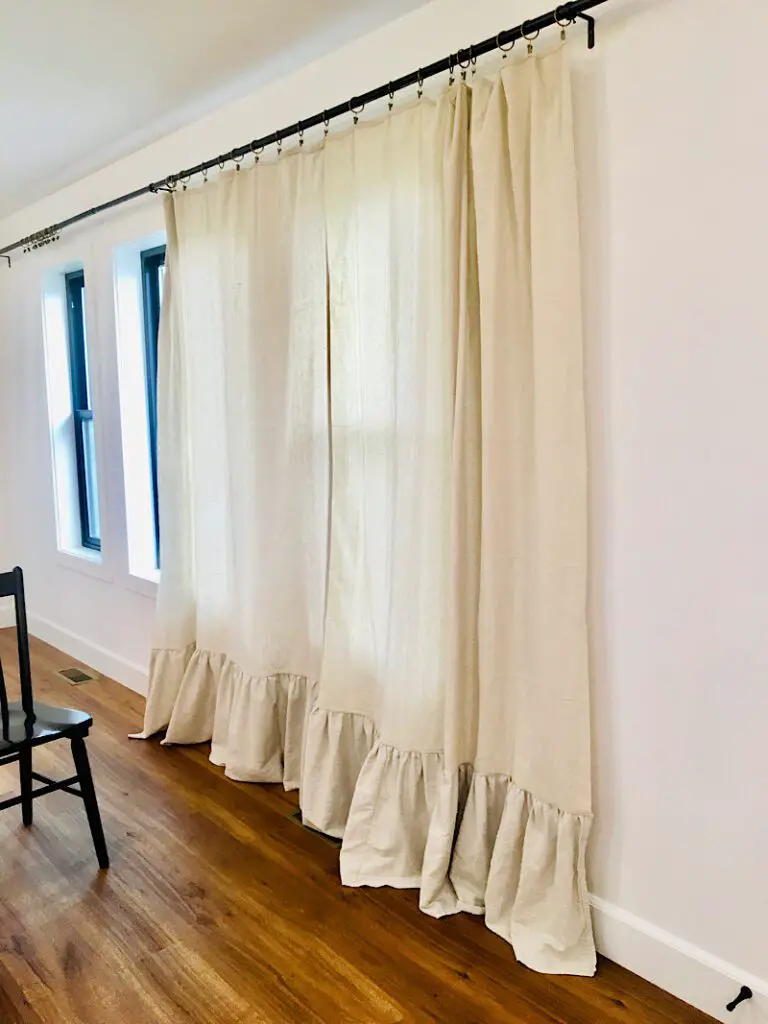
DIY drop cloth curtains totally transformed my living room and added texture, class, and utility without breaking the bank! Learn how I made these easy farmhouse inspired drop cloth curtains with a ruffle on the bottom for under $50.
This post may contain affiliate links. Read the full disclosure here.
We have a large wall of windows in the back of our living room, and I left them bare for a long time because I loved the minimalistic look of the plain black windows.
But in the summer evenings, the sun blazes through that window and it was getting hot enough that I decided we needed some curtains to help keep the house cool. I had three requirements for these curtains:
- The curtains must be beautiful & full of texture
- They shouldn’t make the windows feel smaller
- They couldn’t be expensive!
Enter: DIY drop cloth curtains! Drop cloth curtains are not a new thing, but I still love them and they solved all my problems! Plus with a twist of adding a ruffle on the bottom, they were more my style and super cute.
Let me show you how easy it was! to sew up this look!
How To Sew DIY Drop Cloth Curtains With A Ruffle
Supplies Needed
- Drop Cloths (I got two 9’x12′ drop cloths from Walmart Hypertough brand, each was $20!) Measure your window first in step 1, to figure out how much you need)
- Matching Thread (here is a good option with lots of colors)
- Curtain Rings & Rod
- Measuring Tape
- Sewing Machine, Serger (optional), fabric scissors, etc.
Step 1. Measure Your Windows
The first thing to do is measure your window to figure out how many and what size of drop cloths you will need.
I decided to hang my curtains high and wide so that when they were open, the windows were 100% visible.
I also wanted my curtains to have a large ruffle on the bottom, which I made about 16 inches tall.
So the total height of the curtains was measured from 10 inches above the window, down to the floor, minus 16 inches.
I also added about 14 inches to both sides of the windows for the width, divided by 2 to make 2 panels.
Finally, the ruffle itself needed fabric that was twice as wide as each curtain panel, so I could gather it into the ruffle.
So I needed two panels that were 72 inches by 72 inches, and two pieces for the ruffle that were 14 inches by 144 inches.
For my large windows, two 9×12 drop cloths were enough, but you may not need that much!
**I tried to cut my cloth in a way so that I wouldn’t have to do much hemming of the sides. I also hemmed some of the sides by simply serging the edge. Depending on how you want to hem your edges, you may need to add hemming allowance to your measurements.
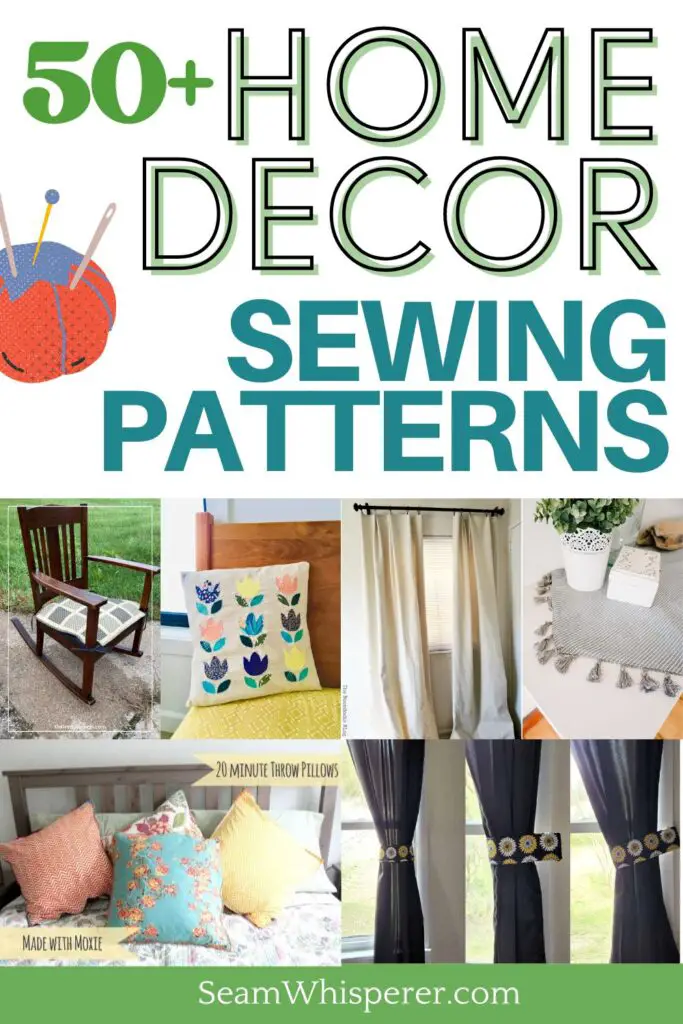
Make sure to check out my list of other great DIY Home Decor sewing projects!
Step 2. Prepare The Drop Cloth
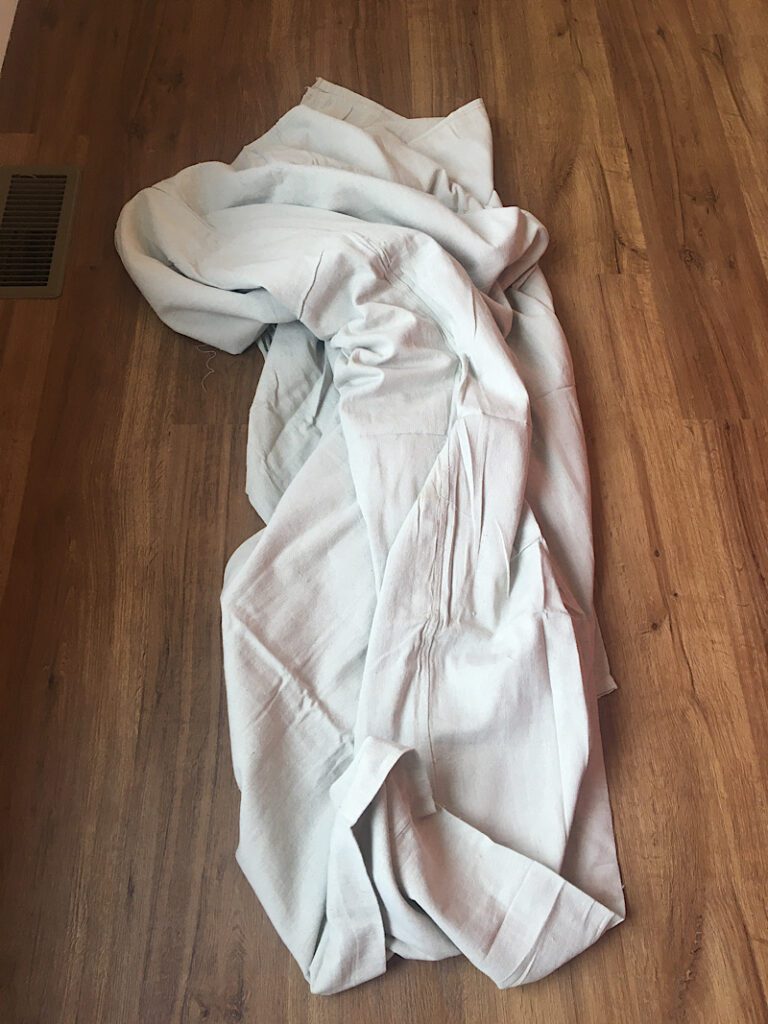
Your drop cloths may have a residual chemical smell when you open them, so the first thing you should do is pre wash them and bleach them if you want them to be whiter/brighter. (I added a bit of bleach just for the smell, but I wanted to keep the natural look of mine.)
Then, dry them in the dryer and get ready to cut and sew them soon after so they don’t wrinkle too much.
Also look over the cloths and clip any loose threads to clean it up. Many drop cloths also have a flat felled seam down the middle, and sometimes the seams aren’t perfect. I had to clean up one of the seams on mine to make sure it laid flat.
Step 3. Cut The Drop Cloth Into Curtain Panels
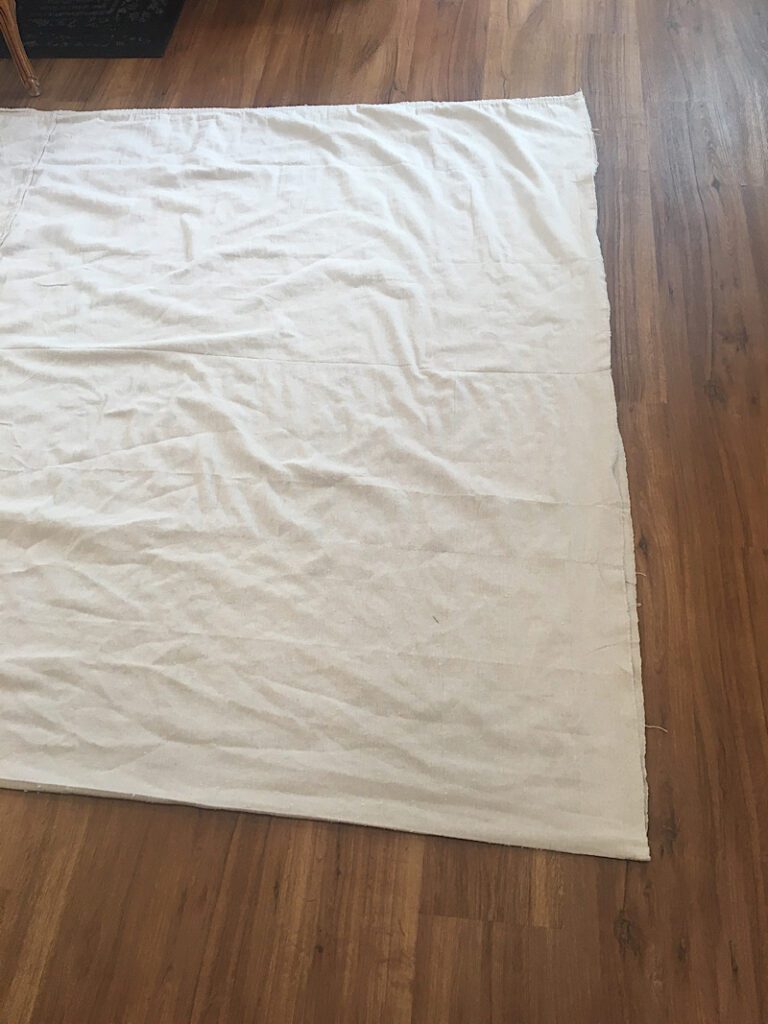
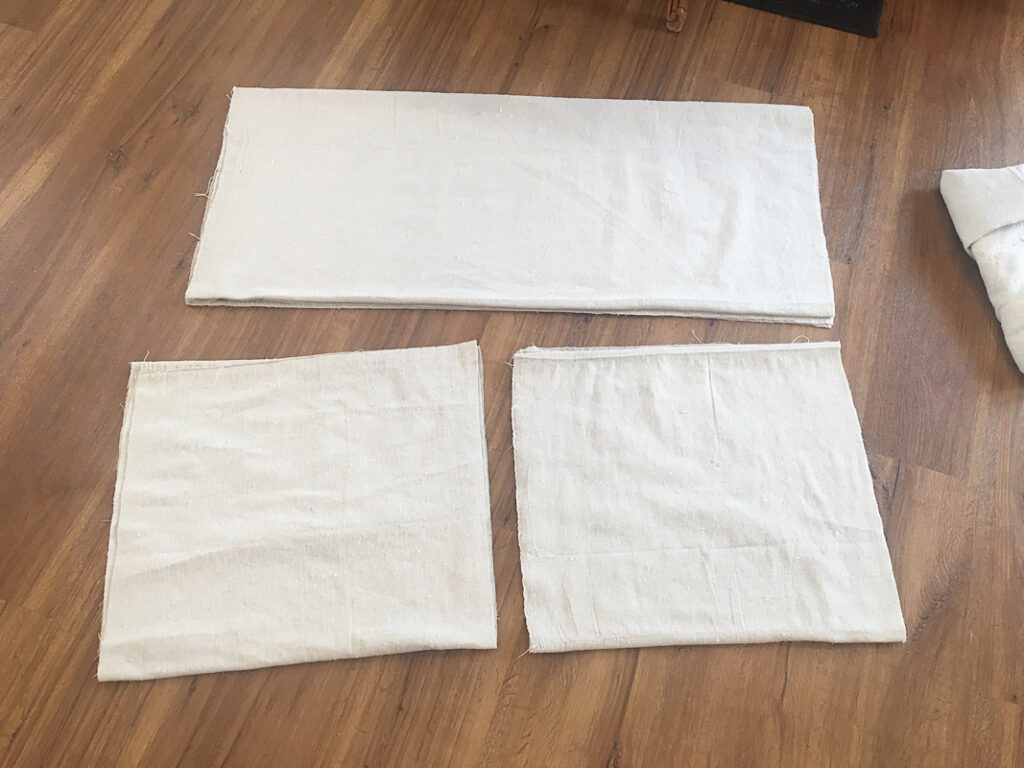
Using the measurements for your particular window, Cut out the two main curtain panels from your drop cloth. If there is a seam. position the panels so the seam matches on both panels.
Also cut out the strips that will become the ruffles. If you don’t have one long enough length of fabric, you can sew shorter ones together to make one long ruffle strip.
Step 4. Gather The Ruffle
Set your sewing machine stitch length to the longest length possible, and sew a basting stitch (without backstitching at the beginning or end) along the top of the ruffle fabric, with a 3/8ths inch seam allowance.
Then, sew an additional basting stitch but with a 5/8ths seam allowance.
To gather the ruffle, gently pull on the thread tails on one side of the fabric, and pull the threads while bunching the fabric carefully down the stitch. Move the gathers down the entire length of the stitch, until the fabric ends up being the width of the curtain panel.
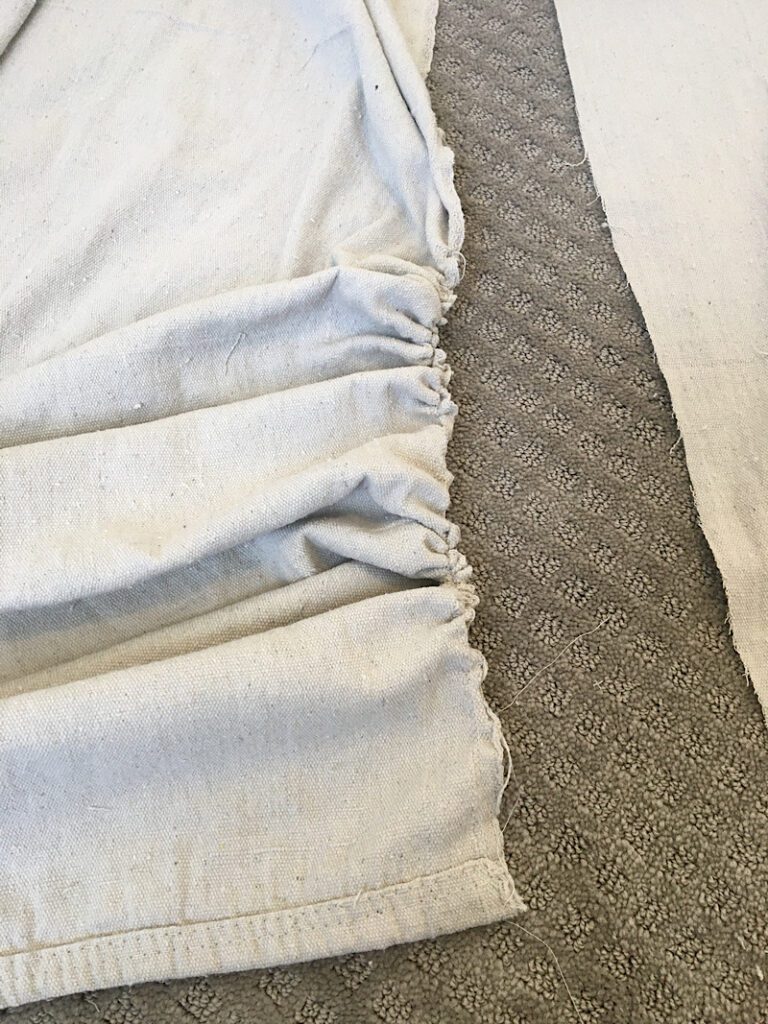
When the ruffle is the right length, tie the thread tails so they can’t un-gather.
Repeat this step with the other piece as well.
Step 5. Attach The Ruffles To The Curtain
Lay out the curtain panel on the floor with the right side facing up.
Take your gathered ruffle piece, and lay it upside down on top of the curtain panel with the right sides facing, and align the raw edges.
Pin the ruffle to the curtain panel.
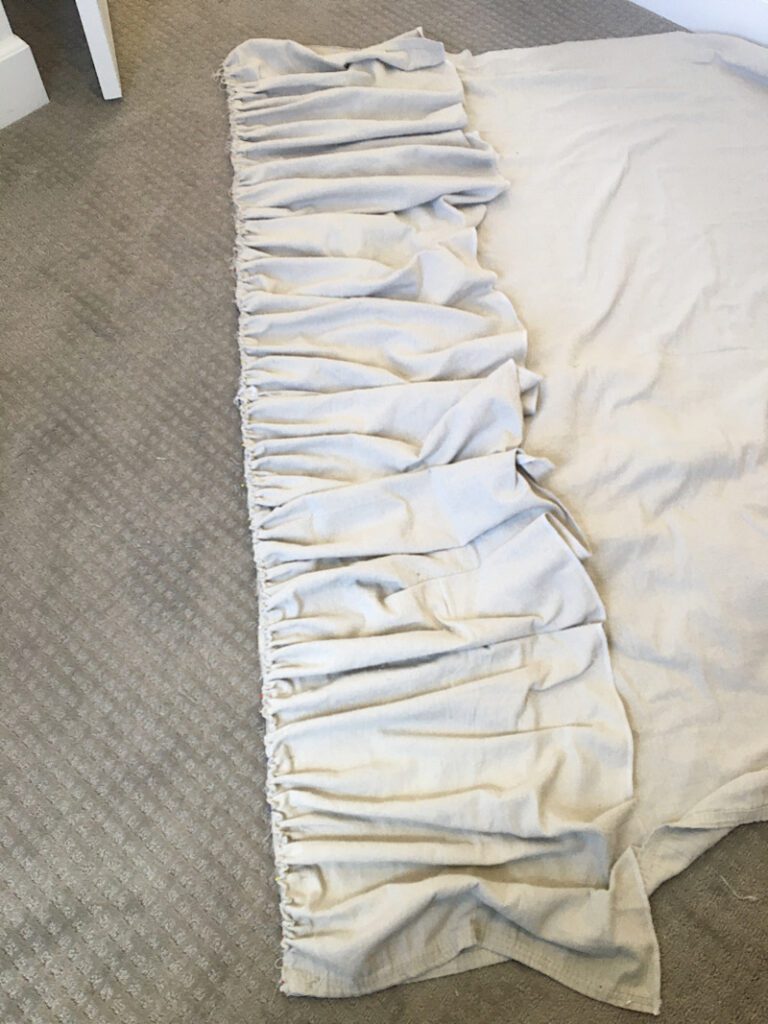
Bring the curtain to your machine and sew the ruffle to the panel with a 5/8ths seam allowance.
Then, serge the edge if you wish. Or you can zig zag the edge if you don’t have a serger.
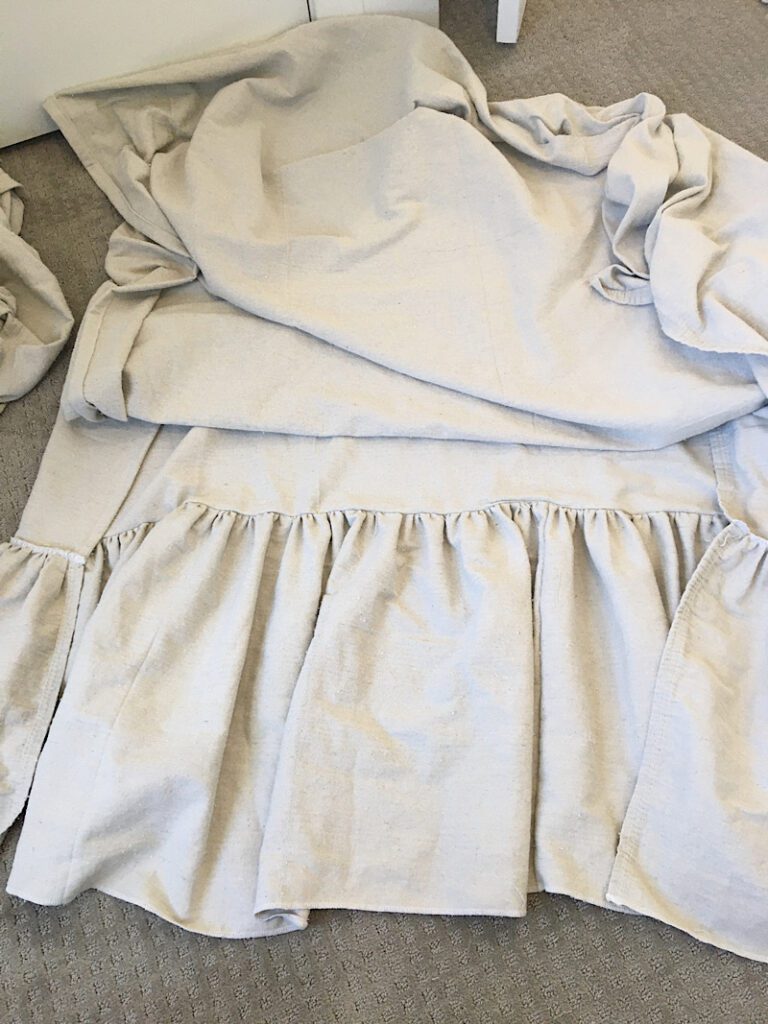
Finally, hem the sides of the curtain if needed. I serged the bottom of the curtain so that it would be more delicate looking, and left the factory hem on the sides and top.
Repeat everything with the other curtain so you have two completed panels!
Step 6. Hang The Curtains
Finally, you just have to hang the curtains! I used curtain rings with clips, and hung them from an Umbra curtain rod.
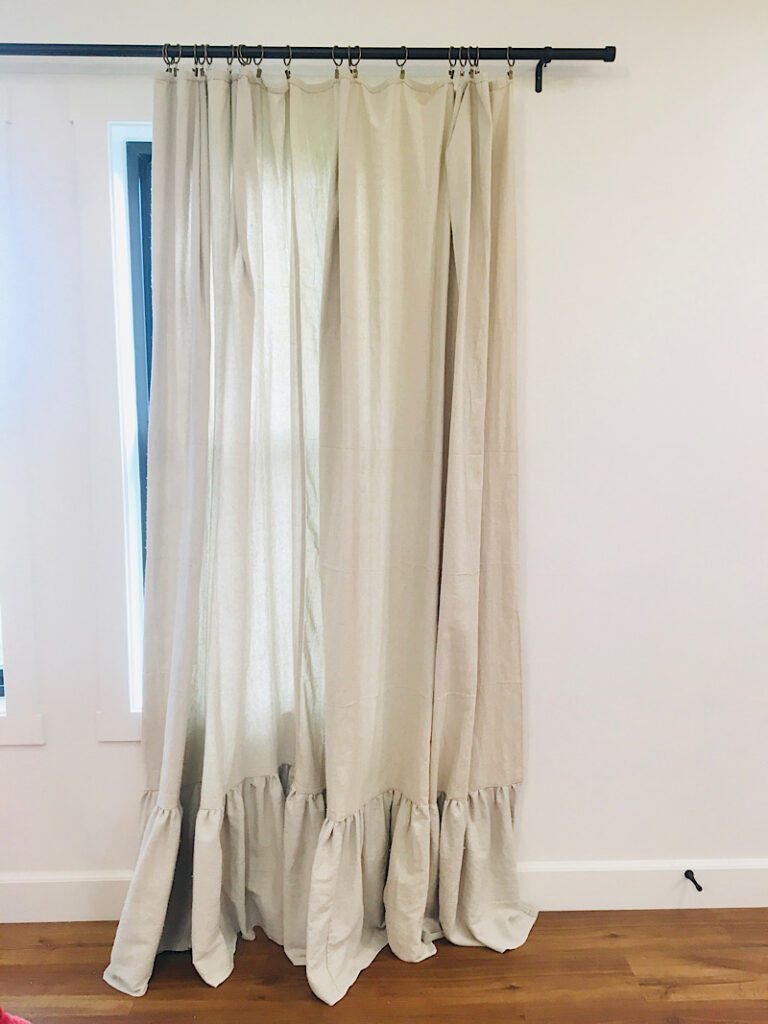
That completes the project!
I am SO happy with how it turned out! It is so lovely and will match a lot of changing decor over the years. I especially love how cheap it was!
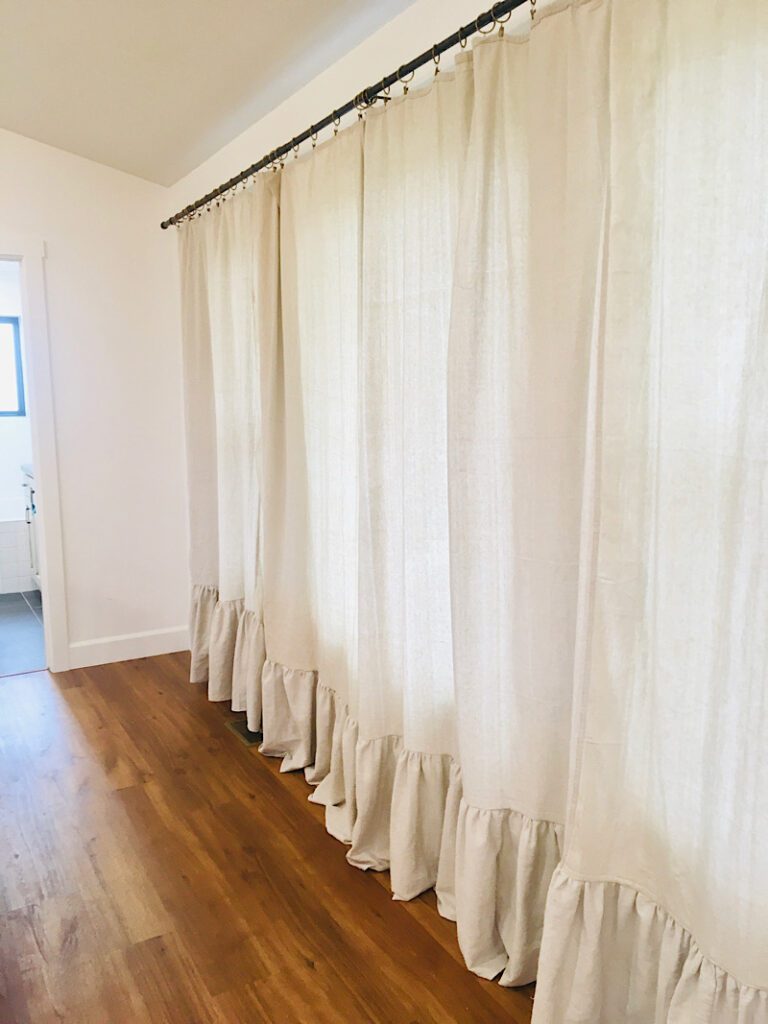
I also have a little canvas curtain in my kitchen window, as well as the spring tulip canvas throw pillow I made, so these matched well!
If you try out this project, send me an email with photos, I would love to add them to this post so my other readers can be inspired!
Pin this post to Pinterest to reference it later!

I’m absolutely loving your drop cloth curtains, you’re a true inspiration! I wanted to drop a quick message to let you know that I featured your tutorial (with proper credit) on Crafts on Display, a thriving community of fellow crafting enthusiasts. You can check it out right here – https://craftsondisplay.com/sewing/diy-tutorial-make-drop-cloth-curtains-with-a-ruffle-43313/ I hope you enjoy it, and keep up the fab work!
Thats great, Thanks so much!