Have a dress you don’t wear, but don’t want to give up? Turn it into an elastic waist skirt with this simple and fast refashion!
I found this gorgeous rust colored linen dress while thrifting but it was too small. I refashioned the top to add some fabric and make it fit. I liked it for a while but the sleeves were still just a little too short for me to LOVE it.
Since I haven’t worn it in a while I decided to turn it into an elastic waist skirt! This was SO easy and now I will be able to wear it all the time. I love how little waste there was too, since I used the extra fabric from the sleeves to make the waist band.
Supplies Needed
- Dress to alter (The right kind of dress for this tutorial is one that is already bigger than your waist/hips or is stretchy that you can gather with an elastic. If you have a fitted/non stretchy dress, you will probably need to add a zipper instead of an elastic waist, this tutorial is not for you.)
- Additional matching fabric to make a waistband (if needed. I used the sleeves to make mine. Depending on the construction of the bodice you may have enough there to use as well.)
- 1 inch elastic cut to the length of your waist circumference +1 inch.
- A large safety pin or bodkin
- Matching Thread
- Sewing Pins, scissors, measuring tape.
How To Turn A Dress Into A Skirt
Note: These screenshots are from my video tutorial if you prefer to watch!
Step 1. Detach The Bodice
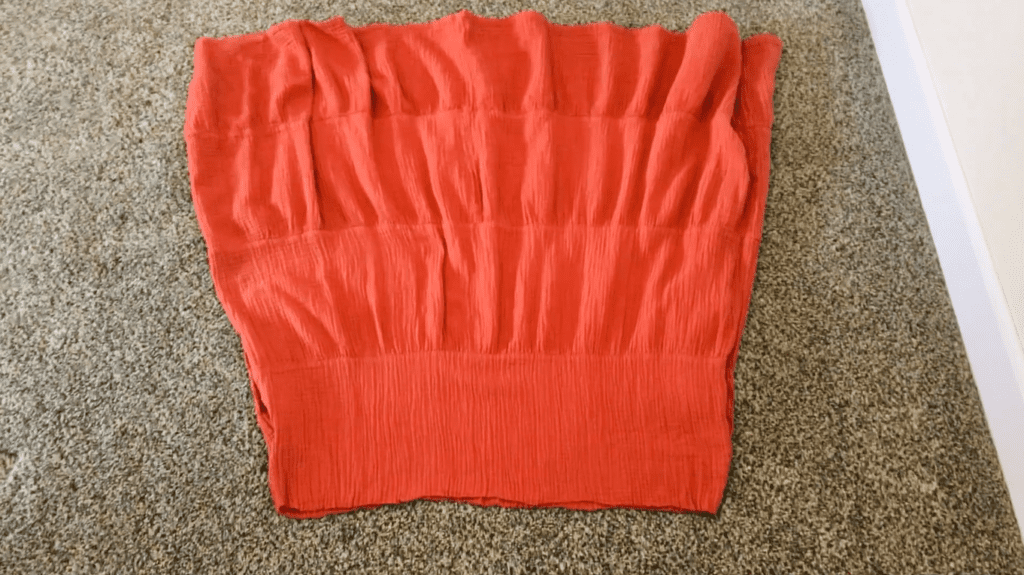
Some dresses have a super obvious place where the bodice attaches to the skirt portion. If yours does, that is probably the place to cut off the skirt from. My dress was like this. If your dress does not, then you will need to try it on, and determine where you want to cut.
You also have the option to cut more off than needed to make a shorter skirt, or (if your dress has no defined waist line) cut closer to your armpits to make a longer skirt.

Cut off the “skirt” from the dress, making sure to cut straight, all the way around.
Step 2. Make The Waistband
Measure to find your hip circumference. Multiply this number by 1.5 to find your waistband circumference.
You want the waistband to be 3.25 inches wide, and as long as your waistband circumference.
Look at the remaining pieces of your dress and determine if there is enough fabric left to make into the waistband. You can use portions of the bodice and sleeves, by cutting 3.25 inch wide strips and sewing them together into one long strip. OR, you can make a different coordinating/matching fabric work as well.
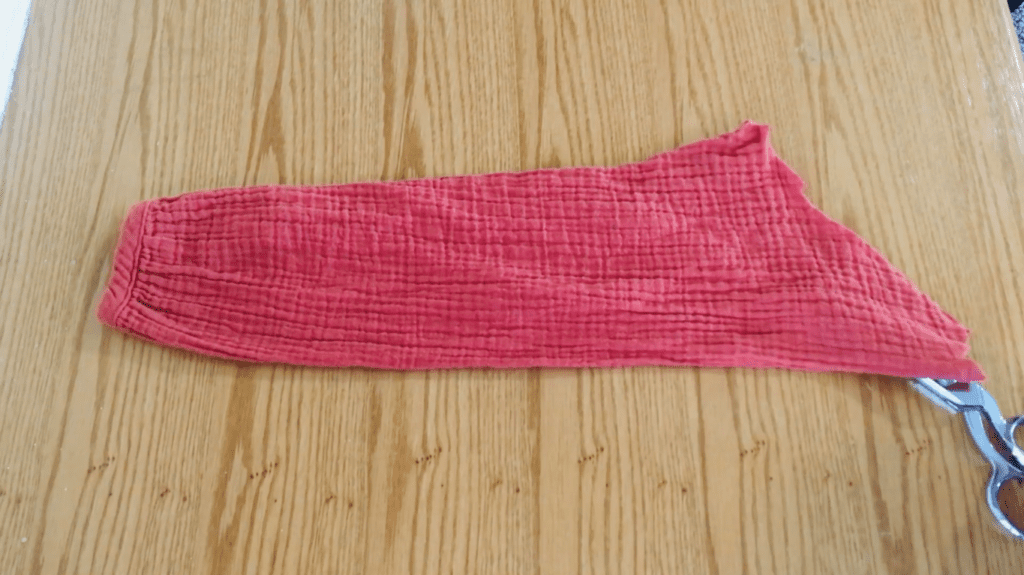
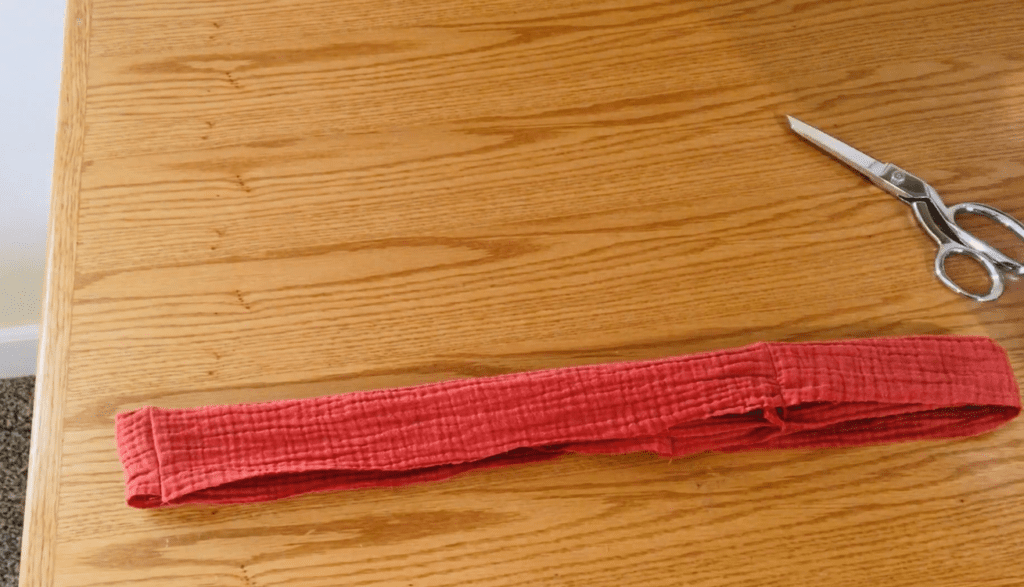
I cut the sleeves off my dress, then cut them open along the seam. I cut them into 3.25 inch wide strips, and sewed them together until it was long enough. With this method, there will be seams around the waistband, but it doesn’t bother me.
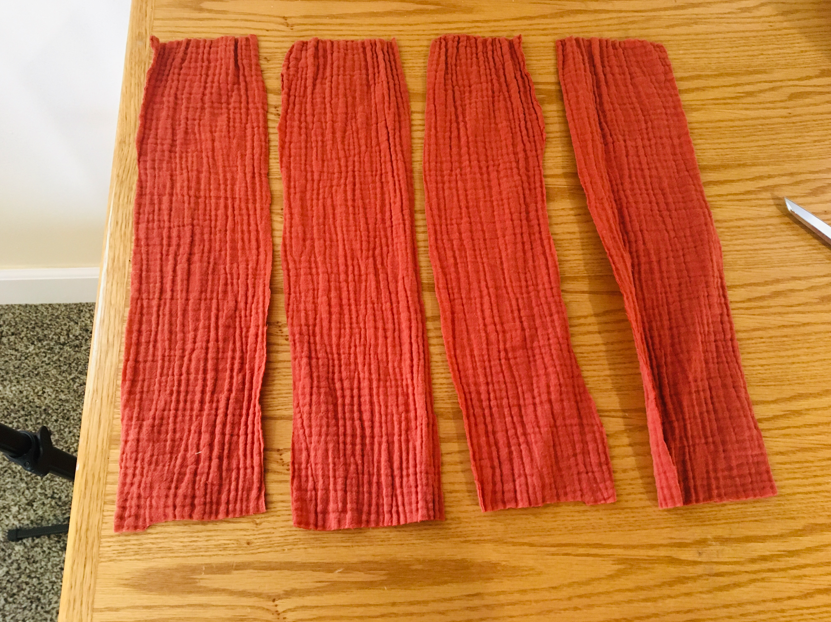
Once your waistband is long enough, fold it in half with the right sides together and sew down the two short sides, to make it into a loop.
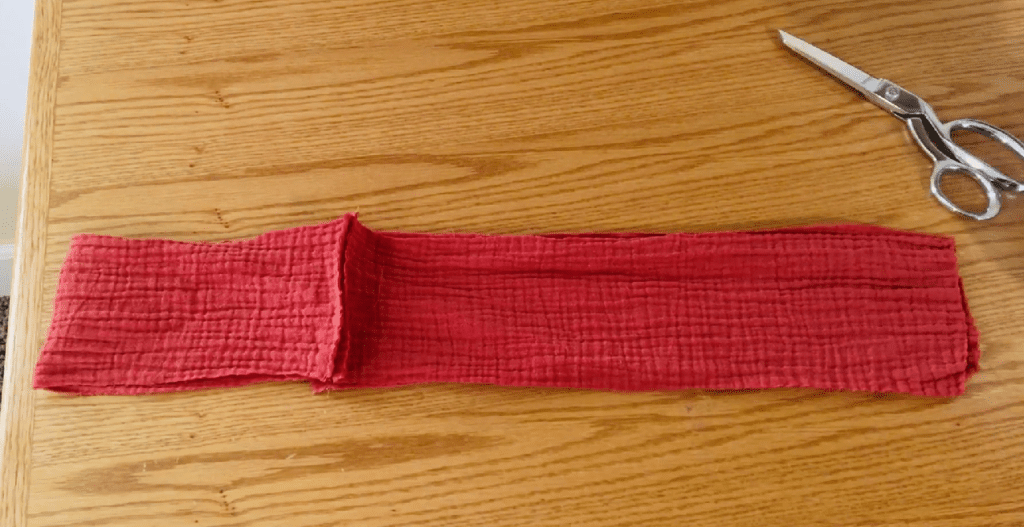
Then, fold the waistband in half lengthwise around the circumference of the loop, with the right sides out.
Step 3. Attach Skirt To Waistband
If your skirt was a lot bigger than your waistband circumference like mine was, then you will first need to gather it.
Sew a basting stitch (the longest stitch length possible, and DON’T backstitch at the beginning or end) along the top edge of the skirt with a 1/4 inch seam allowance. Then, pull the ends of the threads to gather the skirt evenly, until it is the same circumference as the waistband.
Place the waistband around the top of the skirt, upside down, so the raw edges of the band are aligned with the raw edges of the skirt. (The waistband should still be folded in half.)
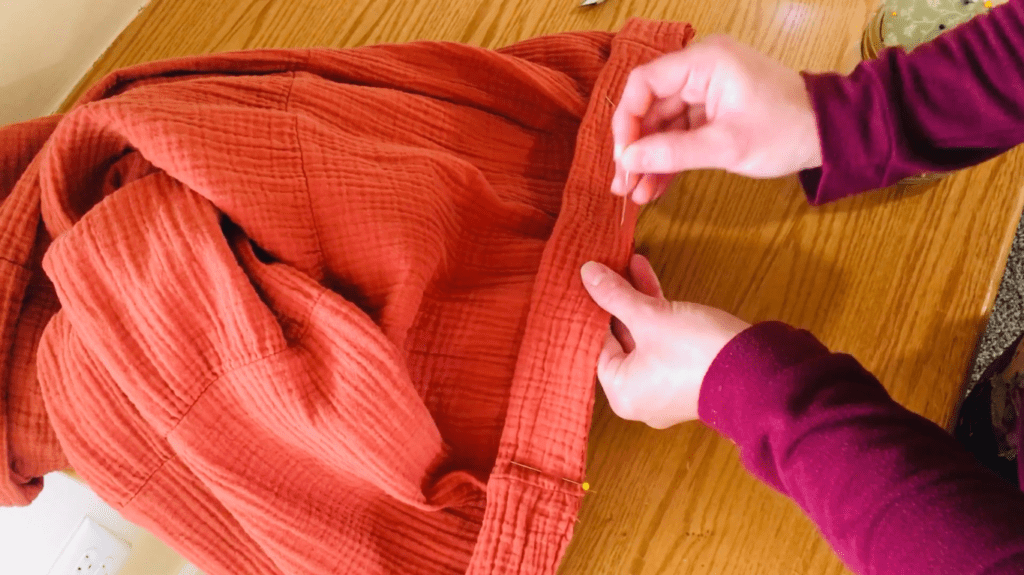
Pin the waistband to the skirt all the way around.
Next, sew the waistband to the skirt with a 3/8ths inch seam allowance, but leave a 2 inch gap at the end.
Step 4. Insert The Elastic
Place the large safety pin or bodkin to one end of your elastic, and insert it through the gap into the waistband. Thread the elastic into the waistband all the way around, without pulling the other end through.
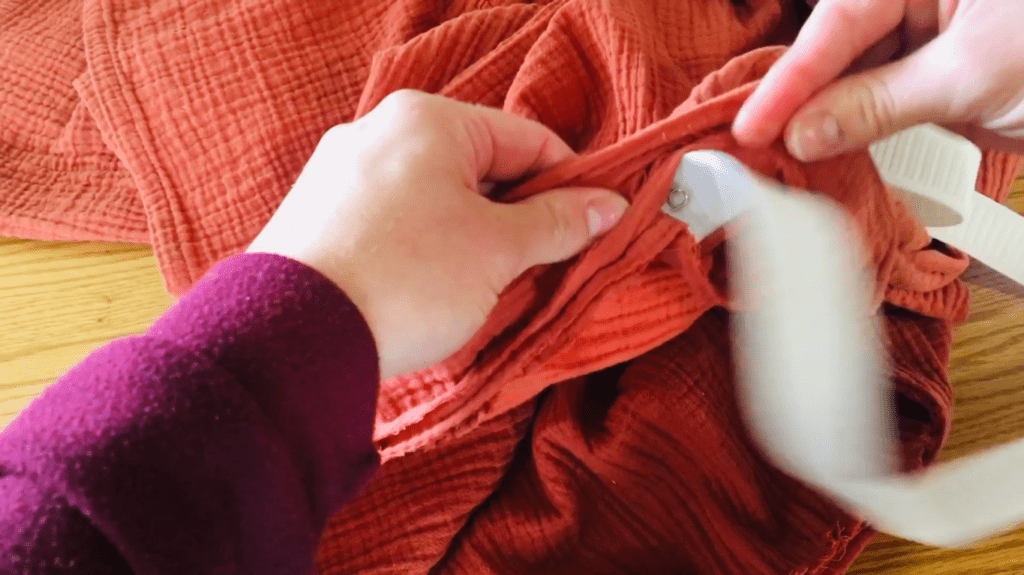
Lay the ends of the elastic over each other 1/2 an inch, then sew a line back and forth several times to attach them.
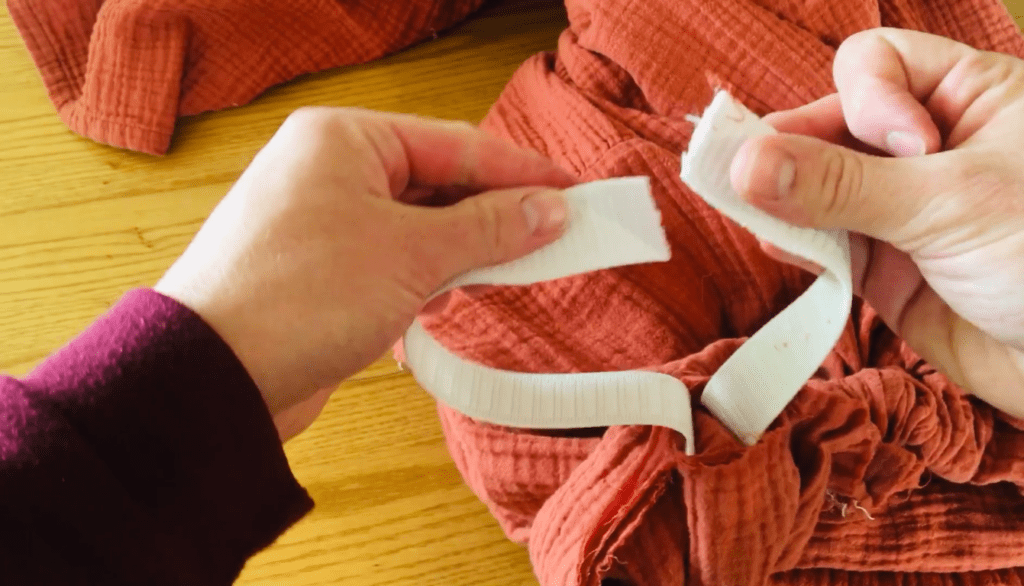
Pull the waistband fabric over the elastic ends to hide them inside.
Then, flatten out the portion of the waistband where you left a gap, and close the gap by continuing the seam line you previously made.
Finally, finish the hem of the waistband seam by sewing a zig zag stitch over the edge, or using a serger.
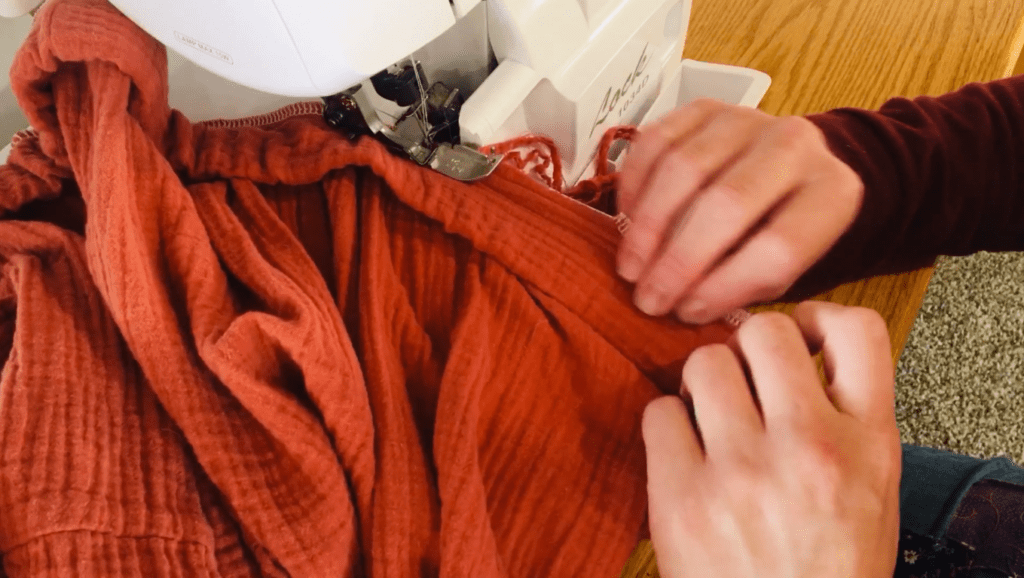
Then you are done!
I love how this turned out, and I am so happy I was able to save this dress with gorgeous fabric. I hope this helped you learn to alter your dress too. Practice makes perfect, so don’t worry if you make a mistake most mistakes are fixable) and let me know if you need help!
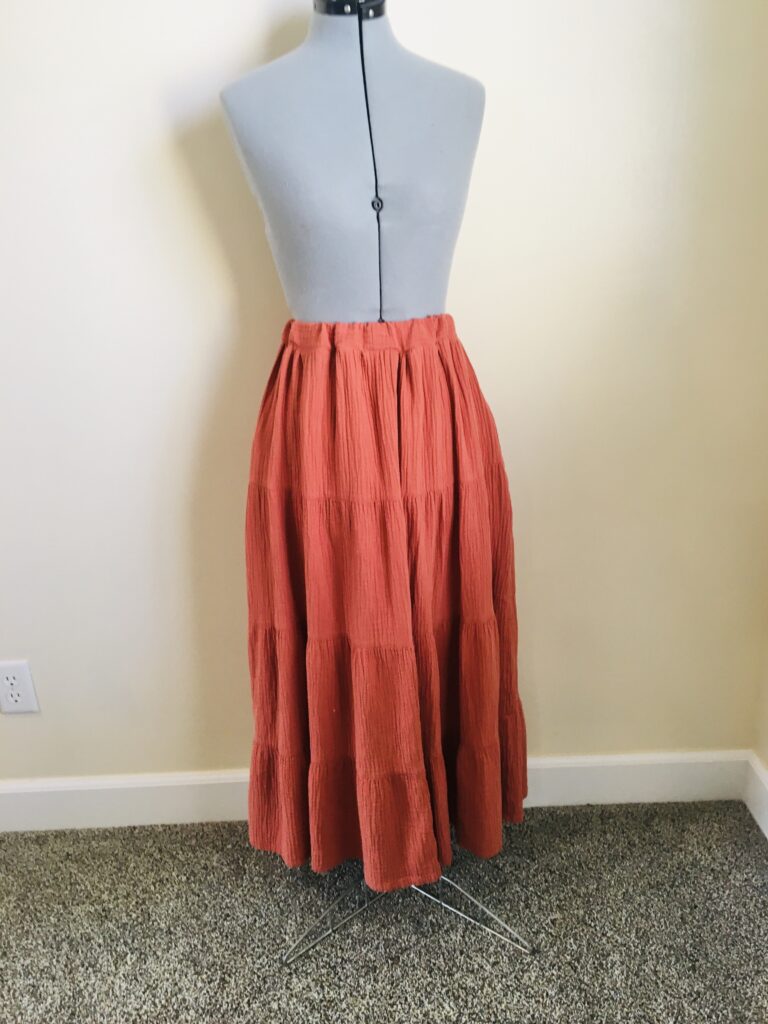
I hope this tutorial was helpful to you! This is a pretty easy alteration that even beginners can do. If you want to see how I fixed the elastic waistband on another skirt, check out this post too!
Leave a comment if you need help, and pin this post to pinterest!



where is the peasant dress pattern
Hi molly, you can use the search bar to find that tutorial on my site!