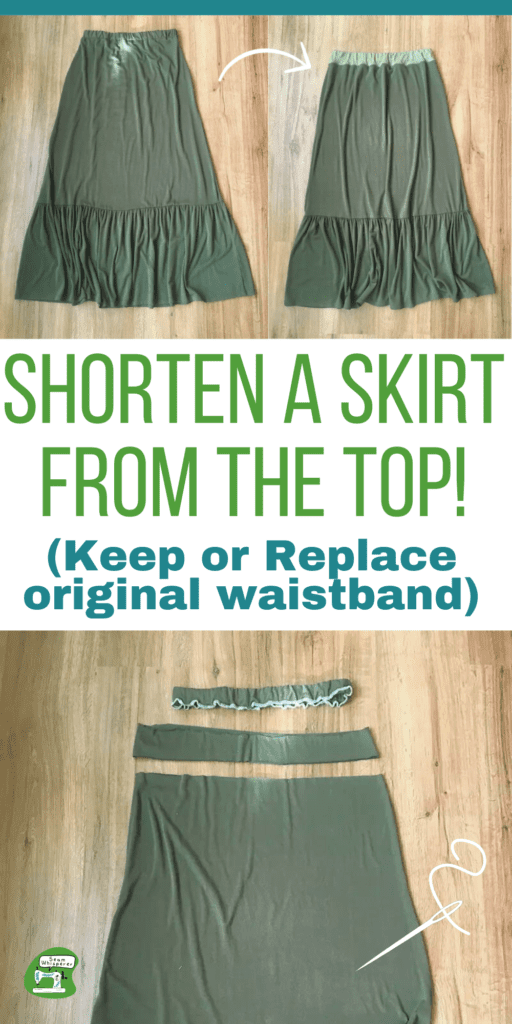
Is your skirt bit too long, but you don’t want to hem the bottom? Hemming from the top is easier than it sounds, let me show you how!
This post may contain affiliate links. Read the full disclosure here.
Shortening a skirt from the top is useful in two different situations:
- If your skirt is too long but you don’t want to ruin a pretty hem on the bottom (such as gathers, lace, embroidery, etc.)
- Your skirt waist is too tight. (lots of skirts flare out, and shortening it a few inches can add some width to the waist area.)
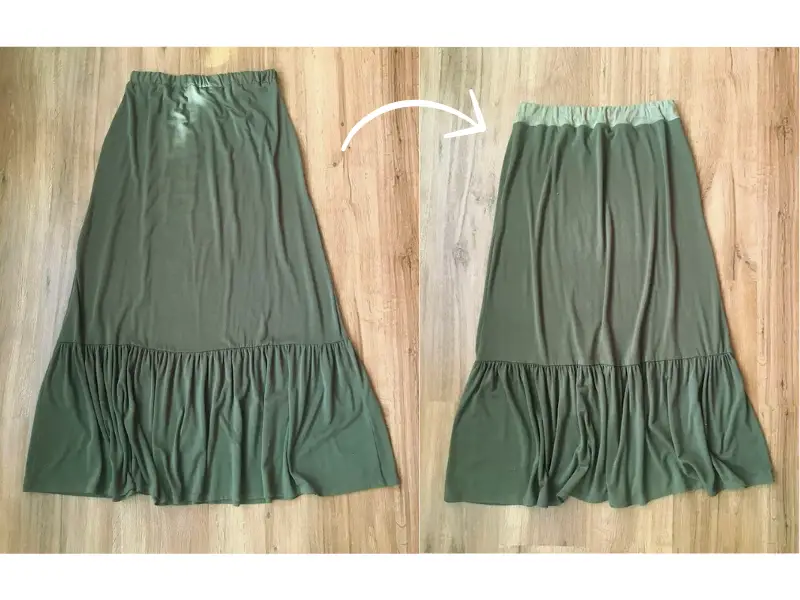
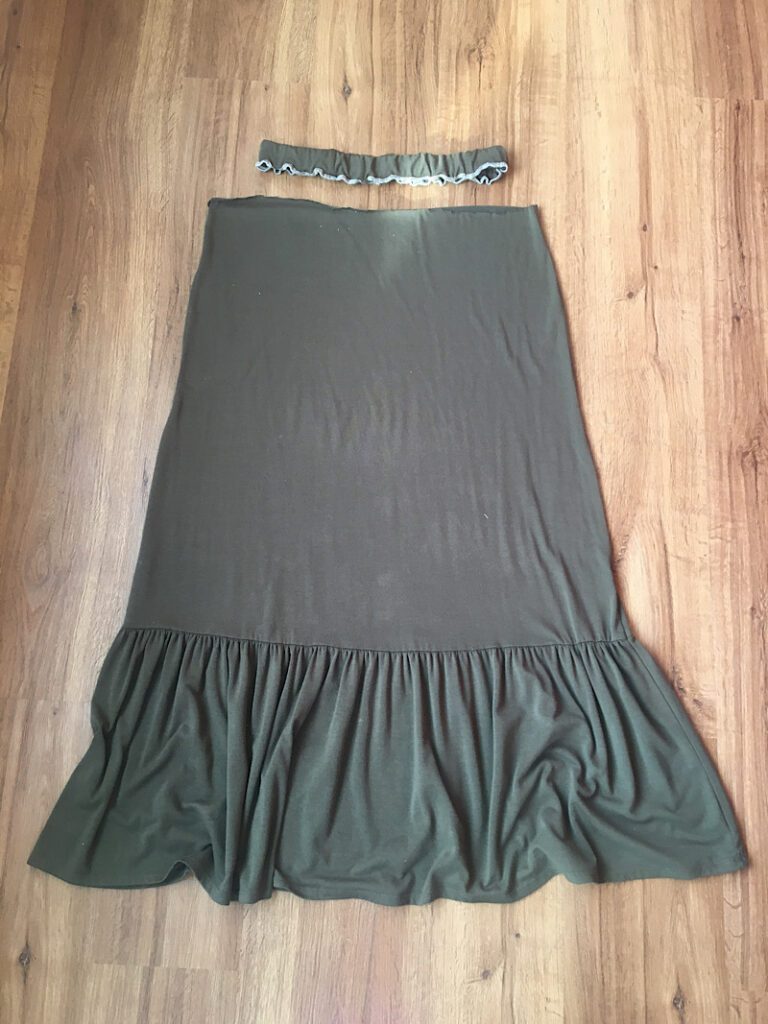
I have a super cute green maxi skirt that has a gathered bottom hem that was a few inches too long. This is a stretchy skirt with a very simple elastic waistband, but you can do this method with other skirt types as well, it may become more involved depending on what type of skirt you have.
Here is the basic idea…
Supplies Needed
- Skirt to be shortened
- Coordinating fabric if you need/want to rebuild the waistband. (You can also preserve the original one, or add side panels to it with the excess skirt material you trim away if you need to add width. If this is what you are doing, you should also read this post to see how I widened a wasitband on my pants.)
- Matching thread
- New elastic if you need one (I just used the old one since it was the right size)
- Pins, sewing scissors, measuring tape, etc.
How To Shorten A Skirt From The Top
Before you start, try the skirt on and measure how short you want it to be! And remember to include a seam allowance!
Step 1. Remove The Waistband
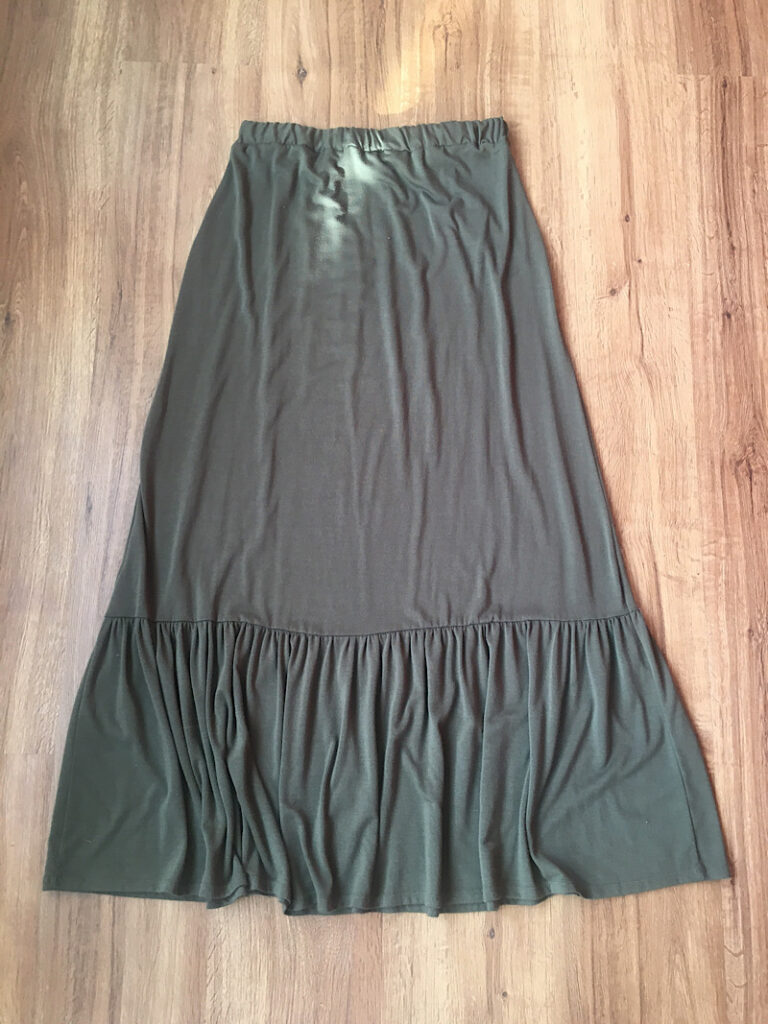
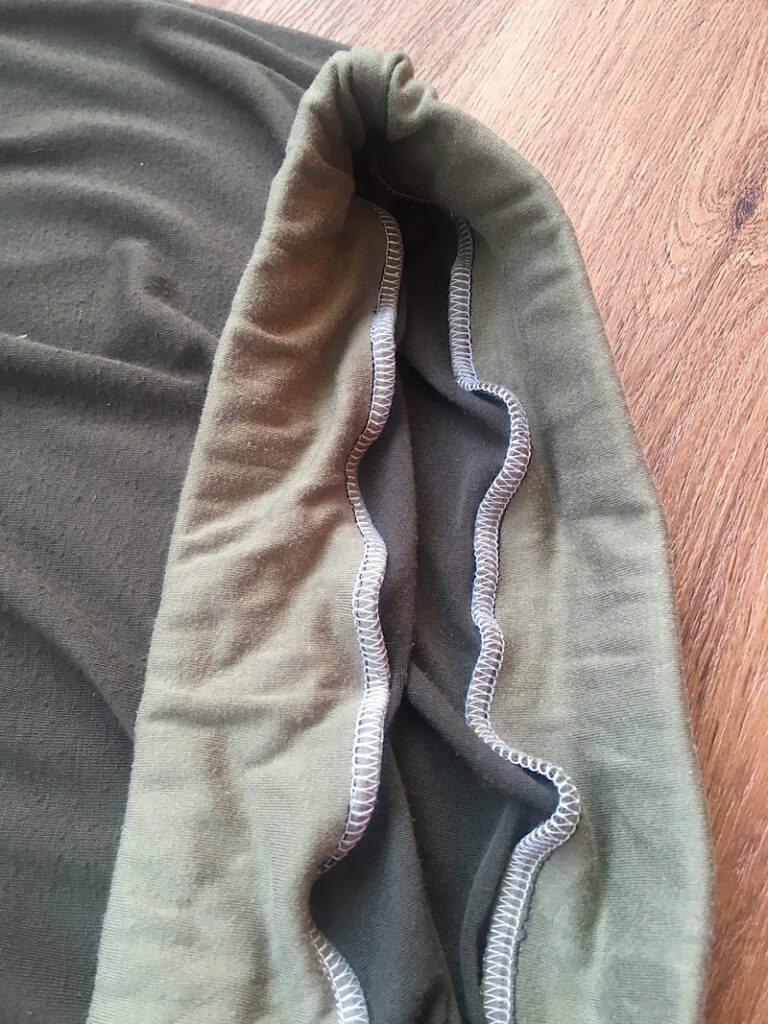
Lay your skirt out first and take a look at how the waistband is attached.
My waistband was a simple folded over band that encased an elastic.
Determine how you will remove your waistband. A good way is to carefully cut at the seam line on the skirt side, so that the serged seam allowance stays on the waistband portion.
Remove the waistband, carefully!
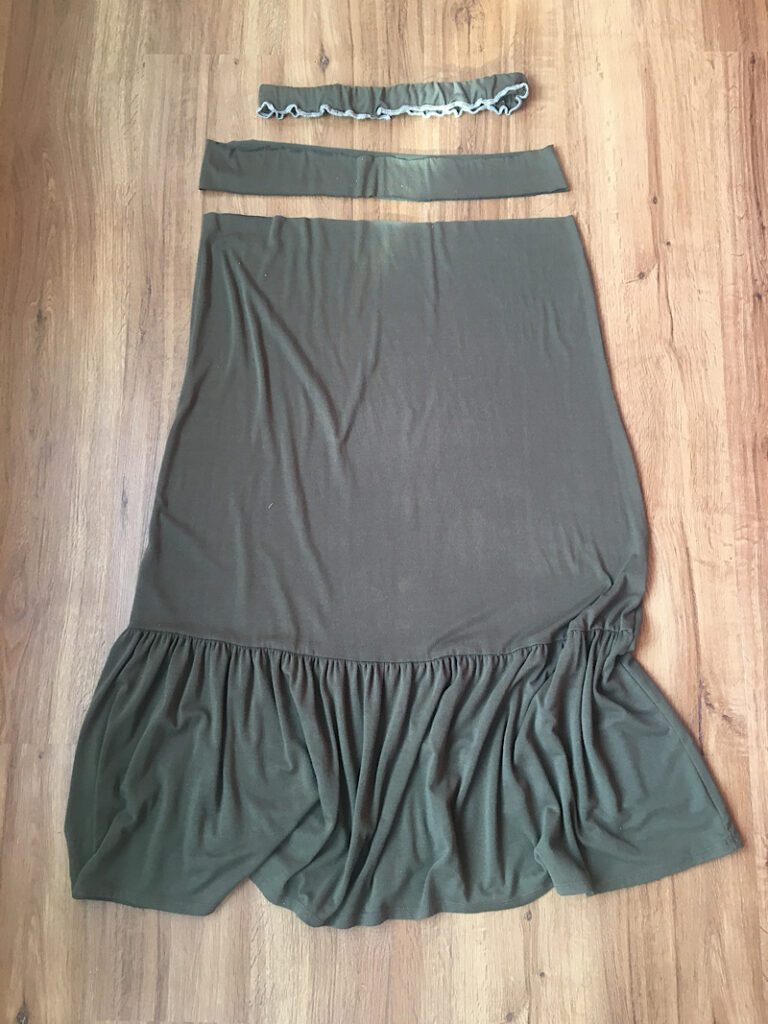
Step 2. Cut Off The Excess Fabric
Now, carefully measure across the top of the skirt the measurement you need to remove. You can mark the measurements with a disappearing ink marker or with pins, or chalk.
I wanted my skirt to be 3 inches shorter, so I cut off 2.5 inches off the top (an additional .5 inch or so would be eaten up with the seam allowance.)
Then, carefully cut across the skirt to remove the material.
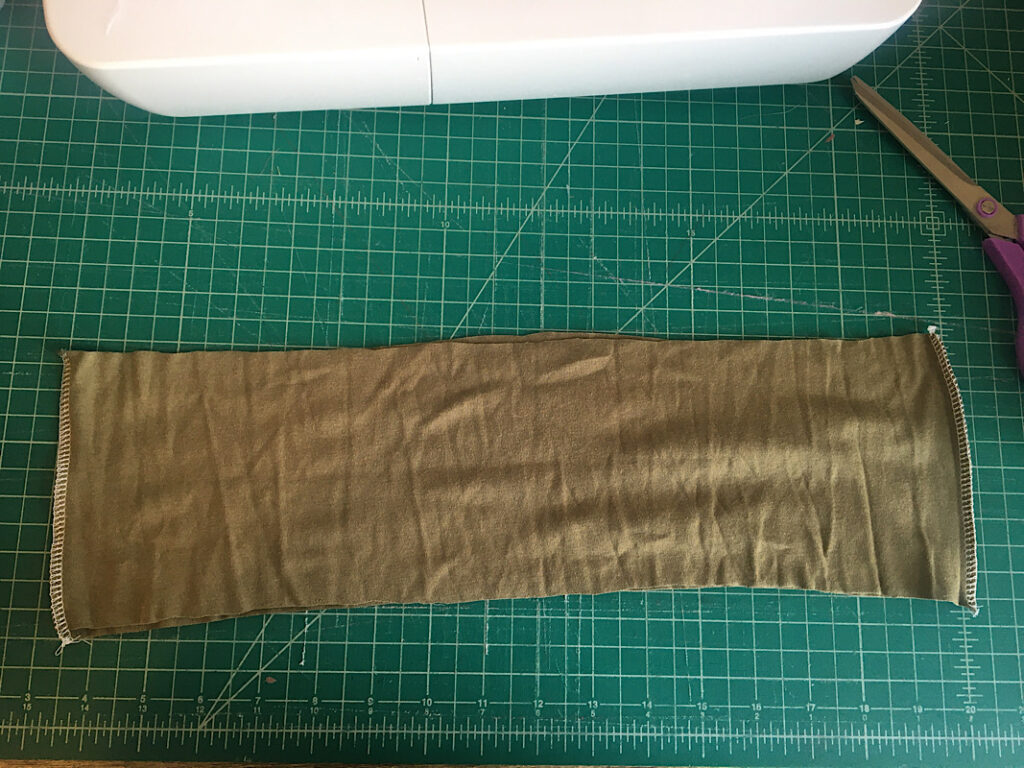
Step 3. Reattach The Waistband
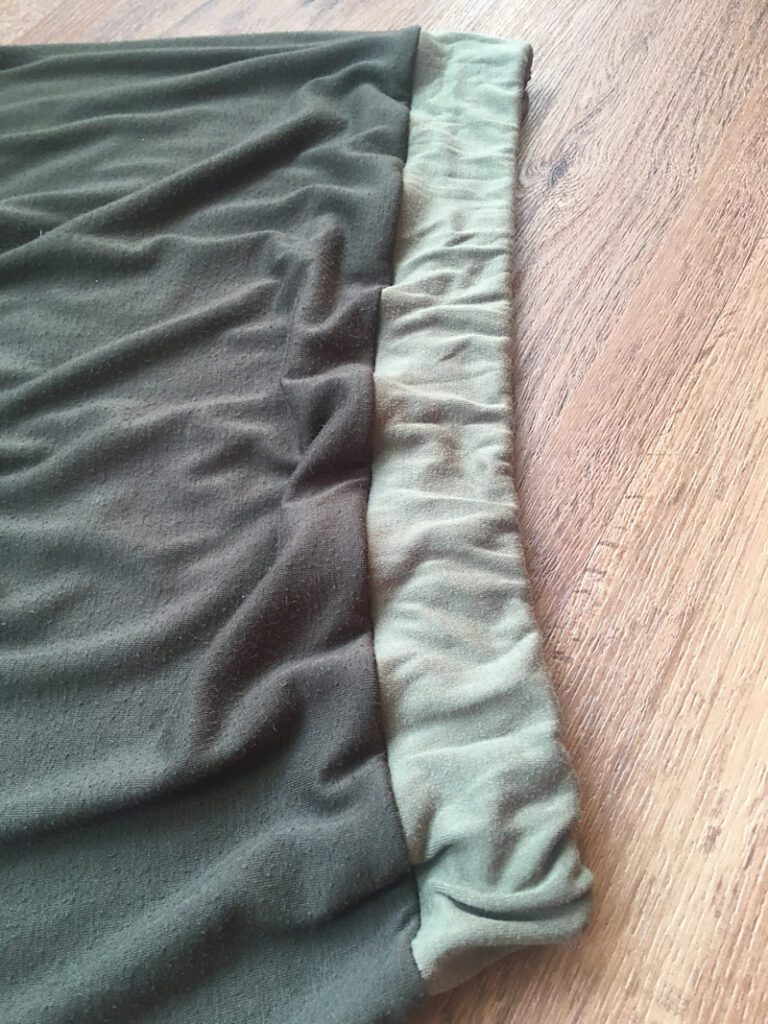
I decided to make a new waistband for my skirt because I wanted it to be a little bit thicker. I used a complimentary green material I had (It wasn’t the same color, but it looks cute I think.)
To make the new waistband, I measured the width of the original elastic, and made a loop that was 2 times taller plus a seam allowance when folded in half.
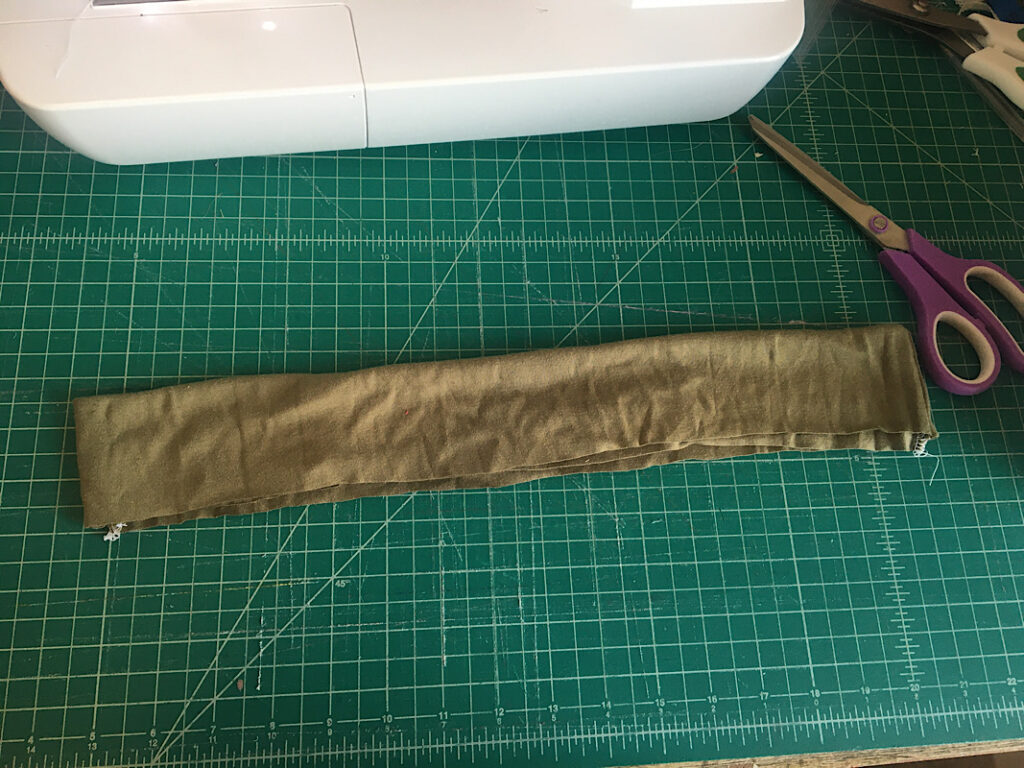
To attach the waistband, place the waistband around the top of the skirt, with the right sides facing and raw edges aligned. Pin the four quarter points together, (the two side seams, and the front center & back center.)
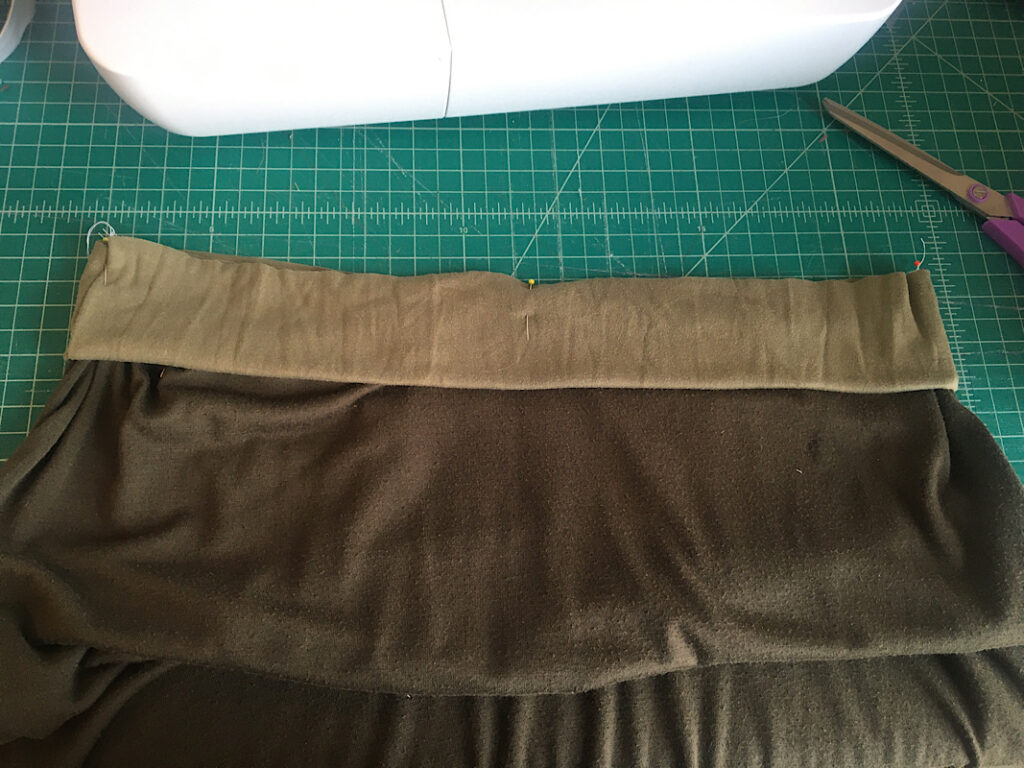
If you are sewing the original waistband back on and it still contains the elastic, you can simply stretch it as you go along and sew around the skirt to attach it. Use a serge or a zig zag, or a stretch stitch for best results.
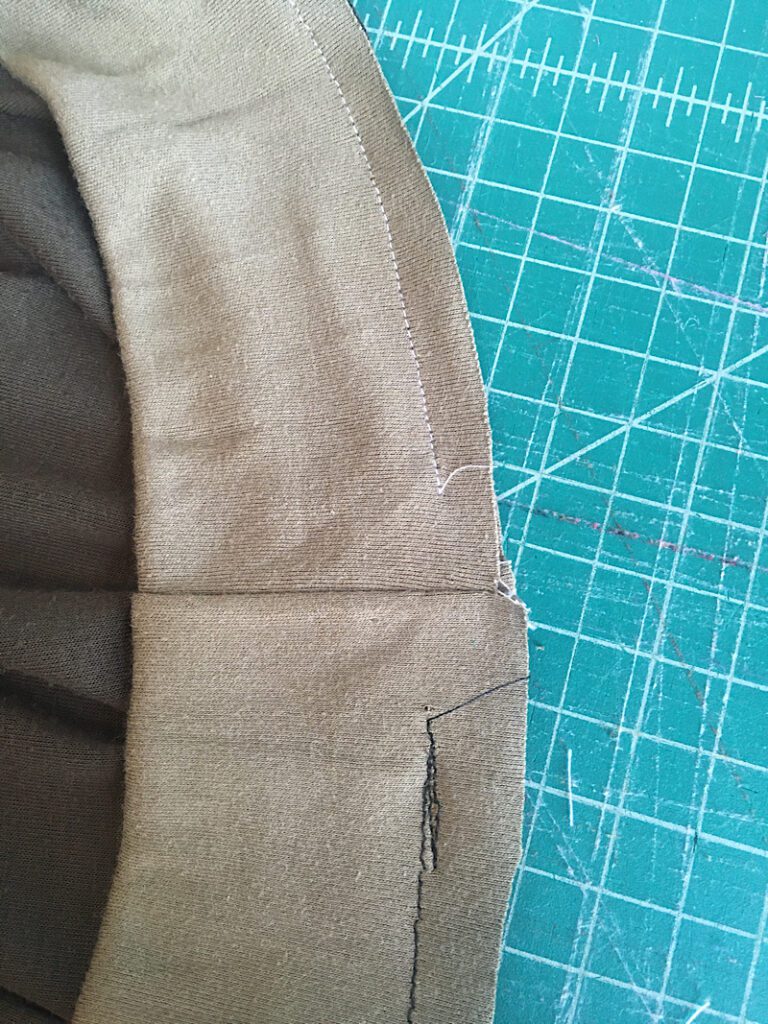
If you are reinserting an elastic, sew around the skirt edge while stretching the waistband to fit, but leave a 2 inch gap at the end.
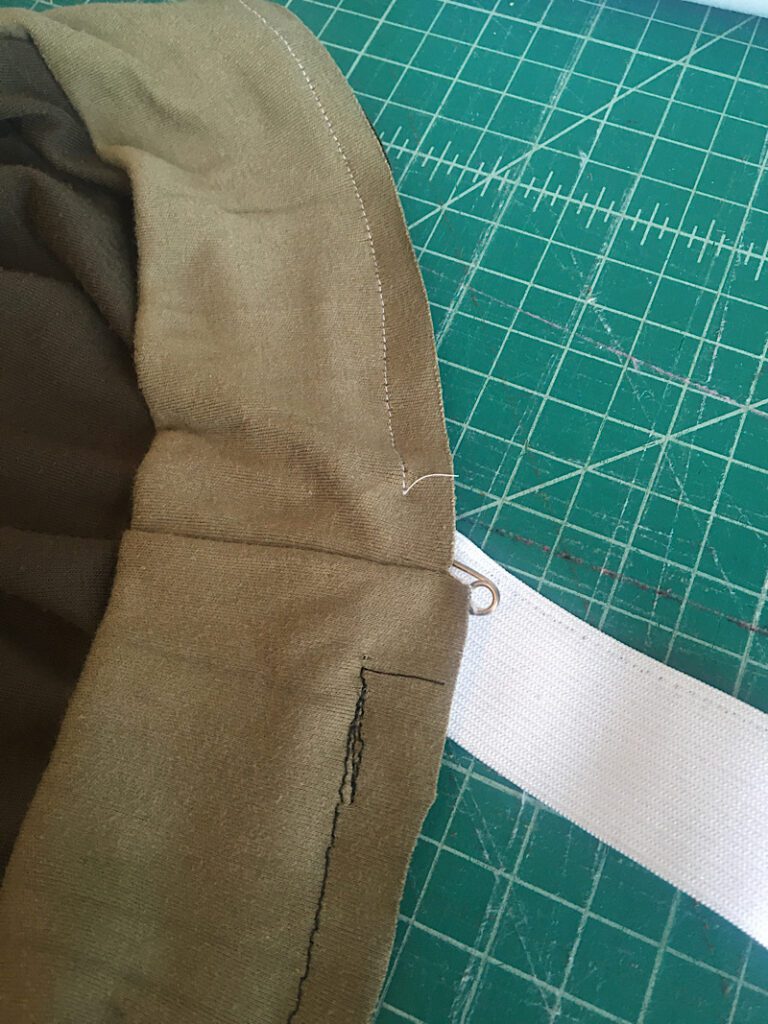
Then, insert the elastic using a large safety pin to push it through. After threading it all the way through, sew the two ends together. Then sew the gap closed.
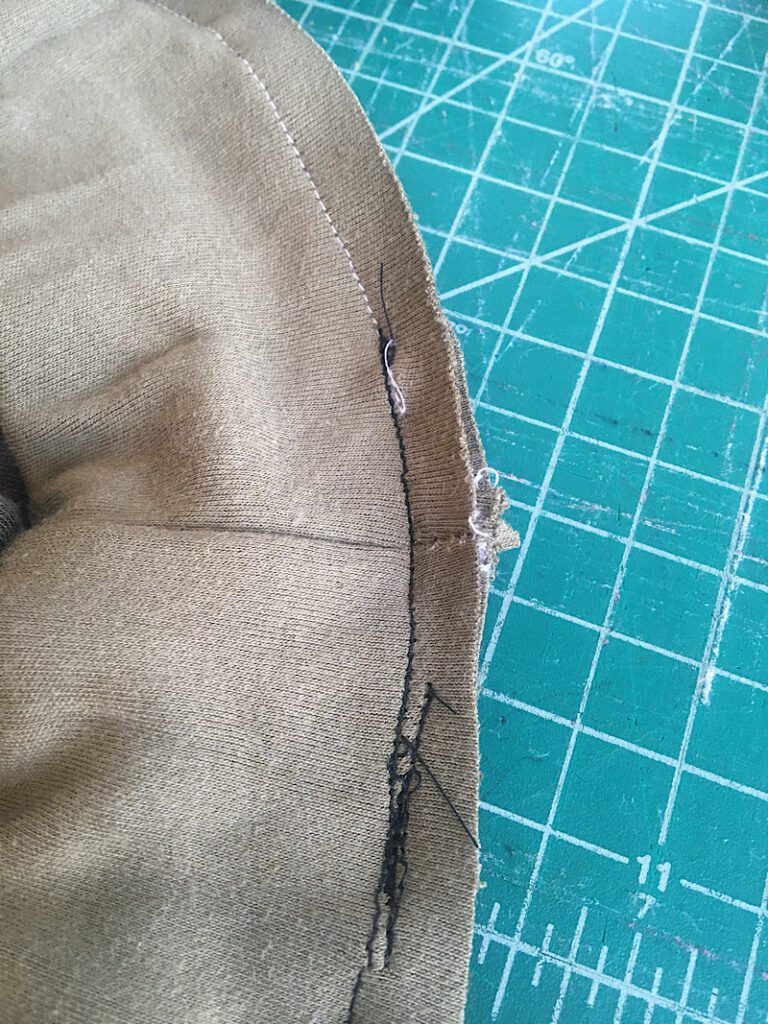
Then, finish the raw edge with a serge or zig zag stitch.
Then you are done!
Here is my finished skirt:
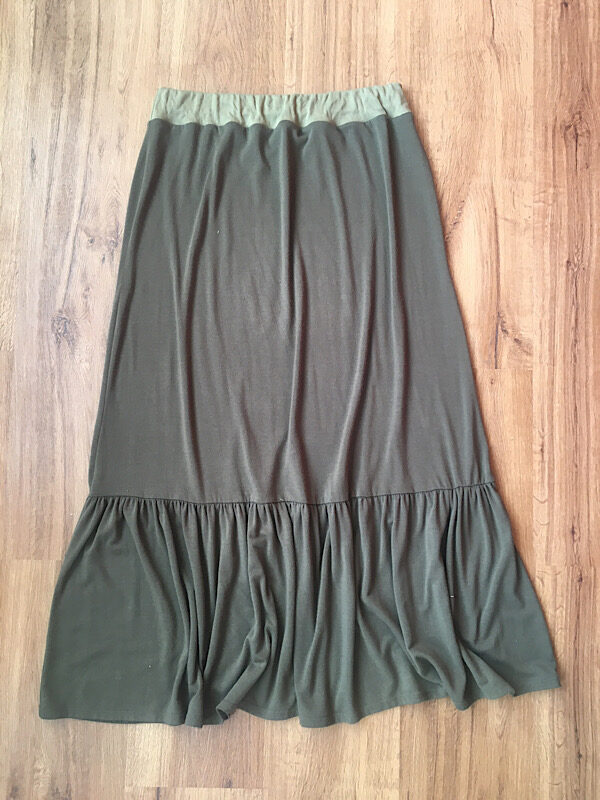
I am so happy with how it turned out. I kept the nice original hem that was cover-stitched, and it doesn’t drag on the floor anymore!
The waistband is a cute colorblock accent.
I hope this was a helpful outline. Every skirt is different of course, but this general idea is the same for them all. If you need help with your specific project send me an email!
Pin this post for later reference.