Don’t throw away your old towels! Practice the art of re-using by turning it into rags that are perfect for cleaning! Side by side comparison of 4 methods.
I recently bought new towels and switched out my old ones. There is nothing like a new towel.
The old towels did not get wasted though! Their edges may be fraying but their middles are still good! So I cut them up and turned them into rags.
This is a simple project but for the sake of sewing-science, I thought I would do a mini experiment to see which edge finishing method holds up the best!
Method Comparison
I made four rags in four different ways.
NOTE: For two additional ideas You could also sew a binding around the edges to really beef them up (kind of like I did in this towel coaster upcycle), or even fold and sew the hem down. Those two methods both sounded too time consuming for a rag to me. 🙂
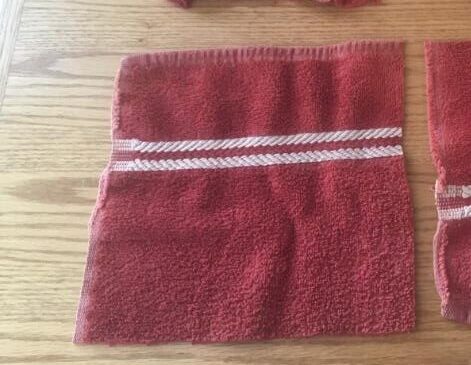
1. Cutting a square with regular scissors.
For this “method”, I just cut the towel into a square and utilized the original edges. Simple.
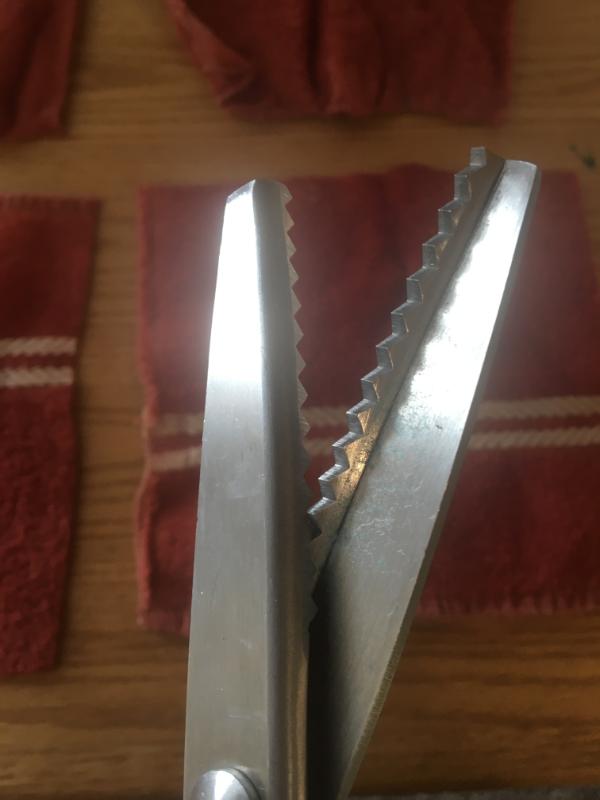
2. Cutting a square with pinking shears
For this method, I used pinking shears to cut out the square (while utilizing the original hem on the sides). Pinking shears make a zig zag shapes cut which helps to reduce (but not totally prevent) fraying because it is cutting on a diagonal.

3. Cutting a square, then sewing a zig zag stitch around the edges
I did this by making the zig zag very wide to easily go over the bulky edge. The shorter the stitch length, the less it will fray also.
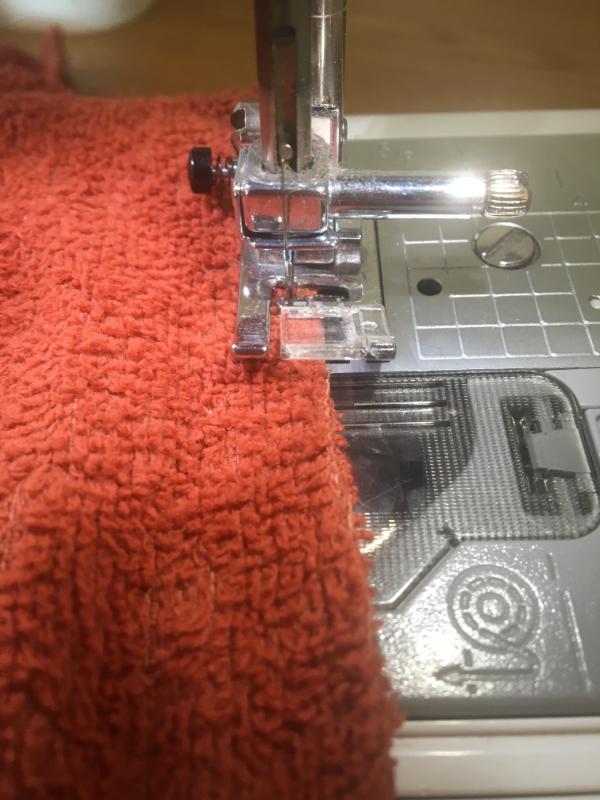
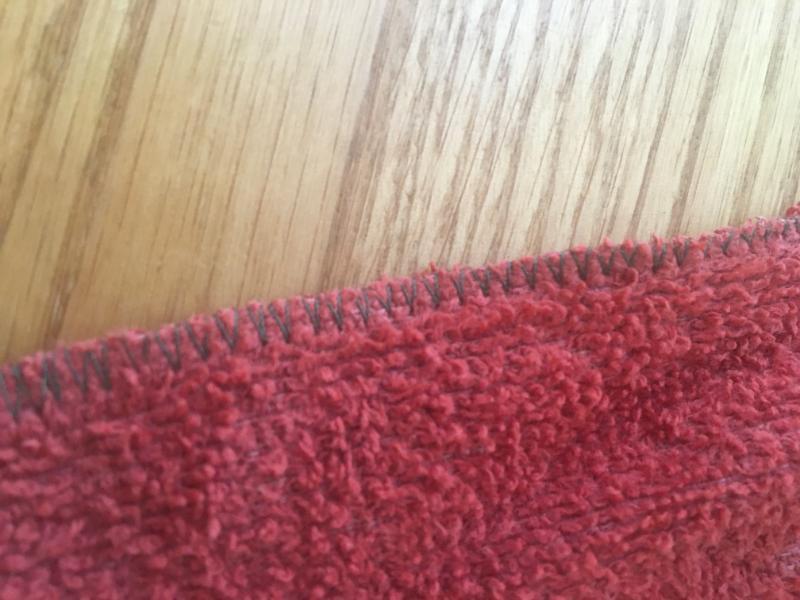
4. Cutting a square, then serging around the edges.
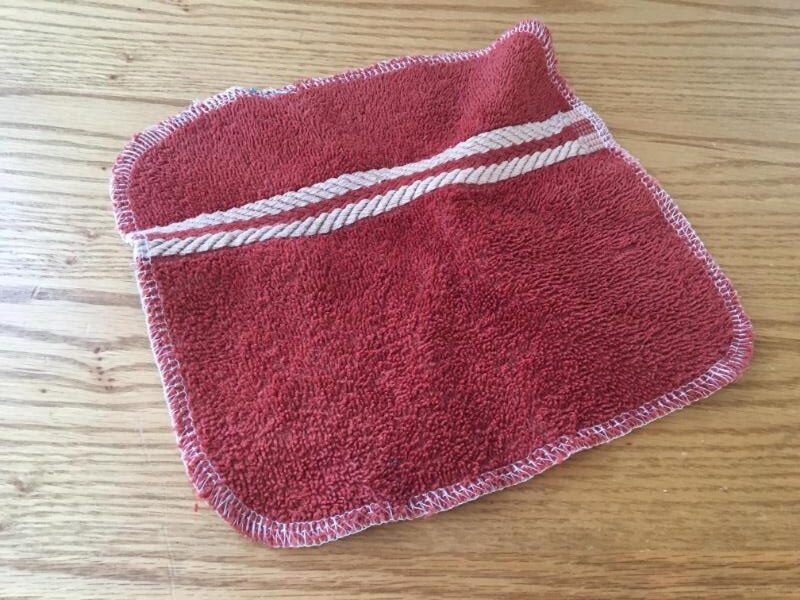
I did this by cutting out squares, and serging the edges, making sure to curve the corners to make it all in one serge.

Experiment Results
So how did these rags hold up in the wash? I threw them in the laundry once and here is how they came out:
In order from left to right top to bottom: Zig zag, straight cut, serger, pink cut.
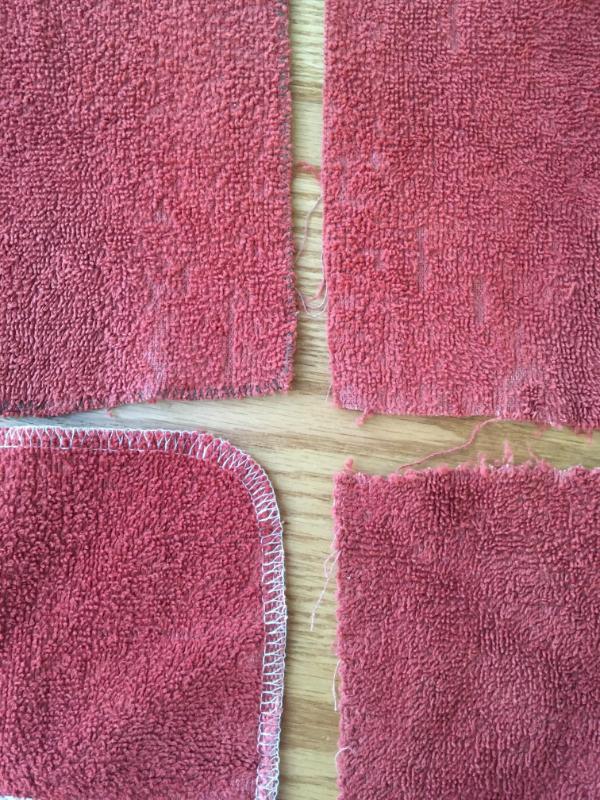
By far the best option is to serge it (no surprise there). The zig zag is a close second. The pinking shears only frays SLIGHTLY less than the straight cut, so if your rags are going to be used many times, then those options are not the best for longevity.
SO, now that predictable and quick test was over, here is the best way to turn a towel into rags…
How To Turn A Towel Into Rags
Supplies Needed
- Old Towel
- Matching thread
- Serger (optional but recommended)
Step 1. Cut The Towel Into Squares
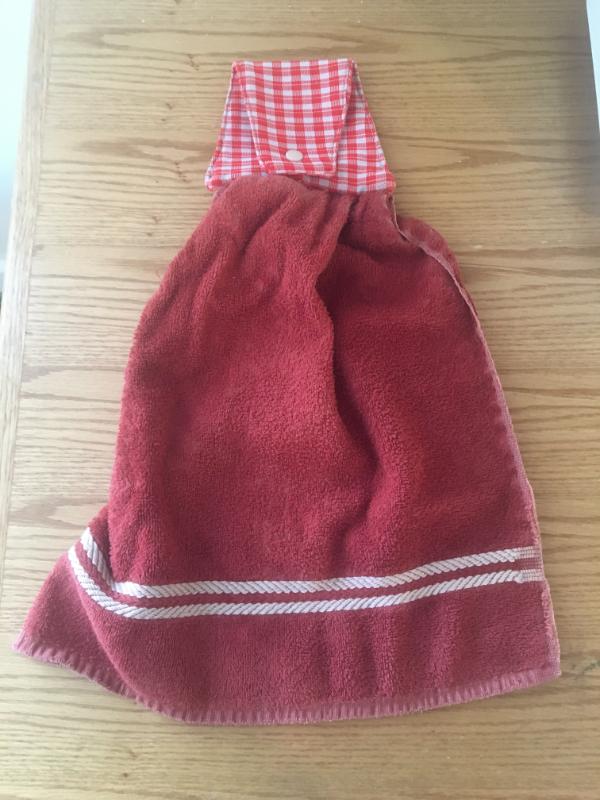
This particular towel was a gathered hanging towel, so I cut off the hanging portion and cut it into squares about 8×8 inches. You can cut yours to be any size you want.
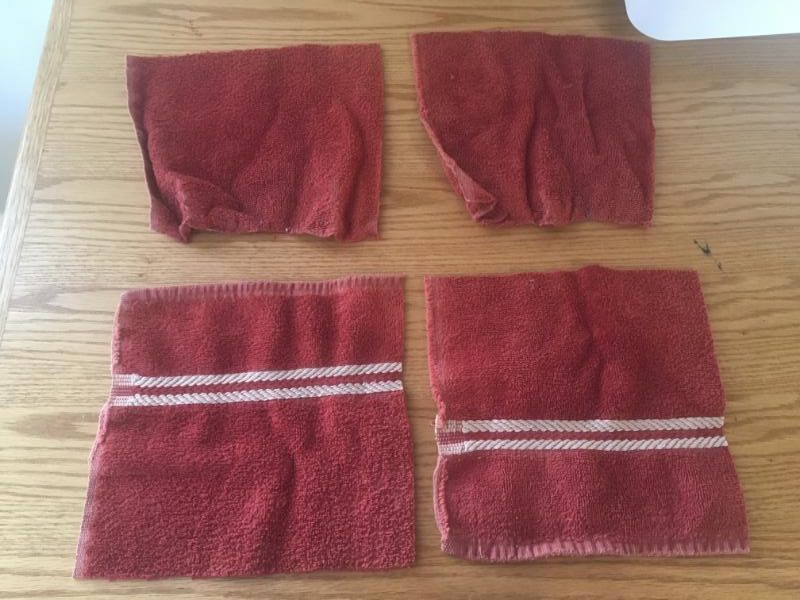
Step 2. Overlock The Edges
Overlock the edges to prevent fraying. You can do this on a regular sewing machine that has a zig zag stitch, or an overcasting stitch. OR you can serge the edges, like I did.
When serging, I carefully rounded the corners by turning the fabric as I serged. This way I didn’t have to serge 4 straight lines. It makes for a MUCH neater finish.
I chose to cut off the original thick hem of the towel to make it easier to serge.

Make sure you backstitch a few times over the end of the serge so it doesn’t unravel.

Here is the finished towel-turned-rag:

And here is a close up of the serged edge next to a zig zag edge:

Then repeat a bunch of times!
I hope this was helpful to you! Happy rag making.


