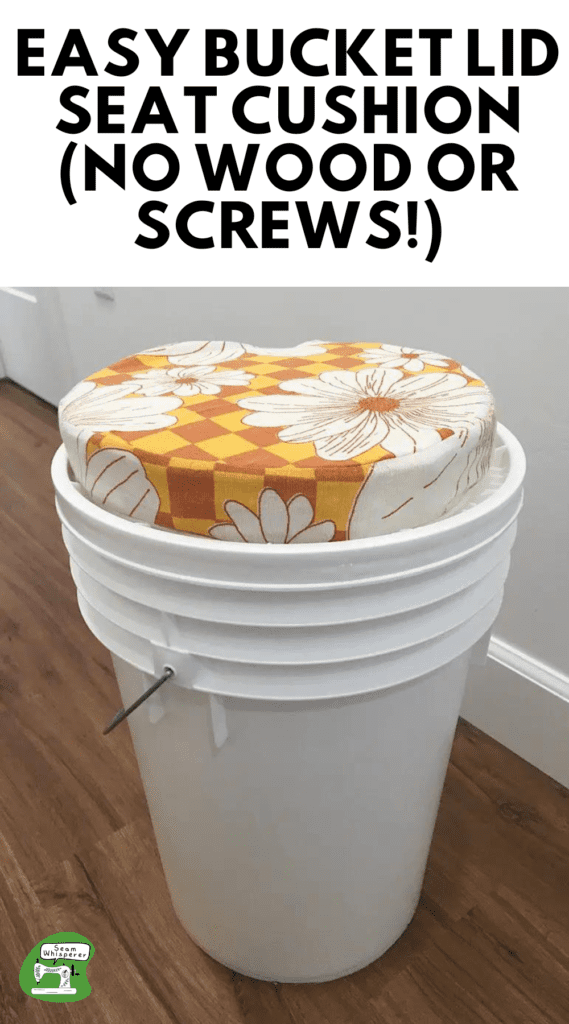
Need a cushion seat for your 5 gallon bucket? Check out how I made mine in 30 minutes WITHOUT cutting wood, using screws or a staple gun!
Normally to make this kind of seat top, you would upholster a cushion by stapling fabric around a circular piece of wood with a staple gun, that you then screwed to the lid from underneath. This works fine, but the wood makes the lid hard to get off since it no longer can bend (unless you have a screw top lid!).
My neighbor is going on a youth camp retreat, and she asked for my help to add a foam topper to her bucket lid to make a nice seat for her to sit on. She is a tough lady, but she is a grandma and I didn’t want to give her back a super heavy bucket to haul around all week.
This is the BETTER WAY to upholster a cushion bucket seat. It’s not heavy, it uses no wood, and no staple gun.
This post may contain affiliate links. Read the full disclosure here.
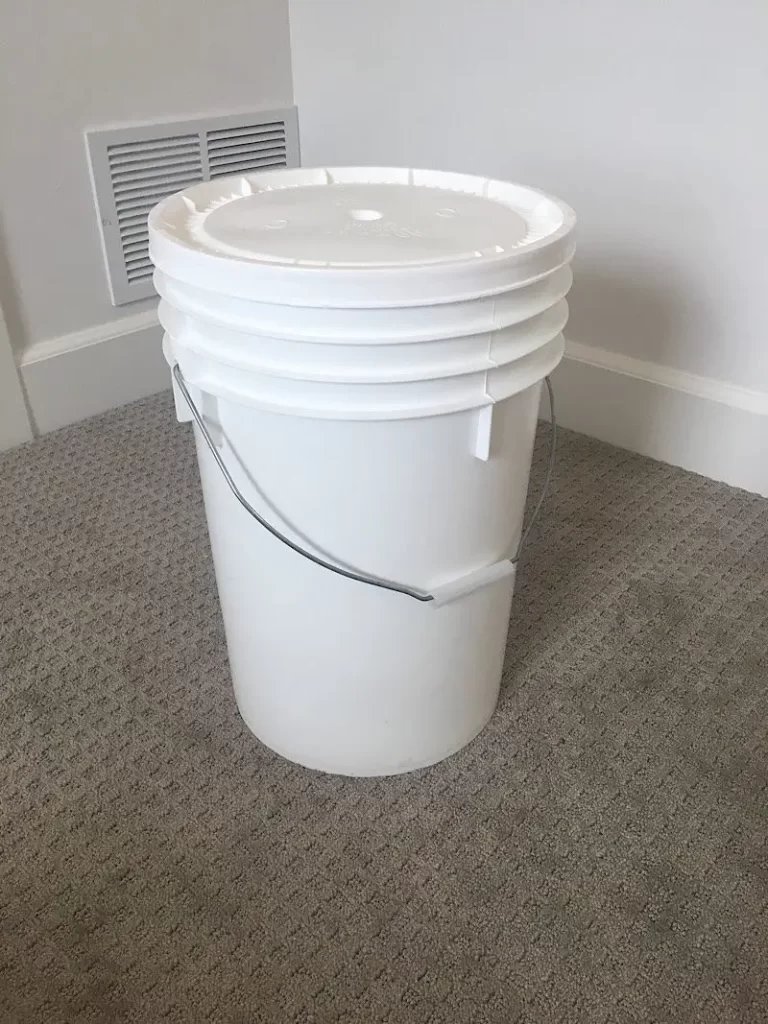
How To Make A Cushion Seat For A 5 Gallon Bucket
Supplies Needed
- 5 Gallon bucket and lid
- Foam pad (I used 2 inch foam)
- Fabric for the cushion’s ‘pillowcase’
- 60 inches of string (shoelace thickness or so. or you can make 1/2 inch straps with some extra fabric.)
- Fabric Scissors
- Marker
- Pins
- Sewing Thread
- Sewing Tape measure (I just saw this adorable one I can’t stop thinking about…)
- Drill and Drill bit (Drill bit should be the same thickness or larger than your string)
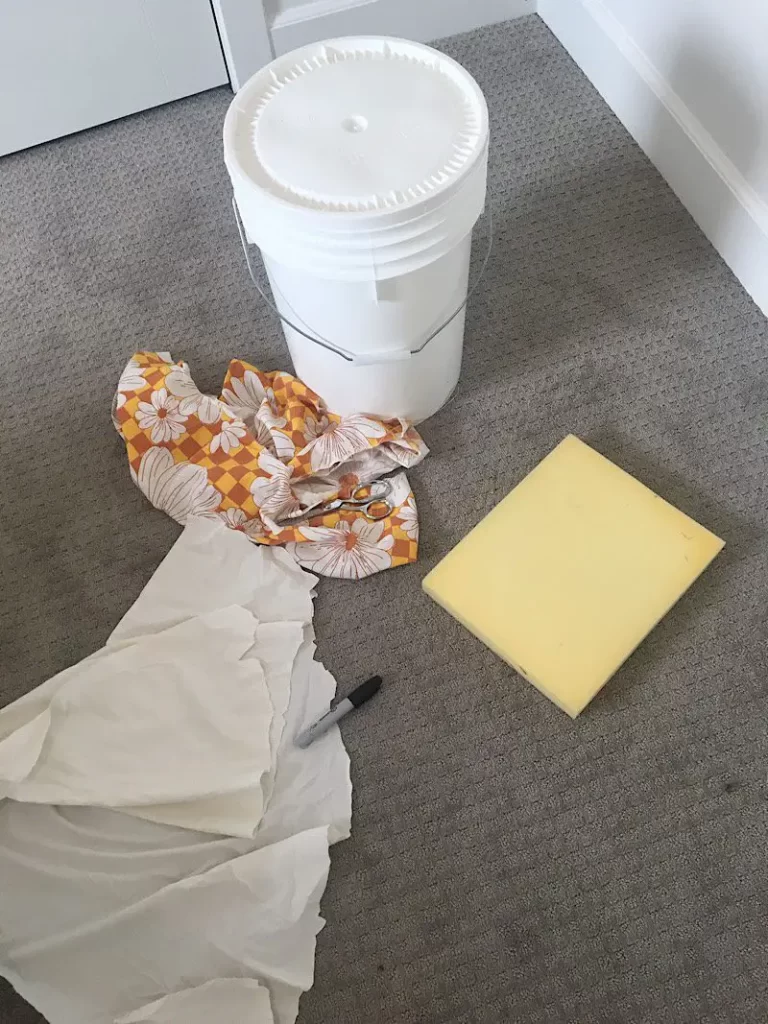
Step 1. Trace & Cut The Foam
I wanted my foam to be a little bit smaller than the lid so it could nestle inside the outer ‘lip’ of the bucket.
Trace the bottom of your bucket onto the foam with a marker. (Since buckets usually stack, the bottom of your bucket will be the right size to fit inside the lid ‘lip’ like I mentioned above.)
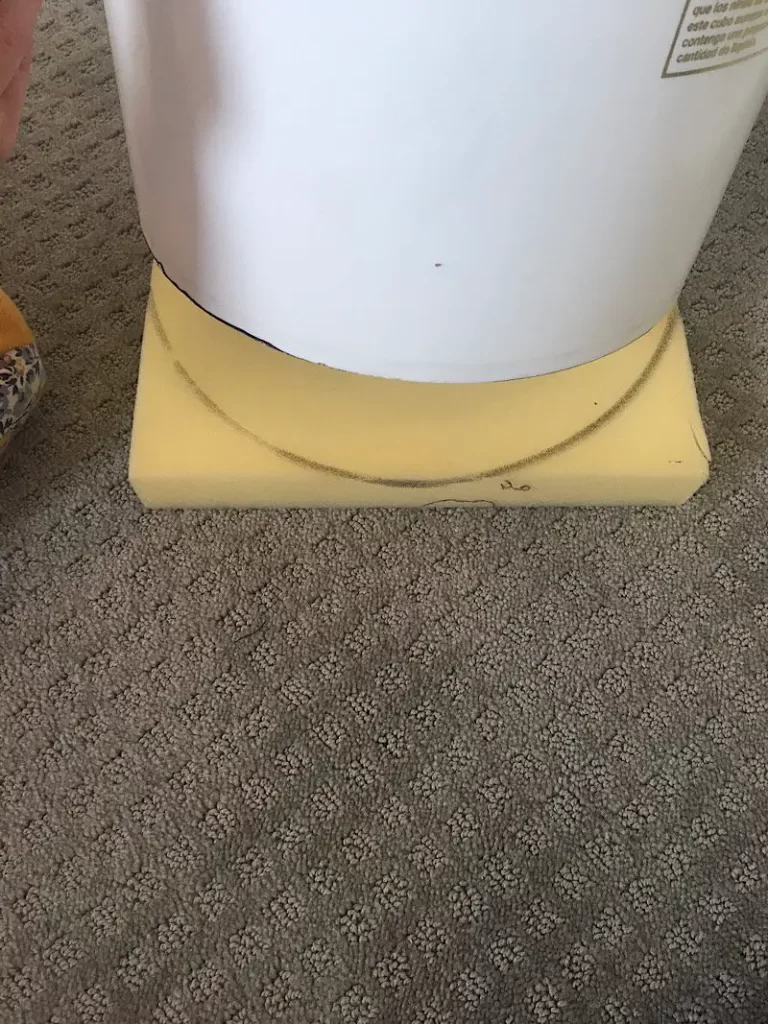
To cut it out, you can use sharp scissors, or an electric turkey carving knife. I used scissors just fine, but have used the turkey carvers before and they make it really easy. Go back and smooth it out if you need to, and try to keep the sides straight up and down.
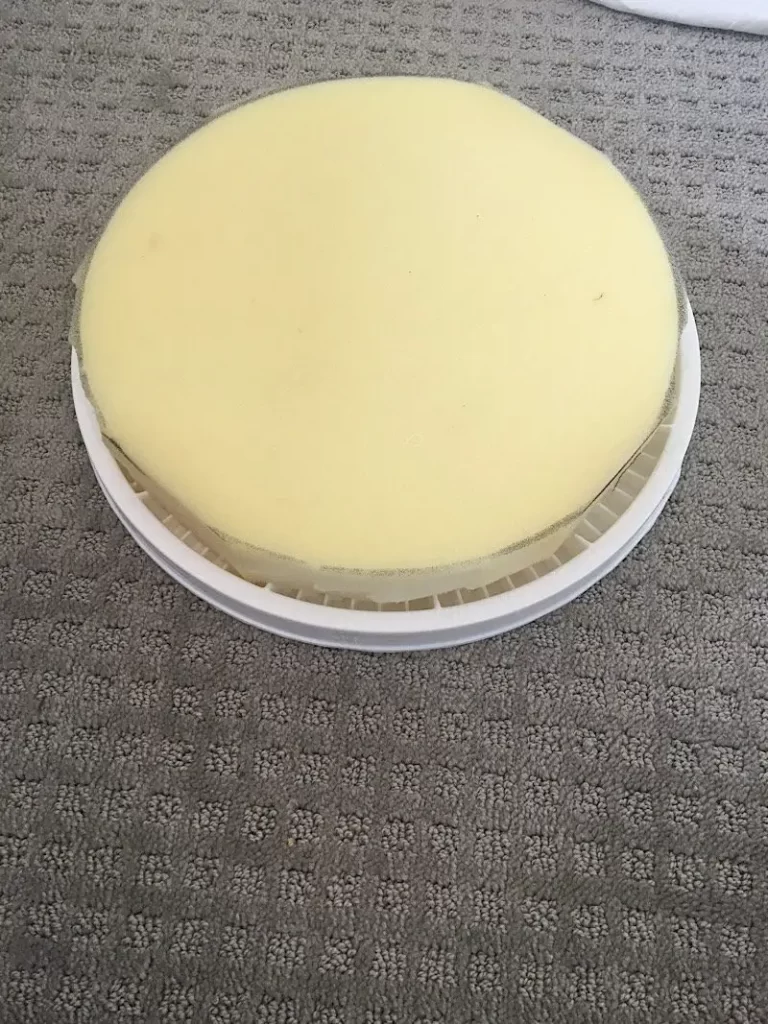
Make sure it fits inside the lid how you want before moving to the next step.
Step 2. Cut The Cushion Cover Fabric
Lay the cut foam circle on top of the wrong side of your fabric to trace it.
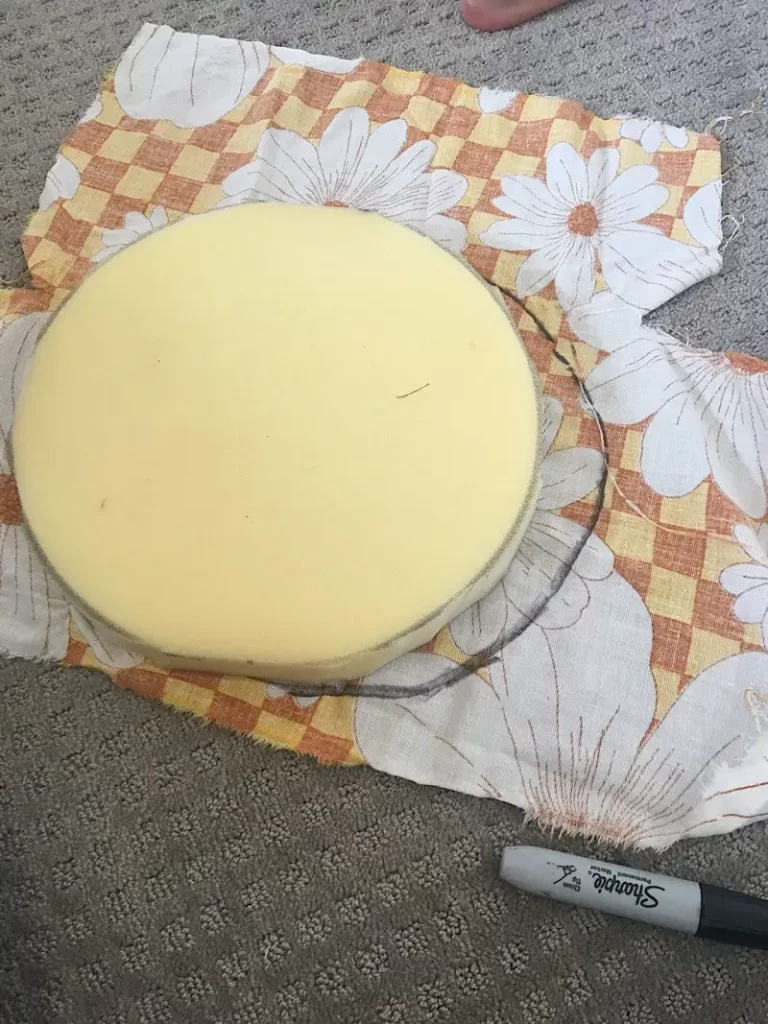
When you cut it out, make sure to add a seam allowance. (It doesn’t have to be perfect. I just eyeballed about a half an inch away from the line when I cut.) This will be your cushion cover top.
Next, measure around the foam pad to find its circumference. Add an inch for seam allowance. Also measure your foam’s thickness and add an inch for seam allowance, then cut out a long strip of fabric with those dimensions. (thickness+ an inch by circumference + an inch). This will be the pillow case side.
To make the pillow case bottom, we will basically be making an envelope pillow case opening. There will be two halves that overlap in the middle so you can slide the foam right in.
I used some plain white fabric since I ran out of the cute yellow fabric. You can use whatever you want.
You will need two pieces of fabric for the bottom. Fold one of them in half. Then, fold the top circle piece in half and line up the two pieces folded edges with the cushion top piece on top.
Then, scoot the cushion top piece 1.5 inches away from the bottom piece’s folded edge and trace it. Then cut it out.(See photo below if that was hard to understand.)
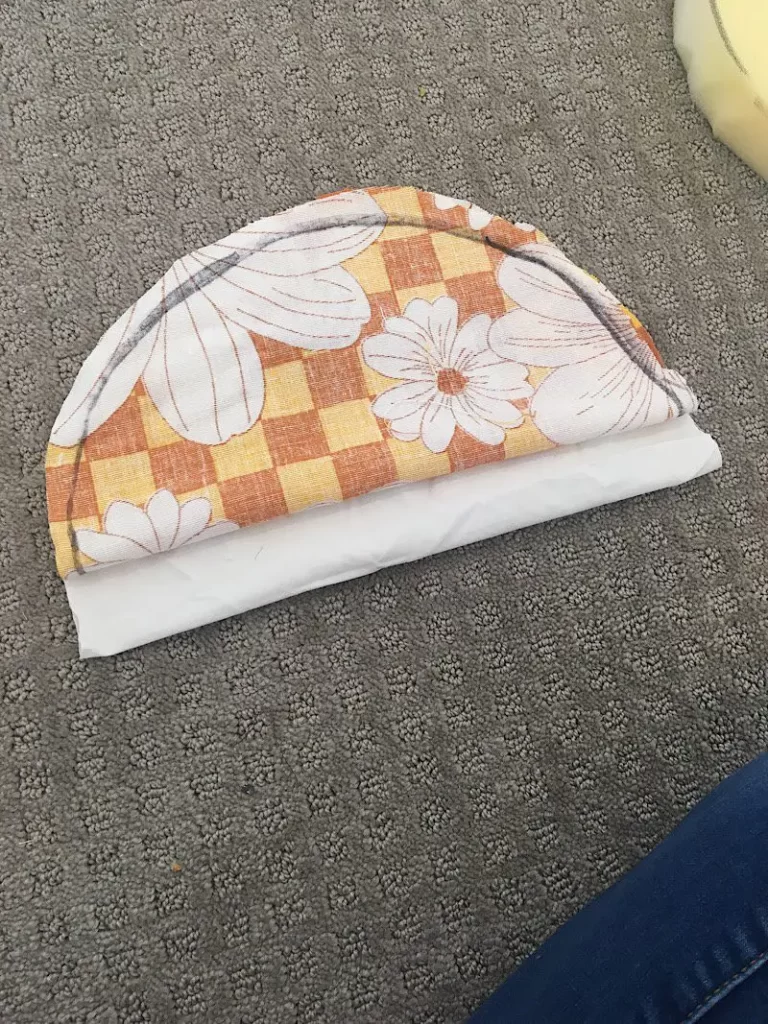
Repeat the above steps so that you have two folded bottom pieces that will make up the envelope opening.
Step 3. Sew The Top Of The Pillow Case
With right sides together, sew the long fabric strip into a loop.
Then, with right sides together, pin and sew the loop to the circle top.
Before moving on, I slipped it onto the foam to check for fit.
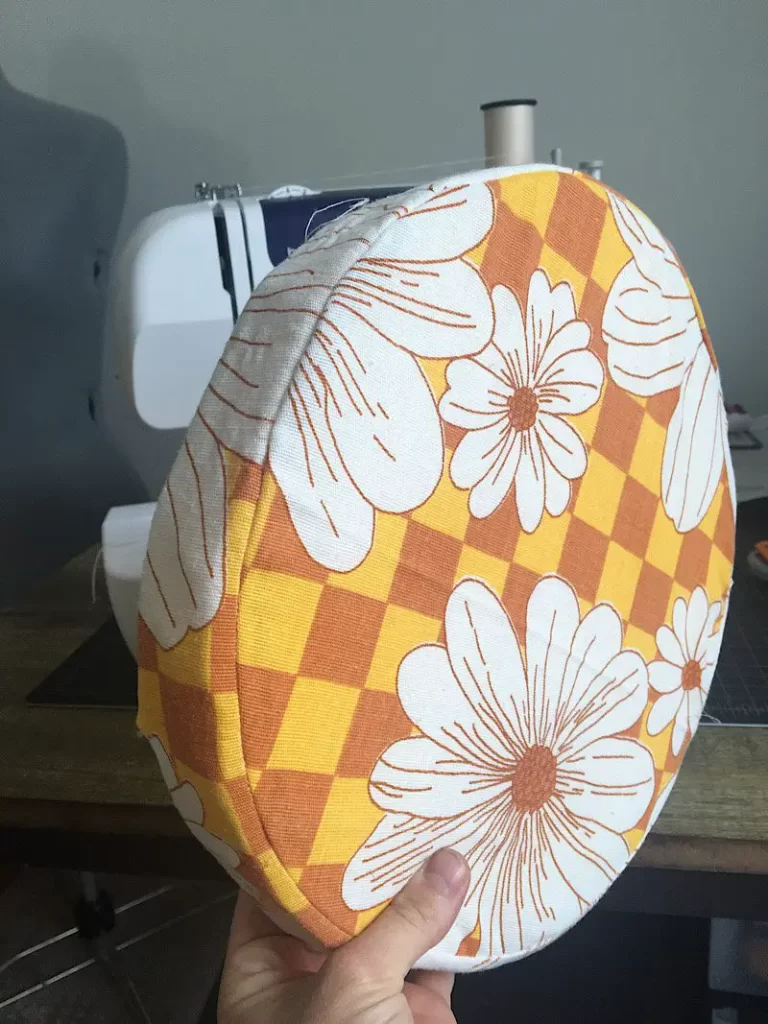
Step 4. Sew The Pillow Case Bottom
Cut the string (or make some straps if you want to) into four 15 inch long pieces. Set them aside.
To assemble the envelope opening, overlay the two folded circle pieces next to each other to make a circle shape, then overlap them in the middle about 1.5 inches. Pin them together. This is the envelope opening (you will not sew down the middle).
Pin each string or strap to the four quarter points of the cushion cover bottom. The string edge should line up with the fabric edge, with the length of the string going into the middle of the circle. (When you flip it inside out, the raw edge will be hidden inside the cushion, and the string will stick out so you can tie it.)
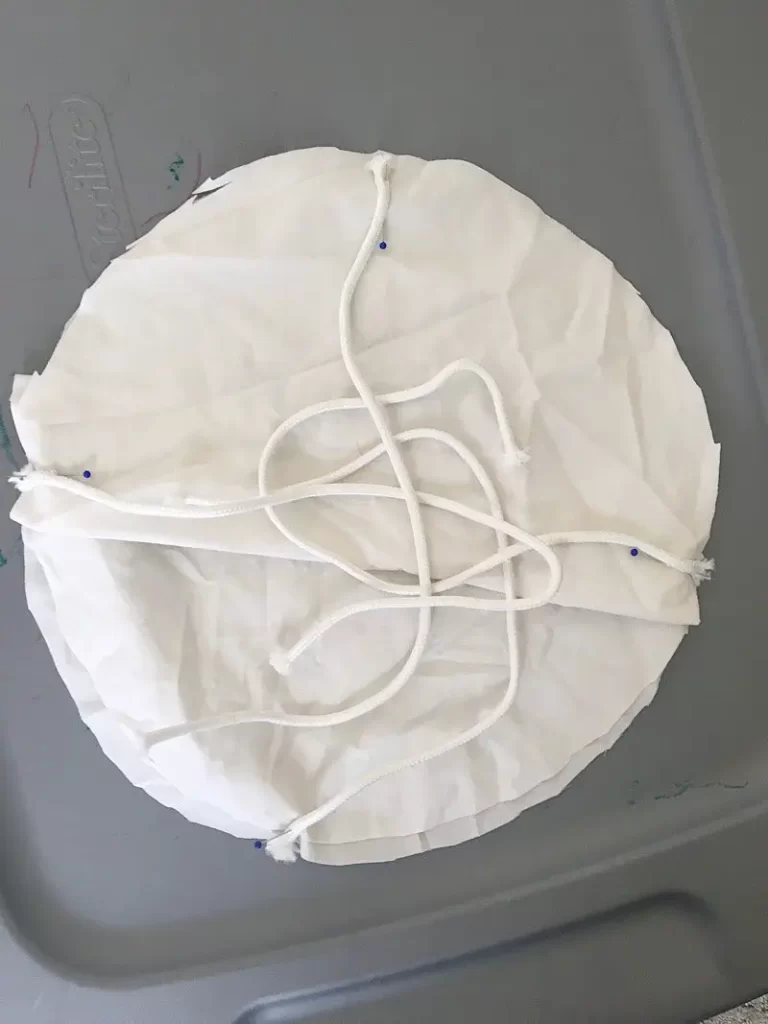
With right sides together, pin the cushion cover bottom to the rest of the cover you have already sewn. Then sew them together.
When you’re done sewing, flip it inside out and it should look like this!
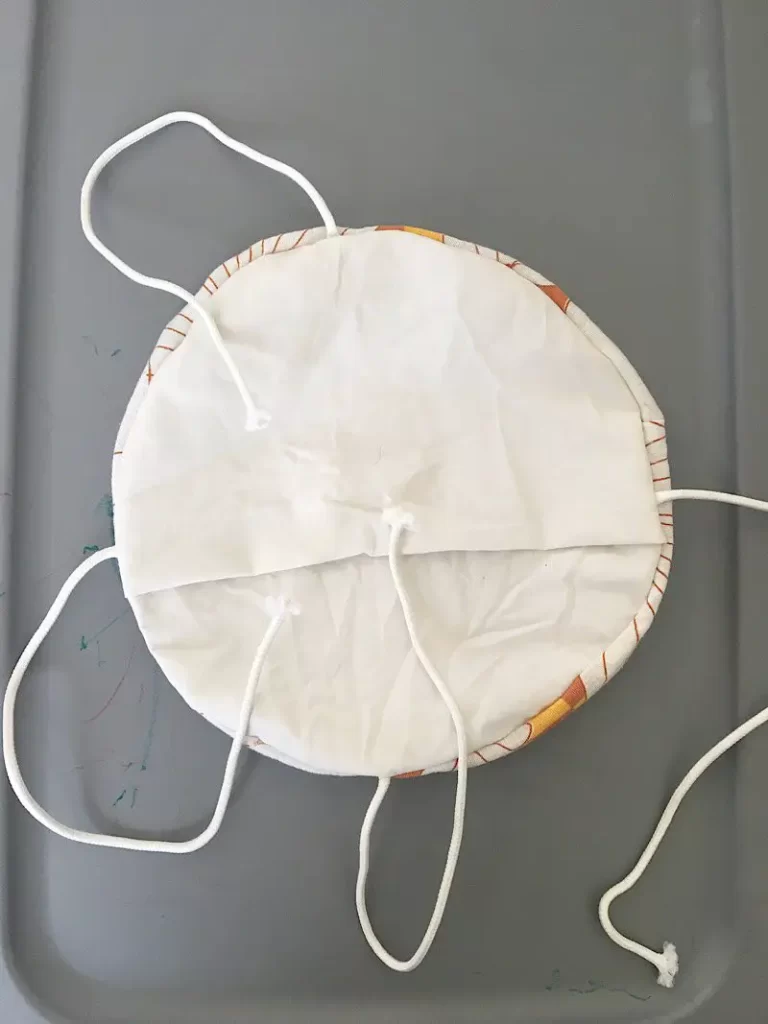
Now you can insert the foam through the envelope opening and see how it looks.
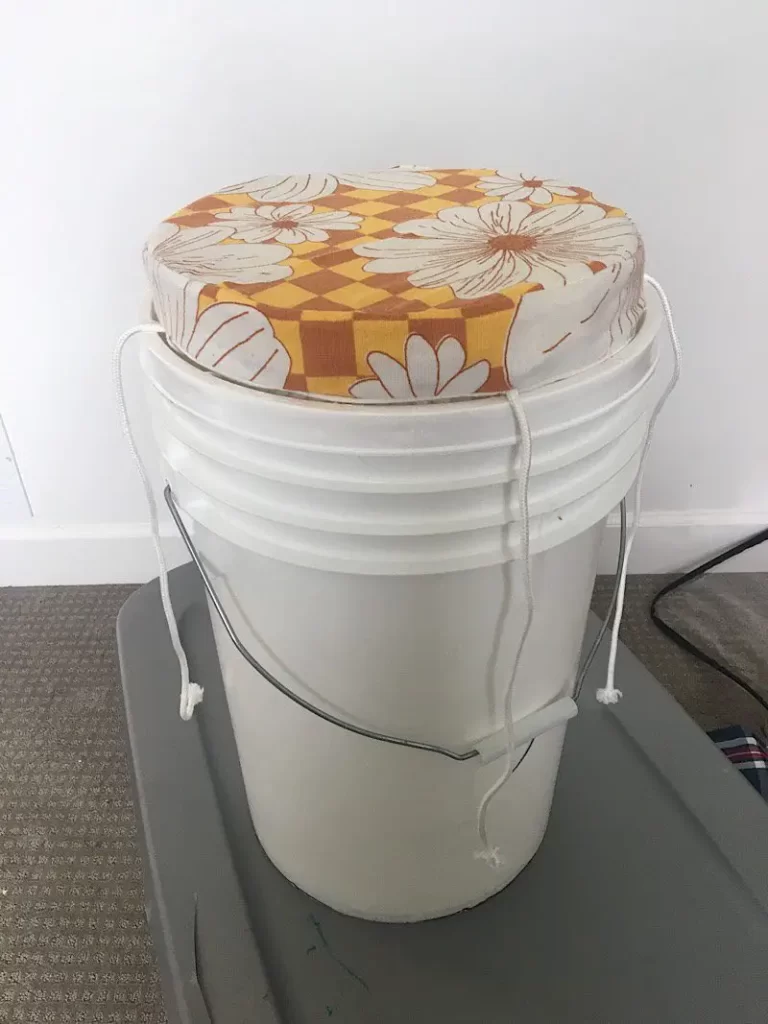
Step 5. Drill Holes In Lid
Drill 4 holes into your lid, at the four quarter points near the edge, but inside the “lip”. The hole will be used to thread the string through and tie the cushion to the lid.
Make sure to put something underneath the lid while you are drilling. I used a box.
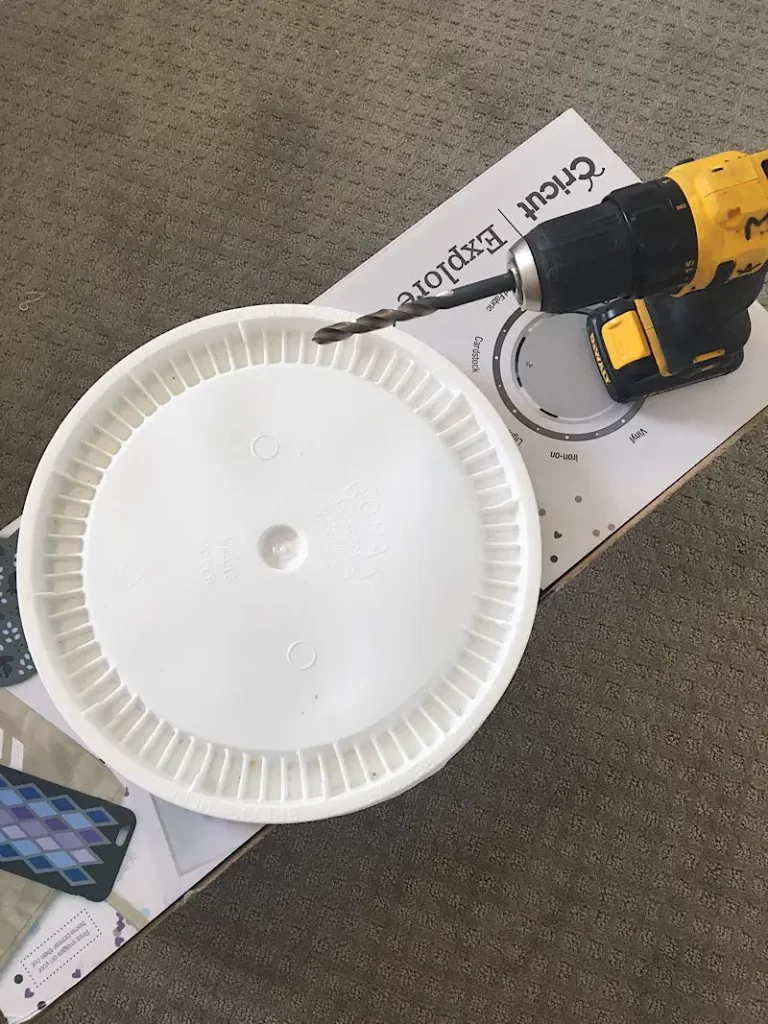
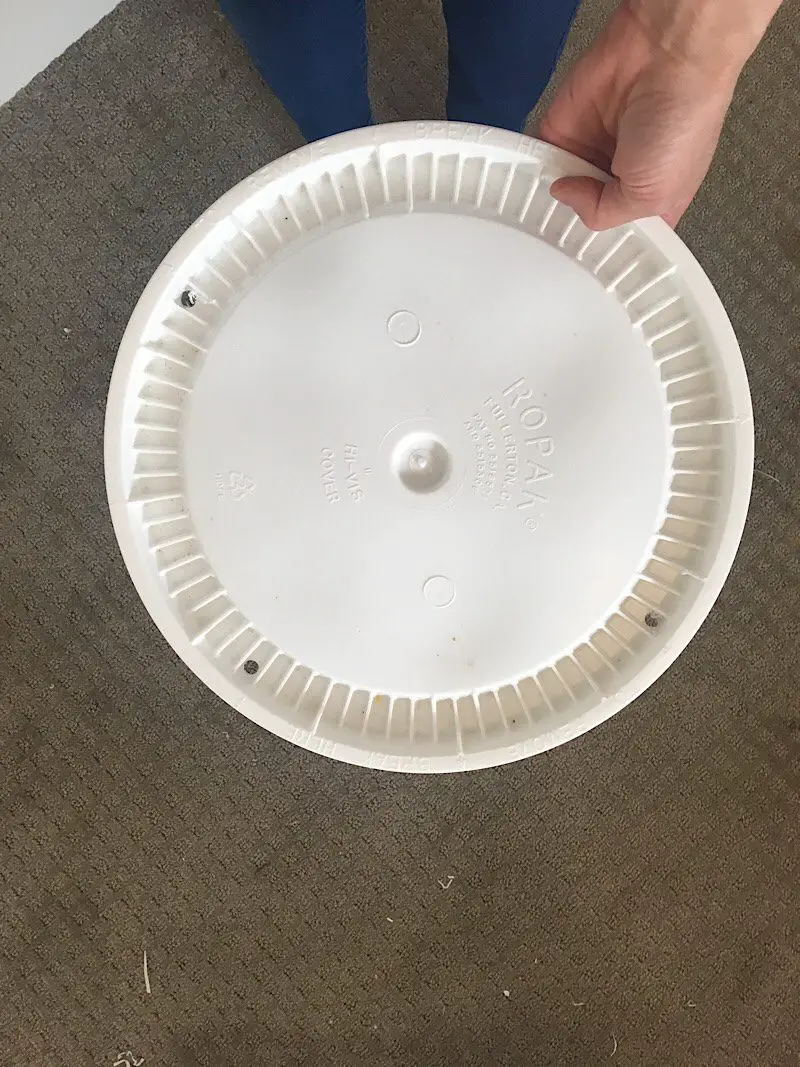
After you have drilled the holes, place your pillow on top of the lid and thread the four strings through the corresponding holes.
Turn the lid over and pull the strings tight. Then, tie the strings into tight knots.
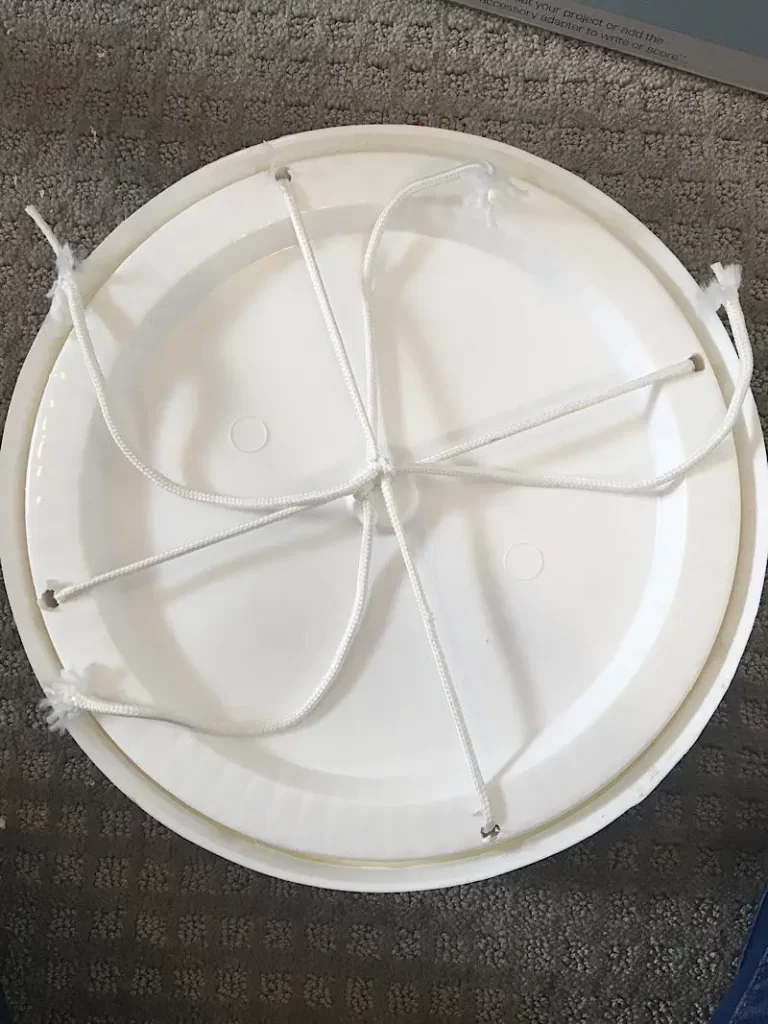
Clip the excess strings, then you’re done!
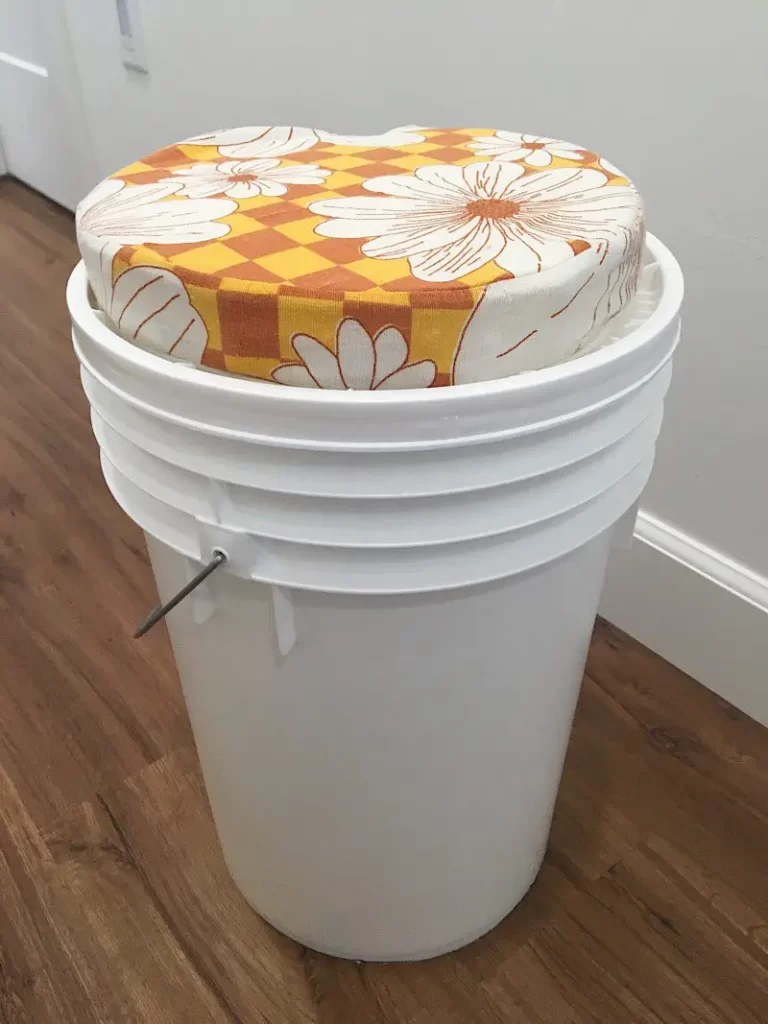
Not bad for a fee & quick temporary-use camping bucket seat!
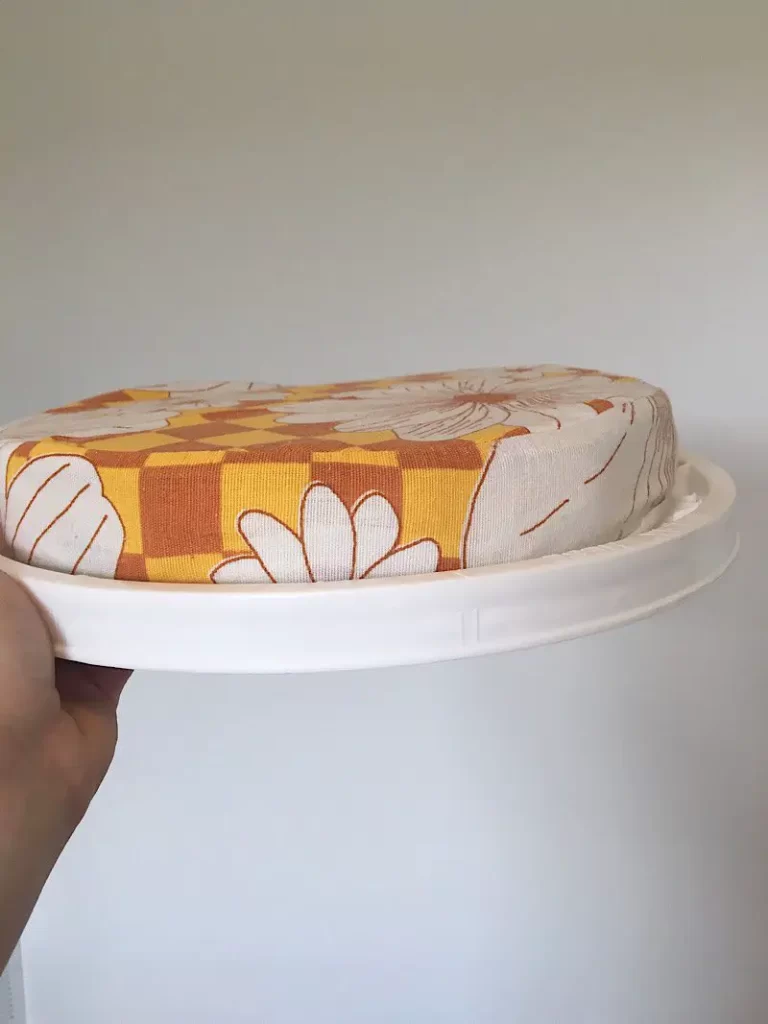
It looks awesome! It worked a lot better than I was hoping for. Its not heavy, the lid still bends and is easy to open, and it’s plenty soft to sit on around the campfire.
Going on a trek? Make sure to whip up a super cute pioneer bonnet!
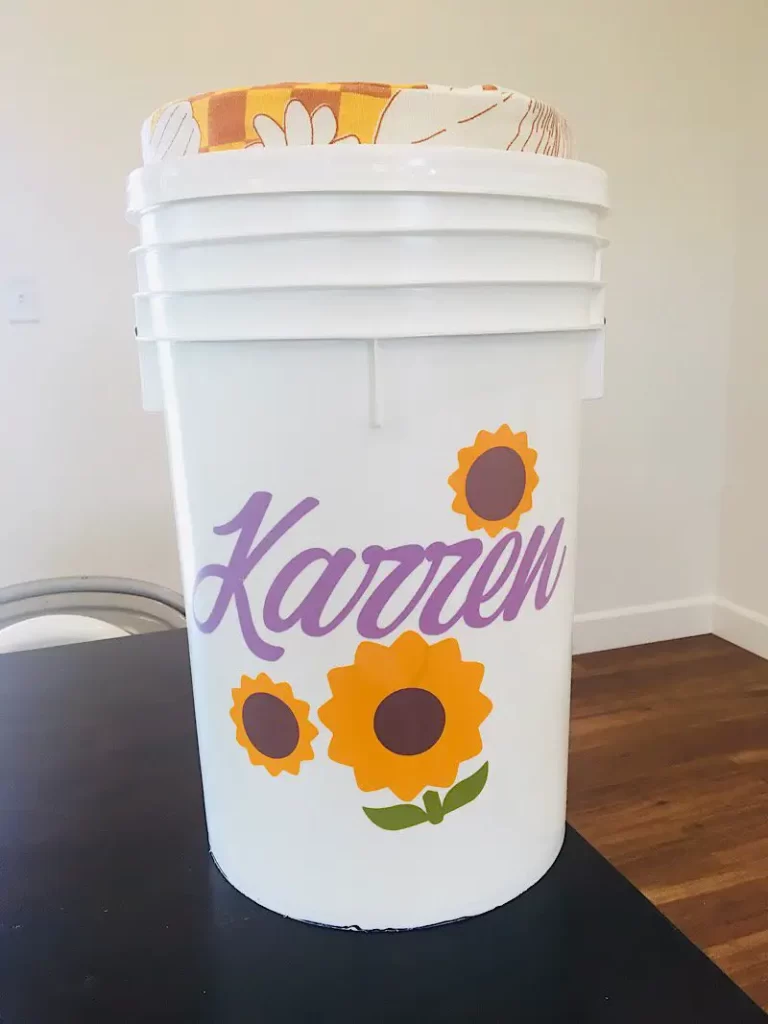
I hope this tutorial was helpful to you to make a bucket seat that is lighter, easier to open, and doesn’t require cutting wood or screws!
