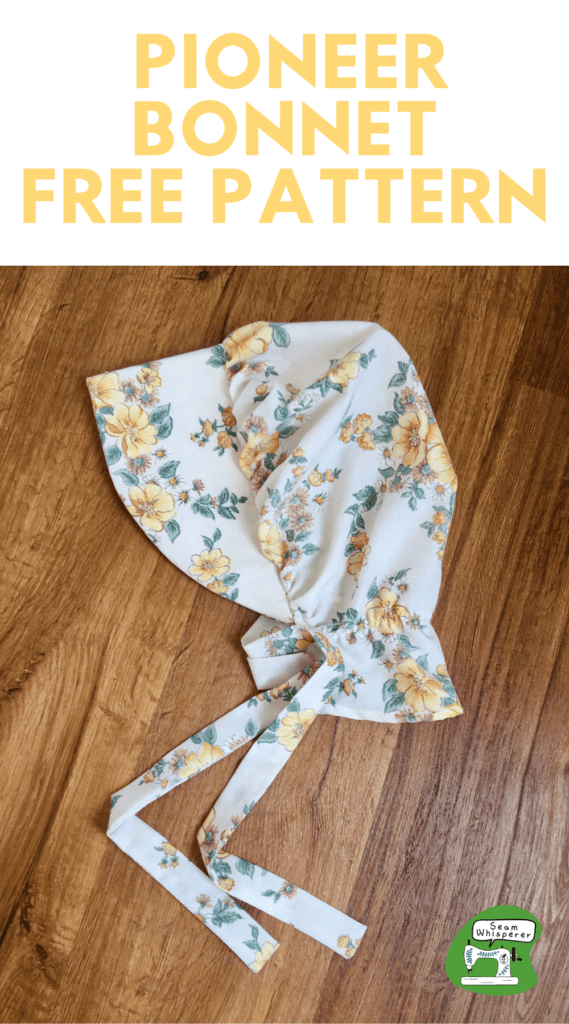
Looking for an easy bonnet sewing pattern for your pioneer costume? Whether you are going on a trek or acting out a scene from the prairie, you will love how easy this project is!
Note: If you are organizing or attending a Pioneer Trek or Reenactment, you are welcome to link to this tutorial and use a photo!
Prefer Printable Instructions? The printable pattern template for this bonnet is totally free, and the instructions are located in this blog post. If you prefer a printable copy of the instructions as well, they are now available in a beautiful printer-friendly format for only $4!
This post may contain affiliate links. Read the full disclosure here.
Supplies Needed
- 1/2 yard light/medium weight cotton fabric (Some gorgeous tiny floral prints like this one or this one would be perfect)
- 1/4 yard heavyweight fusible or sew in interfacing
- 8 inches of 1/4 inch elastic
- Matching Thread
- Rotary Mat, Cutter, and Ruler (Optional)
- Serger (Optional)
- Iron and Ironing board
- Pinking Shears (Optional)
- Sewing Machine, Scissors, Pins, etc.
- Free Pioneer Bonnet Sewing Pattern (Download it below)
Download The Free Pattern
This free pattern is a 4 page PDF file that makes a teen-adult female sized bonnet, with ties and a small neck protecting flap.
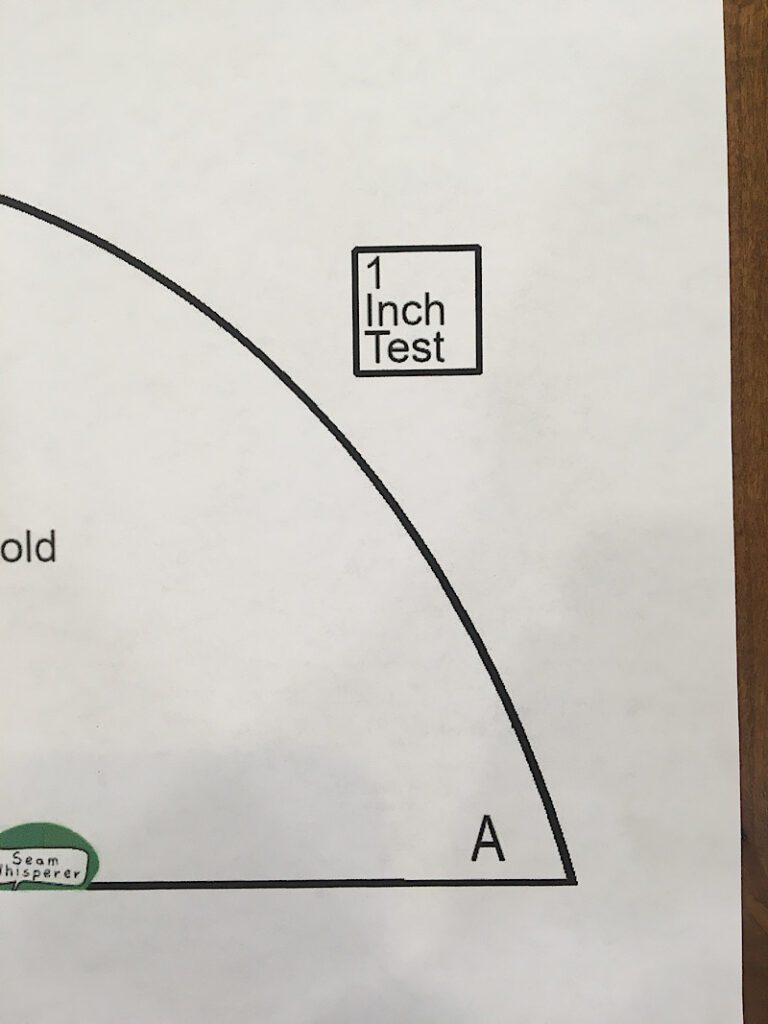
When you print this pattern, make sure to print it at 100% scaling, and measure the “1 inch test square” to double check that it is the right size.
To download your pattern, sign up for my email list below and I will email it to you for free.
How To Sew A Pioneer Bonnet
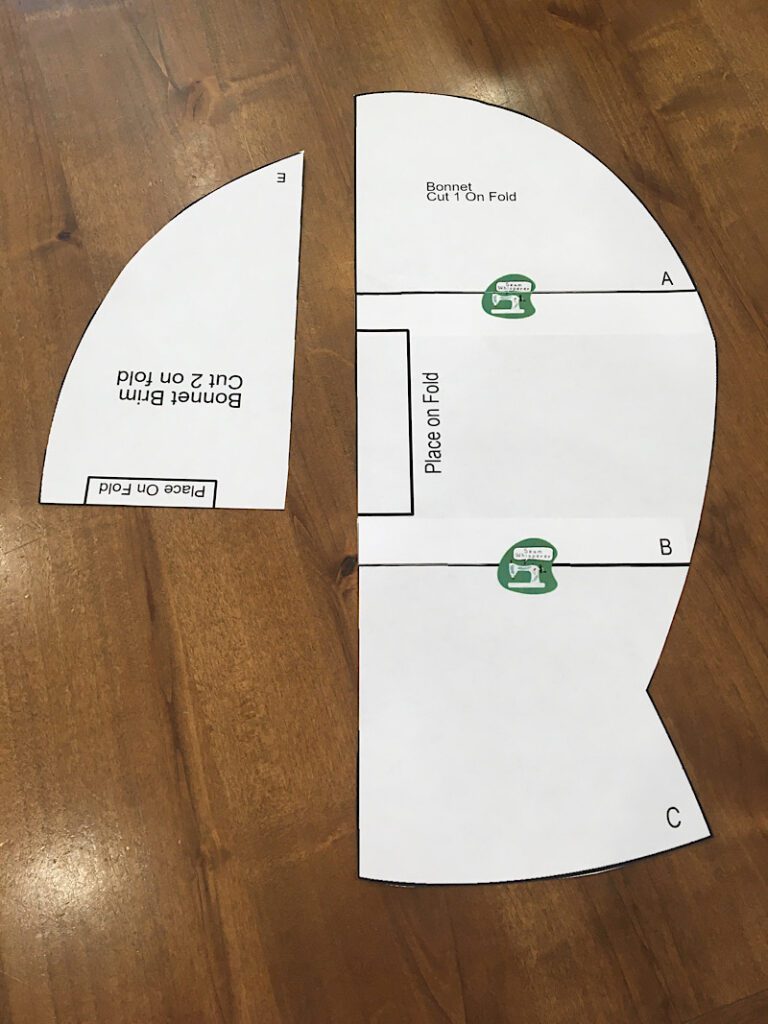
Step 1. Print & Assemble The Pattern
Print out the pattern, measure the test square, and cut it out on the black lines. Tape or glue it together by lining up the “Seam Whisperer” logos. (I like to leave a bit of paper under the logos to add glue to, then I can place the other piece on top of it so they overlap when I line up the logos.)
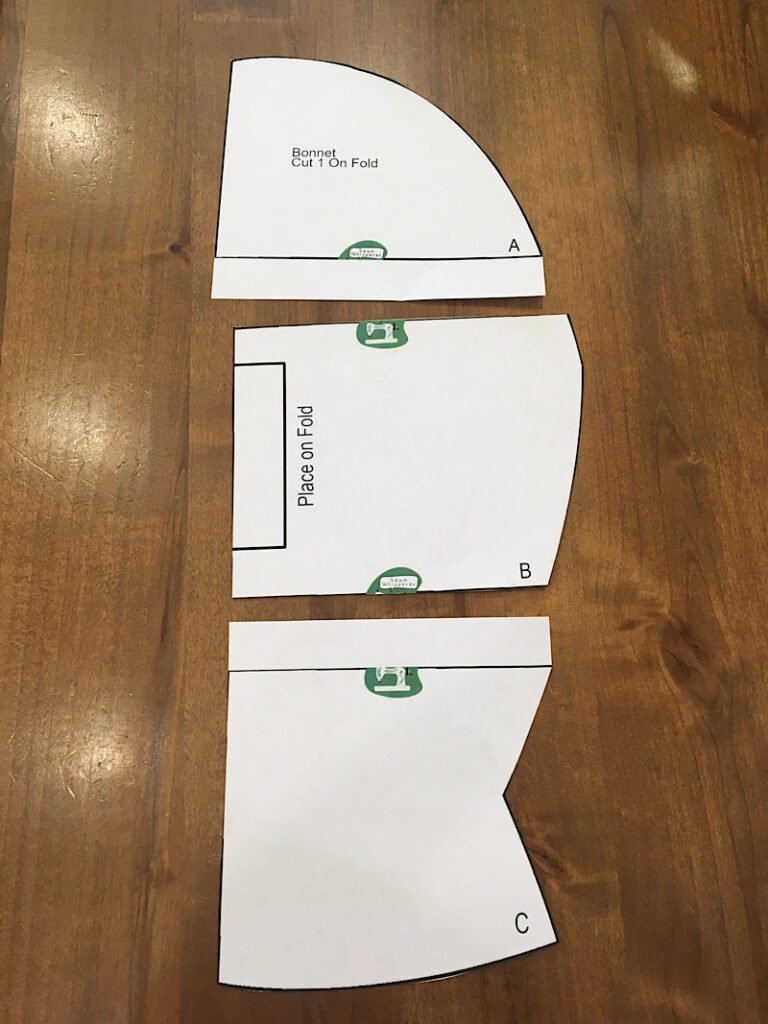
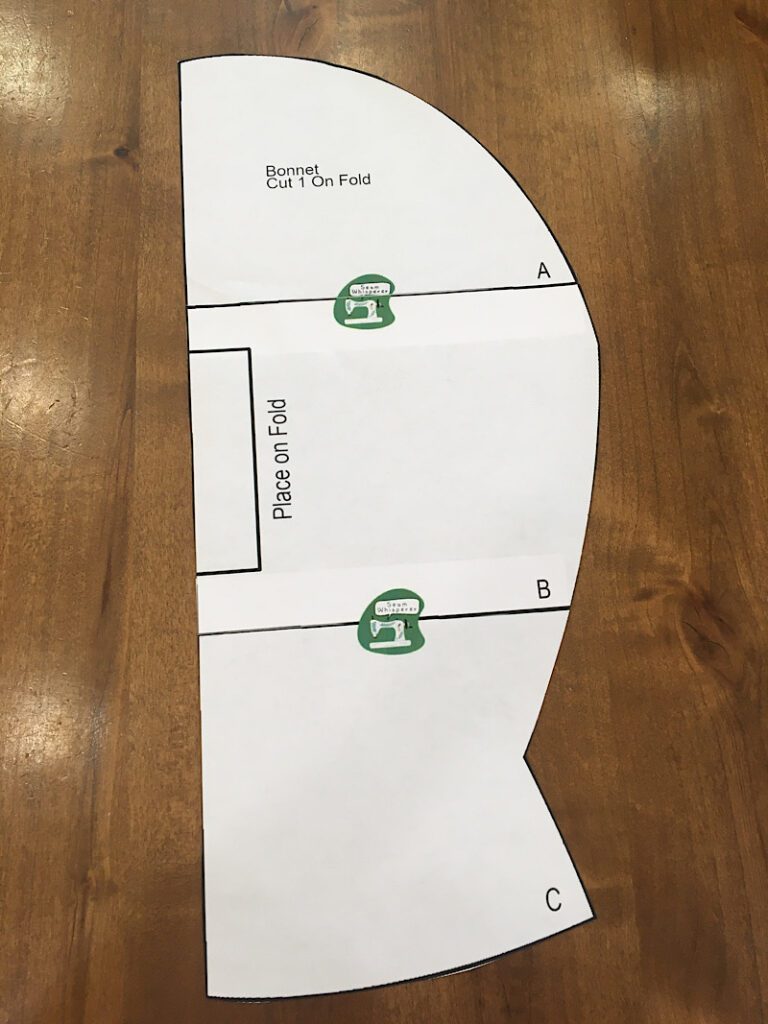
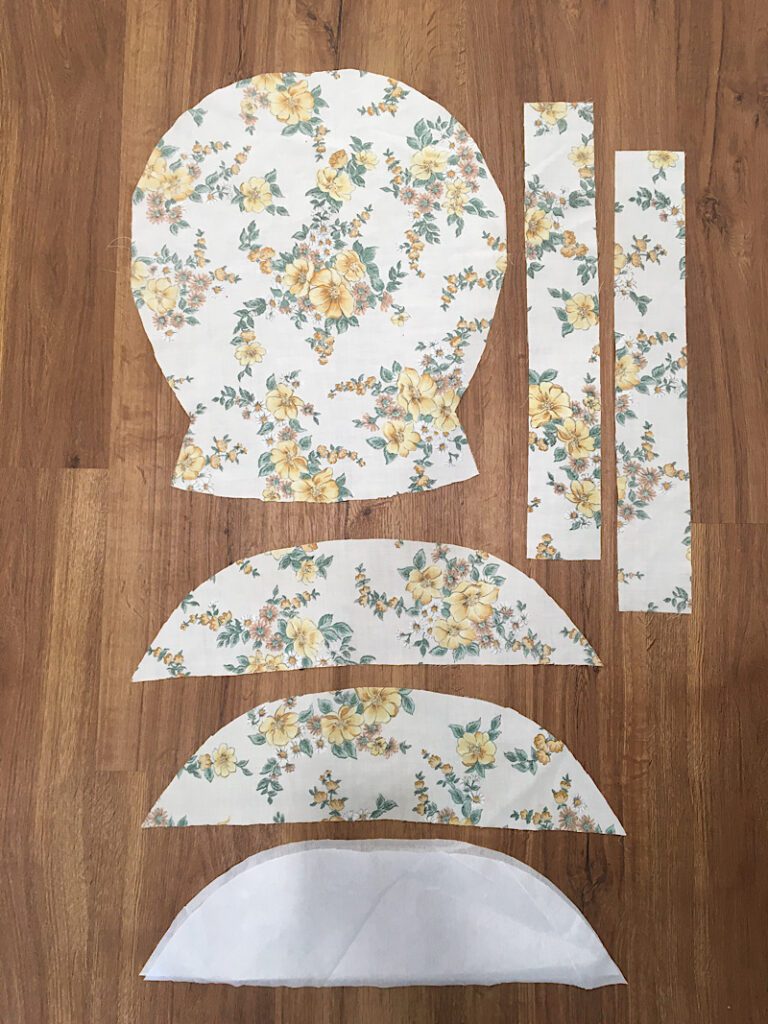
Once it is all cut and glued, you will have two pattern pieces. One for the bonnet cap, and one for the bonnet’s brim.
Step 2. Cut Out The Material
Follow the instructions on the pattern to cut out your fabric. Each piece will need to be cut on the fold.
Cut one copy of the bonnet pattern, and two copies of the brim piece.
Then, you will also need to cut out the following:
- 2 strips of fabric that are 3.5″x20″ in length
- 1 piece of heavy interfacing using the brim pattern (I cut out two since I only had light interfacing)
- 8 inches of 1/4 inch elastic
Here is a photo of all the fabric pattern pieces you should have cut out:
Step 3. Sew The Ties
Fold the 3.5″x20″ strip of fabric in half lengthwise (so it is long and skinny) with the right sides together, and pin it in place.
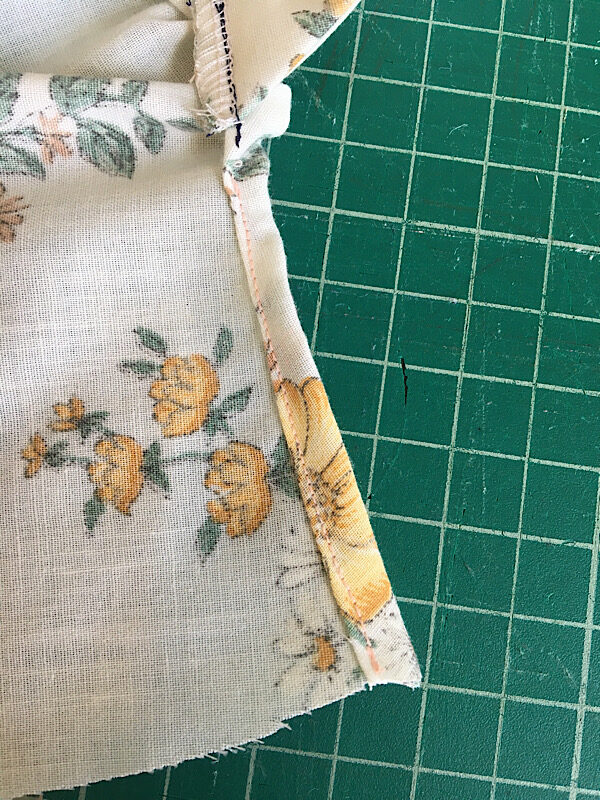
Sew one short side, and down the long edge with a 3/8ths inch seam allowance. Leave the bottom short side open. Make sure you backstitch at the beginning and end.
Then, trim off the corner a bit to get rid of the excess fabric near the seam as in the photo below. Don’t cut too close to the stitch line.
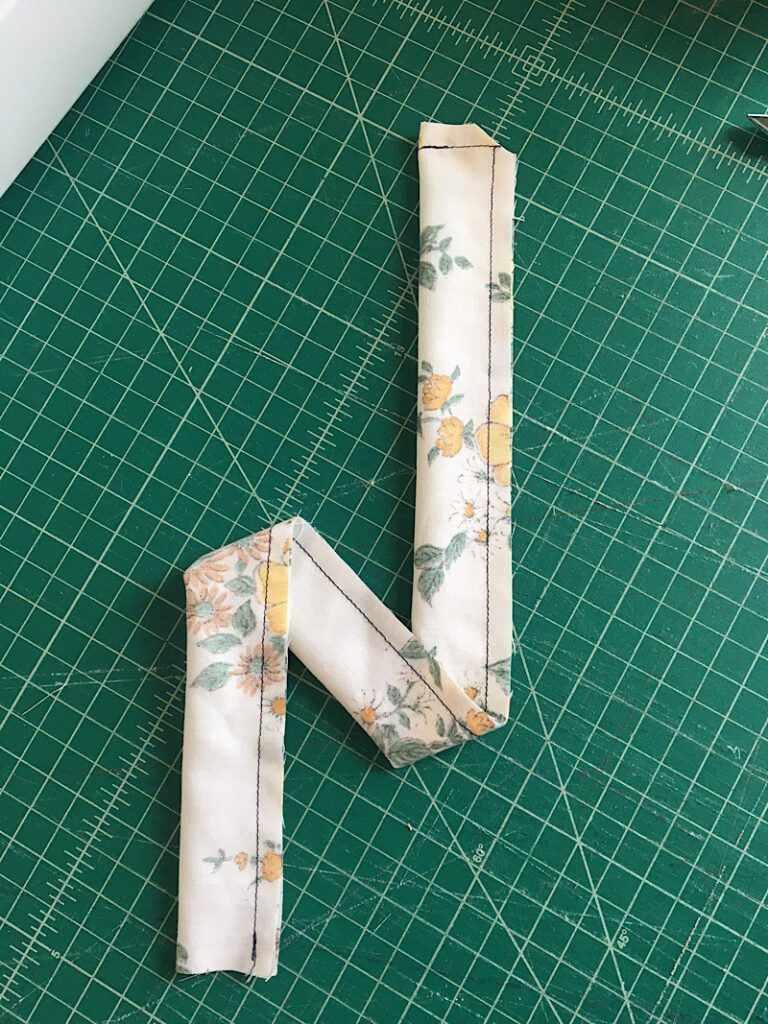
Repeat this step for the other strap.
Next, turn both straps right side out using a bodkin, or other turning method of your choice. (I placed the sewn end over a thick dowel, then pushed it down until it slid down the dowel and turned right side out. You can also just turn it with your fingers, but it will take longer.)
When they are both right side out, lay them on your ironing board and press them flat.
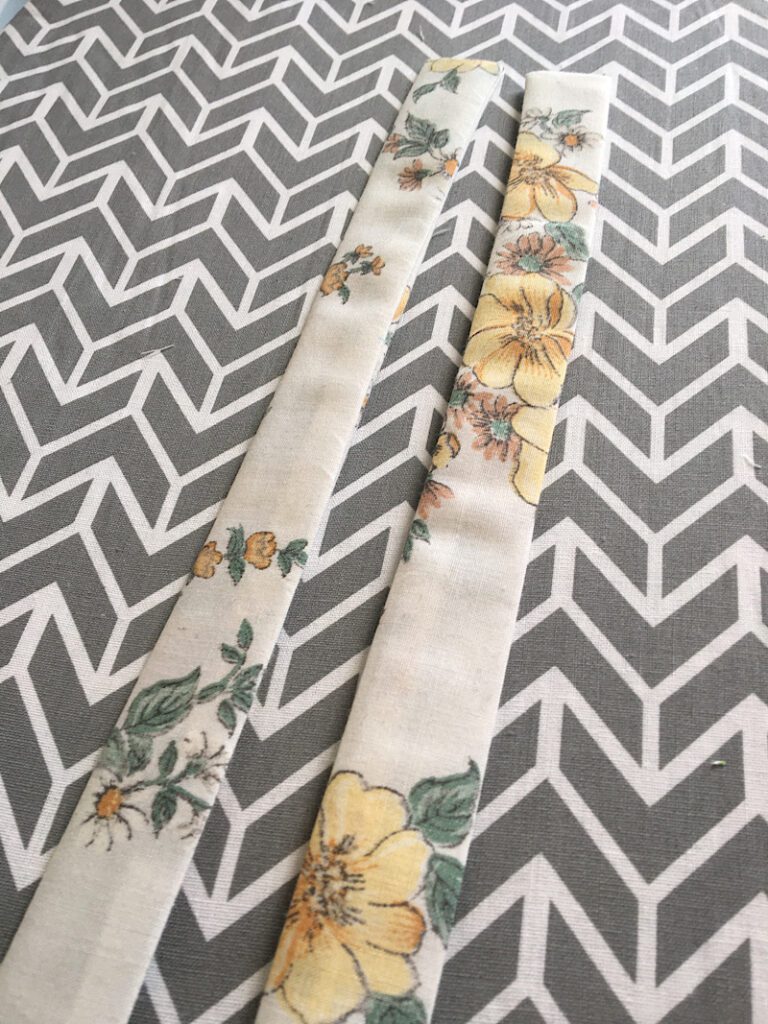
Then lay the two ties aside for now.
Step 4. Assemble The Brim
Following the directions on your particular interfacing, iron the interfacing to the wrong side of one of the brim pieces.
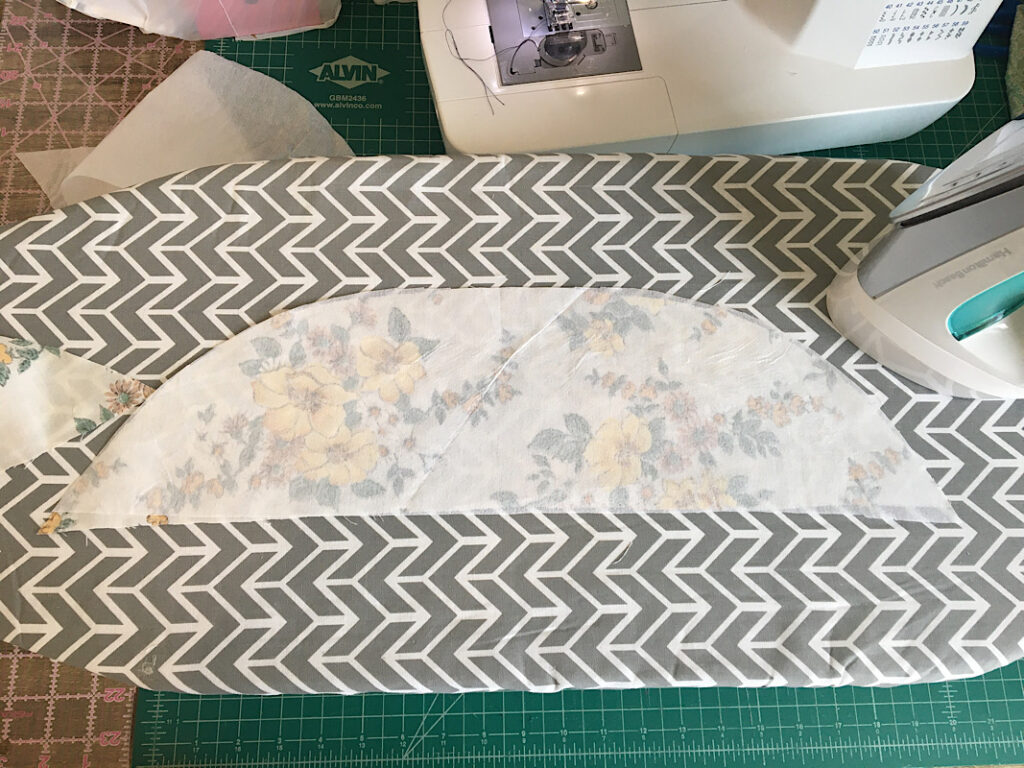
When it has cooled and attached, face both brim pieces together with the right sides facing and pin them together.
Sew the brim only along the top curve, from end to end. Leave the flat bottom side open.
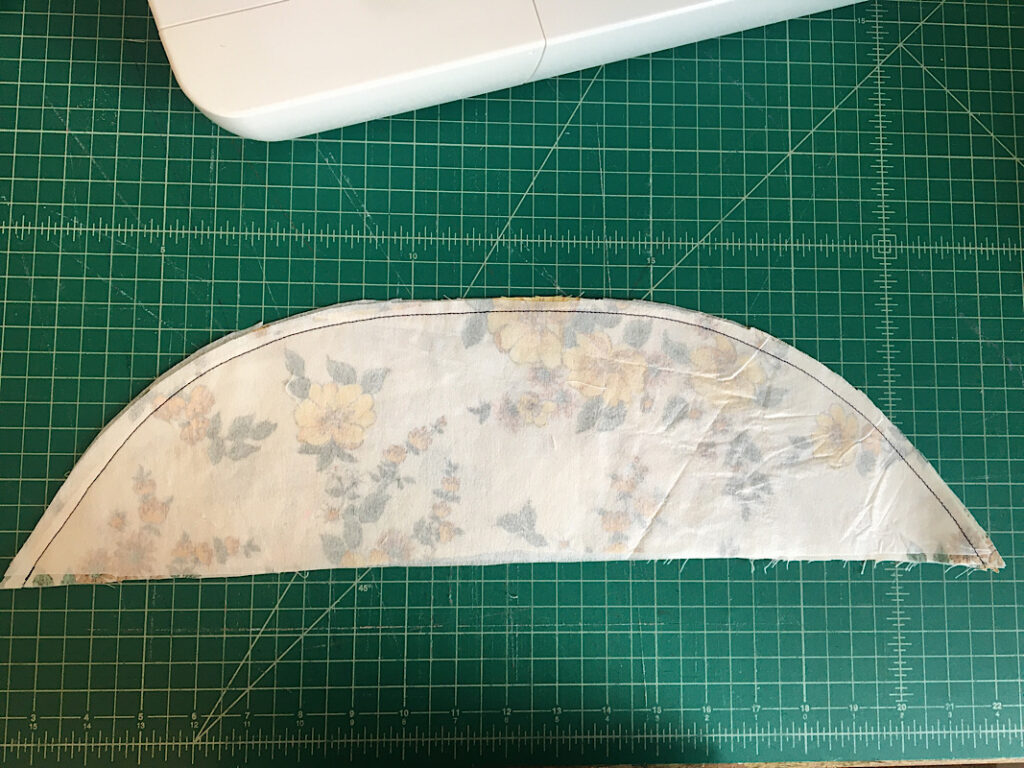
Next to help the seam lay flat, clip notches along the entire curve to get rid of excess fabric.
Pro Tip: If you have pinking shears, you can just cut along the curve with the pinking shears to instantly make a thousand tiny notches.
If you don’t have pinking shears, cut out triangle notches without cutting to close to the seam, about every half inch-inch or so.
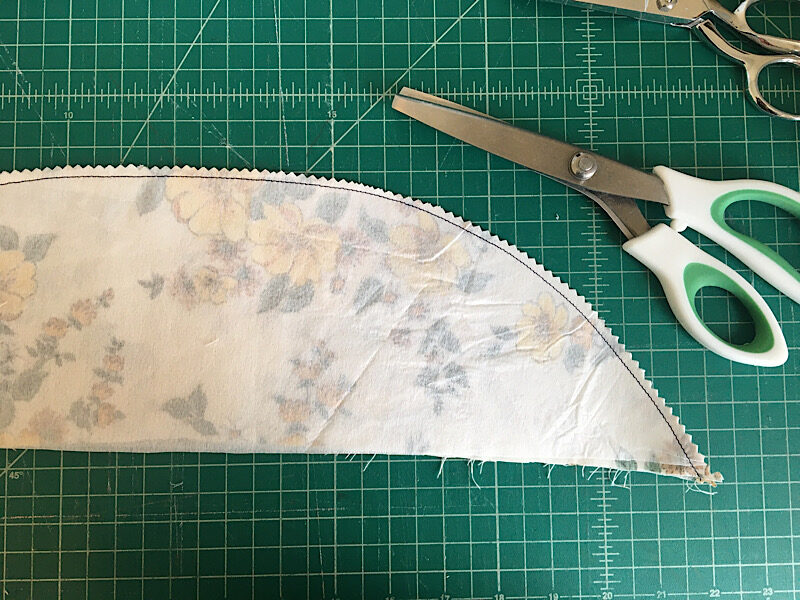
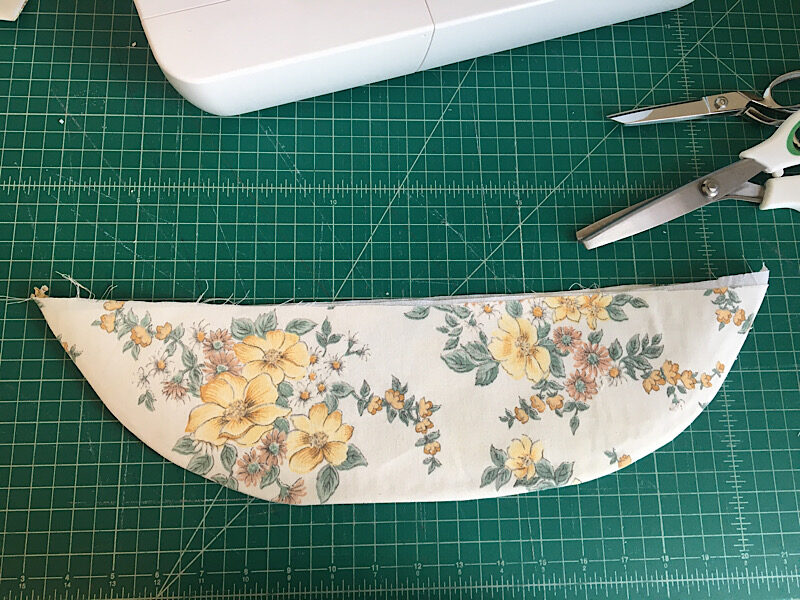
Turn the brim right side out, and take a minute to press it flat and make it look crisp and neat. Then, you can set it aside for now.
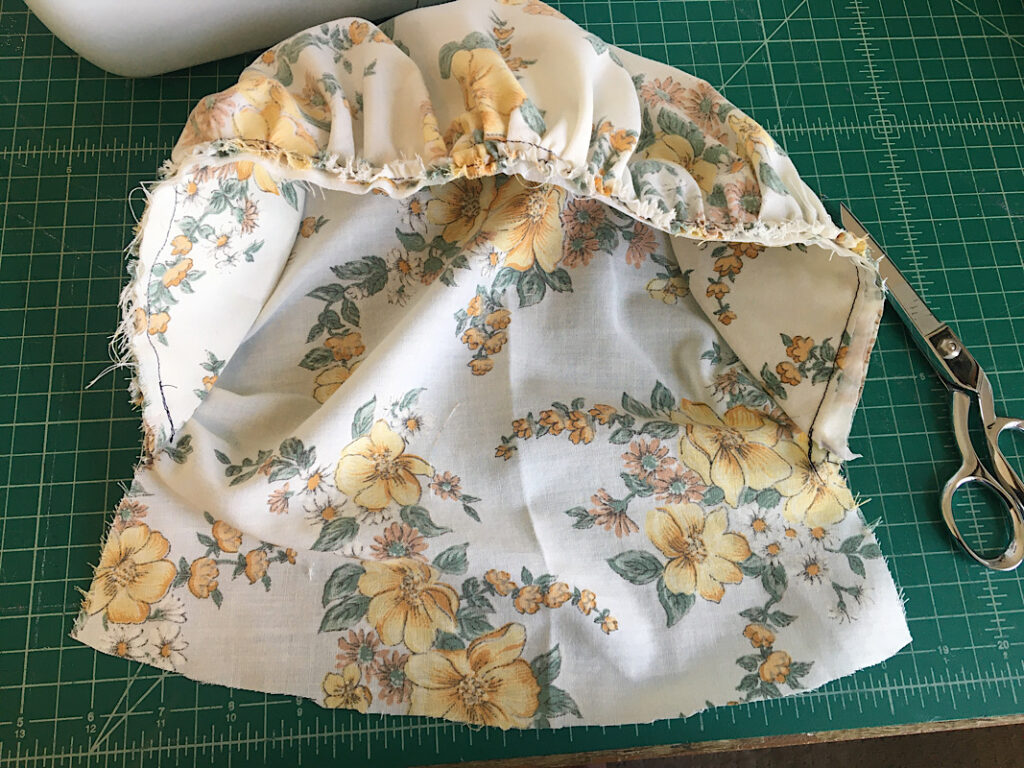
Step 5. Gather The Bonnet Cap
This bonnet has a little neck flap as part of the pattern. When you gather the cap, do not gather the neck flap portion.
Lengthen the stitch length on your sewing machine as high as it will go, and sew a basting stitch over the entire top curve of the bonnet cap with a 1/4th inch seam allowance.
Start at the base of the cap in the corner above the neck flap, and end on the same place on the other side as in the photo below. Do not backstitch at the beginning or end.
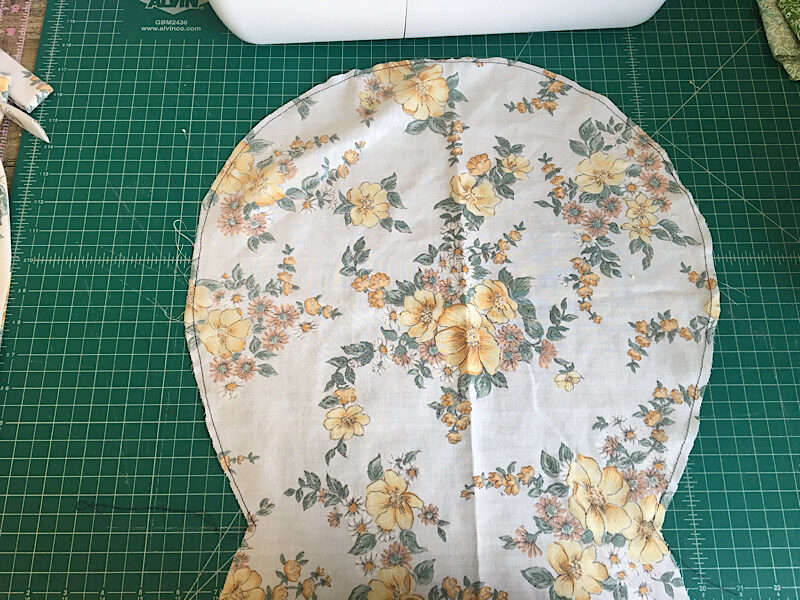
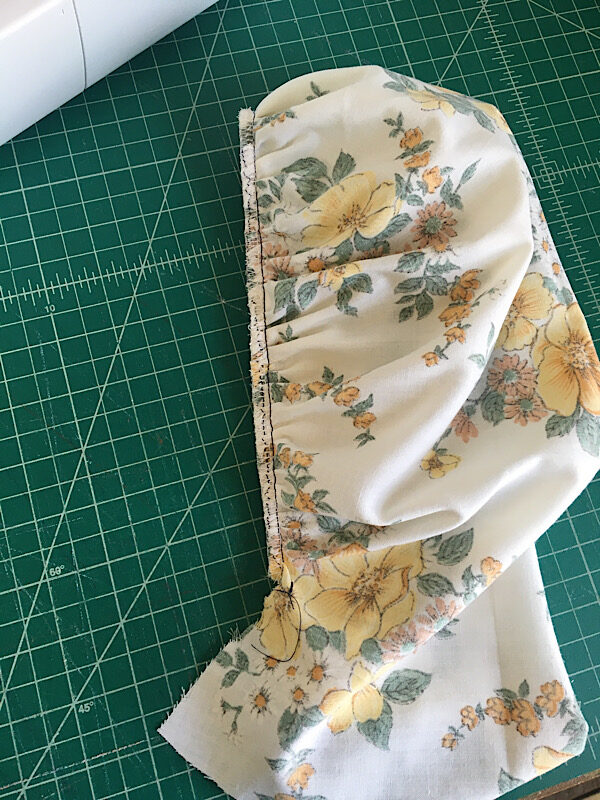
Next, gather the basting stitch by pulling on one of the threads on one side. Continue pulling the thread to gather the fabric, and gently push the gathers around the cap so it is evenly gathered all around.
You should gather the cap until it measures about 18 inches from where you started sewing to where you stopped.
An easy way to check this, is to fold it in half and gently straighten out the edge and measure it, it should be 9 inches (half of 18).
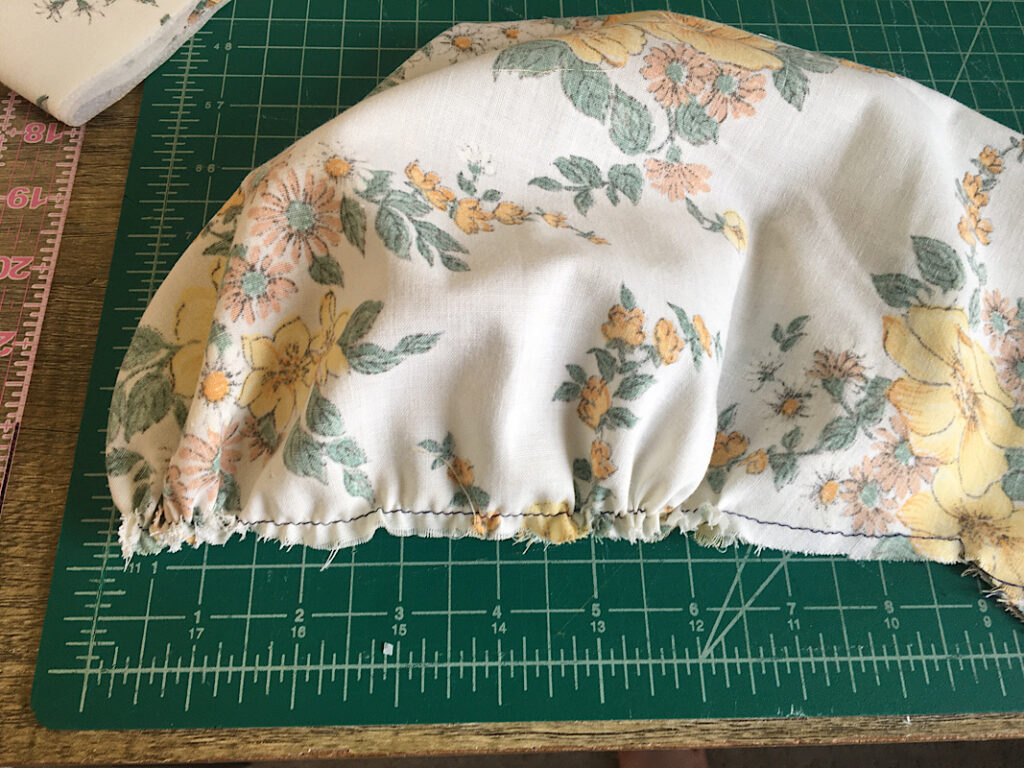
When you are done gathering, tie the two threads in a knot, and do the same with the other side so it doesn’t ungather as you sew it.
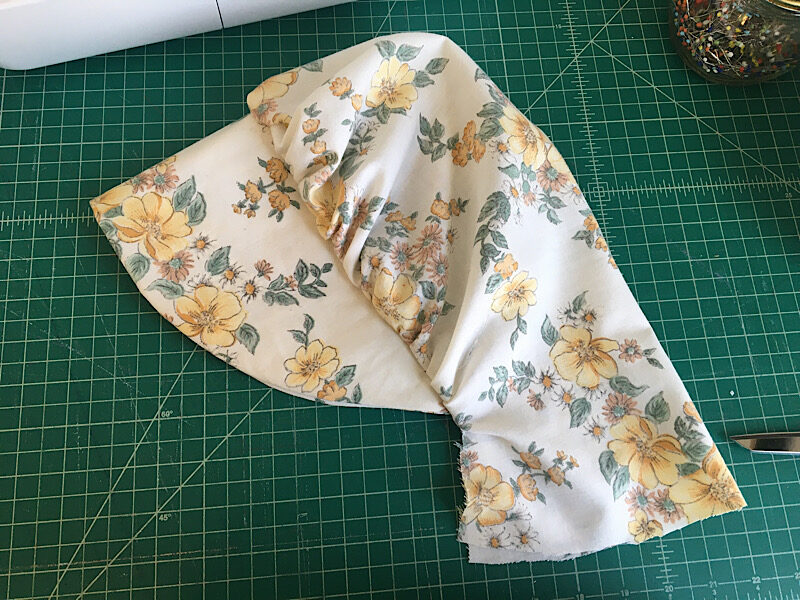
Turn the cap so the right side is in.
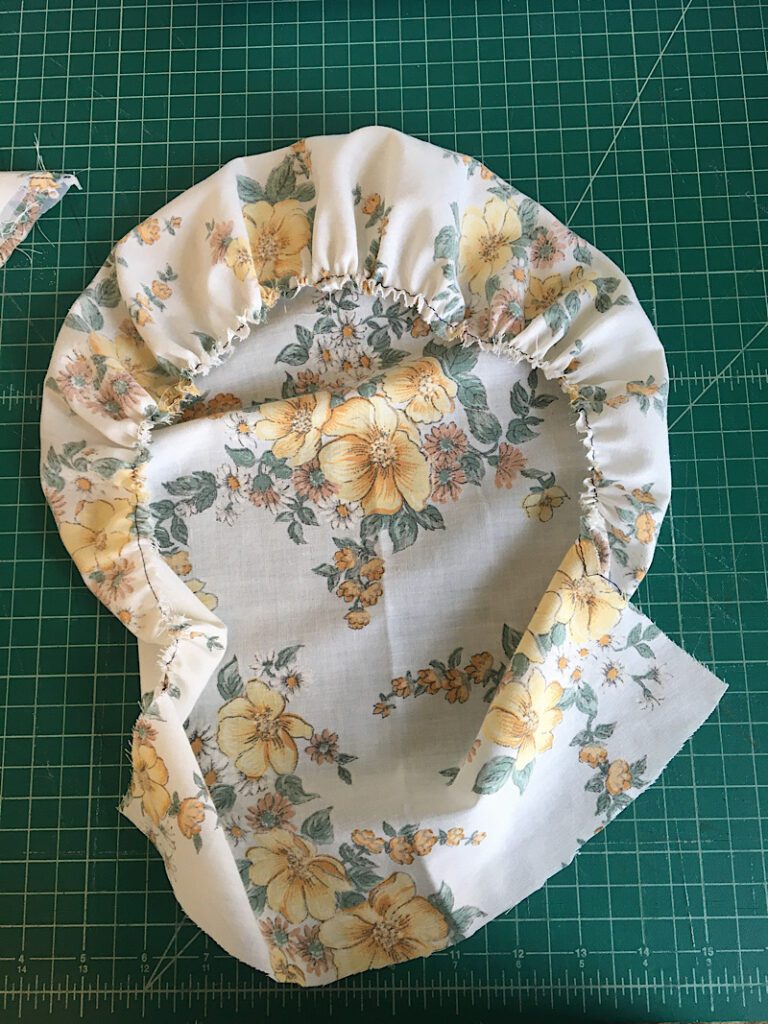
Step 6. Sew The Cap To The Brim
Line up the brim to the right side of the cap, and pin them together along the raw edges. The ends of the brim should line up with where the gathers begin and end.
Sew the brim to the cap with a 5/8ths inch seam allowance. Sew with the brim side down so the feed dogs don’t mess up the gathers as you sew.
The brim is now attached the the cap.
You can trim the sewn edge a bit to clean it up, and then zig zag stitch or serge it to finish the raw edge.
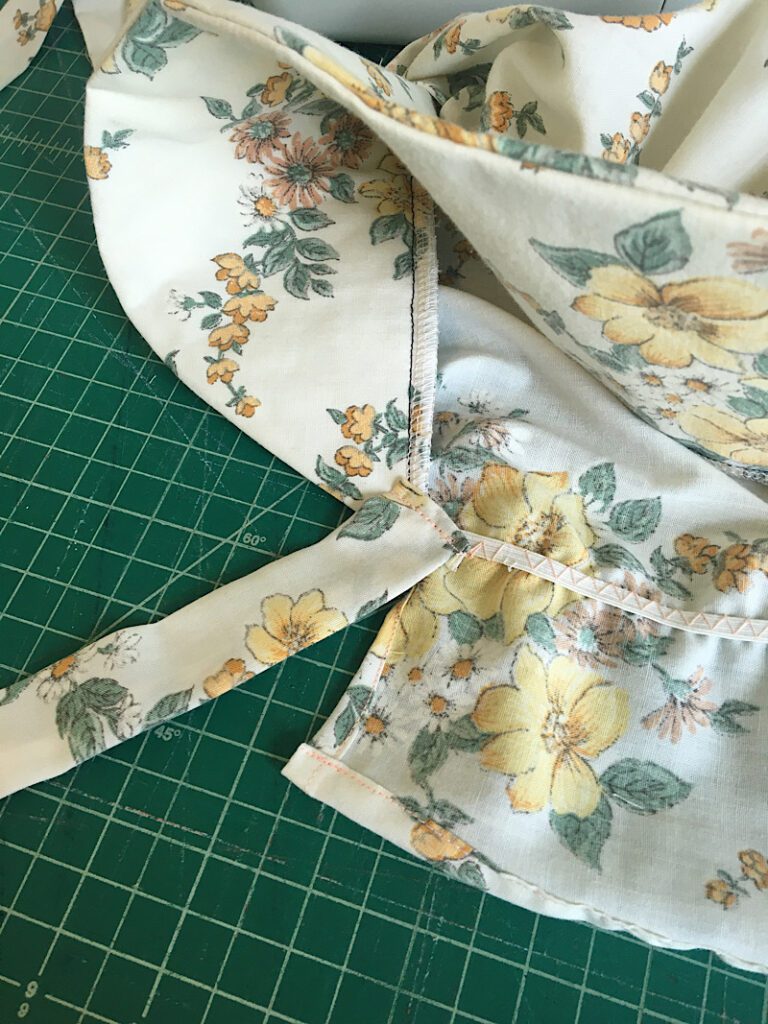
Turn it right side out to see how it looks so far!
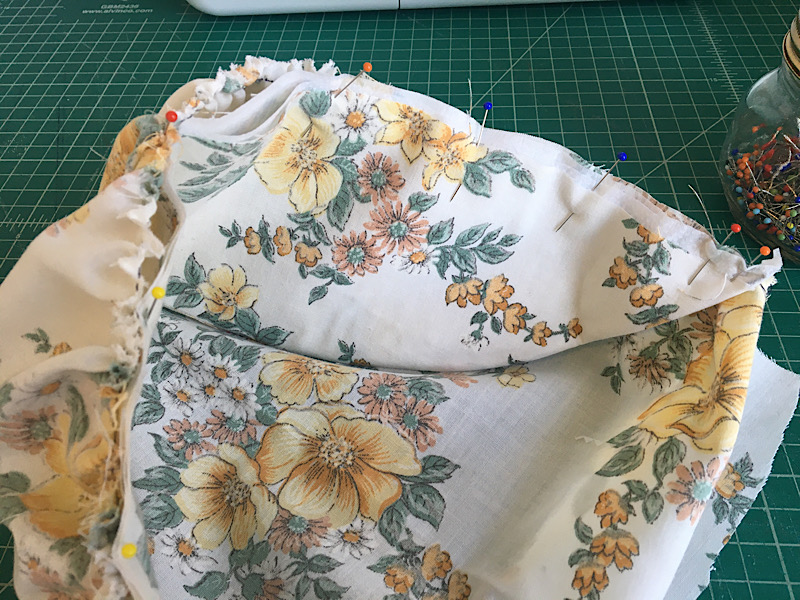
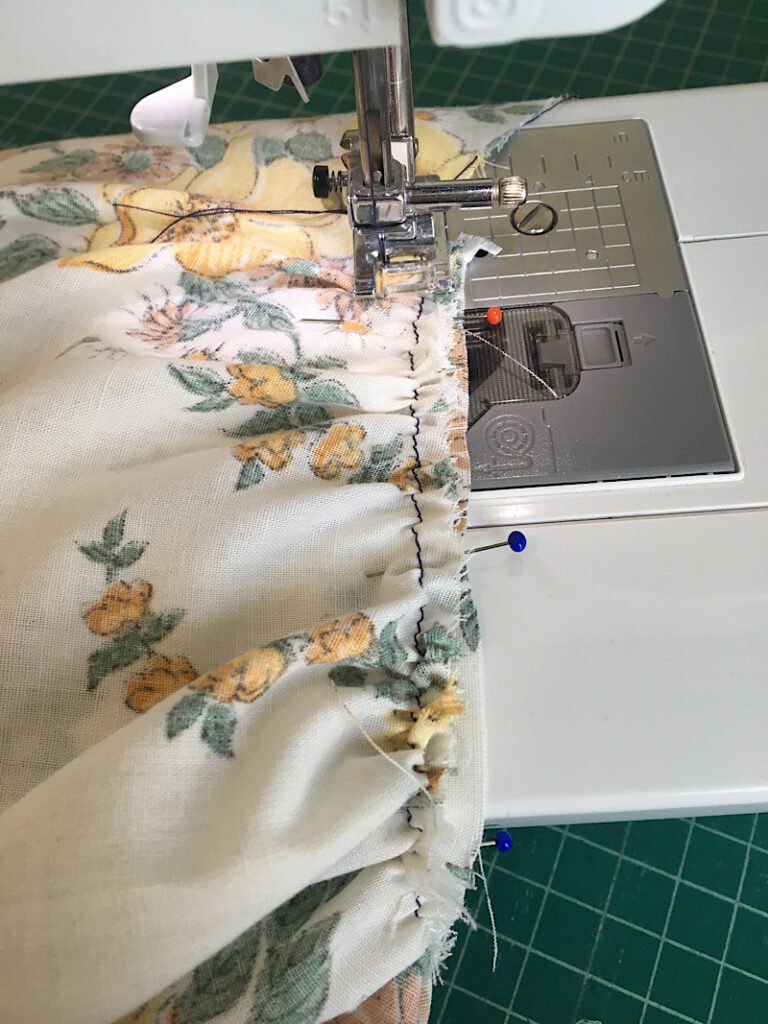
Step 7. Finish The Neck Flap Edges
To hem the edges of the neck flap, fold the side edges in twice about 1/4 of an inch, and pin it down.
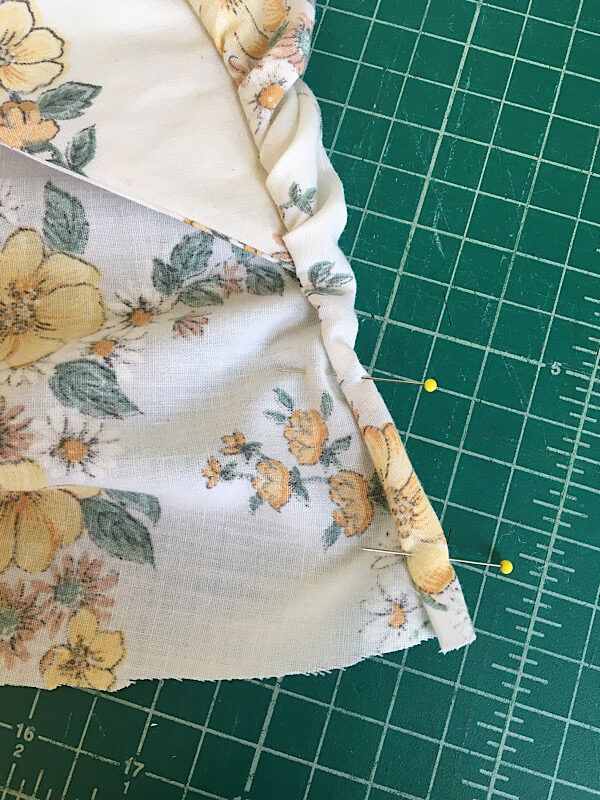
Then sew a stitch near the innermost folded edge.
After sewing both side edges, do the same to the bottom edge to finish it off.

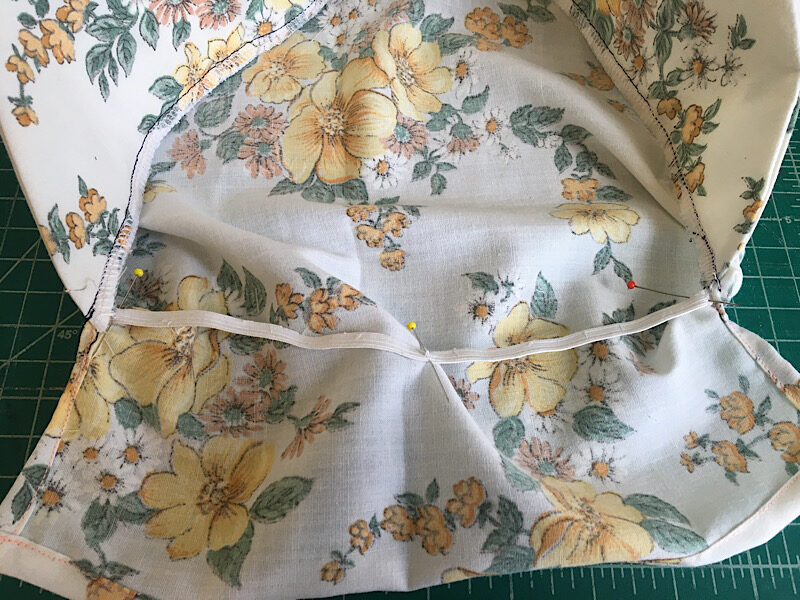
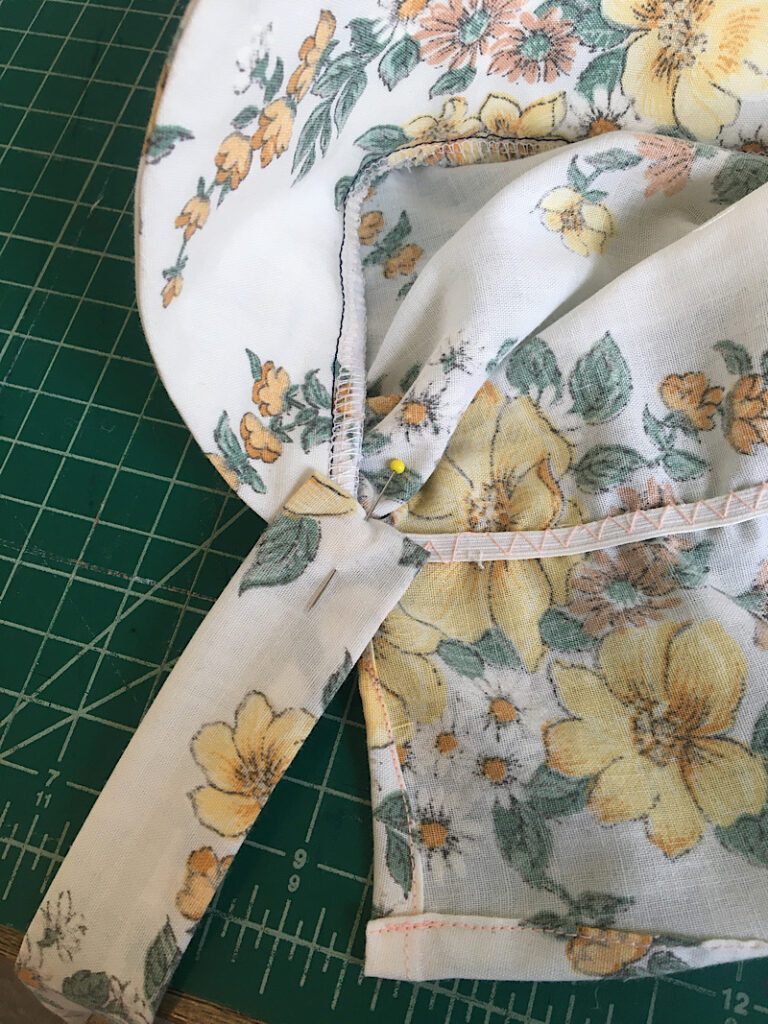
Step 8. Attach The Elastic
The elastic will help gather the base of the cap.
Working on the inside (wrong side) of the bonnet, pin each end of the elastic to the corner where the point of the brim meets the neck flap.
Find the center of the bonnet, and the center of the elastic, and place a pin there as well.
Set your stitch to a zig zag stitch that is as wide as the elastic and as long as possible.
Sew a zig zag stitch across the elastic while stretching it as you go. Backstitch at the beginning and end.
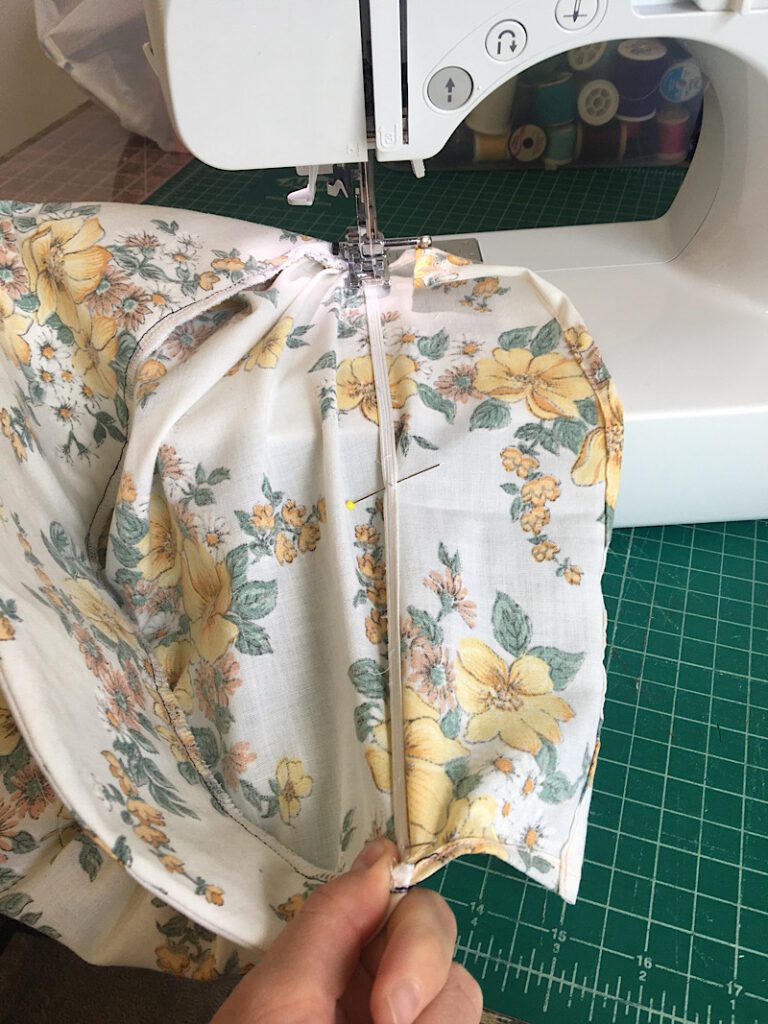
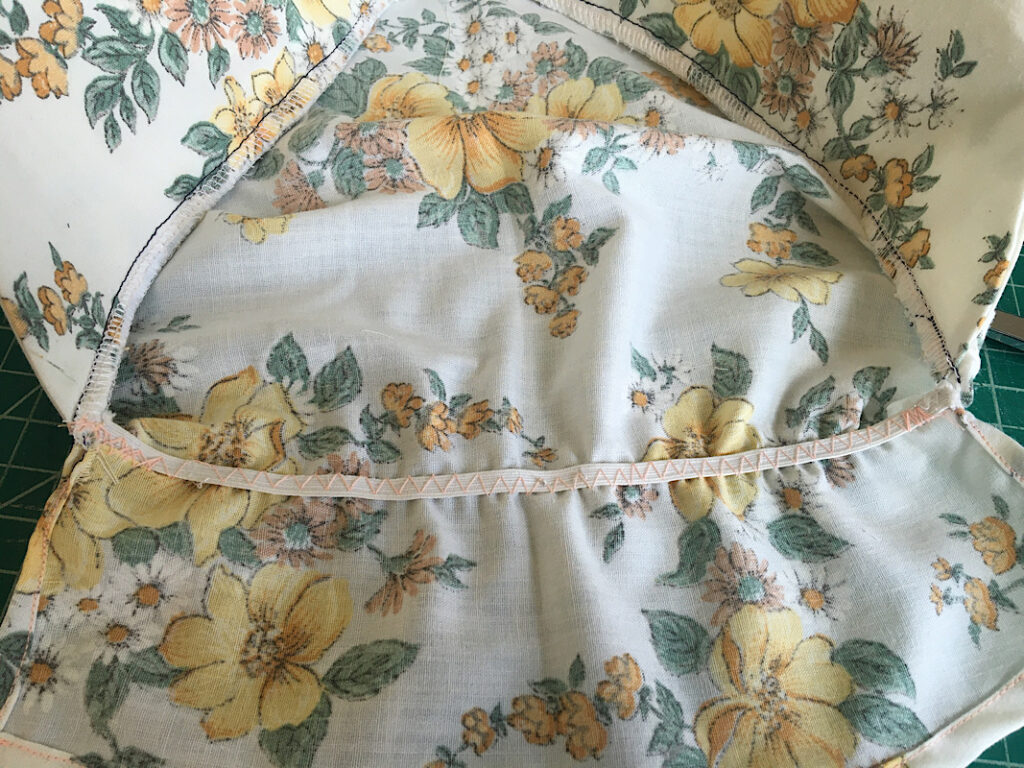
When you are done, un pin it and see how it gathers.
Step 9. Sew On The Ties
Fold over the short unsewn edge of each strap about 1/2 inch, and pin the fold in place.
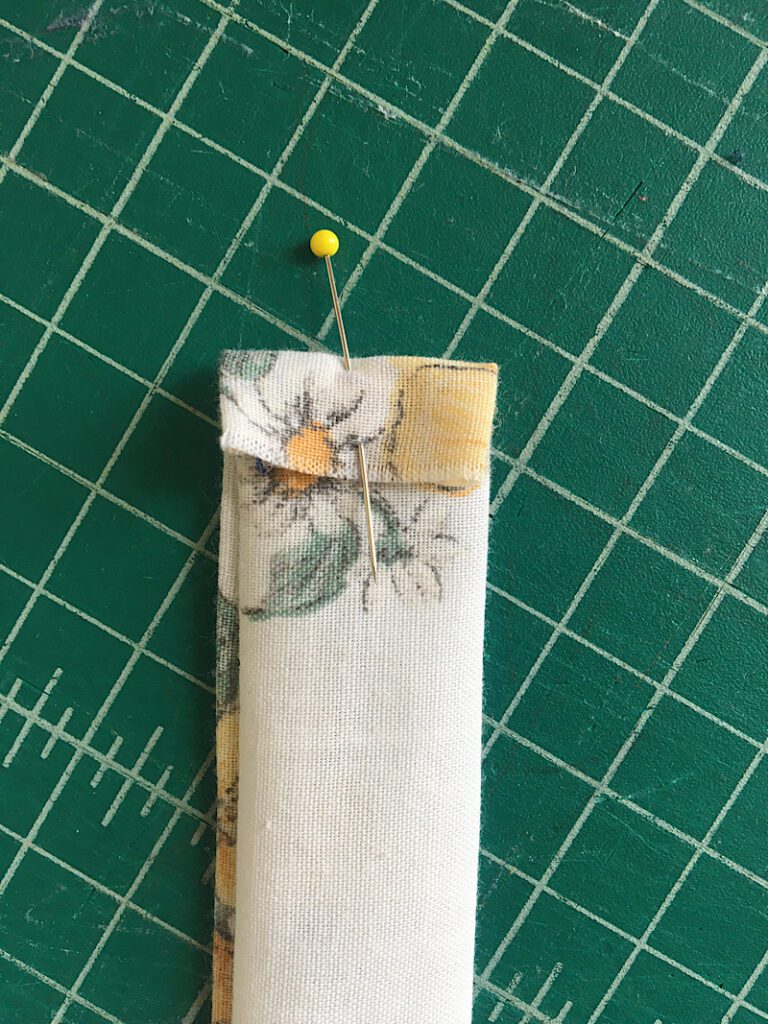
Then, place the ties with the folded side facing the bonnet, in the corners above the neck flap. Pin them to the bonnet.
Sew a line across the fold of the tie to attach it to the bonnet.
Repeat this step on the other side to attach the second tie.
This completes the pioneer bonnet!

This bonnet is an excellent base pattern, you can add ruffles, bows, lace, whatever you want! It is easy to put together for only a few dollars so you can match your pioneer skirt and apron!
Pin this post to pinterest if you made it so others can find it too!
Show & Tell
Molli sent me this photo of her daughter wearing the bonnet she made with my pattern!
She says: “Loved the pattern! It was very easy to follow your directions, and in no time I had an adorable bonnet for my daughter for Pioneer Day at school! Thank you so much for sharing your talents!”
Thanks Molli and daughter!
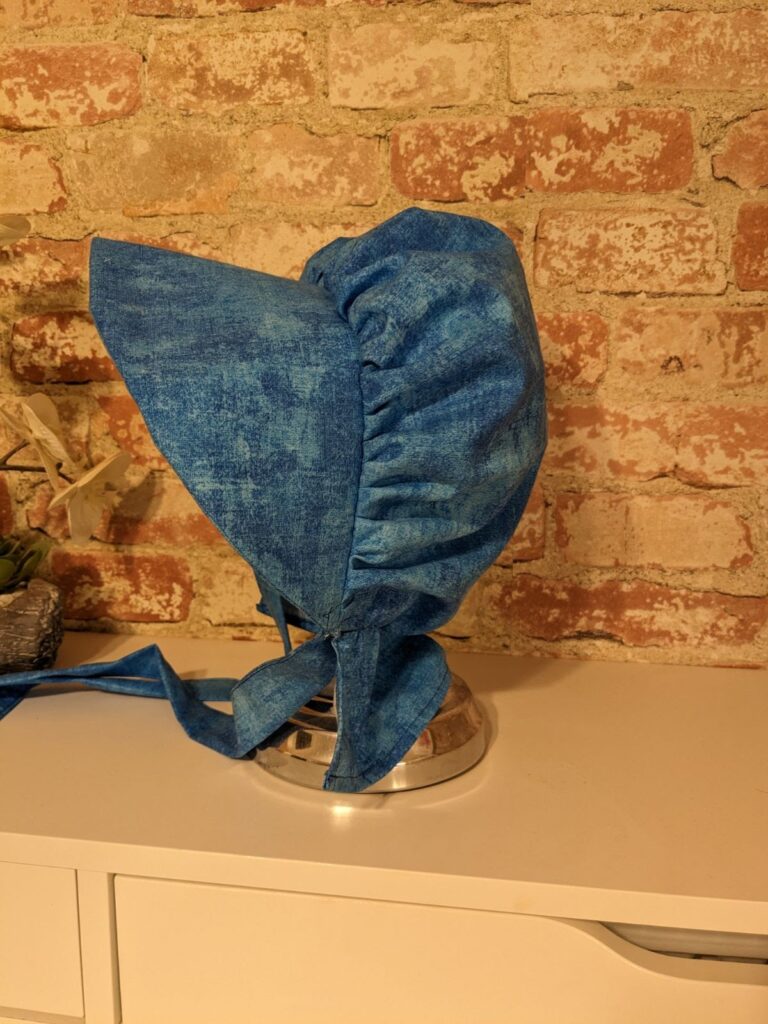
Linda sent me this shot of the bonnet she made with my pattern, I love the denim material she chose. It turned out great!
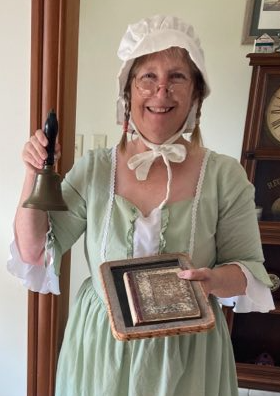
Marge sent me this ADORABLE photo of her in her prairie school teacher costume for cowboy day. She did awesome!
Tamara says: “Thank you! Yes, your bonnet pattern worked beautifully! I teach sewing lessons to a nine-year-old girl and she needed a prairie costume for a homeschool project. I found your website and downloaded the bonnet pattern and had no problem, piecing it together. We found your illustrations and instructions very clear, easy and satisfying to make. She was very happy! You saved the day!”
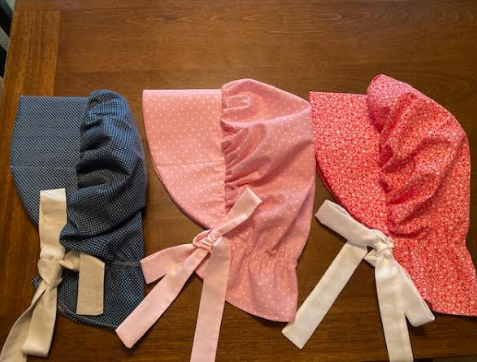
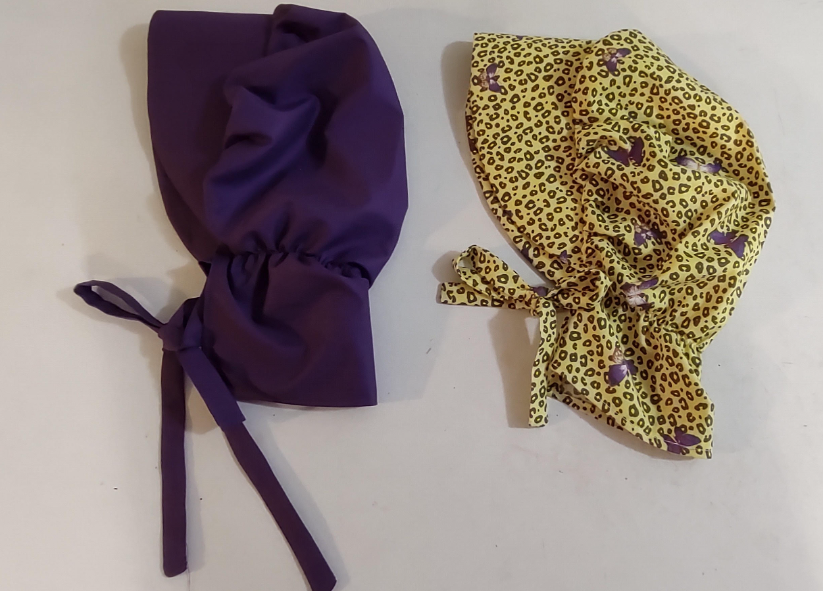
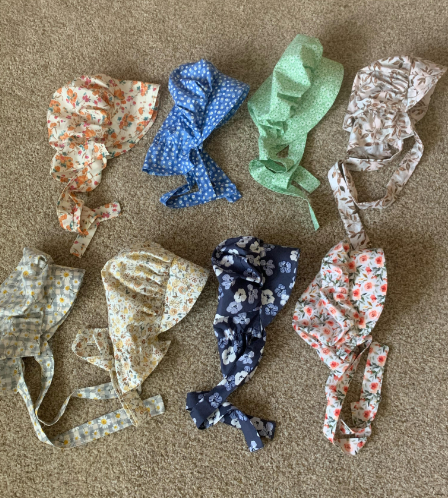
Judy made these three cute bonnets for her granddaughters! The fabric is perfect!
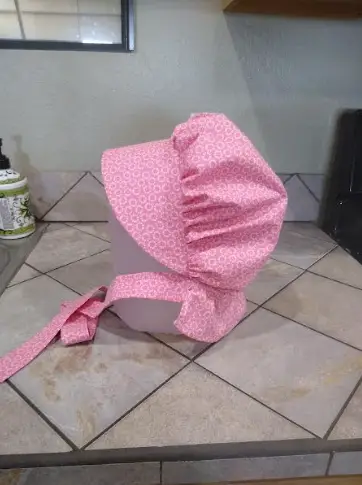
M sent me this photo of the pink bonnet she made.
She commented: “THANK YOU SO MUCH!! The pattern is well written and easy to follow. (No seam ripper needed). My grand daughter is going to love it.”
Deniese made a few bonnets and is in the process of making a couple more!
“This was a joy to make! And perfectly given instructions!”
Kjell made a whole set of bonnets, altering them slightly to work better for the show.
“I am a costume dad (yes I said ‘dad’, one and only) for my kids’ theatre group. I used your pattern to make several bonnets for an upcoming show”
Going on trek? You will need to make an easy cushioned seat for your 5 gallon bucket!
Want to make to wear in parade with team and buggy
That would be great!
It won’t let me download. Please help
Cyndi, I emailed you!
Hi! I’ve just made this bonnet, it was super easy and cute I love it! It’s the perfect size for my daughter who is 7 and she will wear it for book week at school soon!
I want to make bigger ones for trek.. could you recommend how much bigger I make the pattern template?
Chloe, I actually use this exact pattern for my adult sized head! So it seems like it would still work. But to enlarge it, you would need to make the circle back piece that you gather bigger so it has a larger circumference when you gather it, and you could make the brim a bit longer.
I can’t find where to sign up for emails in order to download this pattern, please advise!
Hi Kelly! There is a section in the table of contents called “Download the pattern” or you can scroll there to find the email sign up!
I am also having a difficult time finding where to find the sign up link.
Jane, if you read the blog post or the table of contents you will see a section that says “download the free pattern” and it will tell you how!
I am making a pilgrim girl and am trying to make a bonet. This would be awesome.
Awesome! That sounds like a fun project.
I don’t see how to send my email…???
Hi Bev, if you read he blog post it tells you how! I will sign you up.
I made this pattern for our church play. Quick and easy and great directions and photos!
Thanks so much for the pattern!
You’re welcome! I’m glad it turned out well!
I made this today and I want to thank you for the free pattern and very easy to understand instructions. I needed a small sewing project to give me some confidence and this was amazing! I had a great time making it and my friends love it.
Hi linda I am so glad it worked well for you!! Thank you so much for your nice comment, that’s why I share these patterns. Let me know in a comment or email what other kind of patterns you want to see
You are so kind to offer this pattern for free! It was easy to sew and your instructions were spot on!
Our weaving and spinning guild is participating in the 50th anniversary of Little House on the Prairie in Simi Valley, California in March! Thank you, Melissa Hanson
Thank you so much melissa, that means the world to me! That sounds really fun, thanks for using my pattern!