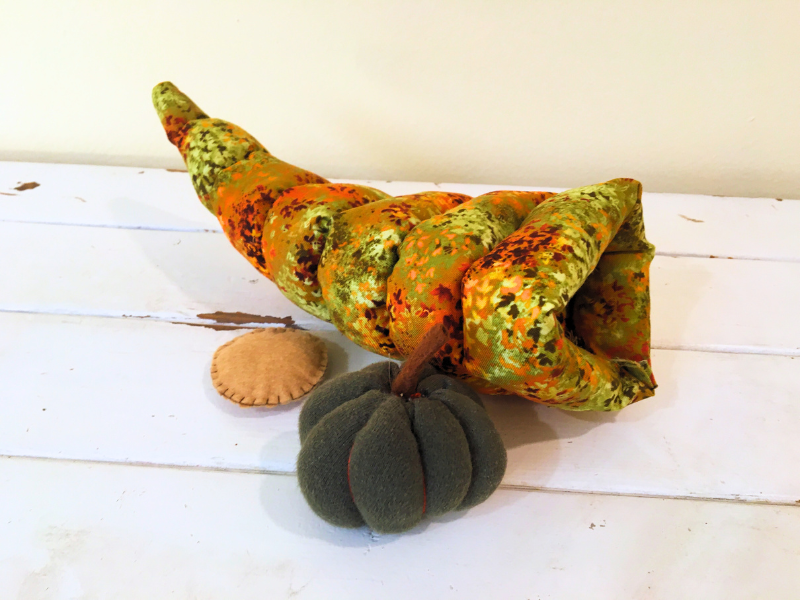
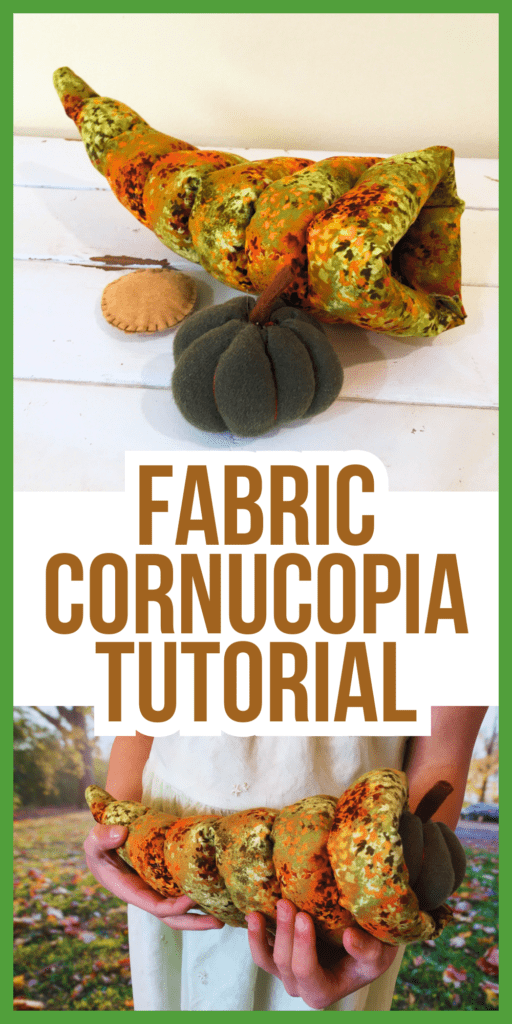
Make a really simple but cute fabric cornucopia toy for your kids to learn about thanksgiving! You can even make play food to stuff inside!
I love making my kids felt play food, and this autumn I thought it would be so fun to teach them about the first thanksgiving! In our homeschool we read about the pilgrims and the natives gathering for a feast, then I sewed up this cute fabric cornucopia for them to act with.
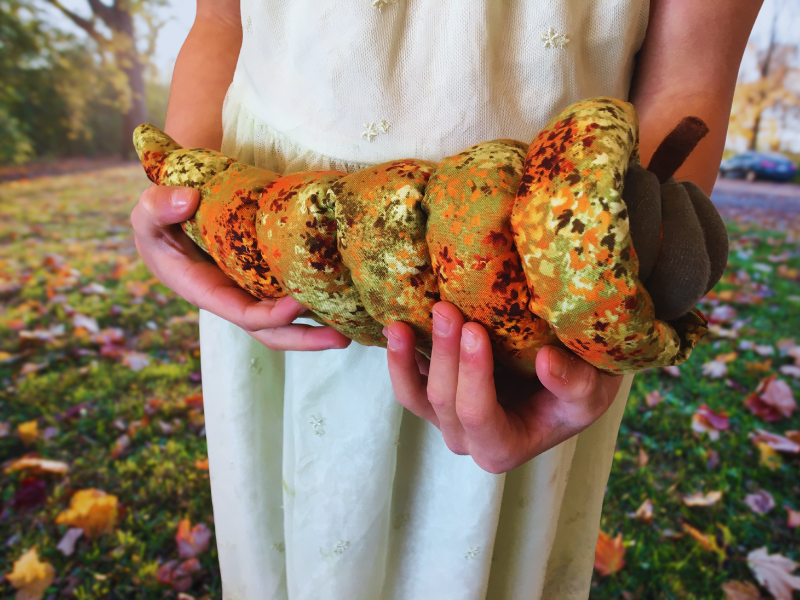
This pattern has a gentle curve to the horn shape and is soft and squishy, the right size for little kids! Easy and quick to sew, without too many materials needed.
You can sew up some food to put inside such as:
Supplies Needed
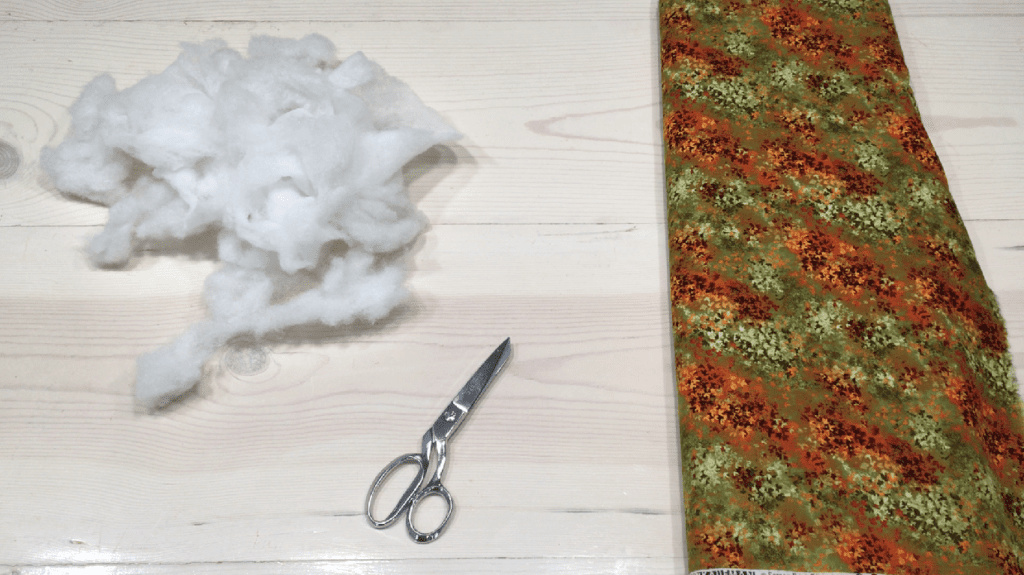
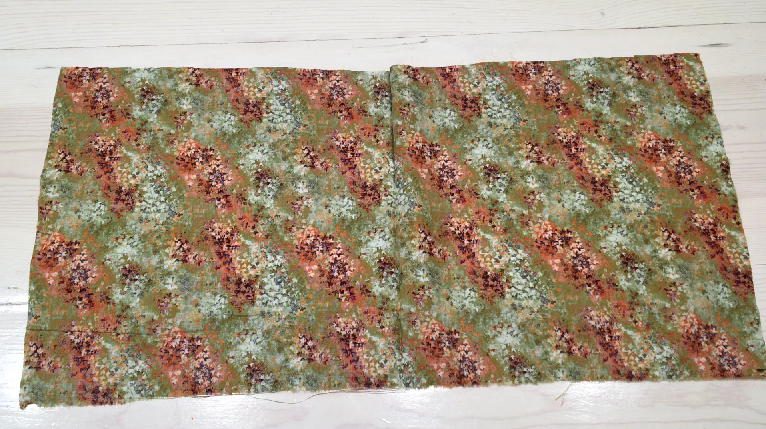
- 28″x14″ piece of cotton fabric in the color of your choice (I used a nice fall themed quilt print)
- Matching thread
- Fiber fill or wool stuffing (I used what was inside a broken pillow we had)
- Sewing Pins
- A large wooden spoon can be helpful to stuff and turn the cornucopia
How To Make A Fabric Cornucopia
(I also have a video tutorial of this project if you are a video learner!)
Step 1. Cut The Cornucopia Shape
Cut out a 28″x14″ rectangle piece of fabric.
Fold the rectangle in half into a square.
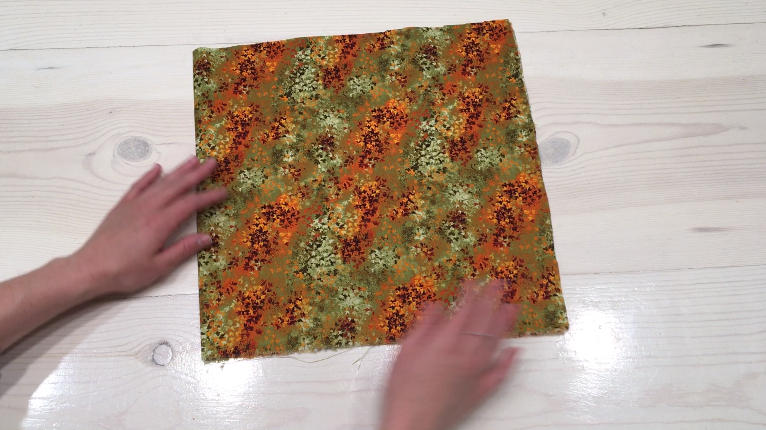
Then fold it in half again the other direction, like a napkin.
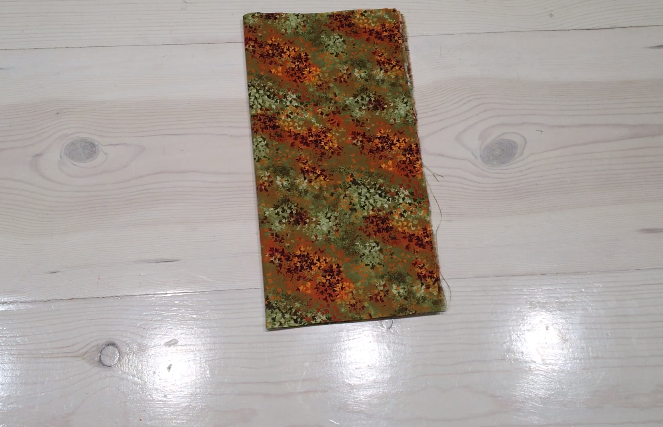
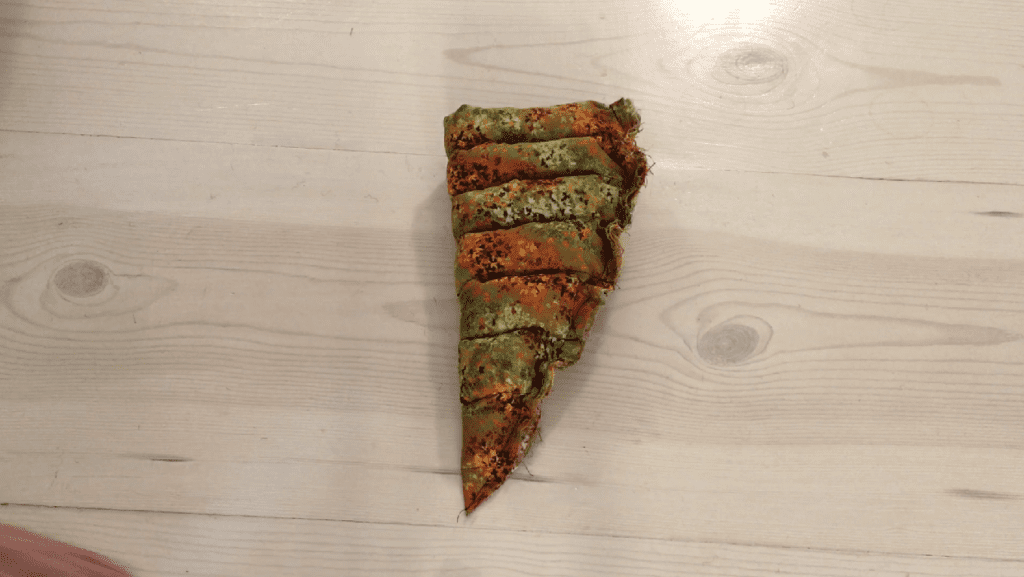
Along the long fold, cut a curved triangle shape. (The flat bottom part of the triangle should be on the short fold of the fabric.)
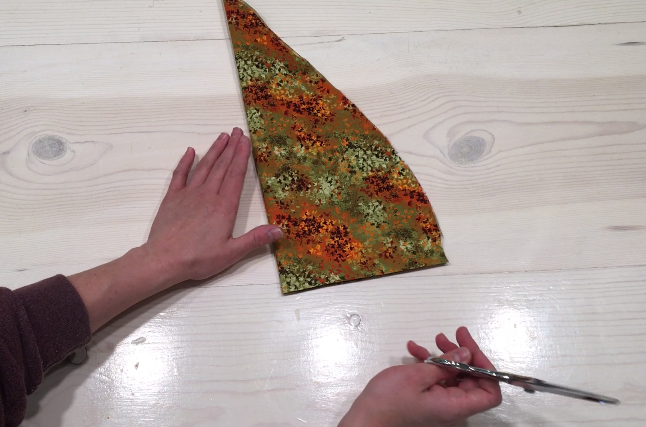
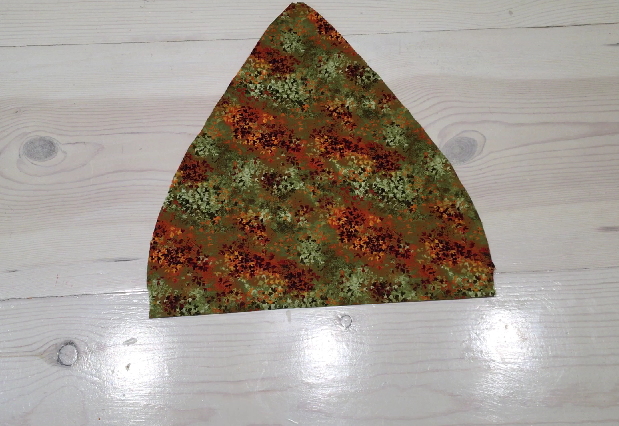
Open the fabric to reveal your triangle. It should be on what was the short fold, it would look like a diamond if you opened it all the way.
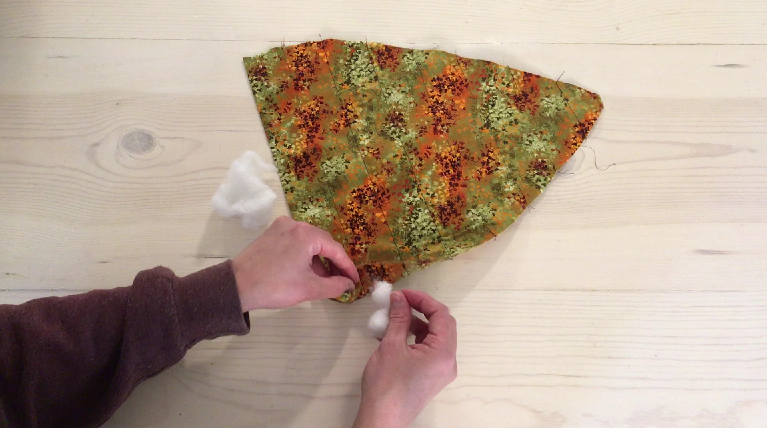
Step 2. Sew & Stuff The tubes
Sew a series of straight lines 2 inches apart, parallel to the flat bottom edge of the triangle. Make as many lines as will fit on the triangle.

Next, stuff between each of these lines to make “tubes”. Leave a 2 inch gap empty on both sides of each tube. I used a wooden spoon to help push the stuffing in each tube.
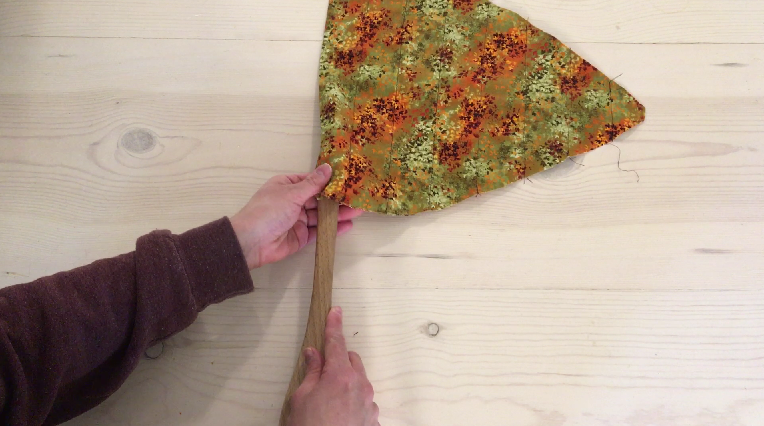
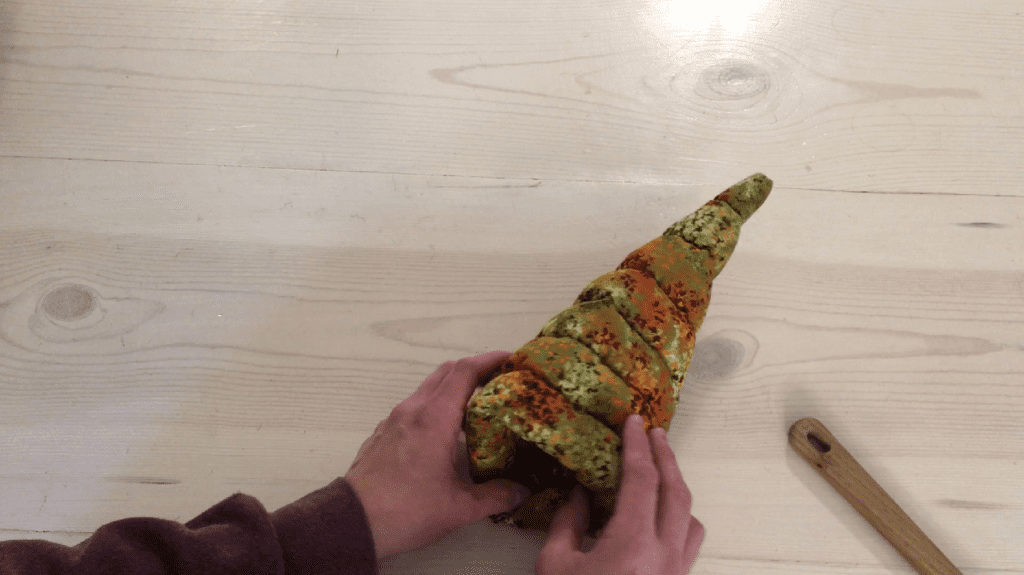
Step 3. Sew & Turn The Cornucopia
Once all the tubes are stuffed, make sure there is a 2 inch gap on both sides of each tube.
Fold the triangle in half and pin the raw edges together.
Sew down the raw edge with a half inch seam allowance, make sure to sew through all the layers. You can also finish the edge of the seam with pinking shears, an overcast stitch, or a serger if you want.
Clip off the excess fabric near the tip of the triangle to remove the bulk. Then, turn the cornucopia right side out. I used a wooden spoon to help push it out.
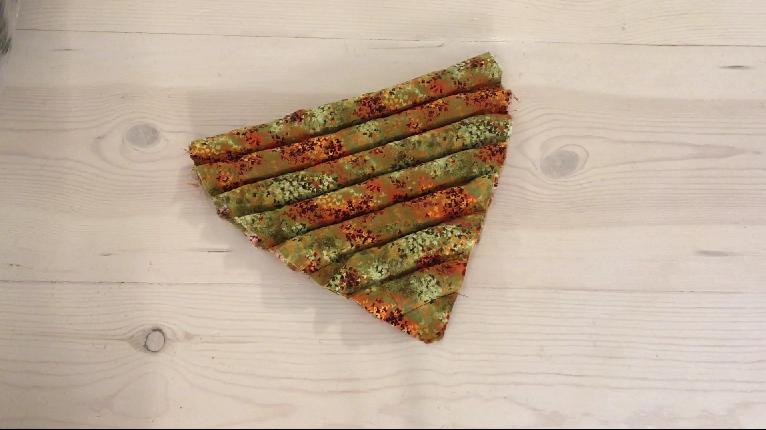
Shape it until it looks nice.
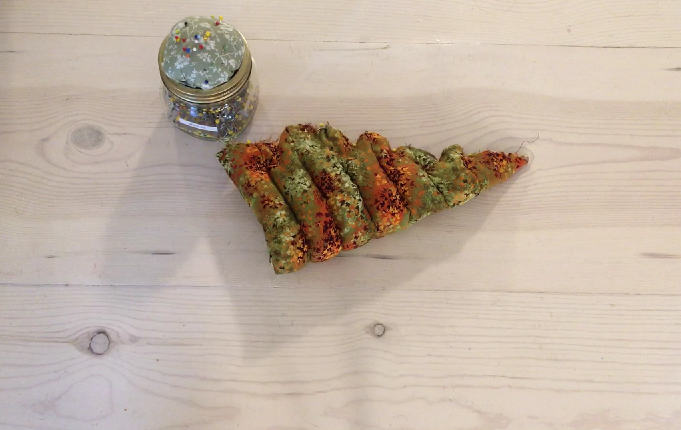
Now you are done! You can fill it up with play food and have fun with it!
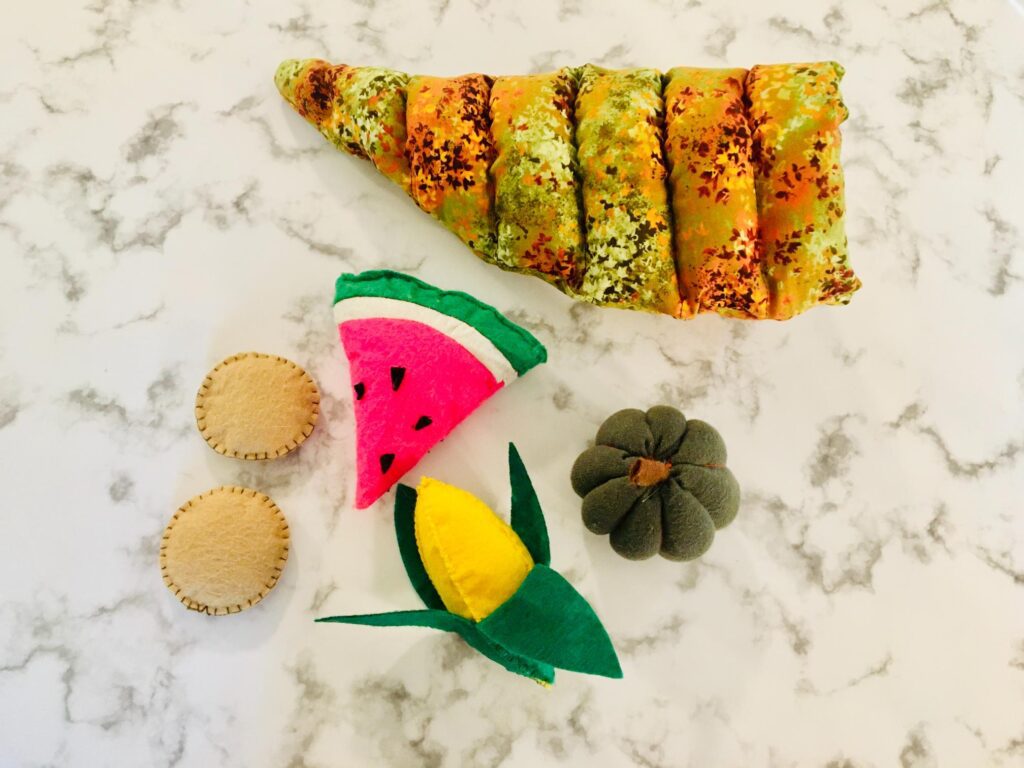
Here are some of my play food tutorials (more to come!):
Thanks for reading, let me know if you have any questions!
Super cute! :0)
Thanks Yvonne!!