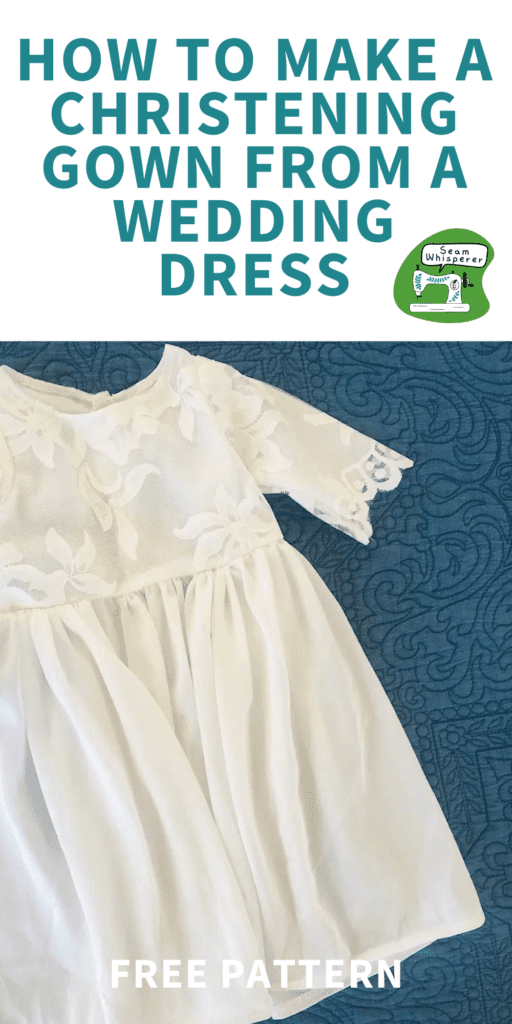
Turning your old wedding dress into a christening gown or blessing outfit for your baby is a sentimental and special project. It isn’t as hard as it seems!
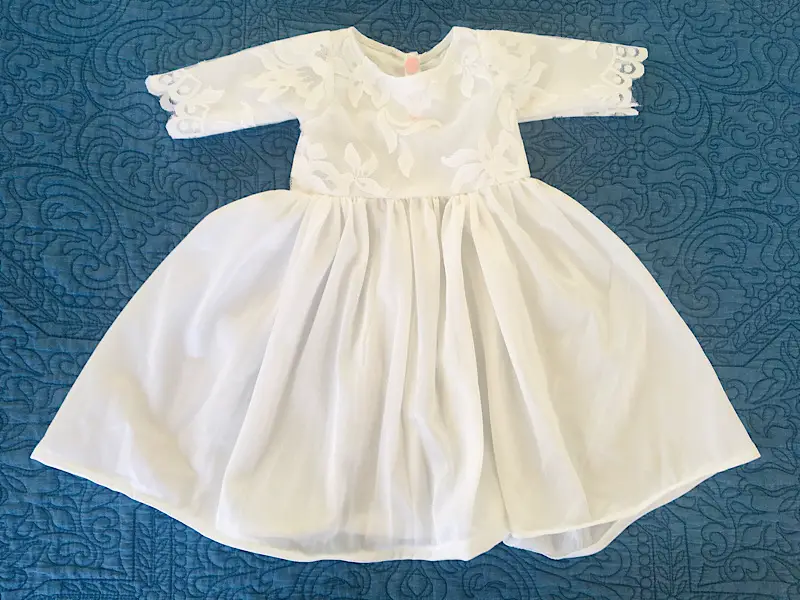
I have had the pleasure of making a beautiful white gown for each of my baby girls for their blessings as infants. These dresses are delicate family keepsakes that I hope will be passed down to their children!
Today I am going to show you how you can also turn a wedding dress (or other white dress) into a blessing gown or christening gown for your child, using the free pattern I have provided here.
This post may contain affiliate links. Read the full disclosure here.
Supplies Needed
- Wedding Dress
- Free Printable Gown Pattern
- Matching White Thread
- Buttons, snaps, or a 5 inch zipper.
- Sewing Pins, Scissors, Measuring Tape, Etc.
How To Turn A Wedding Dress Into A Christening Gown
Note: I use a serger to make this dress but you can just sew and zig zag the edges. Use a 3/8ths inch seam allowance.
Step 1. Download The Free Pattern
This free pattern is a 3 page PDF file. It includes the bodice front and back pieces, and the sleeves, with a short and long sleeve option.
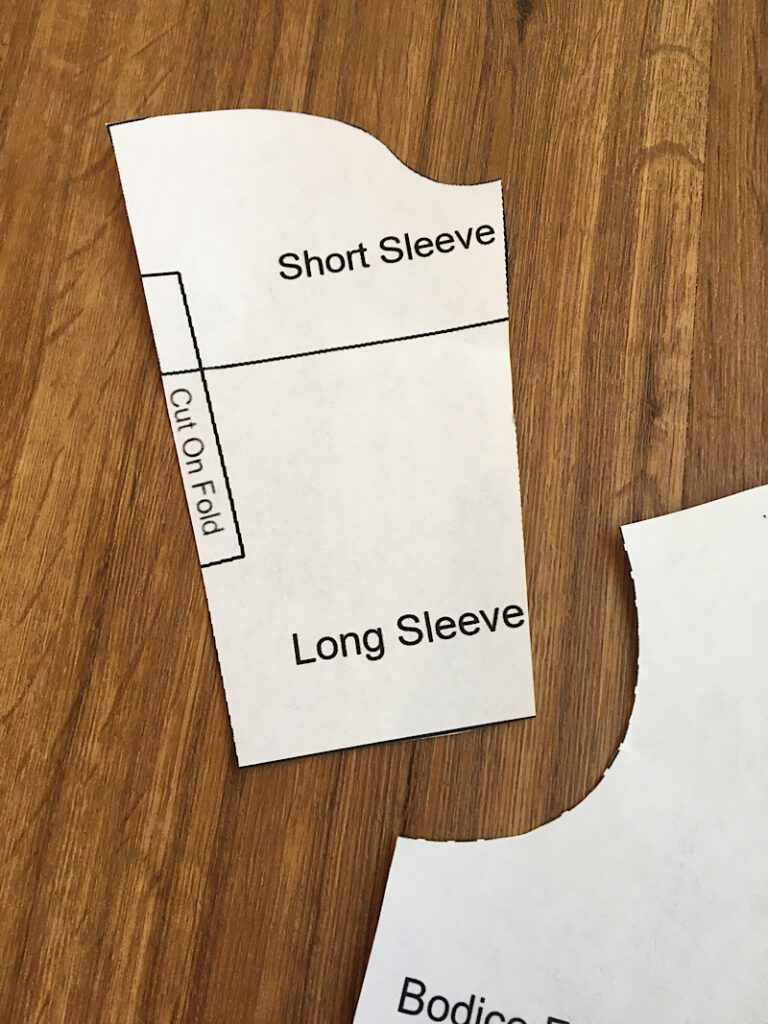
This is a 0-3 month sized gown.
The pattern is free for those on my email list, so sign up in the box below and I will email you the download link!
Step 2. Plan Your Gown
Because every wedding dress is different, every christening gown made from a wedding dress will be different! And that is the beauty of this DIY!
There are SO many ways you can utilize the designs in your dress to make the baby gown. Perhaps the MOST important part of this project is sitting down and looking at your wedding dress for a while, to make a solid plan.
The easiest way to use your wedding dress, is to line up your cuts so that you can re-use the natural hem on the bottom of the skirt, as well as the hem on the ends of the sleeves (if there are any). This way, you won’t have to hem your dress or sleeves, and it will look more professional!
But if there are elements of the dress that you want to incorporate, you can always cut the pattern over those elements and re-hem it. Keep in mind that hemming many of the materials wedding dresses are made from can be difficult due to delicacy, beading, or slippery-ness.
This free pattern comes with a bodice and sleeve pattern, the sleeves can be made long or short.
The skirt portion of the dress is more customizable. I will show you how to measure and cut out a rectangle piece from the bottom your wedding dress and gather it to be the skirt. But if you want to get creative, you can also cut out an A-line skirt, a half circle skirt, a high low skirt, or any other kind of skirt you want.
This baby dress includes space for buttons or snaps on the back to close, but you can also choose to insert a zipper.
Cutting into your wedding dress is scary, but making a plan first will make it less scary. So get your pattern pieces out, lay them on your dress, and decide how you want to do it! Make a plan first!
Step 3. Cut Out The Pattern Pieces
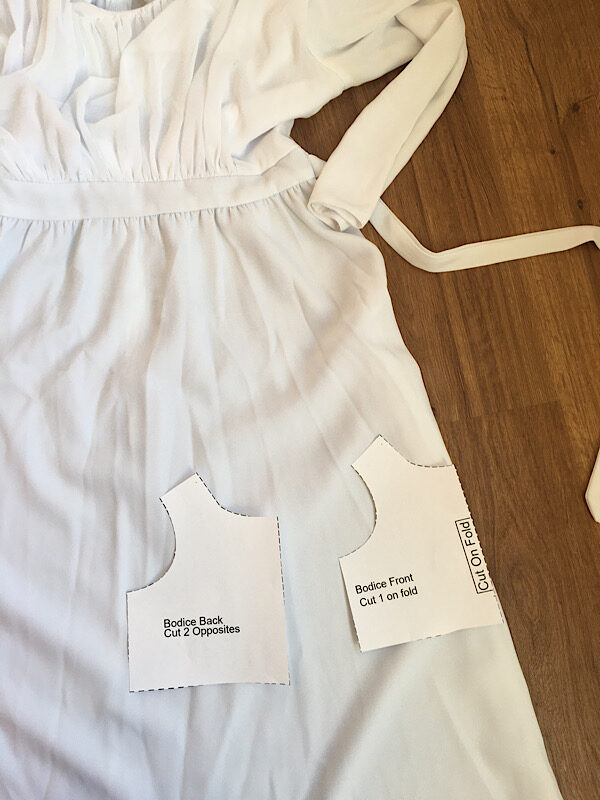
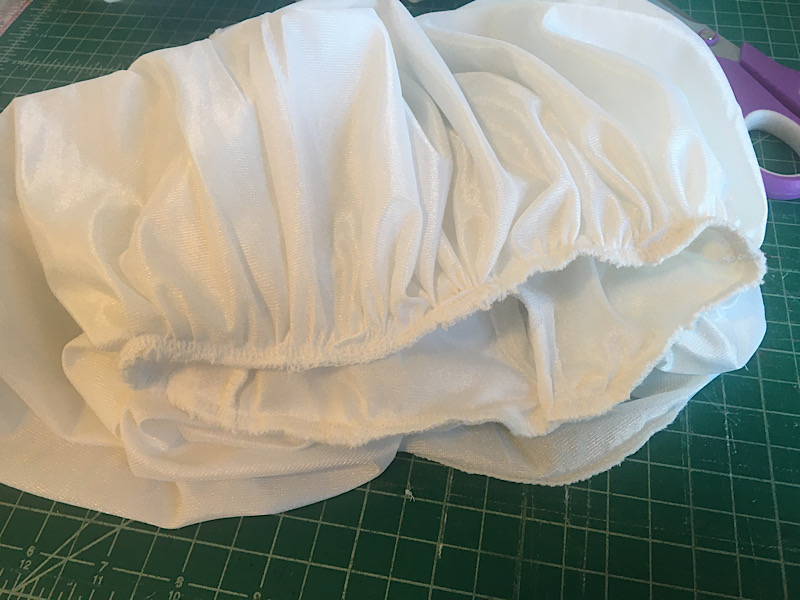
I decided to do a long sleeve, very long skirt for this dress since it is winter.
The top of the skirt ha enough space to utilize for the bodice.
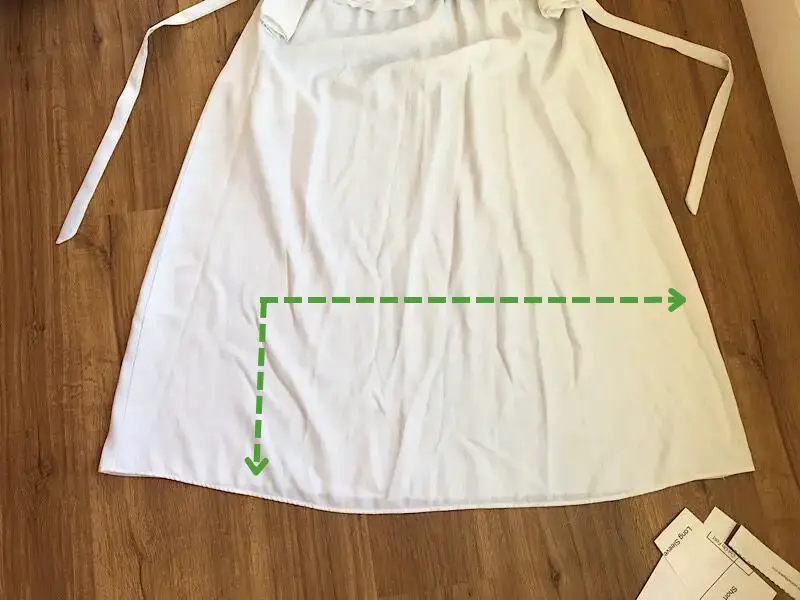
The fabric is quite thin, so I made the skirt width about 50 inches so I could gather it really tightly to make a nice full skirt.
I flattened the dress on the floor and measured across the bottom of the dress, 12 inches tall and 50 inches wide.
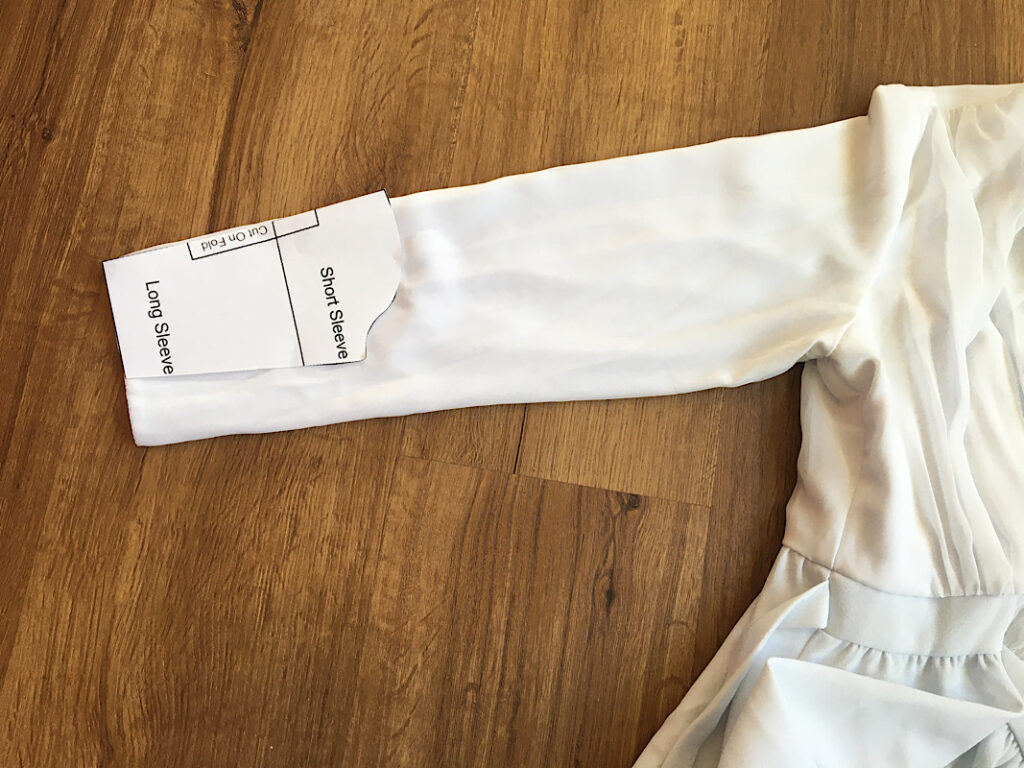
Notice how I lined up the sleeve pattern pieces on the hems.
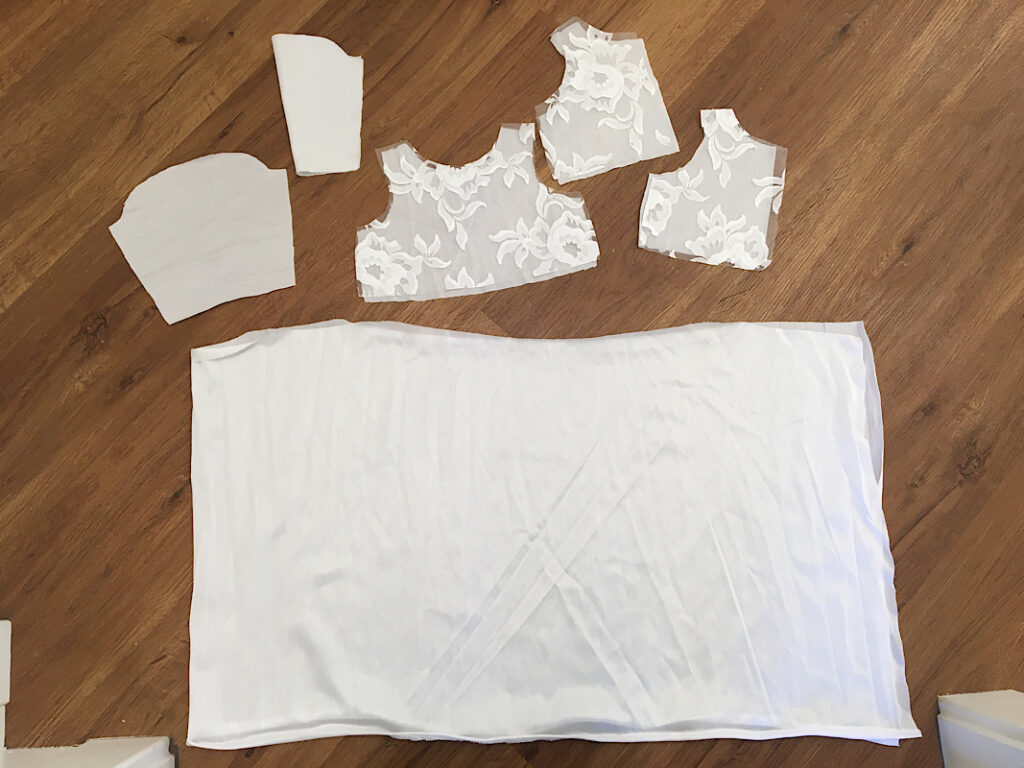
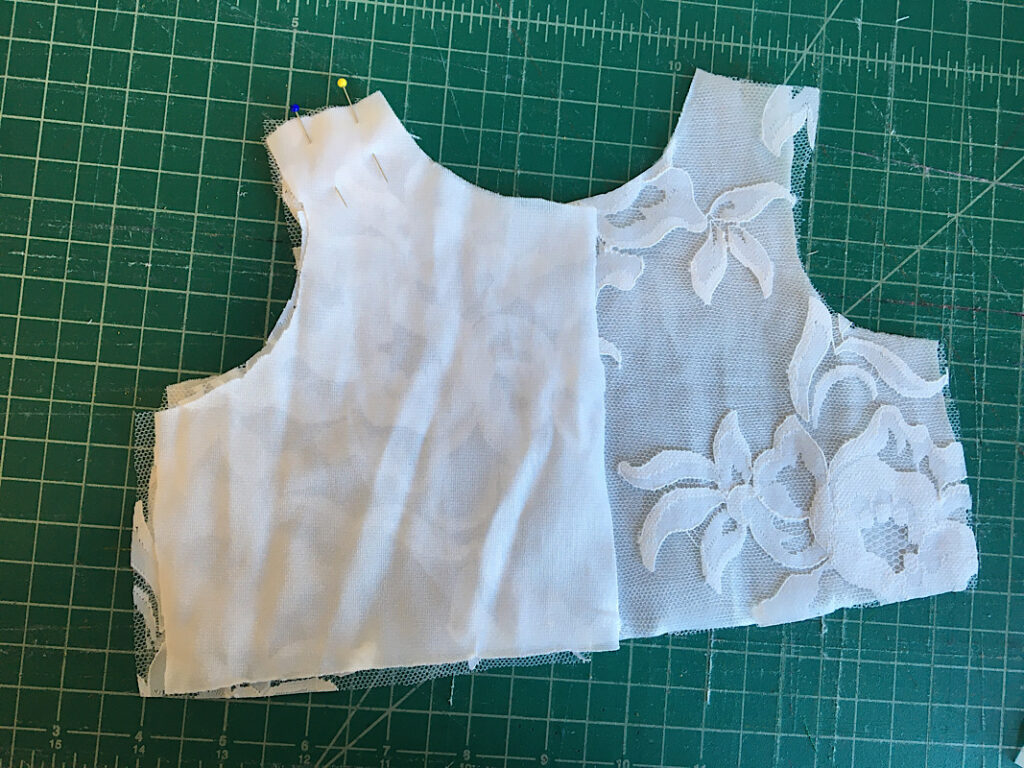
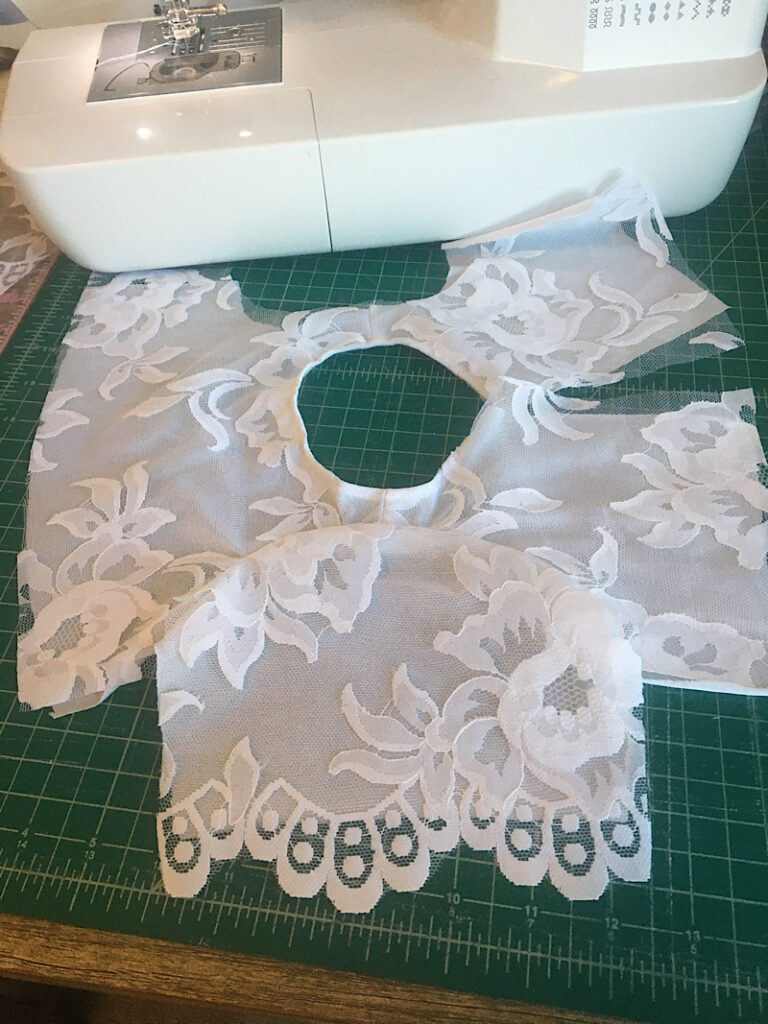
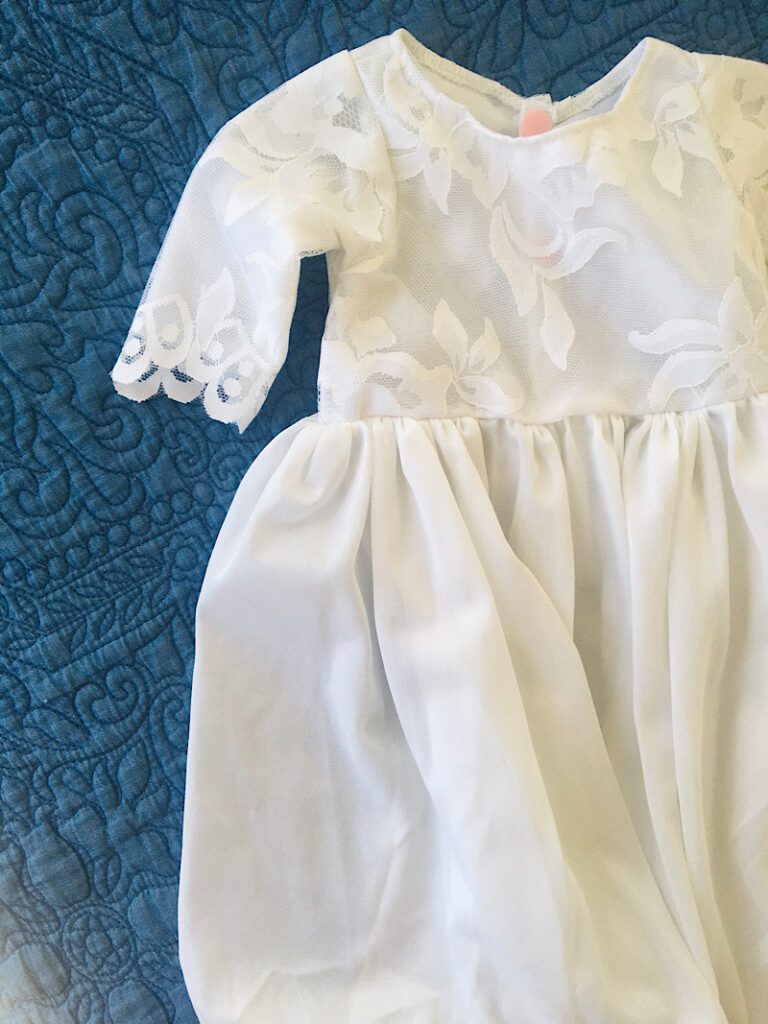
I also decided to cut extra bodice and sleeve pieces out of some lace to use as an overlay, since this dress is very plain.
Here are all my cut pieces lined up. (I later also cut some more lace for the sleeves.)
Step 4. Assemble The Bodice
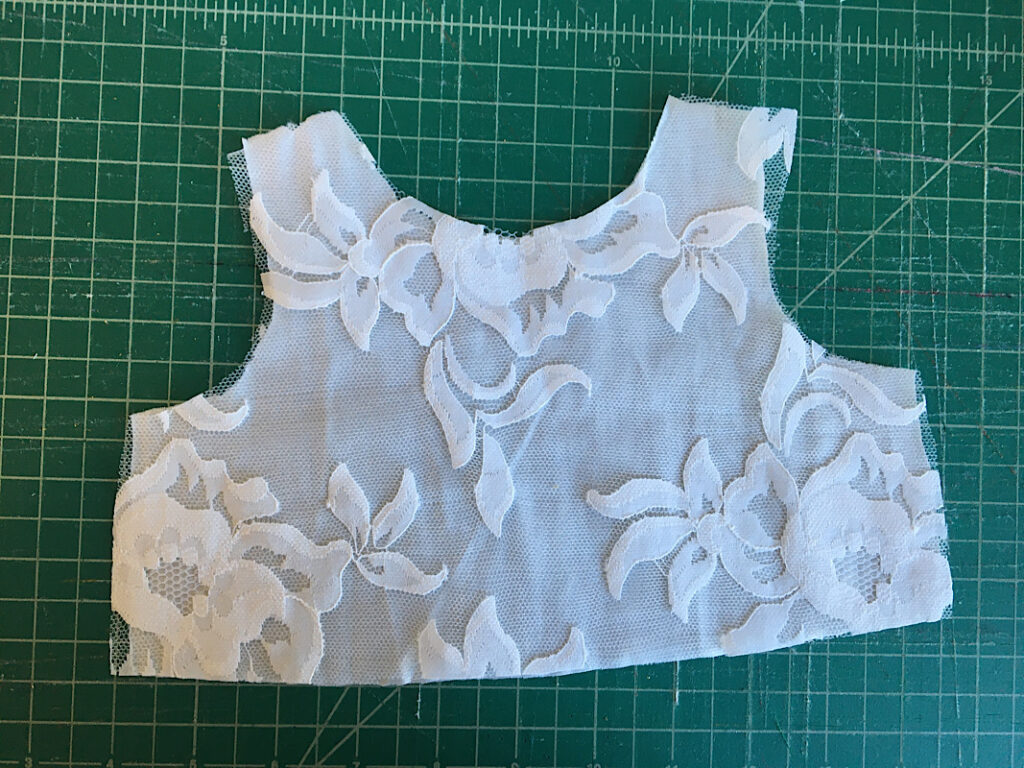
Since I am using lace to overlay each bodice piece, I will be acting as if the bodice lining and the bodice overlay is one piece.
Lay the “Bodice Front” piece down, right side up.
Next, lay one of the “bodice back” pieces on top, aligning the shoulders, with the right sides together. Pin the shoulder.
Next, serge or sew the shoulder edge, and then repeat with the other side.
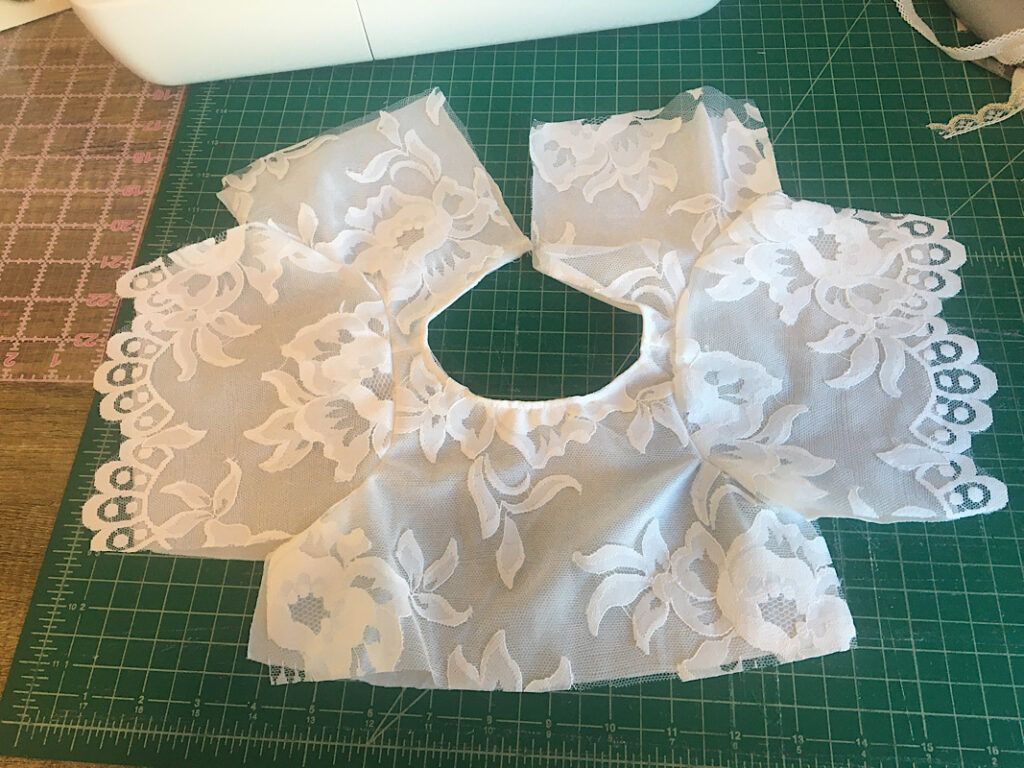
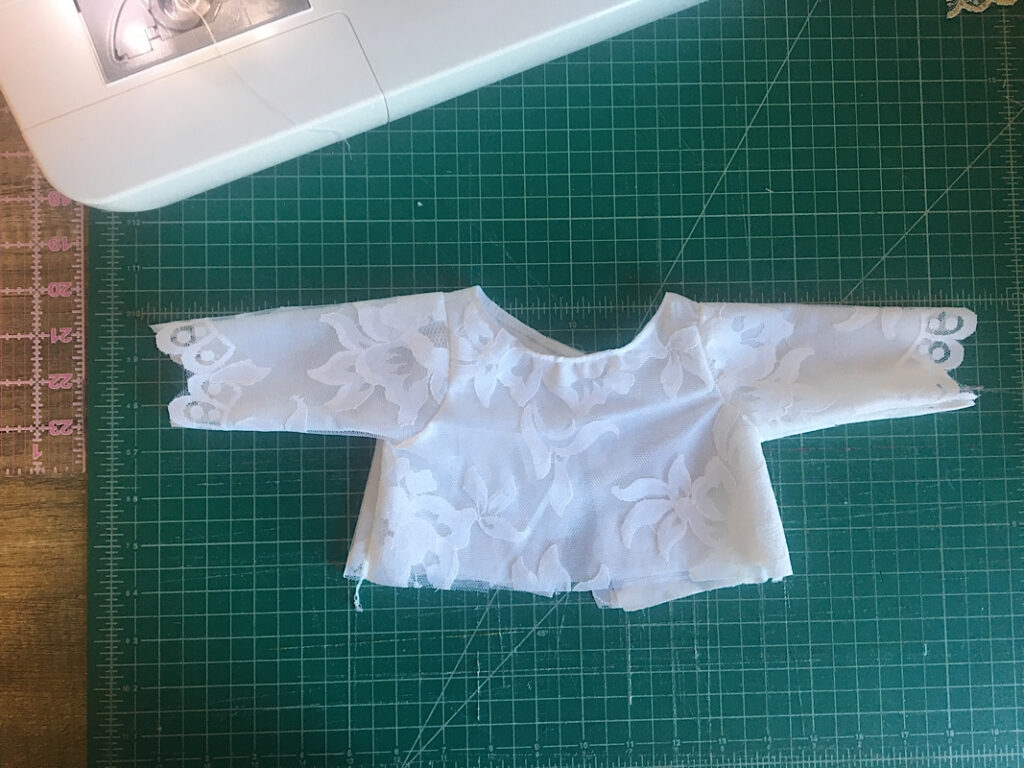
Now, open the bodice pieces and it should look like this: the shoulders attached but not the side seams:
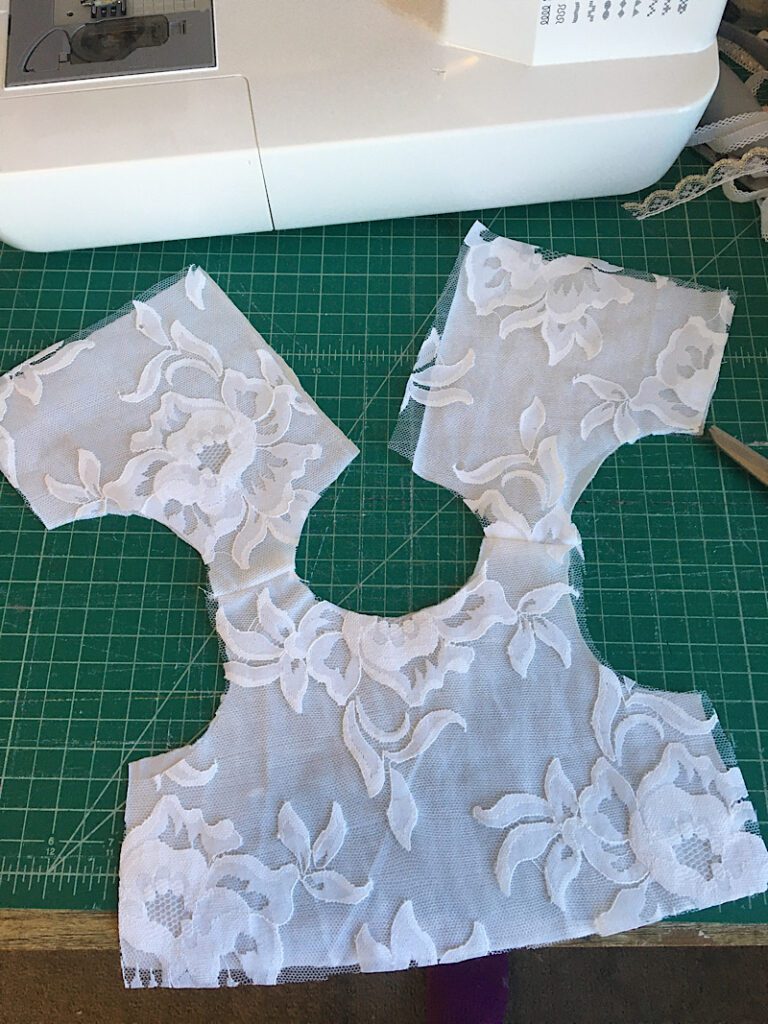
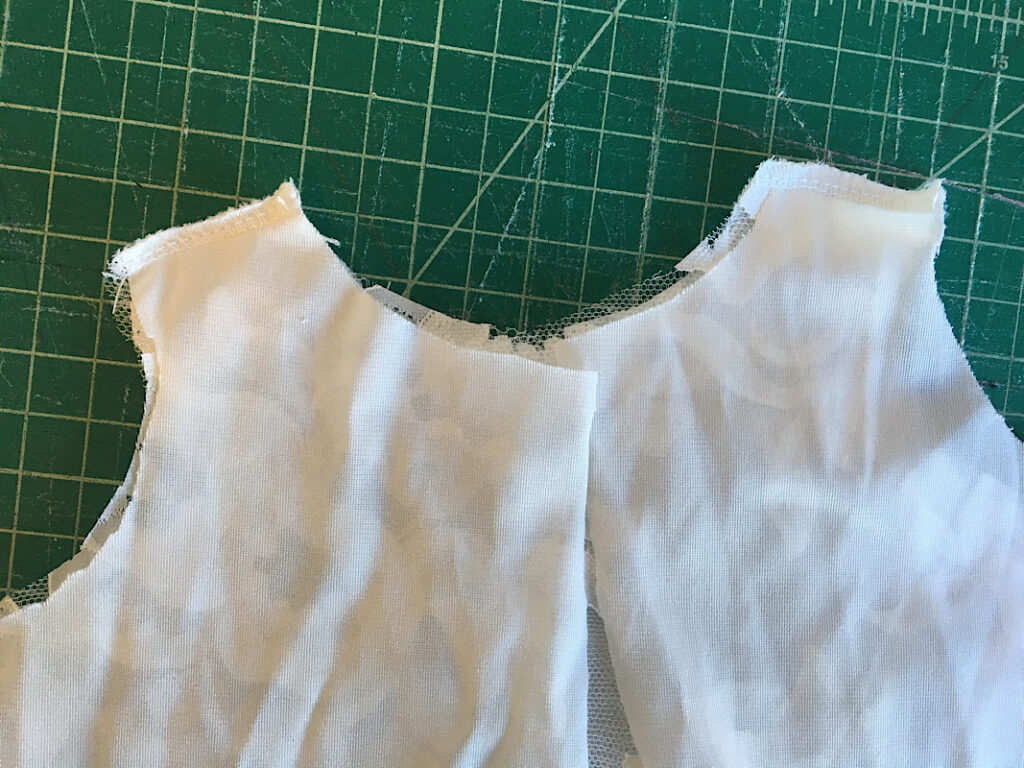
Serge or zig zag the neckline of the bodice.
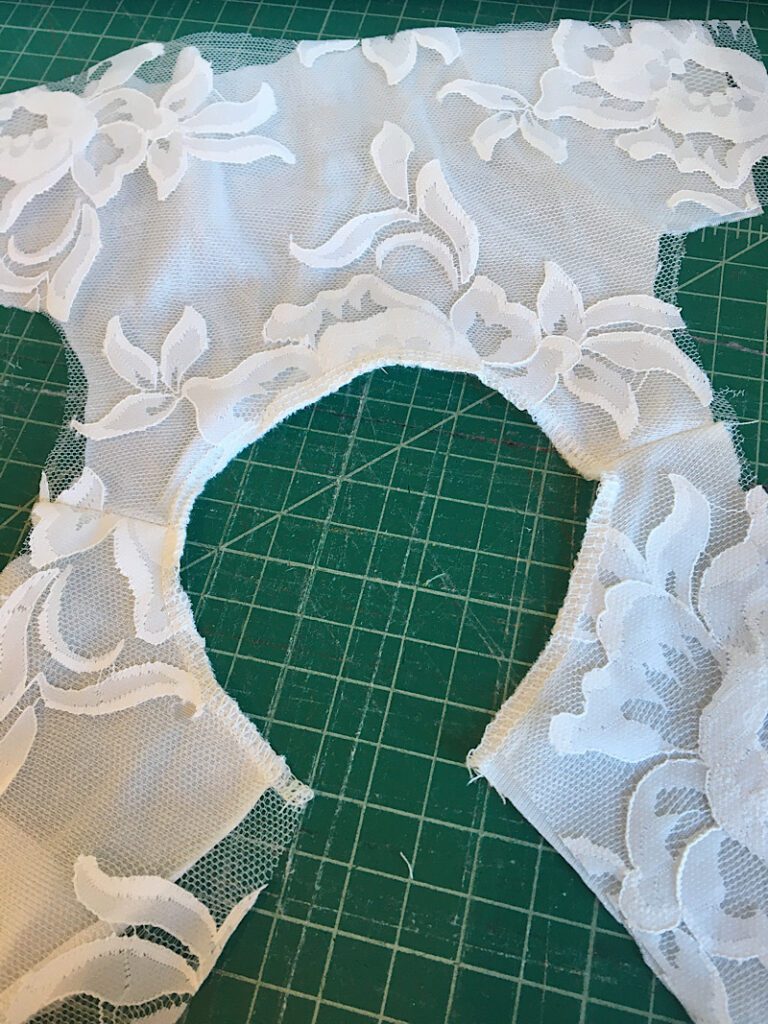
Then, fold the serged edge towards the wrong side, pin it, and sew a stitch along the middle of the fold to hem it.

Step 5. Attach the Sleeves
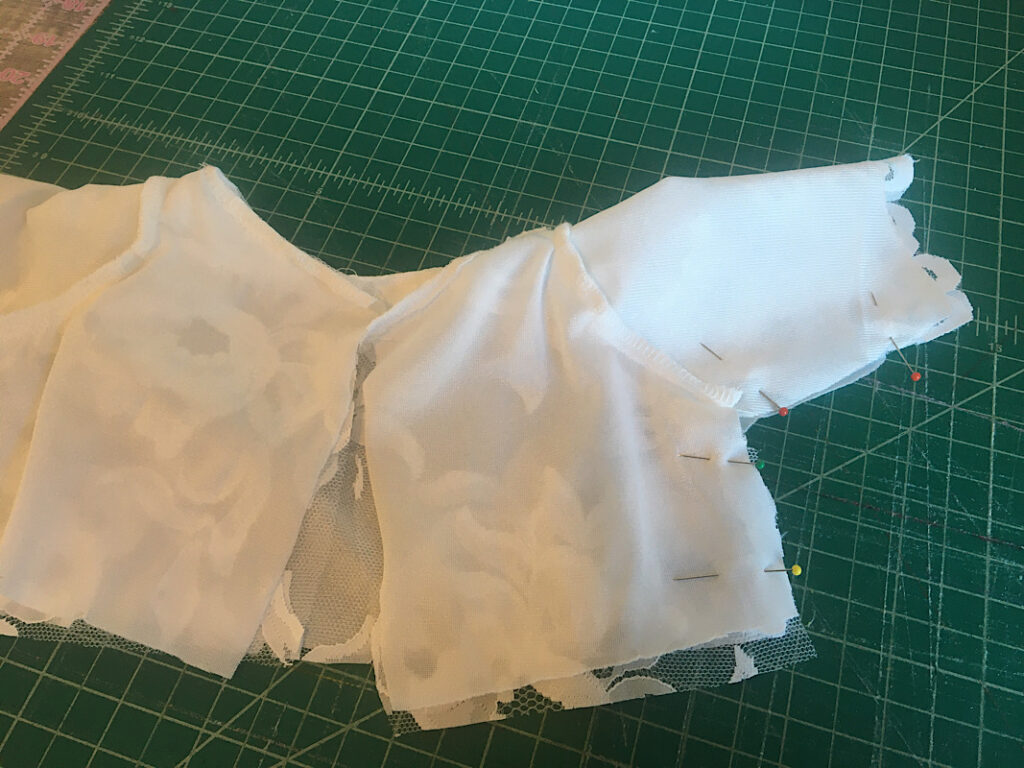
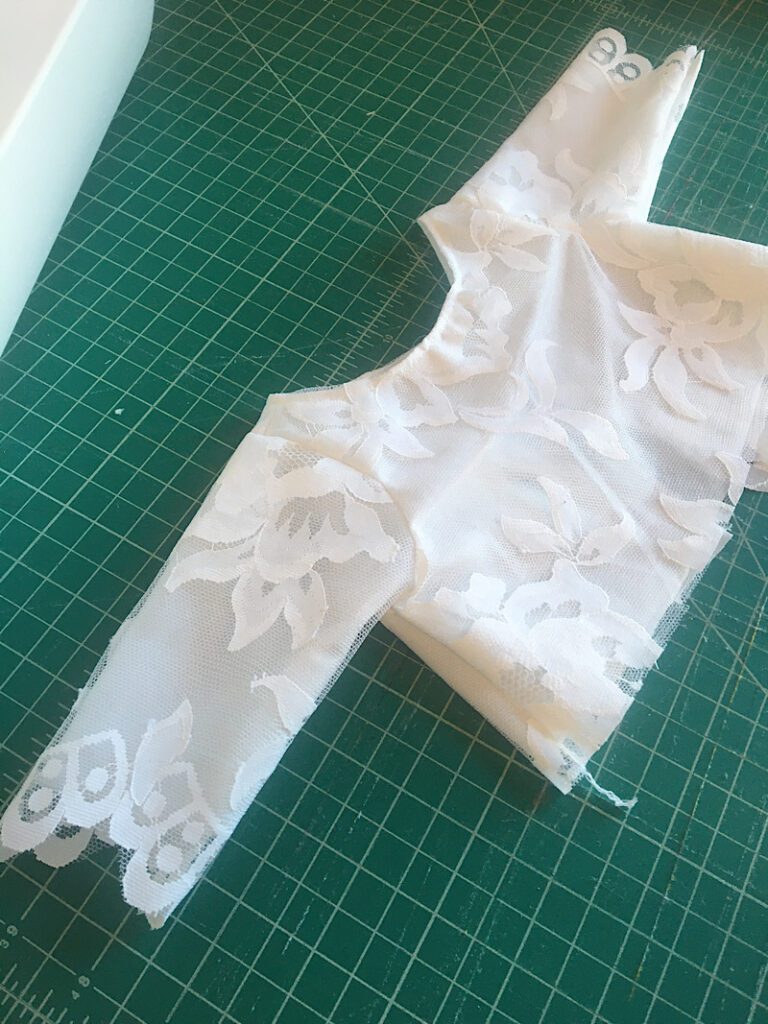
Open your sleeves, and align the middle of the curved side of the sleeve, to the side shoulder seam on the bodice. Pin them with right sides together.
Continue pinning both sides of the sleeve down the curve of the armhole edge on the bodice. You will have to manipulate the fabric a bit to make it curve around.
Then, sew along the pinned edge to attach the sleeve to the bodice.
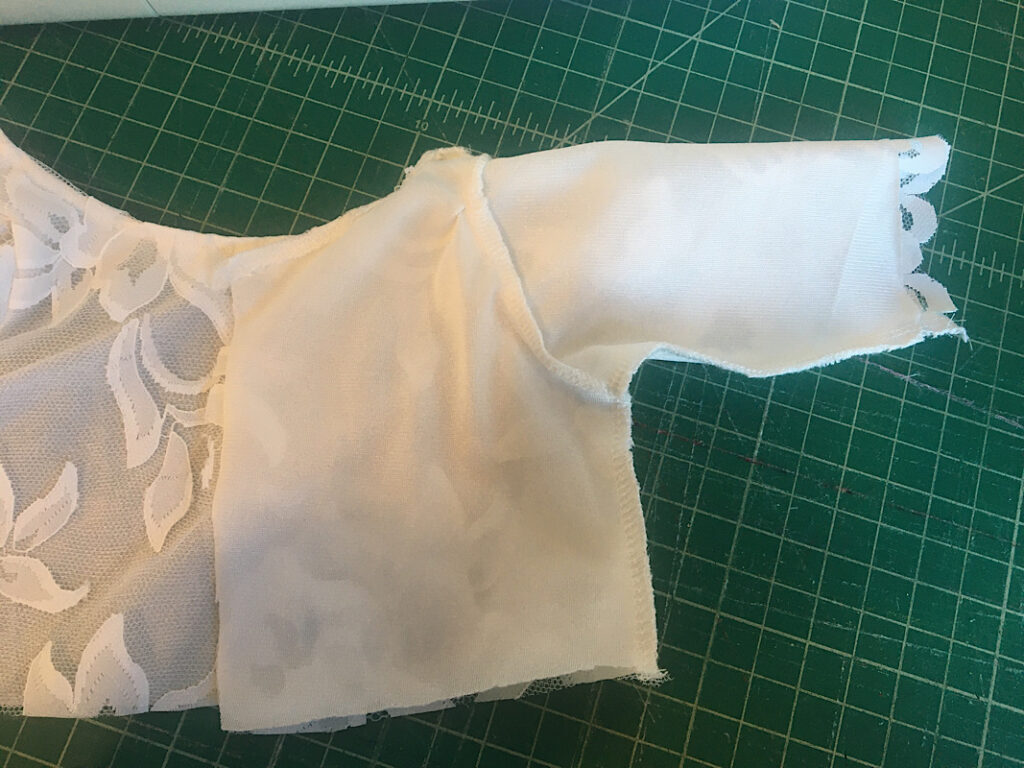
Your sleeve should look like this when attached: (It is still open, only the shoulder seam is sewn.)
Now repeat this with the other sleeve also.
After both sleeves are attached, your bodice when open will look like a plus sign or a t.
Now you will close the sleeves and the side seams of the bodice.
Fold the bodice in half, so that the back is laying on top of the front, with right sides together. Align the side seams, and align the seams of each sleeve. Pin it in place.
Serge down the sleeve seam, and the side seam, all in one line.
Repeat on the other side.
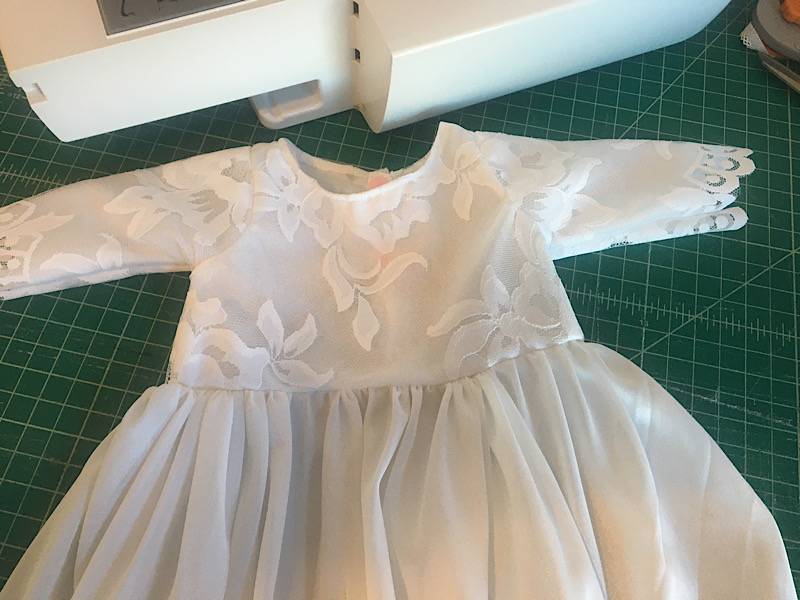
Now the sleeves are attached and the bodice is sewn! Turn it right side out to see how it looks.
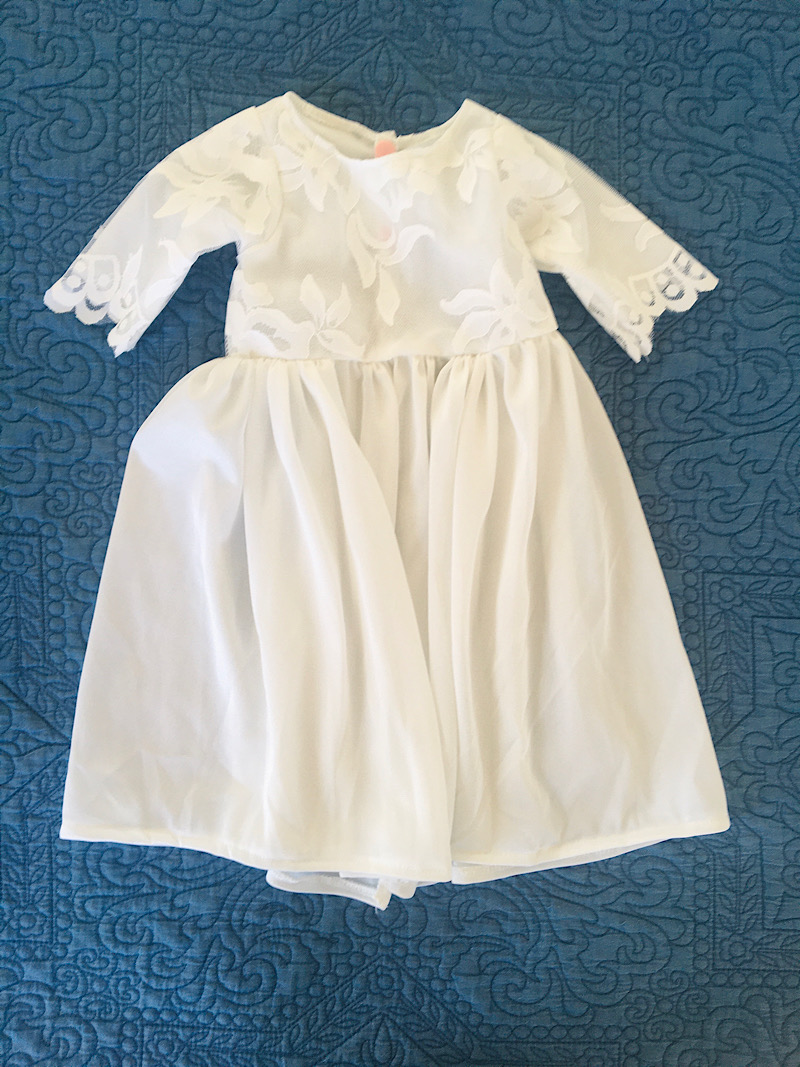
I love the way it is turning out so far, I love the lace edge on the sleeves!
Step 6. Add Buttons or a Zipper
The next step is to complete the opening on the back of the bodice. You can use a zipper if you want, but I chose to use pink snap buttons.
First, serge or zig zag the two center raw edges.
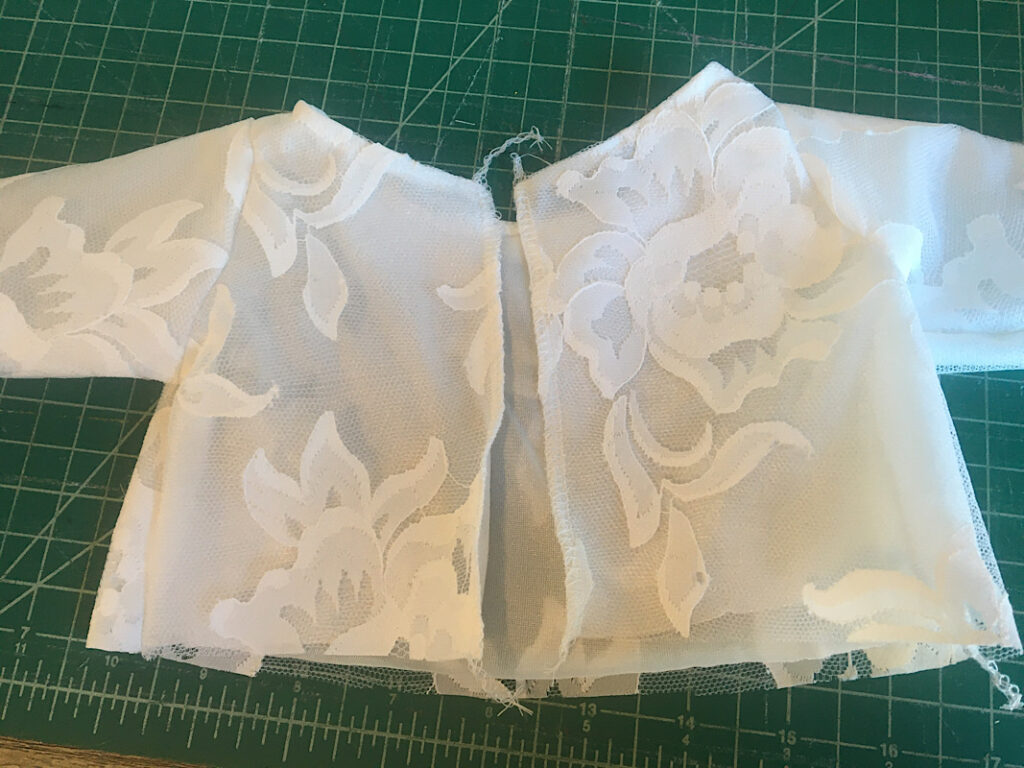
Then, fold each edge 1/2 an inch towards the wrong side, pin, and sew them down.
Next, figure out where you want to place buttons. I used two sets, one at the top and one at the middle.
Then use your applicator tool to attach the buttons.
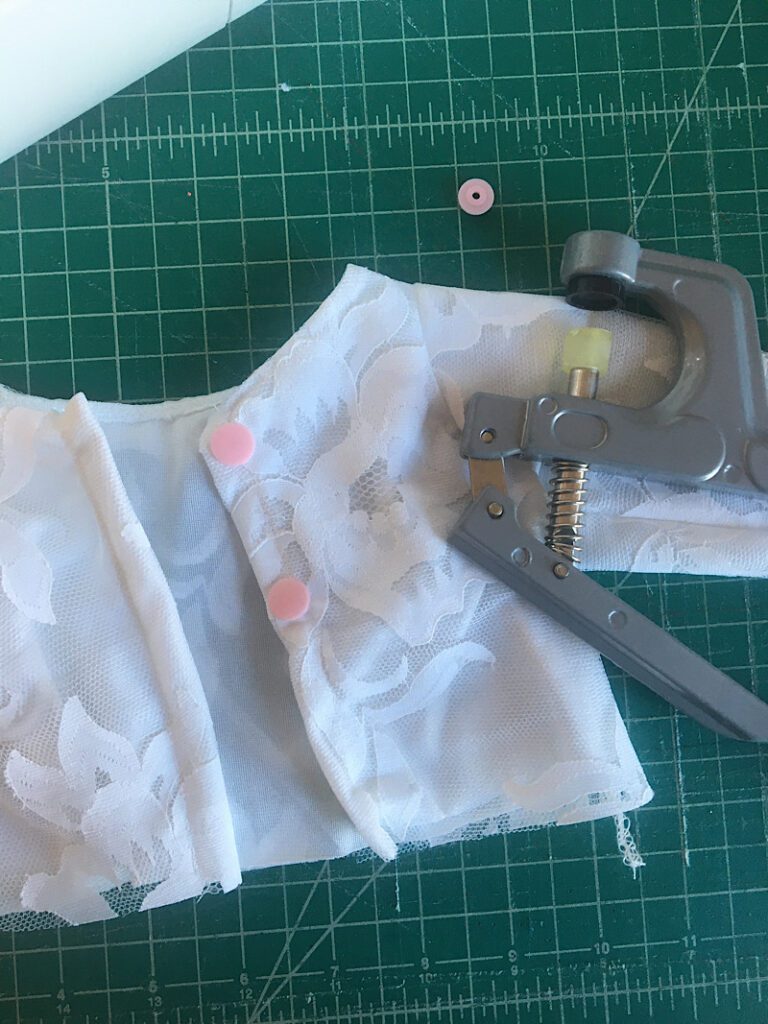
If you are new to snaps, make sure that on one side they are facing down, and one side they are facing up, so that when they snap together the fabric isnt folded.
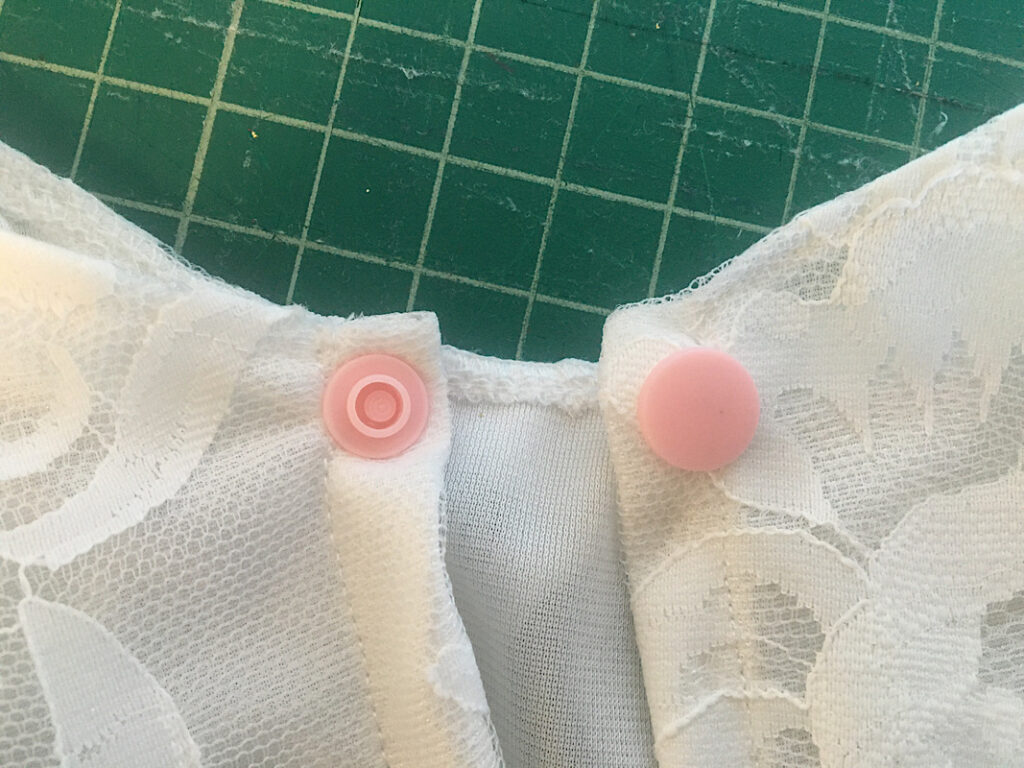
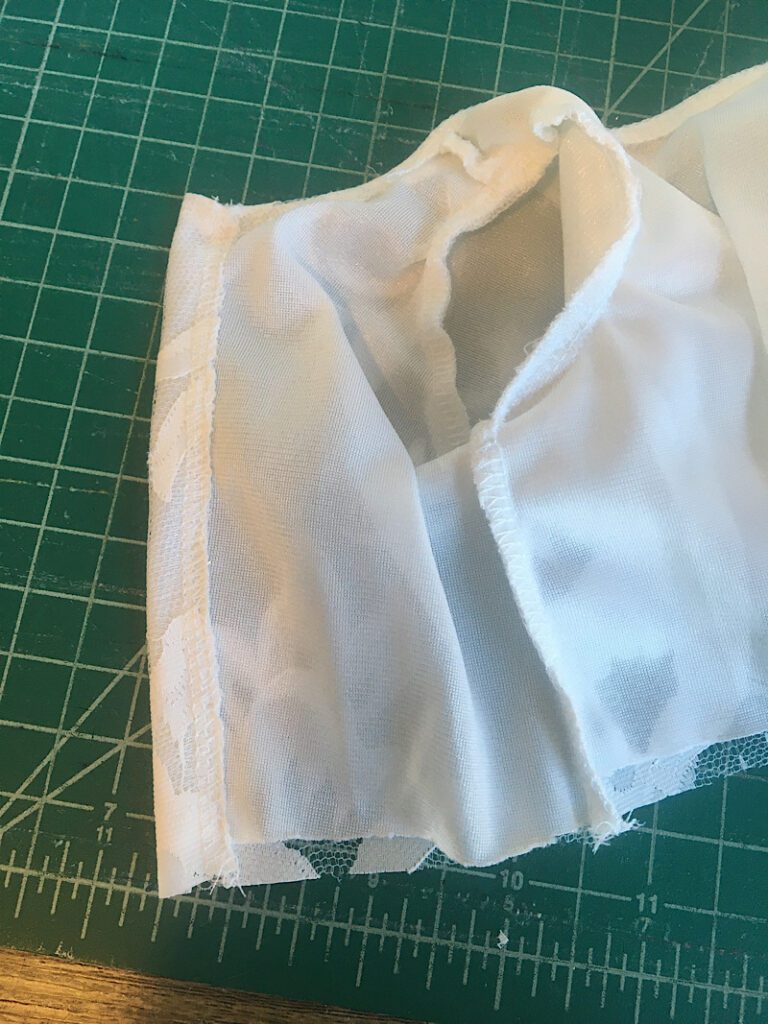
Finally, after attaching the snaps, sew a little stitch at the bottom of the back opening to hold the two layers closed. This will make attaching the skirt easier!

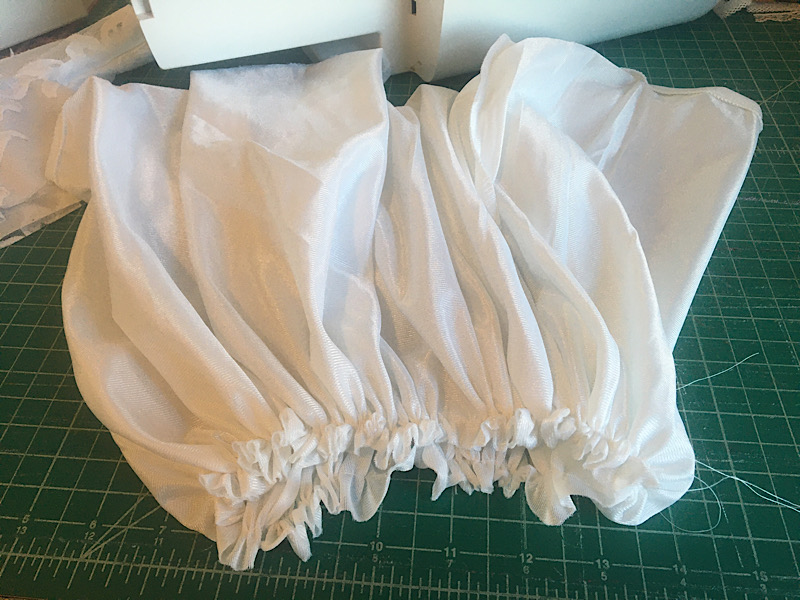
Step 7. Sew & Attach The Skirt
Fold the skirt rectangle in half with the right sides together, and sew down the side seam. Now it is a loop.
Sew a basting stitch (the longest stitch length on your machine) around the top edge. (Don’t backstitch). Pull on the threads to gather the skirt.
Gather the skirt until it has the same circumference as the waist of the bodice.
Place the skirt over the bodice, aligning the waist edges of both, making sure the right sides are facing.
Pin them together.
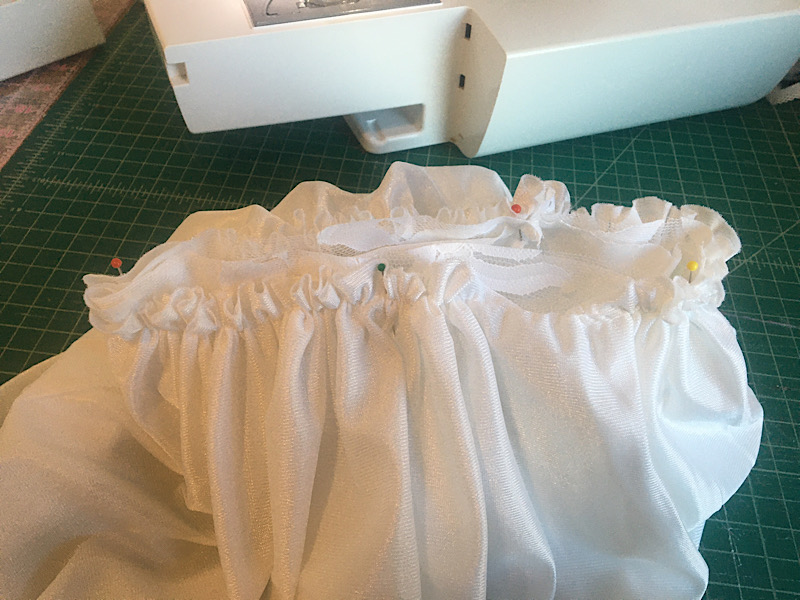
Serge around the waist line to attach the skirt.
Now turn the dress right side out, and you are done!
Step 8. Add Finishing Details
If your wedding dress has any bows, trim, buttons, broaches, etc. that you want to add to the christening gown, you can get really creative with where you place them! The front center is a good place for buttons or bows, and the waistline is great for flowers or broaches.
You could also add trim along the bottom hem.
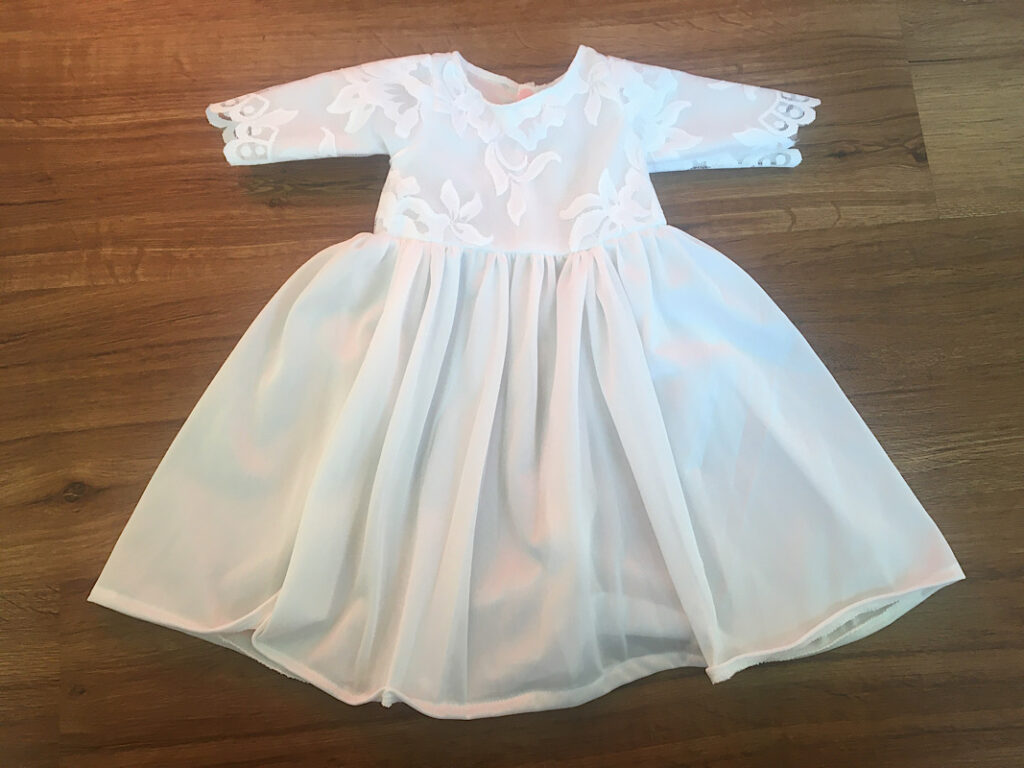
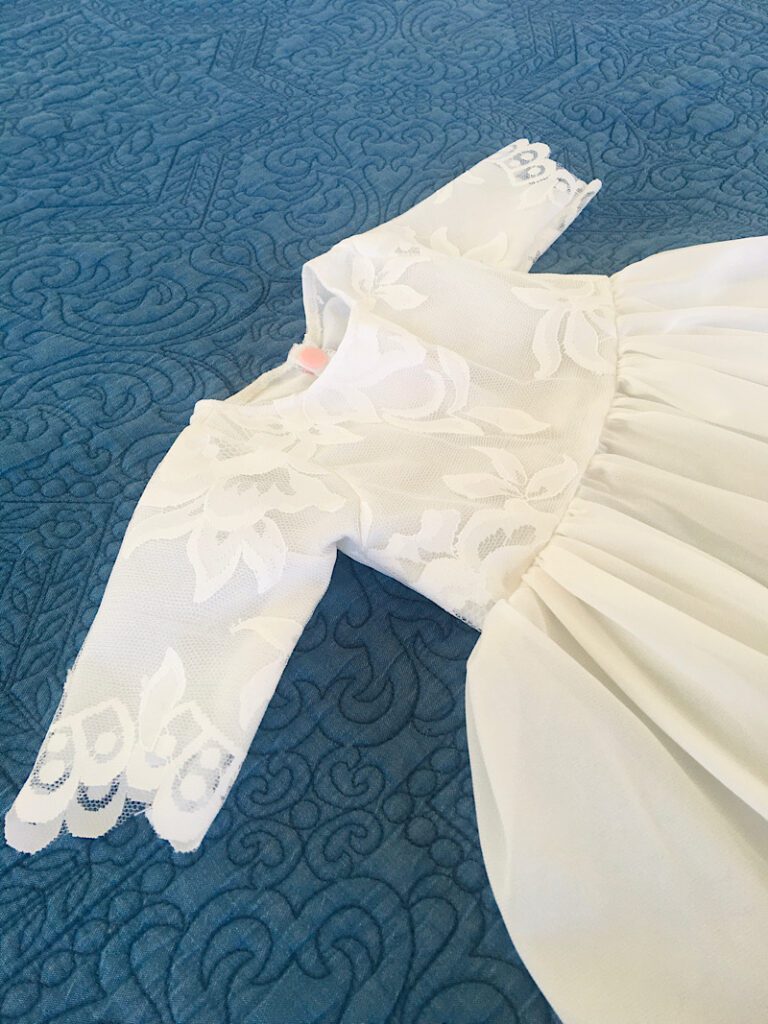
My favorite detail about this dress is definitely the sleeves.
Conclusion
As you can see, this wedding dress to christening gown conversion is fun because the sky is the limit. The basic dress pattern is so easily customizable and allows you to use elements from your dress in the final gown.
I hope this tutorial gave you a basic overview of what is possible with your gown, and I hope to see the finished project! Email me a photo of your dress so I can share it and celebrate with you!

Love the name!!!
I am working on a baptismal gown from a wedding gown of the grandmother.
Thank you!!!
Laura
That sounds beautiful, send me a photo when you’re done!