Want to sew on buttons faster, more secure, and easily? Using your sewing machine is surprisingly easy and you will love the speed!
Once I learned how to sew on buttons with my sewing machine, I didn’t look back! I seriously love it.
But it can be a little intimidating at first. How DO you sew on buttons with a sewing machine?
To sew on buttons with your sewing machine you will need to use a button fitting foot to hold your button in place, drop your feed dogs, and adjust your stitch to a zig zag stitch that is the right width for the holes in your button. Use the hand wheel to double check the settings are correct before sewing. Then, sew several stitches in the button’s holes. Remove the garment and trim the threads.
Want a more in depth tutorial with photos? Read on!
This post may contain affiliate links. Read the full disclosure here.
How To Sew On Buttons With A Sewing Machine
Supplies Needed
- Button Fitting Foot (Don’t have one or aren’t sure what it is? Check out my presser foot guide to learn more.)
- Matching thread
- A glue stick (optional, can be helpful for beginners)
- Disappearing ink fabric marker (optional, can be helpful for beginners)
- Thread snips
Step 1. Set Up The Machine
The settings on your machine will be different than usual when you sew on a button.
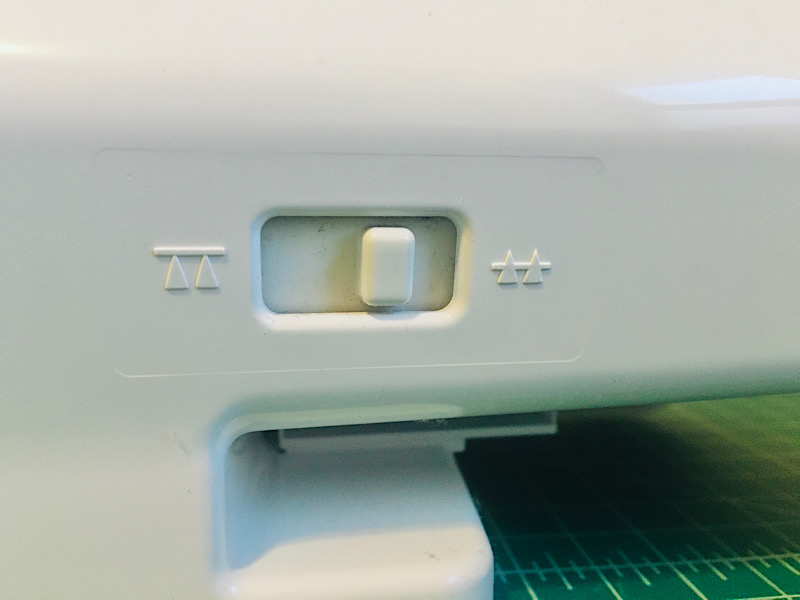
First, you want to drop the machine’s feed dogs. Do this by locating the switch on the back or side of the machine, and lowering the feed dogs so they can’t engage the fabric.
They should go down under the needle plate so when you run your hand over it, you can’t feel the “teeth”.
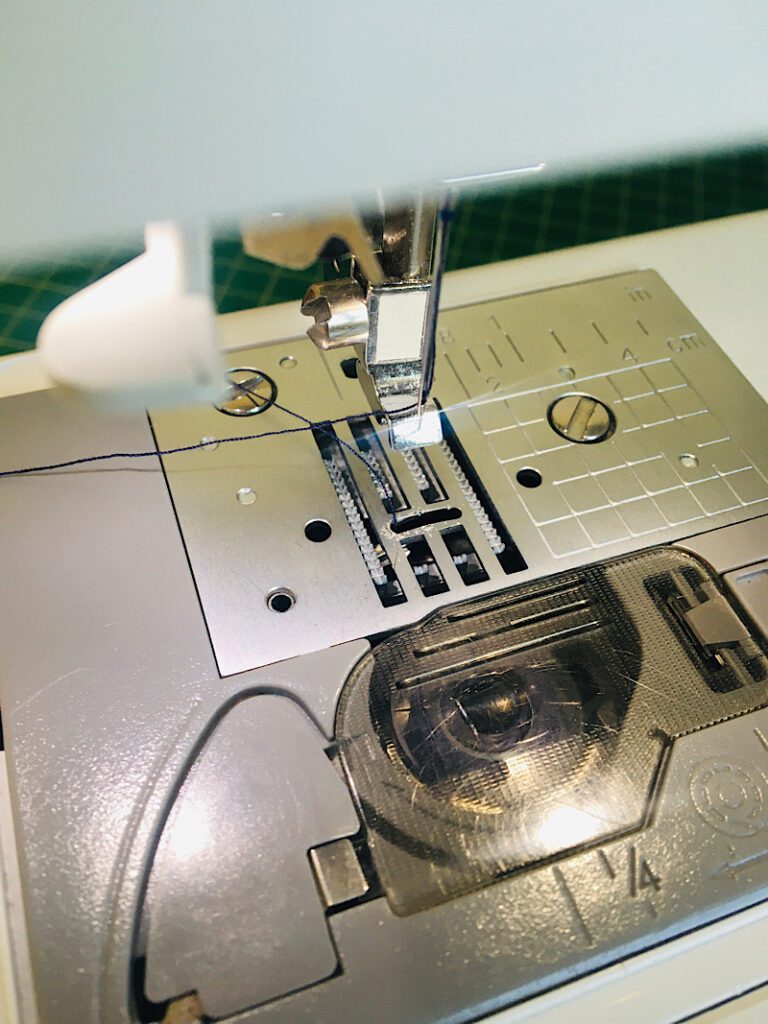
Next, you need to replace the regular presser foot with a button fitting foot. The colored “toes” of the foot should face forward.

Finally, set the stitch settings to a regular zig zag stitch, and set the stitch length to 0. This is very important.
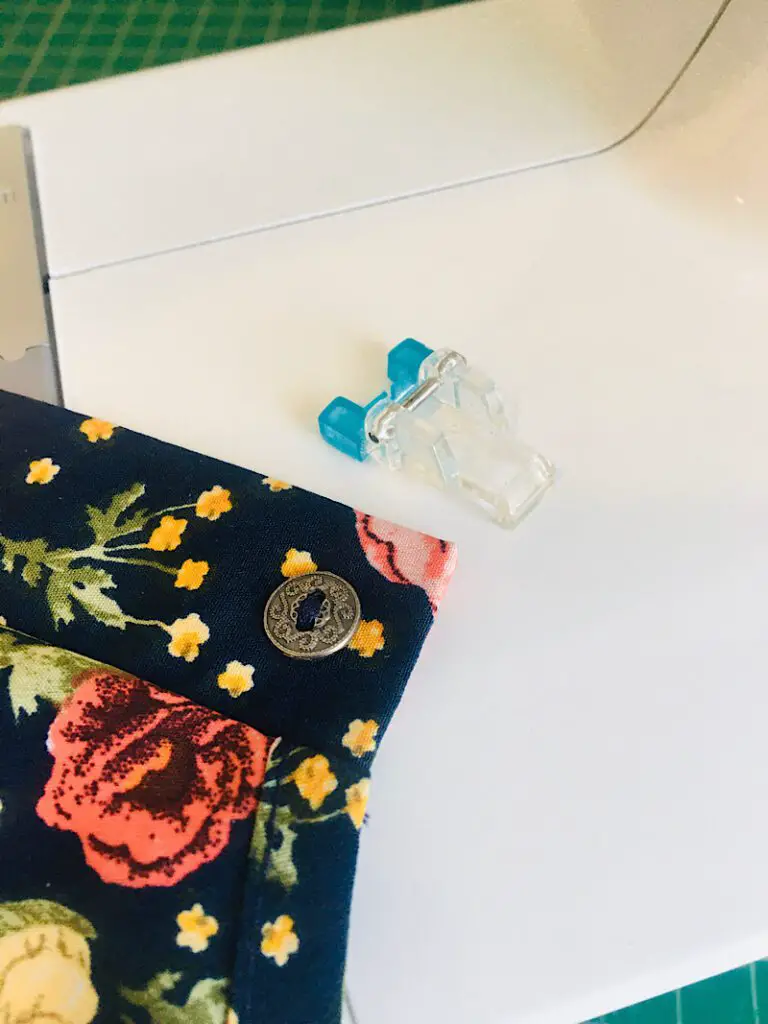
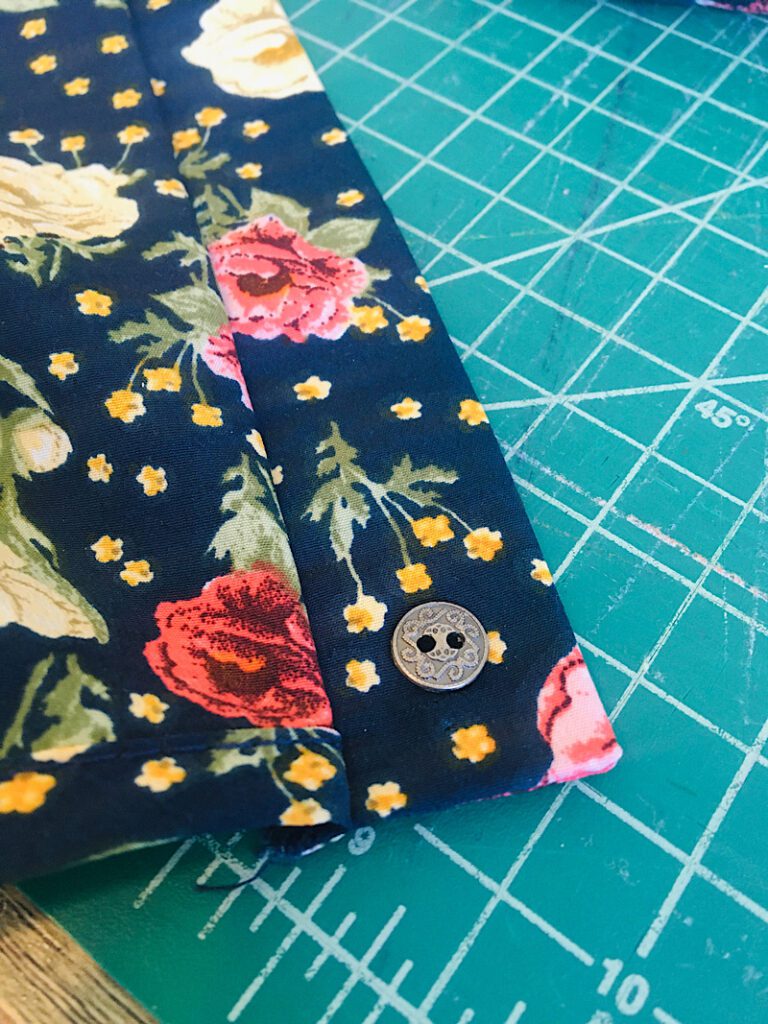
Step 2. Position The Button
Now you need to find the exact location you want your button to be attached. You can do this by closing the button placket and marking through the button hole, or by locating holes in the fabric that were left by the thread on a previous button.
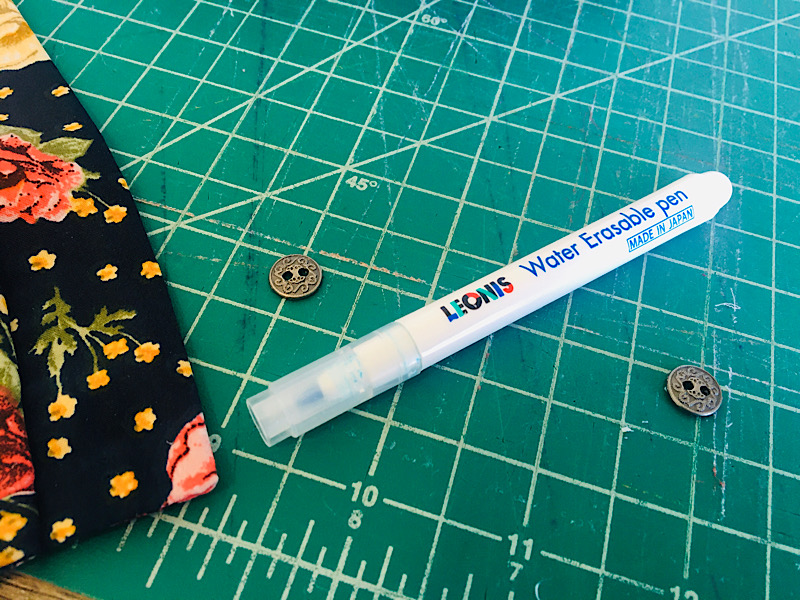
I like to use a disappearing ink fabric marker to help mark where the buttons need to go, for quick placement.
Another handy trick I like to use is to use an office glue stick to glue the back of the button, and then position it onto the fabric. This helps the button stay where it needs to be without sliding around as you sew.
Make sure the button’s holes are in the direction you want them to be.
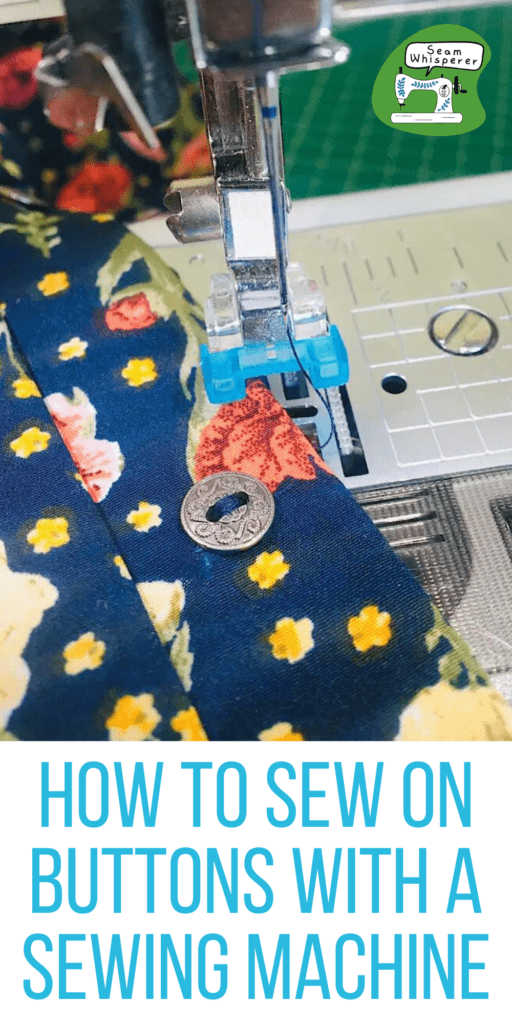
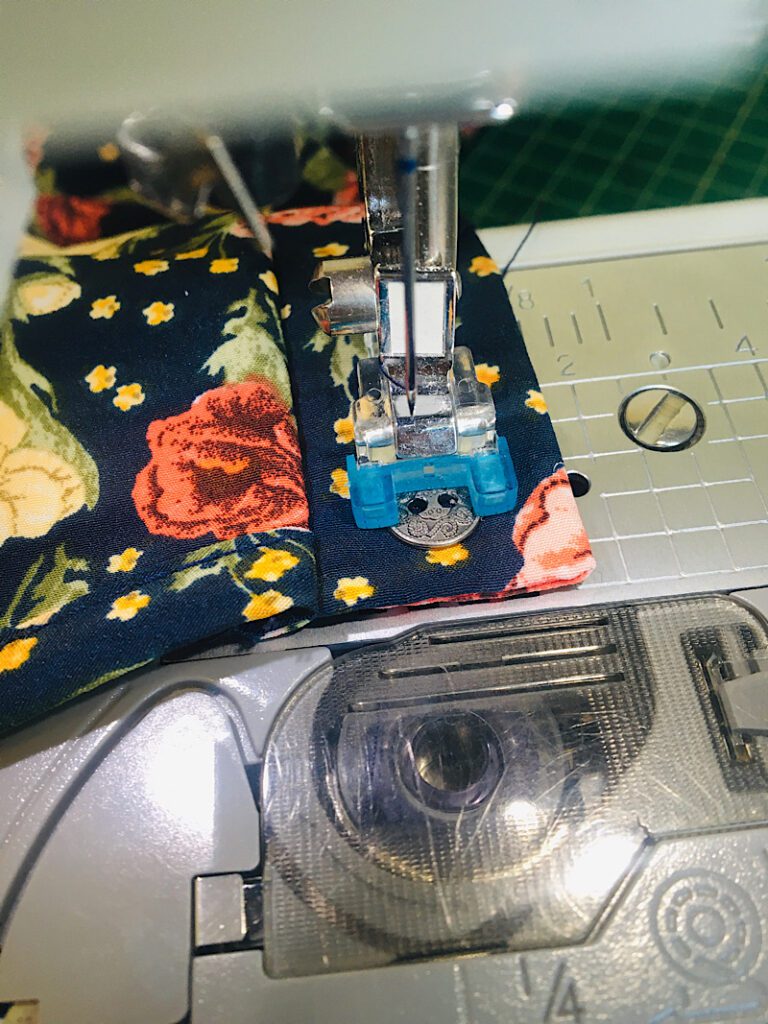
Step 3. Sew On The Button
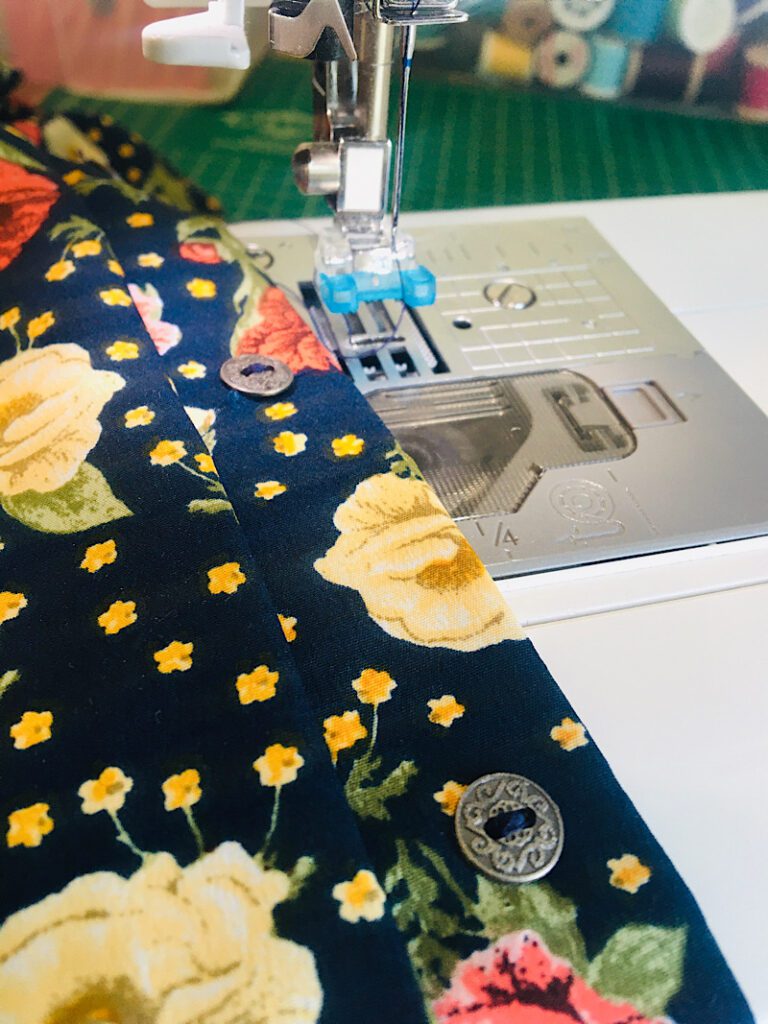
Bring the fabric and the button to the sewing machine, and position it under the presser foot. Position the garment so that the holes in the button are horizontal, so that when the needle sews a zig zag stitch to the right and left, it is in line with the holes.
Lower the presser foot so that the button fitting foot presses the button down and holds it still.
Using the handwheel on the side of your machine, very slowly lower the needle into the left hole of the button, then continue turning the hand wheel so the needle raises, and begins to lower into the second hole.

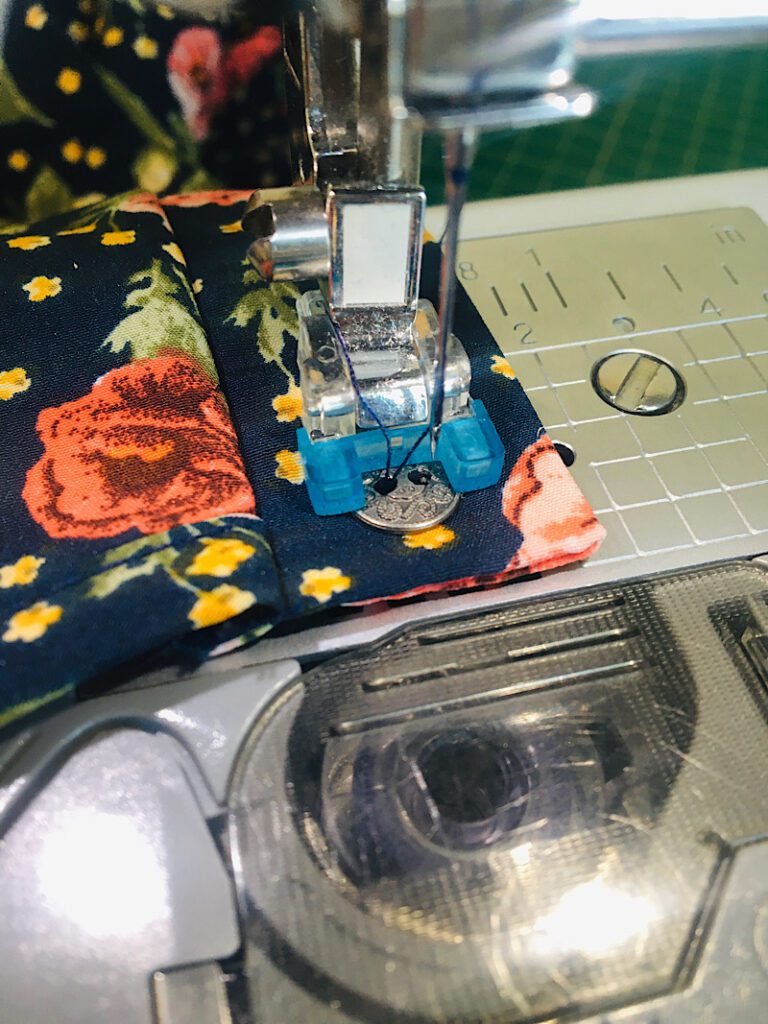
Watch the position of the needle. If it is going to hit the button rather than entering the hole, adjust the stitch WIDTH until it is in the right place.
Continue to turn the hand wheel a few times until you are confidant that the needle will stitch through each hole back and forth without hitting the button.
Then, use the foot pedal to quickly sew several stitches through the button’s holes and attach it to the garment.
Step 4. Finishing The Sewn Button
After you have stitched the button in place, remove the garment from under the machine.
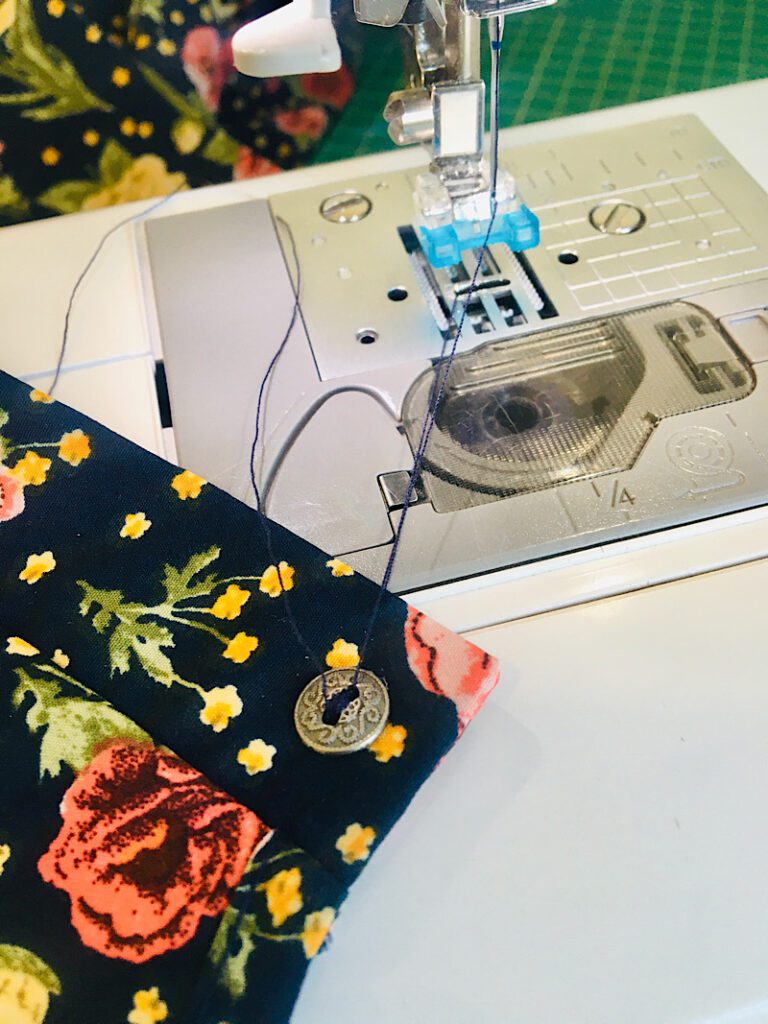
You can clip the threads as-is, or you can tie the threads into a knot. It will be secure either way.
Then you are done!
You can then sew on the other buttons that need to be added if there are any!
I hope these tips were helpful, this really isnt a hard technique and it makes sewing a placket of buttons so much faster!
Let me know if you need any help.