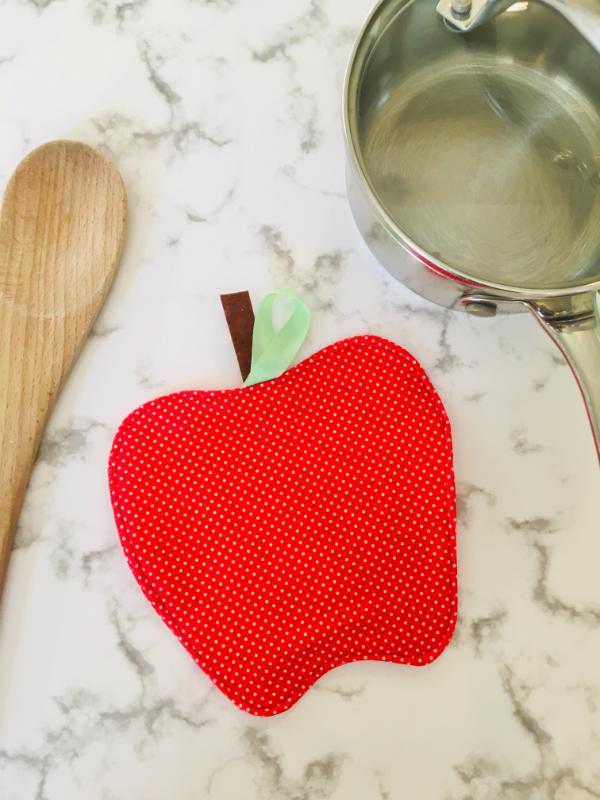
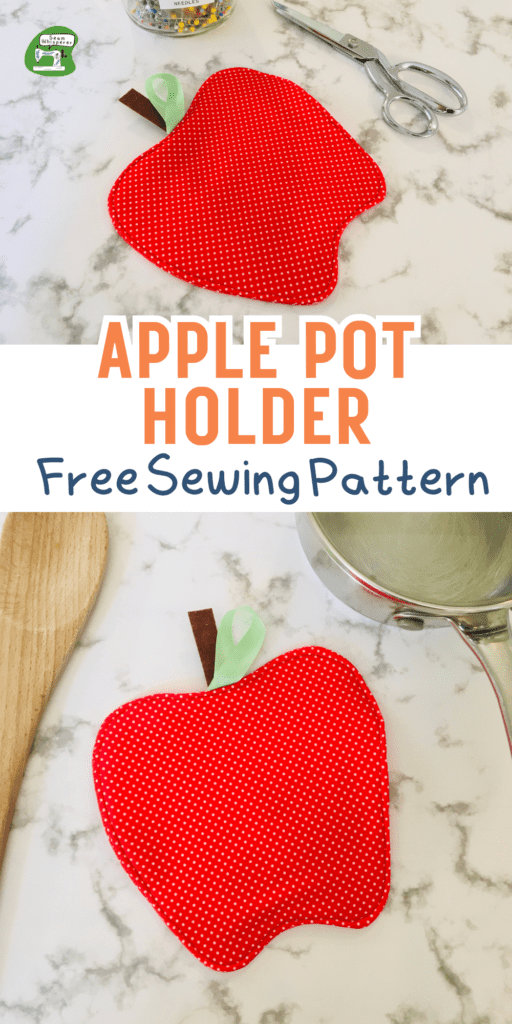
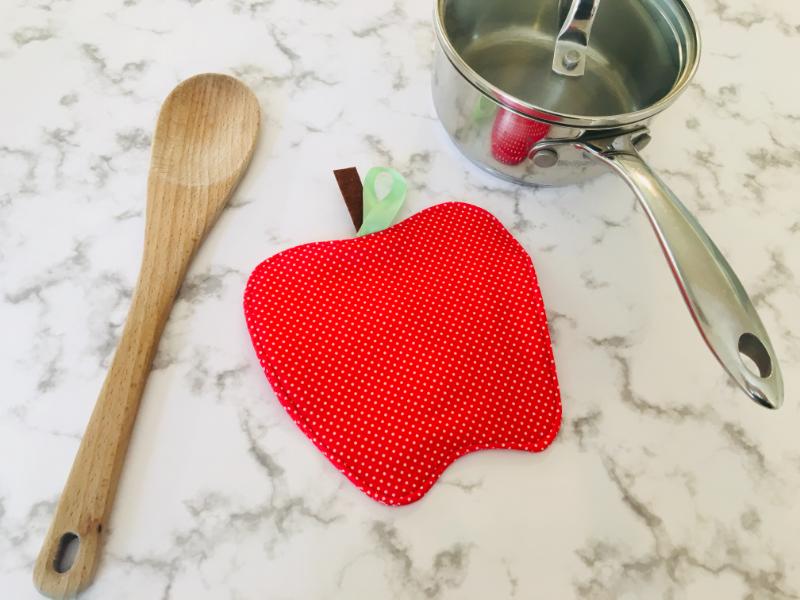
This apple pot holder is perfect for an autumn decoration or a teacher gift for the new school year! It is easy and fast to make.
Pot holders (or hot pads) are one of my favorite sewing projects! They are quick, super cute, and useful. It is always fun to come up with another shape to make to add to our kitchen.
I came up with this simple apple design last week, I hope you enjoy it!
Supplies Needed
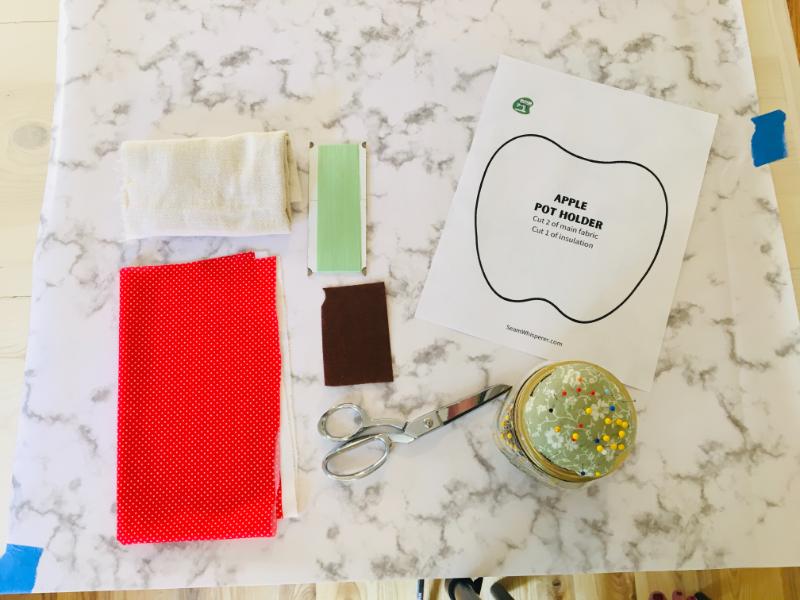
- 100% Cotton Fabric – for apple front and back
- Heat resistant insulation – (or you can try cotton batting, an old towel, etc for the inside layer.)
- Brown Felt – for stem (Use wool felt for heat resistance or make sure not to place hot pot on that part or it might melt)
- Green Ribbon or binding tape – for leaf hanging loop (use cotton for heat resistance or make sure not to place hot pot on that part to prevent melting)
- Matching Thread
- Sewing Pins
- Pinking Shears (optional)
- Apple Template (Download Below)
Download The Template
The instructions for this free pattern are here in the blog post! The template is available for free when you sign up for my email list below!
After you make your hot pad, you can email me a photo of it and I will add it to this post to show it off to my other readers!
Print the pattern at 100% scale to make sure it is the right size. You could make it bigger if you want to, but I would not go smaller.
How To Make An Apple Pot Holder
Note: If you are more of a video type of person, you can try the video tutorial instead!
Otherwise scroll down for the written instructions.
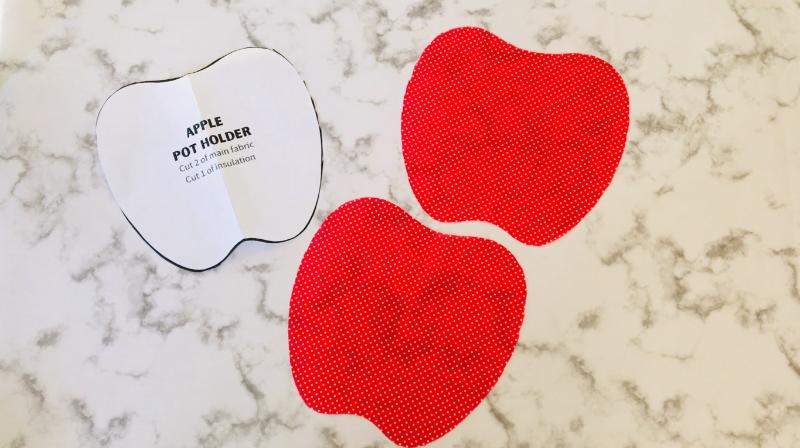
Step 1. Make The Apple Front
Cut out the fabric to make a front and back piece to your apple.
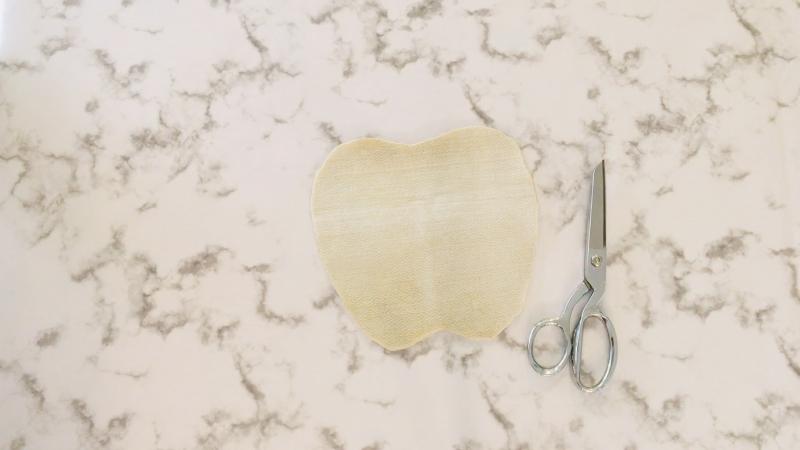
Cut out the insulation or batting for the inside. (You can choose how many layers you think it will need based on how thick yours is!)
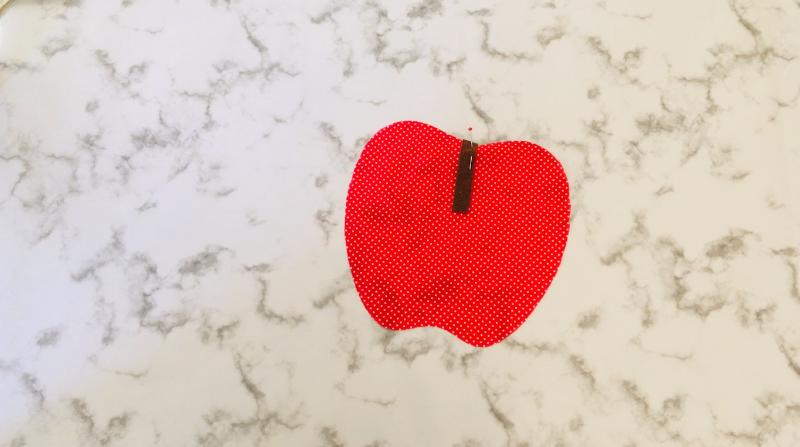
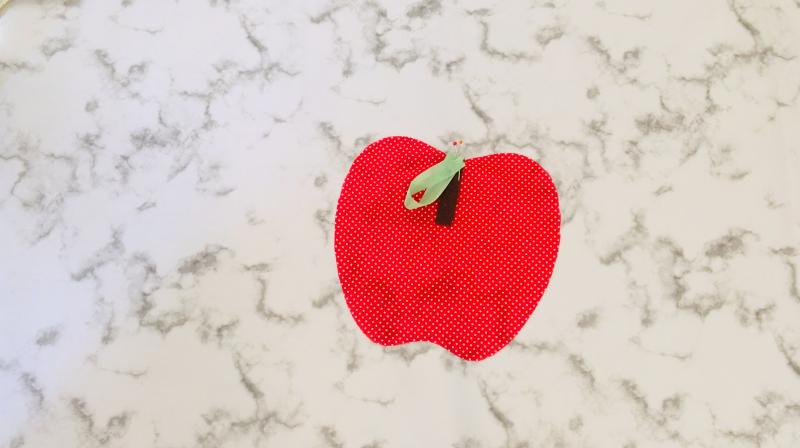
Cut out a 1/2 inch by 2.5 inch strip of brown felt. Pin it to the top of one piece of the apple, facing downwards.
Cut out a 5 -6 inch long piece of ribbon or binding tape. Fold it into a loop shape.
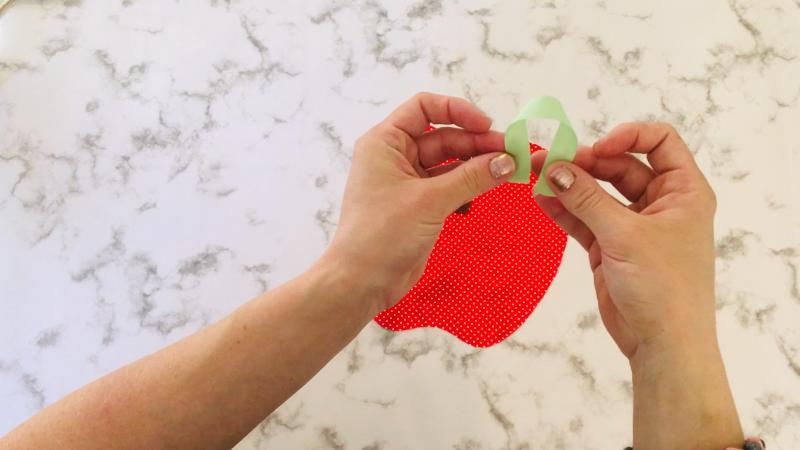
Pin the “leaf” to the top of the apple by the stem, facing downwards at an angle.
Step 2. Sew The Layers Together
Place the back piece of the apple on top of the front piece, with the right sides facing.
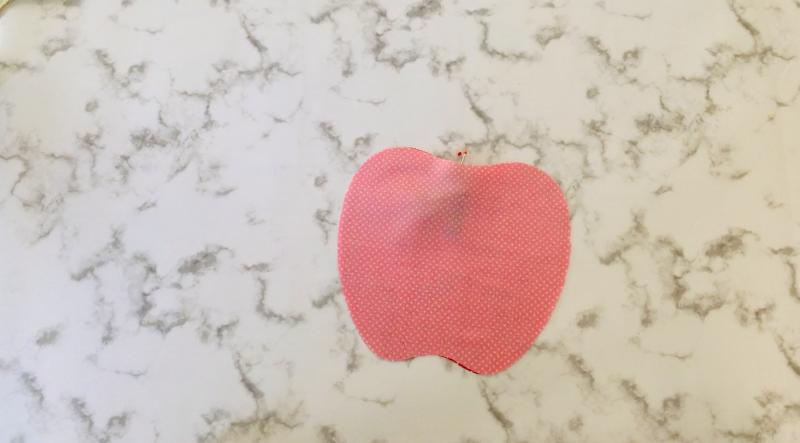
Add the layer of insulation/batting on top, and pin them all together.
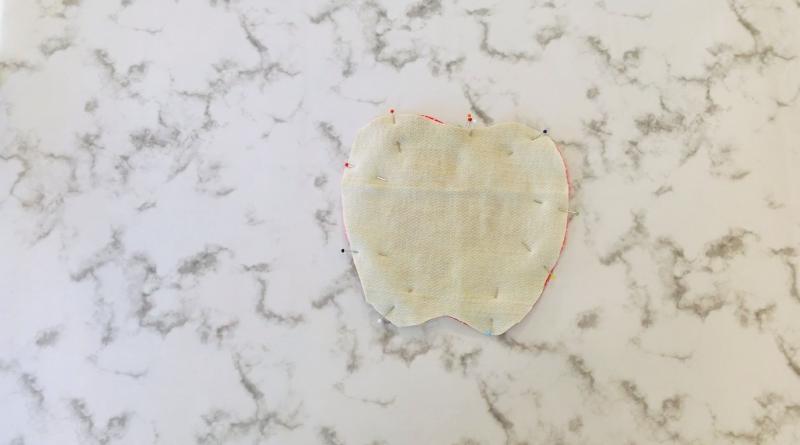
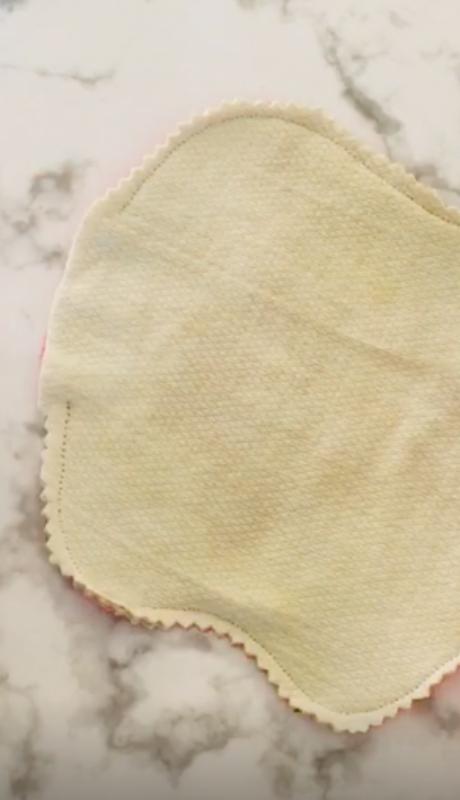
Sew around the perimeter of the apple with a 3/8ths inch seam allowance, leaving a 2 inch gap on one side.
Then, use pinking shears to trim away the edges and add notches all around. OR you can manually notch around the curves with scissors.
Step 3. Finishing The Pot Holder
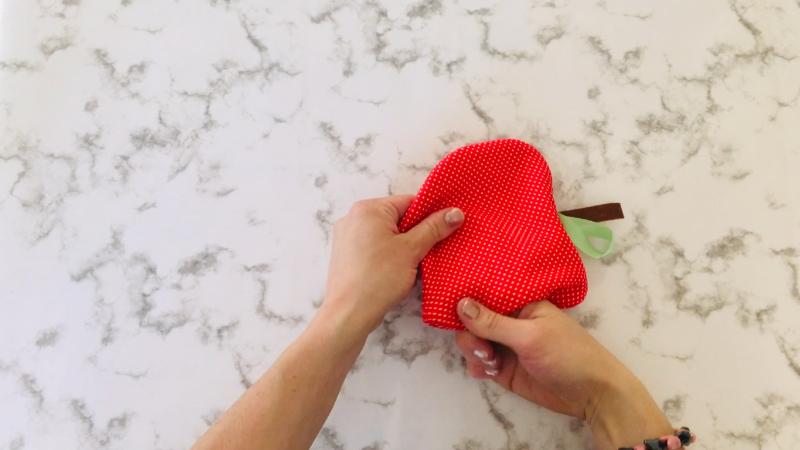
Turn the pot holder right side out through the gap.
Use your fingers to poke out the curves and make sure it is well shaped.
Press or finger-press the pot holder so it is nice and crisp and flat.
Fold the raw edges of the gap into the inside, and pin the gap closed.
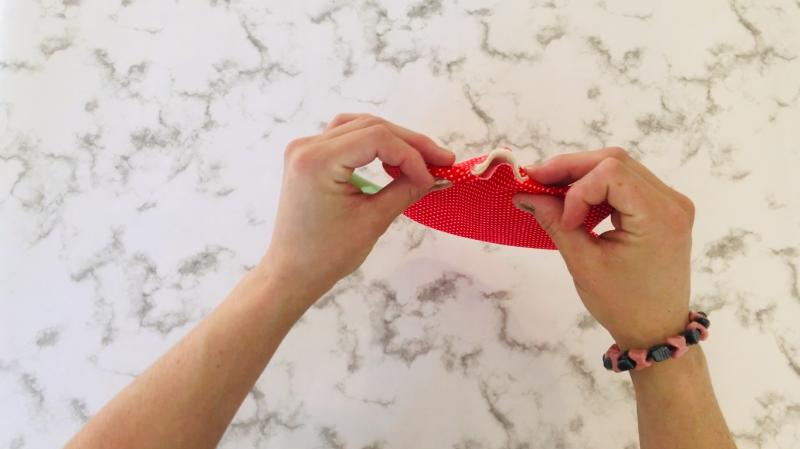
Sew a top stitch around the perimeter of the pot holder, with a 1/8ths seam allowance. Make sure to close the gap as you do this.
If you wish, you can also quilt the top of the pot holder with top stitches in squares or lines. I didn’t do it this time but it would be cute!
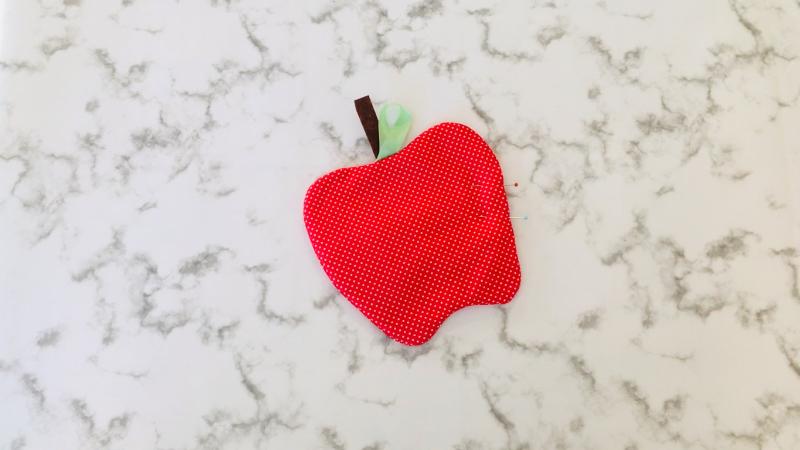
Then you are done!
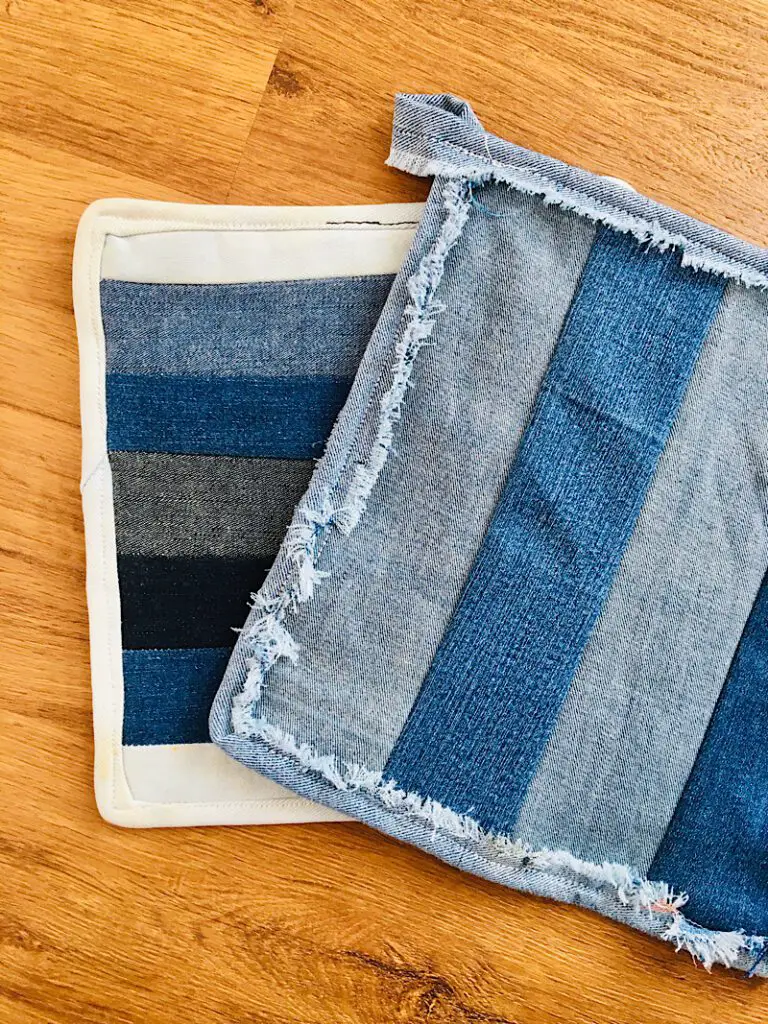
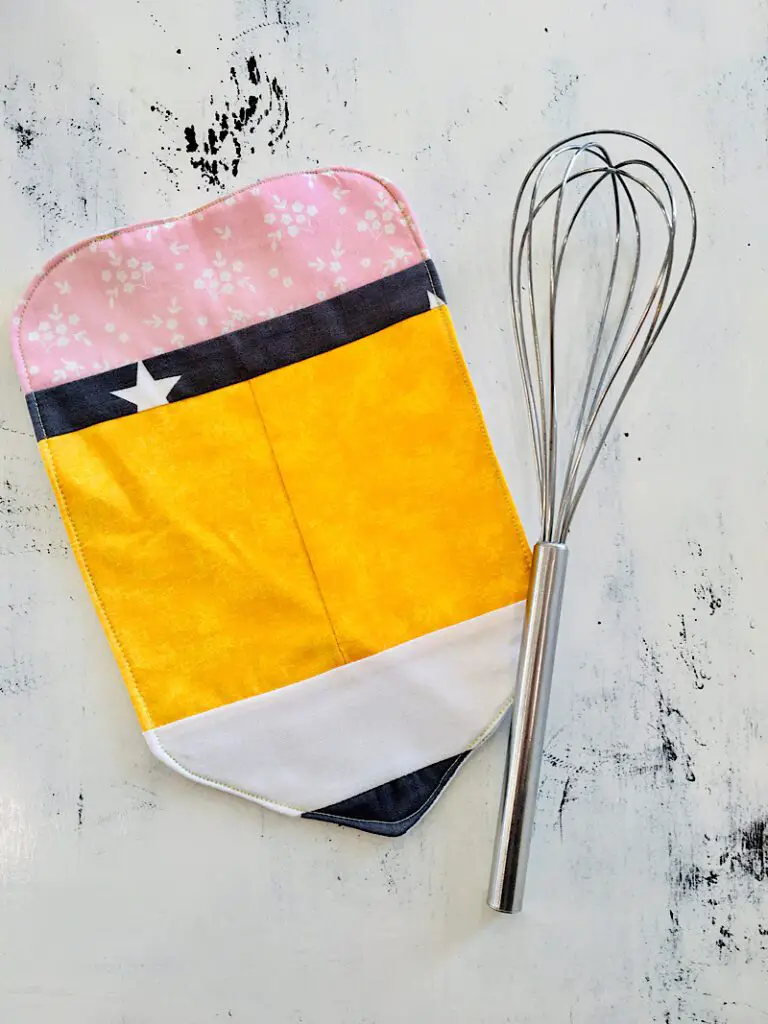
I hope you liked this tutorial! You might also like my pencil shaped pot holder which is also great for back to school or teacher appreciation day!
Pin this post if you liked it and comment if you need help!