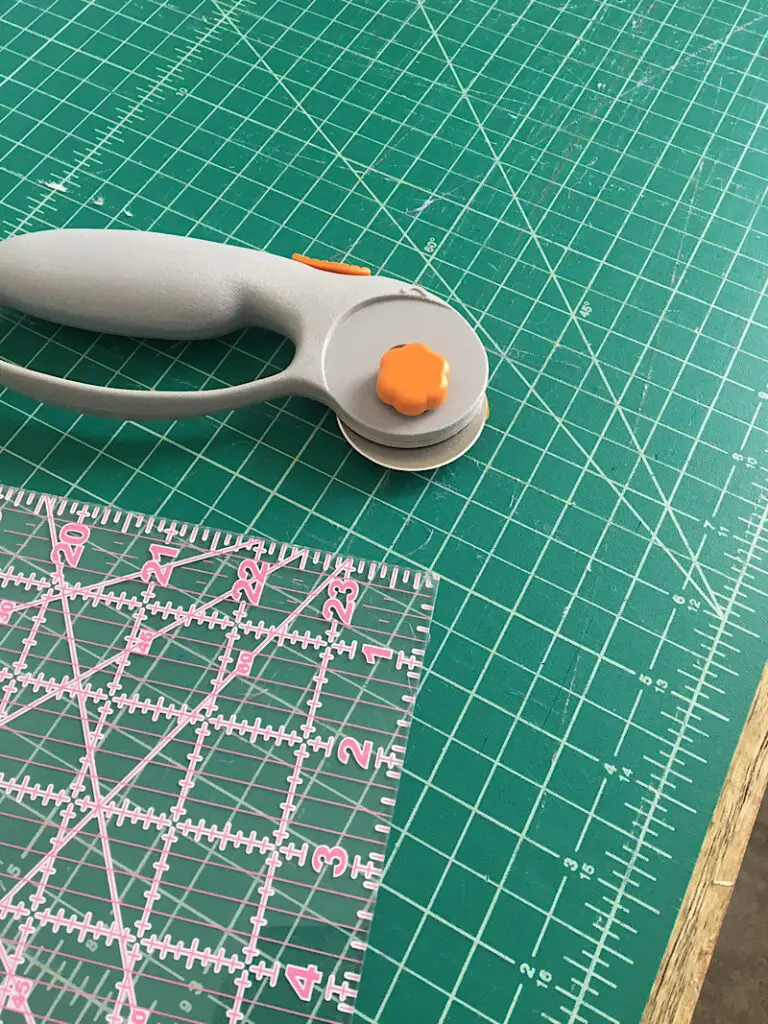
If you’ve been using your self healing rotary cutting mat for a while, you may notice that little fibers from the material you’ve been cutting can get stuck in the mat! Over time, it can become a big linty mess. So how do you clean your rotary mat?
To clean a rotary mat, use a lint roller to clean up any loose lint. Then use an old gift card to gently scrape the fibers off of the mat. Finally, use a mild soap or detergent and room temperature water to wash the mat, and let it air dry.
In this post, I will share even more details, photos, and a secret item that makes mat cleaning easier!
This post may contain affiliate links. Read the full disclosure here.
How To Clean A Rotary Mat
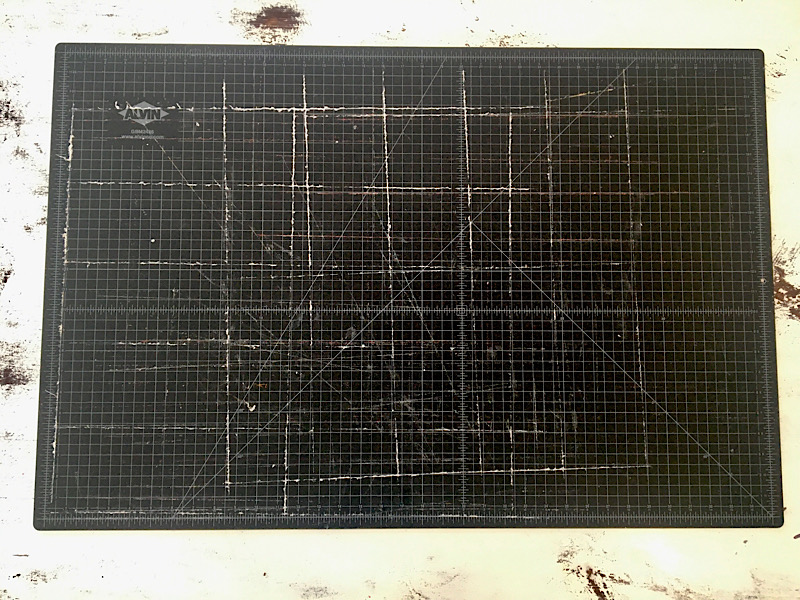
My rotary mat was so horribly covered in white lint! Here is what it looked like before I started cleaning it, for your reference.
Step 1. Remove Loose Lint
The first thing to do is clean all the easily-removable fibers off of your mat by using a lint roller.
If you do not have a lint roller, you can use a piece of packing tape that has been make into a loop. Roll it all over your mat as many times as you need to.
You can see how much lint my piece of tape got on it from only a few swipes, I needed multiple pieces before I was done with this step!
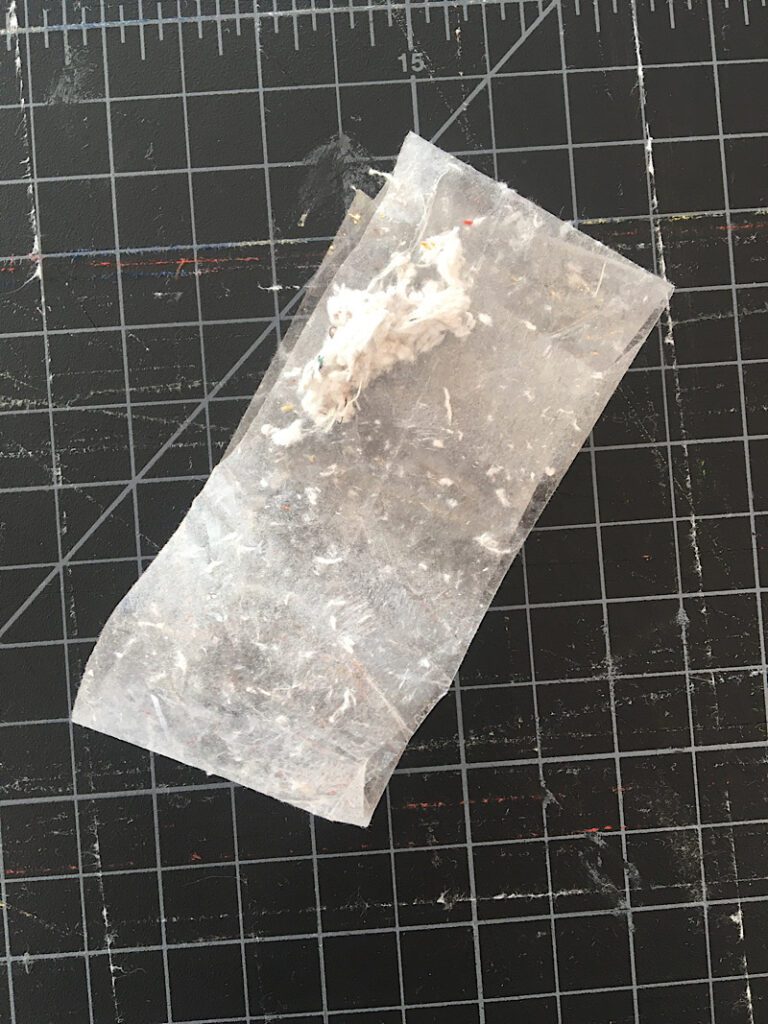
After you have gotten off everything you can with the lint roller or sticky tape, then you can move on to the next cleaning methods.
Step 2. Scrape The Cut Lines
The next thing to try to get the lint out of the mat is to gently scrape it.
Do not use anything that could hurt your mat, such as a razor blade or steel wool (although it is so tempting!) I have seen people use plastic kitchen scrubbers, but I just like to use an old gift card.
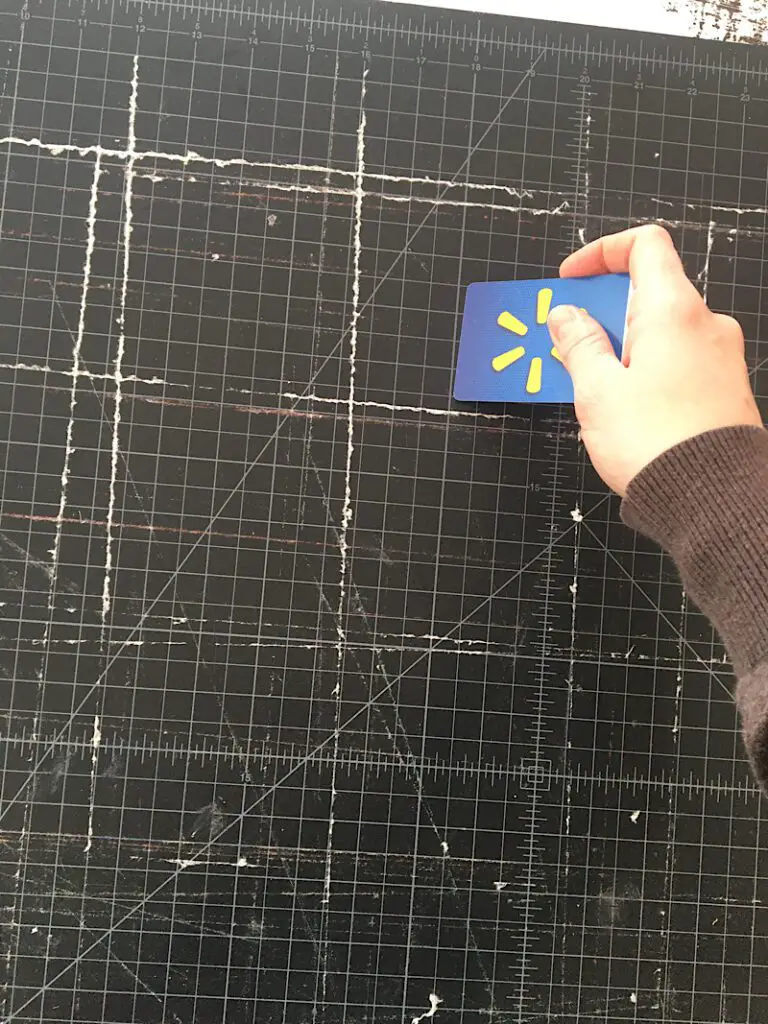
When scraping the lint away, try scraping parallel to the cut lines the lint is stuck in, as well as perpendicular to them. I found that scraping perpendicularly across the line was more useful.
After working at it for a bit, my mat was looking so much better!
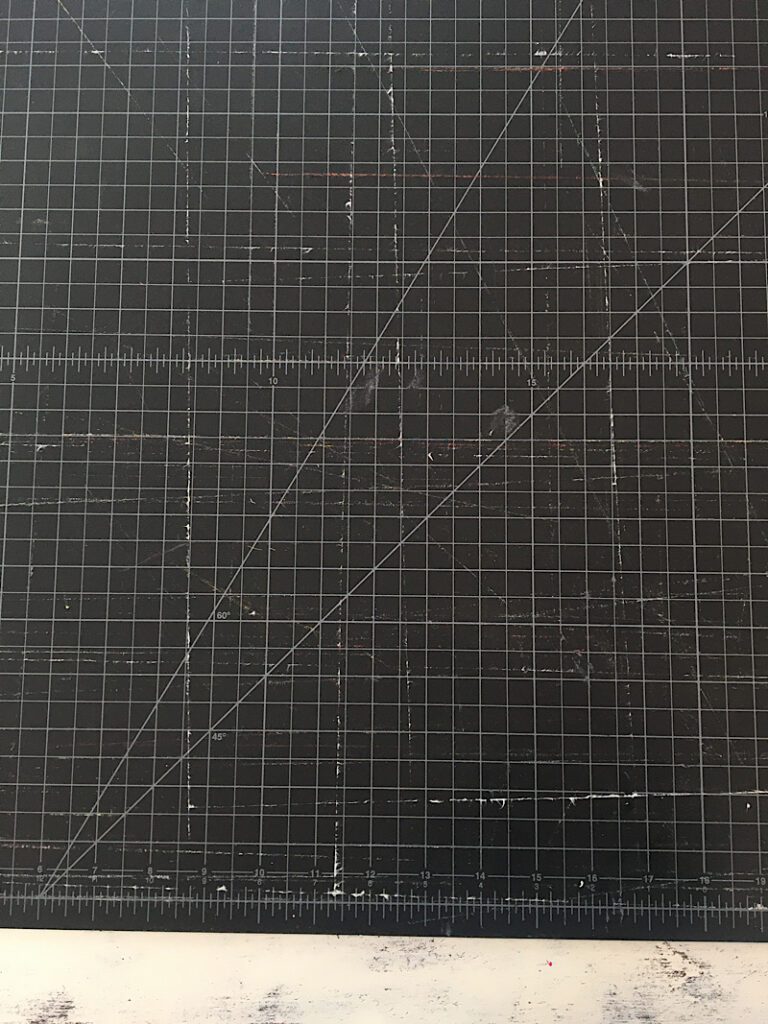
But there were still some lines I wanted to clear up. Let’s move onto the next method and the secret tool that can help you clean your mat!
Step 3. Erase Stubborn Lint
The secret tool I have seen recomended to clean rotary mats is… an Artist Gum Erasers!
What is an artist gum eraser? It is a softer eraser that is commonly used by artists to erase graphite and charcoal.
It is not the same thing as a regular pencil eraser (those will leave little eraser rubber bits all over your mat!)
If you don’t have one of these erasers, you can get one pretty cheap online. You might want to stash it with your sewing supplies if you love how it works!
Rub the eraser all over your mat and gather up the lints into a pile so you can throw them away.
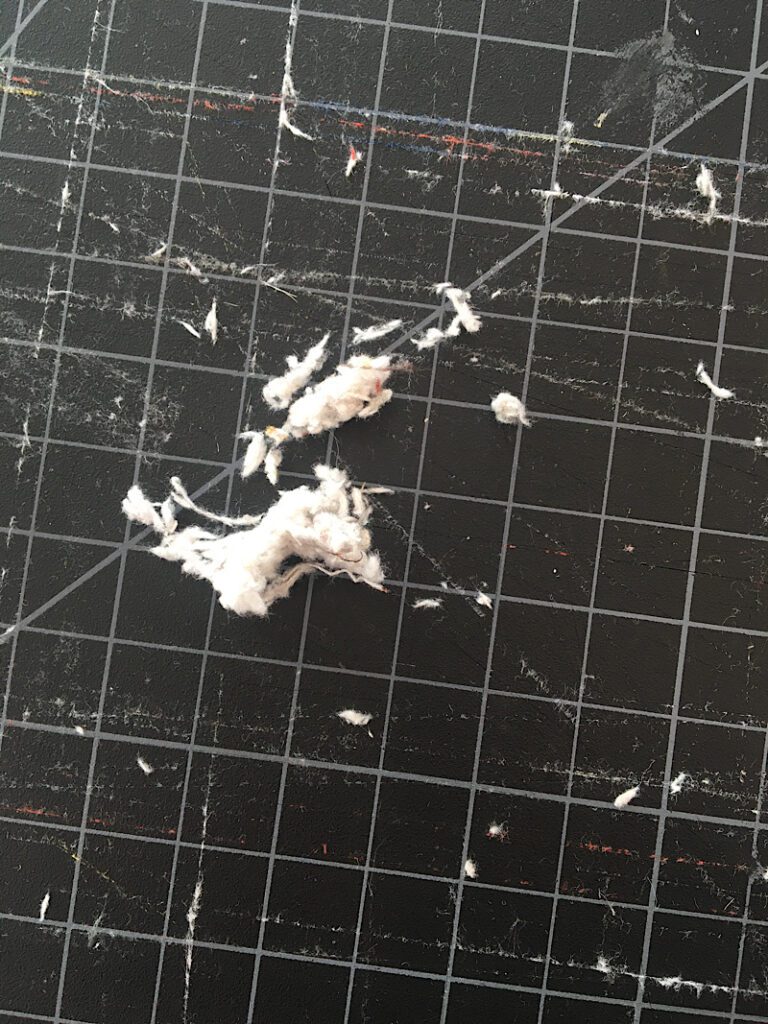
Step 4. Wash And Dry Your Mat
Finally, you need to wash and dry your mat. You should know that self healing mats should never be heated or they will warp! So when washing your mat, make sure to use cool or room temperature water.
Use a washcloth with a bit of gentle soap or detergent to wash your mat. Towel dry it, or let it air dry, never blow dry it or set it in the sun!
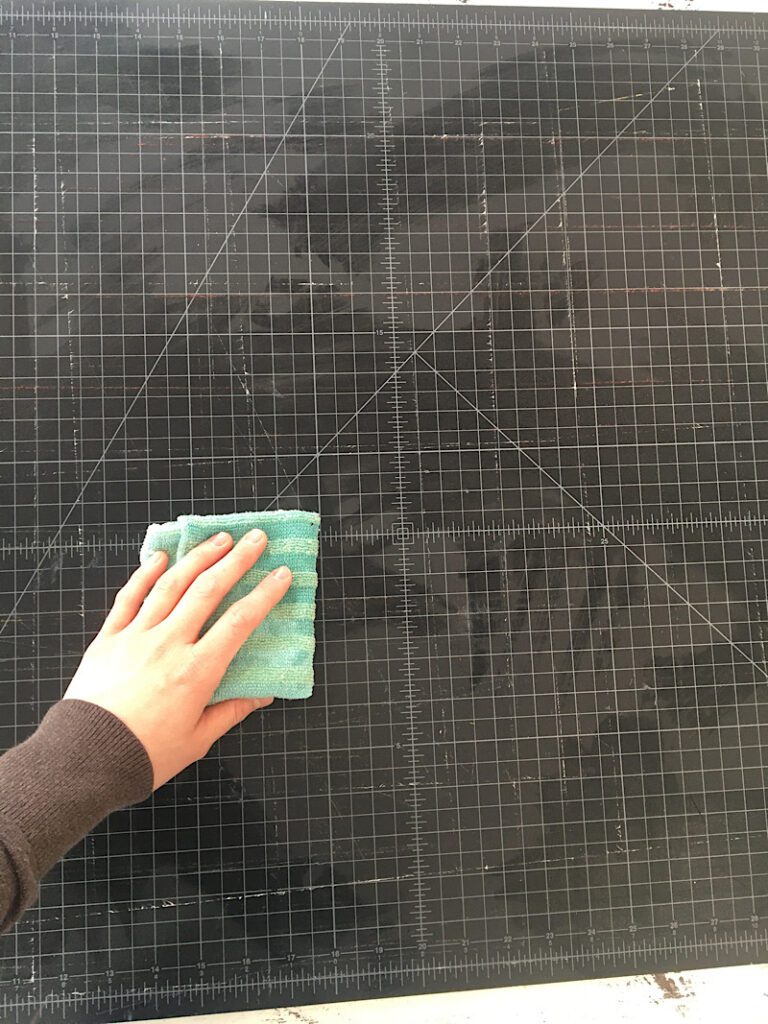
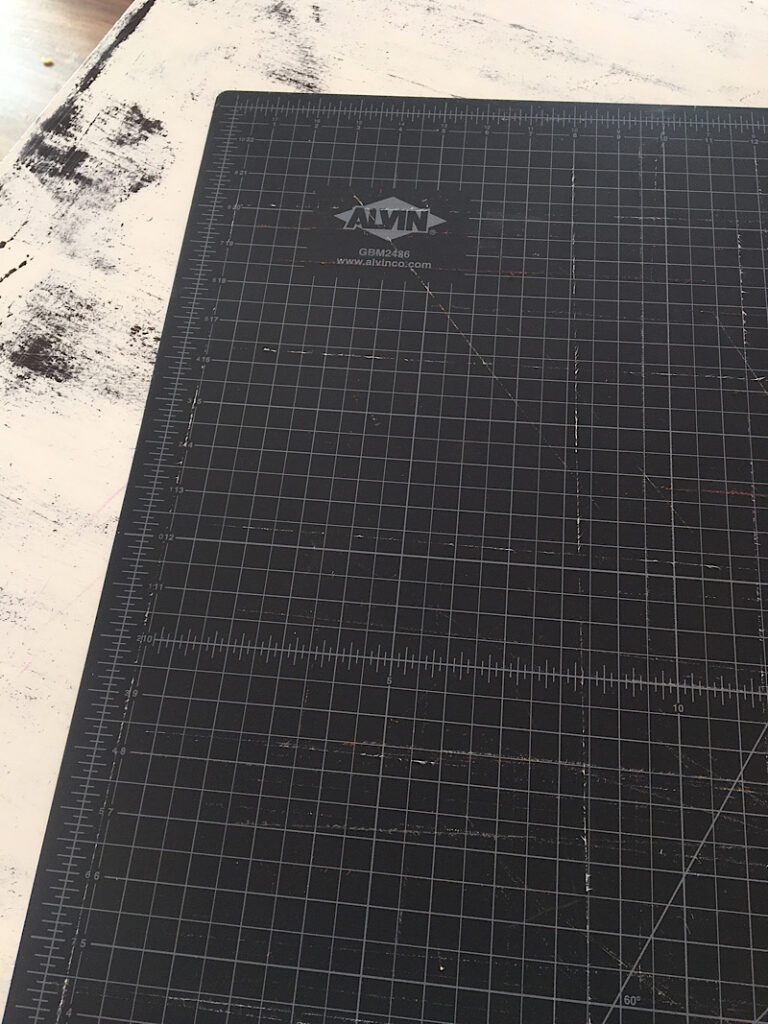
After letting it dry, here I was pleased with the final result.
It is not perfectly clena by any means, there are some seriously deep groves with lint still stuck in them.
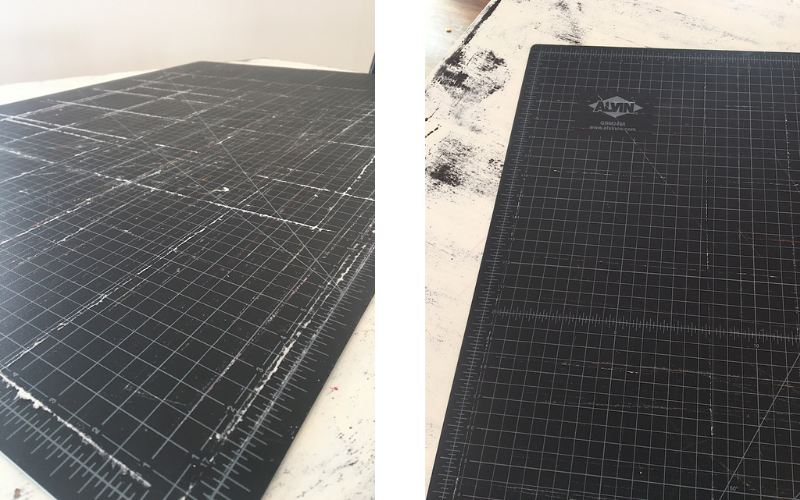
But, it is WAY better than it was before!
Here is the side by side before and after so you can see how much better it looks.
Conclusion
I hope this post helped you clean up your rotary mat. Mine got so bad after cutting a bunch of fleece when I was making cloth diaper liners several months ago, but I never bothered to clean it since it is double sided!
Luckily it is useable again, just in time to cut and sew some new diaper liners.
If these tips helped you, make sure to read through my other huge list of useful sewing hacks that I rounded up from other real seamstresses.
Also sign up for my newsletter for more sewing tips.
