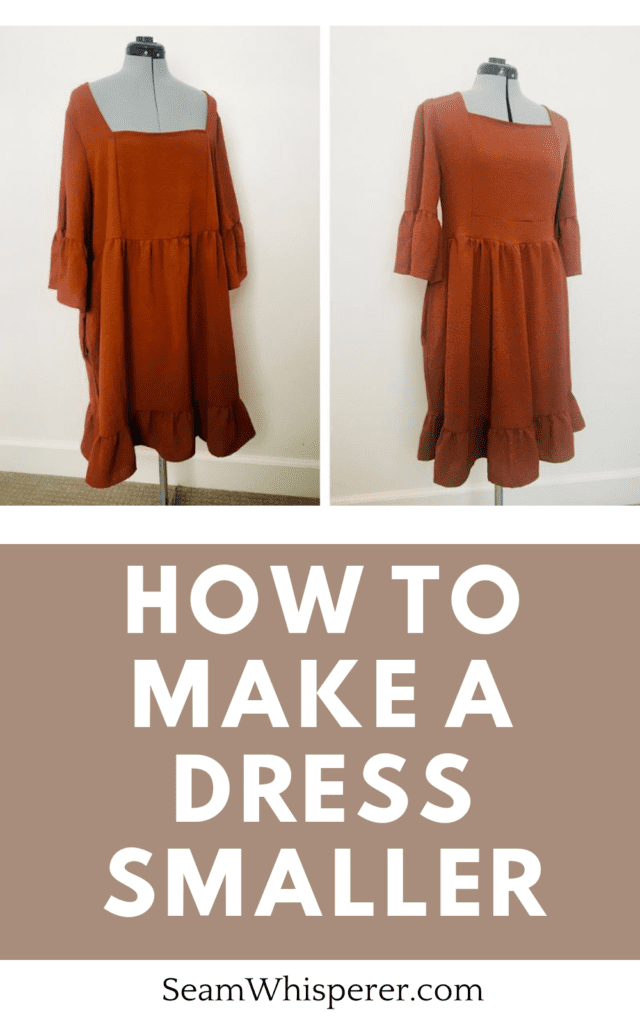
Do you have a dress you would love to wear, but it’s just too big? In this post I will walk you through the basic steps to take in a dress to make it fit smaller!
One of the things I love about tailoring is being able to transform my thrifted finds into pieces that work for me–WITHOUT having to worry too much about what size the garment is!
As long as the piece of clothing looks like it is around my size, I can usually make it work!
And you’re in luck, making a dress smaller is usually easier than making it larger! Let me show you how I did it.
This post may contain affiliate links. Read the full disclosure here.
About The Tutorial
Although every dress is different, I typically follow the same outline of steps when altering them to be smaller.
This tutorial will work best with a simple dress that doesnt have too many fancy shapes to take apart. My dress had a simple bodice, set in sleeves, and a skirt. My dress doesn’t have a zipper which makes this tutorial easer as well, but if you take some time to look at your dress and plan how you will alter it, you can alter dresses with zippers as well.
I used my dress form to alter this dress, but if you don’t have one, you can just try it on yourself and pin it while you are wearing it, or measure it and then take it off to pin it.
Lastly I want to note that like all alterations, pracitce makes perfect. If this is your first time, I recomend trying it out on a dress that you won’t care about if you mess up. It took me a lot of tries to finally be able to alter things without messing up, and I do sometimes make mistakes and have to unpick and start over.
Supplies Needed
- Sewing Machine
- Fabric Scissors (These are my favorite brand, I’ve had them for years)
- Dress Form (Optional but recommended)
- Seam Ripper
- Sewing Pins
- Measuring Tape
Materials Needed
- Dress that you want to make smaller
- Matching Thread
How To Make A Dress Smaller
Step 1. Try The Dress On
Before doing anything to the dress, try it on and observe how it fits.
Think about where it doesn’t fit how you like. Try to be specific instead of just thining “Its too big”
Here are a few ideas of ways it might not fit:
- The sleeves are too wide and armscye too low.
- The neckline is too low
- The waistline is too low
- The width of the bodice is too wide
- The width of the waistline is too wide
- The dress is too long
When a dress is a size or two too large, width may not be the only problem. All the porportions will be slightly off of your regular size. The height of the waistline and the armholes are two things I always make sure to check. I want it to hit at the right spot, not too low.
Step 2. Disassemble The Dress
Now you are going to carefully take apart the dress to seperate the pieces you need to alter. Which pieces you disassemble depends on what about your dress you need to fix. I had to fix the armholes, the sleeve width, the bodice width, and the waistline height, as well as the skirt width. So I took almost the whole dress apart!
To disassemble your dress, carefully seam rip or cut it open at the seams.
If you are cutting the seams, cut as close to the seam as you possibly can. Or you can seamrip the serged seams open, but that will take more time.
Remove the arms, as well as the skirt.

Step 3. Resize The Bodice
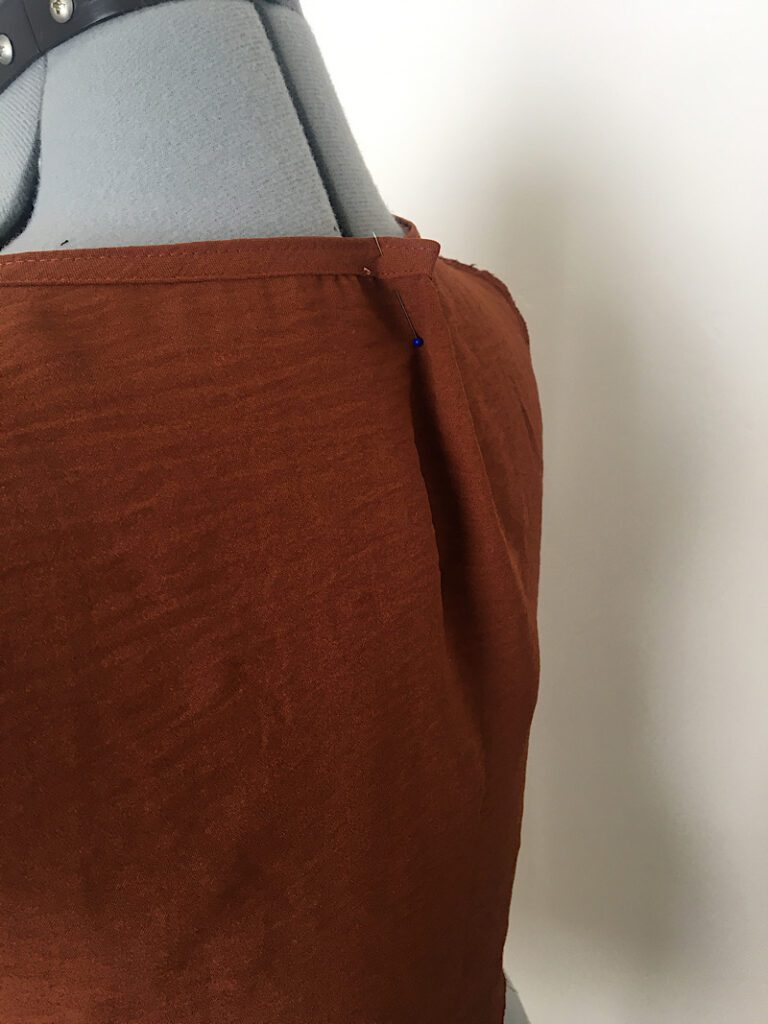
Try on the bodice inside out and pin the two side seams until they are the width you want the finished dress to be. Take notw of how high the armholes will be once pinned.
Make sure they are even on both sides.
Normally you would place pins perpendicular to the line you want to sew, but I like to place them right on the sewing line and remove them as I sew, to make sure the pinned line is in just the right spot.
If the back is too large, you can also place a pin on the back neckline, either for a dart or to sew all the way down.
If the neckline needs to be raised, then you’ll have to further take apart the dress at the shoulders, but that will have to be a tutorial for another post!
Then, carefully remove the dress and flatten it out with the pins in it. Measure the sides you have pinned to make sure they match each other.
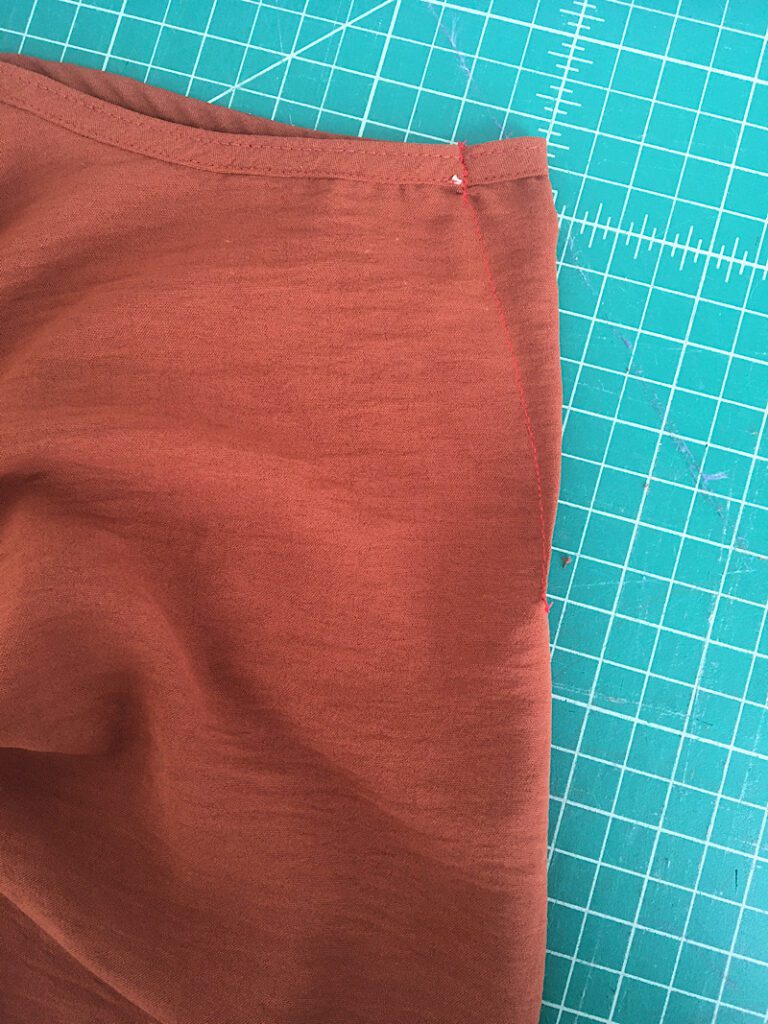
Then, sew the new seam line down where the pins were, removing the pins as you sew so you dont break a needle. Don’t cut the excess fabric off yet.
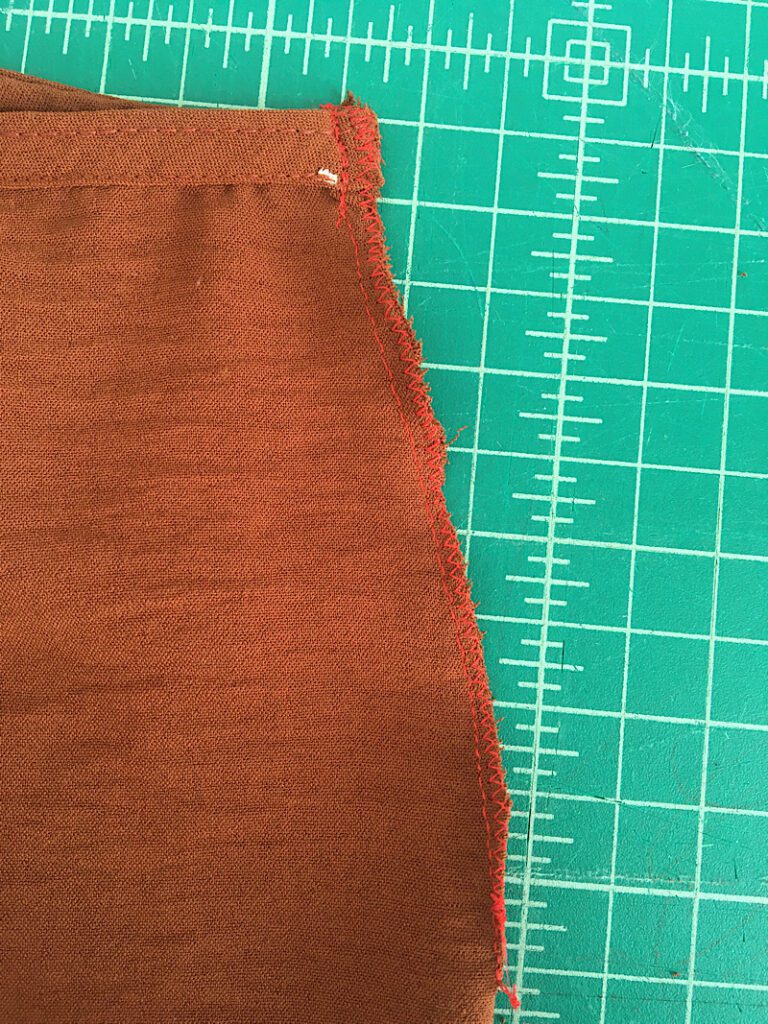
Remove the pins and try on the bodice again to make sure it fits. If it doesn’t fit, you can carefully unpick the stitch and try again. If it does fit, then you can cut off the excess fabric with about a 3/8ths inch seam allowance, and serge or zig zag stitch the edges.
Also sew a tapered dart on the back pin, if you need to. Taper the stitch line down to the folded edge.
I did this entire alteration without my serger so you could see how to do it too.
At this point you should once again try on the bodice and decide if you need to cut the waistline to be higher or not, and remember to add a 3/8ths inch seam allowance if you do.
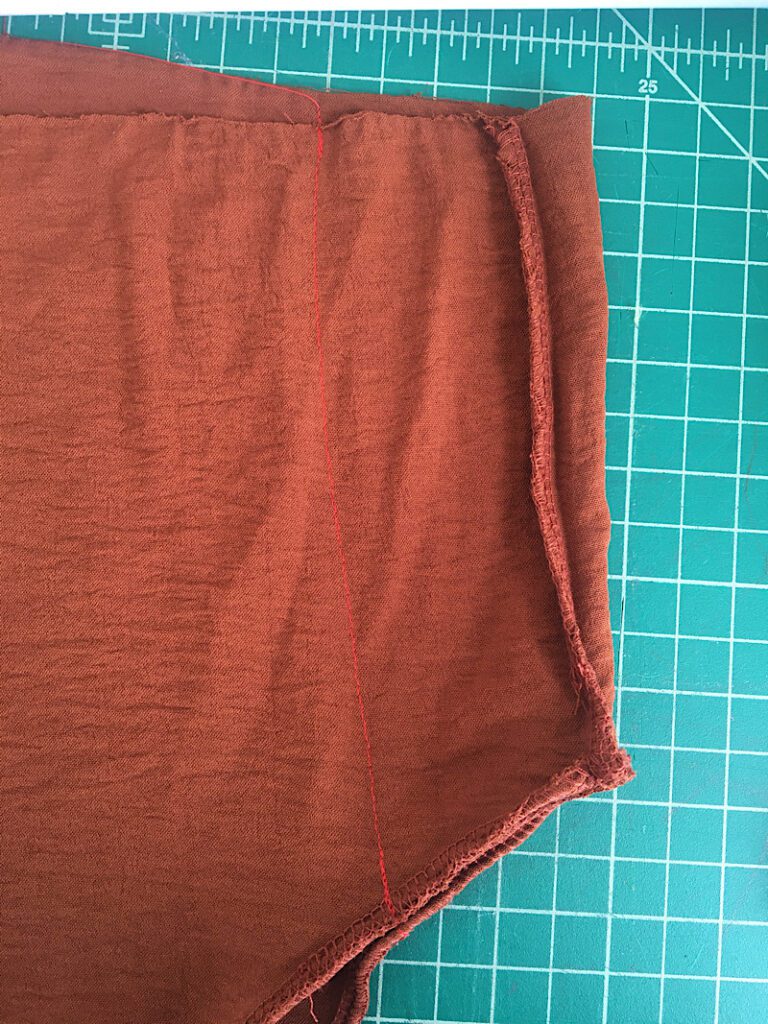
Step 4. Resize The Sleeves
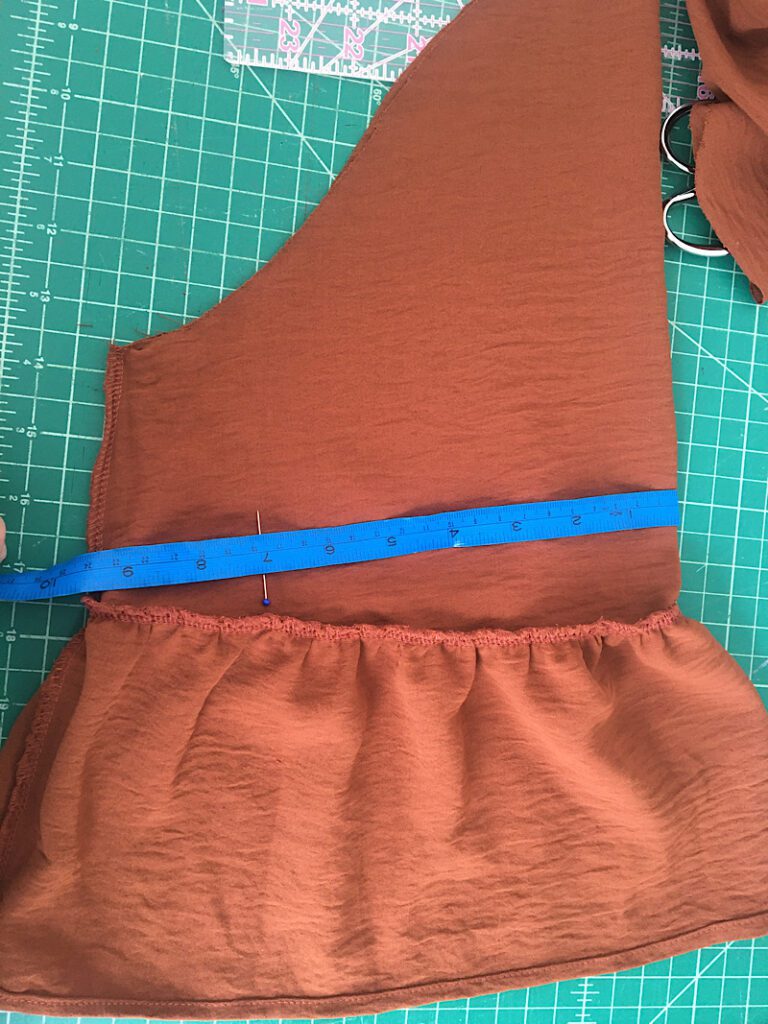
When making the sleeves smaller you need to measure both the width of the sleeve, as well as the circumference of the armscye (armpit hole).
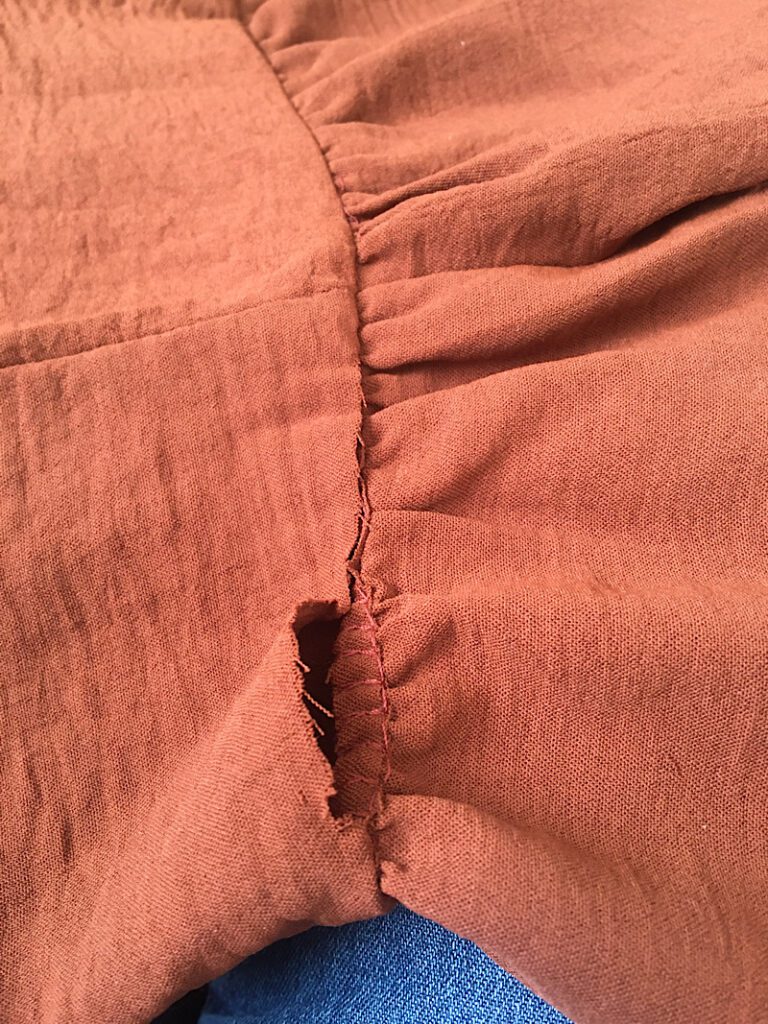
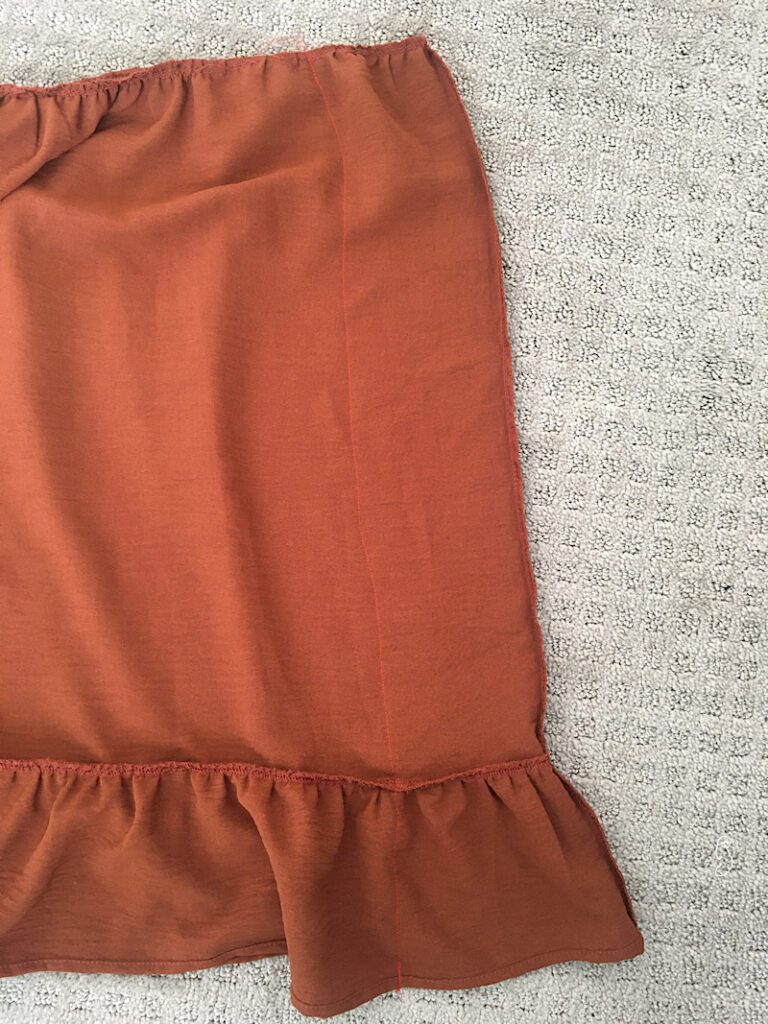
On my dress, I measured around my arm and added some ease so the sleeves would be a little bit loose, but still form fitting. Then I measured the sleeve in from the fold, and marked how much off the seam I would need to sew to make it the new right size.
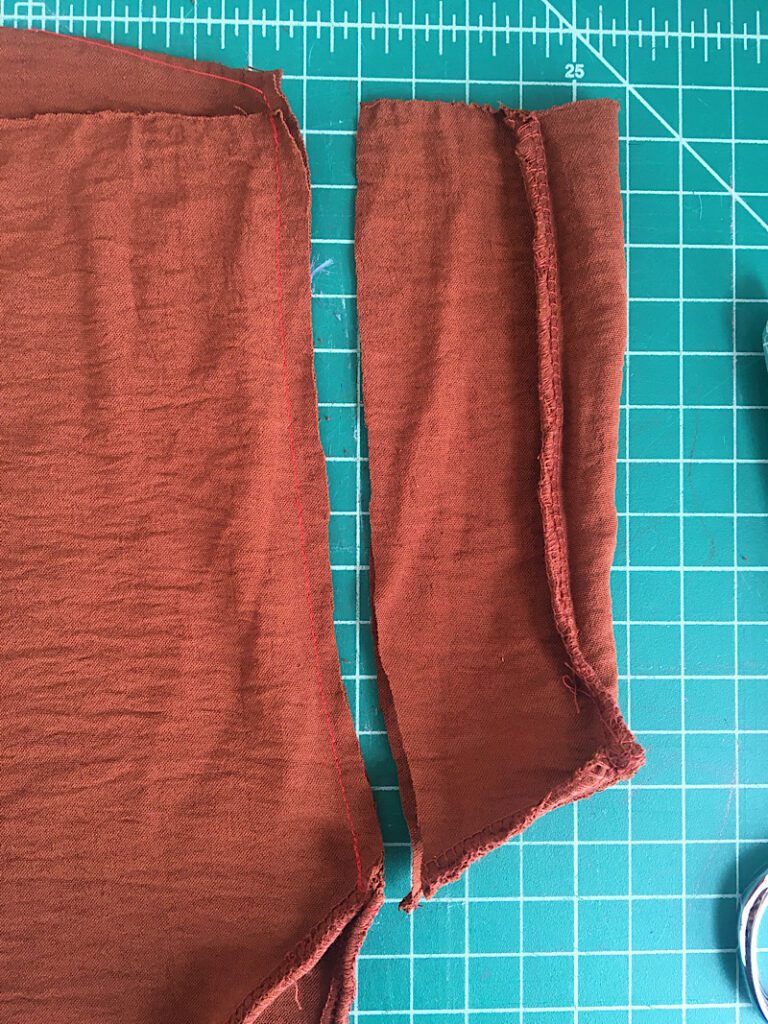
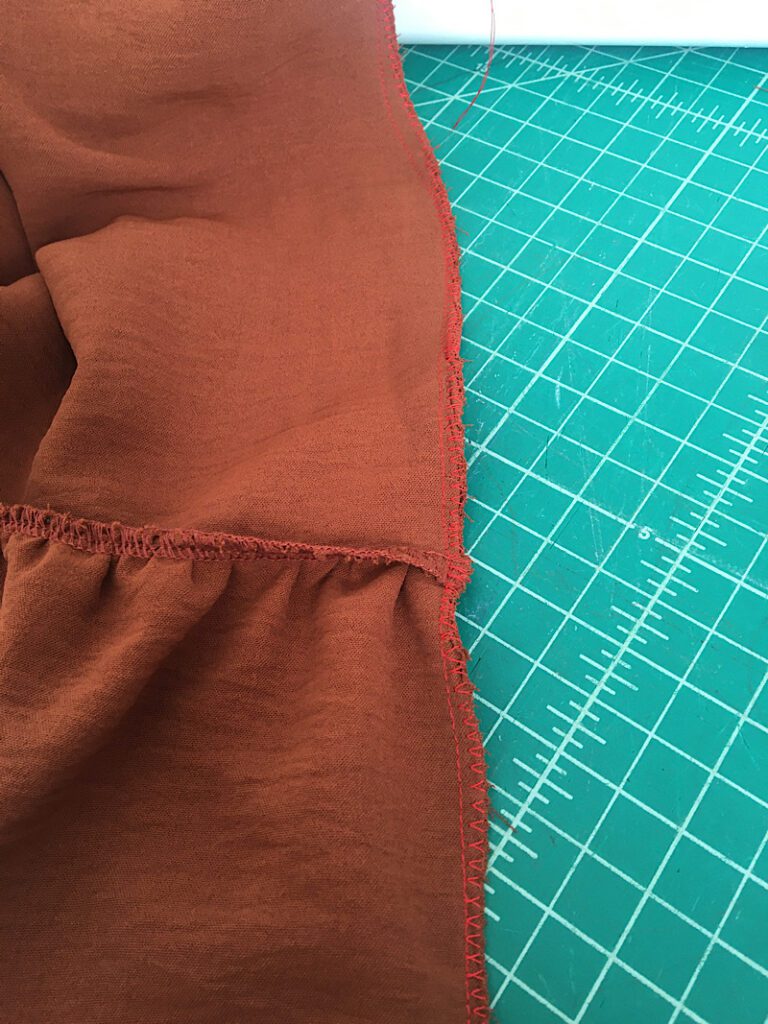
Then I sewed down the sleeve (when sewing on the ruffle I tapered it out a little bit) and cut off the excess, and zig zaged the edge.
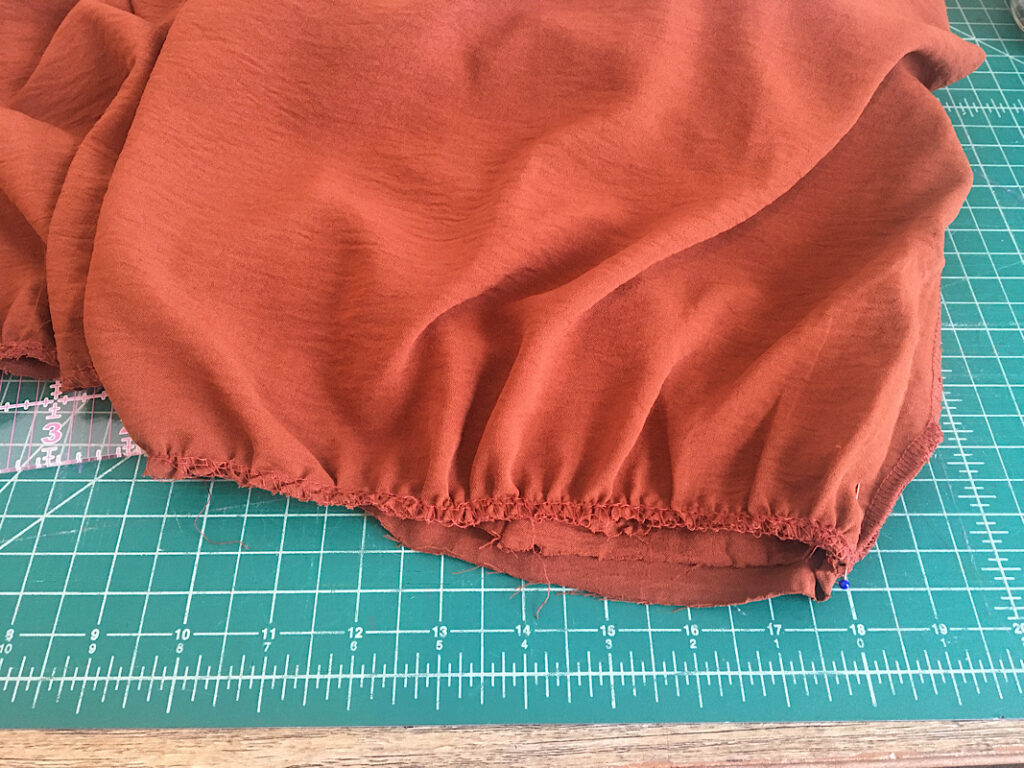
The resulting width of the sleeve was just right, but it was still a little big for the armscye. I didnt want to recut the sleeve slope, so instead I just gathered the top of the sleeve a little bit wchich added a little poof to the sleeve.
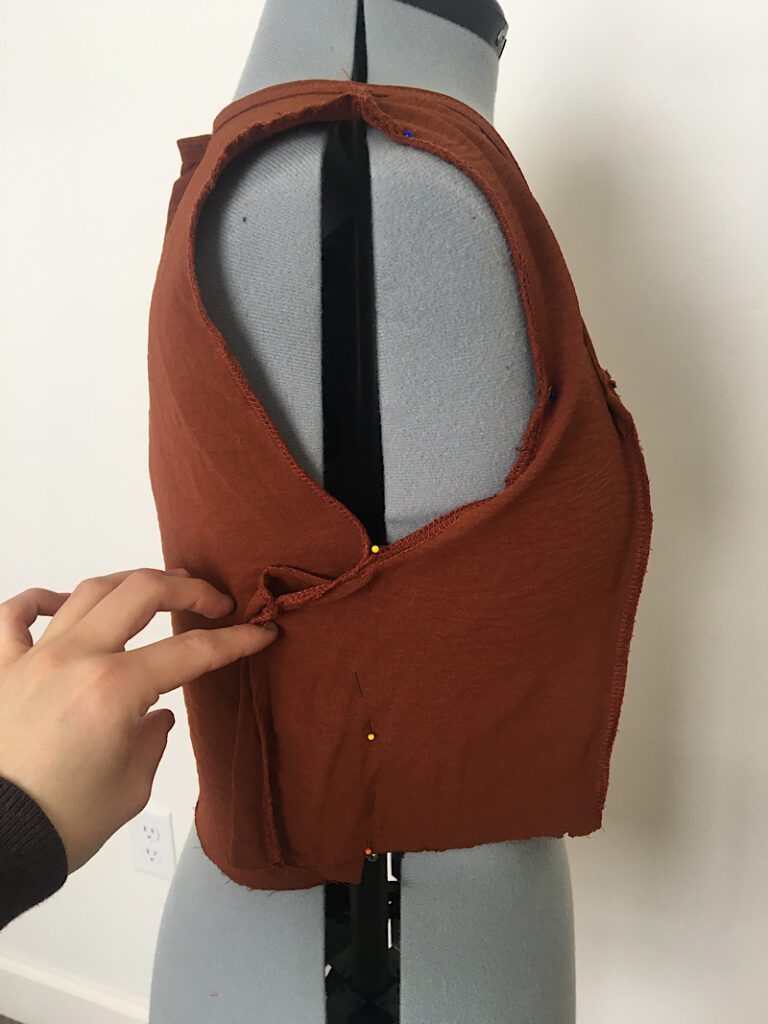
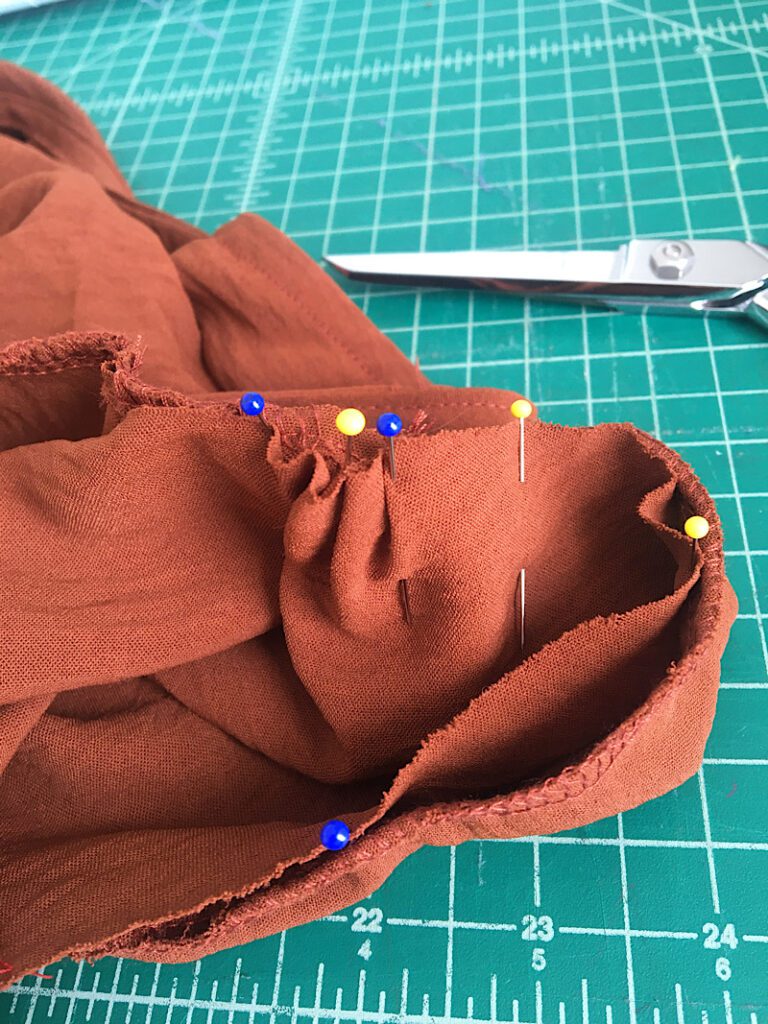
To set in the sleeve, turn the bodice inside out, and make sure the sleeve is inside-in. Then place the sleeve into the arm hole, and line up the seams on the bottom of the sleeve and side of the bodice.
Pin the sleeve around the armscye.
Sew the sleeve to the bodice and finish the edge, then repeat these steps with the other side.
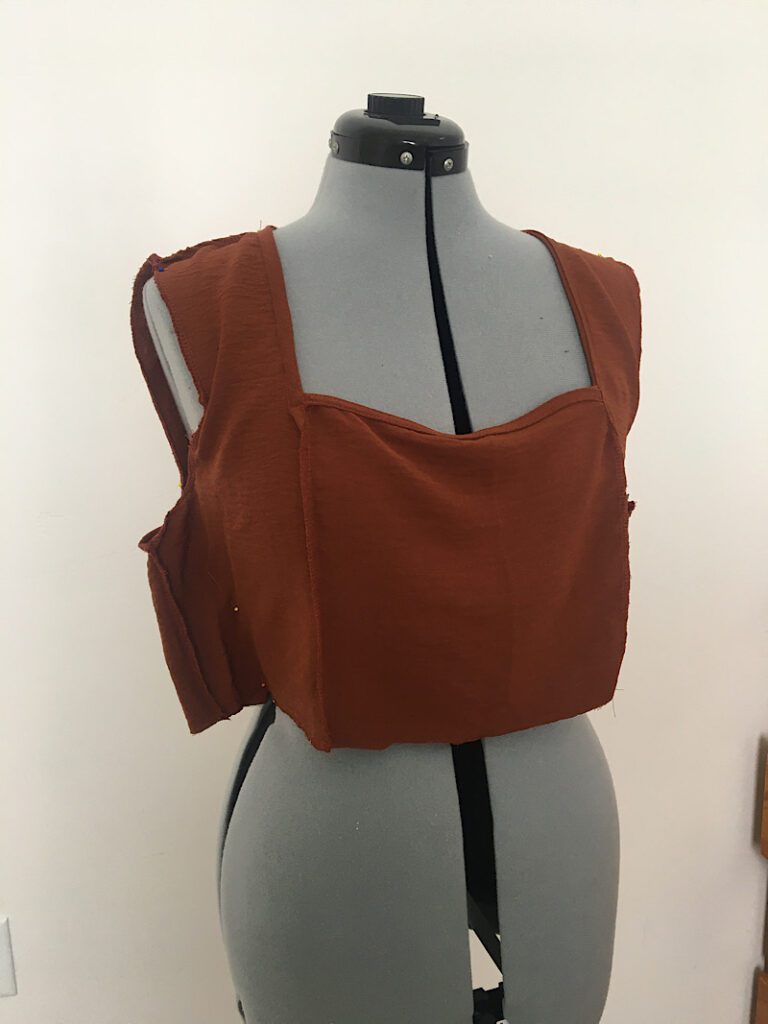
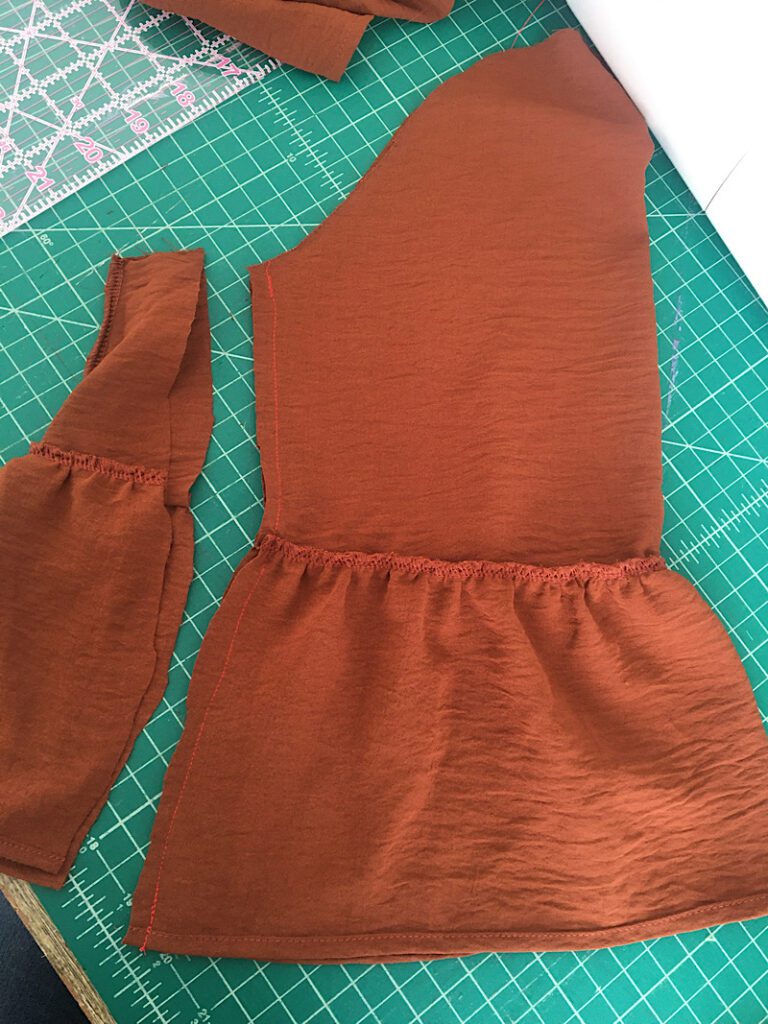
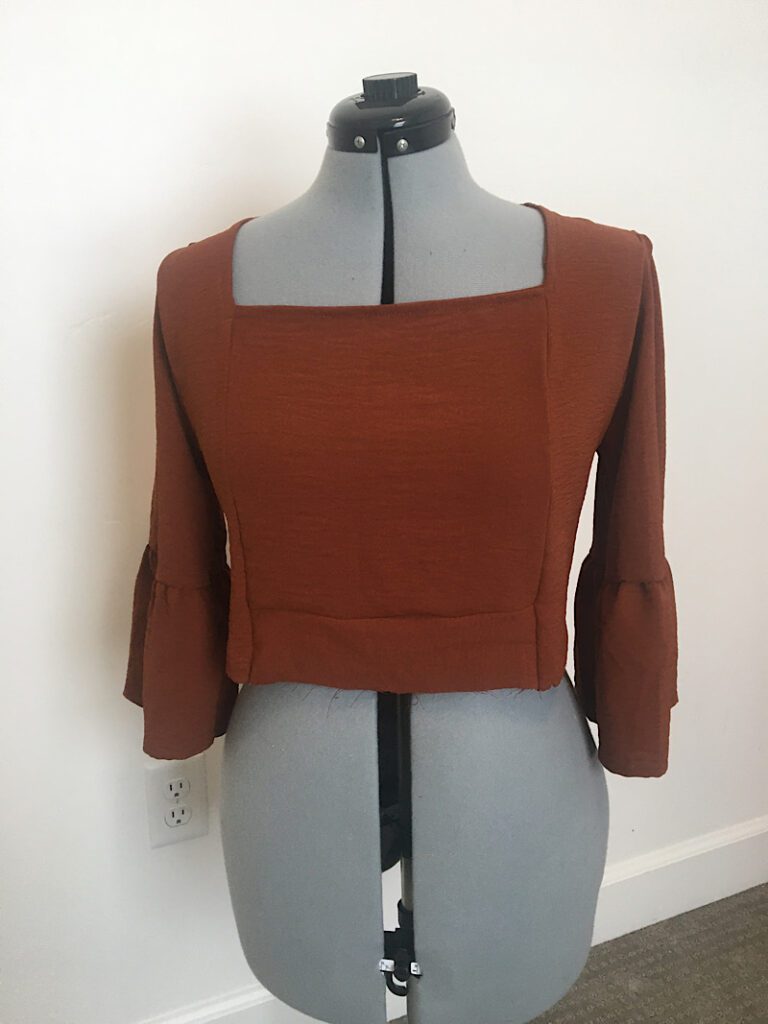
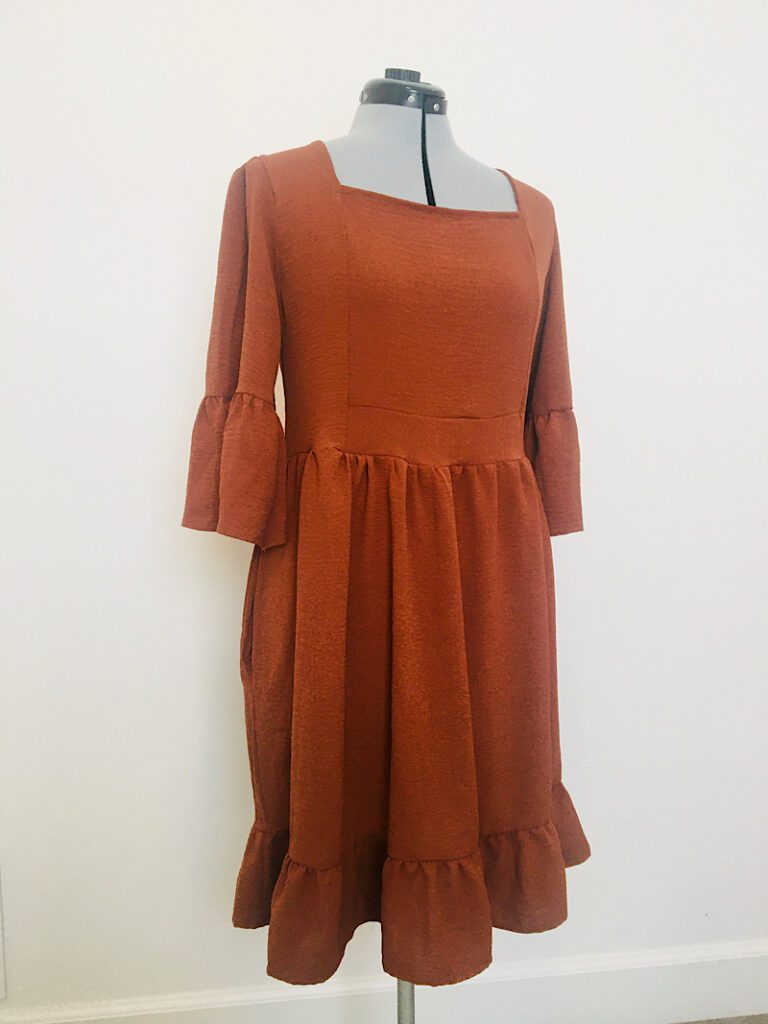
Here is how the top of the dress looks at this point:
And here is what both sleeves look like when added back to the bodice.
Step 5. Resize The Skirt
Now that the bodice is complete, lets do the same thing with the skirt.
If you had a gathered skirt, you might be able to just re-gather it to be smaller and you won’t have to do any cutting. I wanted to use the excess of the skirt for something else, so I just sewed and cut it.
Measure the new circumference of the waist. Then measure the circumference of the skirt to figure out how much smaller you will need to sew the skirt to be the same size as the bodice.
Measure in from the sides of the skirt, and pin it like you did with the bodice. Then, sew a line down the skirt.
Once you are sure it is the right size, cut off the excess and zig zag stitch the edge.
To attach the skirt back to the dress, turn the skirt inside out and the bodice inside-in. Then place the skirt around the bodice so their right sides are touching, and line up their side seams. Pin around the circumference of the skirt.
Then sew and finish the edge with a zig zag.
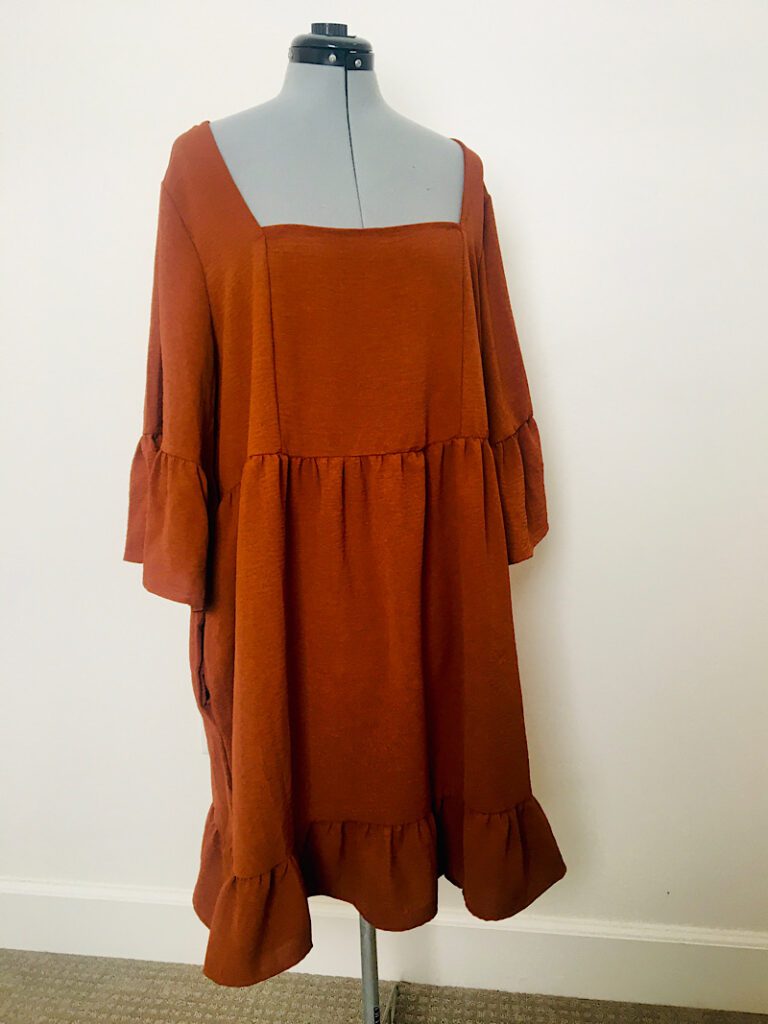
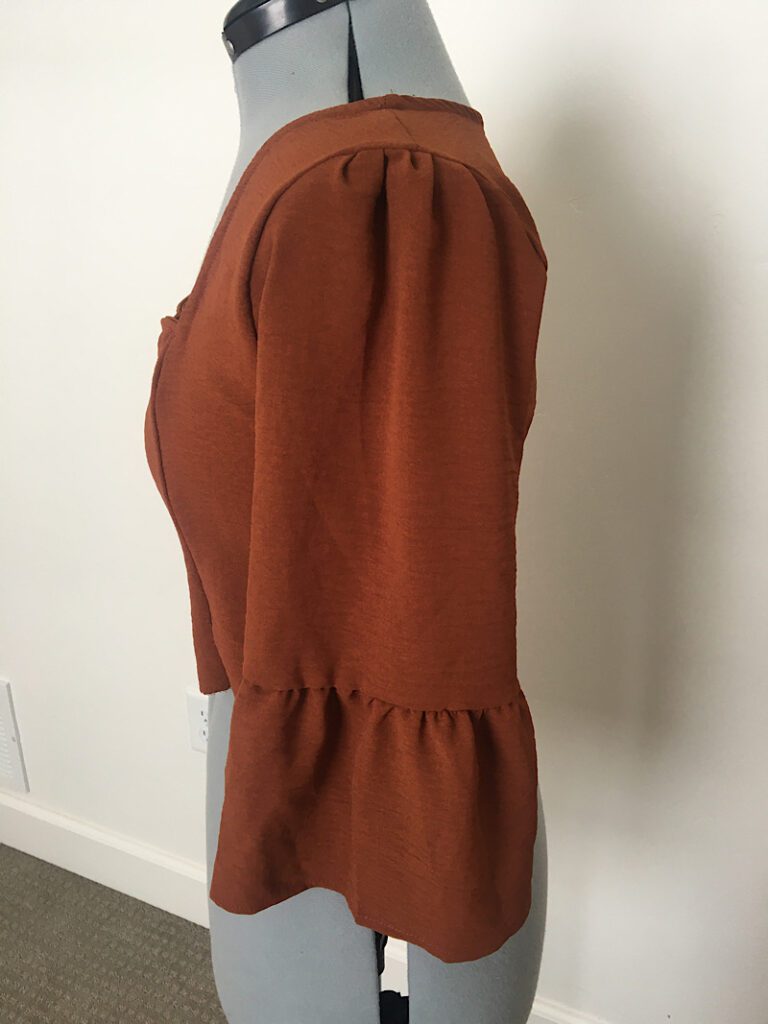
Turn the dress right side out and you are done!
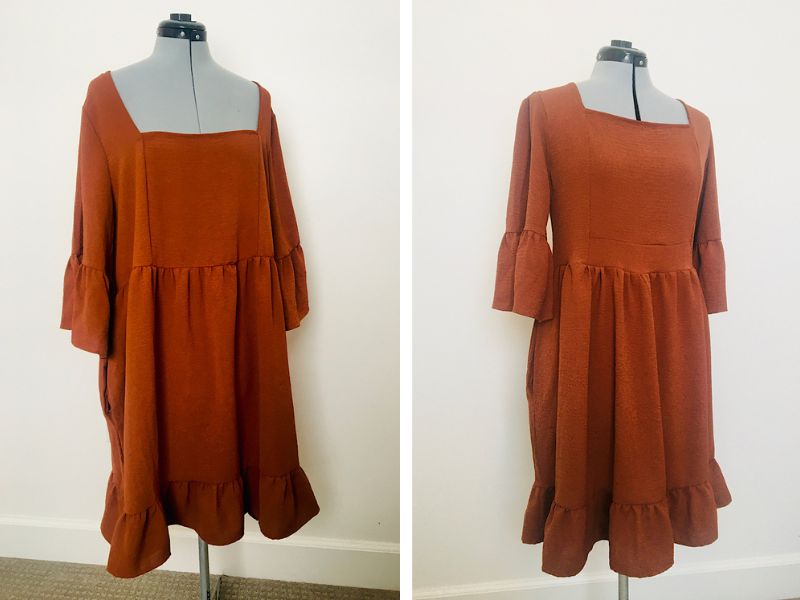
You can see that it looks much more fitted. I am excited with how it turned out!
And one more time here is the side by side before and after so you can see the transformation!
Conclusion
I hope this tutoial helped give you an idea of how you can alter your own dress. Every dress is different but the main thing that has helped me learn to tailor is to try on the pieces several times, measure a lot, and practice.
If this post was helpful please pin it to Pinterest so more people can find it, it helps me out so much!
And if you are interested in learning to make or alter your own clothing, sign up for my email list so you can be informed when I have more resources for you!