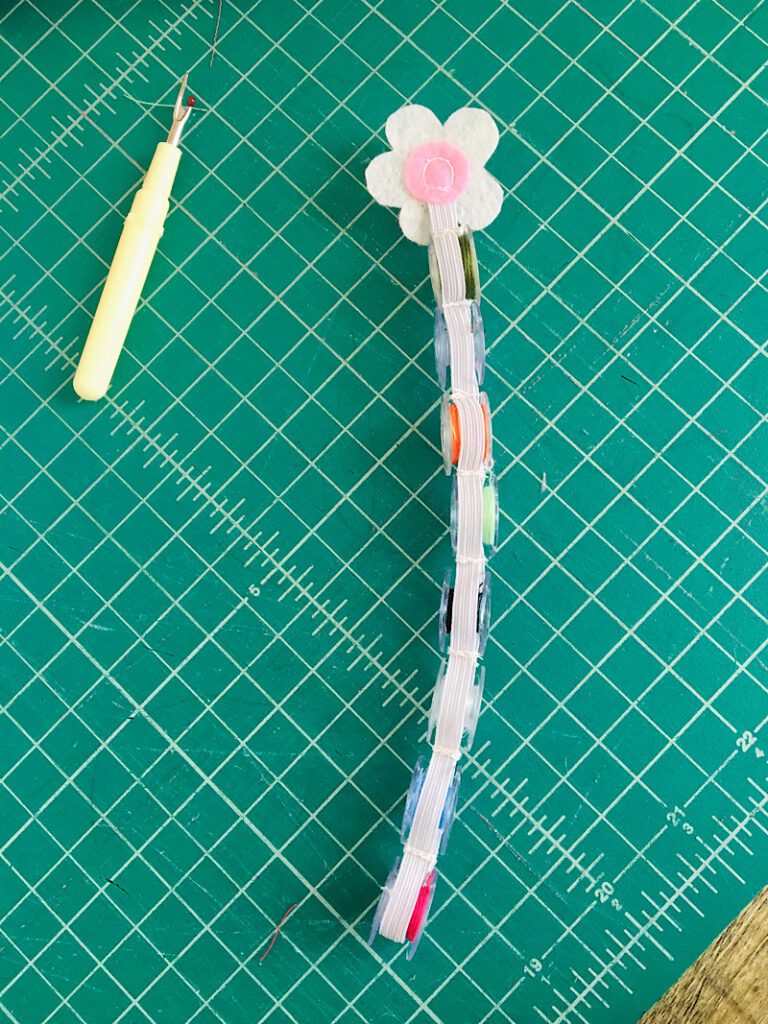
Learn the super simple but effective method I used to make my own DIY bobbin holder in 5 minutes for FREE, using materials I already had at home. This bobbin holder is customizable to hold as many or as few bobbins as you want!
Sometimes you have a great idea, one that is so great you smack yourself in the forehead and shout Eureka!
Today was one of those days!
My sewing machine bobbins have been floating around a plastic bin for quite some time now, coming unraveled all the while. Today I finally gave them a home, and all it took was some quarter inch elastic.
Let me show you what I did.
This post may contain affiliate links. Read the full disclosure here.
Supplies Needed
- Sewing Machine
- Scissors
- Pen, Marker, chalk, or disappearing ink sewing marker.
Materials Needed
- 1 yard of 1/4 inch elastic (or as much length as you need to hold the amount of bobbins you have to store. Each bobbin will need 1.5 inches of elastic.
- Matching Thread
- Felt (Optional)
How To Make A DIY Bobbin Holder
Step 1. Cut The Elastic To Length
First, determine how long you want your bobbin holder to be. You can make one long one, or a few short ones. Each bobbin will need about 1.5 inches of length, so multiply 1.5 by the number of bobbins you want to hold, than add an inch.
Then, cut your elastic to this length.
Step 2. Mark The Elastic
Fold the elastic in half, and mark it with a pen or marker every 3/4ths of an inch, from the folded end to the other.
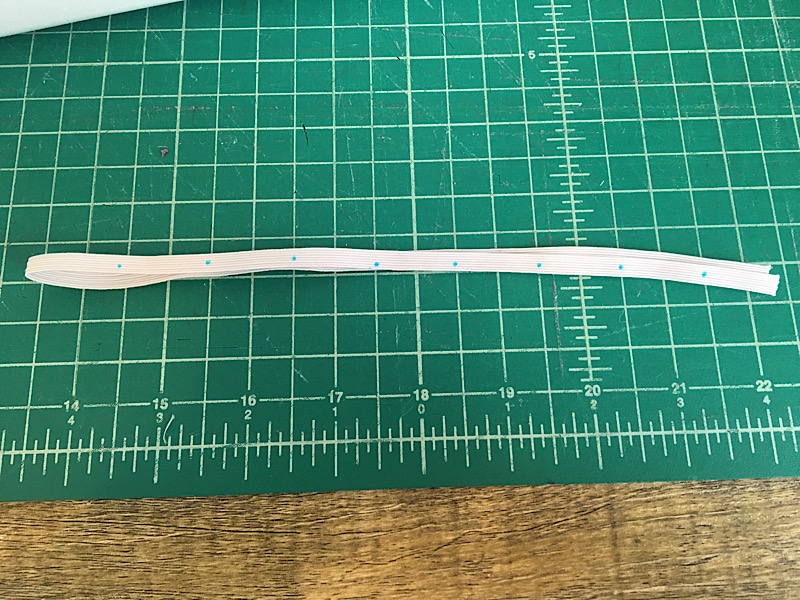
(In this photo I marked my elastic at every inch, but this is wrong. I didn’t rephotograph it, but the correct spacing is 3/4’s inch!)
Step 3. Sew The Elastic
With the elastic still folded in half, place it under the presser foot on your sewing machine and stitch a line through each mark on the elastic. Sew through both the top and bottom layers of elastic, and keep them aligned straight on top of each other as you sew.
You will want to sew a few backstitches, back and forth over each mark to secure it well.
Repeat this step down the elastic at every mark you made.
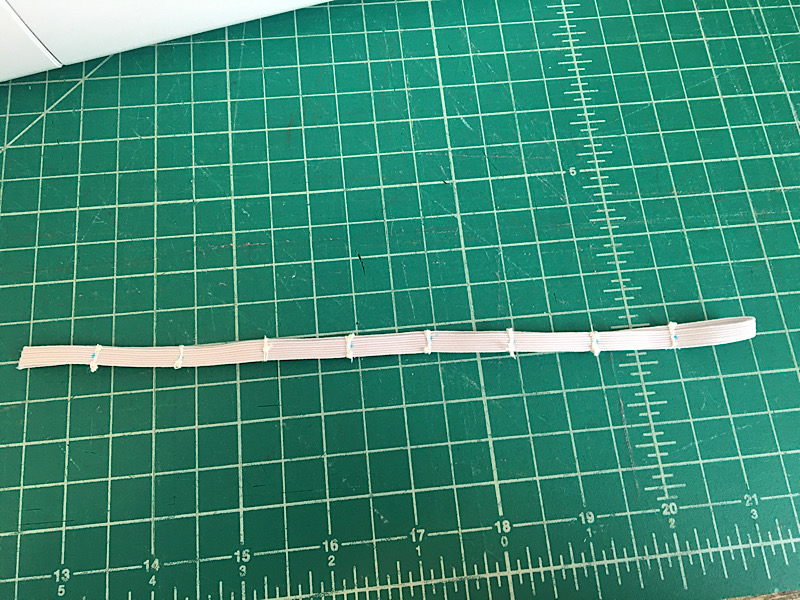
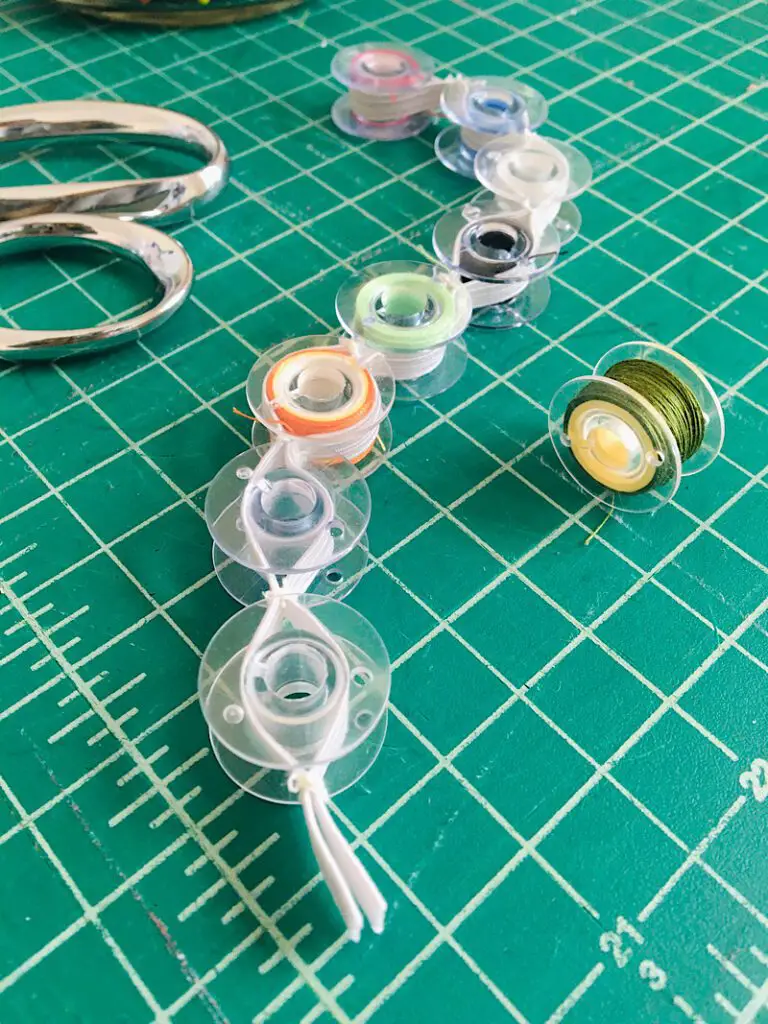
You now have an elastic with little divided sections that can stretch around a bobbin and hold it in place!
Step 4. Add A Tab To The End
This step is optional. If you wish, you can add a decorative tab to the end of the elastic, or even some type of grommet or loop if you want to be able to hang up your bobbin holder.
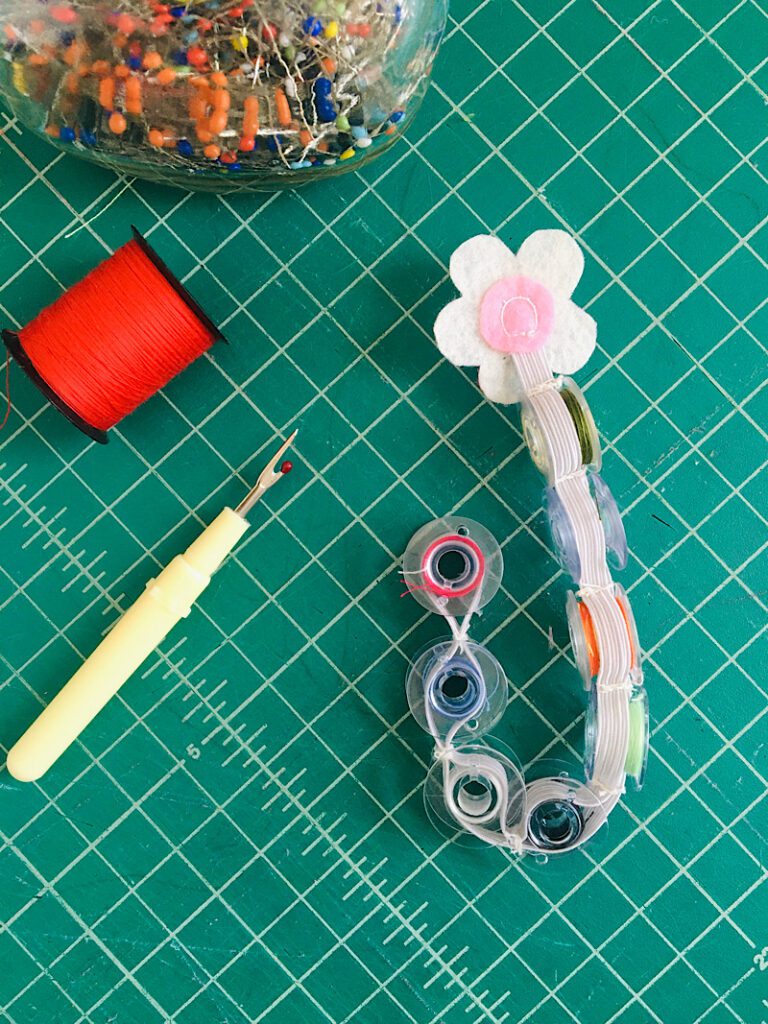
I decided to add a little flower shaped tab to make it easier to grasp while I stretch the bobbin holder to get bobbins in and out.
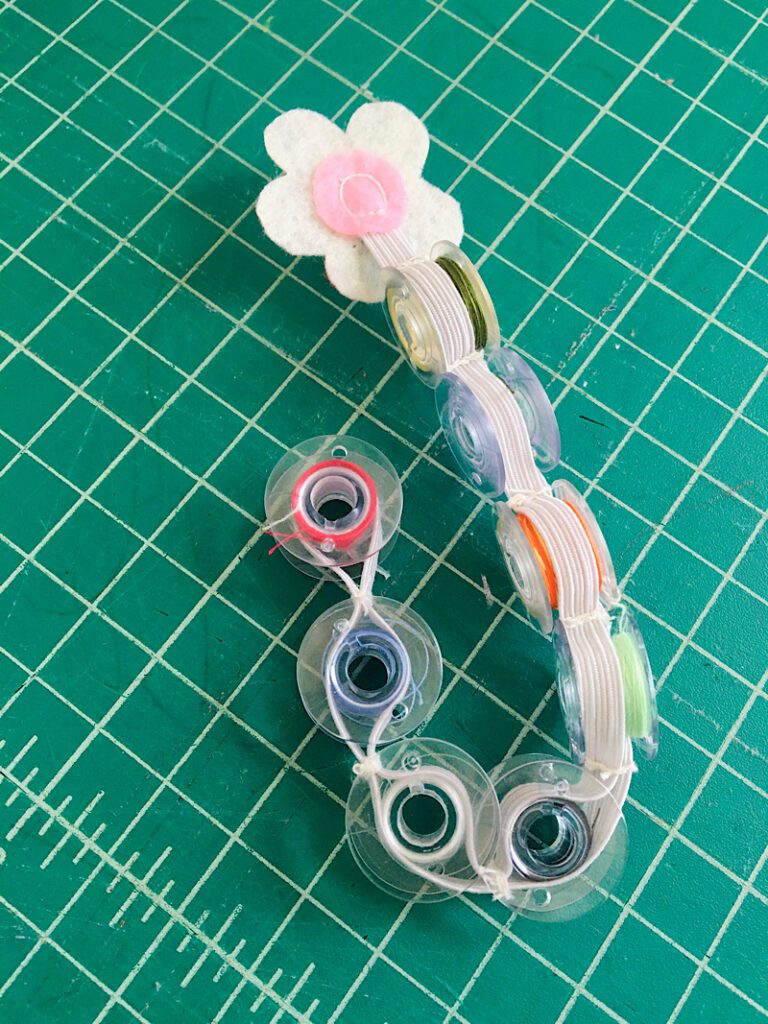
I cut out a pink circle from felt, and a white flower, and sandwiched the elastic between them to make a daisy shape.
Step 5. Place The Bobbins In The Bobbin Holder
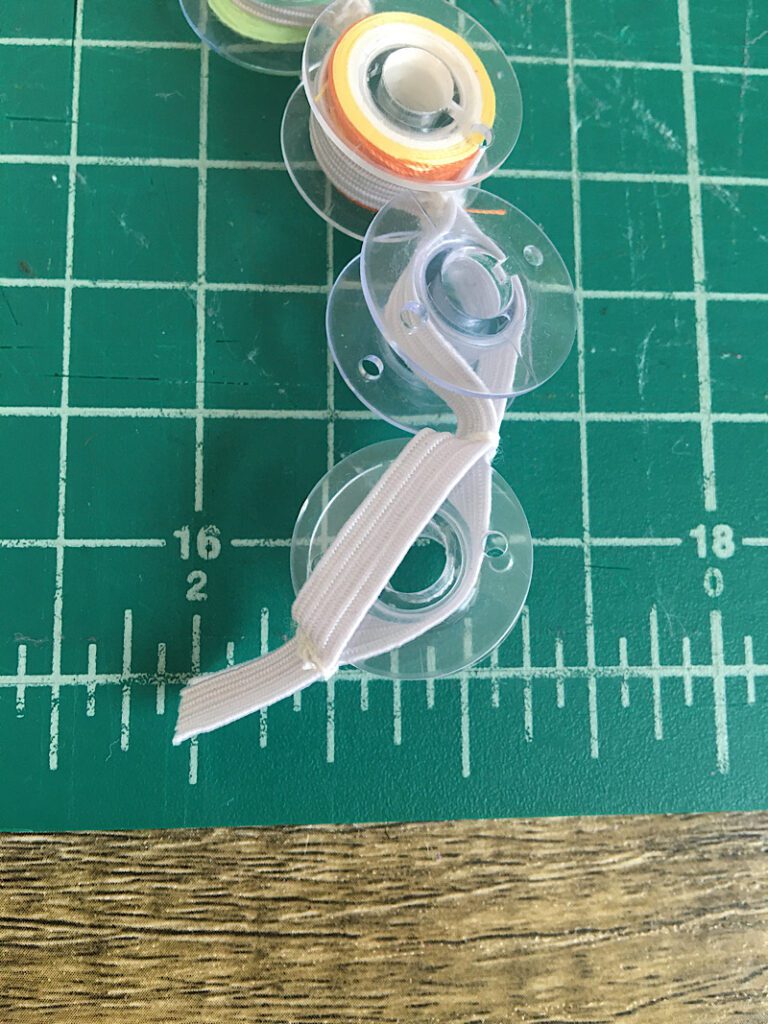
To easily get the bobbins inside, slide the top edge of a bobbin through the gap in the elastic, and push it through until the elastic is wrapped around the center part of the bobbin.
How Do You Store Bobbins So They Won’t Unravel?
Storing bobbins that are threaded can be a bit different than storing empty bobbins. To store bobbins so they won’t unravel you need to encase the threaded portion with something tight, so the thread is held down and won’t unwind. This DIY bobbin holder solves that problem!
Unline a peg board or box which will require a second device (like a rubber band or something else wrapped around it) to keep the threads tame, this elastic DIY bobbin holder is holding down the threads AND storing the bobbins at the same time.
Conclusion
So many of the spool and bobbin storage ideas I have seen are complicated or expensive to create. They require weird materials like aquarium tubing or special storage bins or wood and pegs and saws and all sorts of other gadgets.
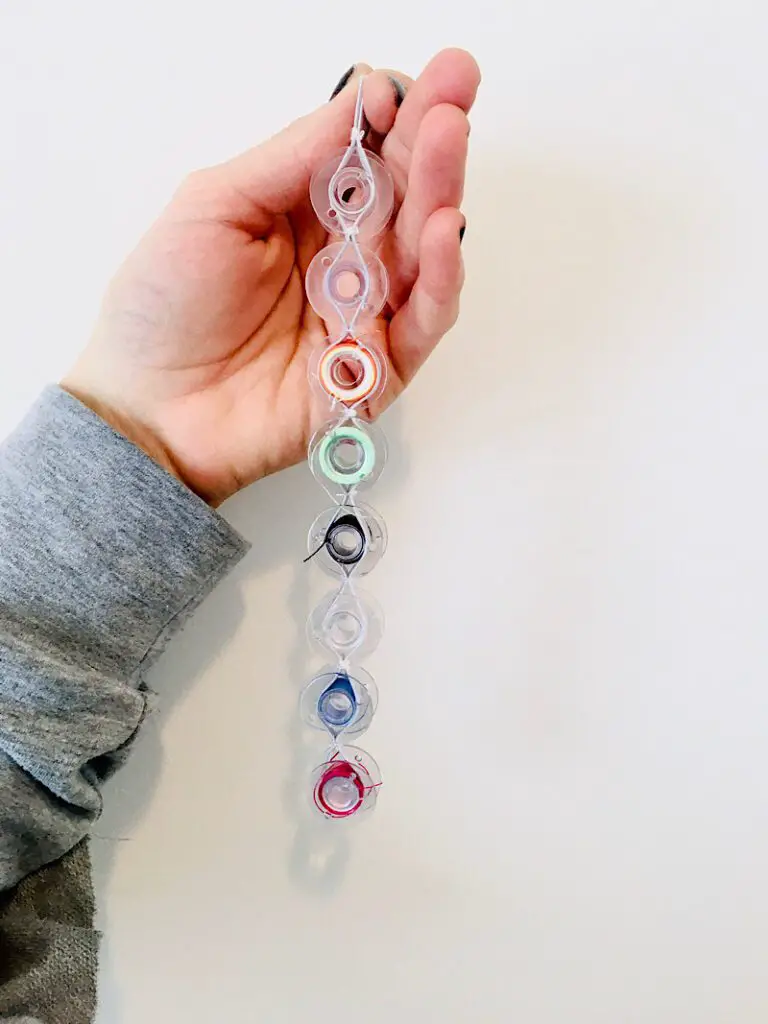
But this solution is perfect because all it takes is some sewing. And chances are, if you have bobbins to store, you can sew this diy bobbin holder in no time!
If you liked this tutorial make sure to read my roundup of REAL useful sewing tips! They were submitted by many other real seamstresses and will make your sewing easier!

Thank you, Rachel, particularly for the bobbin holder, (pins-storage and king spool holder), hints;
I volunteer at a ‘Repair Cafe’, and so can use these great tips for ‘customers’,
plus have been looking at the new silicone ‘ring’ bobbin holders for myself (BUT)
they are a little too large to carry on my bicycle along with everything else I carry –
you present the solution!
(I found an offcut of pvc electrical conduit, a round tube @ 20mm diameter,
which can be cut lengthways, and (e.g) ‘soaked’ in hot water for malleability to adjust the cut edges to grip the bobbins, but it is a bit of a fuss to get it just nice –
a work in progress, perhaps….!)
Thank you again,
and I shall credit you and your user-friendly site wherever possible,
have a great Autumn, (Fall),
Simon,
(Plymouth, G.B.)
Thank you for your nice comment. That is a creative idea with the PVC. I wonder if there is a thinner tube that would work… like a fat plastic straw or something.