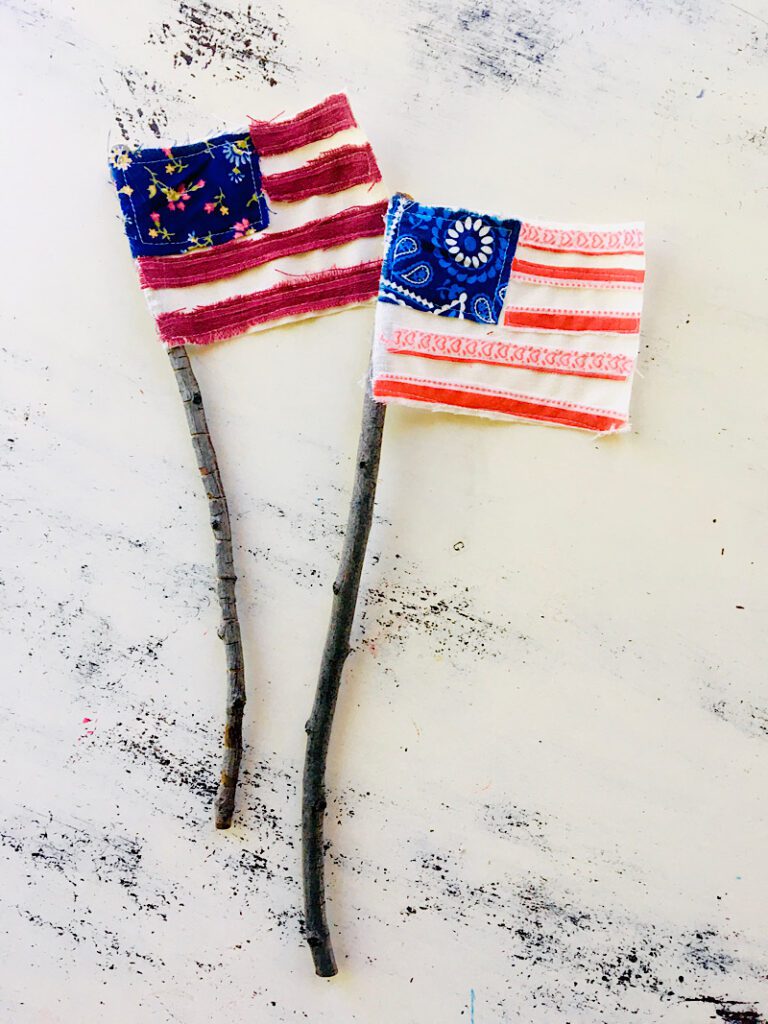
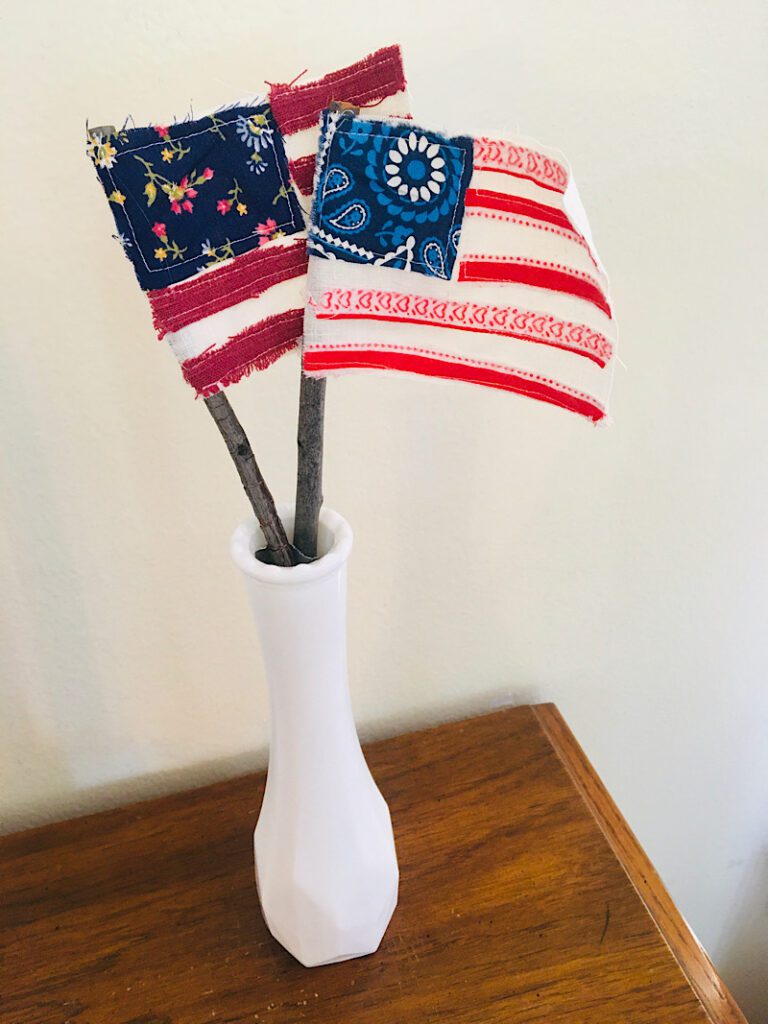
Learn how to easily make these adorable tiny scrappy flags on sticks! They are perfect for 4th of July Vase displays, sticking in a flower pot, or in a wreath.
Last year I made a super cute scrappy flag that was medium sized, and it had a string so I could hang it on the wall. This year I wanted to make little ones that were on sticks so I could put them in a vase!
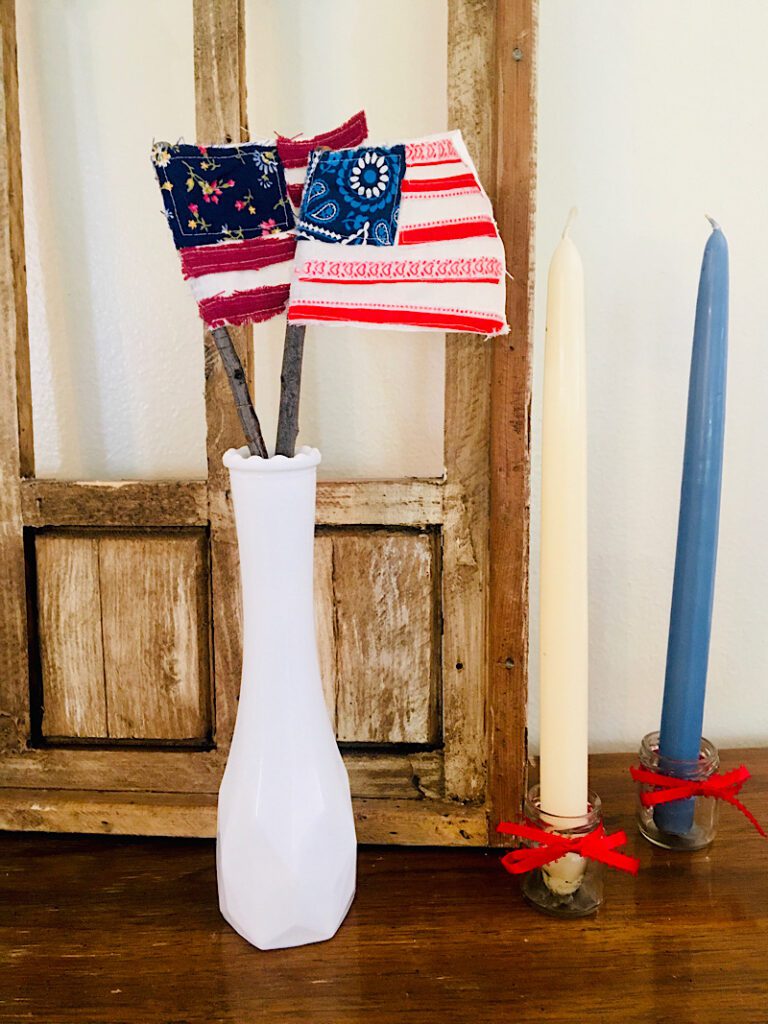
These are SO easy, you will love how fun they are to make!
Supplies Needed
- White or cream fabric for the flag base, cotton duck, canvas, etc work great for this.
- Blue fabric scraps for the “star” portion of the flag
- Red fabric scraps (or even ribbons) for the stripes
- Matching Thread
- Stick or dowel to attach the flag to
- Hot glue gun
- Scissors
I gathered a pile of random red and blue fabrics to pick from for this project. You can use anything you have or quilting cotton works great!
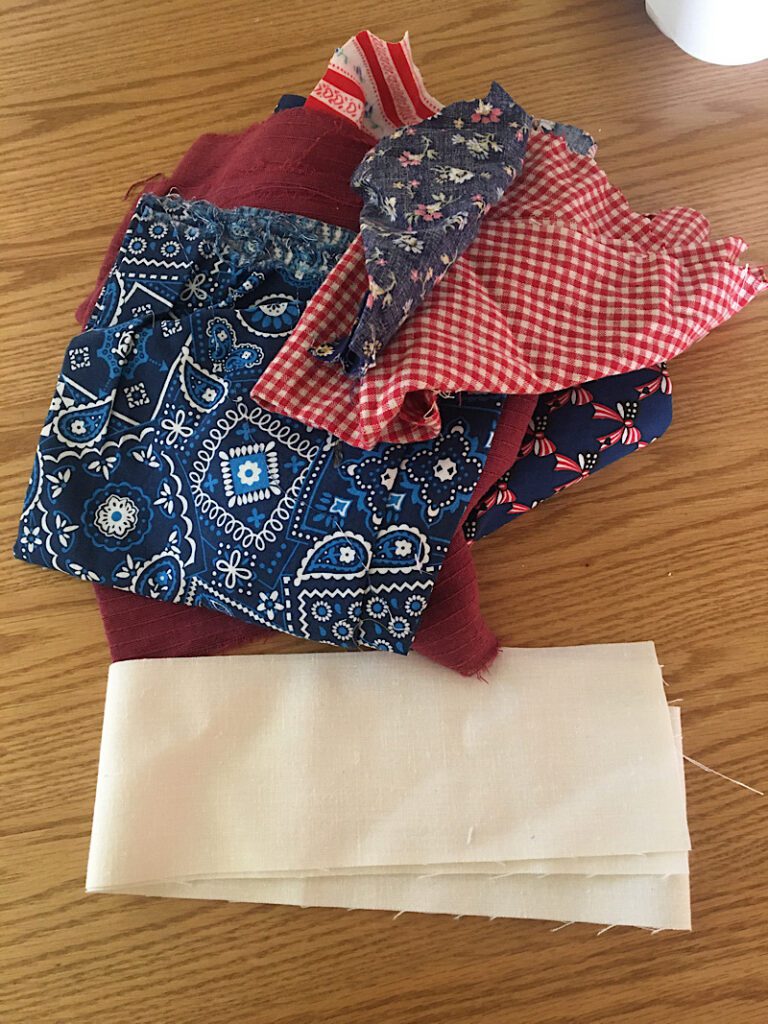
How To Make An American Flag From Fabric Scraps
Step 1. Cut Out The Flag Base
With your white fabric, cut out a rectangle shape. You can make it any size you want, but mine was around 3×4 or 5 inches. I just eyeballed it!
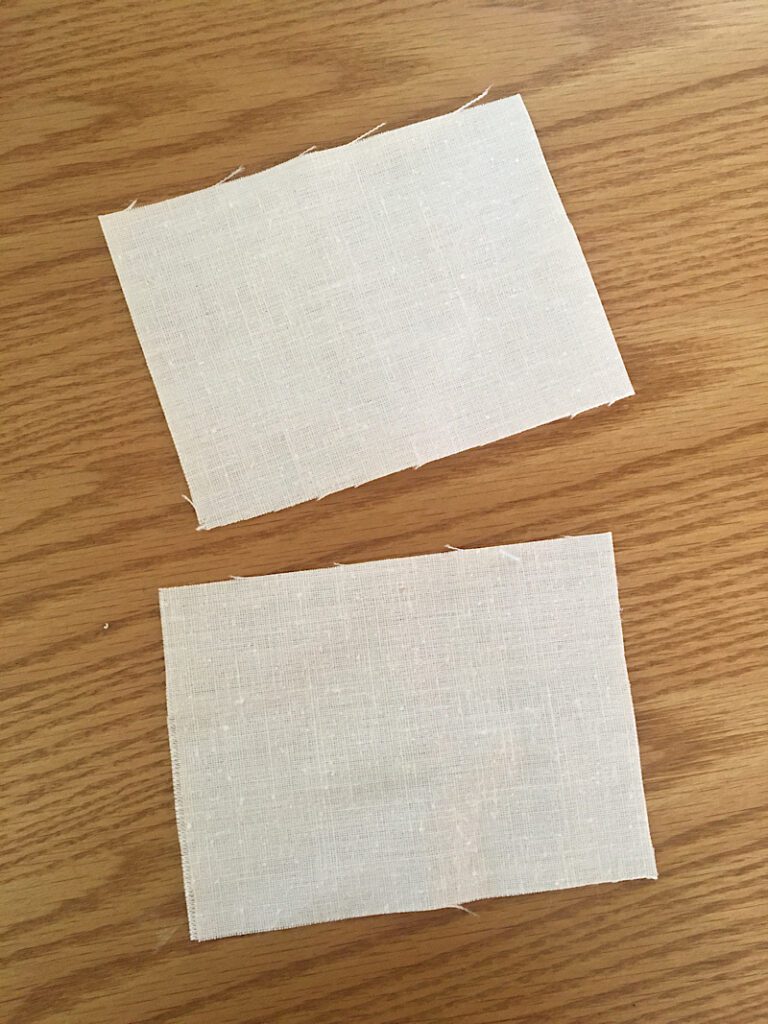
Step 2. Make The “Stars”
With a blue fabric scrap, cut out a smaller rectangle that will fit nicely in the top left hand corner of the flag.
Place it on the flag and sew around the perimeter about 1/8″ away from the edge to attach it.
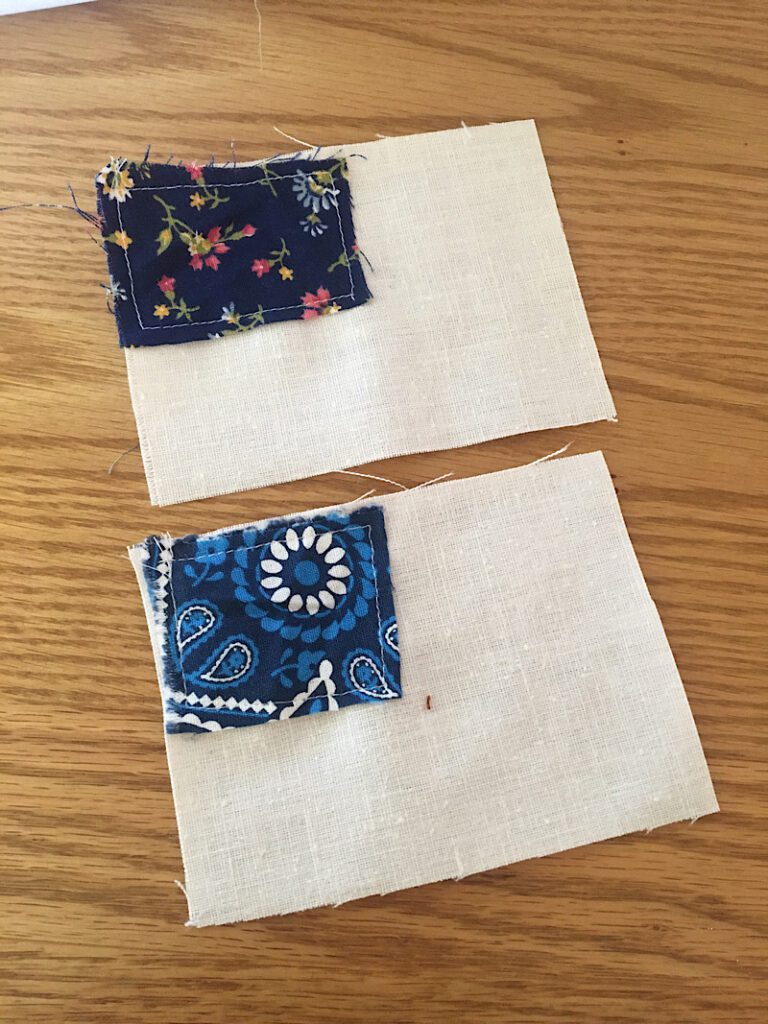
Step 3. Make The “Stripes”
With your red fabric, cut out several strips, I used 3 for one flag and 4 for the other, it doesn’t really matter!
Lay the strips on the flag. Start with a red on top and and end with a red on bottom for a more realistic look.
Then sew each strip to the flag by sewing around it’s perimeter as well, or at least down the two long sides.
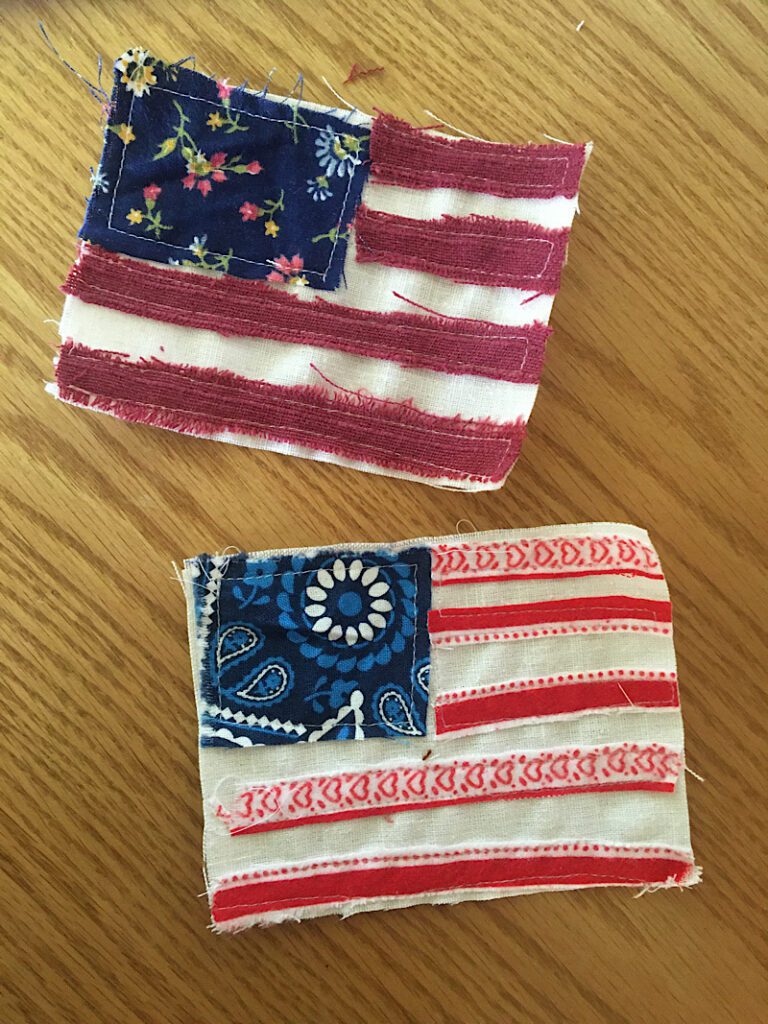
They are looking pretty cute and primitive!
Step 4. Attach The Flag To A Stick
Finally you need to attach the flag to a dowel or a stick. I ran out of dowels so I found some dry sticks that were around 3/8ths of an inch wide and long enough for my vase.
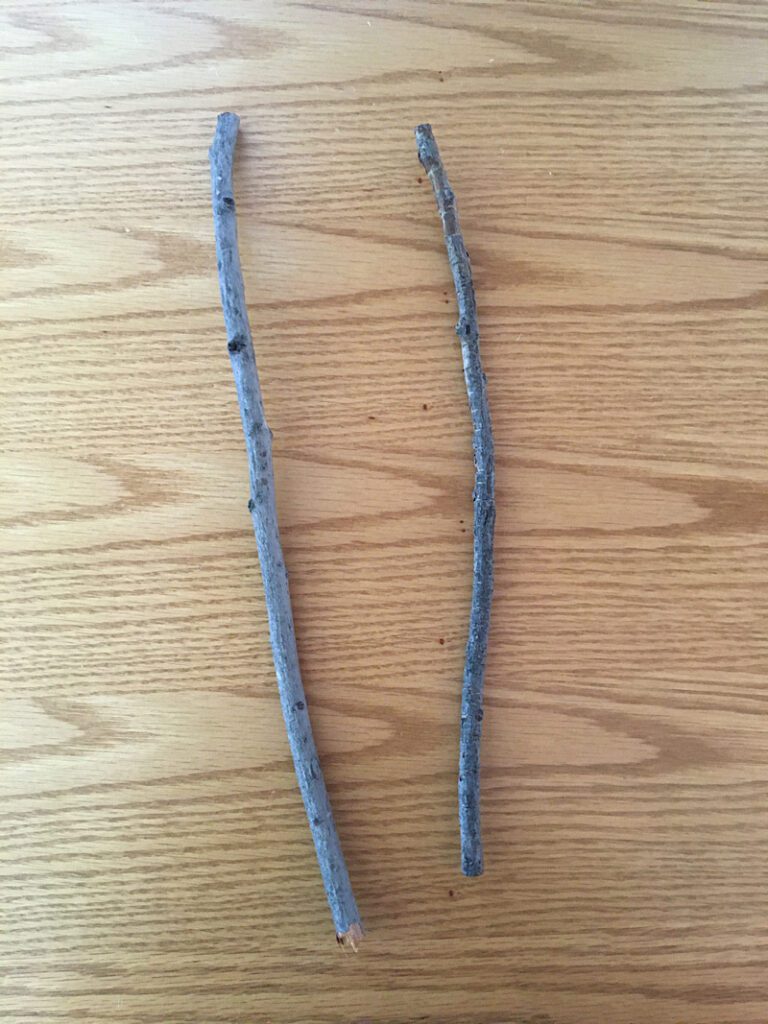
Use a hot glue gun to apply glue to the back of the left side of the flag, and glue it to the top of the stick.
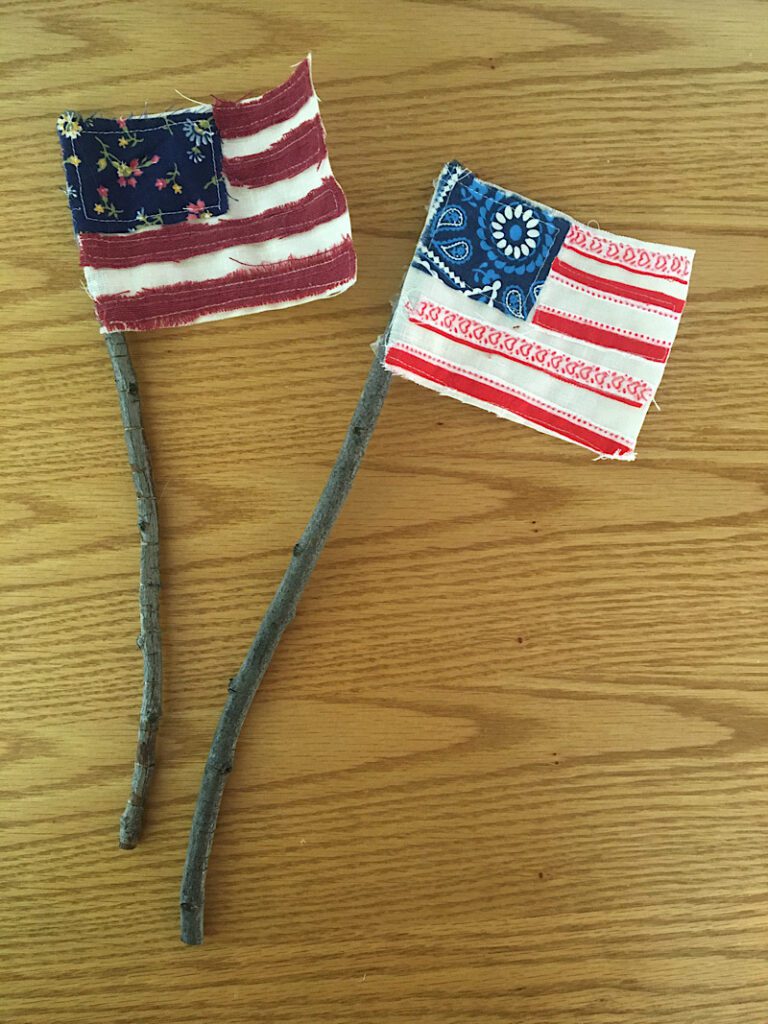
Then you are done!
**You can also make a back side for your flag if you wish, but I did not. You can make a separate mirrored back piece, or just use the back of the same flag material but make sure to do that before you glue it to the stick, of course.
I loved how they looked, and so did my kiddos!
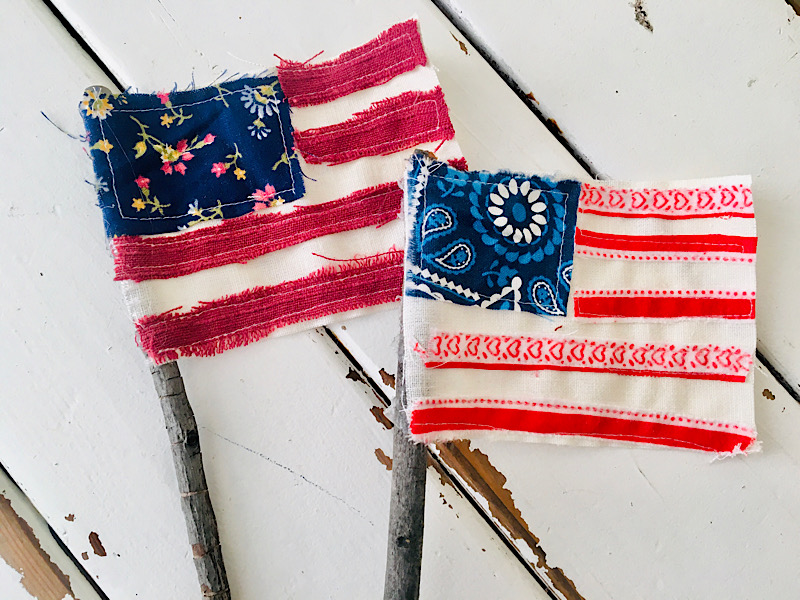
I’ve made these on dowels before and they ended up super cute, but the sticks add a whole additional rustic element that I love!
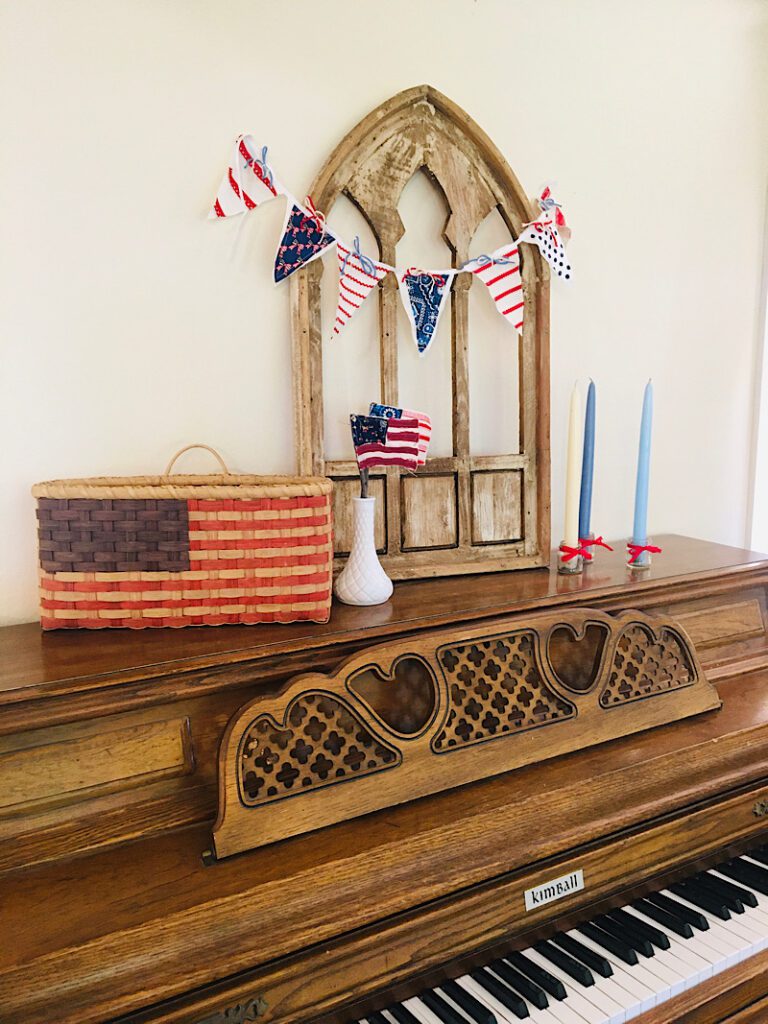
You can see how they turned out with all my other fourth of july decor on my piano: (Learn how I made that cute bunting In this tutorial!)
If you try this project out, email me a photo of your flags so I can share them here.
Pin this post to pinterest and reach out if you need any sewing help!
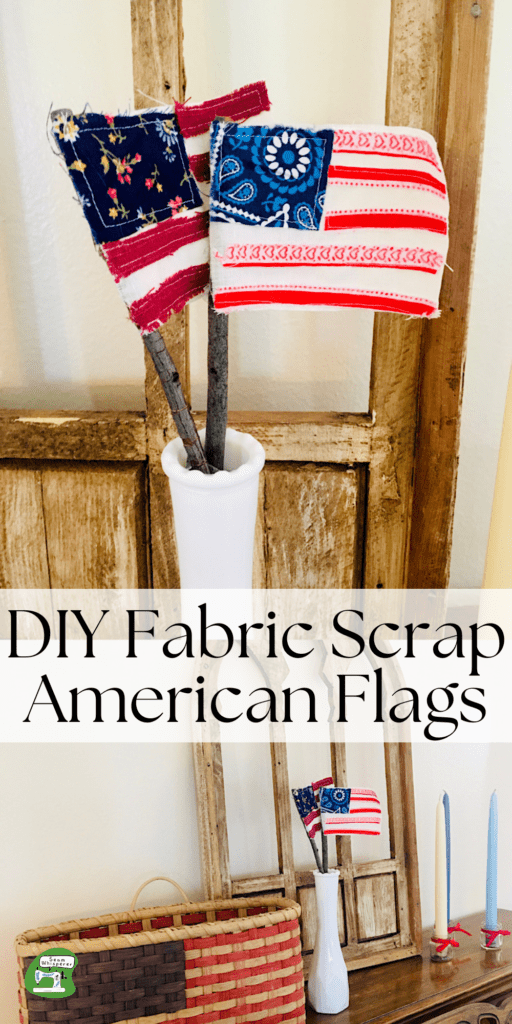
Make sure to check out my other patriotic decor tutorials as well!

lovely flags!
I’m from the UK and work with Ukrainian refugees, so might make some Ukrainian ones for work 😀
thanks
Cute! Good idea! Send me a photo!