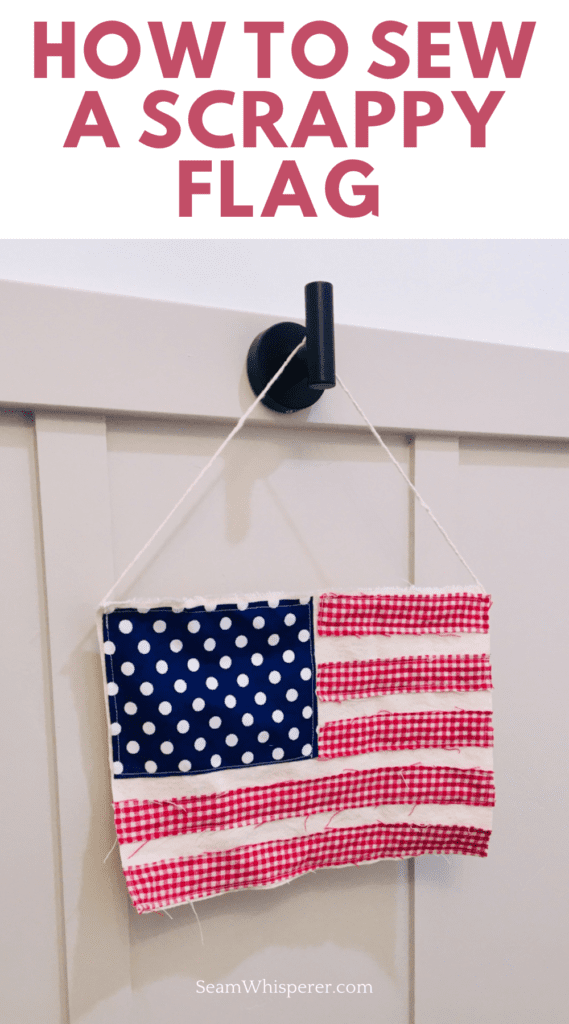
Turn your fabric scraps into a scrappy and rustic American Flag for quick and easy patriotic decor!
Last year as part of my front porch decor for the summer I made some super cute little scrappy flags to stick in my flower pot.
You can read about it here on my other blog.
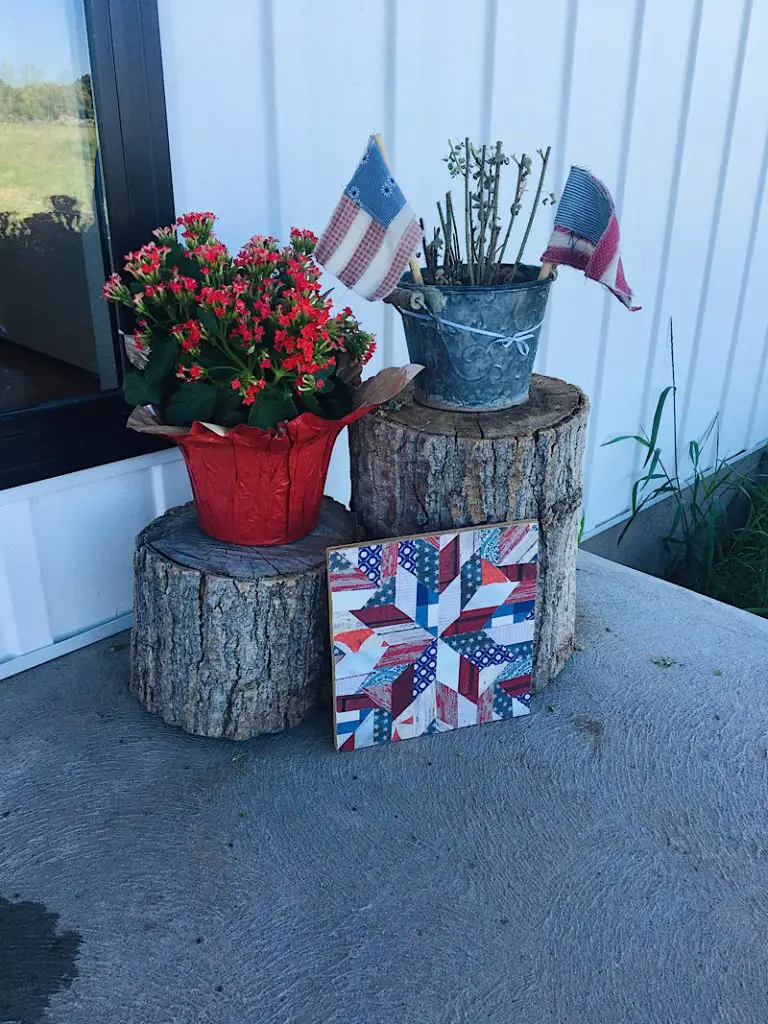
This year, I decided to try the scrappy flags again, but bigger!
These scrappy flags are so versatile. You can use them to applique onto a pillow, you can hang them on the wall like I did, or glue them to a dowel and use them in a flower pot! It’s up to you!
I like to use cotton so that it frays and gives it the scrappy rustic look. But you can use whatever fabric you want!
This post may contain affiliate links. Read the full disclosure here.
Supplies Needed
- Natural Colored Canvas Duck for the flag’s base This is a good one (In the size you want your flag to be. I made mine 7×10 inches)
- Red cotton scraps
- Blue Cotton Scraps
- White thread
- Two Paper Straws, string, and a hot glue gun (to make it hang-able)
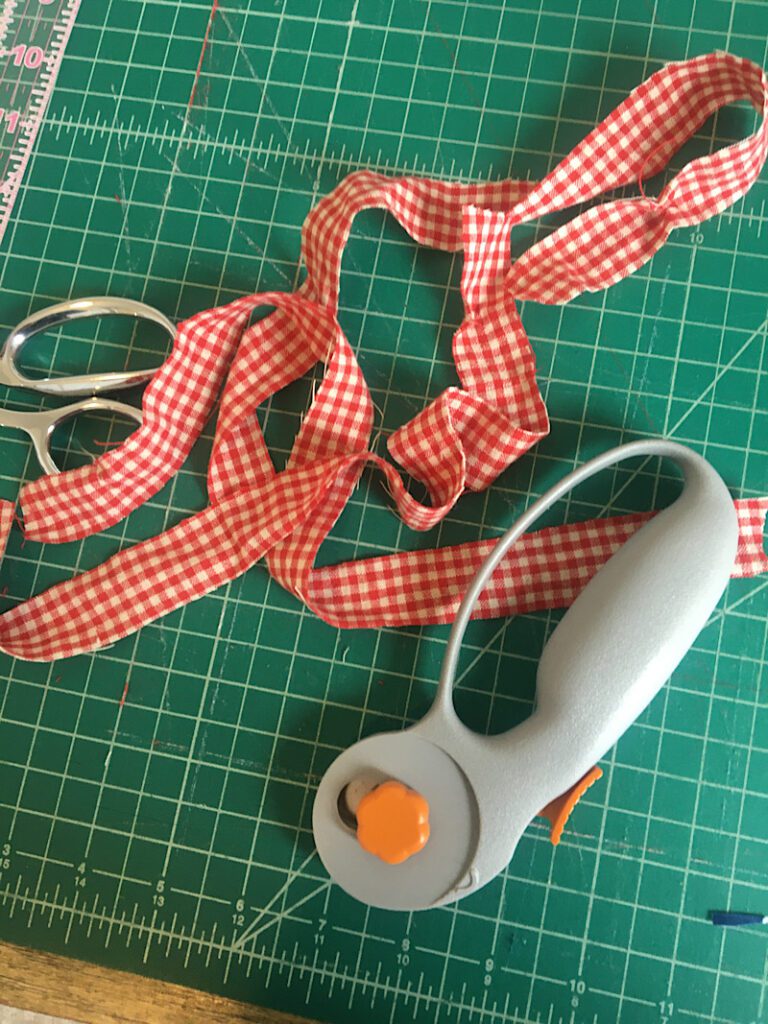
- Rotary Cutter, mat, and ruler
How To Sew A Scrappy Flag

Step 1. Cut Out The Materials
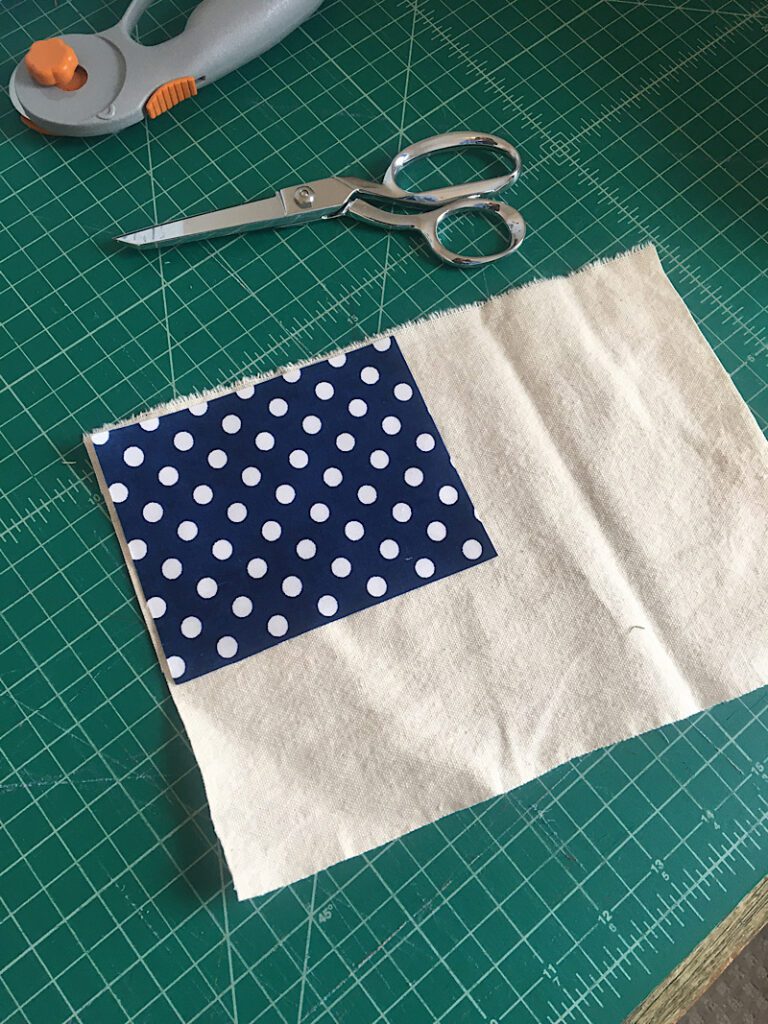
I made my flag 7″x10″. Cut out the canvas base material with your rotary tools to be 7″x10″.
Cut out the blue scrap material to be 4″x5″ in size.
Cut out 3 red strips 1″x5″ in size, and 2 strips that are 1″x10 inches.
Step 2. Sew The Scrappy Flag
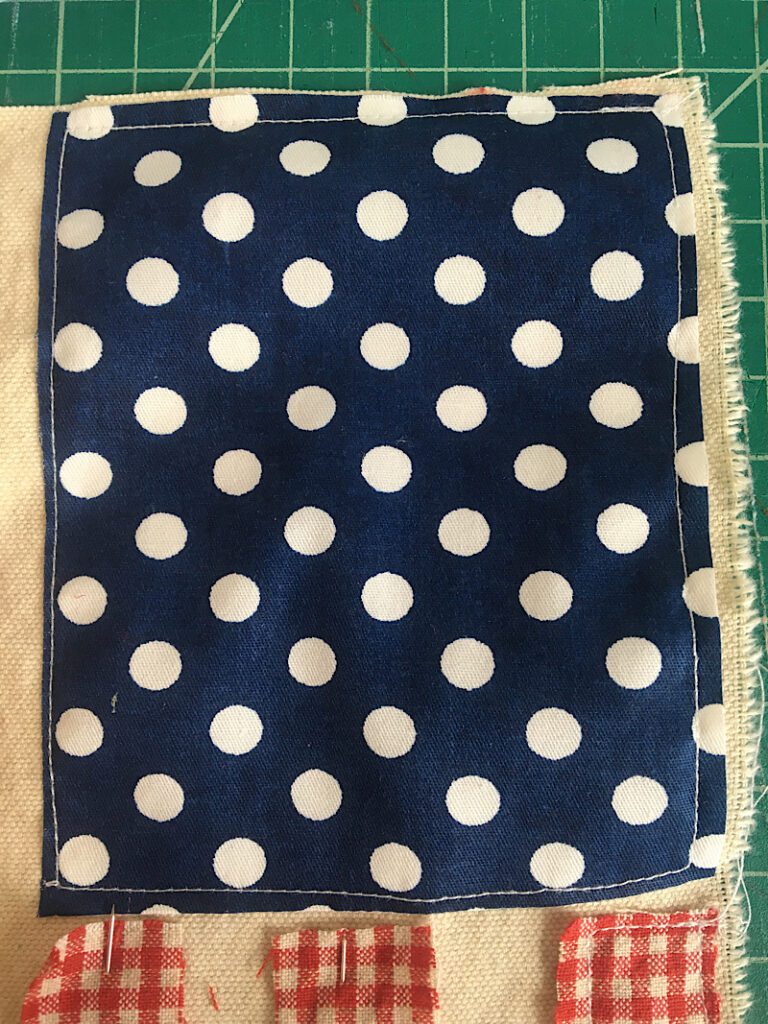
To assemble the flag, first lay down the canvas material horizontally. Place the blue rectangle in the top left corner horizontally as well, and pin it in place.
The stripes on this flag are simplified, there should be three on the top next to the blue “star” area, and two underneath.
The thickness of the white stripes spacing in between the red stripes won’t be exactly an inch like the red stripes are. Just space them evenly until it looks nice, and pin it all in place.
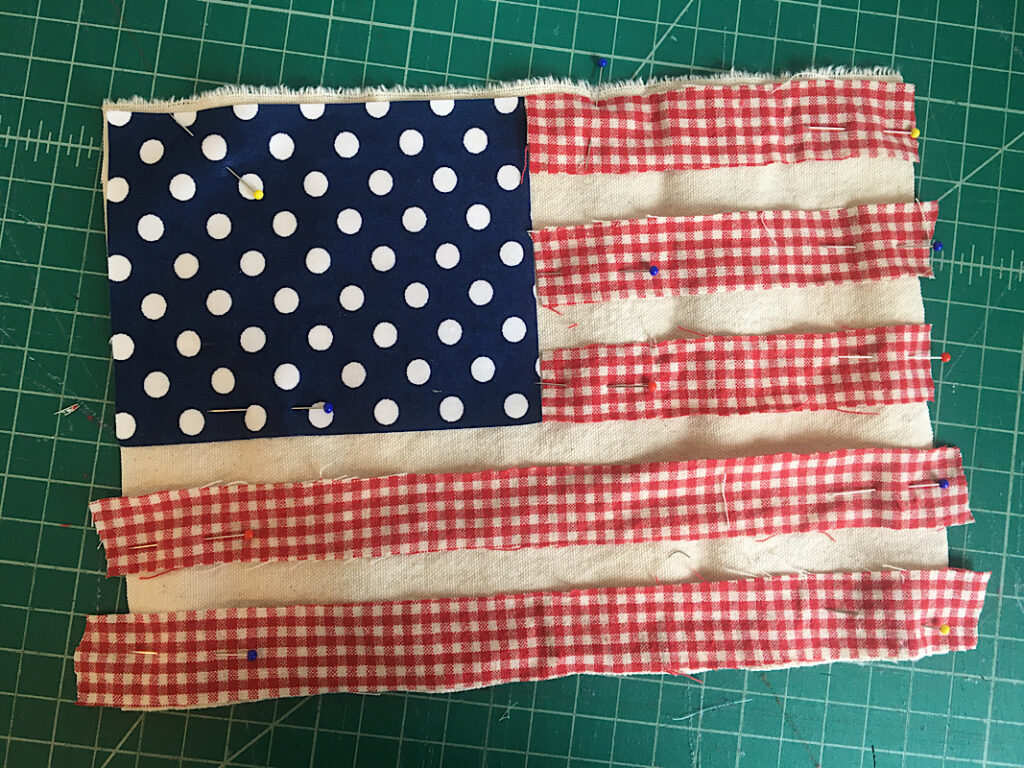
Once it is pinned together, you just have to sew the scraps down! To do this, sew a simple line around the edge of each individual piece.
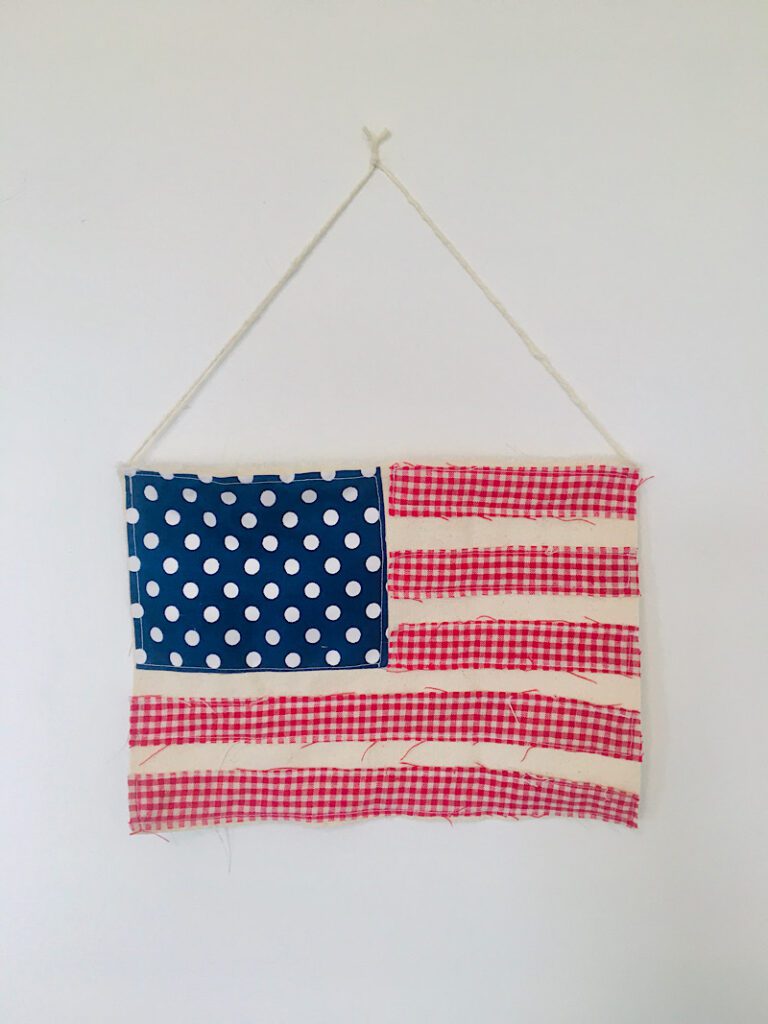
Then the flag is done! At this point, you can use it for anything you want.
A pillow applique would be very cute. A tote bag applique, a table runner, etc.
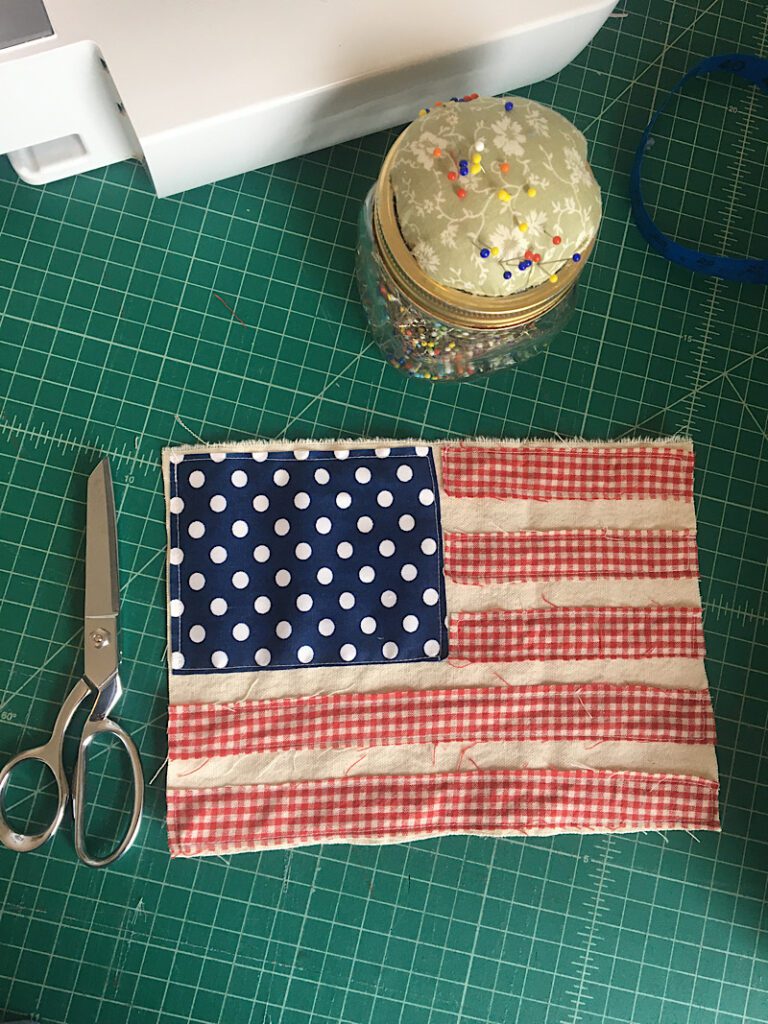
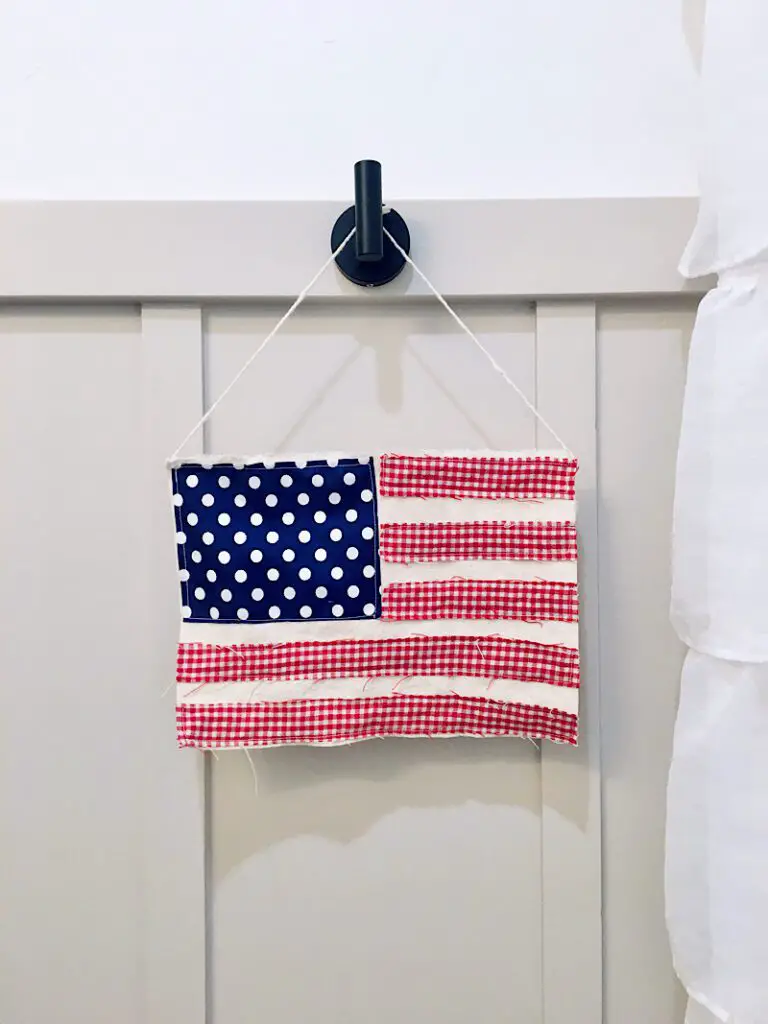
I chose to turn mine into a wall hanging, here is how I did it.
Step 3. Add The Hanging String
I have some leftover straws that I used in my decorative kite tutorial that I will use for this flag.
Measure two paper straws and cut them so they fit on the top of the back of your flag, probably just under 10 inches.
Using a hot glue gun, glue the staws onto the back of the flag. Make sure they are pushed together with no gaps.
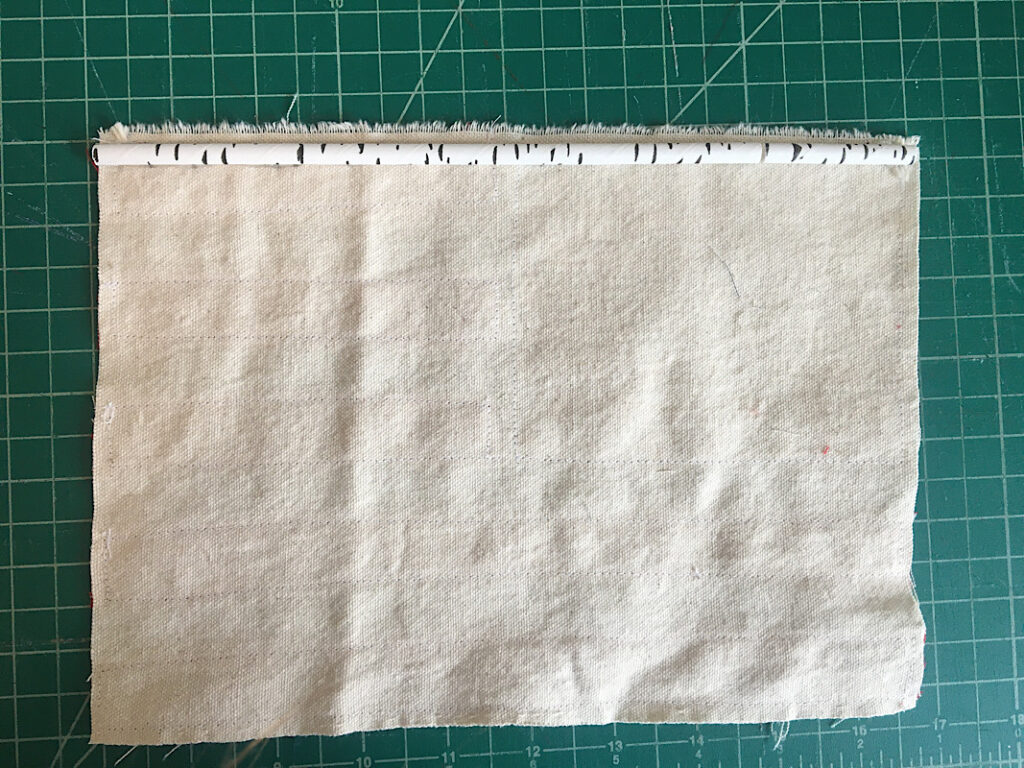
After the glue is dried, thread a long string through the straws and tie the ends together.
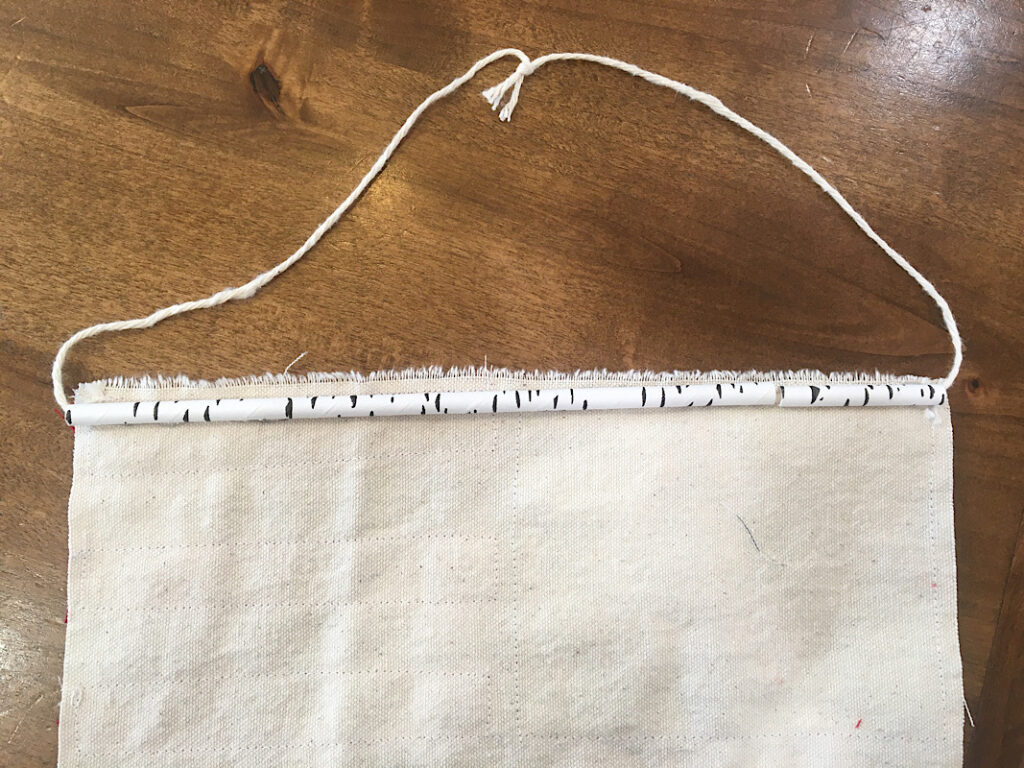
Then you are done and the flag is ready to hang!
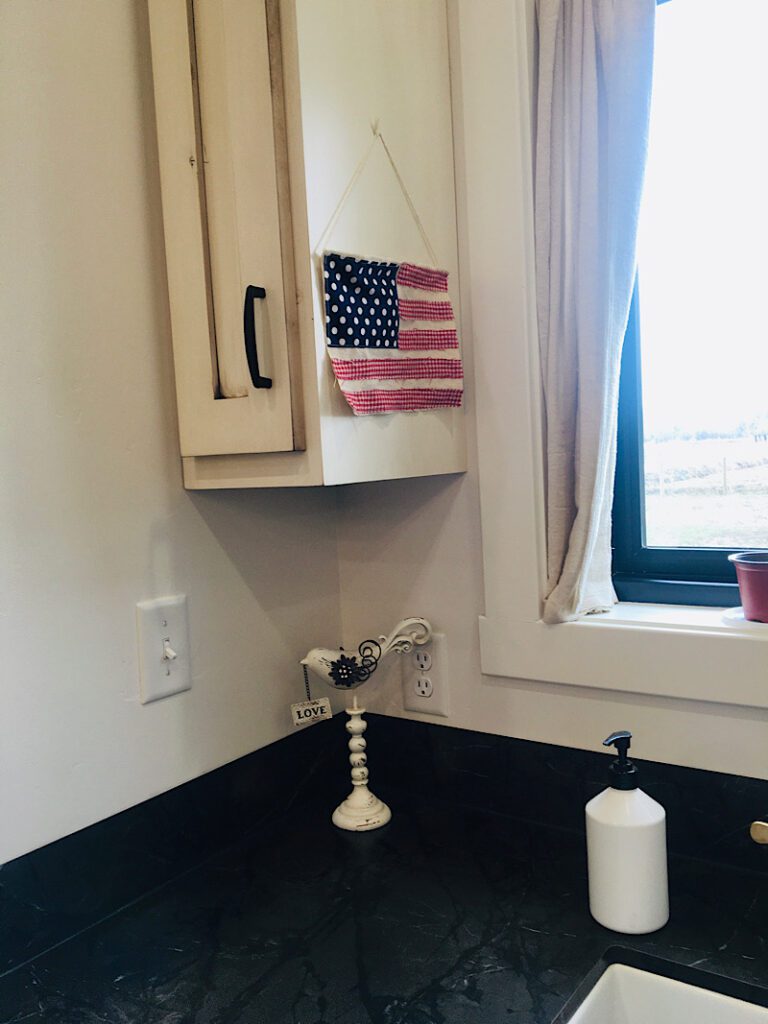
I tried it in lots of spots to see where it looked best. I liked it on the bathroom hooks, and also the kitchen cabinet. But I also thought it would look cute on the front door so maybe I will try that next!
Conclusion
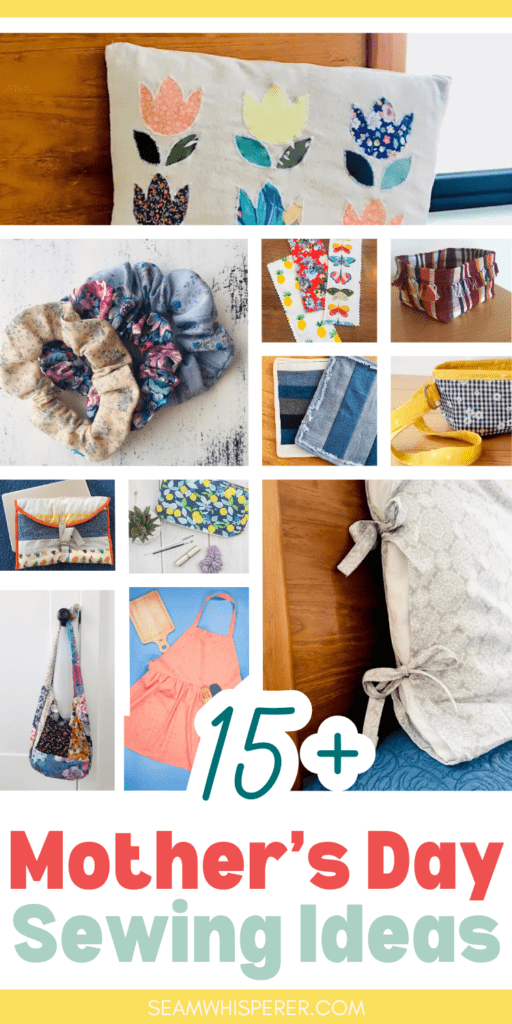
This scrappy American flag sewing project is great because of how versatile it is! I think I will have to try a pillow version of this project to switch out the spring tulip pillow cover I made with a summer one.
I love the farmhouse rustic style it brings for Independence day.
Using Polka dot fabric for the star section worked out really well, but any blue fabric would look great I think!
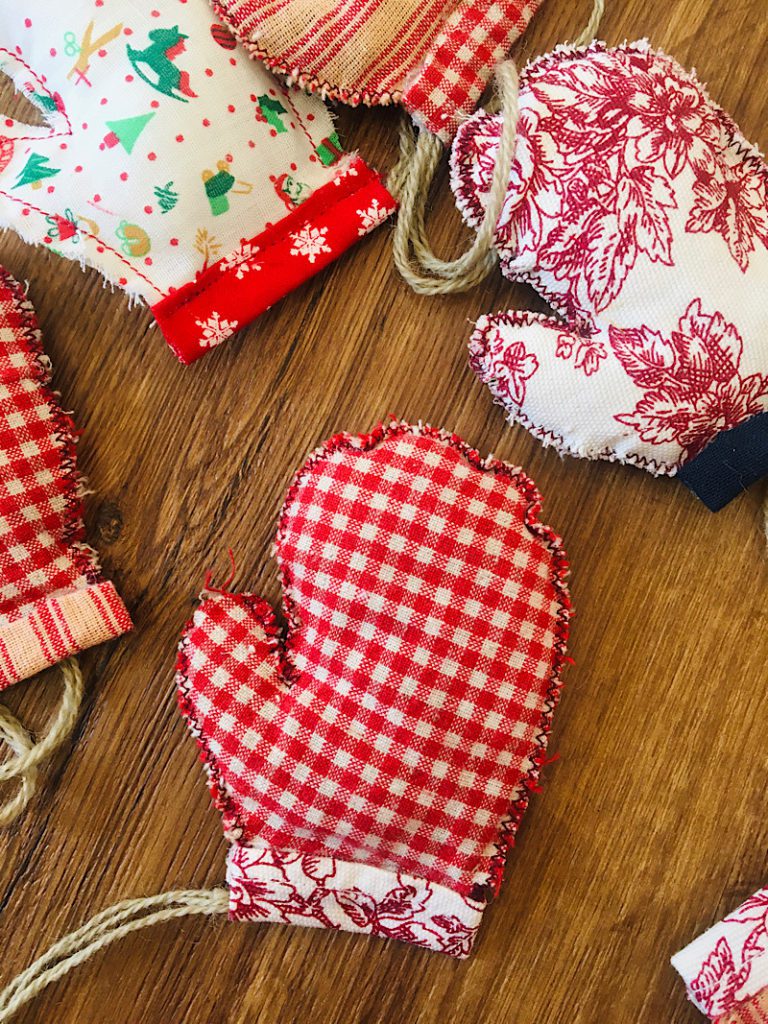
Make sure to also check out my free Patriotic Christmas Stocking pattern, for Christmas in July!
If you liked this post, please share it on Pinterest so others can find it too! Every time you Pin an image from my blog it really helps me out!
Leave your questions and comments below!