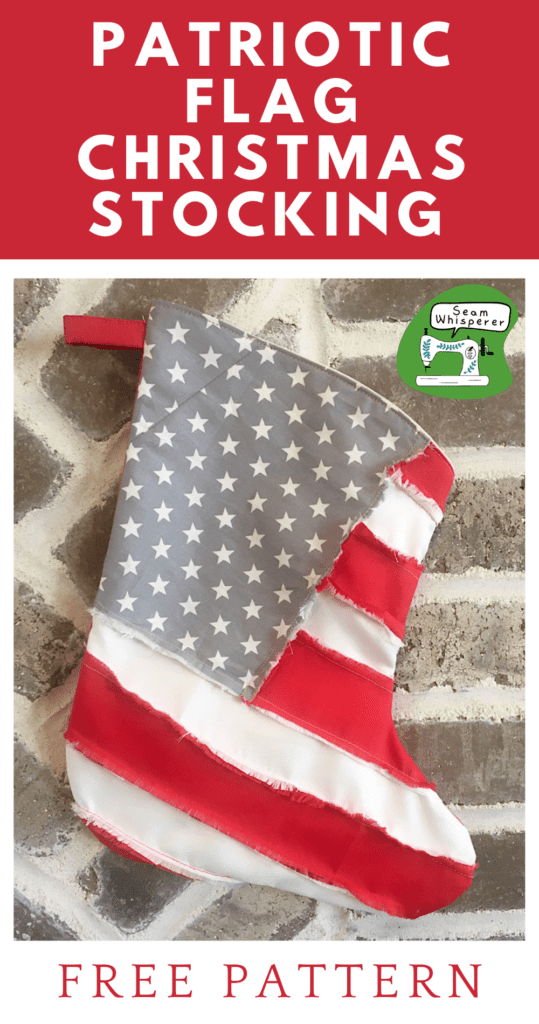
Make your own American Flag Christmas Stocking with this free pattern! It’s rustic, it’s quilted, it’s patriotic, and it’s free for email subscribers!
In a world full of Santa, snowman, and reindeer themed Christmas decor, why not be different?
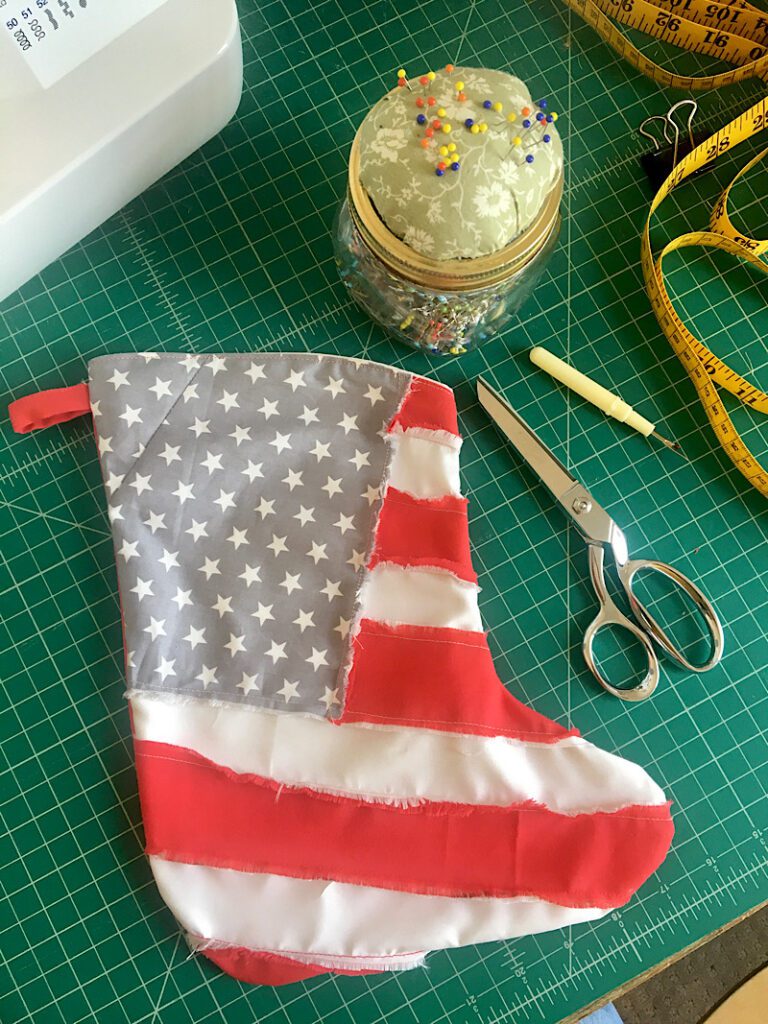
This patriotic American Flag stocking was SO fast to make, and has an optional rustic frayed look. You can either sew the pieces together inside out to get the frayed edge look, or sew them with right sides together to hide the seams inside. The choice is yours!
I used some leftover scraps I had in my sewing room, (which you can see evidence of due to the seam on the star block, I had to piece two scraps together) but even if you buy new material this is a quick and inexpensive craft.
Make sure to check out my other free Christmas Patterns, too!
- DIY Modern Tree Skirt (Bedsheet upcycle)
- Rustic Mitten Christmas Ornaments
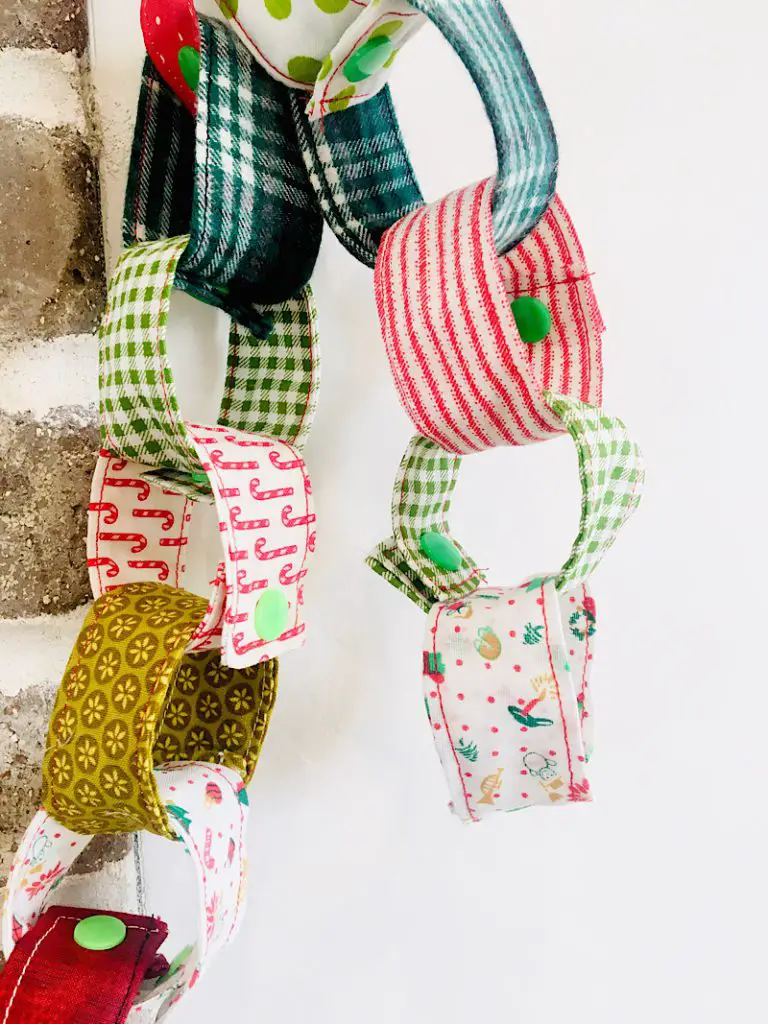
- Reusable Christmas Countdown Chain
- Christmas Trees Bunting Garland
This post may contain affiliate links. Read the full disclosure here.
About The Patriotic Stocking Pattern
This pattern takes about 30 minutes or less to make up. It is suitable for advanced beginners.
To make this pattern rustic, you will attach each of the pieces together inside out, with the seams facing the right side of the work. Then, after the entire stocking is sewn together, you will carefully use a seam ripper to fray the edges a bit.
If you don’t prefer the rustic frayed look, you can quilt all the pieces together the traditional way with the seams hidden inside. This produces a clean pattern on front.
In addition, although these instructions show you how to make a flag front and a plain solid back of the stocking, you can make a flag on the back as well by cutting opposites of all the pieces and only cutting 2 stocking shaped linings.
Use 1/4 inch seam allowances.
Supplies Needed
- Sewing Machine
- Serger (Optional)
- Fabric Scissors
- Seam Ripper
- Sewing Pins
- Iron
- A printer, Paper Scissors, and tape to assemble the pattern.
Materials Needed
There will be enough leftover material to make two stockings.
- 1/3 Yard White Quilting Cotton
- 1/3 Yard Red Quilting Cotton
- 1/4 Yard Blue Starry Quilting Cotton
- Matching Thread
Download The Free Pattern
The PDF printable pattern for this tutorial is free for my email subscribers! Sign up below and I will send it straight to you.
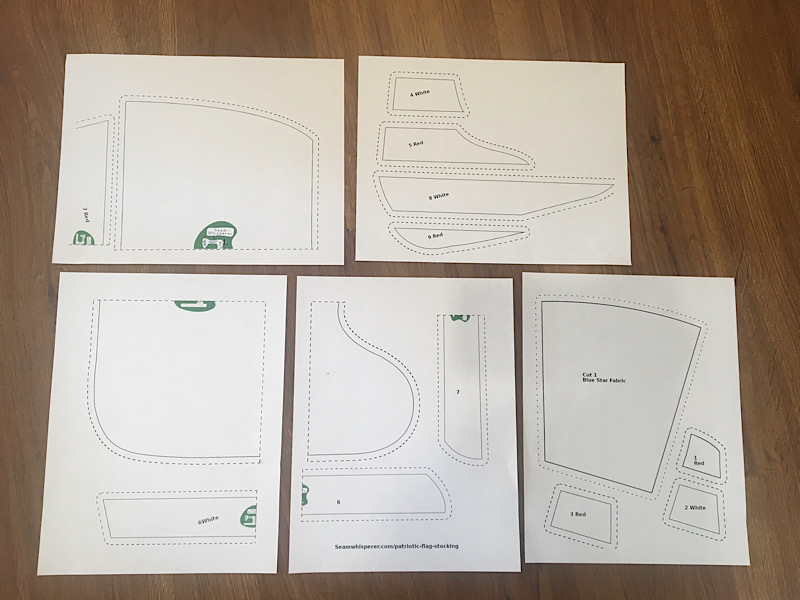
It is 5 pages and must be cut and taped together.
When you print it, make sure to print it at 100% scaling so everything is the right size.
There is a “1 inch test square” on page 1 you can measure to make sure it is right. You can print the first page alone, measure the test square, then print the rest.
How To Make An American Flag Christmas Stocking
Step 1. Cut Out The Pattern
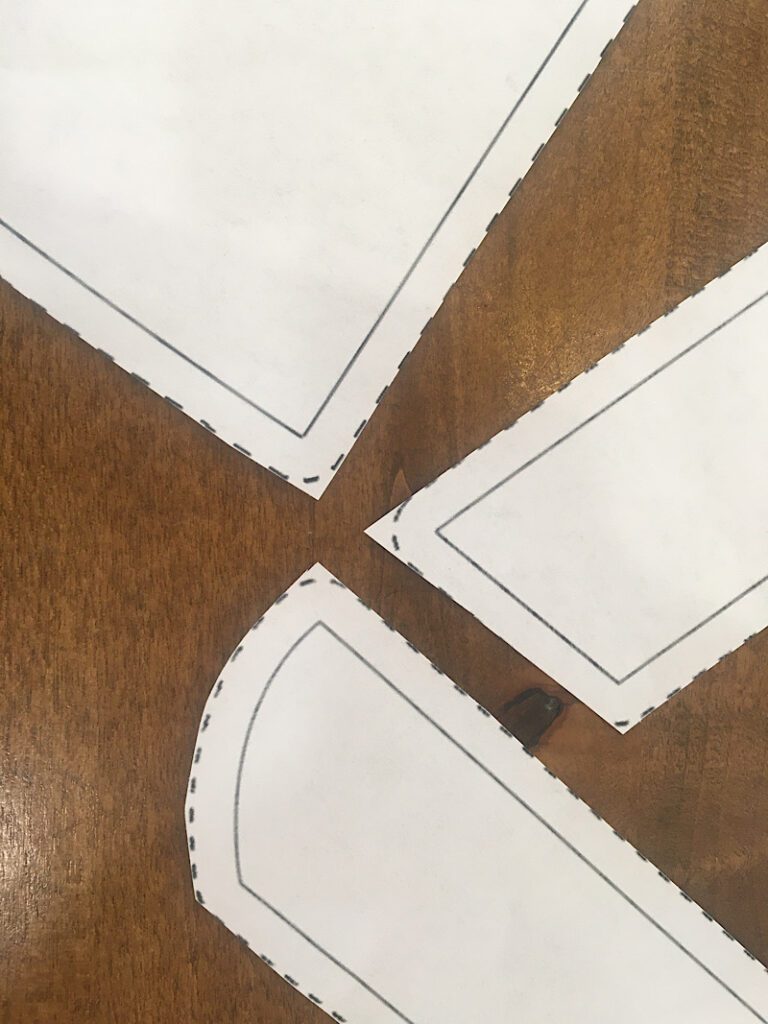
After printing your pattern, cut out all the pieces on the dotted lines. Notice the rounded corners on the stripes, you don’t have to cut the rounded corners if you don’t want to. You can just cut sharp corners as seen in the image below. The program I make the patterns on adds the rounded corner when I make the seam allowances, but they are not necessary.
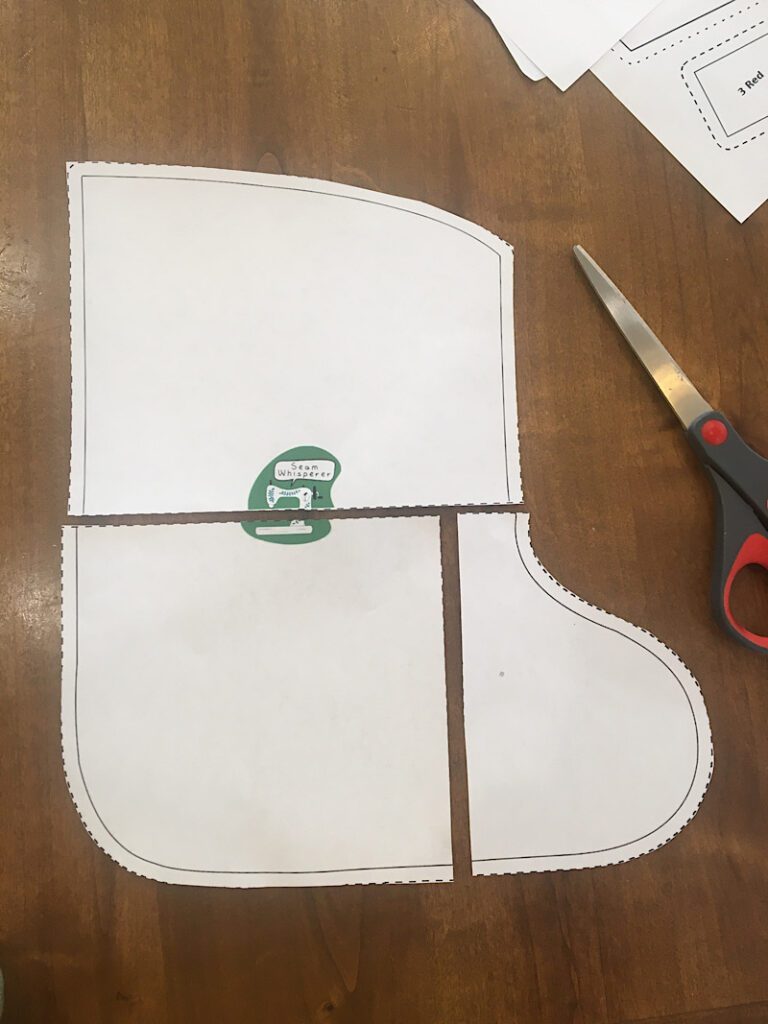
Tape together the stocking and stripe pieces by lining up the edges and “Seam Whisperer” Logos.
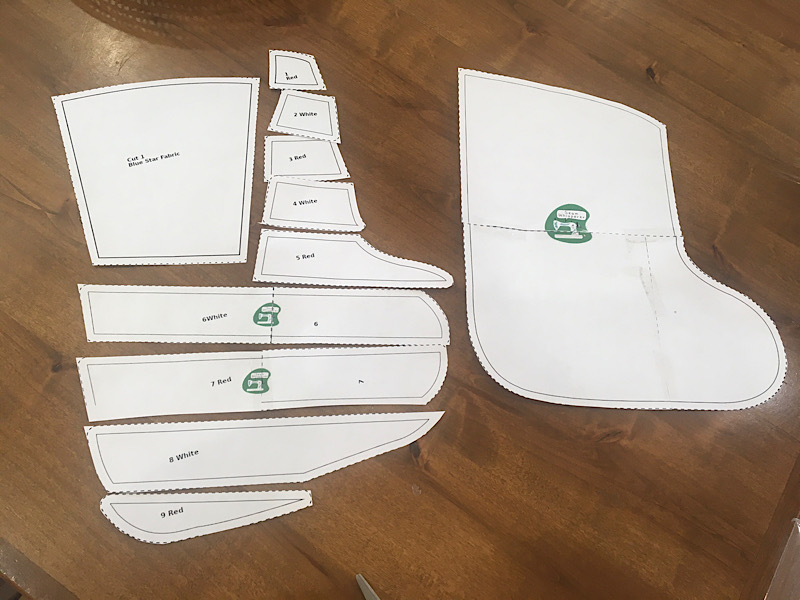
Here are all the completed pattern pieces once they are assembled.
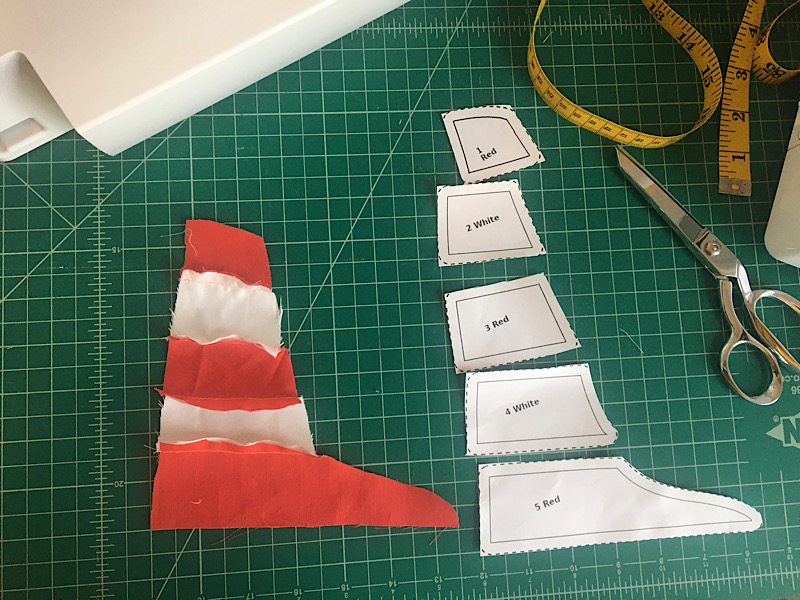
Step 2. Cut Out The Fabric
The numbers on the pattern’s stripes are for your convenience in ordering them correctly on the stocking, NOT how many of each you cut out.
When you cut out the pieces, it is important that the flat top and bottom edges of each stripe are cut either parallel or perpendicular to the grainline. You want the woven threads to be easy to pull out later to make it look frayed.
Cut out only 1 of each stripe and star block from the colors indicated on the pieces.
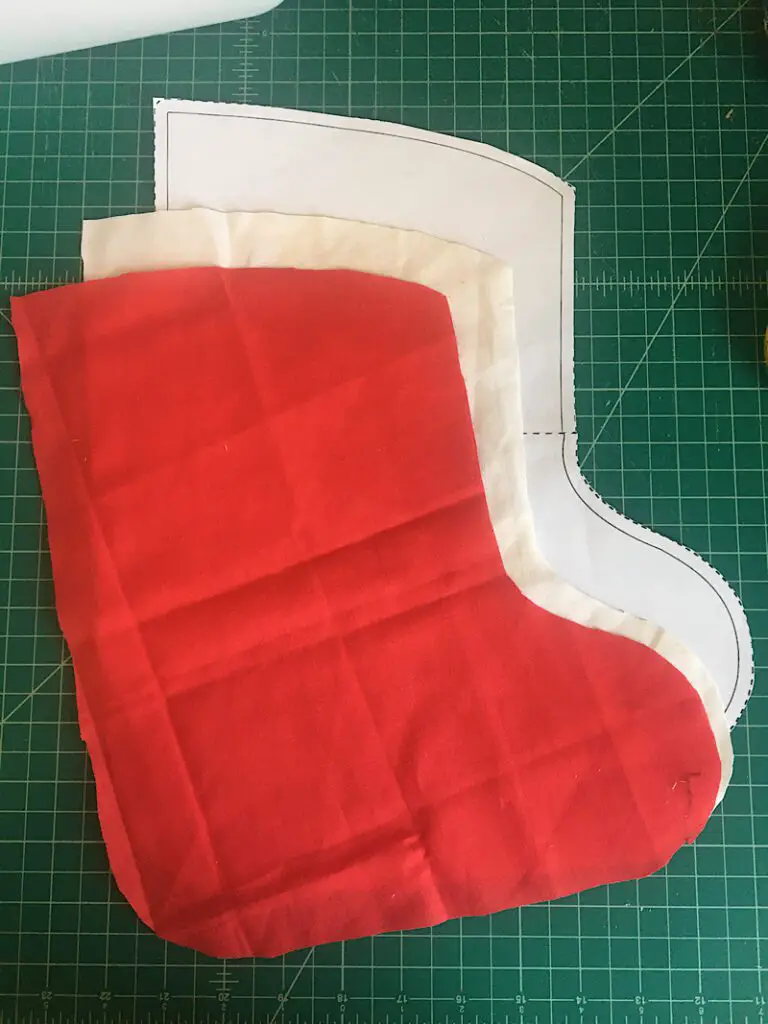
Cut out 2 lining pieces of the stocking “boot” shape, and 1 backing piece. I made my lining pieces white, and my backing red.
If you are using material that has a pattern on it rather than just a solid color, make sure the back of the stocking correctly by flipping the pattern piece over so the right side ends up facing outwards when we sew it together.
** You will also need to cut out a 2″x4″ rectangle for the hanging loop!
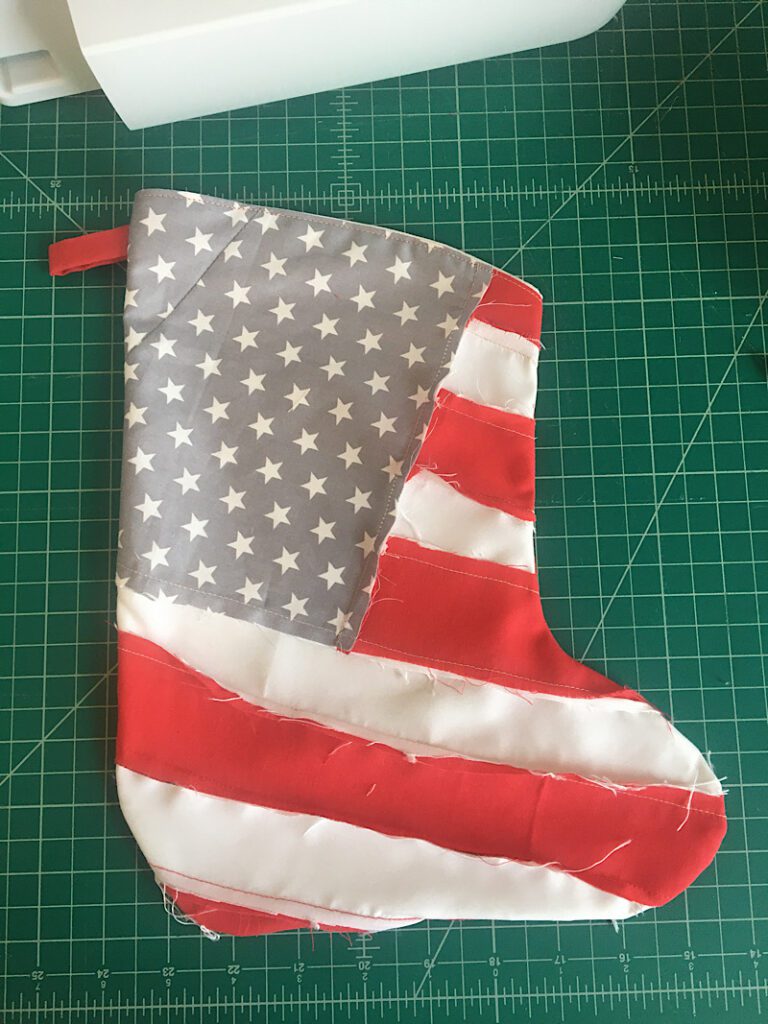
Step 3. Sew The Flag Pieces Together
To make the frayed exposed seams like I did, sew the pieces with wrong sides facing together. Use a 1/4th inch seam allowamce.
Sew together piece 1 to piece 2, then 3, 4, and 5.
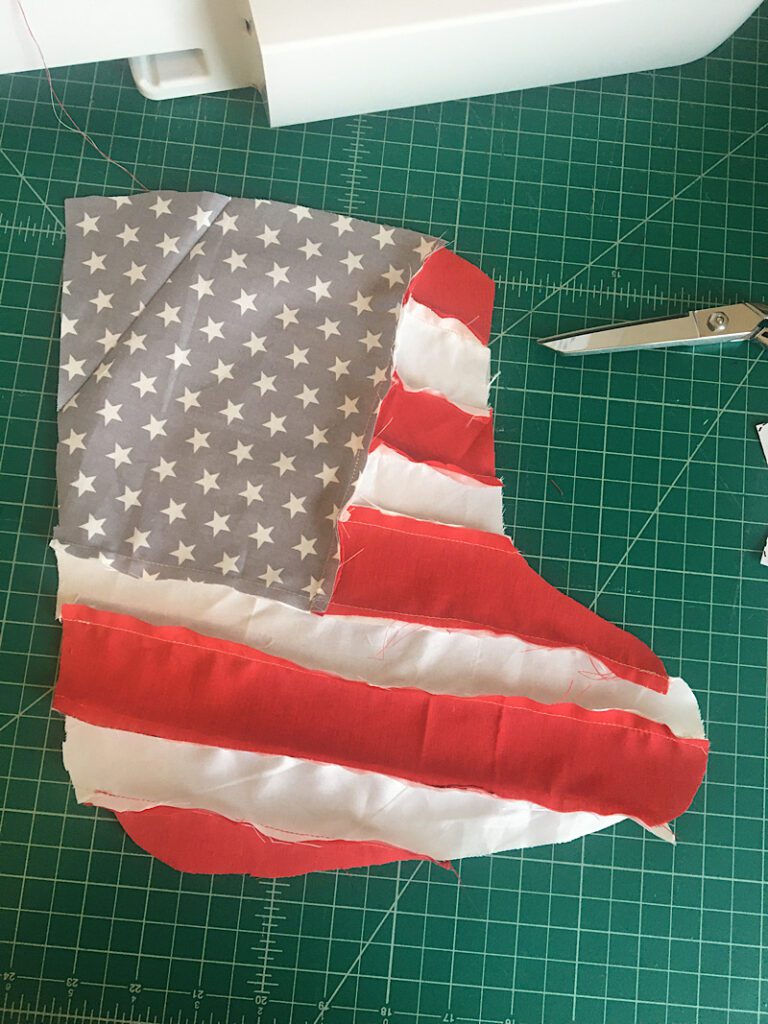
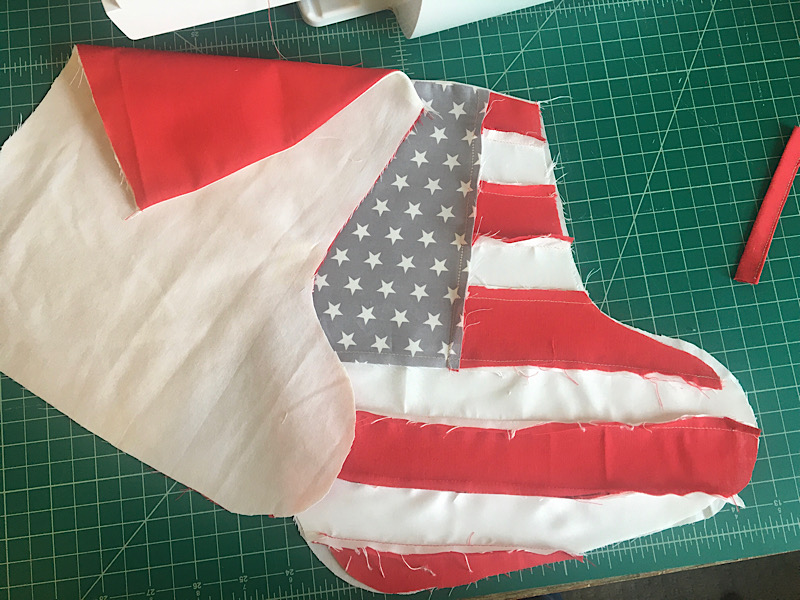
Then, press your work. Next, sew the starry block piece to the 5 stripes.

After sewing on the star block, continue on down the stocking attaching pieces 6, 7, 8 and 9 in order. Then, use your iron to press the seams on the back.
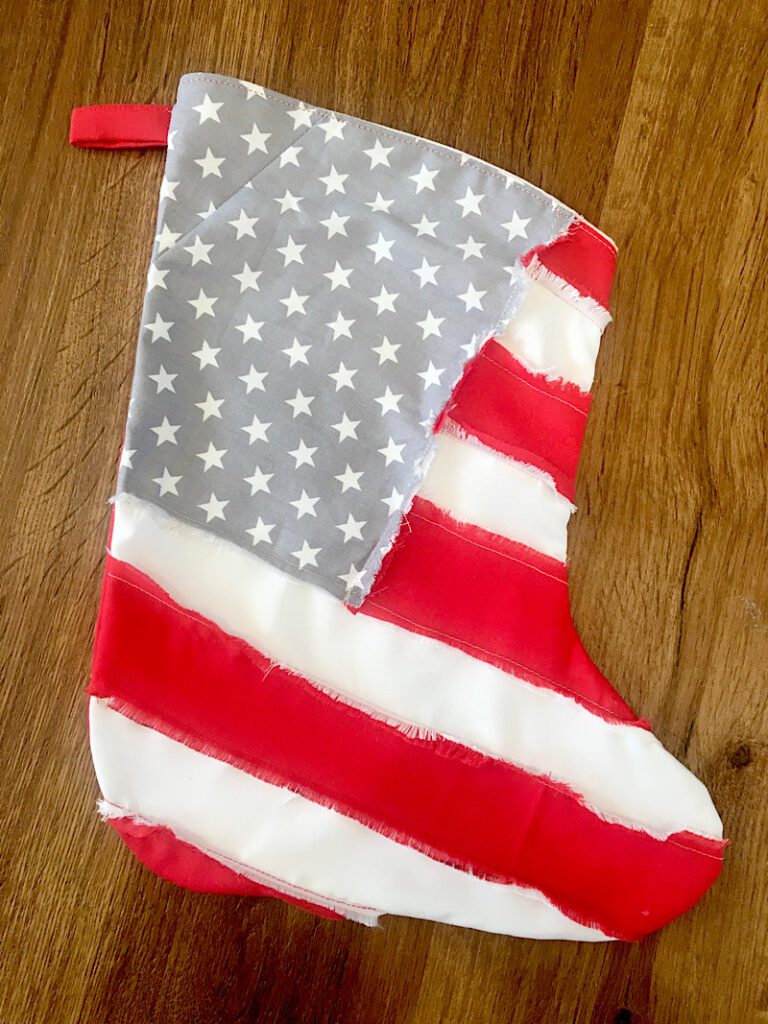
This completes the front of the stocking.
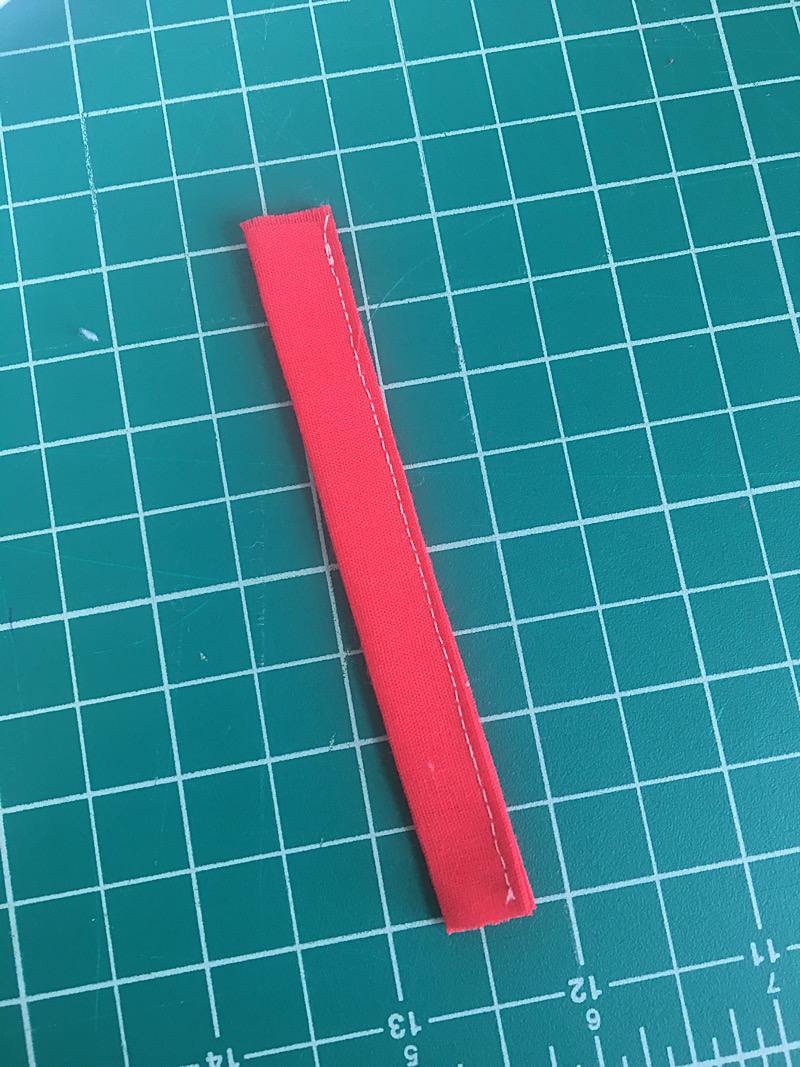
Step 4. Make The Hanging Loop
Now we will use the 4″x2″ rectangle you cut out to make a loop to hang the stocking with.
Fold the two long sides of the strip into the center, then press. Fold it in half again so it becomes a long thing strip of fabric. Sew down the long open side to close it.

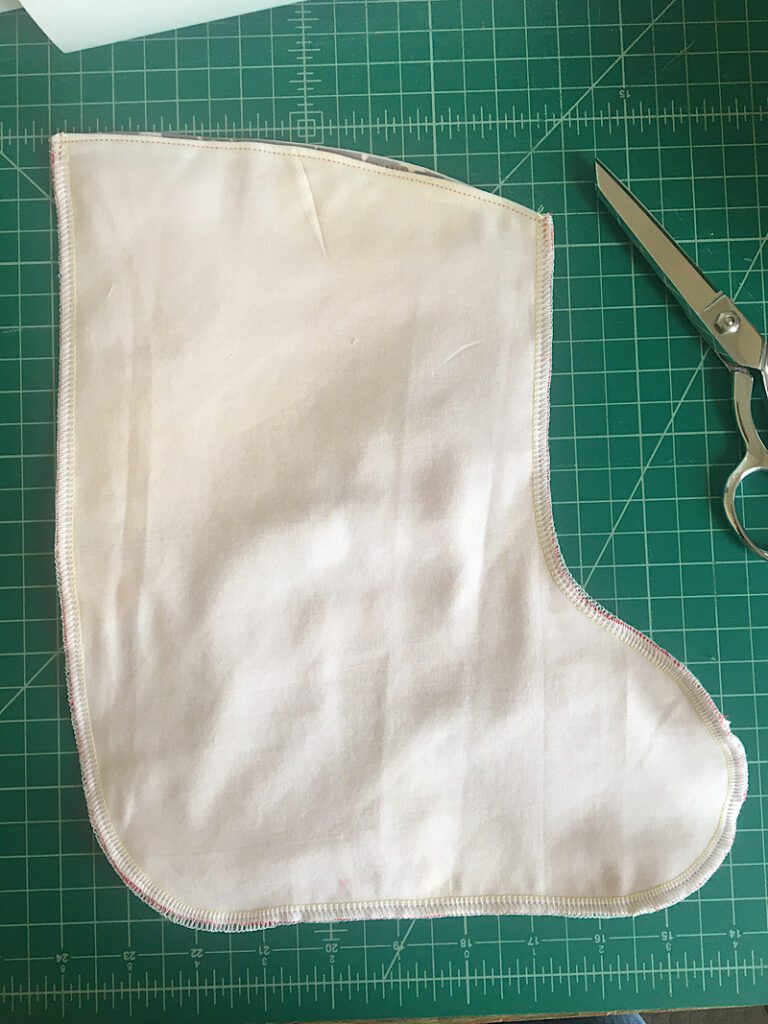
Step 5. Sew Together The Stocking Linings
Place one of the stocking lining pieces on top of the completed front of the stocking with right sides together.
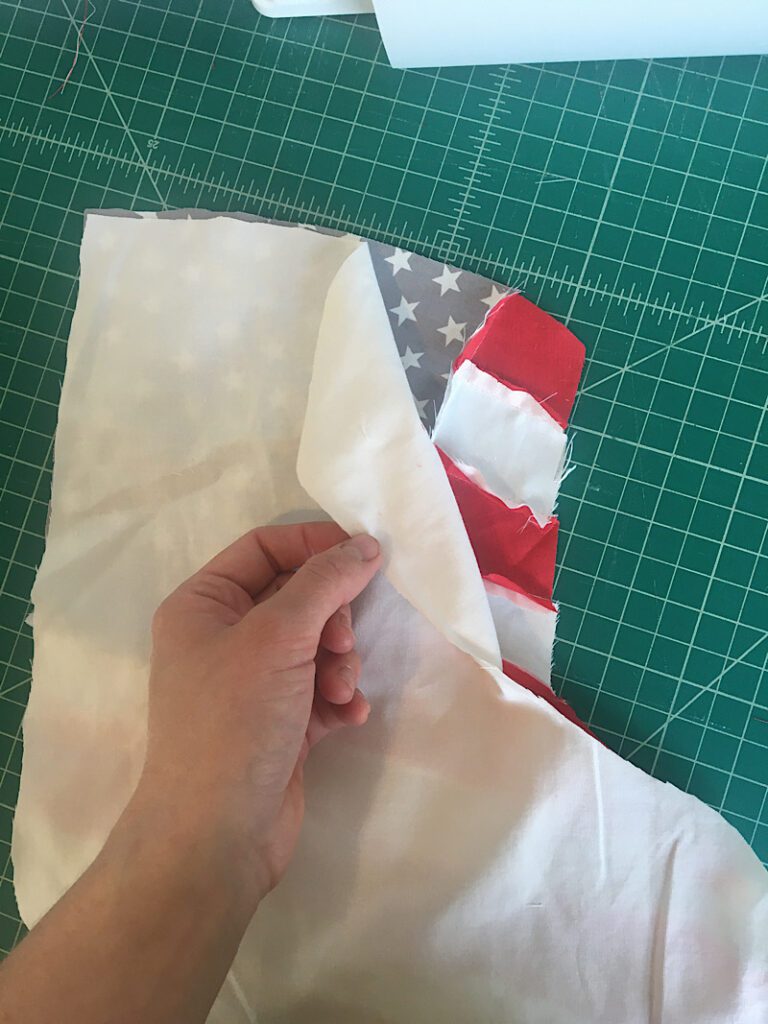
Sew across the top curve with a 1/4th seam allowance.
Repeat these steps with the back lining and back piece of the stocking.
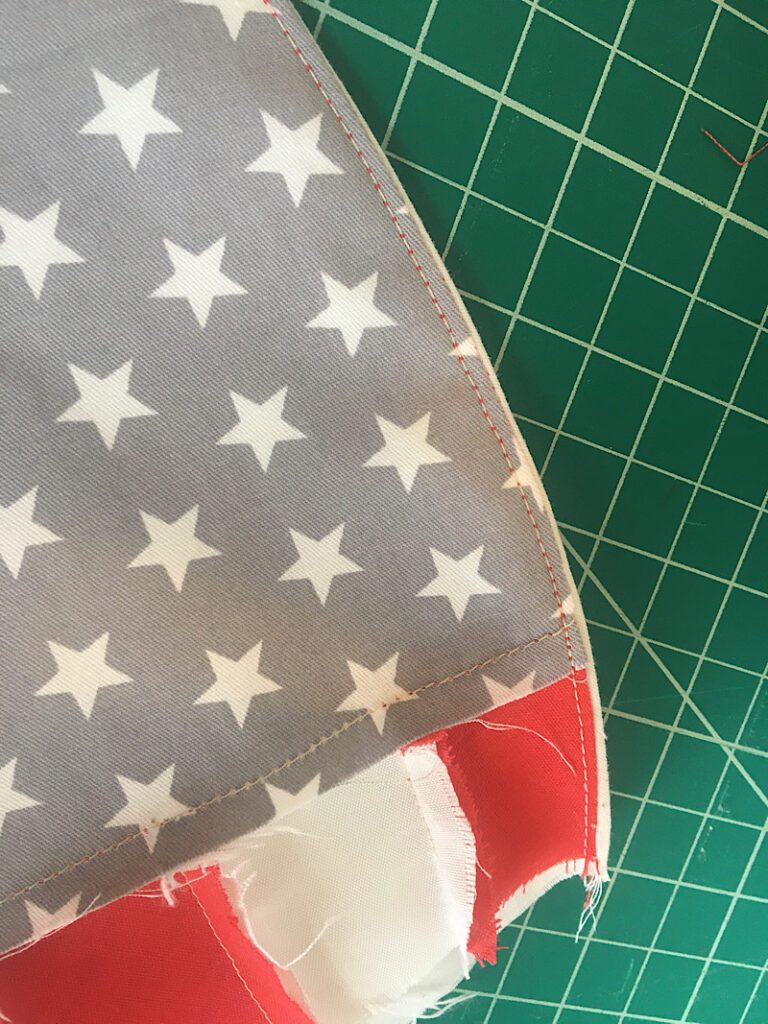
Turn the lining stocking pieces right side out. Use the iron to press the top edges so they are neat and flat.
Then, topstitch across the top curve about 1/8th inch away from the edge on both pieces to keep the seam crisp.
Step 6. Sew The Stocking Together
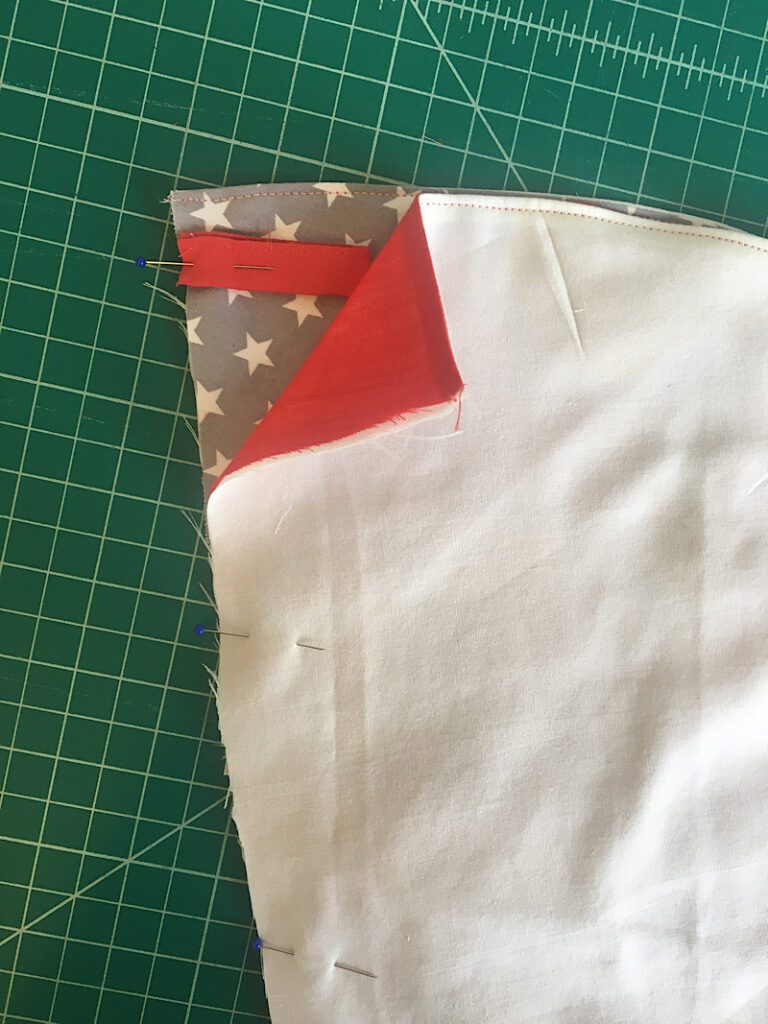
Layer the front and back pieces of the stocking together with right sides facing, and linings facing out. Pin around the edges. Make sure all 4 layers are even and lined up.
Fold your hanging loop in half so both short sides touch, and insert it between the front and back layer of the stocking in the top left corner.
It should have the raw edges lined up with the raw edge of the stocking, and the loop should be hidden inside. Pin it in place.
Next, serge (or sew and zig zag stich) around the sides of the stocking.
Turn it inside out to see how it looks. You will need to stick your hand in and shape the toe area.
Looking good! The final step is to make those exposed seams look nice!
Step 7. Fray The Exposed Seams
When you work on these seams, you want to be careful not to make them fray so much that the stocking falls apart. Leave a bit of space above each stitch line to make sure it holds together.
Use your seam ripper to gently remove several rows of threads parallel to the stitch line. Pull on the long threads to pull them out. Trim any long threads to make it look neater.
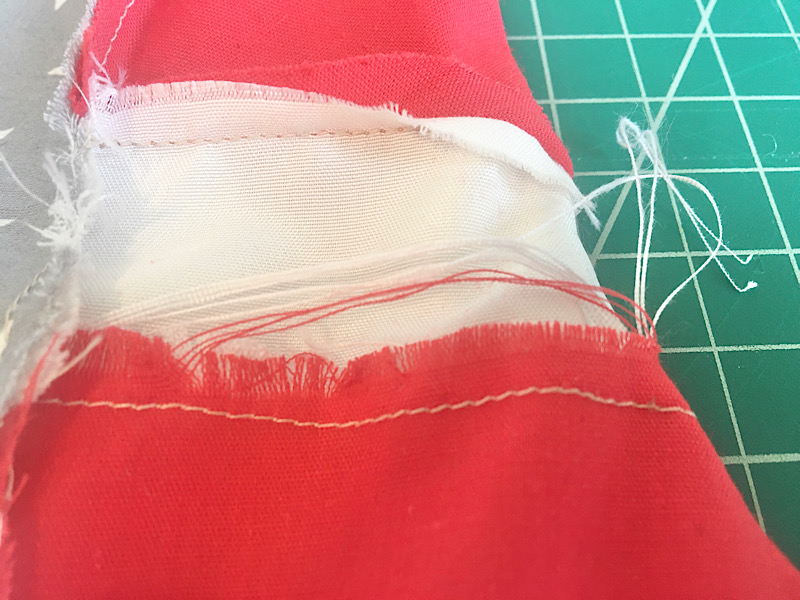
Here is how my seams looked:
You just have to keep working at it for a while, but remember not to get too close to the stitch lines.
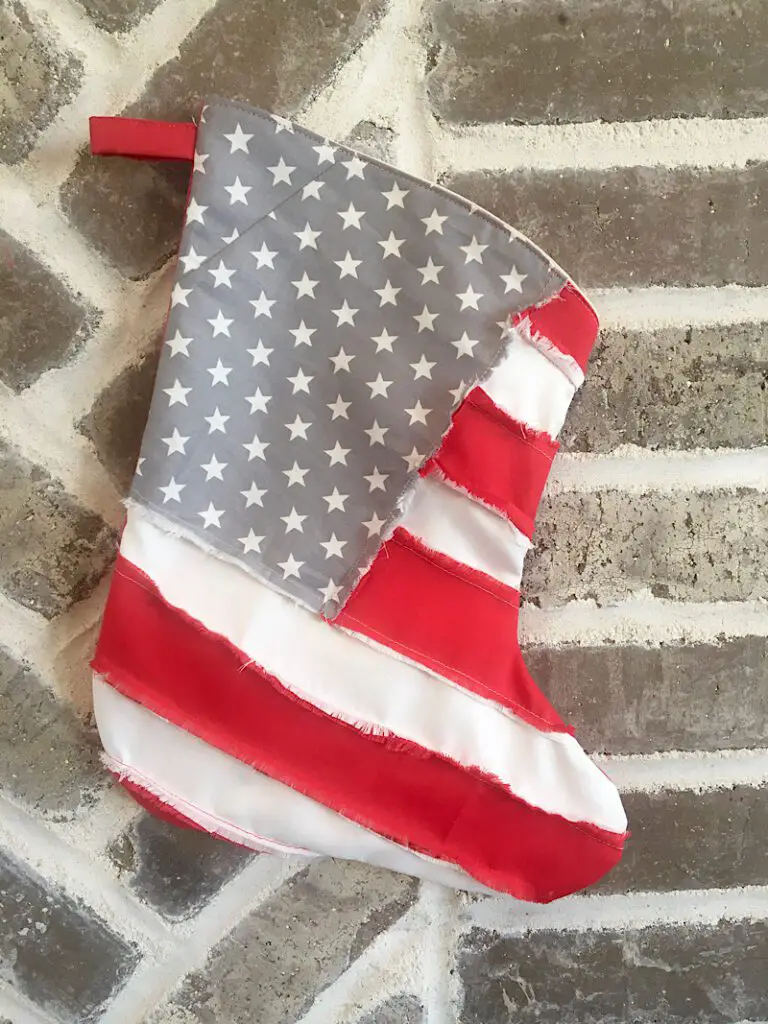
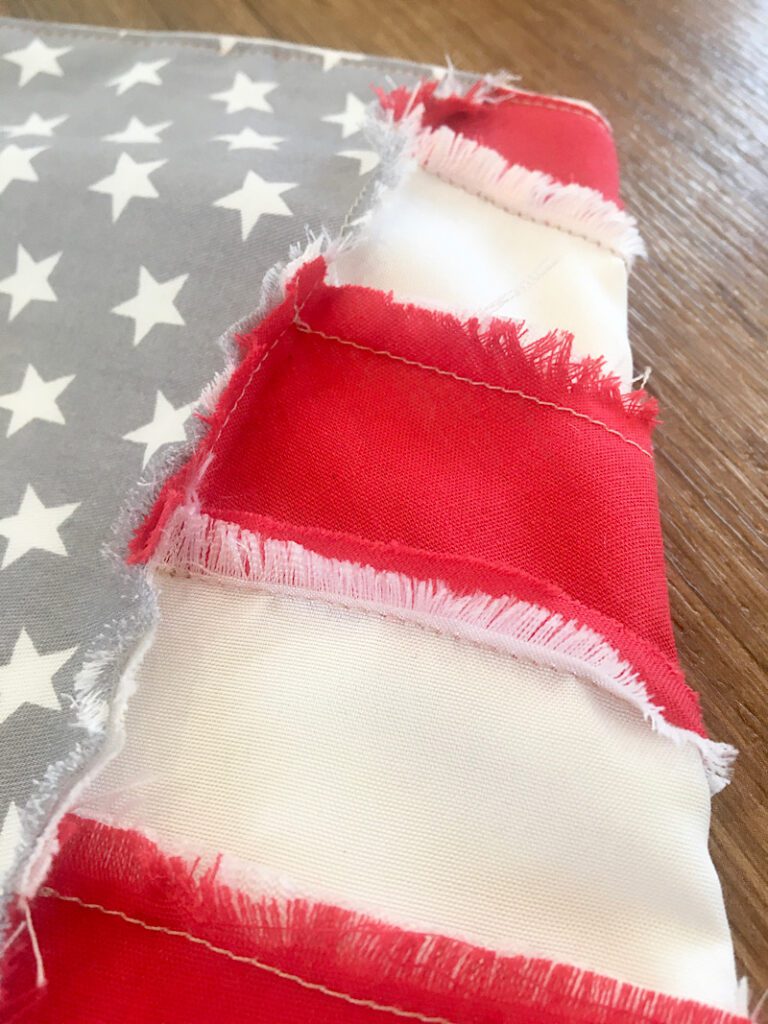
When you have distressed it to your liking, you are done!
That completes the patriotic American flag Christmas stocking!
This is such a unique project, but I actually love it! And the distressed seams add a cute touch. But of course you can make it look crisp and neat if you want too.
Next time I will have to get some more star spangled fabric to re-make it without the silly seam on top!
I have a family member in the military, maybe this would be a cute gift for them!
Conclusion
If you try out this project, be sure to let me know, I am always interested in seeing photos!
And if you have any questions, don’t hesitate to leave a comment or send me an email.
Pin this post to your Pinterest board if you liked it, it helps me make more content for you! And sign up for emails if you haven’t already.