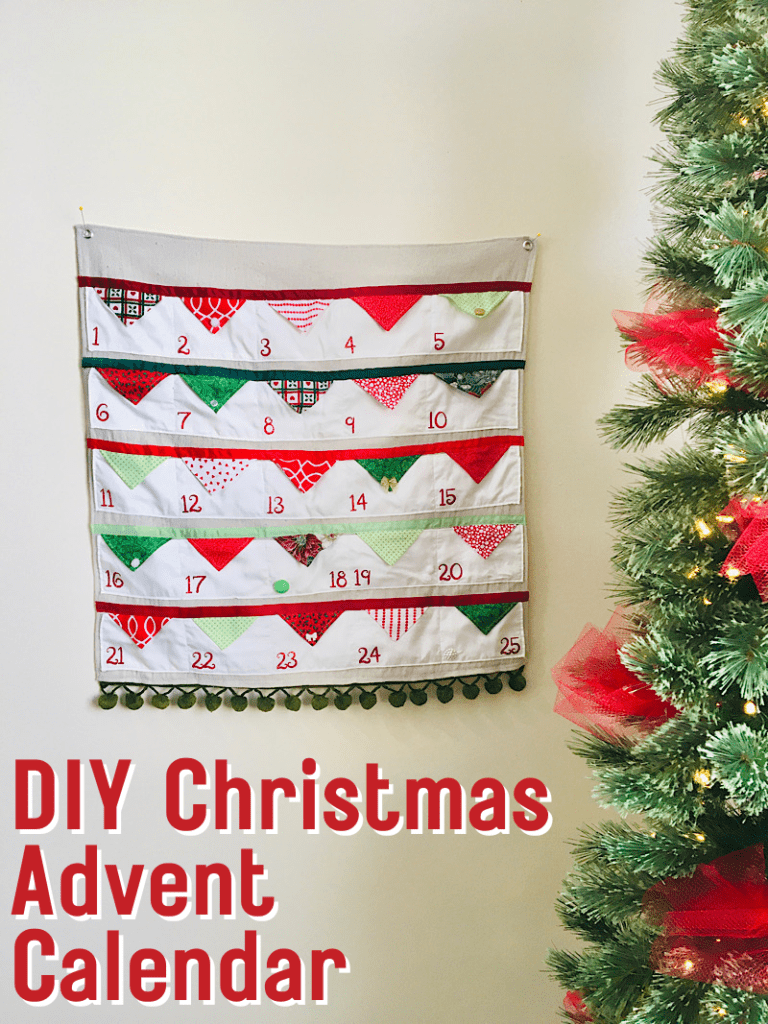
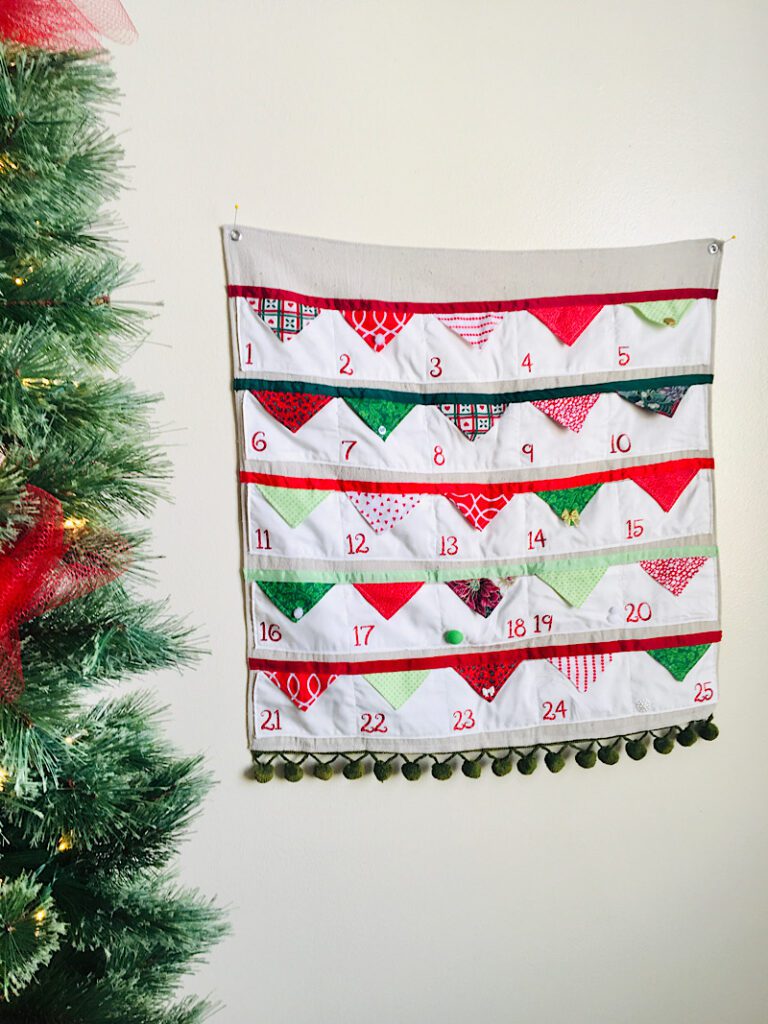
Make your own pocket style advent calendar with this step by step tutorial that I lovingly call: “Christmas Letters!”
I remember my grandparents having a fun advent calendar when I was a child every Christmas. I wanted to make something for my kids to enjoy too! I came up with the idea of envelope looking pockets to hide treats or notes inside every day in December.
This calendar is a fun way to use up your notions as well as your Christmas charm packs! (A charm pack for those who don’t know, is a pack of 5 in square coordinating cotton fabrics!)
Learn how I made this adorable project in this tutorial!
This post may contain affiliate links. Read the full disclosure here.

Supplies
- 24″x24″ piece of canvas or drop cloth for the base material
- 3/4 yard of white cotton fabric for the envelope pockets
- 13 – 5″ square cotton fabrics for the envelope flaps (I love this Riley Blake charm pack for this project!)
- 5 – 26 inch long ribbons (3/4-1 inch wide)
- 2 metal eyelet grommets and applicator tools
- 3/4 yard of pom pom fringe for the bottom of the calendar
- Christmas colored buttons, bows, embellishments
- numbers 1-25 in iron on vinyl OR a fabric marker to draw on numbers
- iron and ironing board
How To Sew A Christmas Advent Calendar
I have the more detailed photo instructions in this blog post if you scroll down, or you can also watch the video!
Step 1. Make The Base
Cut out a 24″x24″ square from the base material.
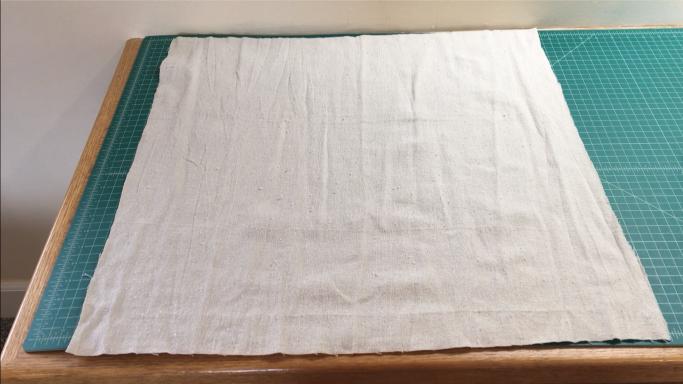
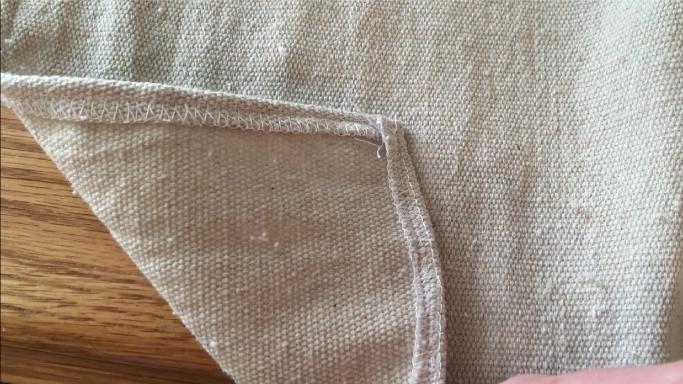
Hem the edges by serging or zig-zagging each side. Then, fold over each side 1/2″ and top stitch it down.
Step 2. Make The Pockets
Cut out 5 strips of the white cotton fabric that are 7″x24″ each.
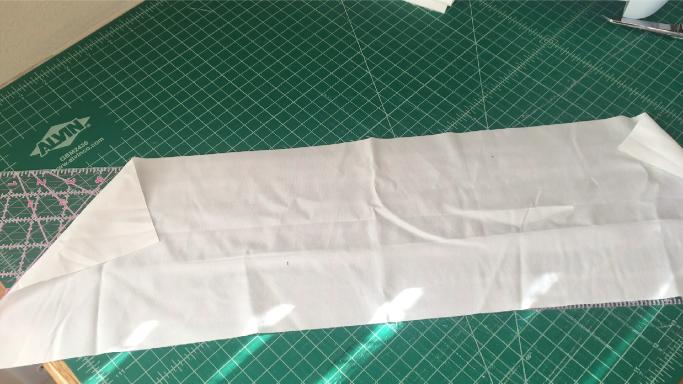
Fold each strip in half lengthwise, and sew down the long edge with a 3/8″ seam allowance
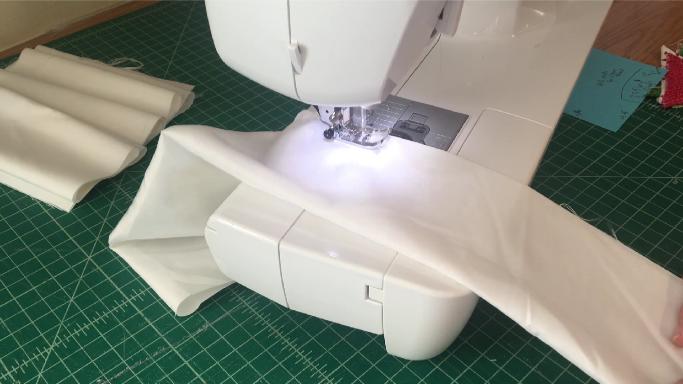
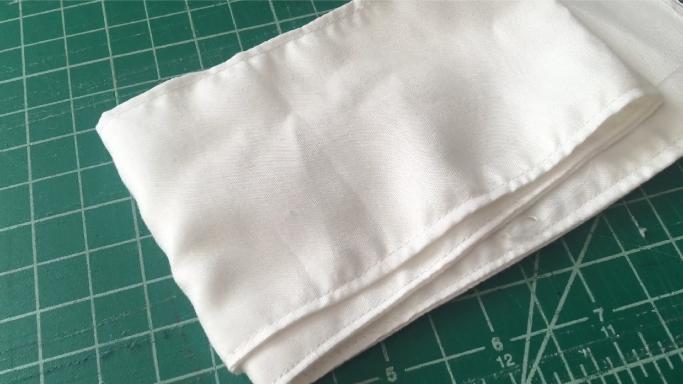
Turn the “tube” right side out, and press it. Topstitch down both long edges to make it crisp. Repeat for all 5 strips.
To attach the pockets to the base, lay them out evenly spaced on the base, with at least an inch between each one, then pin them in place. I left a litte larger gap at the top of it all because I thought it looked nice.
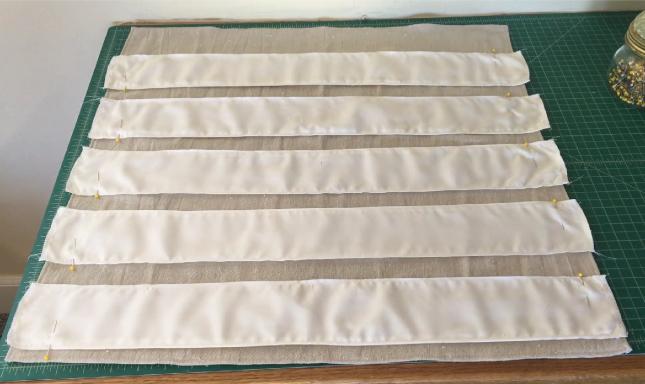
Fold the short sides of each strip under under and pin them down.
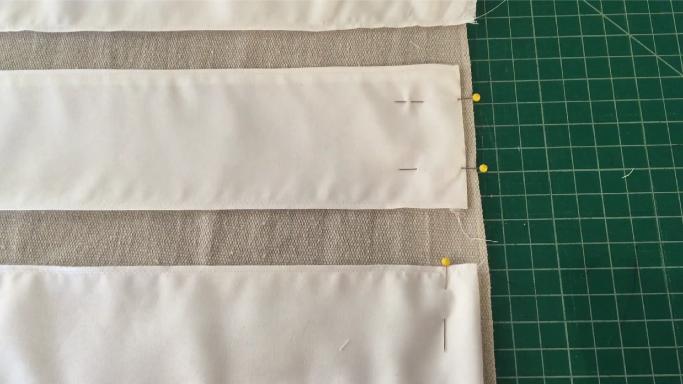
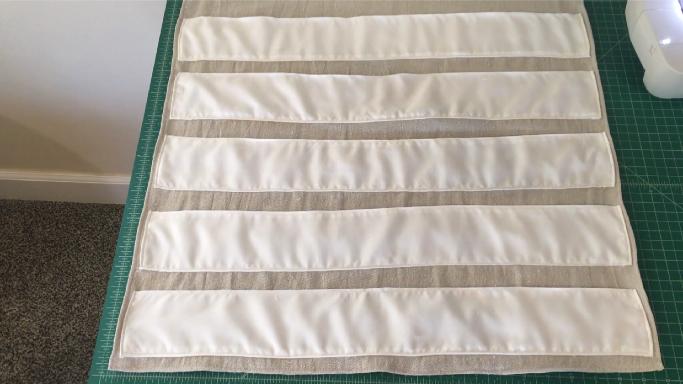
Sew each pocket to the base by sewing down one short side, across the bottom, then up the other short side. Leave the top edge of the pockets open.
Step 3. Make The Envelope Flaps
Cut out 13 5″ square from cotton fabric, or use a charm pack that is pre cut.
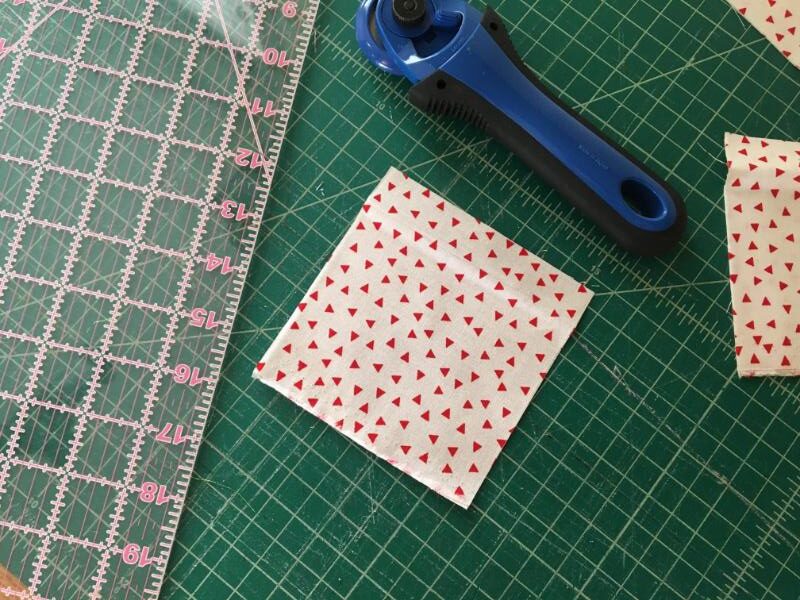
Cut your squares from corner to corner to make 2 triangles.
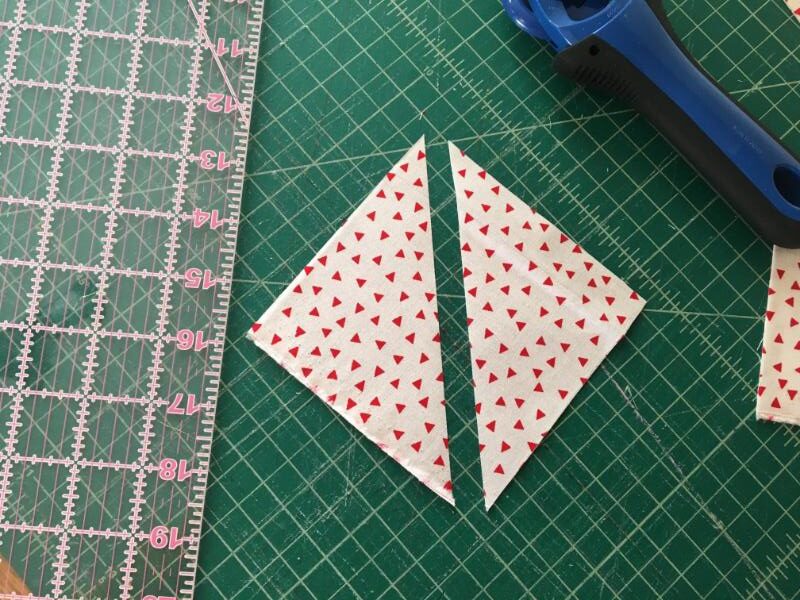
You will need 25 of these triangles.
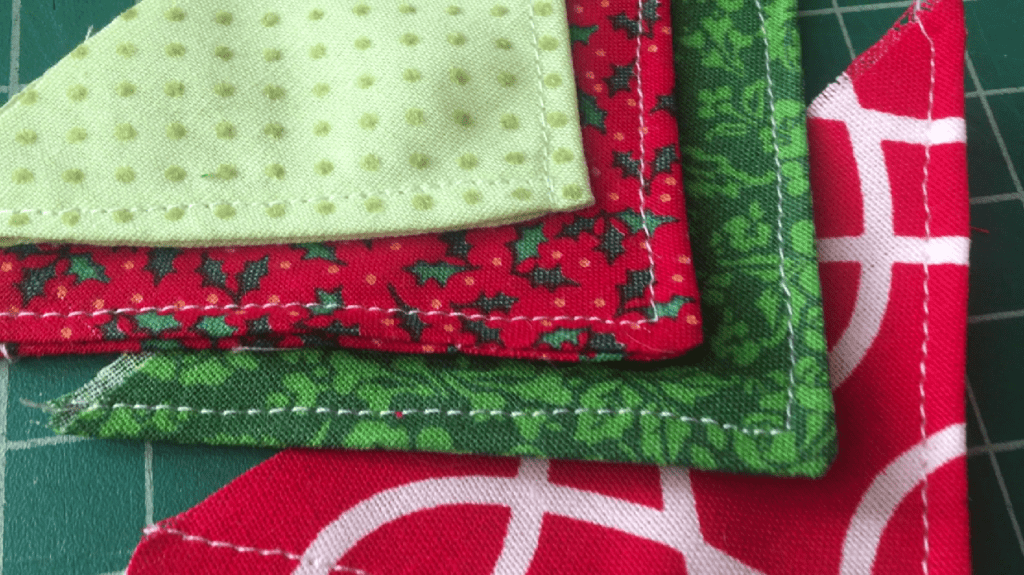
To sew a triangle into a flap, first fold it in half with the right sides together.

Sew across the short edge with a 1/4″ seam allowance.
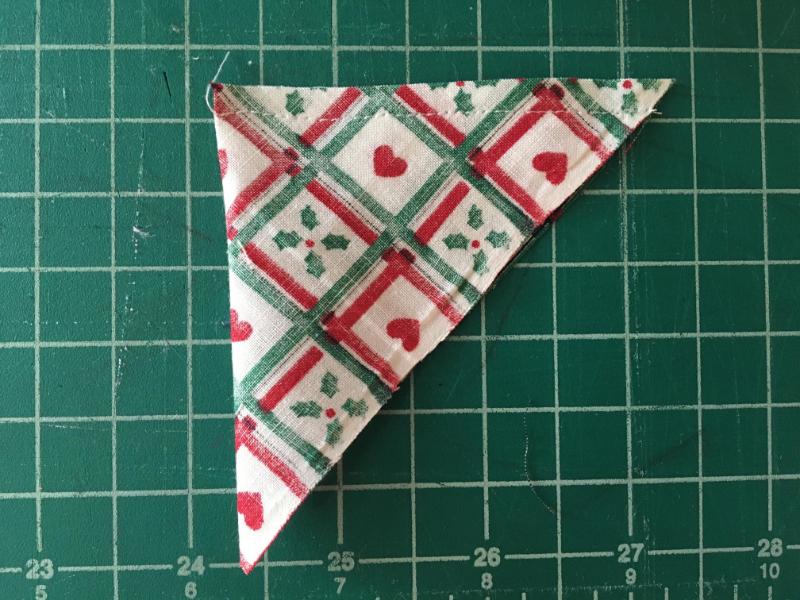
Turn the triangle right side out, and press it.
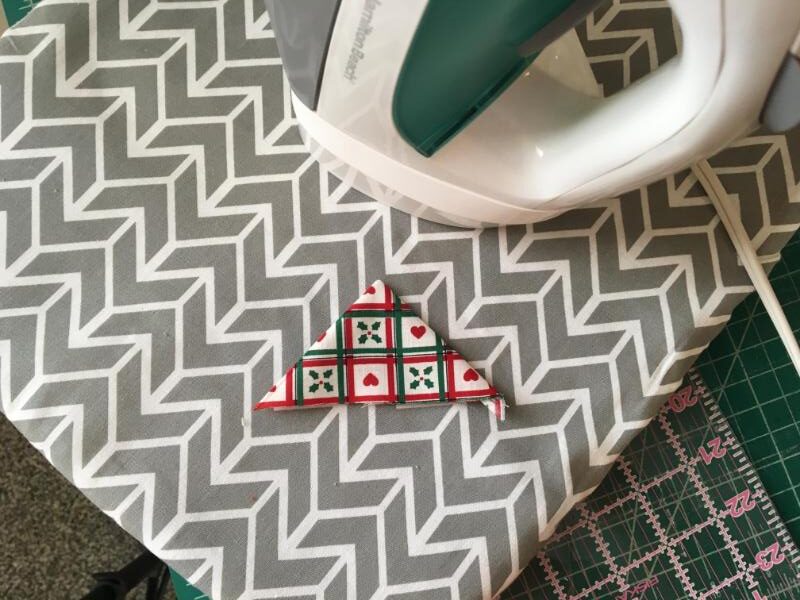
Cut off the little bit that sticks out.
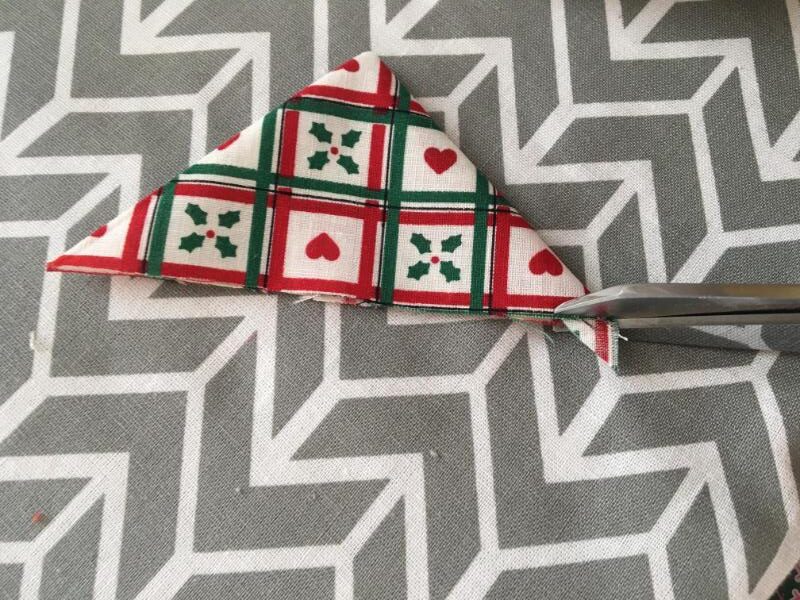
Finally, top stitch around the two short sides of the triangle with a 1/8″ seam allowance. Then repeat these steps for all 25 triangles.
Step 4. Attach The Triangles To The Calendar
Arrange 5 triangles over top of each pocket. Space them out nicely. The top raw edge of the triangles should extend about 1/4 inch over the top edge of the pocket. Pin them in place.
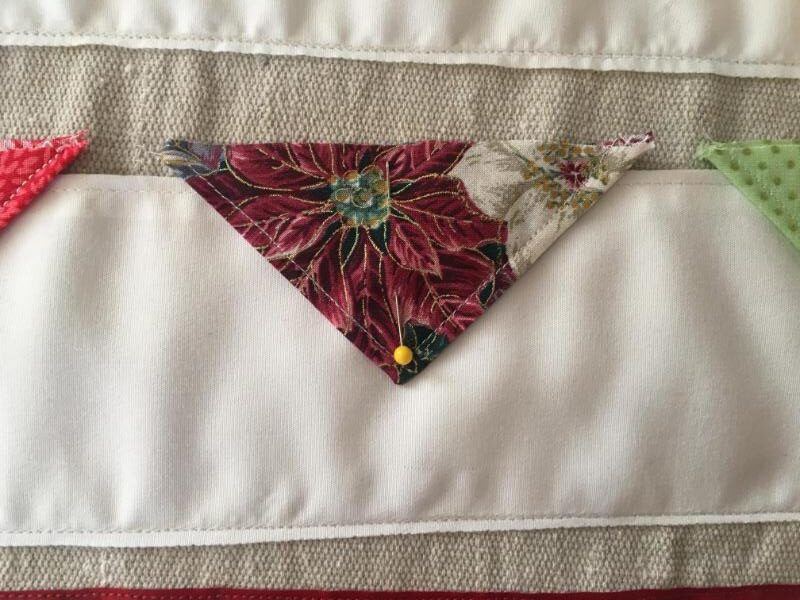
Sew the triangles to the base by sewing across the top raw edge, but don’t sew through the pocket!
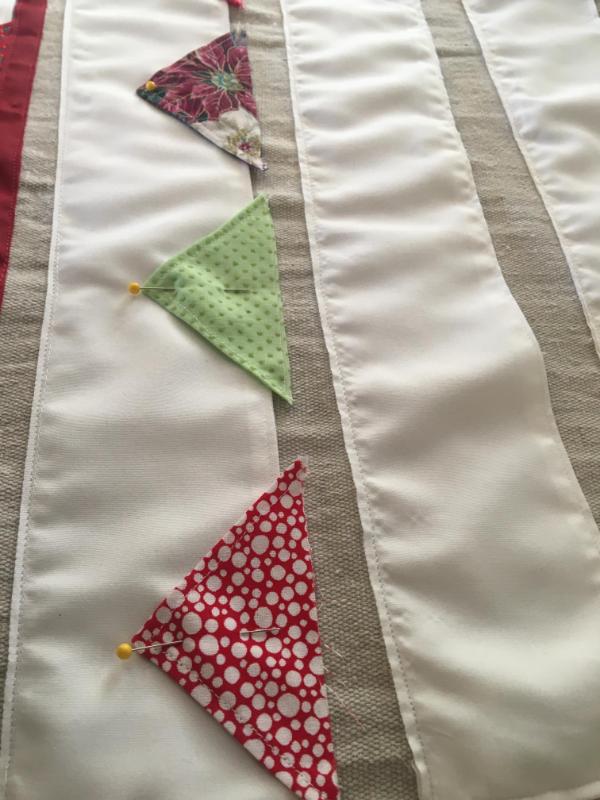
Then, cover up the top raw edges of the triangles by placing a 26″ strip of ribbon over top of them, right above the top edge of the pocket. Let the ribbon overhang on both edges so you can fold it around the back to make the edges look nice.
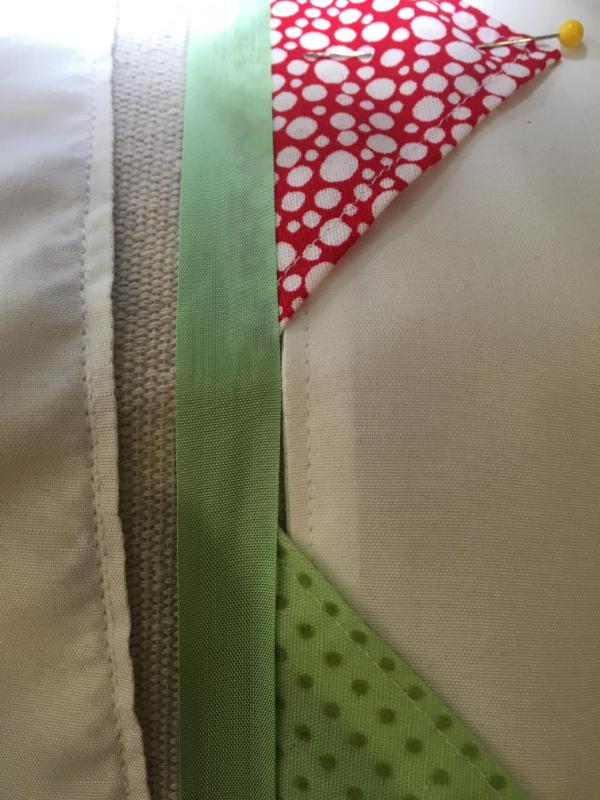
Sew along the top and bottom edges of the ribbon.
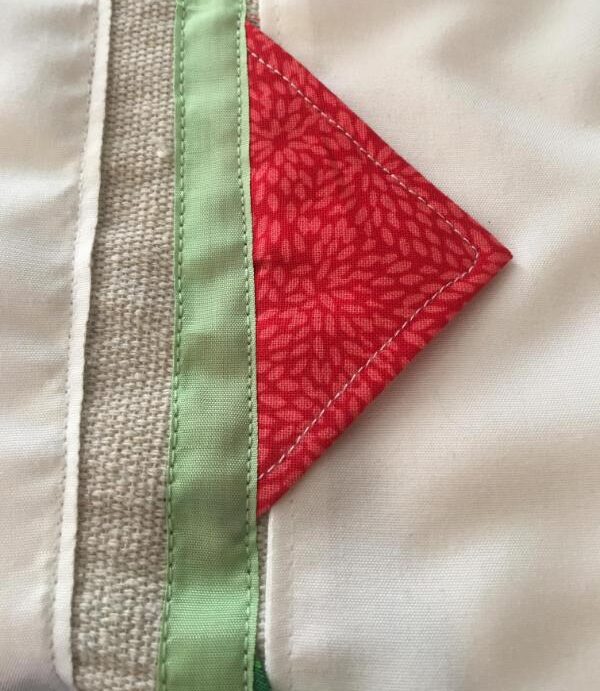
Wrap the edges of the ribbon over to the back of the calendar, and sew them down near the edge of the calendar to “hem” it.
Repeat these steps until all 5 row have 5 triangle flaps attached, with ribbons sewn on top of them.
Step 5. Separate The Pockets
To finish off the pockets and make them into “envelopes”, you will sew a vertical line between each flap through the pockets.
I pinned the pockets down in between each flap to hold them in place, then sewed a straight line up the pocket but not through the ribbons. Then I trimmed the threads away.
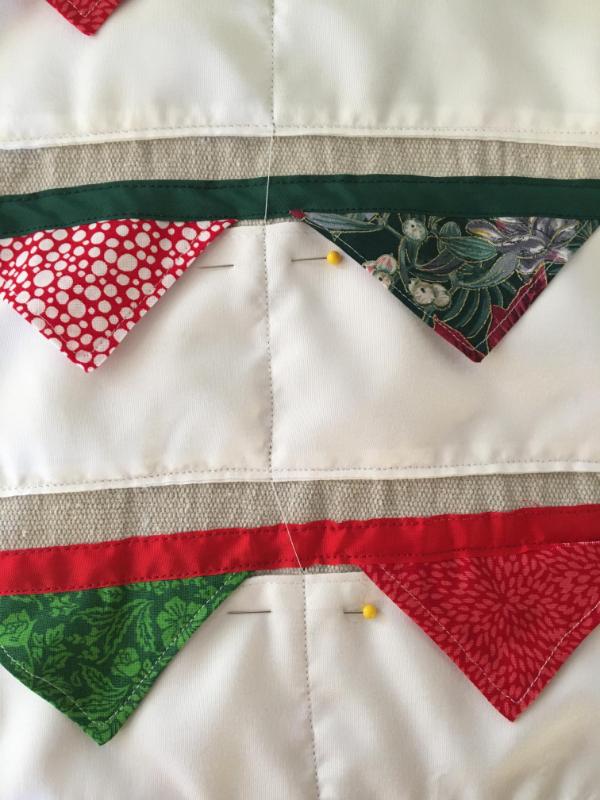
After all these lines are sewn, the pockets look like separate little christmas envelopes!
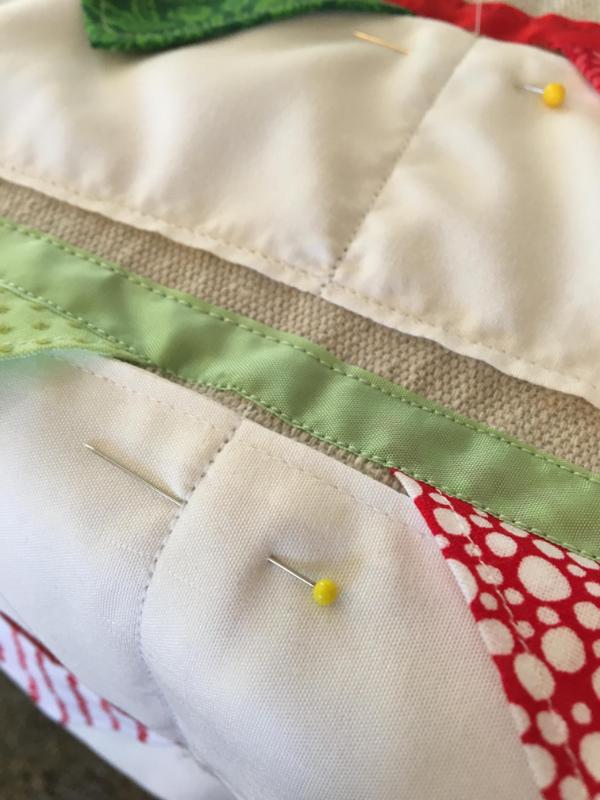
Step 6. Add The Grommets
You can choose how you want to hang your calendar. One idea is to add a dowel across the top with a ribbon. I chose to use two eyelet grommets in the top corners.
To add the grommets, first use your scissors to cut a little hole in each top corner.
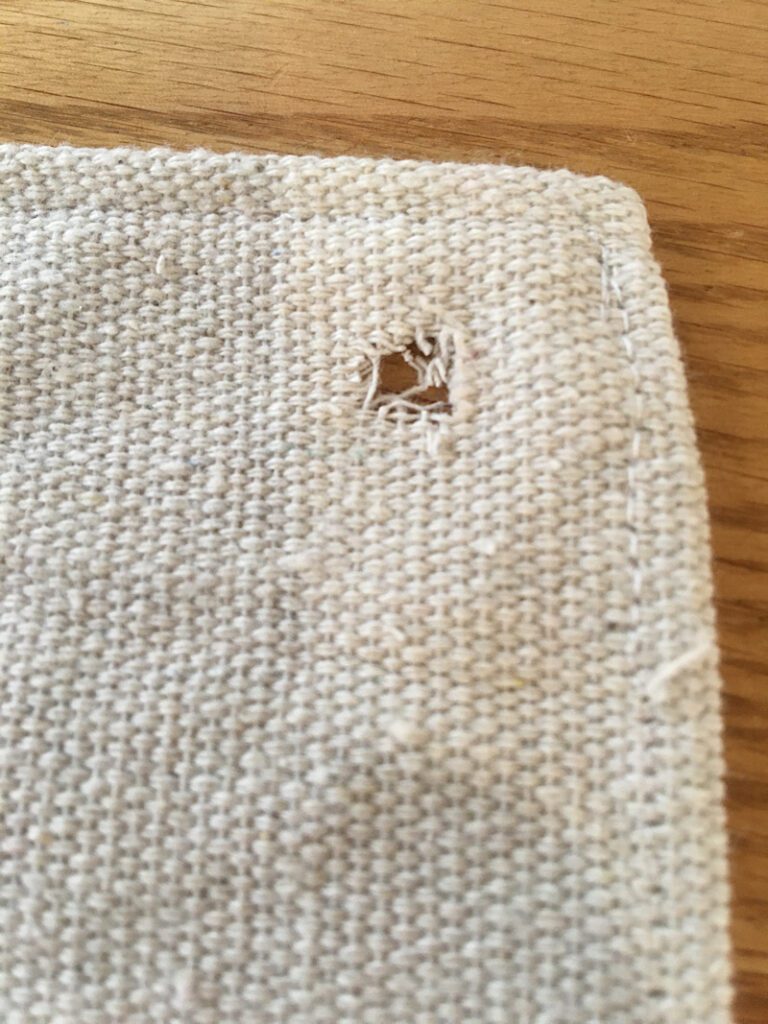
Insert the front side of the grommet (the taller side) through the hole from the front side of the calendar.
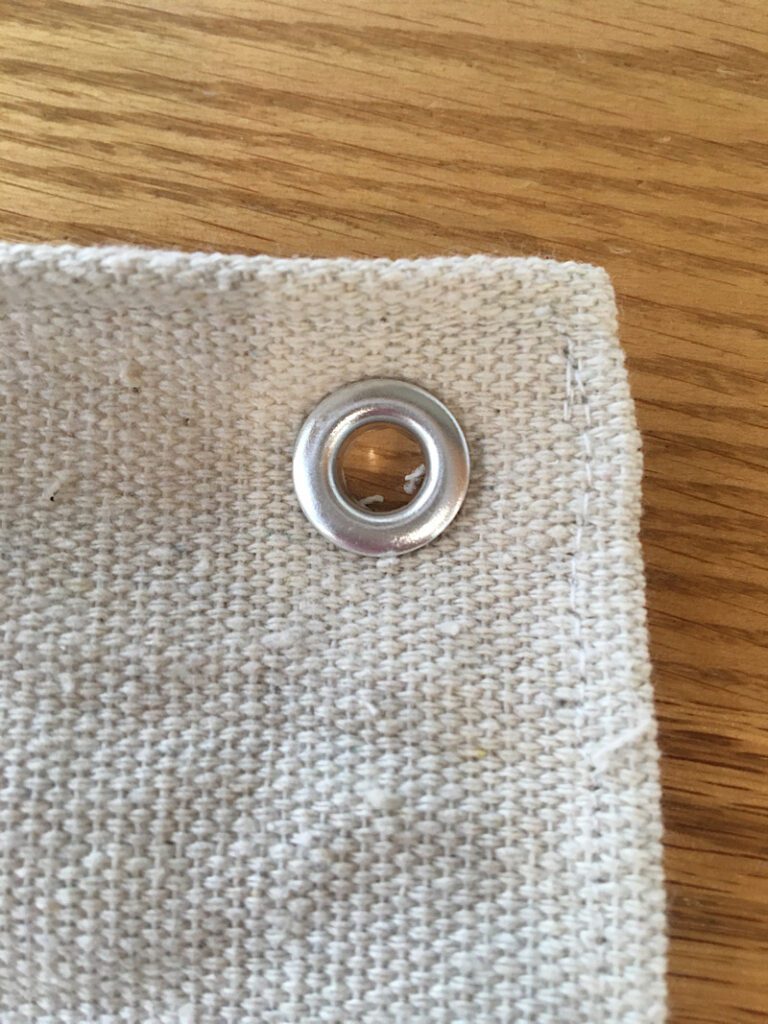
Then, slide the back of the grommet on the back.
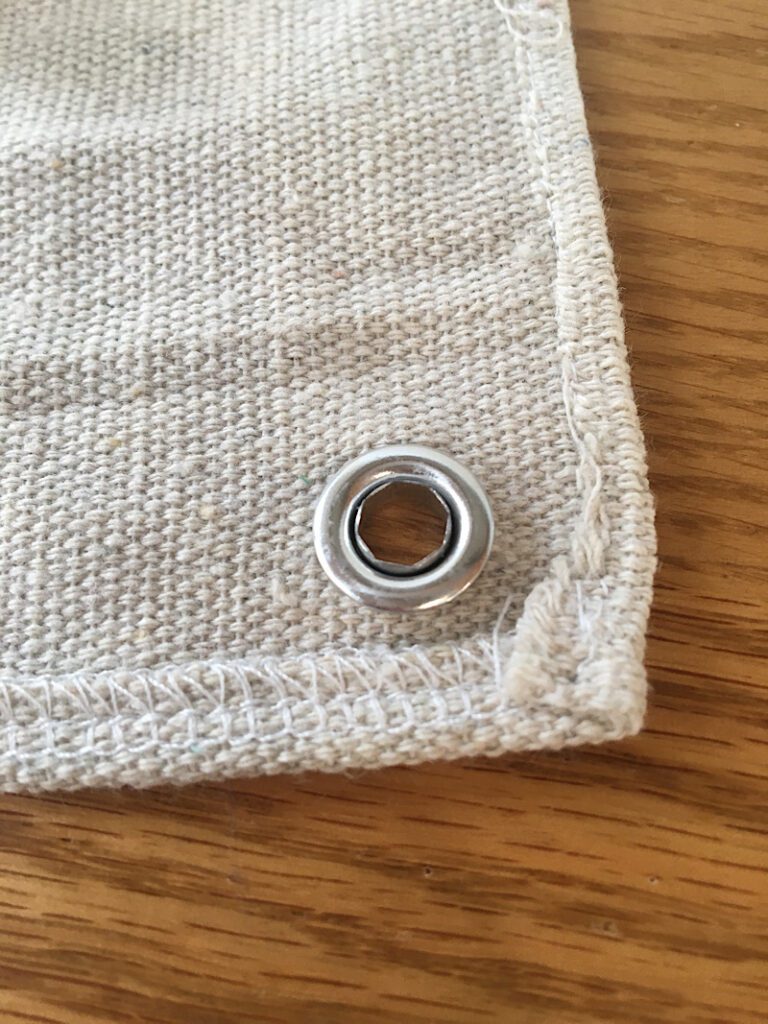
Set the whole thing into the applicator seat.
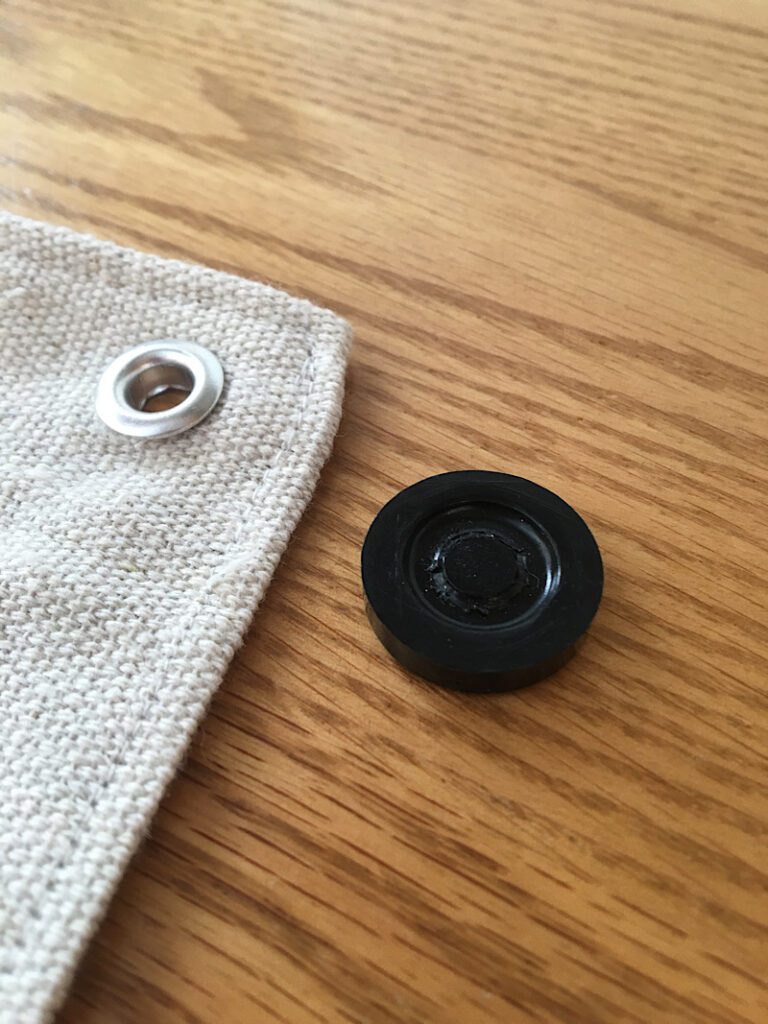
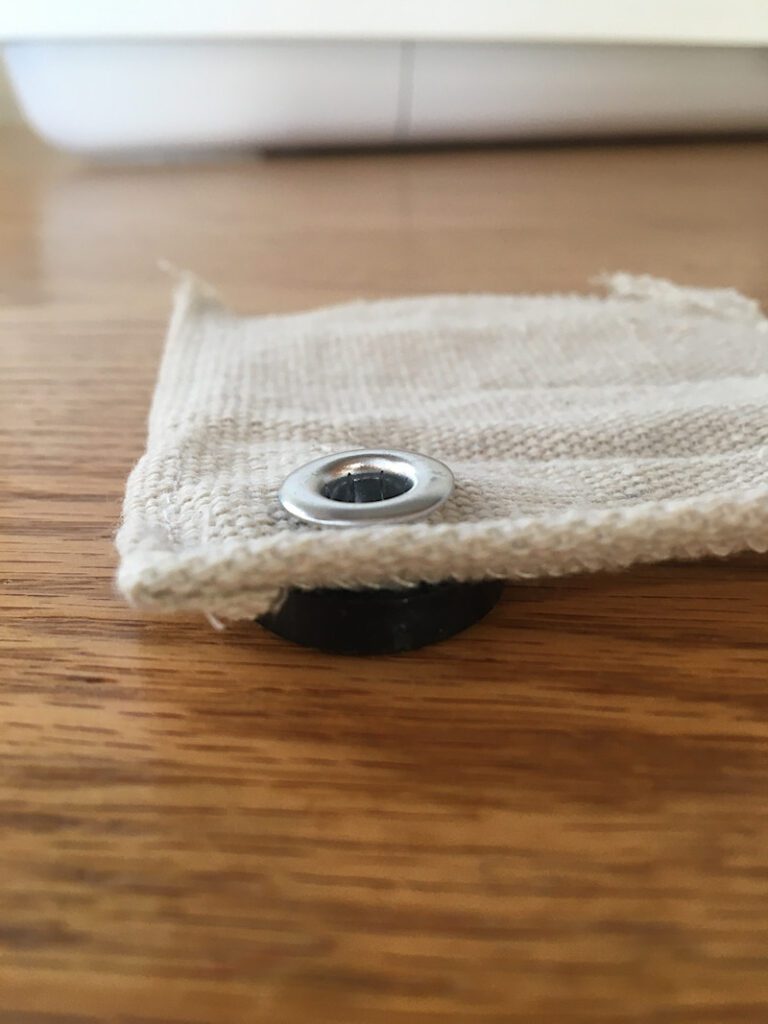
Place the tool on top, and hammer it down firmly several times.
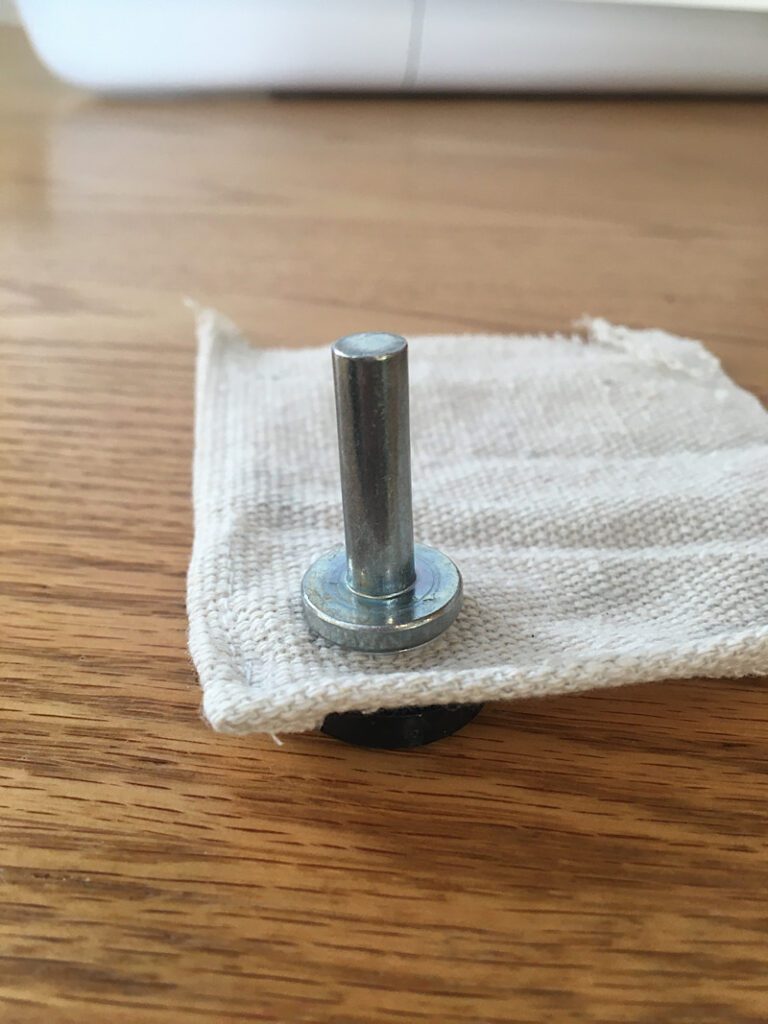
Then repeat with the other side!

Step 7. Add Embellishments
You can decorate your calendar however you want! I added buttons, bows, and pom poms all over where I thought they looked cute.

I also added a pom pom trim to the bottom. You can also add a ruffle, lace, fringe, or leave the bottom plain.
Step 8. Add Numbers To The Pockets
The final step to make this look really polished is to add numbers. You can use fabric markers or paint, or iron on vinyl (also called HTV, heat transfer vinyl.)
I have a Cricut machine so I cut out my own vinyl numbers. You can also order them online like these ones, or make a custom order with any Etsy seller that sells custom vinyl like here or here(glitter) (for example). You will need numbers 1-25, 1 inch high.
Here is the file I used to make mine, you are welcome to use it also.
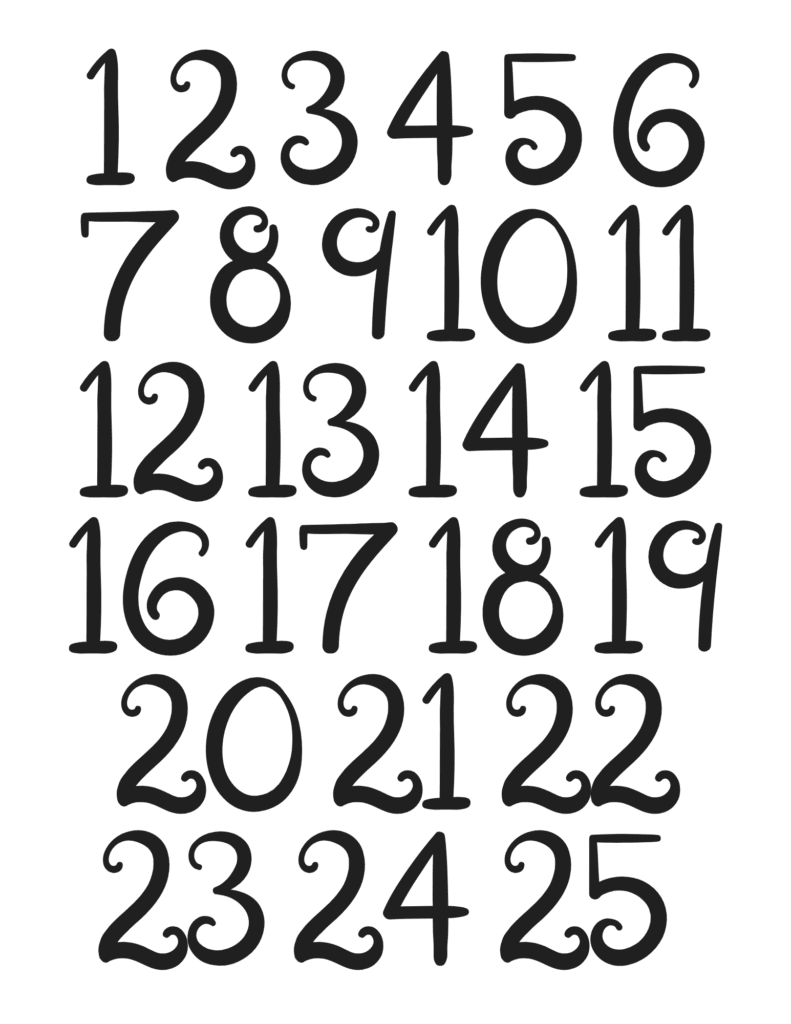
Follow the iron on directions for whatever vinyl you have purchased. Or draw on the numbers as you please 🙂


Some of my numbers had to go on the other side of the envelope because of where I placed the embellishments.

After applying all your numbers, you are done! You have now made an adorable “Christmas Letters” style advent calendar!

Here are some closeups of the pockets!


I am really excited to add little notes and treats to these, and daily Christmas “challenges” for my kids this year!
I hope you enjoyed this project. Let me know if you need any help! And please email me a photo when you are done, I would LOVE to see what you came up with!
Please pin this post to pinterest if you loved it!
