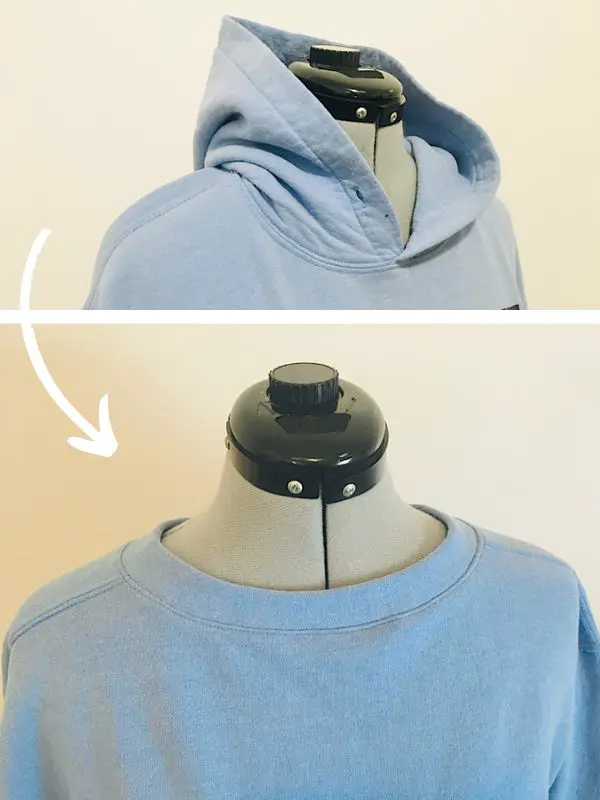
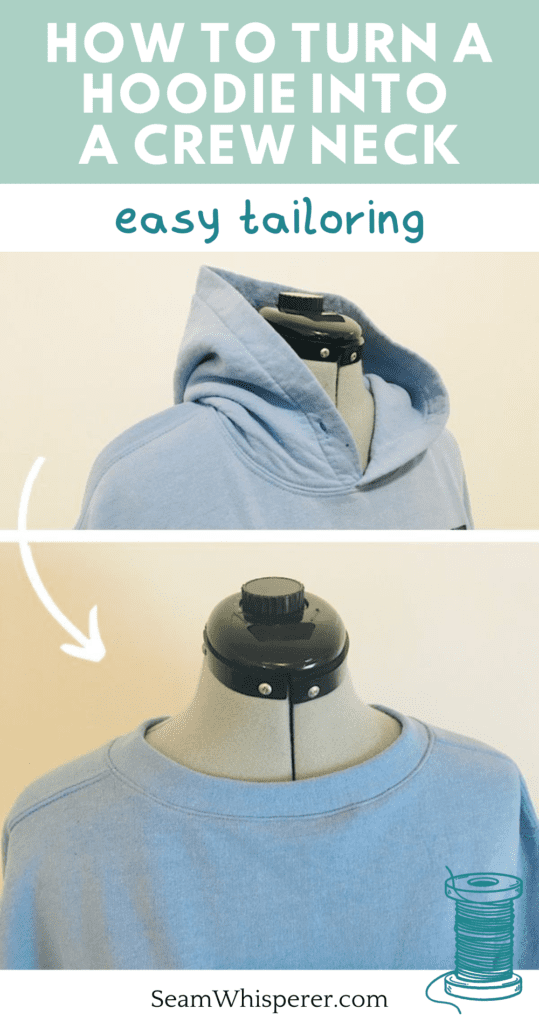
Do you want to learn how to turn your hoodie into a crew neck sweatshirt? It is an easy tailoring job that produces great comfortable results!
I like hoodies, but I think I would wear them a lot more if they were sweatshirts! But I also don’t want to ruin them…. do you know the feeling?
Don’t worry! This transformation/restyle is easy! Here is all it takes:
To turn a hoodie into a crew neck, cut off the hood as close to the stitch line as possible. Then, use the material from the hood to cut a new neckband that is 3 inches wide, and 2 inches shorter in length than the circumference of the neck hole. Sew the neckband into a loop, fold it in half, and sew it to the neckline of the hoodie. Sew a topstitch to give it a professional look.
Need more details? Read on for step-by-step instructions.
This post may contain affiliate links. Read the full disclosure here.
About This Tutorial
Restyling a hoodie into a crew neck is a good project for beginners. I have lots of photos you can follow along with.
You can cut the hood off your hoodie without hemming the cut edge if you prefer, knit fabrics don’t fray when cut! Or you can add a new neckband like I do in this tutorial to give it a professional look.
I use 3/8ths seam allowances in this tutorial.
Supplies Needed
- Sewing Machine
- Fabric Scissors
- Sewing Pins
- Measuring Tape
- Rotary Cutter, Ruler, and Mat (Optional)
- Serger (Optional)
Materials Needed
- Hoodie to alter
- Matching Thread
How To Turn A Hoodie Into A Crew Neck
Step 1. Cut The Hood Off
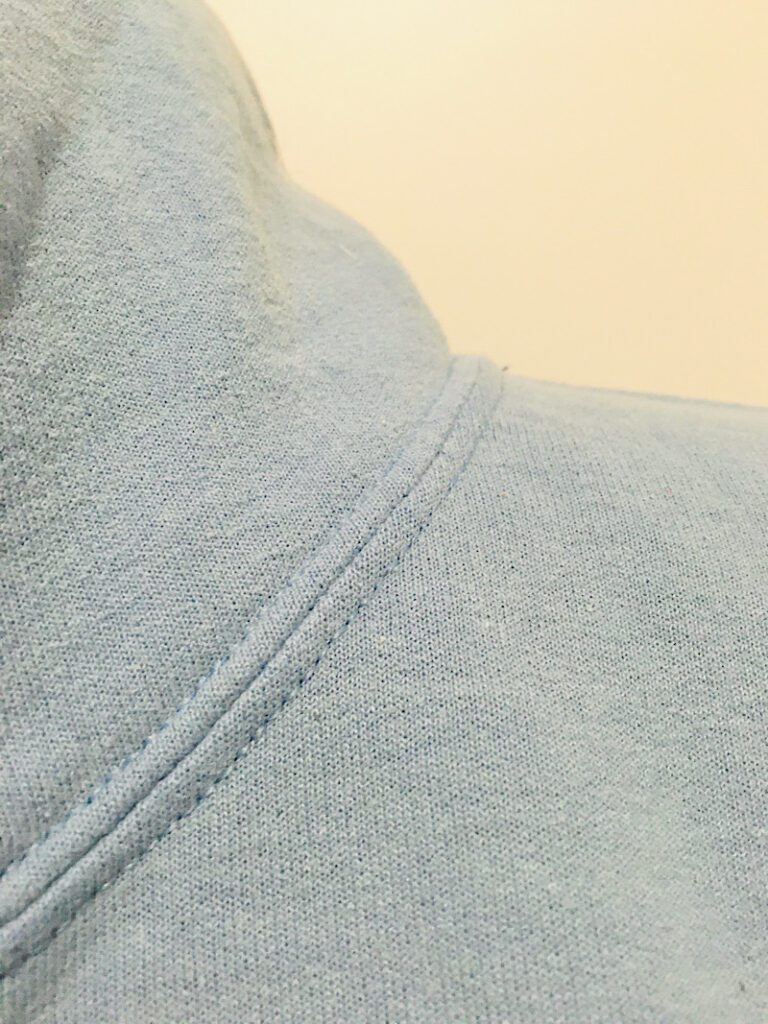
Take a look at how your hood is attached to your hoodie. Many hoodies have coverstitching, which means they will have two stich lines, one on either side of the seam where the hood attaches to the shirt.
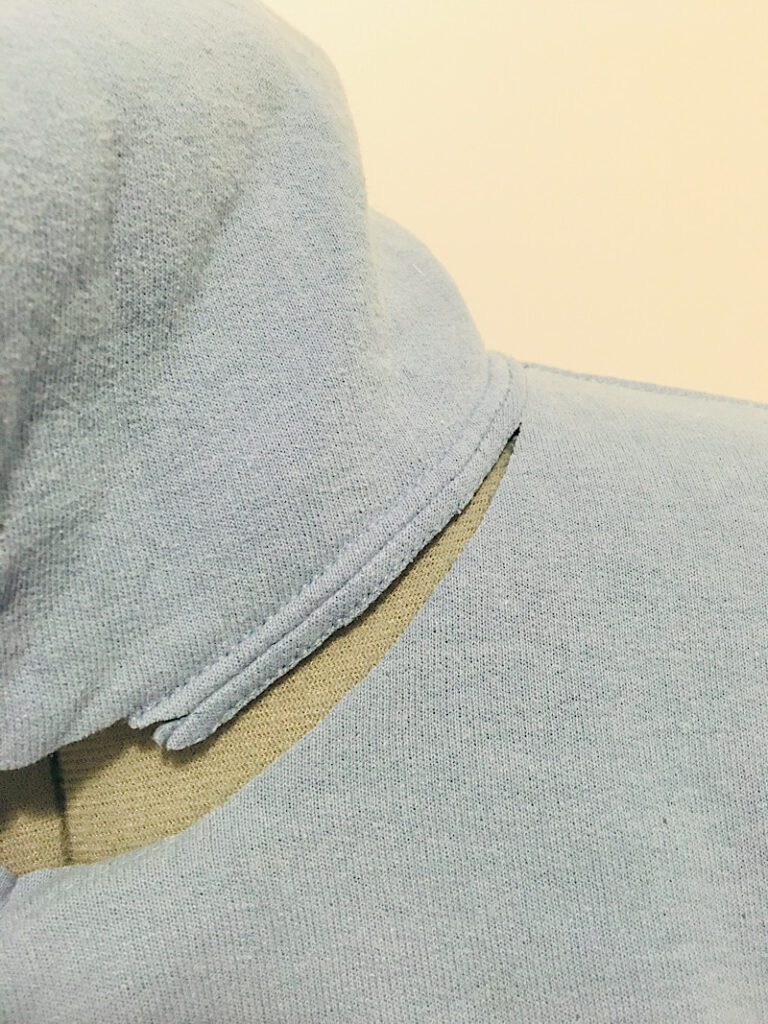
To detach the hood, you want to cut on the bottom coverstich line, as close to the line as you can. Make your cut as smooth as possible.
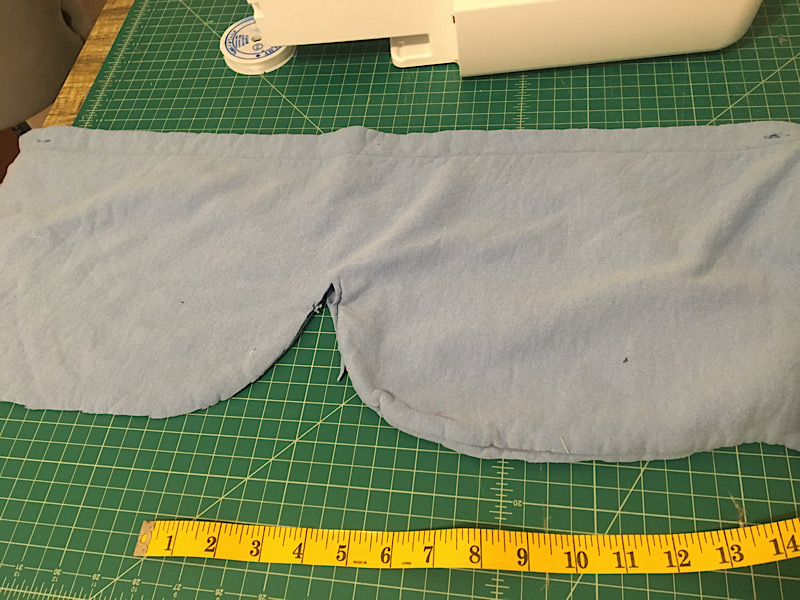
After the hood is detatched, it will look like this.
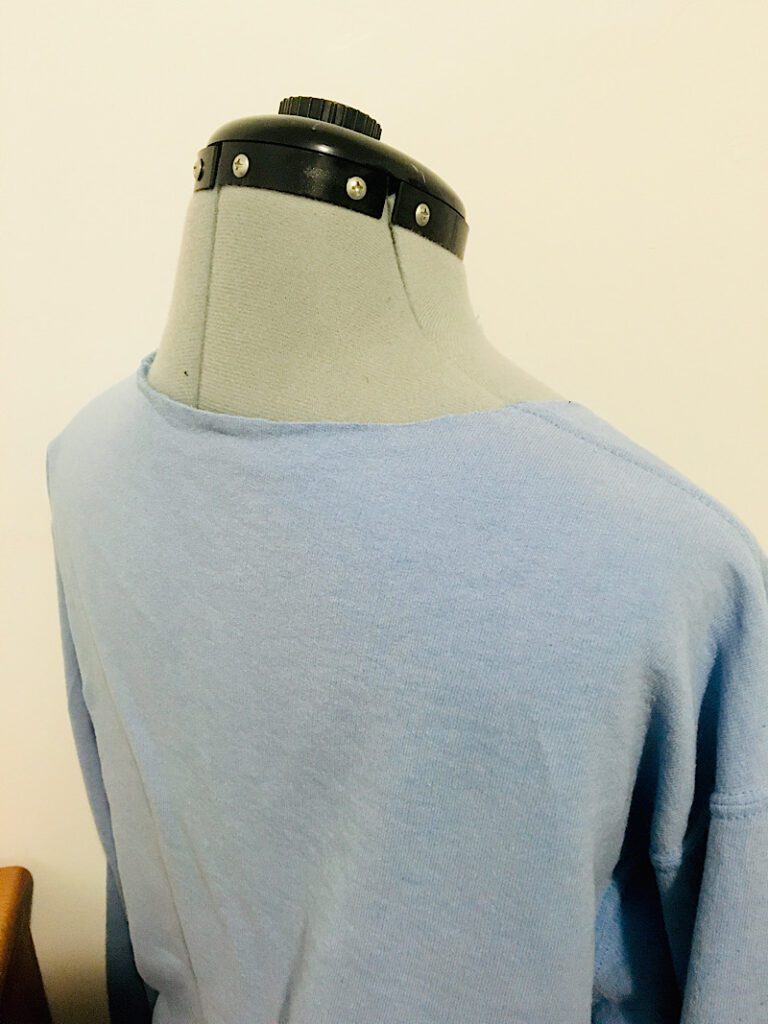
At this point, you can stop and leave the neckline as is. If you like the cut look, you don’t even have to hem the edge.
If you prefer to make a neckband to make it look like the real deal, continue on with step 2.
Step 2. Cut The Neckband
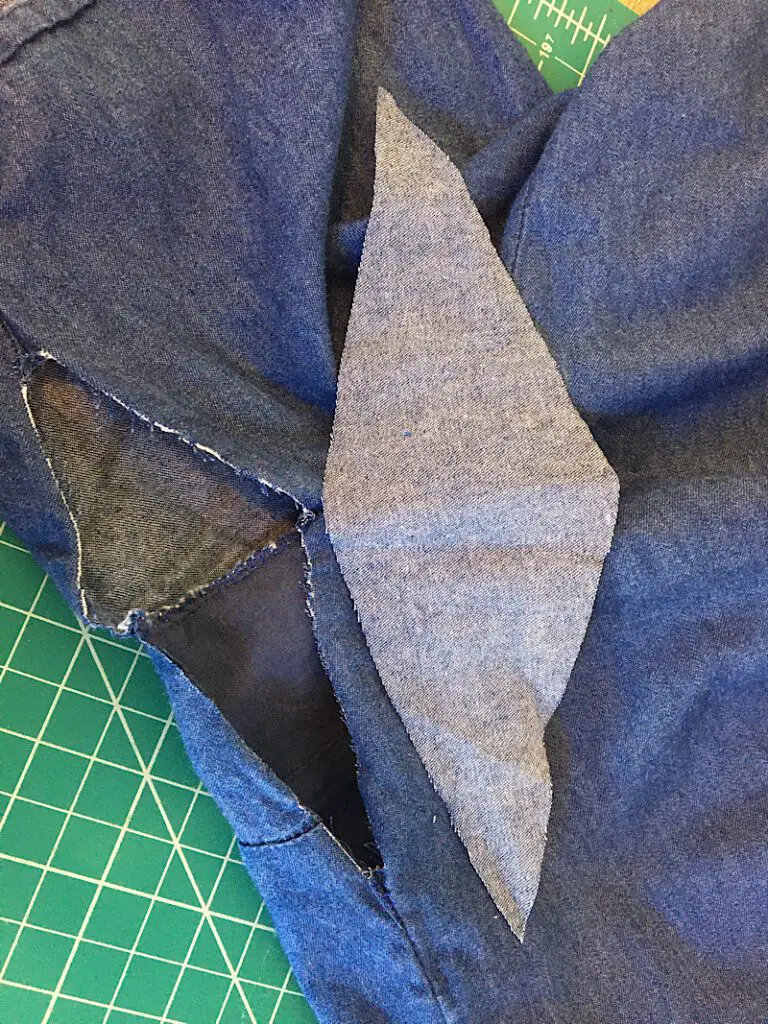
Cut open the hood so that it lays flat on your table. You may have two halves that were sewn together, or one piece like I did. Either is fine.
Measure the circumference of the cut neckline on your hoodie. The easiest way to do this is to straighten it out and measure the line it makes, then times it by 2.
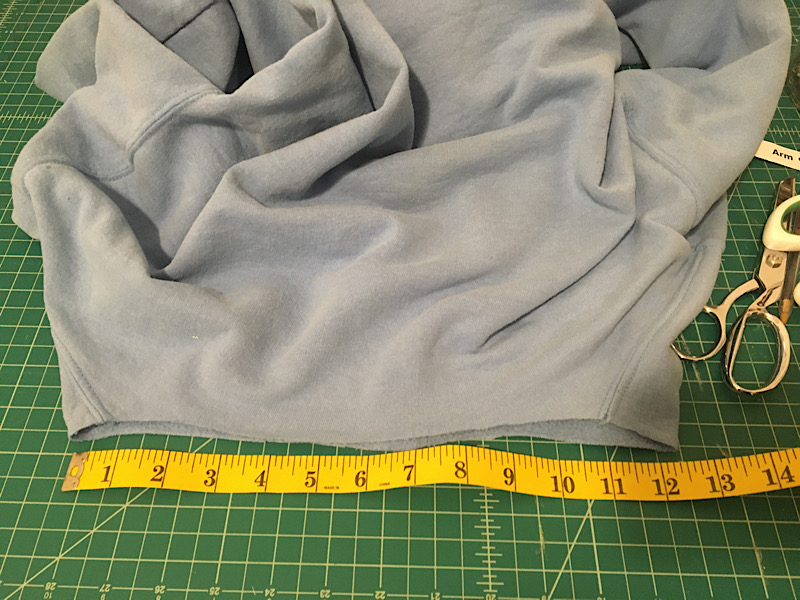
To make the neckband, you will need to cut out a strip of fabric from the hood that is 3 inches wide and 2 inches shorter than the neckline circumference.
If you can’t fit that long of a neckband on the hood, you can cut two pieces and sew them together. Each piece needs to be 3 inches wide, and the length should be equal to half the neckline circumference, minus 1.5 inches.
Cut the pieces along the stretchy grain of the hood, you may need to stretch the hood a few ways to figure out which way it is most stretchy. The strip should stretch lengthwise (the long way) for the best results.
Step 3. Sew & Pin The Neckband
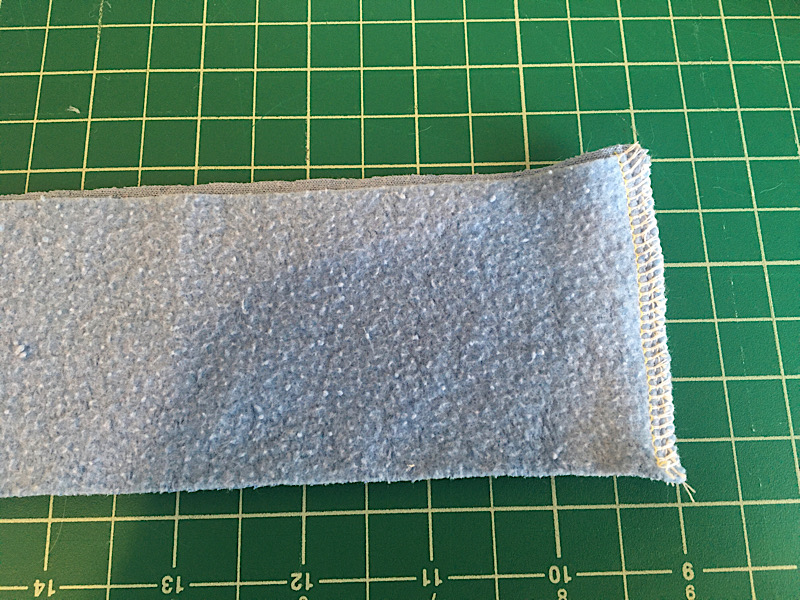
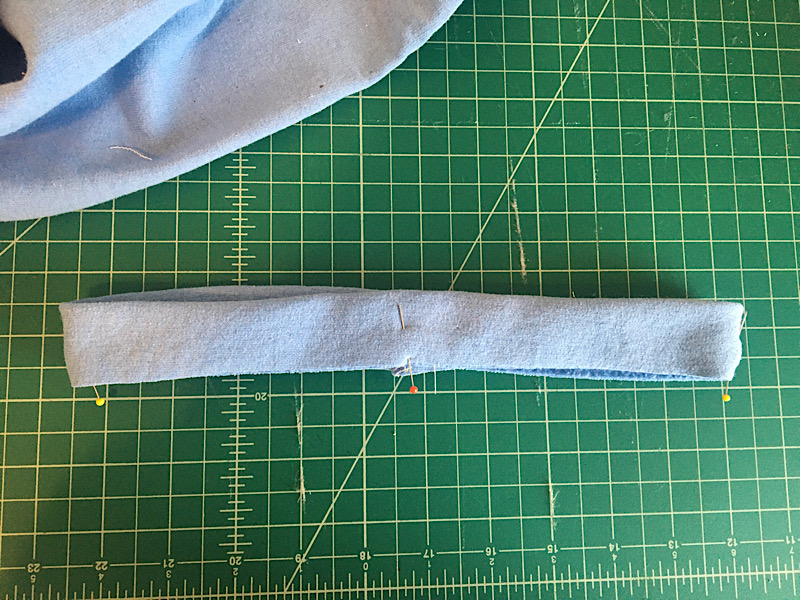
Fold your neckband in half with the right sides touching, and line up the short sides.
Sew down the short side with a 3/8ths inch seam allowance. (I serged mine.) It will now be a neckband loop.
Now, fold up the bottom edge of the loop to meet the top edge. The wrong sides should be touching, and the seam hidden inside.
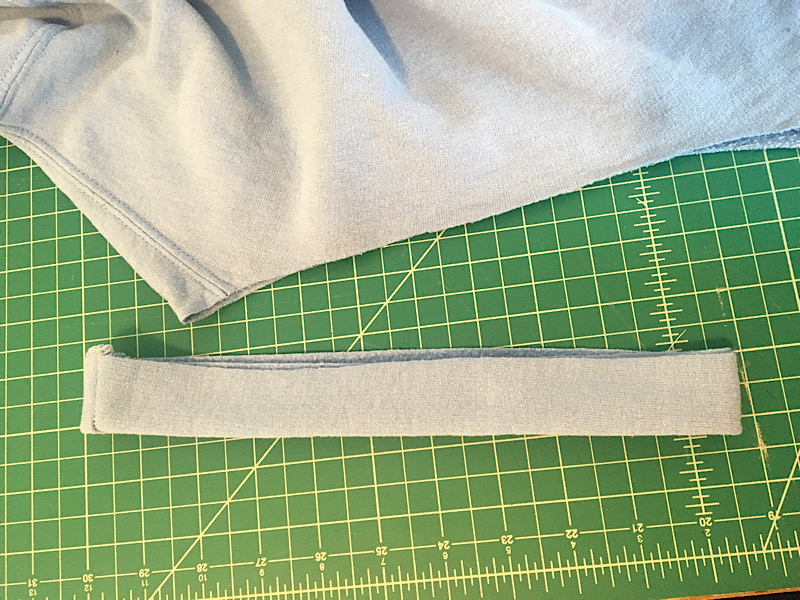
Place a pin in the 4 quarters of the neckband loop. First pin the two side folds. Then fold the neckband so those pins touch and pin the new two side folds.
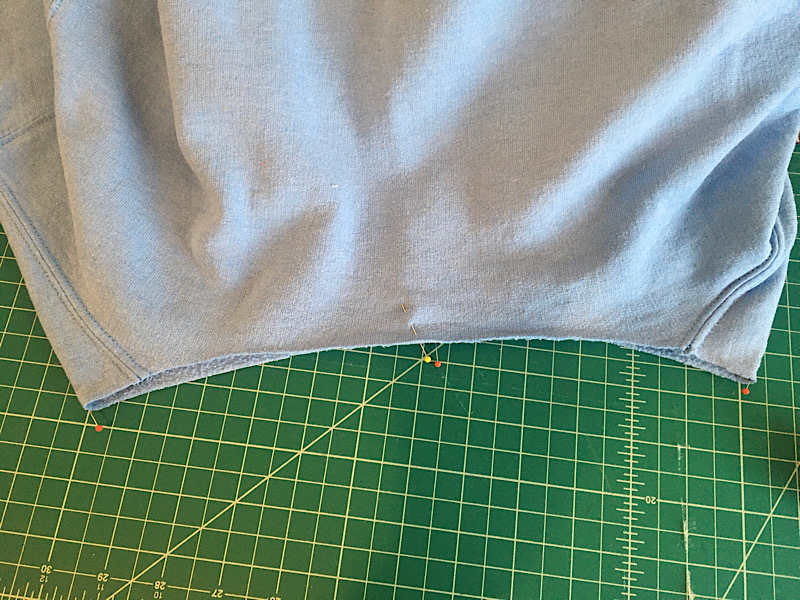
To make sewing the neckband onto the sweatshirt easier, you should also place pins to mark the 4 quarters on the neckline.
The side shoulder seams are not the true halves of the shirt, so make sure to stretch the neckline to find the real halves, then place pins, then line those two pins up to find the quarters.
Step 4. Attach the Neckband
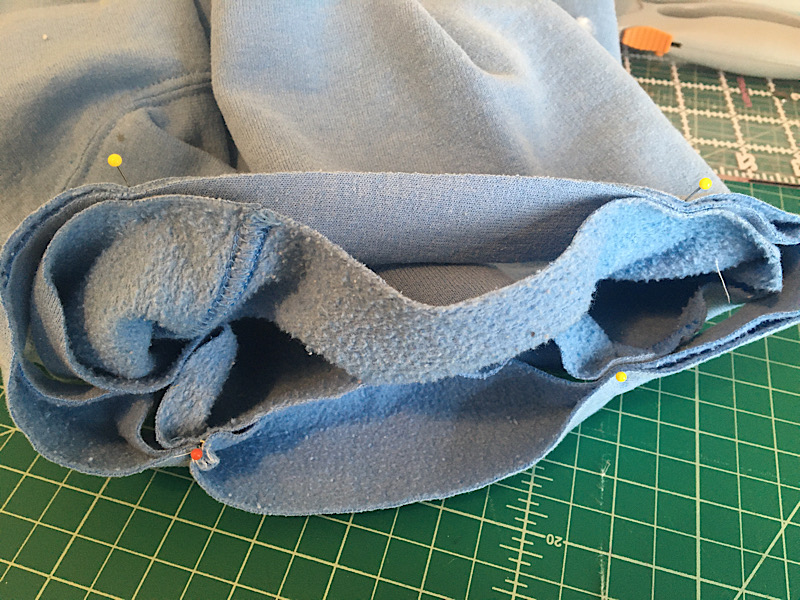
To attach the neckband to the sweatshirt, place the neckband around the right side of the neckline with the right sides facing. Align the pins on the neckband to the pins on the sweatshirt, and pin the neckband on at each quarter.
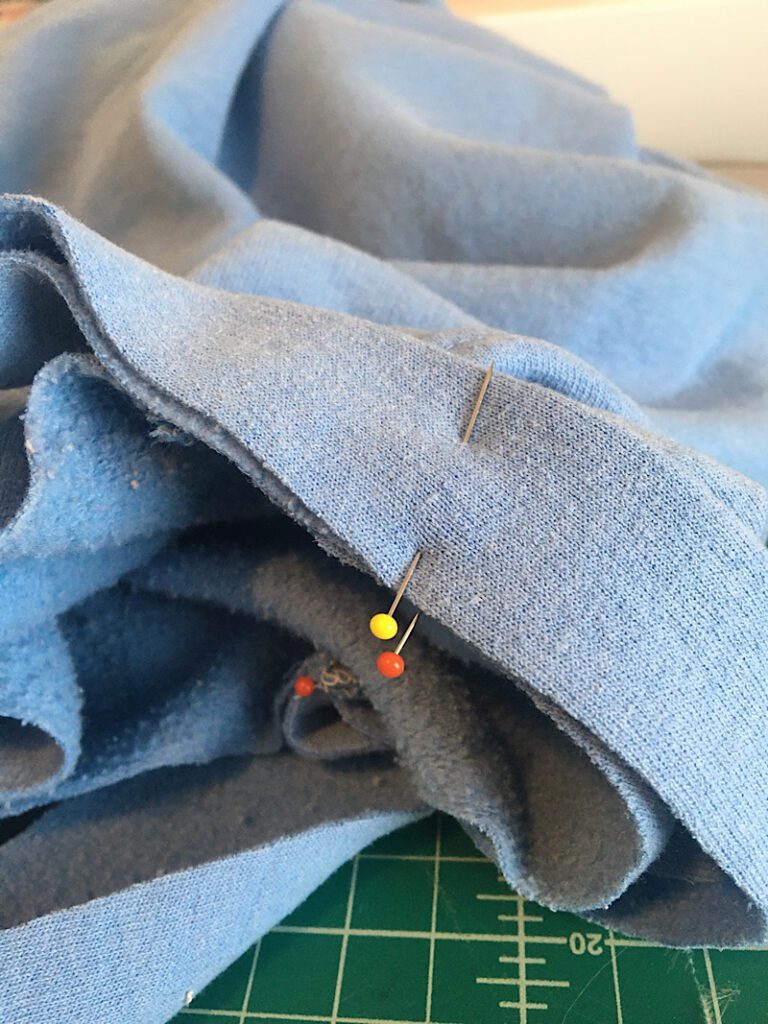
Since the neckband is shorter than the neckline, once it is pinned the neckline of the hoodie will bunch up between each pin. This means you are doing it right!
Now, you just have to sew it on!
While sewing around the neckband, you will have to gently stretch the neckband so the neckline is laying flat against it. This is a little bit tricky at first because you have to pull it to stretch, while also sewing. Go slow and don’t worry if you have to stop and readjust a few times!
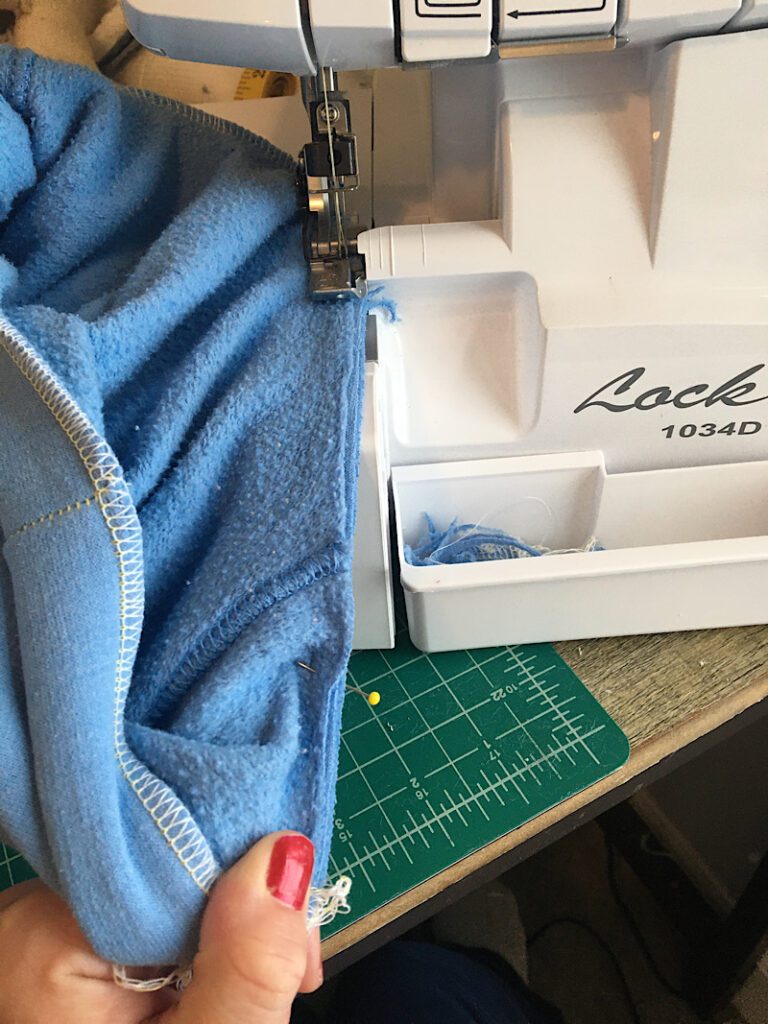
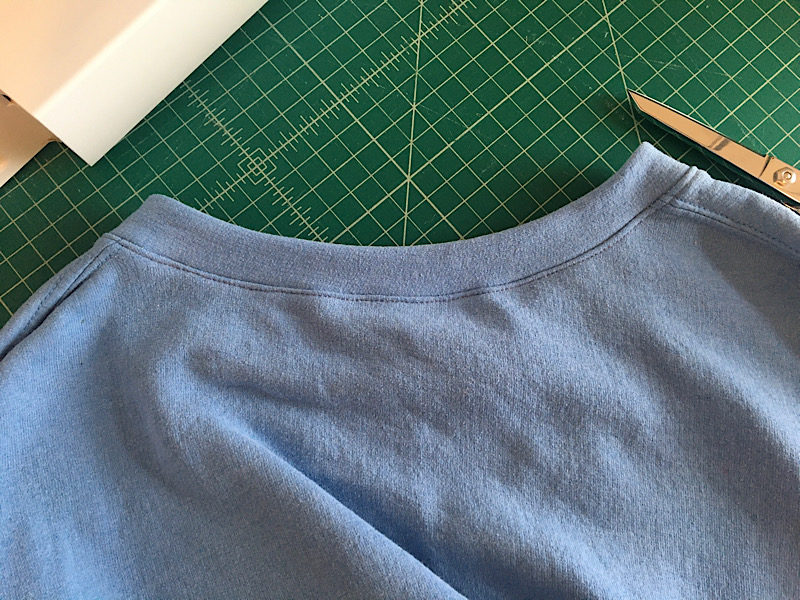
You have now attached the neckband! It looks so good!
You can stop here, but if you want to take it a step further there is one last step you can do to make it look store bought, adding a topstitch.
Step 5. Topstitch Around the Neckband
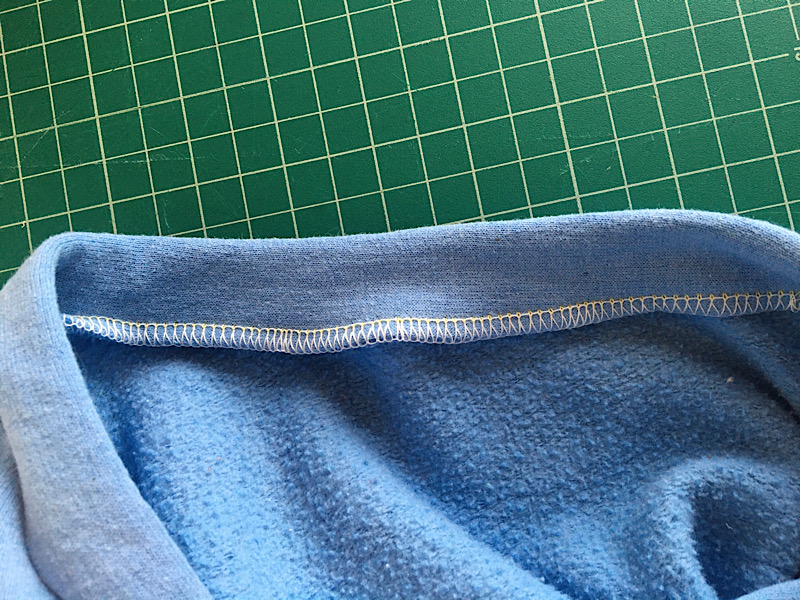
Adding a topstitch really makes your neckband look professional. Look at the inside seam you just sewed. (Mine is serged, so yours may look different.) When topstitching, you want the seam allowance to be pointing down, like in the image below.
Press the seam down all around the neckline with your fingers.
To topstitch, sew a very small stretch stitch (if you turn the width of the stitch down, it won’t look so zig-zagged) around the neckband about 1/8th inch under the seam line. The stitch should hold the seam allowance down, and should be sewn through the middle of it.
You can try to sew a straight stitch if you want, but it may break if you stretch the neckline out too much while putting it over your head, fair warning!
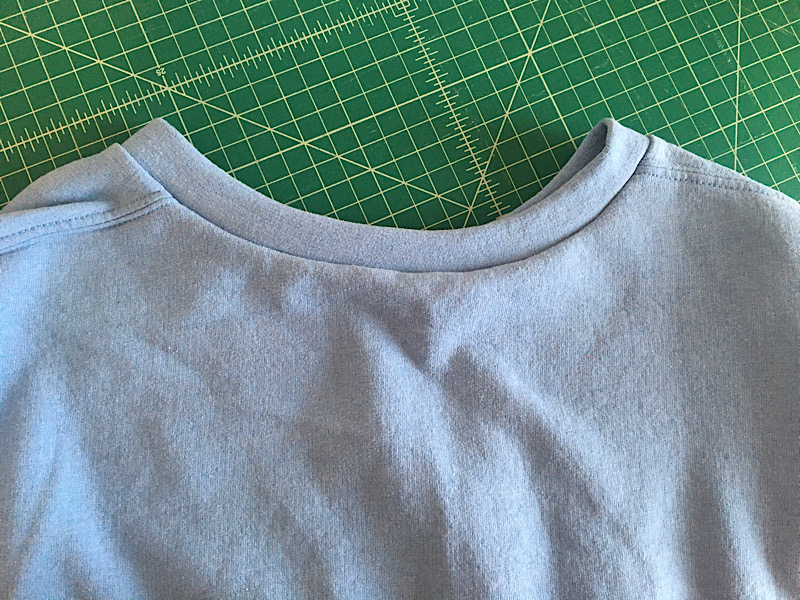
After that, you are totally done!
This completes the hoodie to crew neck refashion!
Let’s take a look at how it looks now…
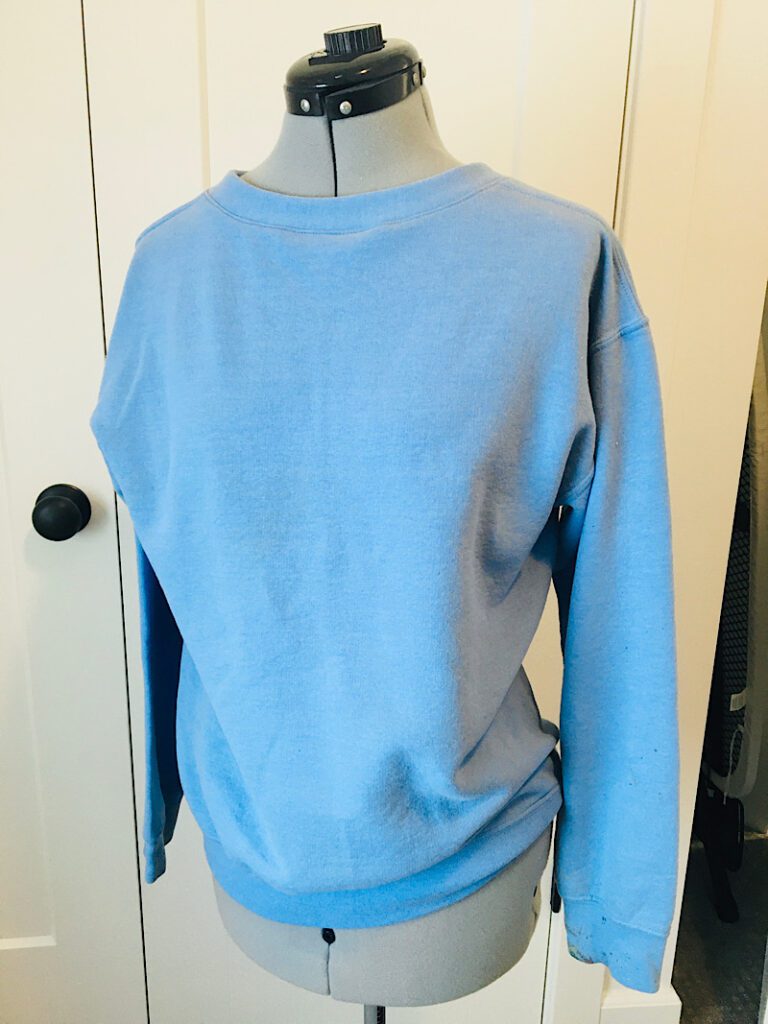
Yours may look different if your hoodie has a pocket. But you would NEVER know it started out as a hoodie! It looks great in my opinion. I can’t wait to wear it more often.
Conclusion
I hope this tutorial was helpful to you as you refashion your hoodie into a crew neck.
If you are confused by any steps, or have questions about the method, leave a comment and I will be sure to answer!
If you liked this article, please pin it to help others find it and sign up for my email list for more.
Make sure to check out my other sweatshirt and shirt alteration walk throughs!

This would have been so useful right now 😔😂 but come to find out when i cut off the hood off the hoodie i threw out the hood 🤦🏽♂️😭 i don’t know what to do now but I need to find a way!! And to make it worse the hoodie i have has some brown black grey bleached design on it and idk how i will be able to replicate that now 🤦🏽♂️
Ivan, You can totally use another coordinating material to make the neckband, it doesn’t even need to be exactly the same. I have seen lots of hoodies that have a colorblocked neckband that is another color. I would go to the thrift store and try to see if there is something that coordinates or somewhat matches.
Do you have a video tutorial on this?
Not yet but I can make one!