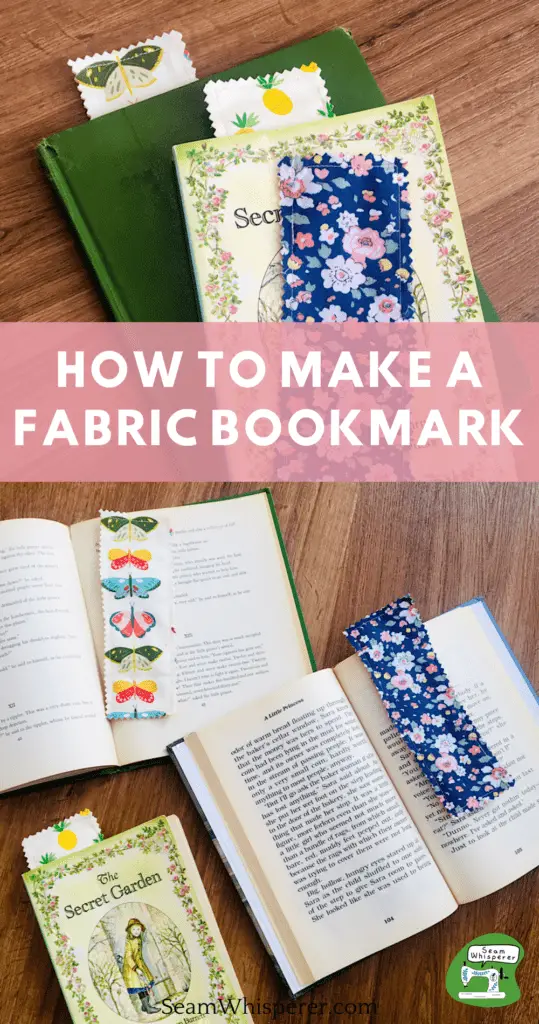
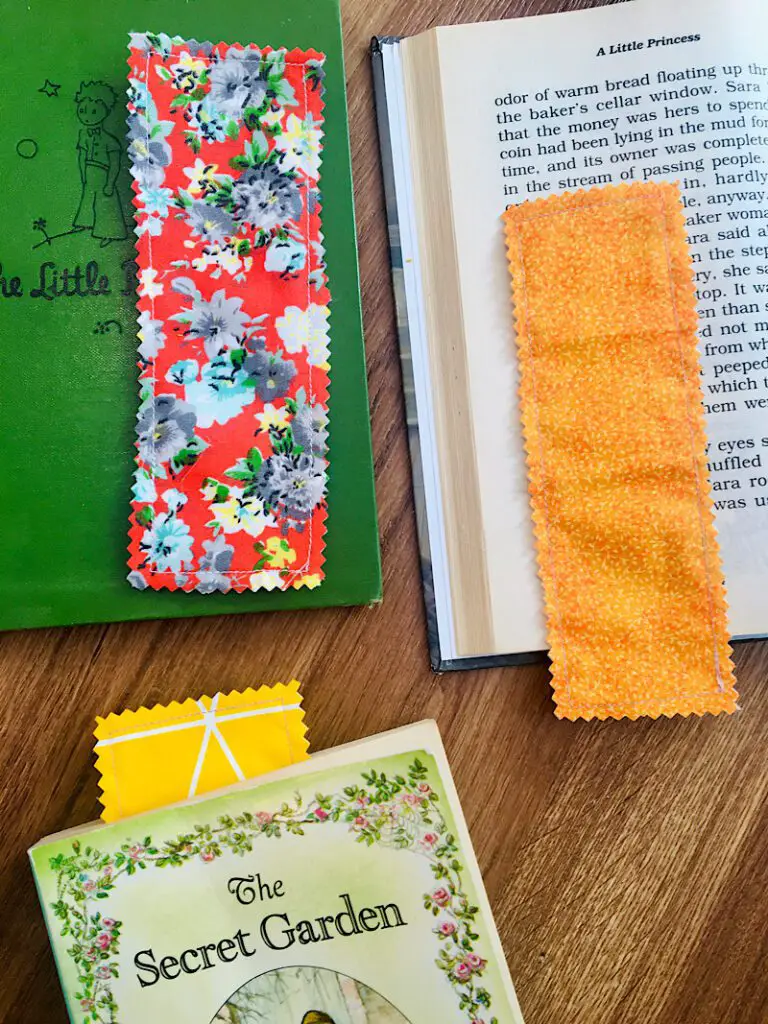
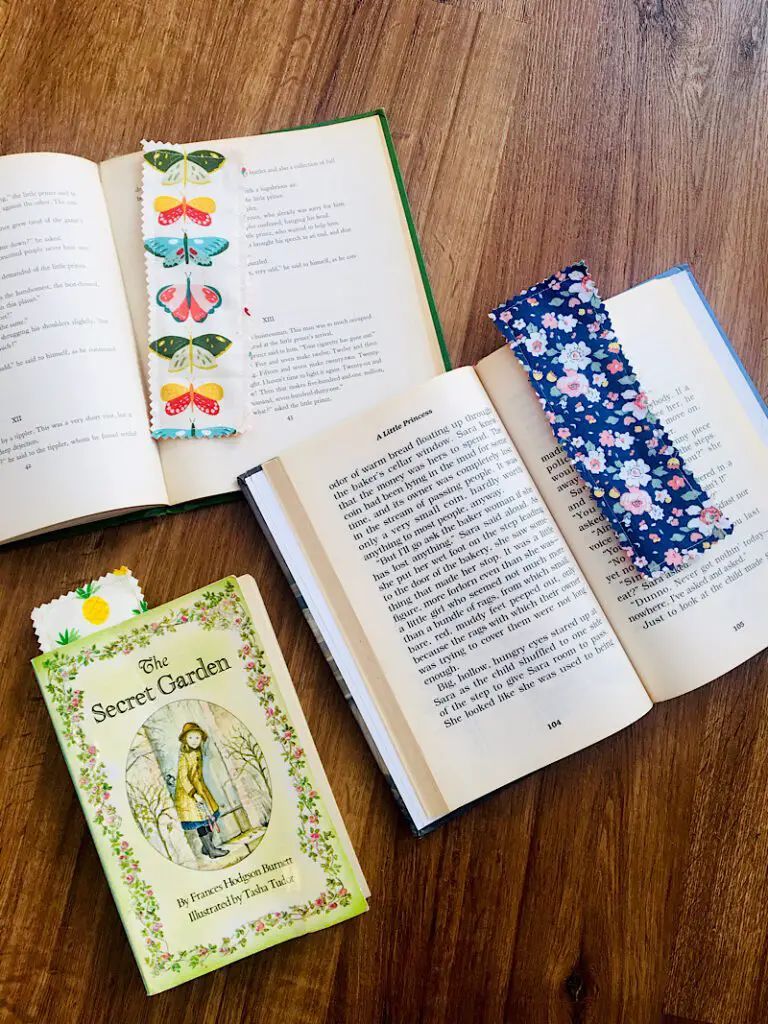
Learn to make an easy and quick fabric bookmark. This is a great beginners project that also makes a nice gift for readers of all ages. Customize with your favorite color of fabric for a reusable and washable bookmark!
I am usually one of those readers who has 5 books going at a time… with not a bookmark in sight.
But when I got a new book recently (the Charlotte Mason Homeschooling series for those who want to know…) I knew I needed a cute bookmark this time!
These fabric bookmarks are SO easy, fast, and fun. I whipped up three in about 10 minutes, and you can too.
This post may contain affiliate links. Read the full disclosure here.
About This Tutorial
This tutorial is best suited for quilting cotton material because it is thin, not stretchy, and comes in many colors/designs.
However you could try it with other types of fabric if you want to be adventurous. (The bookmarks shouldn’t be too thick though, or they won’t fit in your book!)
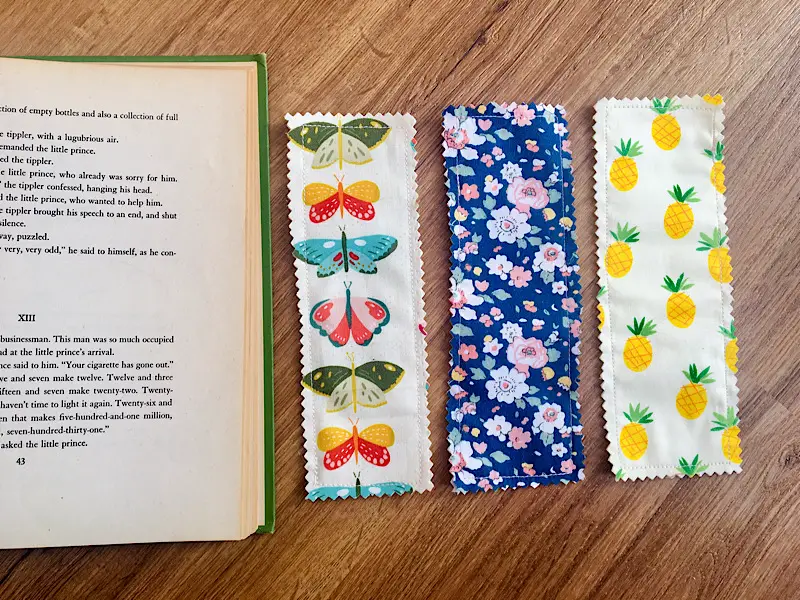
These book marks end up being around 2X7 inches in size, but feel free to make them whatever size you want. You can also write your name on them (or use HTV to iron on your name with vinyl).
You could also use jelly rolls for these bookmarks, but they will end up slightly thinner than my examples in this tutorial.
Supplies Needed
- Sewing Machine
- Fabric Scissors
- Pinking Shears
- Sewing Pins
- Iron and Ironing Board
- Rotary Cutter, mat, and acrylic ruler (optional but highly recommended)
Materials Needed
- 2 pieces of lightweight quilting cotton, 3×9 inches each.
- 1 piece of lightweight fusible interfacing
- Matching Thread
How To Make A DIY Fabric Bookmark
Step 1. Cut Out The Materials
Use your rotary cutter & ruler to cut out a front and back for your bookmark, 3″x9″ each. (I made three at a time.)
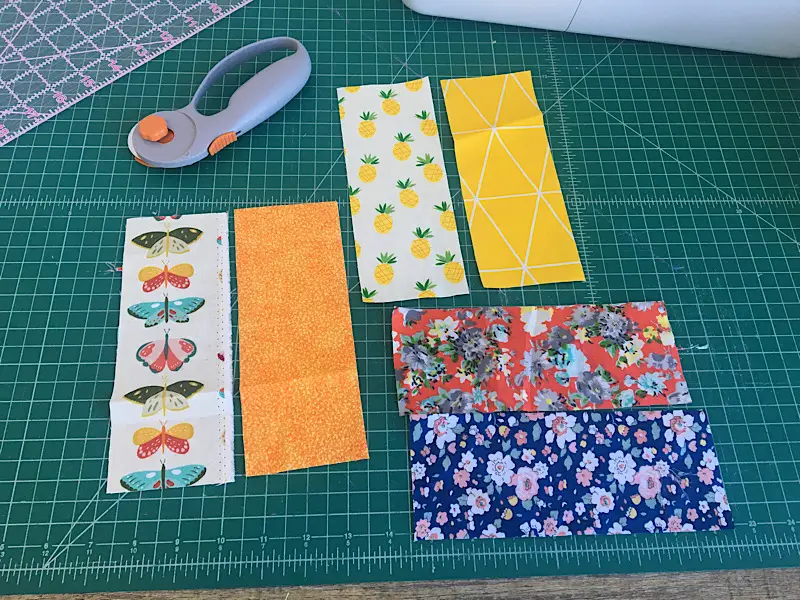
Then cut out a piece of interfacing, 3″x9″ also.
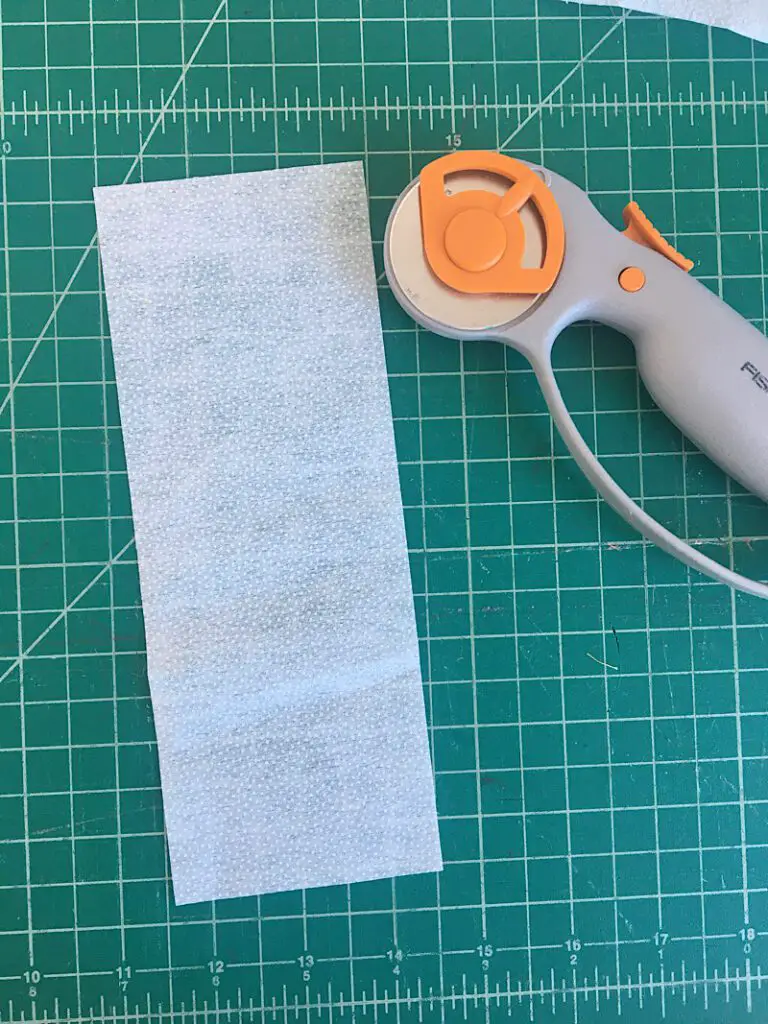
Step 2. Fuse The Interfacing
Fuse the interfacing to the back of one of the rectangle pieces, following the directions on your specific interfacing.
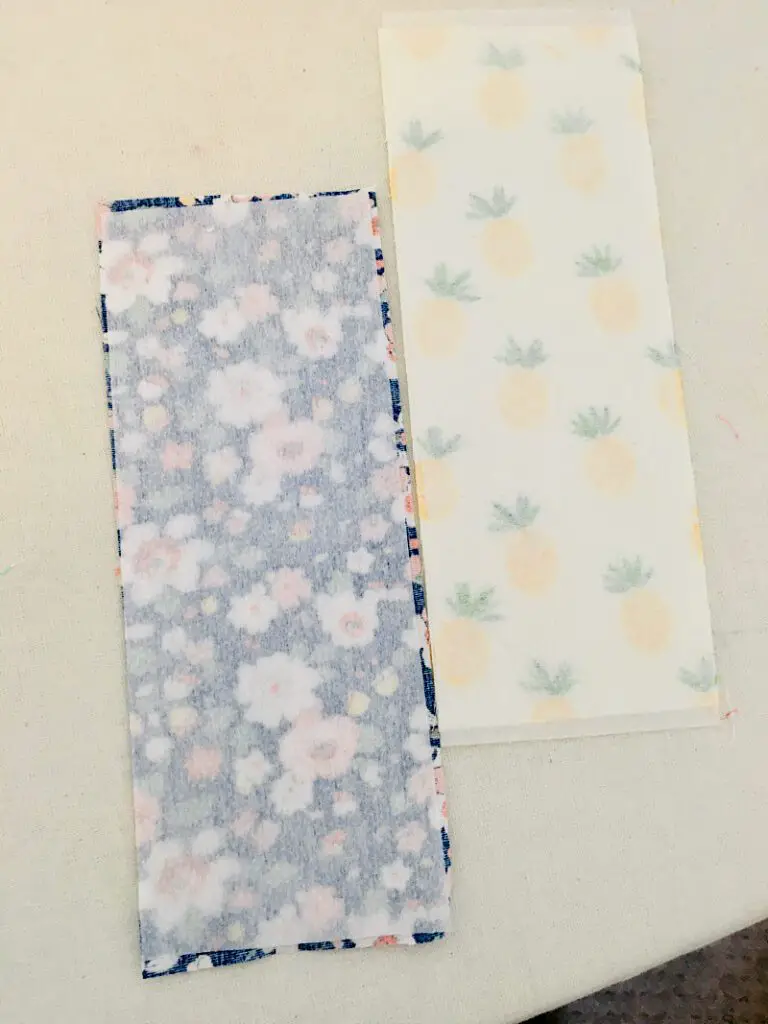
Then, lay the other piece of fabric on top, with the wrong side touching the interfacing on the piece below it. The right sides of both the front and back pieces of fabric should be facing outwards when they are stacked together.
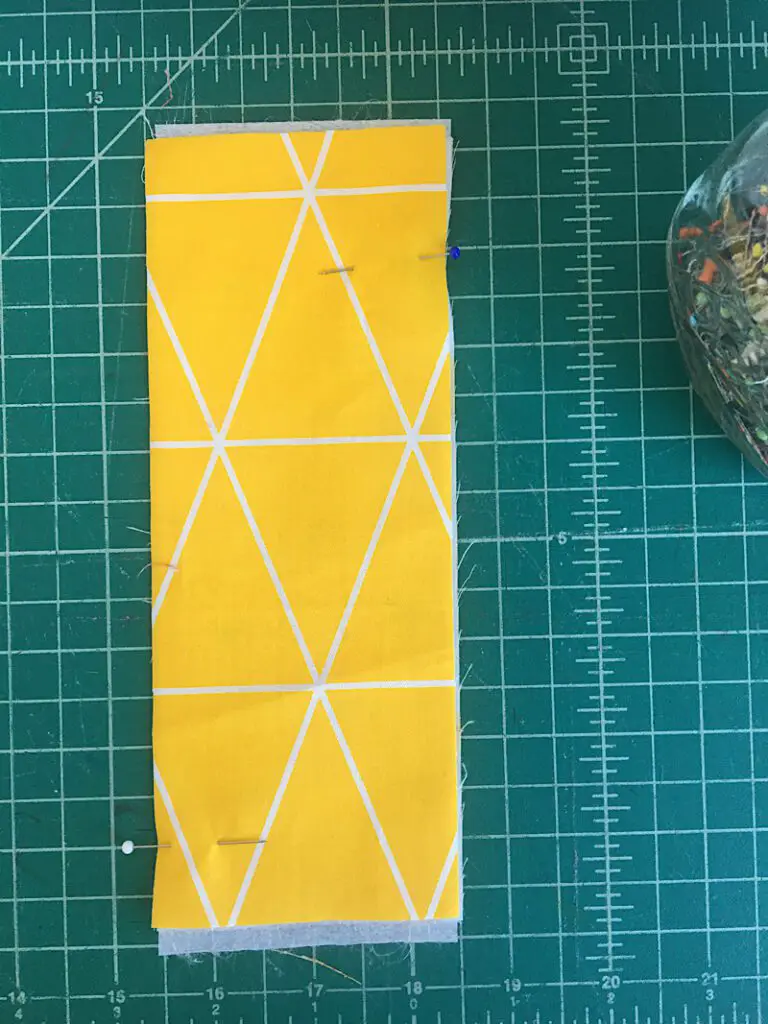
Step 3. Sew The Bookmark
Pin around the edges of the fabric pieces to hold them together.
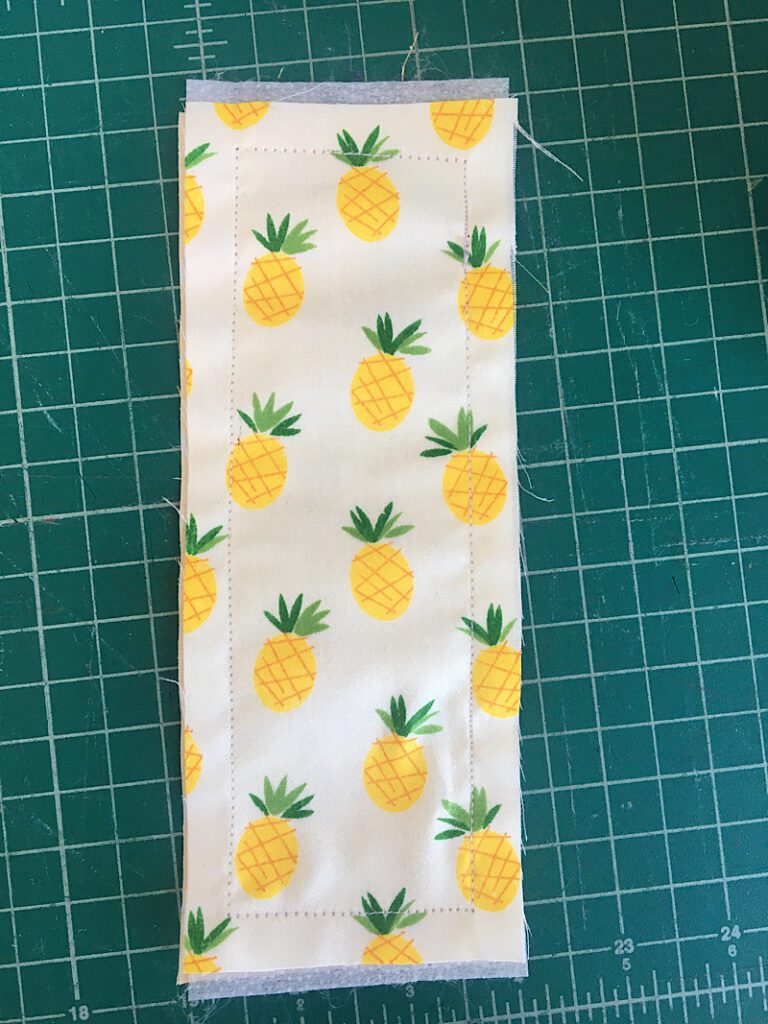
Now, sew around the perimeter of the bookmark with a 3/8ths inch seam allowance. When you get to a corner, stop 3/8ths inch away from the edge, raise the presser foot, pivot the fabric underneath, and then sew down the next side.
Make sure to backstitch at the beginning and end.
When you are done sewing, there will be a nice rectangle in the center of the fabric.
Step 4. Trim The Edges
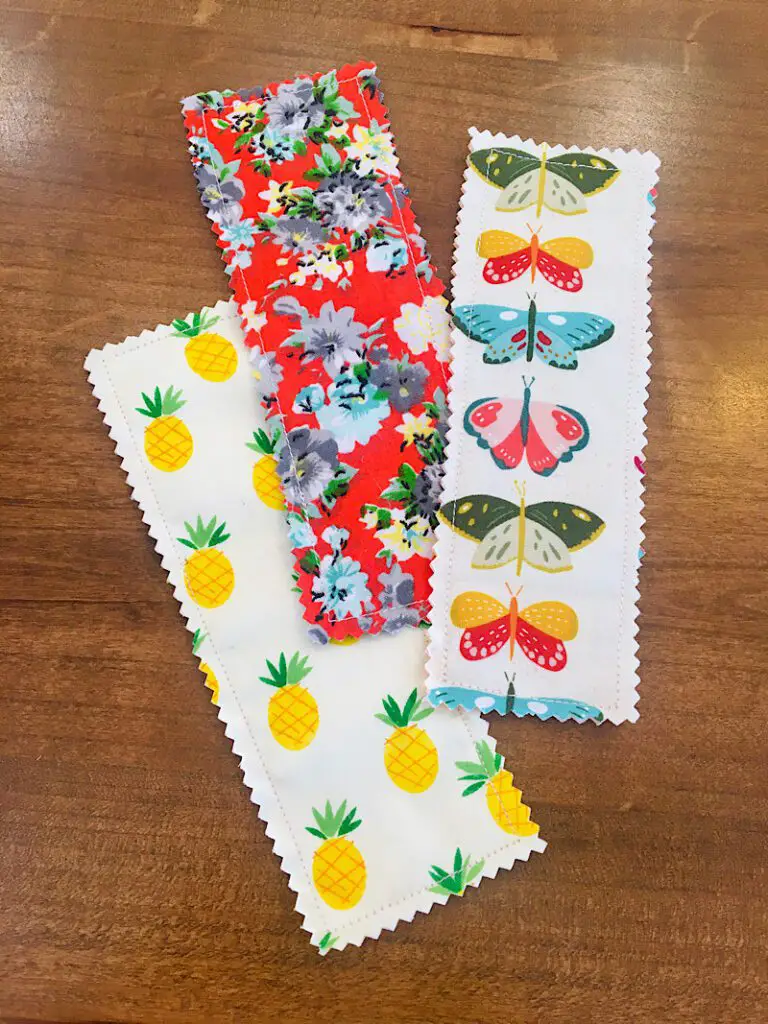
With pinking shears, trim around the edges of the bookmark. Don’t cut too close to the stitch line, you don’t want to cut through it.
Pinking shears reduce the likelihood of fraying, and also add a nice zig zag design!
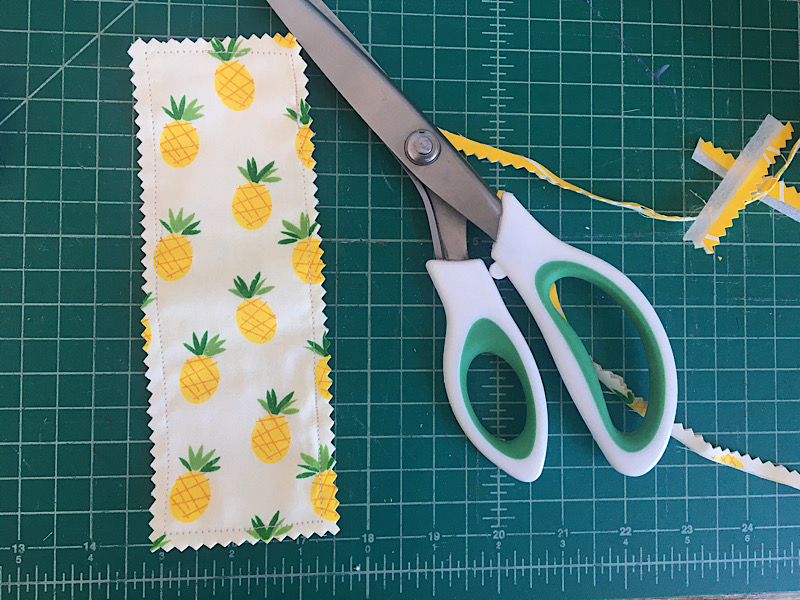
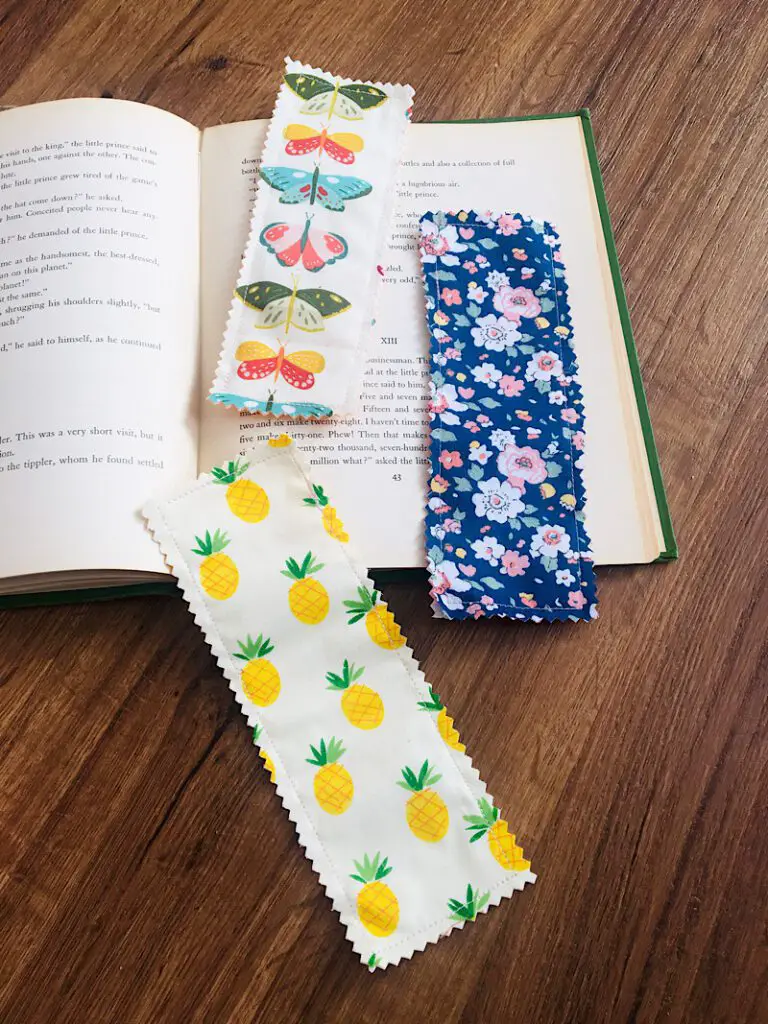
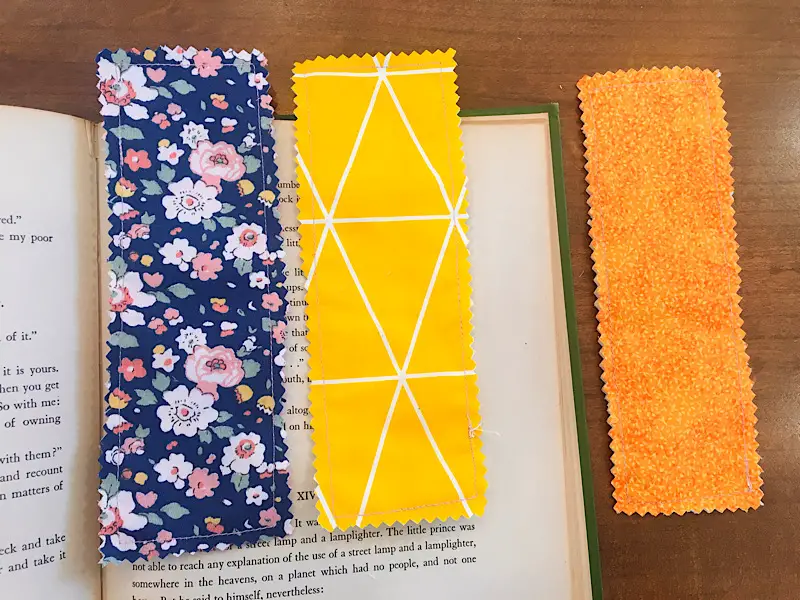
Now your bookmark is complete!
Go stick it in a book to try it out!
Conclusion
I am really happy with how these bookmarks turned out. They have so many positive features:
- They are reusable
- They are washable
- They are Double Sided
- They are fast to make
- They are CHEAP to make!
- Great for gifts
- Great as a first sewing project
- They are thin but not too floppy
I also have to point out that these little bookmarks are super customizable. If you want them to be different dimensions, go for it! You could even make them a different shape, such as with a “ribbon” style bottom, or pointed ends.
Let me know if I can help you with this tutorial, and make sure to join my email list to stay up to date!
If you liked this tutorial, please Pin this post and share it with your friends.