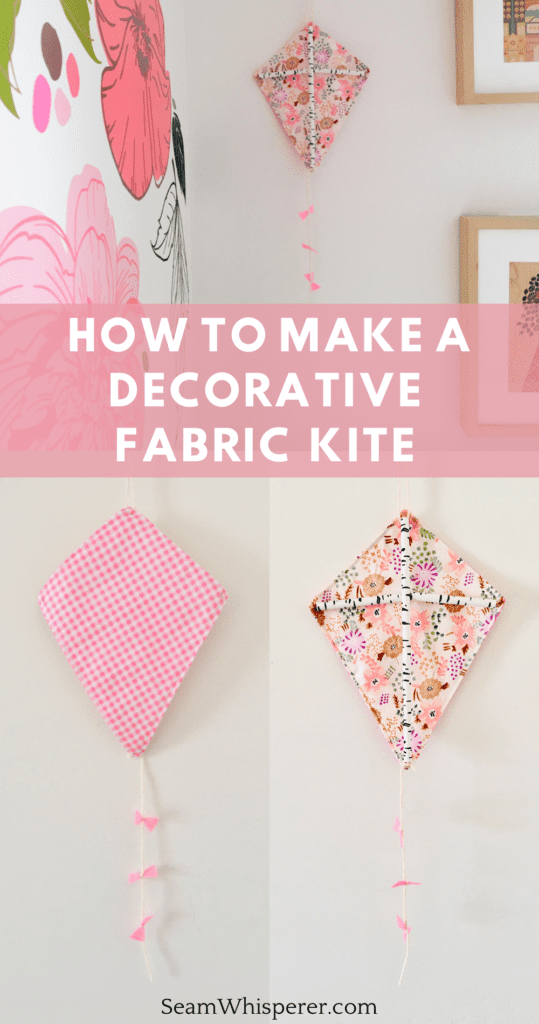
Make a beautiful and decorative fabric kite with this easy sewing tutorial! These little kites are perfect for hanging on the wall in a child’s room.
I’m not very good at making real kites, but I could make decorative kites all day!
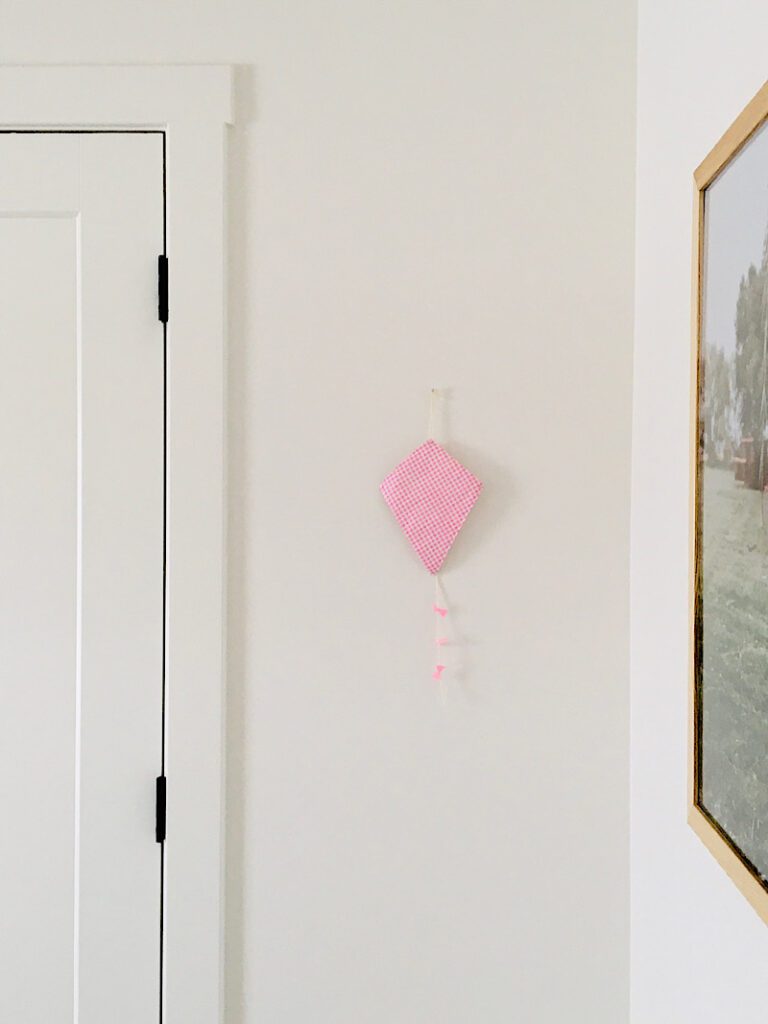
These kites are made from fabric, string, and straws. You could even make them smaller and hang them on your door knob for a fun spring look.
This post may contain affiliate links. Read the full disclosure here.
About This Tutorial
This fabric kite is not flyable, because it is meant to be a decorative item. It can be made the size I show in this tutorial, or smaller.
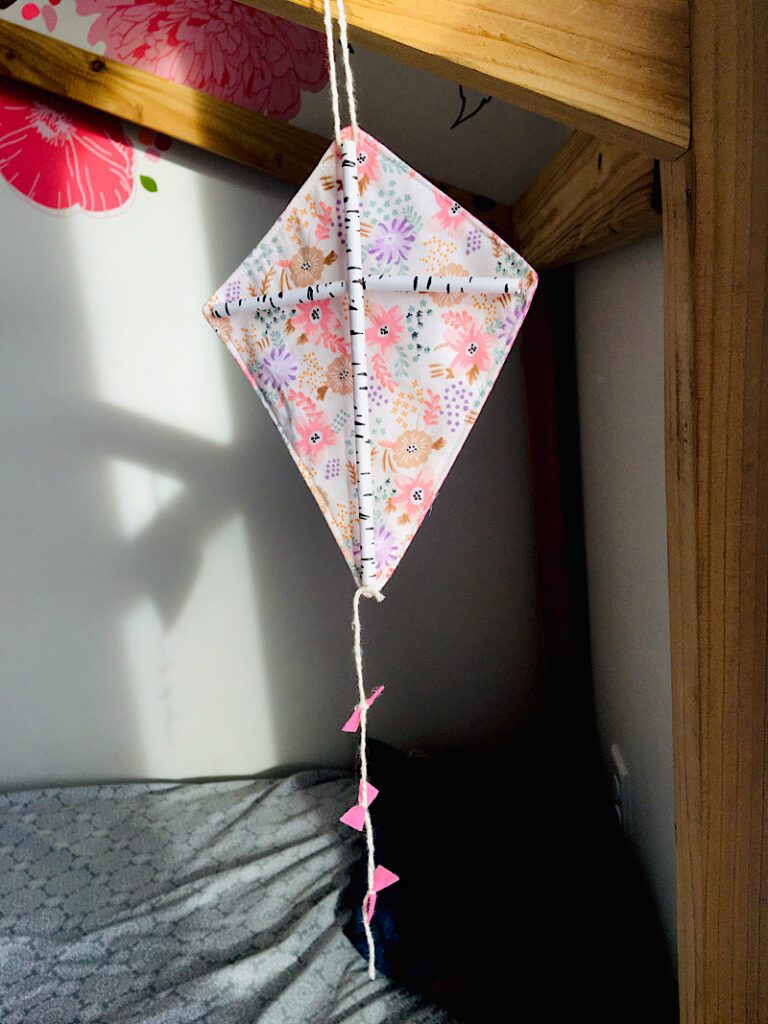
This kite is double sided, which means it looks good from both sides and would work great on a mobile.
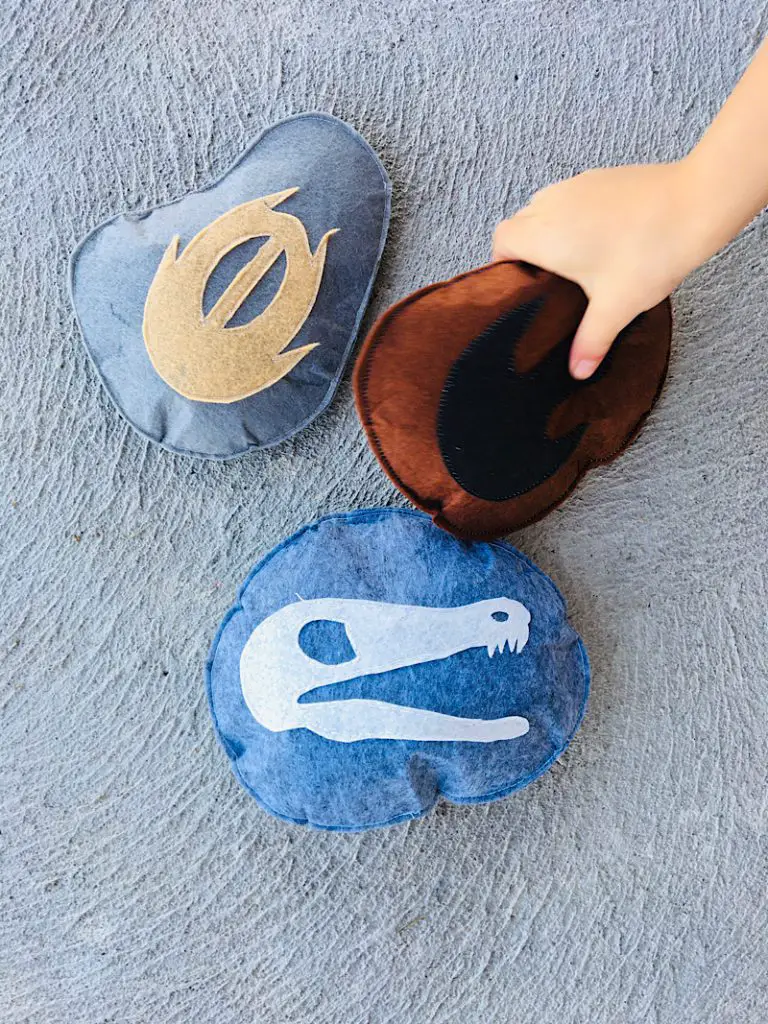
I used felt to make the bows for the string, but you can sew matching fabric bows if you prefer!
Supplies Needed
- Sewing Machine
- Fabric Scissors
- Large Hand Sewing needle
- Rotary Cutter, Mat, and Acrylic Ruler (Optional but recomended)
- Iron and Ironing board
Materials Needed
- 2 pieces of Quilting Cotton, 8×10 inches each (I used two different colors for the front and back)
- 2 pieces of light fusible interfacing 8×10 inches each
- 2 Paper Straws
- Embroidery floss or thick thread
- Cotton String for the kite tail and loop
- Coordinating color of Felt for the bows on the kite tail
- Matching thread for sewing machine
- 1 Piece of 8.5×11 copy paper to make the pattern
How To Make A Fabric Kite Decoration
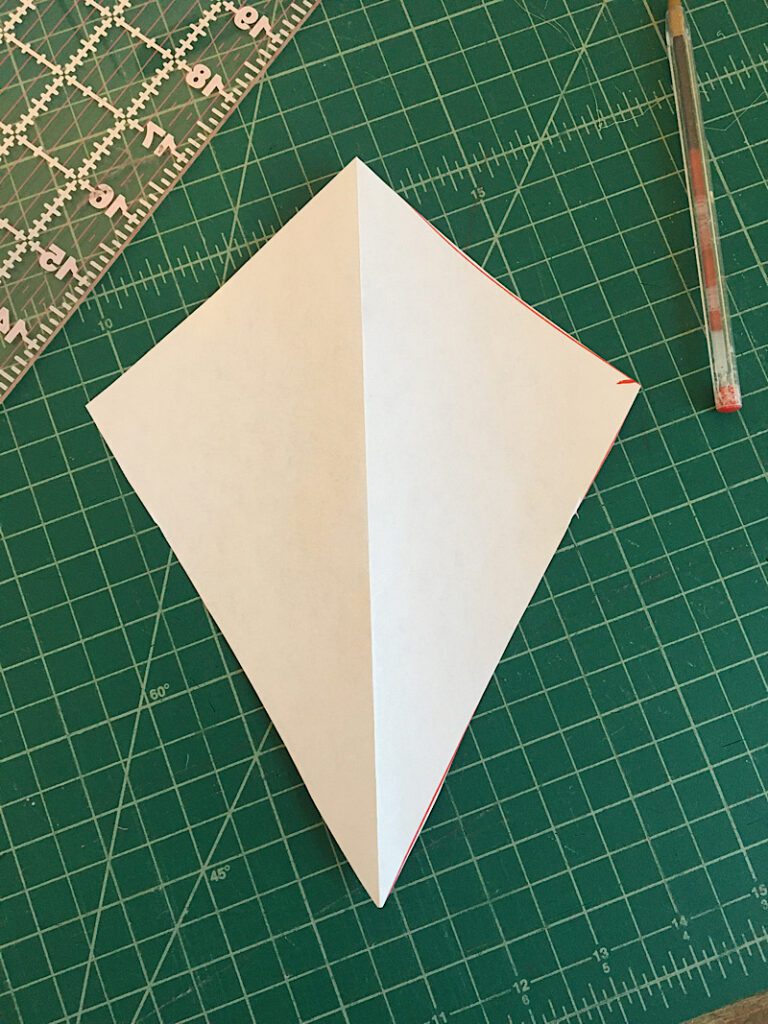
Step 1. Make Your Kite Pattern
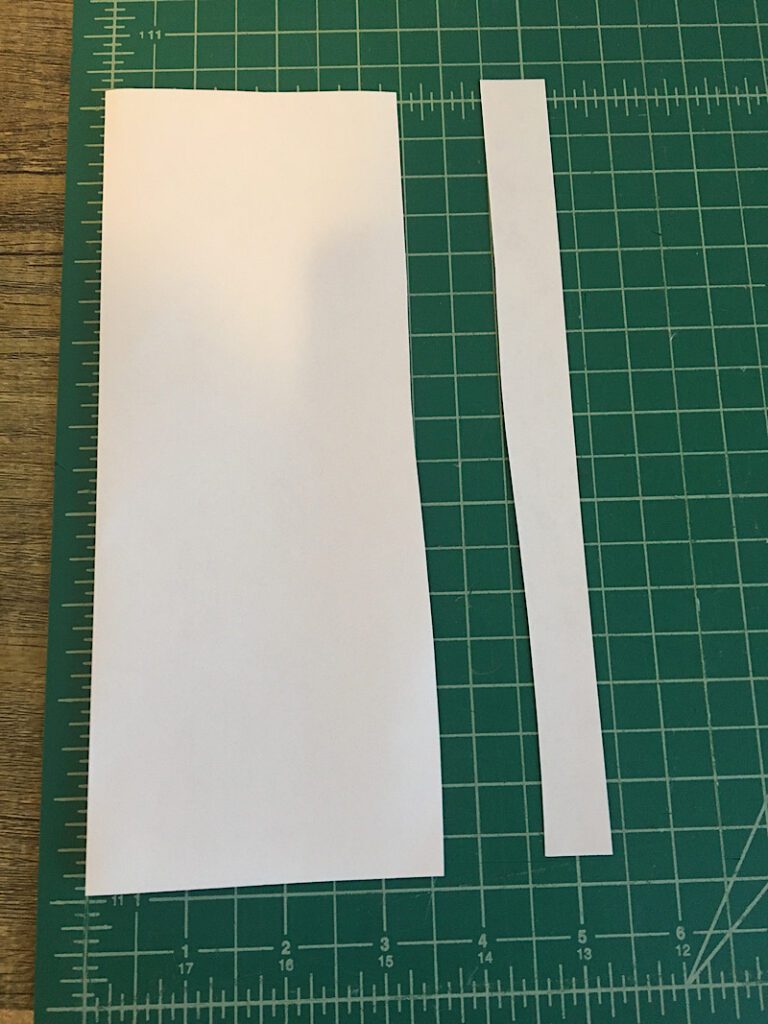
Take your piece of copy paper, and fold it in half so the long sides are lined up.
Cut off the end of the paper so it becomes 9 inches tall.
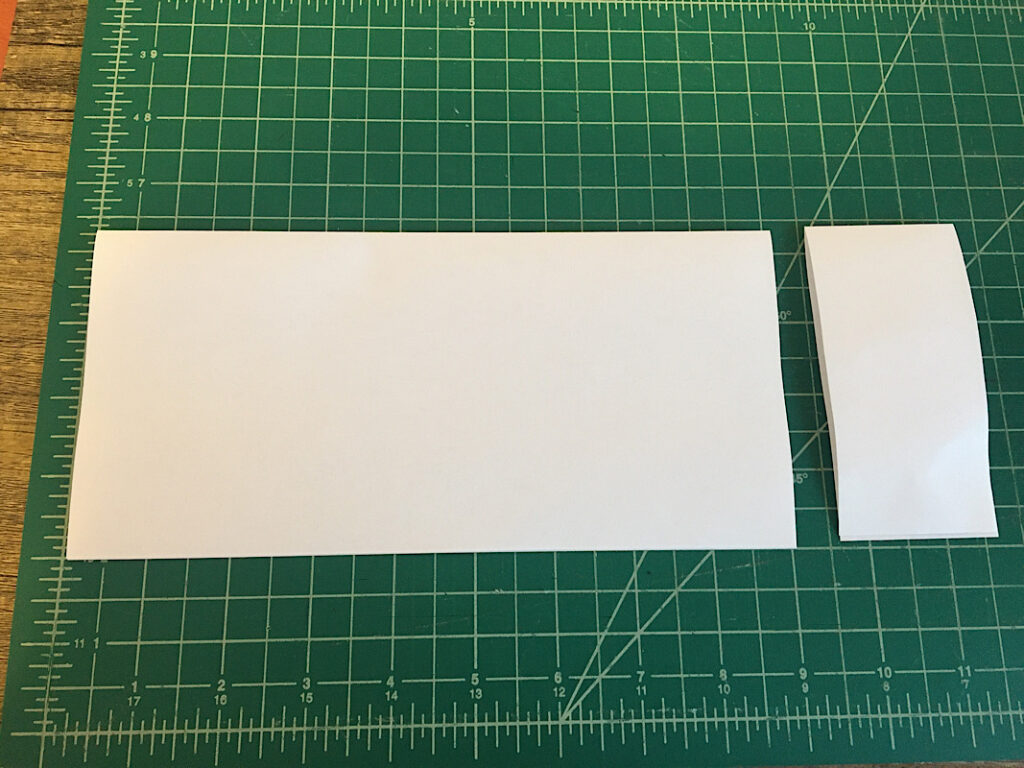
Then, cut off a strip from the non-folded side to make the paper 3.5 inches wide when it is folded in half (7 inches wide when it is opened).
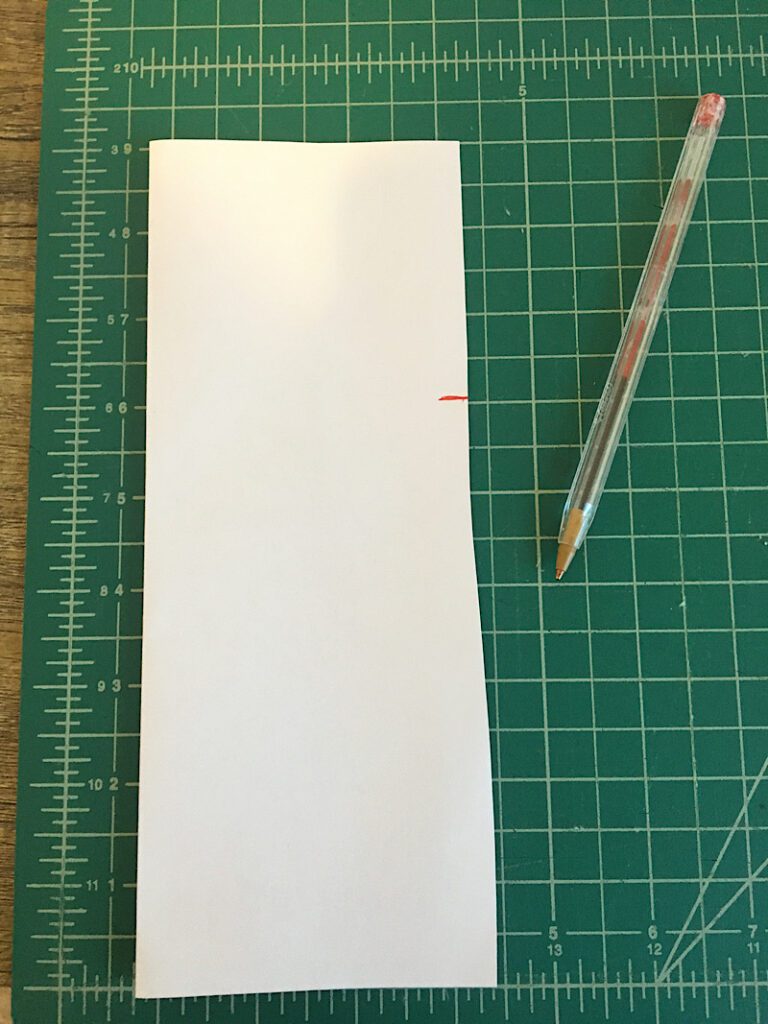
Measure down three inches from the top of the paper, and make a mark on the non-folded edge.
Using your acrylic ruler, make a line from the bottom folded corner, up to the mark you just made, and draw a line.
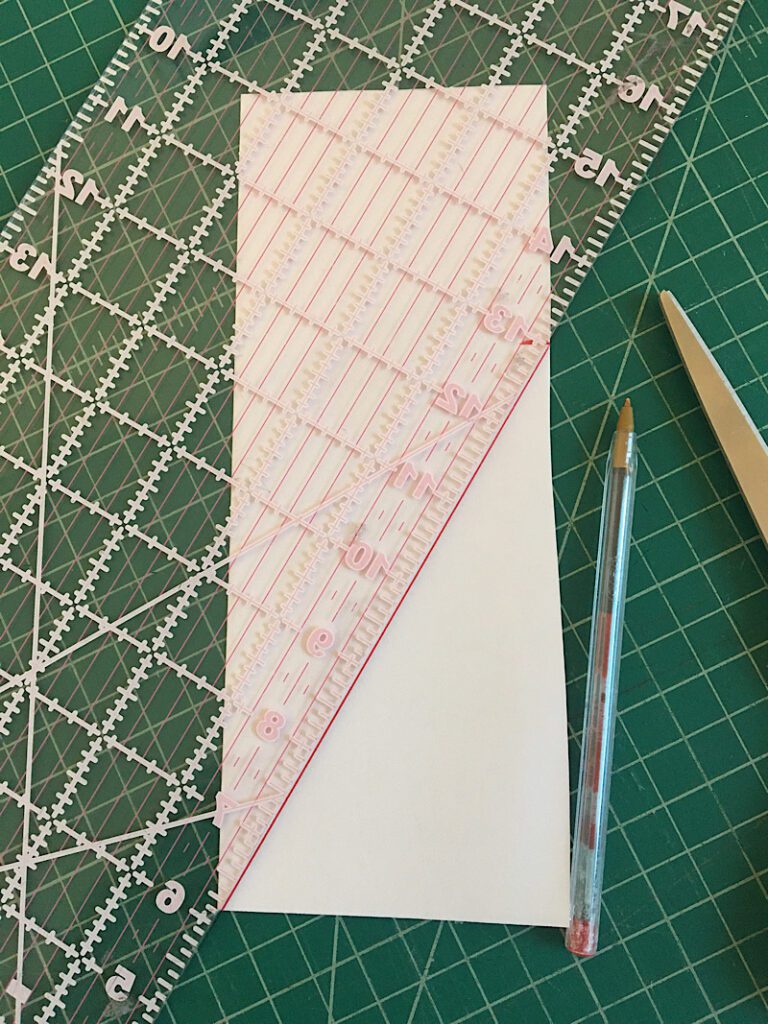
Then draw a line from the top folded corner, to the same mark.
You should now have half a diamond shape on your paper.
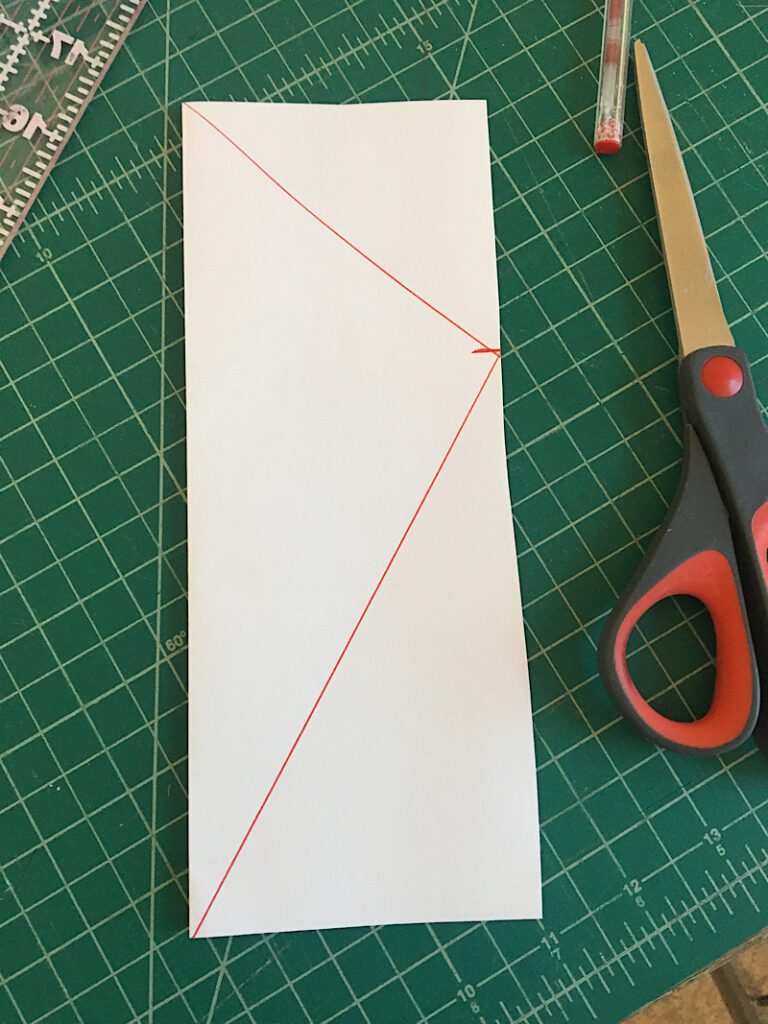
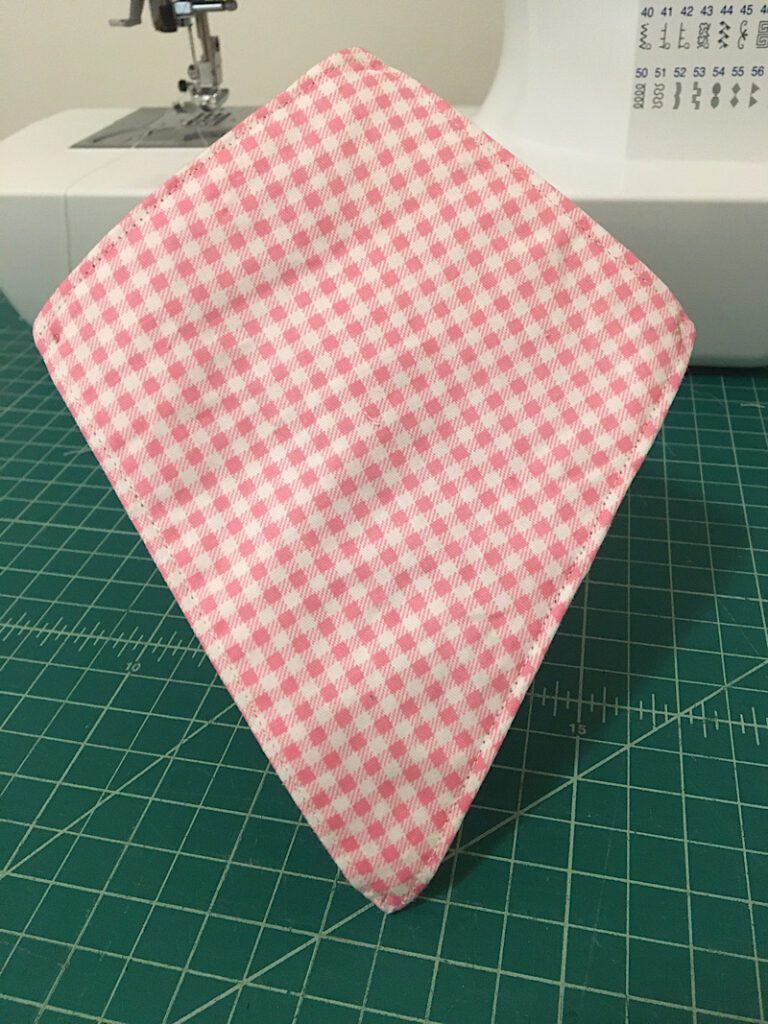
Cut on the two lines you just drew, and open up the paper to reveal your kite pattern!
Step 2. Sew The Kite Shape
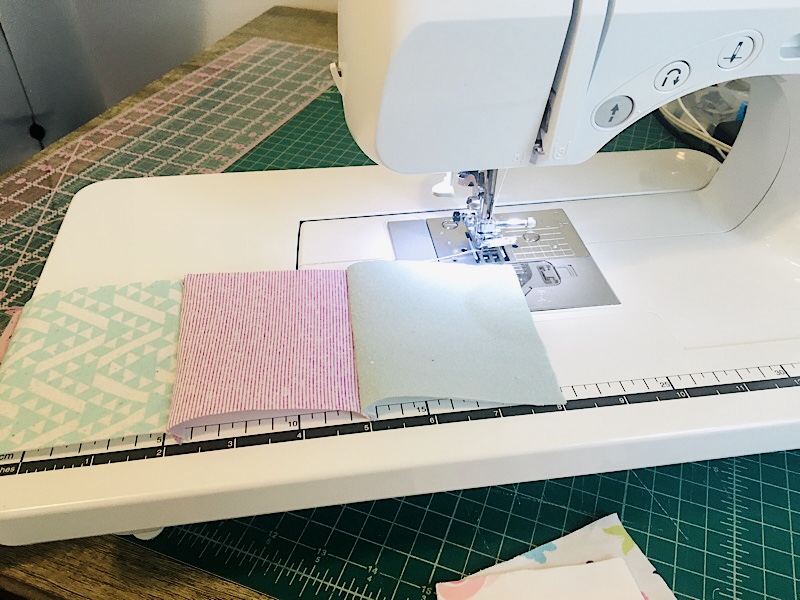
Use your paper pattern to trace and cut out two pieces of quilting cotton, and two pieces of interfacing.
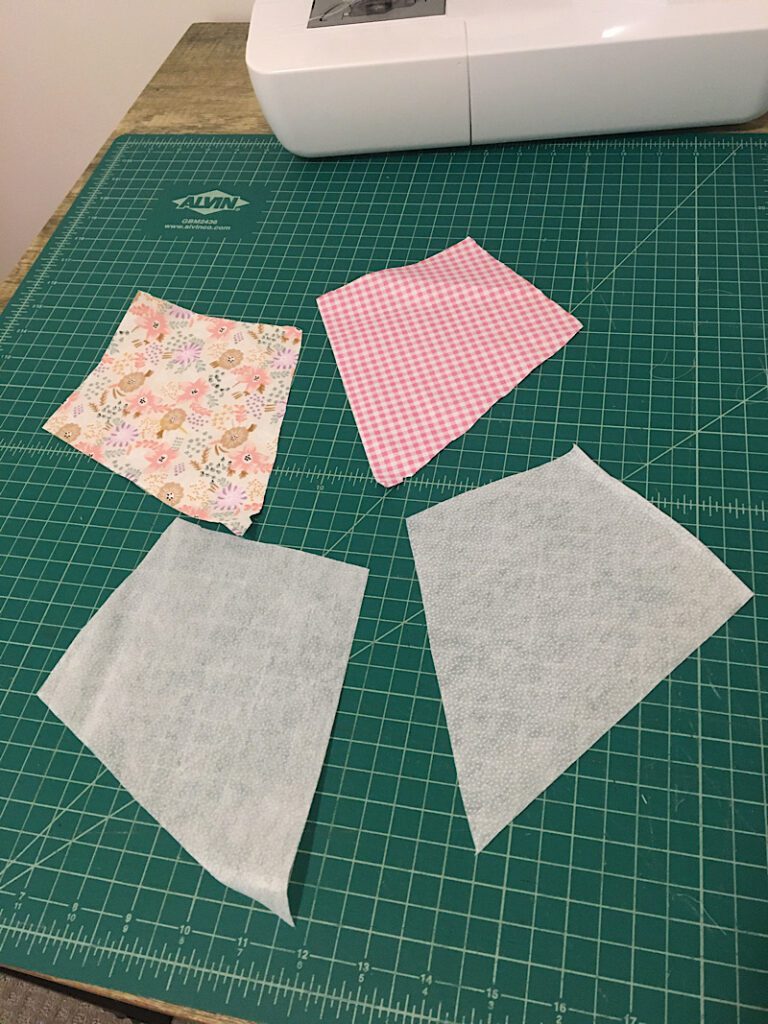
Then, iron the interfacing to the back of the quilting cotton using the directions on your specific interfacing.
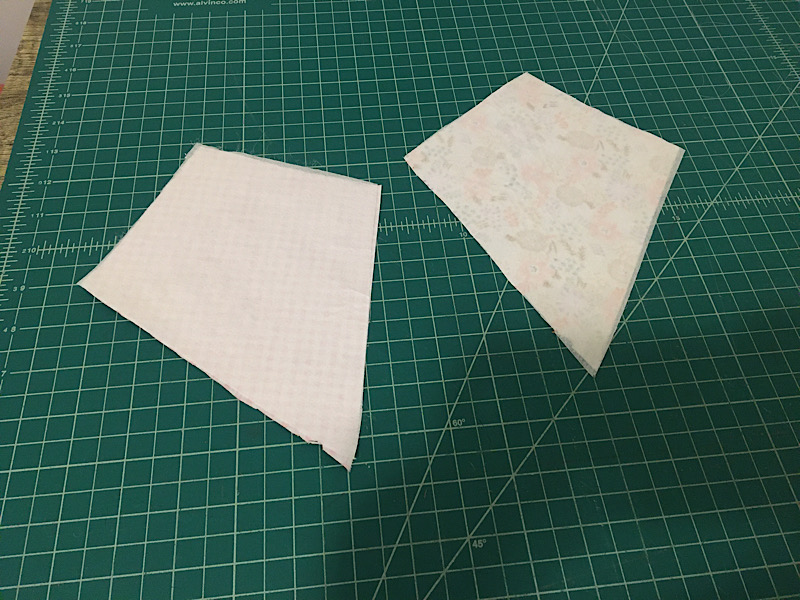
Once both pieces have the interfacing attached, place them on top of each other with the right sides facing, and pin around the edges.
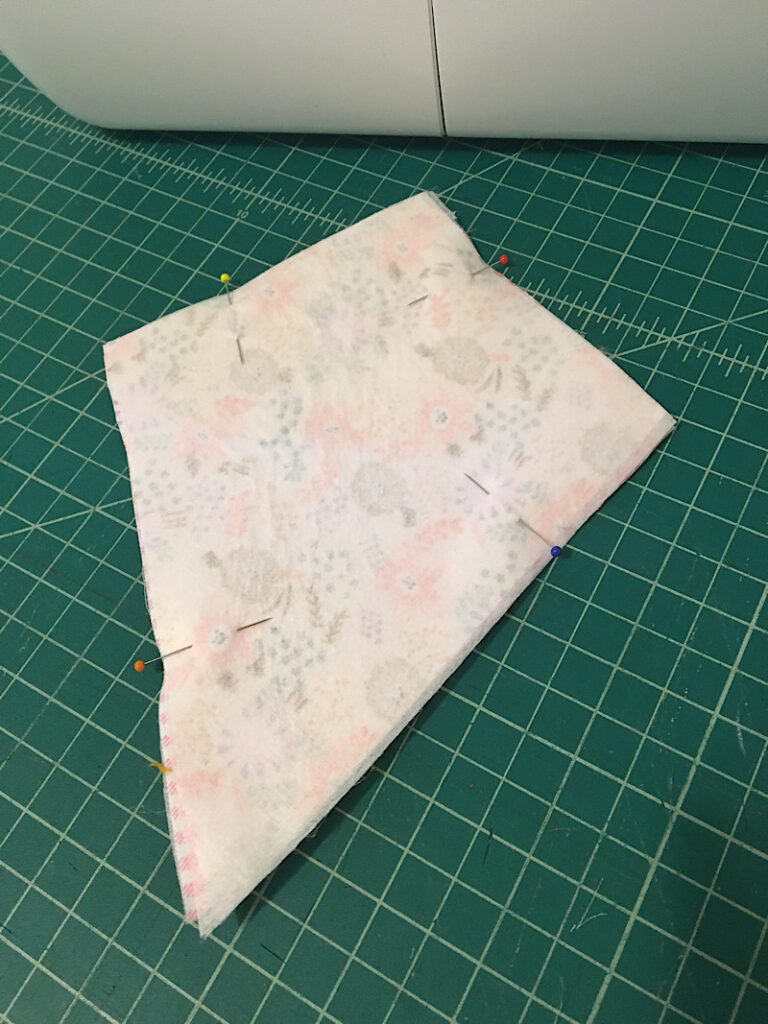
Sew around the perimeter of the kite with a 3/8ths inch seam allowance, leaving a 3 inch gap on one side so you can turn it later.

After sewing, trim the excess fabric away from the corners by cutting the corners off, about 1/8th inch away from the stitch line.
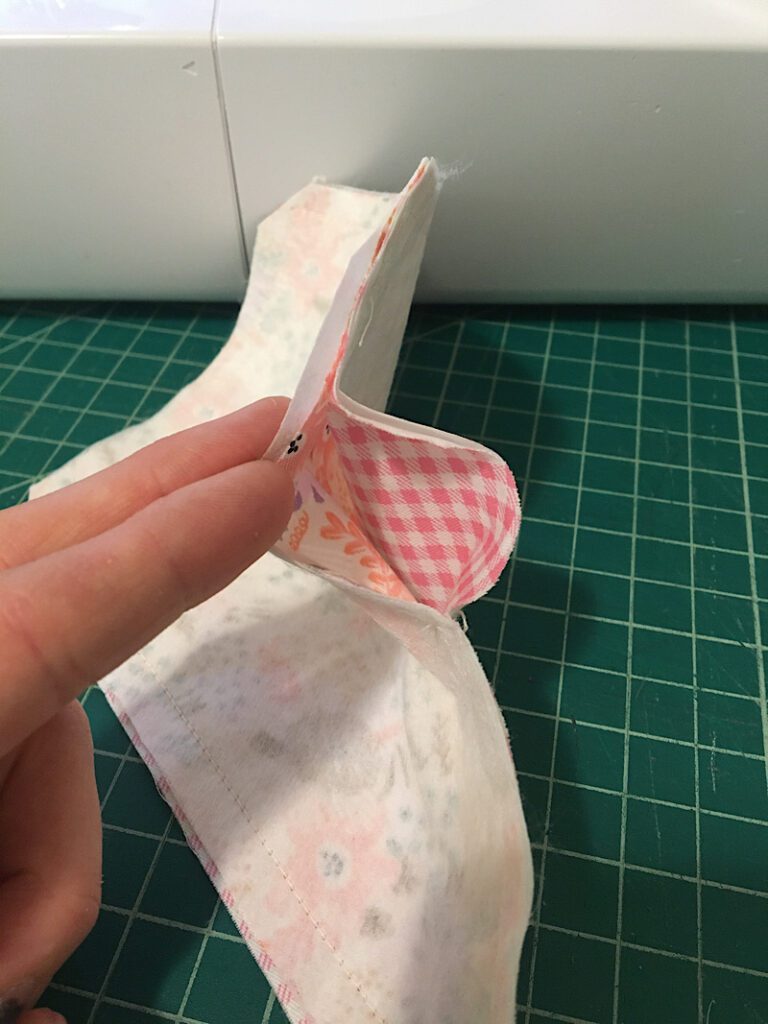
Turn your kite inside out through the gap you left. You can use a long pointy object to carefully poke the corners out to make them sharp.
Press the kite flat, and make sure to fold the edges of the gap under. Then pin the gap closed.
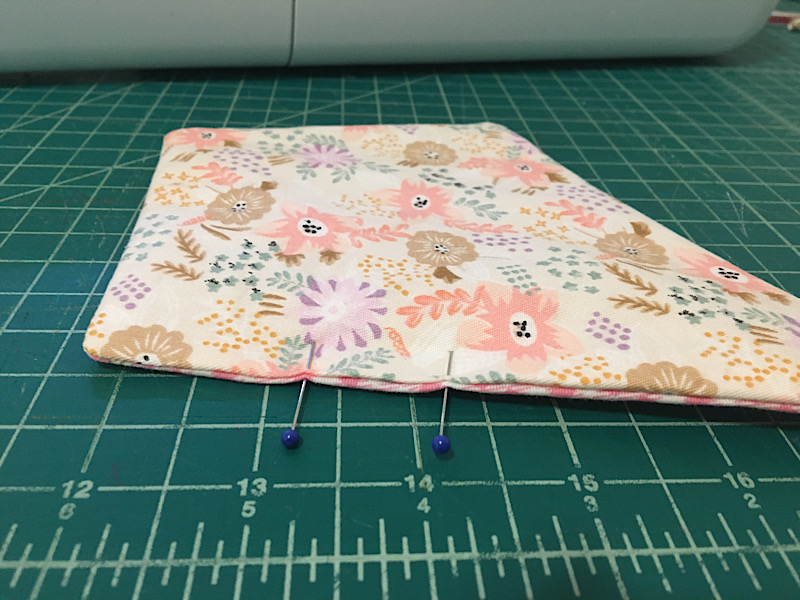
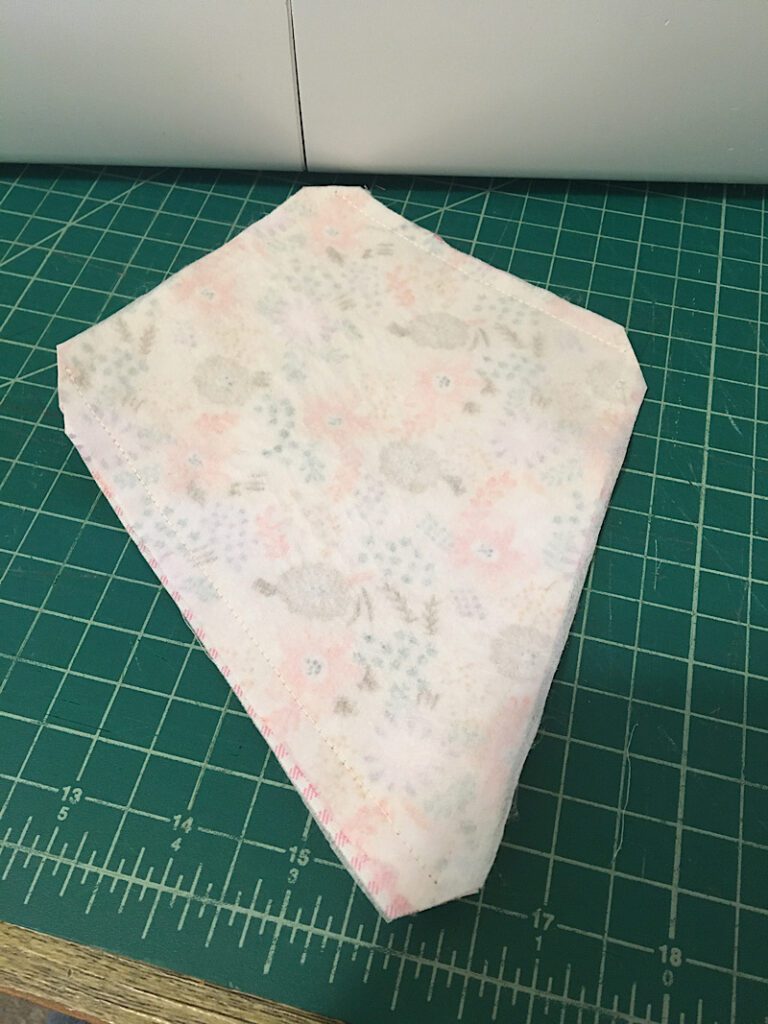
Sew a top stitch around the perimeter of the kite to help it keep it’s shape and close the hole. Use a 1/8ths inch seam allowance.

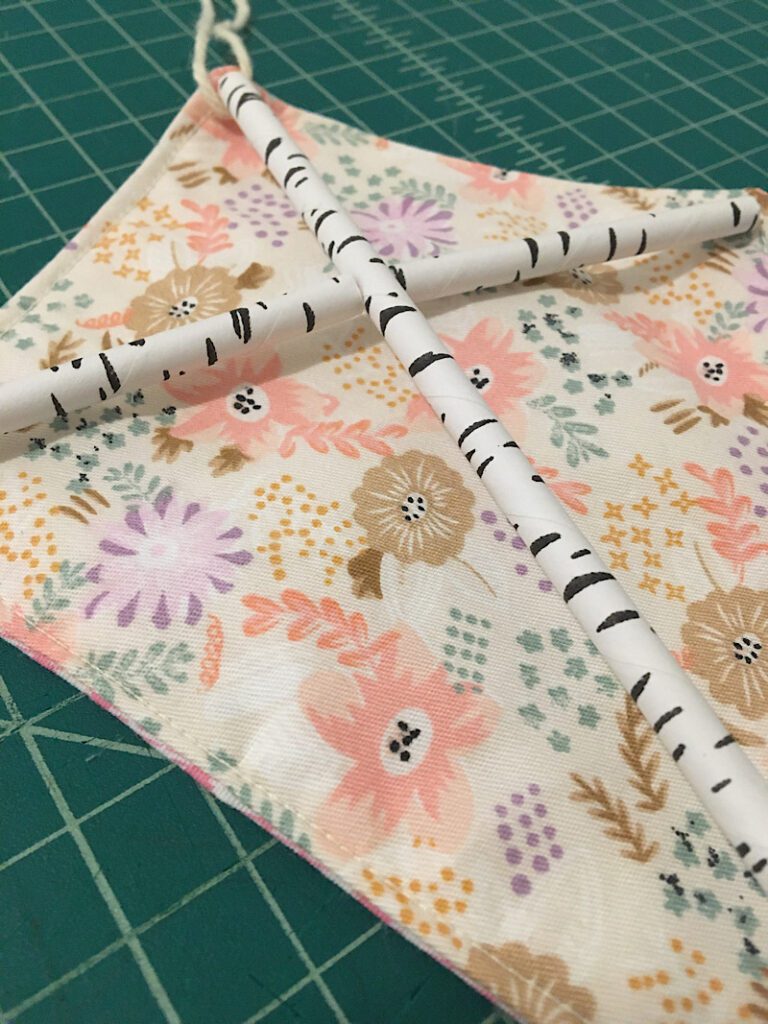
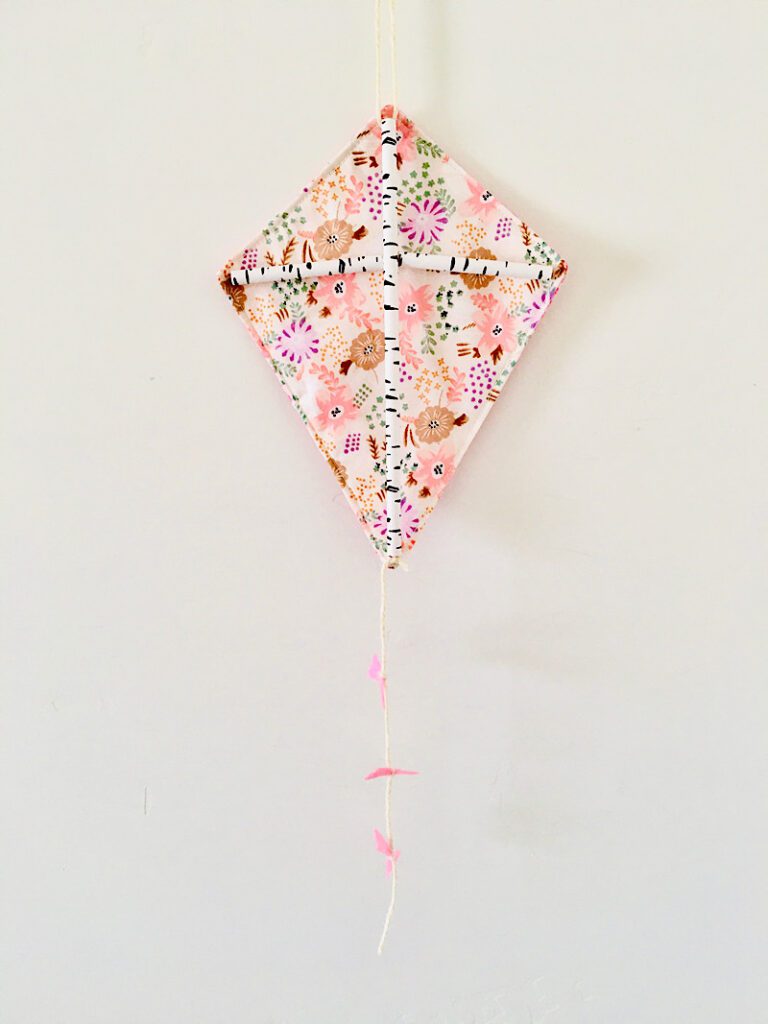
Step 3. Sew On The Straws
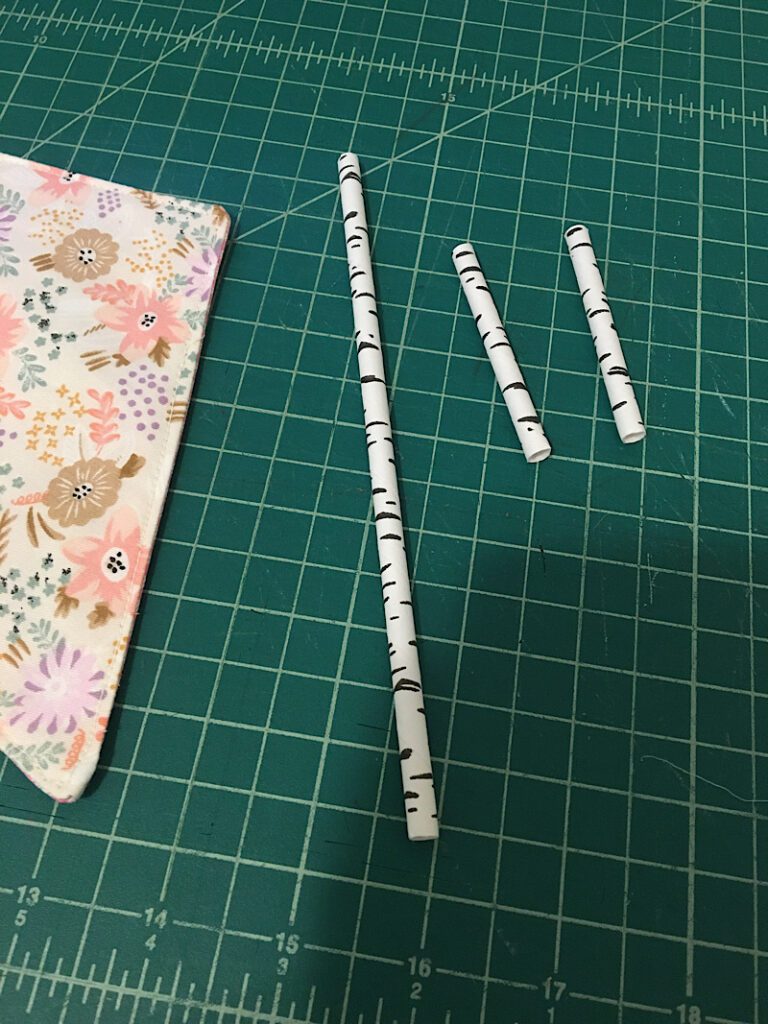
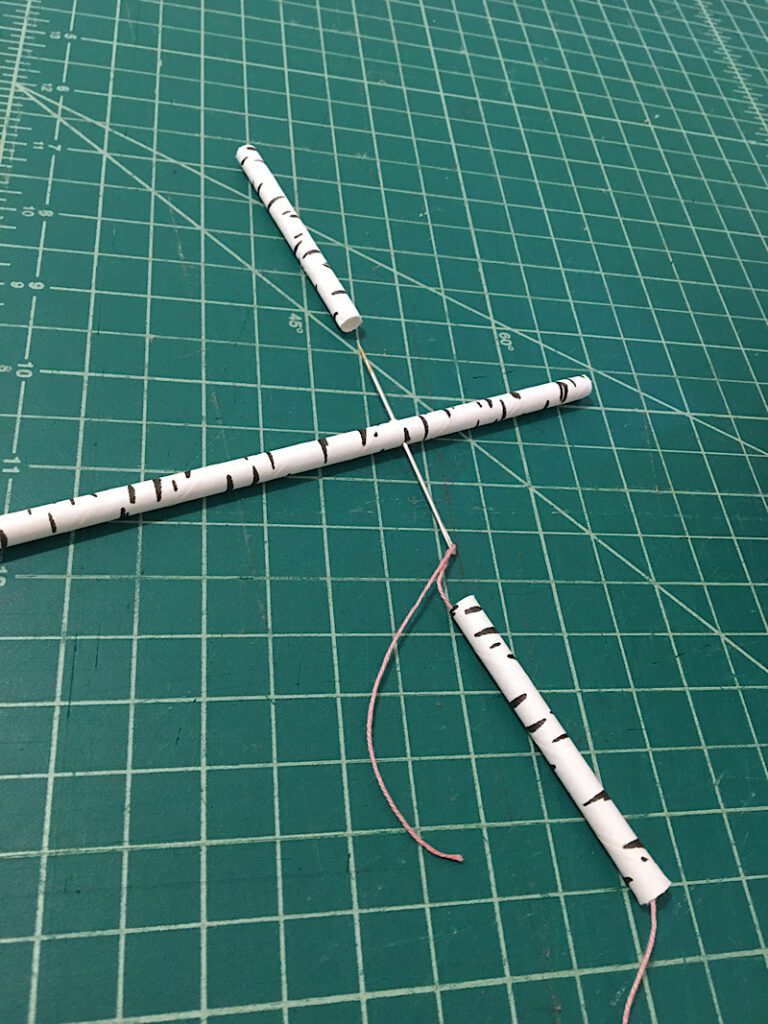
Cut one straw so it fits vertically on your kite, around 7 inches long. Then cut the other straw to two shorter lengths to fit horizontally on each side of the kite, these should be around 2.5 inches long.
Place the straws on the kite and make a mark on the large straw at the points where the short straws touch it.
Using an extra thick sewing needle threaded with embroidery floss, sew the needle through one of the short straws, and poke it through the large straw at the point you marked. Then pull the needle through the other side, and sew it through the second short straw as well.
Place the straws onto the kite, still with the needle threaded through the embroidery floss. Insert the needle down the fabric near the corner of the kite, then back up again.
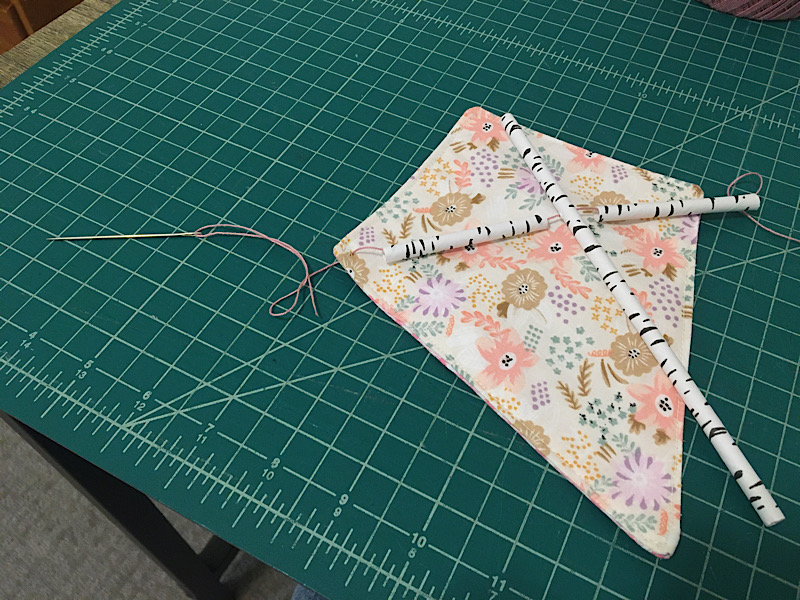
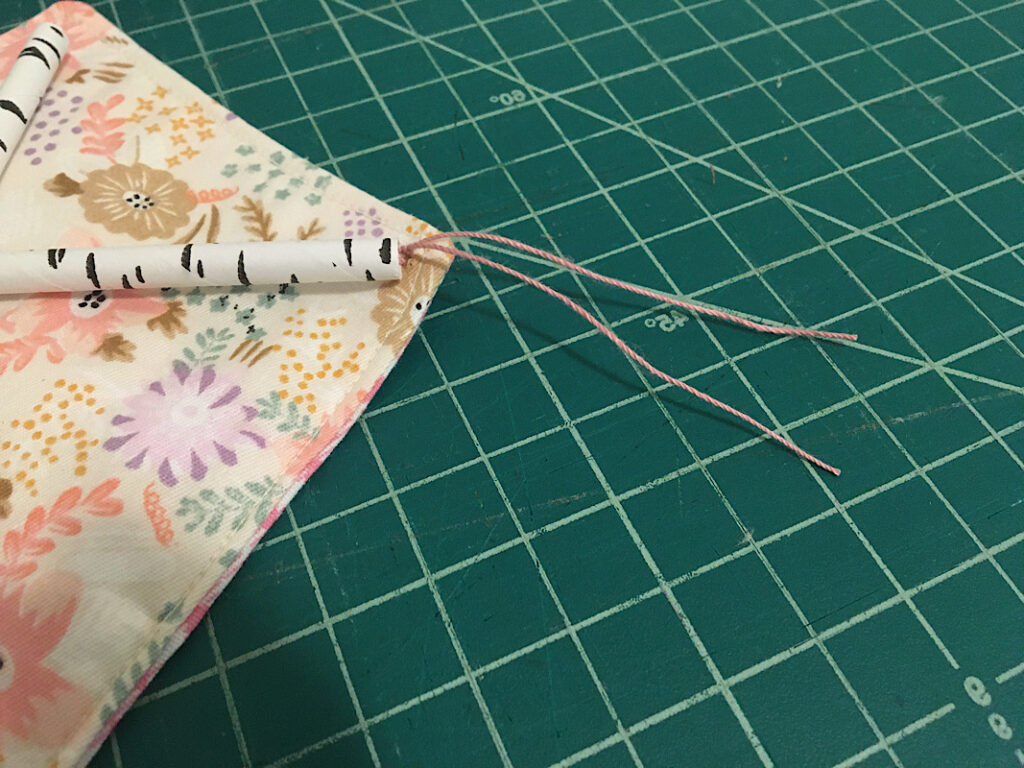
Now thread the needle back through the straws the opposite way you did before, out to the other side. Then sew through the fabric near the corner, and back up again. You should now have both tails of the embroidery floss on the same side. Tie them into a good knot, and trim the thread.
Repeat this exact same process with the vertical straw as well. Drop the needle down through the straw, stitch the floss through the fabric corner of the kite, go back up the straw, make another stitch in the last corner, and tie the threads.
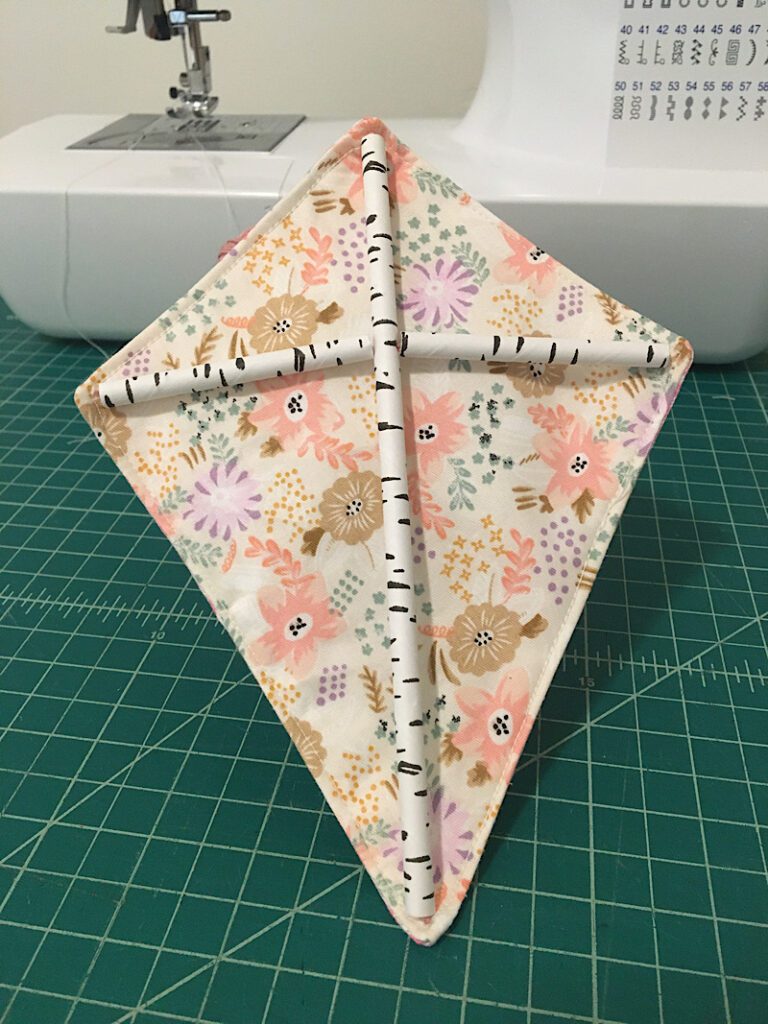
From the front side, you will barely see any threads.
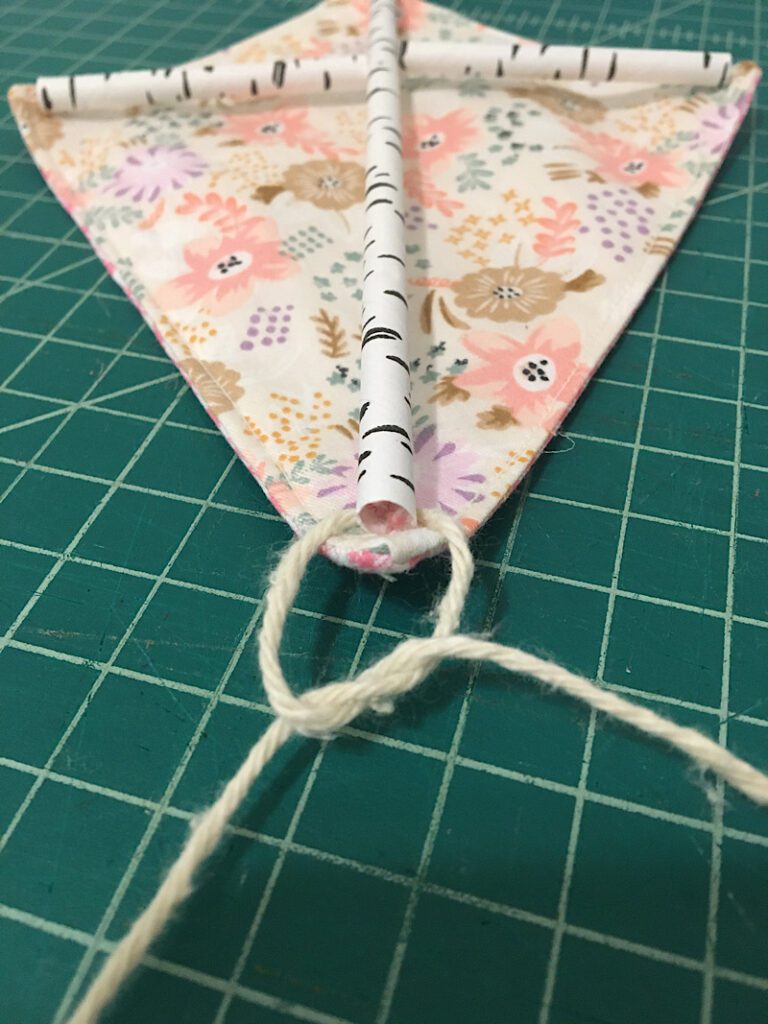
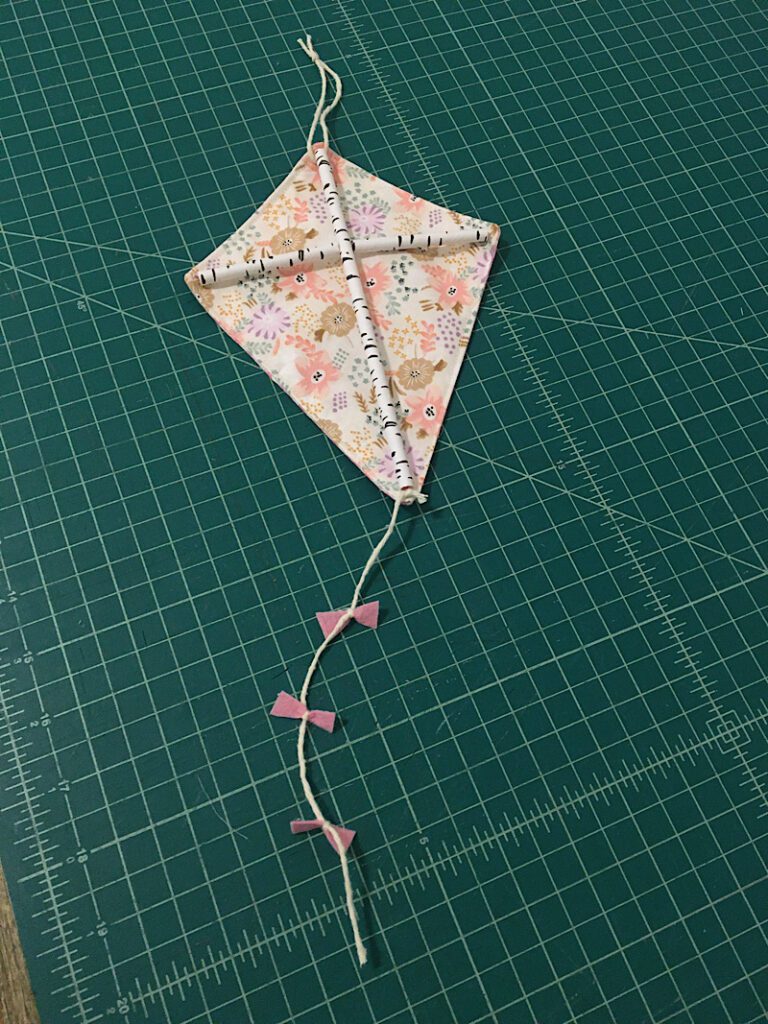
Step 4. Make The Kite’s Tail
To make the tail, tie on a long piece of yarn or string around the bottom of the straw. Trim the end of the string so there is only one tail.
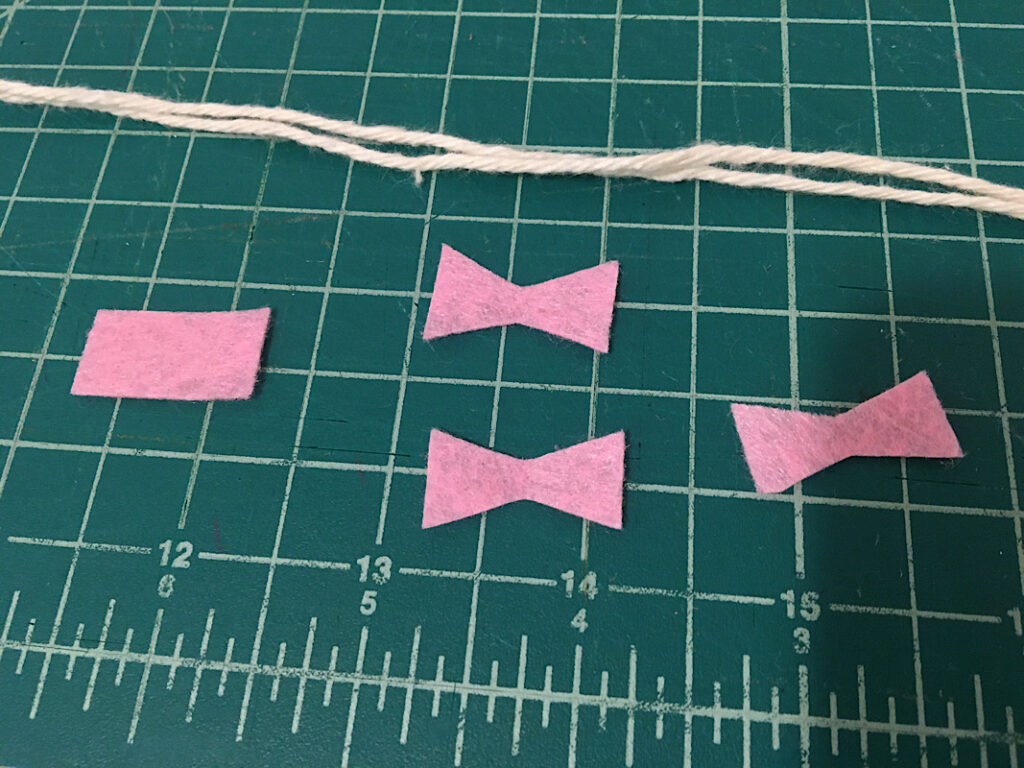
Cut some bow shapes out of felt. I first cut a .5″x1″ rectangle, then folded it in half to cut a symmetrical bow shape.
Then, attach the bows to the string by tying a tight knot around each one.
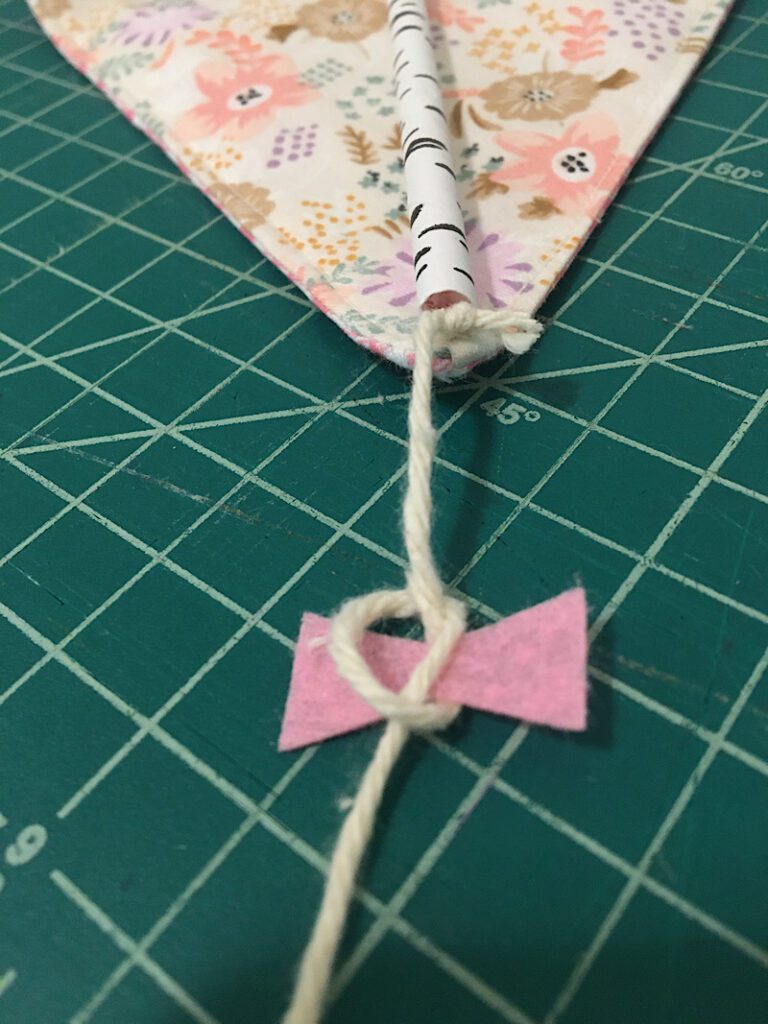
Alternatively, you could tie a larger bow around the string, or sew the bow to the string.
You can make as many bows as you want. I made 3.
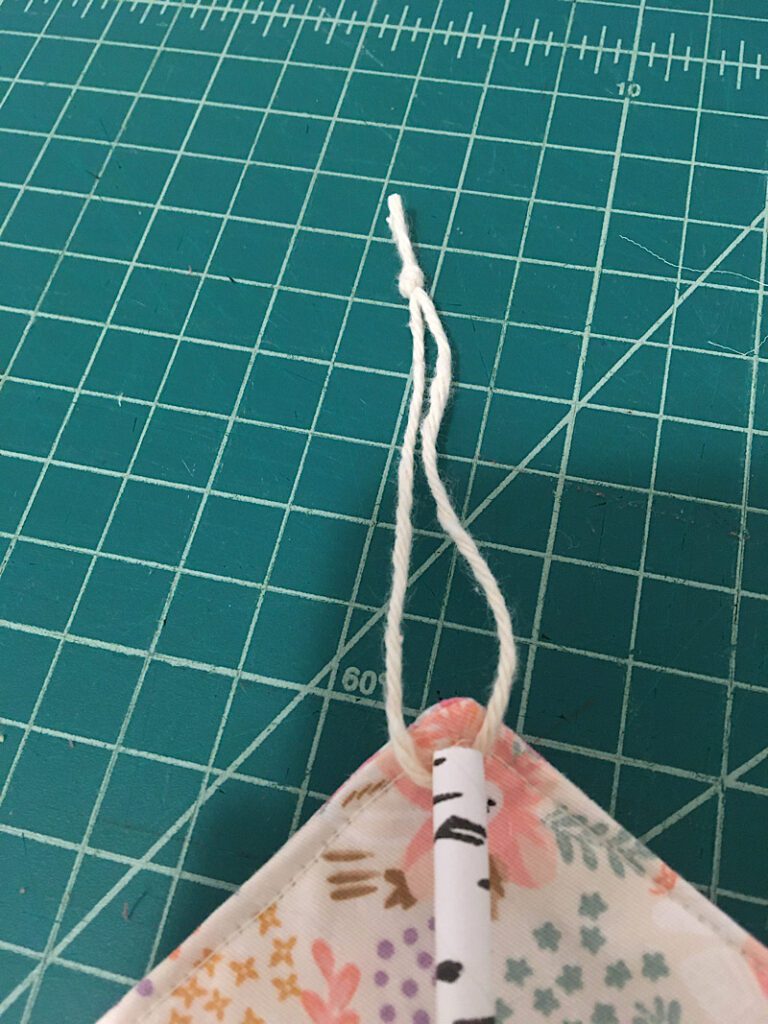
Step 5. Add A Hanging Loop
Finally, tie a little pieces of string around the top straw to make a loop for your kite to hang by.
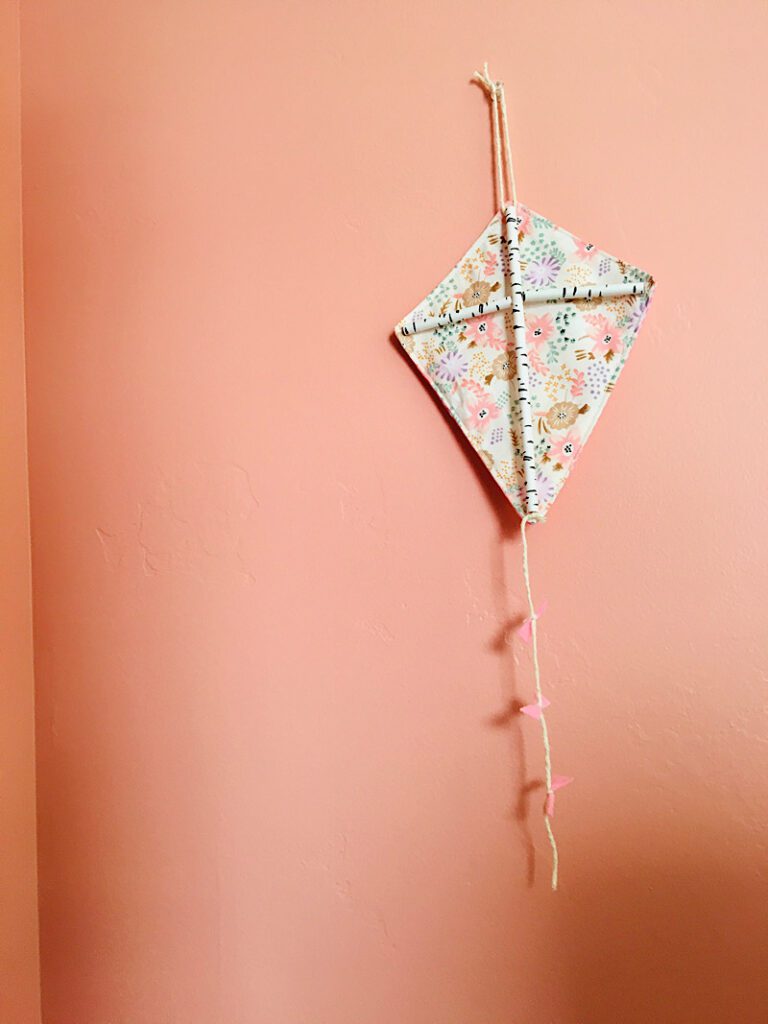
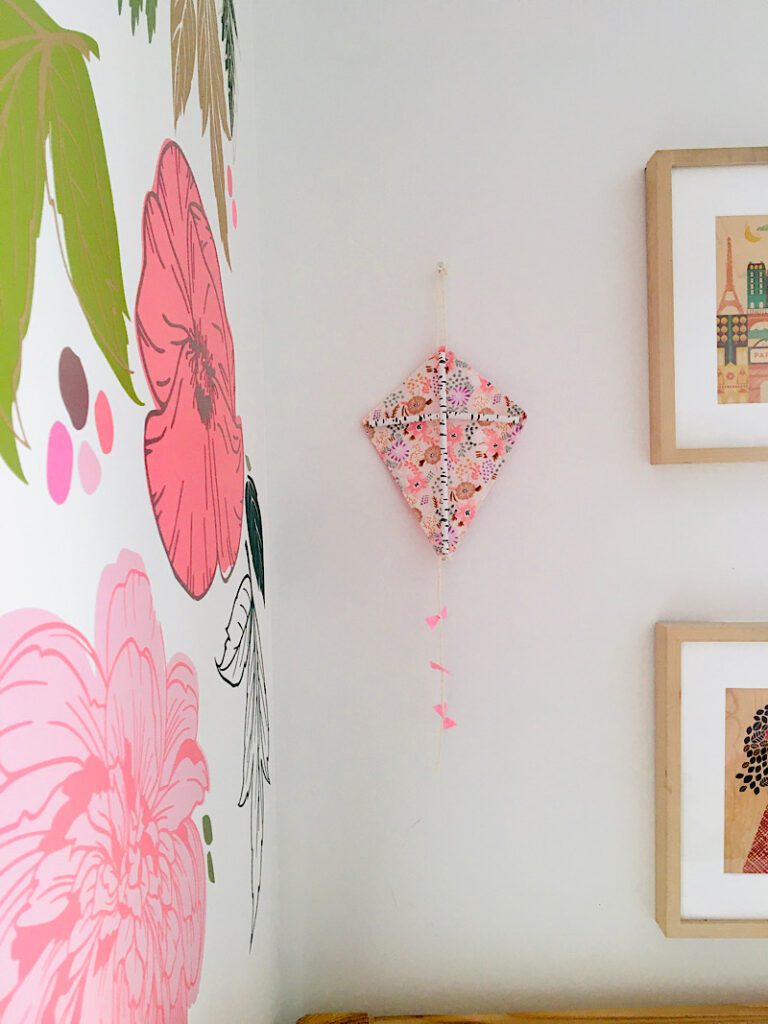
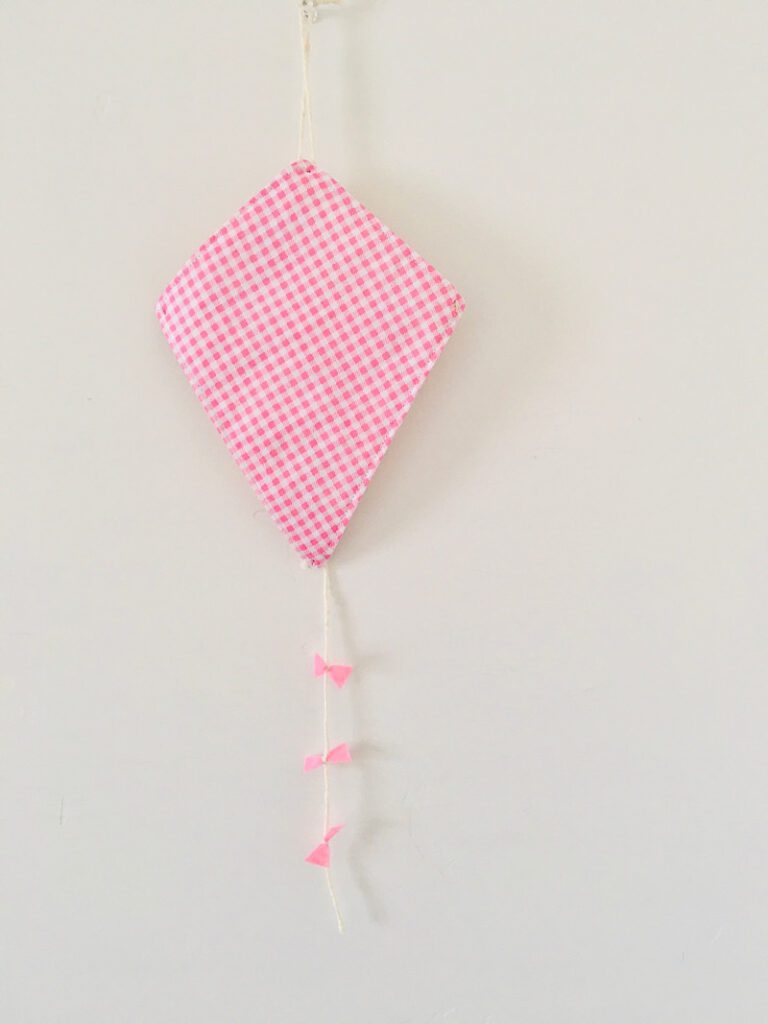
Then your kite is done! This completes your decorative fabric kite.
I decided to hang this kite in my daughter’s room since they have a pink themed room. It looks so cute in there!
It would also look very cute as a door hanger, or several tiny kites could be turned into ornaments or flying kites on a mobile.
Since the kite is double sided, you can hang it either way!
Conclusion
As soon as my daughter saw this finished kite, she wanted to play with it. I told her that it wasn’t for flying, but that didn’t deter her. She wanted it!
Making decor for my kids’ rooms that they really love is such a great thing!
If any of these steps weren’t clear to you, don’t hesitate to let me know in the comments below and I will do my best to help you out!
Check out my easy flower yoyo doorknob hanging for another cute spring project!
Pin this post and join the email list for more sewing fun!