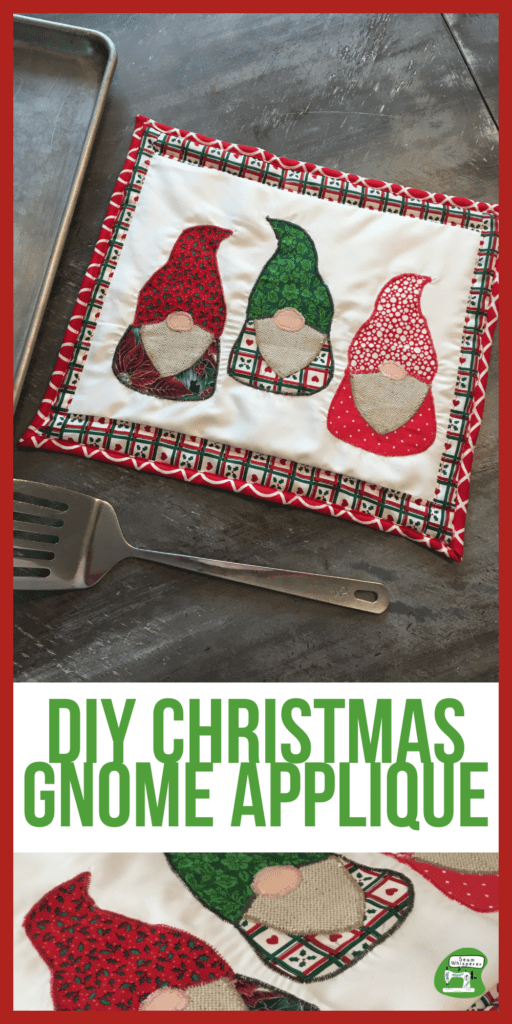
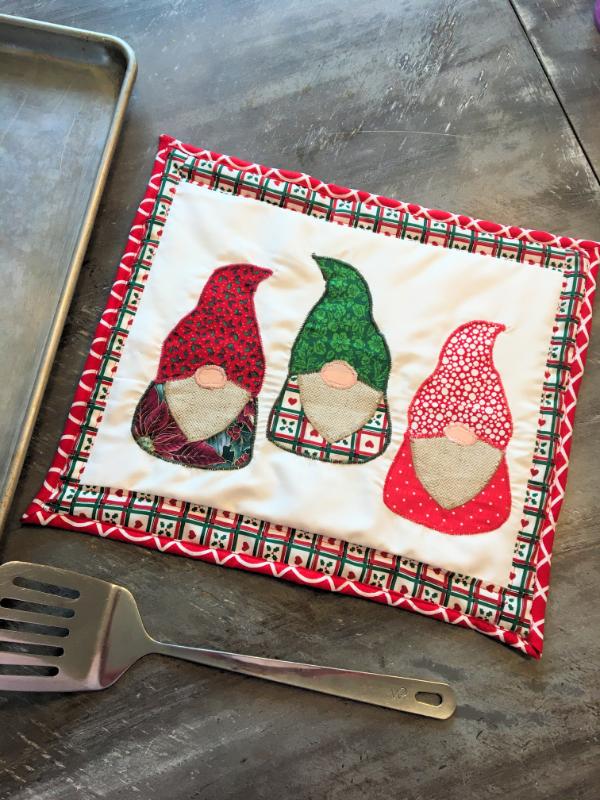
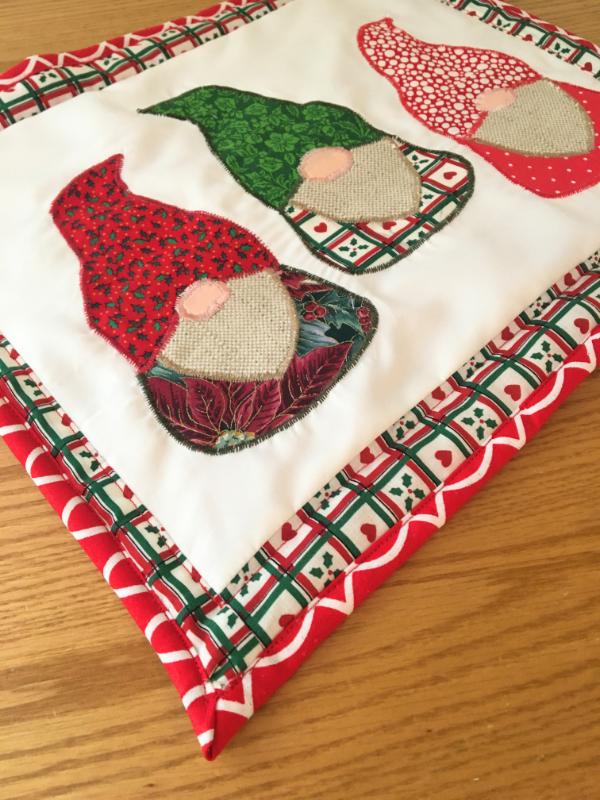
This free gnome applique template can be used to make any kind of festive gnome quilt. Today I am using it to make a giant Christmas Mug rug/hot pan holder!
You can use this applique template to make any kind of gnome project of course! But today I am going to show you how I made this cute quilted mug rug/giant hot pad that you can use under casserole pans or cookie sheets.
Download The Template
This template is free for my email subscribers! Sign up below to download it.
After you’re done with your project, email me a photo so I can share it on my blog!
Supplies
- 14″x12″ white cotton fabric
- 14″x12″ Christmas colored cotton fabric for backing
- Fat quarter of a coordinating cotton fabric for the border/frame
- Various Christmas cotton fabrics for the gnome bodies and hats
- Pink/peach colored cotton fabric scraps for the nose
- Grey, tan, or brown heathered colored cotton for the gnome beards
- Matching thread for each piece to applique with (I used red and green for the hats and bodies, and pink, and tan for the noses and beard)
- 14″x12″ cotton/wool batting or a few layers of insul-bright.
(I used a pack of precut fat quarters from walmart that was perfect for this project! Then I just found some suitable scraps for the beards and noses.
How To Make A Christmas Gnome Applique Mug-Rug
Note: you can make your project any size. I am not a super precise sewer, I just do whatever looks good!
You can also watch the video overview here:
Step 1 Cut Out The Fabric
For each gnome you will need a body, hat, beard, and nose. You can scale the template to print at any size you want.
Trace the templates onto your fabric then cut them out.

I thought it would look cute to flip the hat the other direction for one of my gnomes, so I flipped the template piece over when cutting out that hat fabric.
Also cut out the white background fabric to be 14″x12″ large.
Step 2 Arrange The Applique Pieces
Place the gnome pieces onto the background fabric and arrange them how you think they will look nice.
Then, temporarily attach them to the base by basting them in the centers of each piece, OR using a glue stick or fabric glue in the center back of each piece.

Step 3 Applique The Gnomes
To applique the gnomes, start with the back-most piece, and work your way frontwards. Body, beard, hat, nose.
Choose a zigzag stitch with a small stitch length and medium stitch width. Zig zag over the edge of each piece of fabric to encase it in the stitch.
Use thread that matches the item you are outlining with your thread.


It is a little tricky to go around the small noses, mine doesn’t look perfect. Go slow and pivot your fabric if needed.
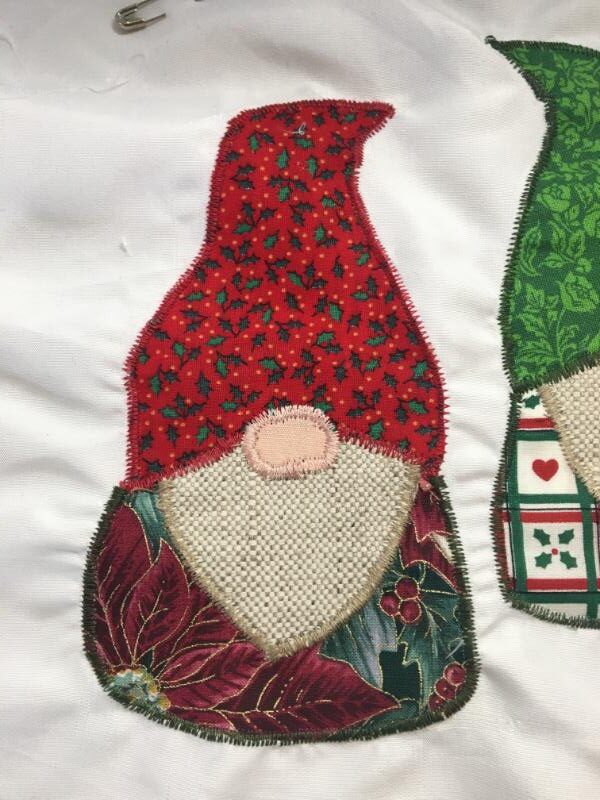
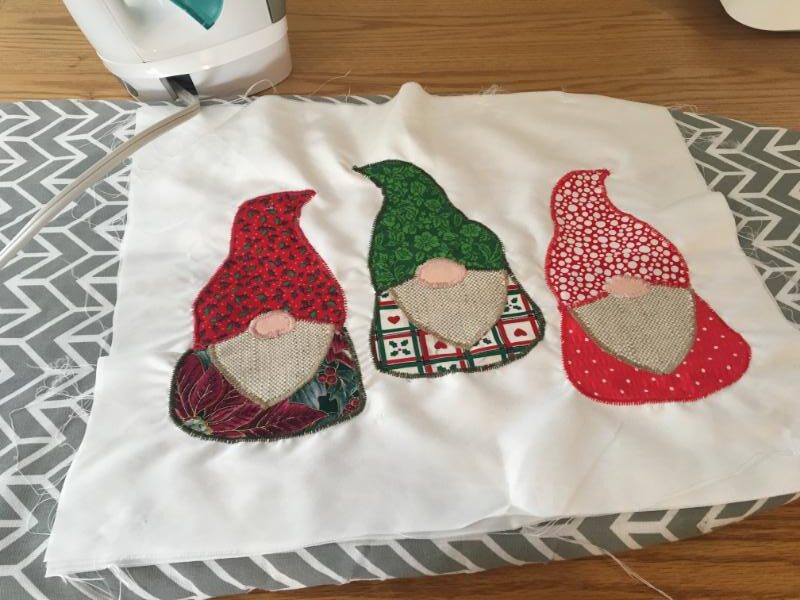
After you finish all the gnomes, your fabric may be a little bit puckered. That is okay. Iron it out as best you can.
Here is what the back looks like:

Step 4 Add A Decorative Border
If you need or want to, square up the fabric by trimming some off the sides with a rotary cutter and ruler.

I decided to take a bit off the sides of mine to make it a little smaller.
To add a border around the gnomes, cut 2.5″ wide strips, and sew them with right sides together on the top and bottom of the main fabric.
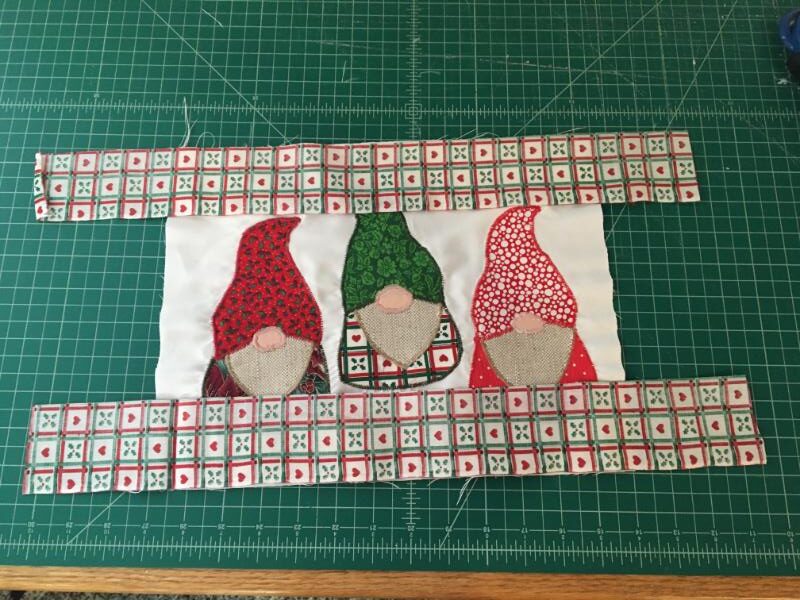
Then press, and cut the overhanging parts of the strips off so it is flush with the main fabric.


Then cut and sew some strips to the sides of the entire piece. Press it well.

Step 5 Sandwich & Quilt
Cut a piece of cotton batting (or a few layers of insul-bright for extra heat resistance) the same size as the quilt. Also cut your backing to be the same size as the quilt.

Layer the pieces together in a quilt sandwich. The backing first, with the wrong side facing up. Then the batting. Then the quilt top with the right side facing up.
Use safety pins to keep it all together.
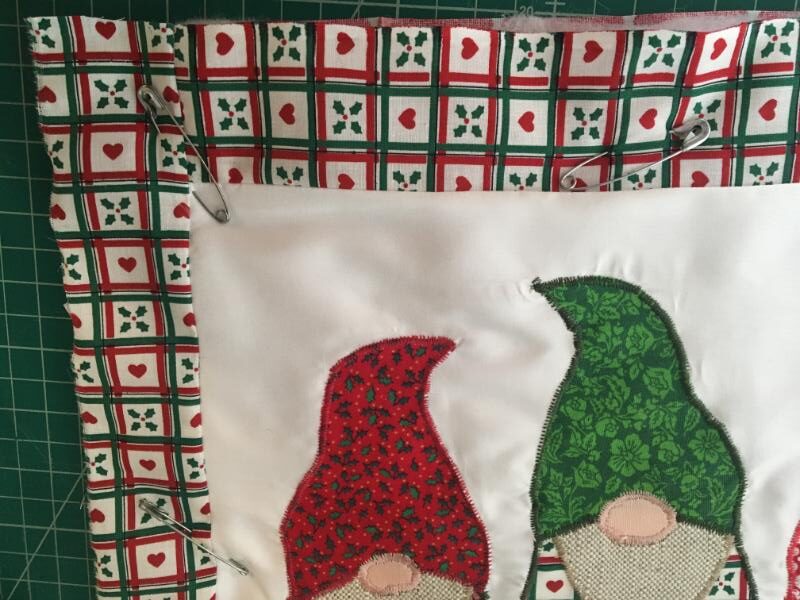
You can quilt the mug rug however you want. I decided to leave it very simple so that the applique would shine. I only quilted a topstitch border around the fabric border strips.

Step 6 Bind The Mug Rug
I decided to self bind this mug rug. You can do any kind of binding you want. Here is how I did it:
First, open the quilt sandwich to cut off 1 inch of the batting only at each corner to remove some bulk.
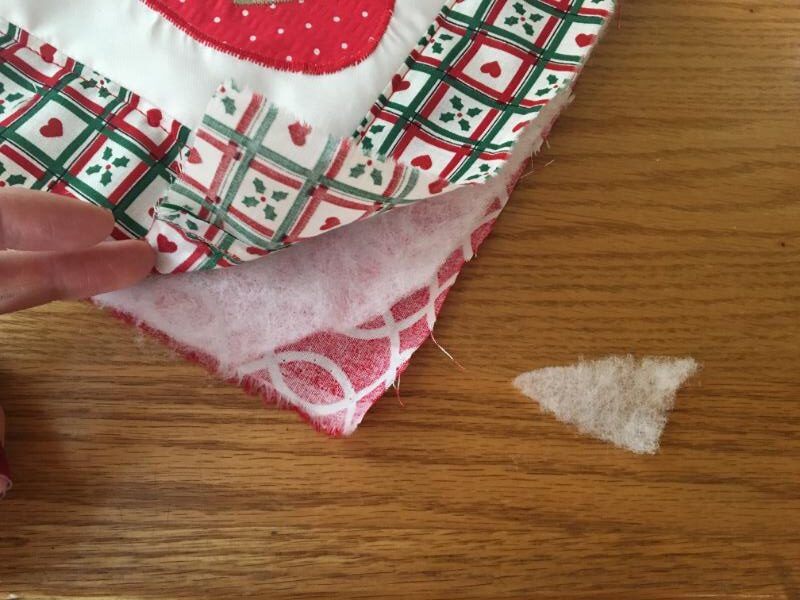
Then, fold up the corner 1 inch (all layers). Pin it in place.
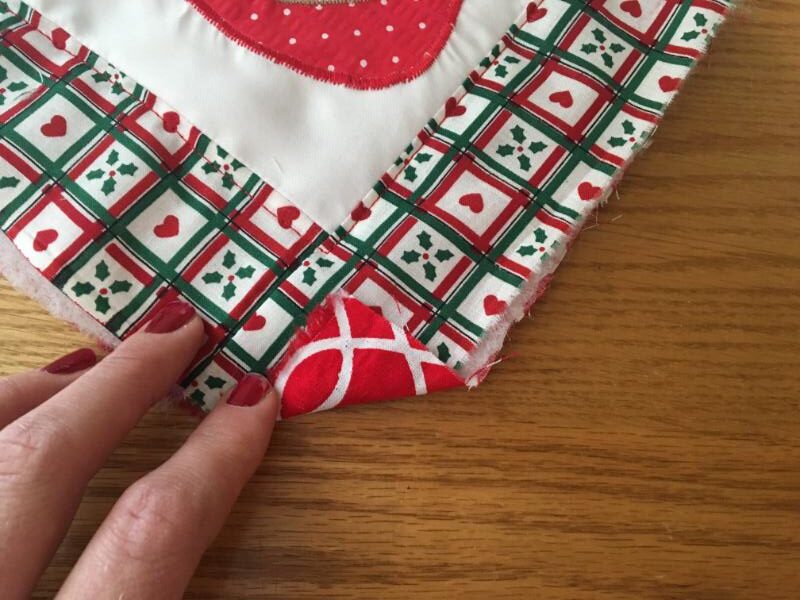
Fold over the side edge of the quilt 1/2 an inch, then 1/2 an inch again. Pin it down every couple inches.
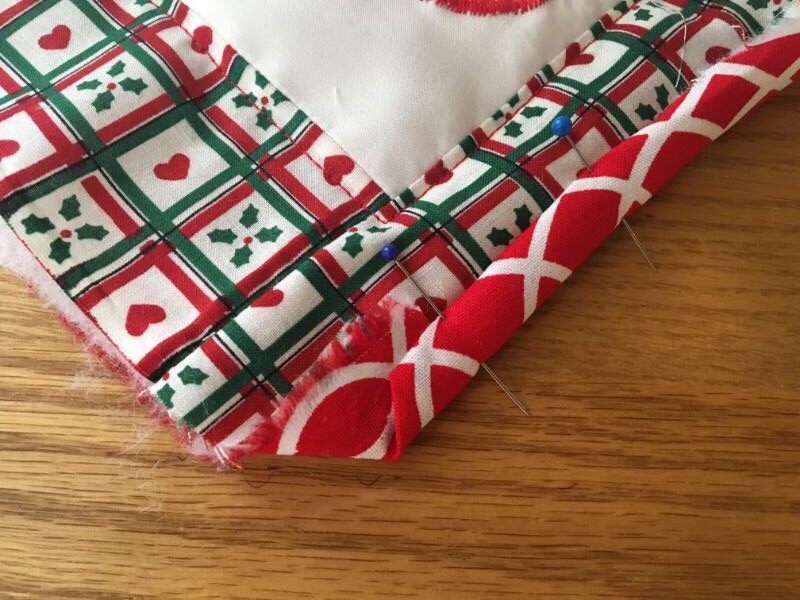
Then fold and pin the other sides of the mug rug in the same way. You will have nice mitered corners.

Finally, sew around the perimeter near the inner fold of the binding to hold it down.

Experienced quilters, don’t look too close. 🙂 I am still learning quilting.
Then you are done!! I think it turned out so cute!

This gnome applique is so festive and I love that it can look different every time.
I also love the size of this over-sized pot holder mug rug. It is great for casserole dishes and sheet pans!
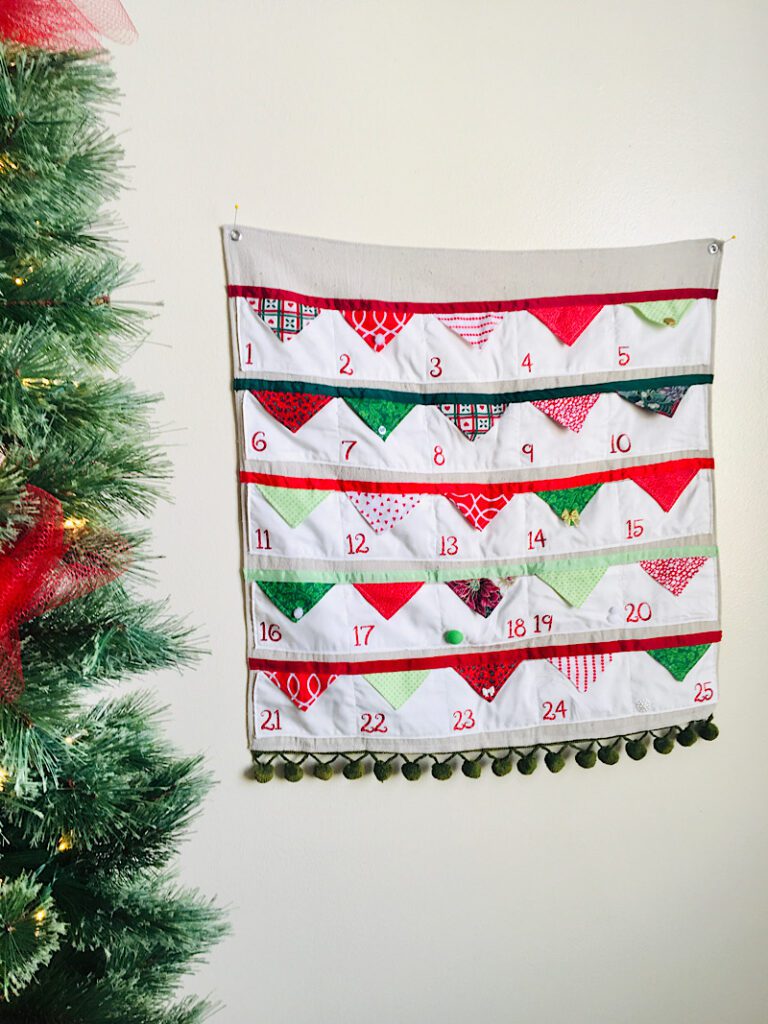
I am going to give it to my mother in law for Christmas. The last time I made a gnome for Christmas (these little guys) she wanted one, so I hope she likes this too!
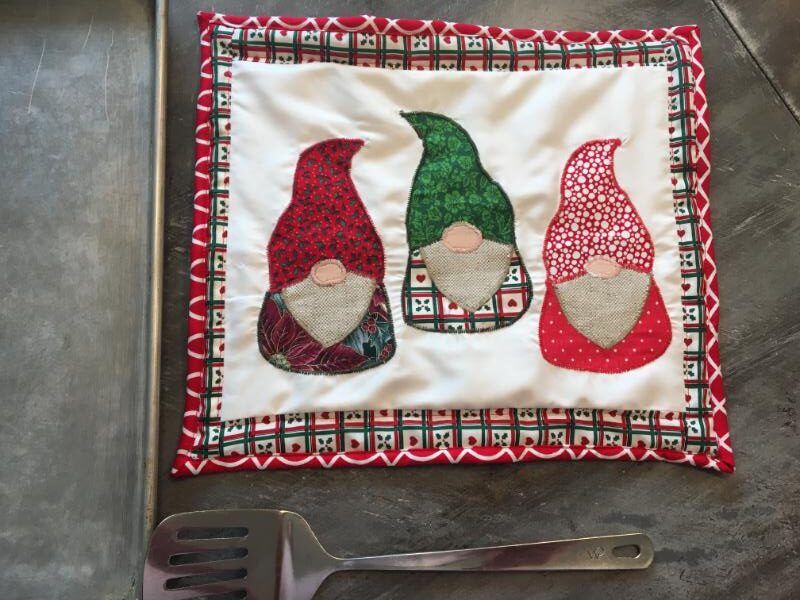
Let me know if you have any questions, and send me a photo of your finished mug rug!! (Or if you use the applique pattern in another way, I’d love to see that too.)
Pin this post to Pinterest please!
