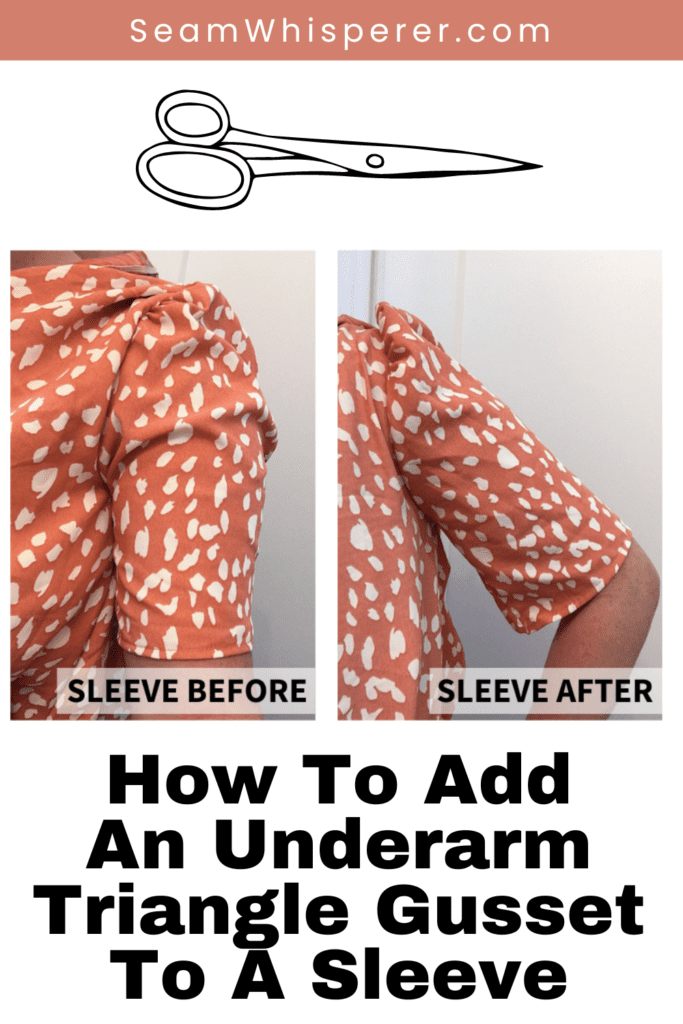
This easy tailoring tutorial will teach you how to measure and sew a triangle shaped gusset and insert it into a sleeve. This additional fabric creates more width and movement in only a few minutes.
Gussets are a great thing! Inserting a gusset at tight points on your garment can add inches and life to your favorite clothes.
A triangle sleeve gusset is a very easy way to add additional fabric to a sleeve that doesn’t have enough wiggle room. This tailoring technique only takes a few minutes and makes great results.
Make sure to look at my other shirt alteration tutorials too!
This post may contain affiliate links. Read the full disclosure here.
About This Tutorial
This is an advanced beginner or intermediate level tutorial. You should have good familiarity with your sewing machine and be able to make a hem.
You can use this method on short sleeves or long sleeves, however on long sleeves the gusset is not as hidden which is something to keep in mind.
You will need material that either matches the shirt you are altering to make your gusset with, or contrasts it if you are going for a bold look.
I had to hem the bottom of this blouse a few inches, and used the excess material to make these gussets.
Supplies Needed
To make a triangle gusset for your sleeves you will need these basic sewing equipment items:
- A sewing machine
- Fabric scissors
- A seam ripper
- Sewing Pins
- A ruler
- A pen and paper to make a pattern
Materials Needed
- Shirt with tight sleeves to be fixed
- Matching material to make the gussets (at least the length of the sleeve and several inches wide)
- Matching thread
How To Sew A Triangle Gusset To A Sleeve
Step 1. Cut Open The Sleeve
Use your seam ripper to open the seam on the bottom of your sleeve. Rip the entire seam, from hem to armscye (armpit hole).
Repeat on the other sleeve as well.
Step 2. Try On The Shirt
Put the shirt on and determine how much fabric you want to add into the seam at the hem. Hold open the seam and measure the width of the triangle shape it makes, measuring from seam line to seam line, not from the edge of the fabric. (You want to include the seam allowance in the measurement.)
Then, add 3/4s of an inch to that number for seam allowance.
My measurement was 2 inches wide. Including the 3/4 inch seam allowance, I will need a 2.75 Inch wide triangle.
Step 3. Measure The Sleeve Seam
Measure the length of the seam you cut open.
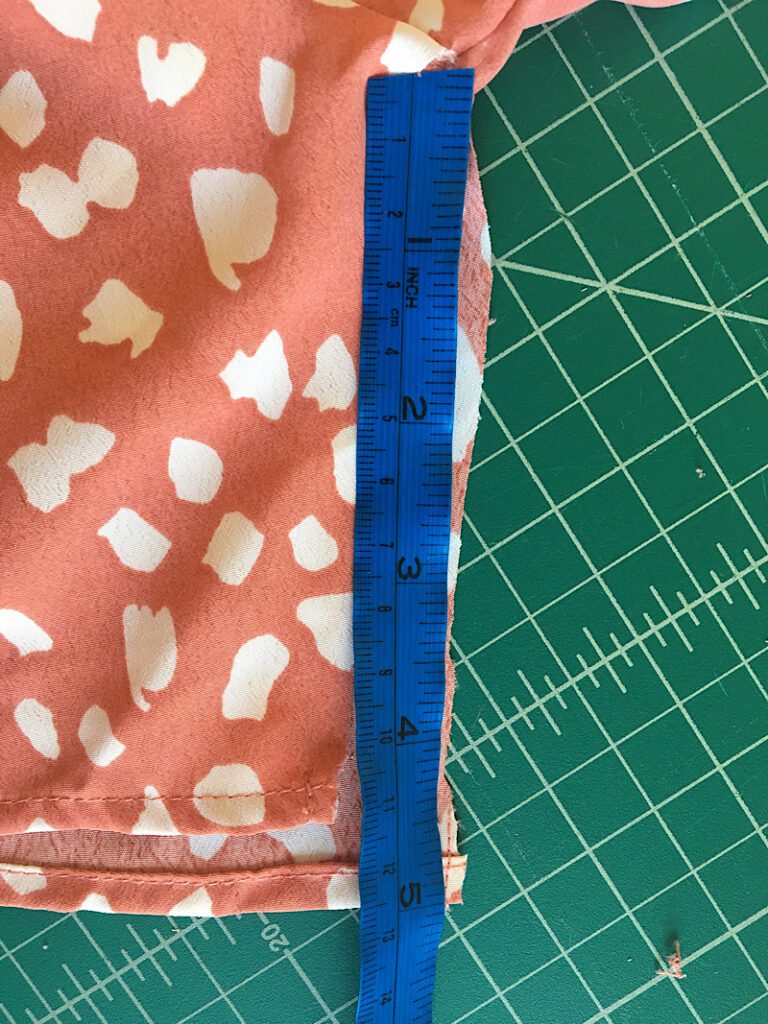
My length was 5 inches.
Step 4. Make A Triangle Gusset Pattern
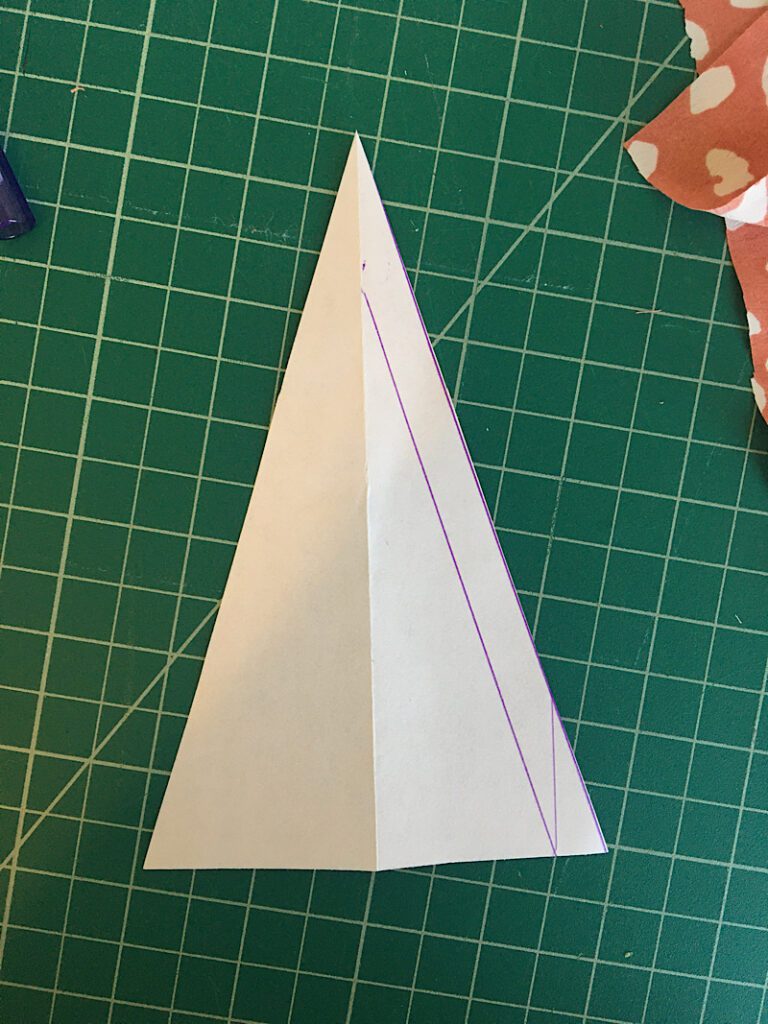
Fold a piece of paper in half. Draw a line parallel to the fold that is HALF the width measurement you took earlier.
(My width was 2 – 3/4 inches, so the line I drew was 1- 3/8 away from the fold.)
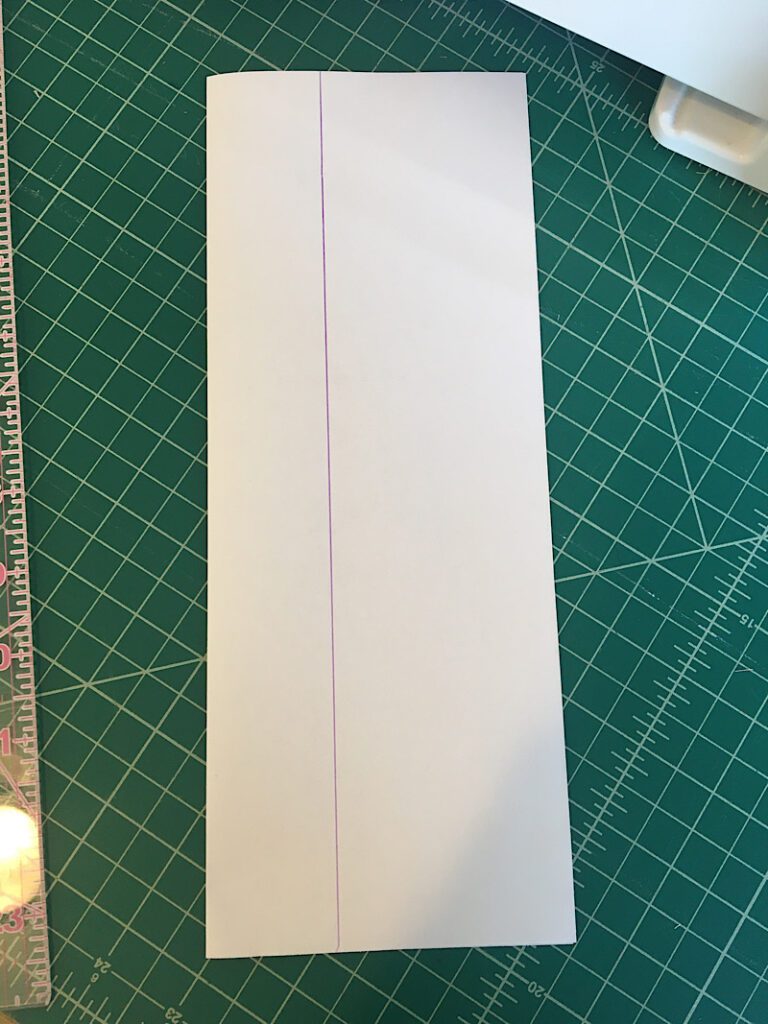
You will now need to make the edge of the triangle that is equal in length to your length measurement you took earlier.
Remember your length measurement.
Line up the length measurement marking on your ruler (mine was “5 inches”) with the point where your drawn line touches the bottom edge of the paper.
Then, line up the fold of the paper with the corner of the ruler (“0 inches”). Draw a line.
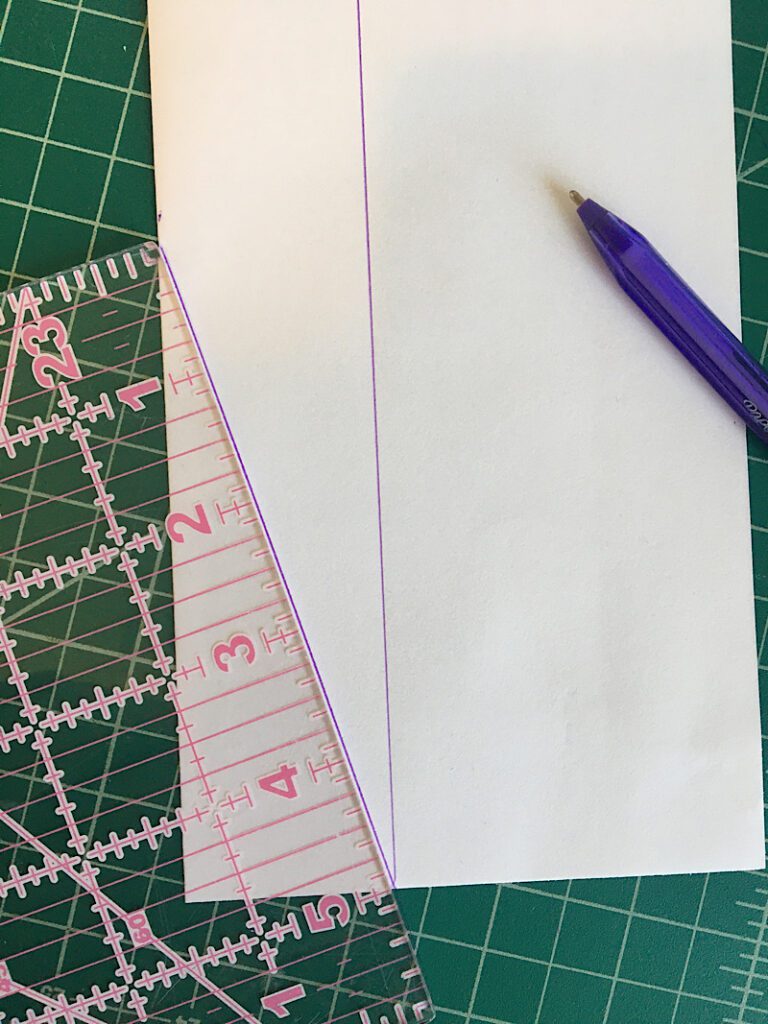
Draw a seam allowance 3/8ths inches away on the outside of the line you just drew.
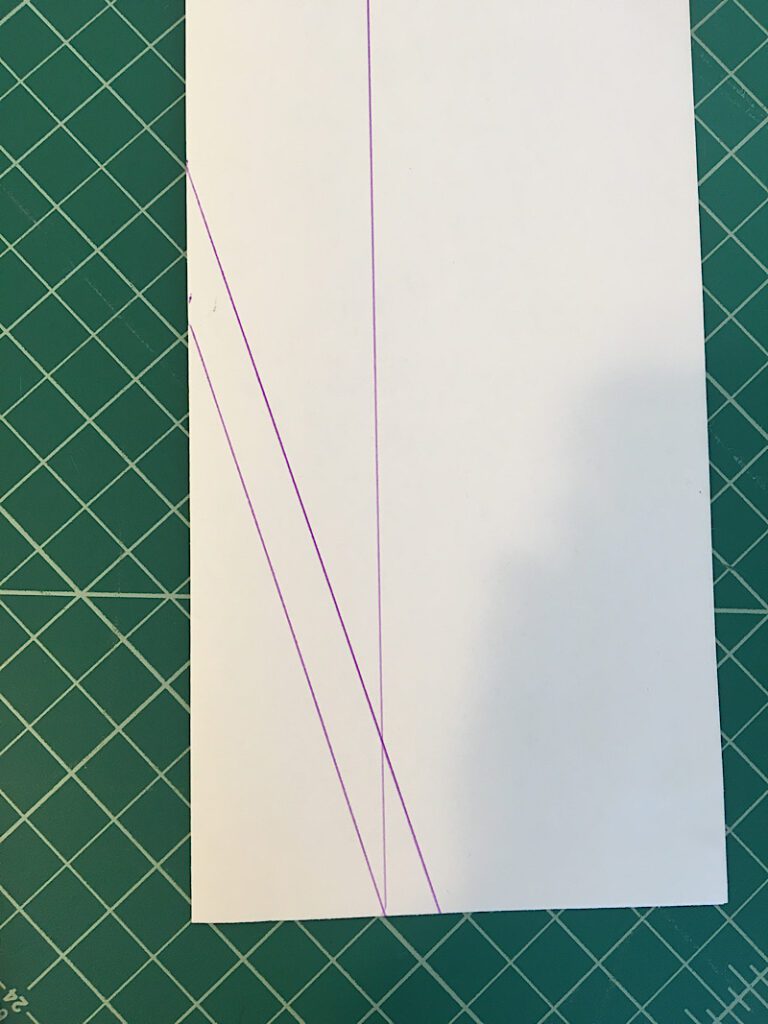
Now cut out the pattern on the outermost seam allowance line and unfold it.
Step 5. Pre-Hem The Gusset Material & Cut
Before you cut out your triangle, it is easier to hem it first.
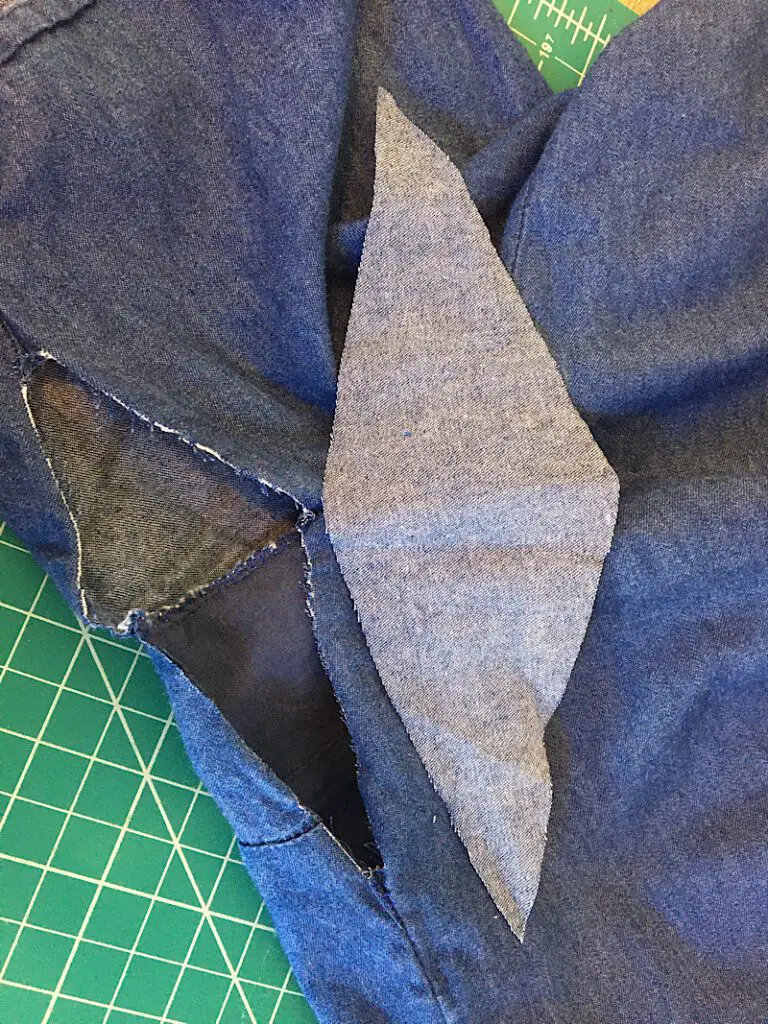
You will need two triangles, one for each sleeve. Try to match the orientation of the pattern on the triangle with the pattern on the sleeve. The hem will be the bottom of the triangle.
Try to match the hem on the original sleeve as much as you can. Mine was a quarter inch folded hem, so I folded the edge of my fabric scrap over twice and sewed a straight line by the edge with pink thread.
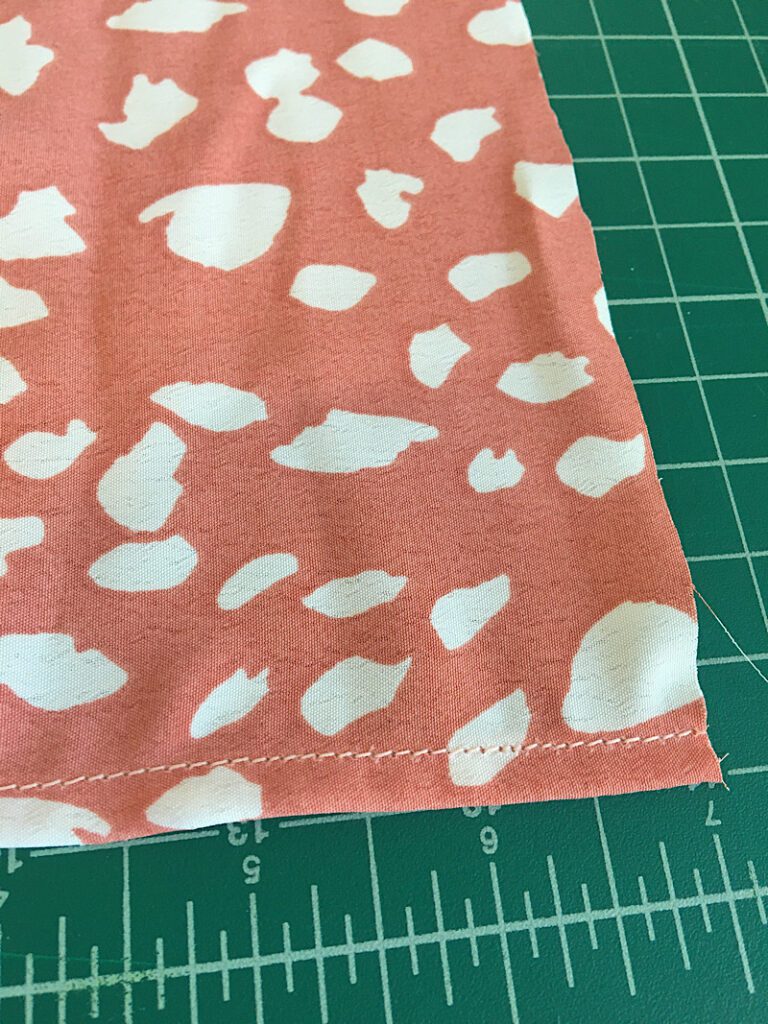
Now that your scraps are pre-hemmed, line up the bottom of your triangle pattern on the hemmed edge and cut out two of them.
Step 6. Attach the Triangle Gusset to the Sleeve
Line up the triangle with the slit you cut on the sleeve, starting with one side only. Line up the hem on the bottom of the triangle with the hem on the sleeve with right sides facing together, and pin it in place.
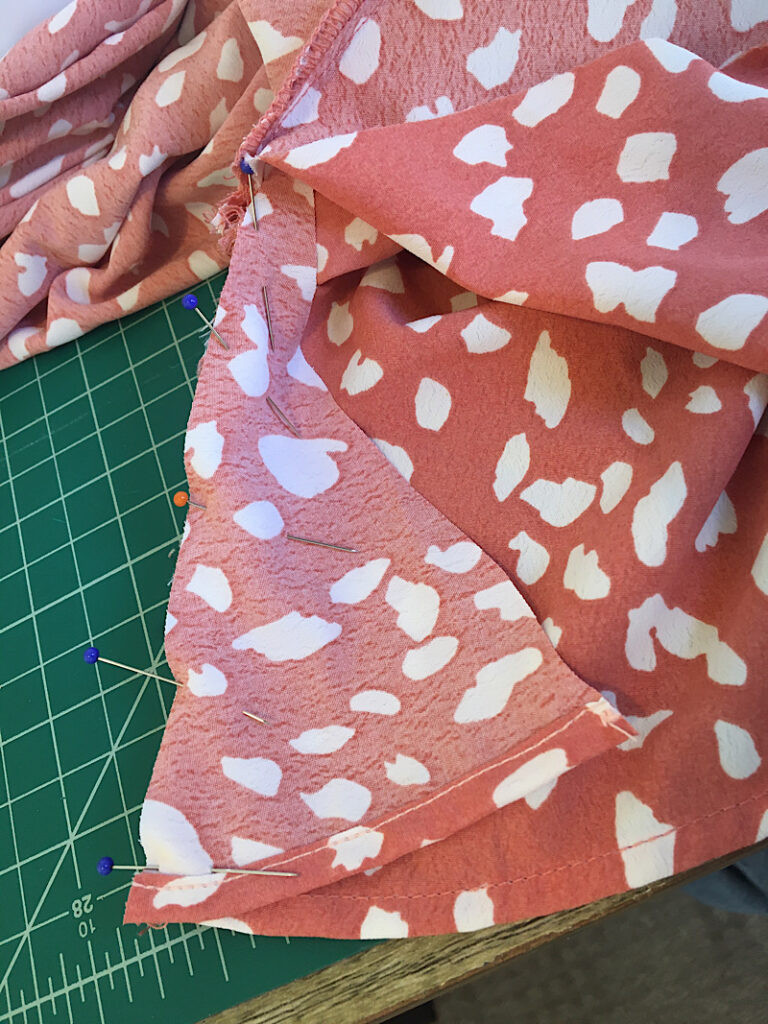
Sew down the pinned edge with a 3/8ths inch seam allowance. Don’t sew to the tip of the triangle, only to the end of the slit you cut, up to the armpit seam line.
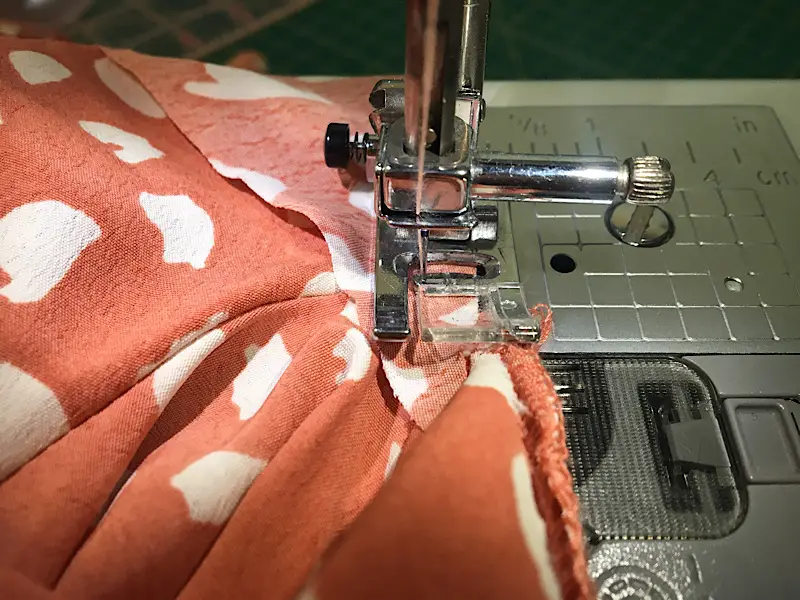
Then serge or zig zag stitch the same edge you just sewed.
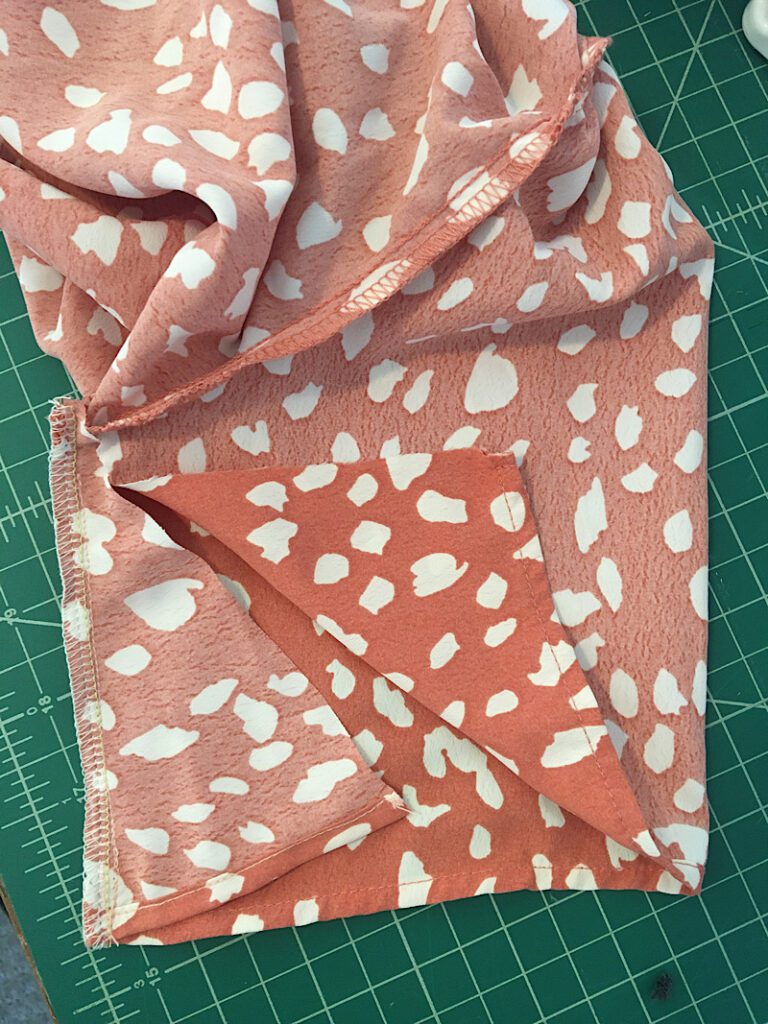
Now, pin the other side of the triangle to the right side of the other slit in the sleeve and sew the edge the same way as before.
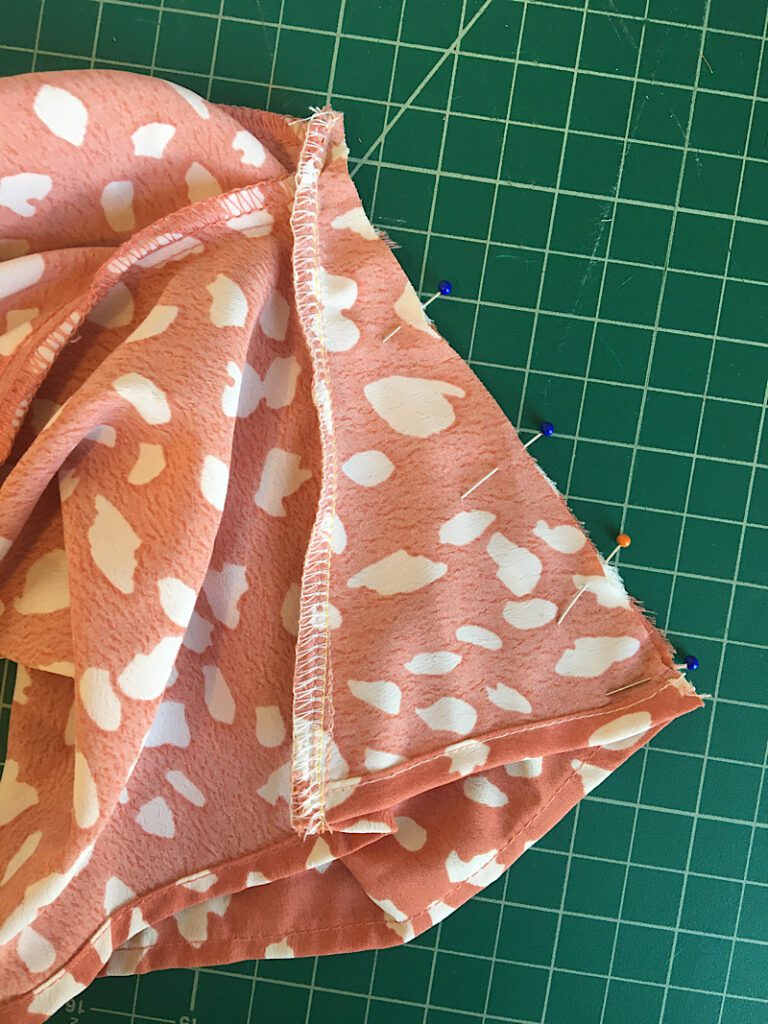
Then repeat these steps on the other sleeve.
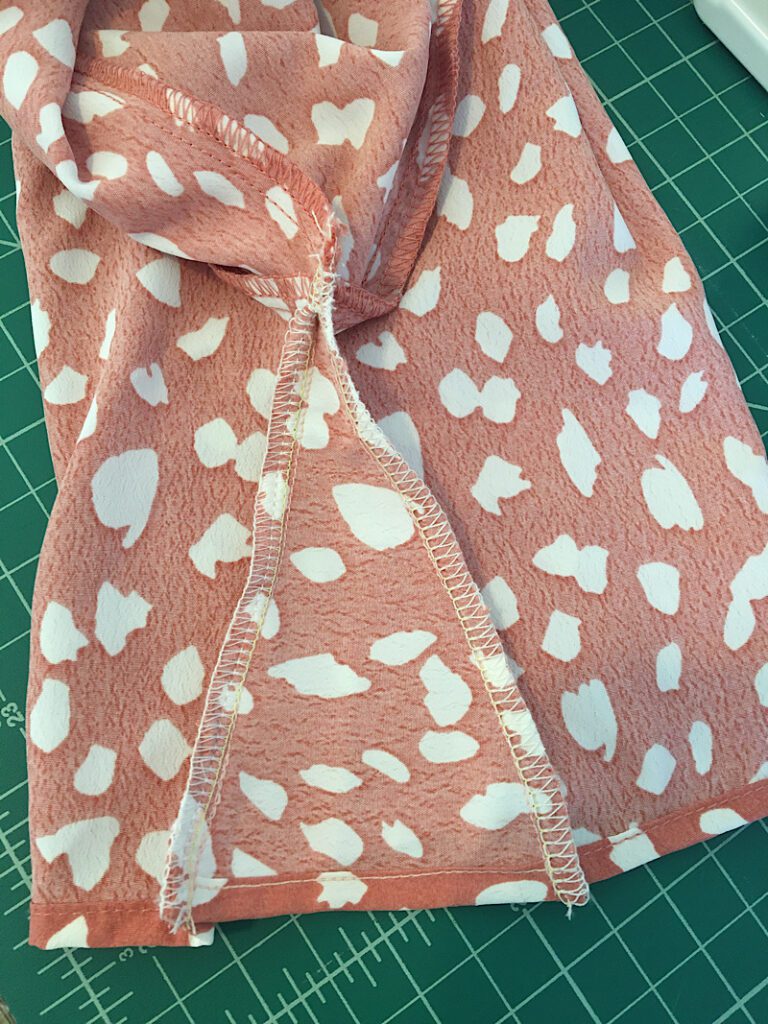
The triangle gusset is now inserted! But to make it really look good there is one last step.
Step 7. Tack Down The Edges of the Gusset Hem
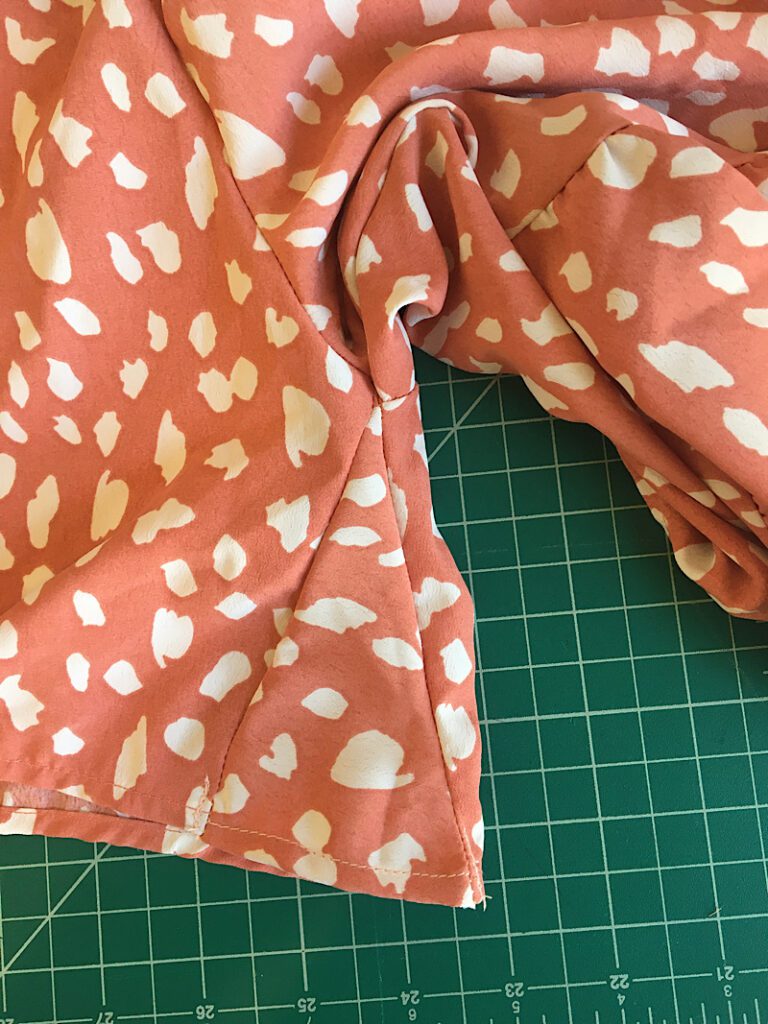
This is not necessary but makes it look much better in my opinion. See how those two serged seams stick out? They would add some bulk under the arm.
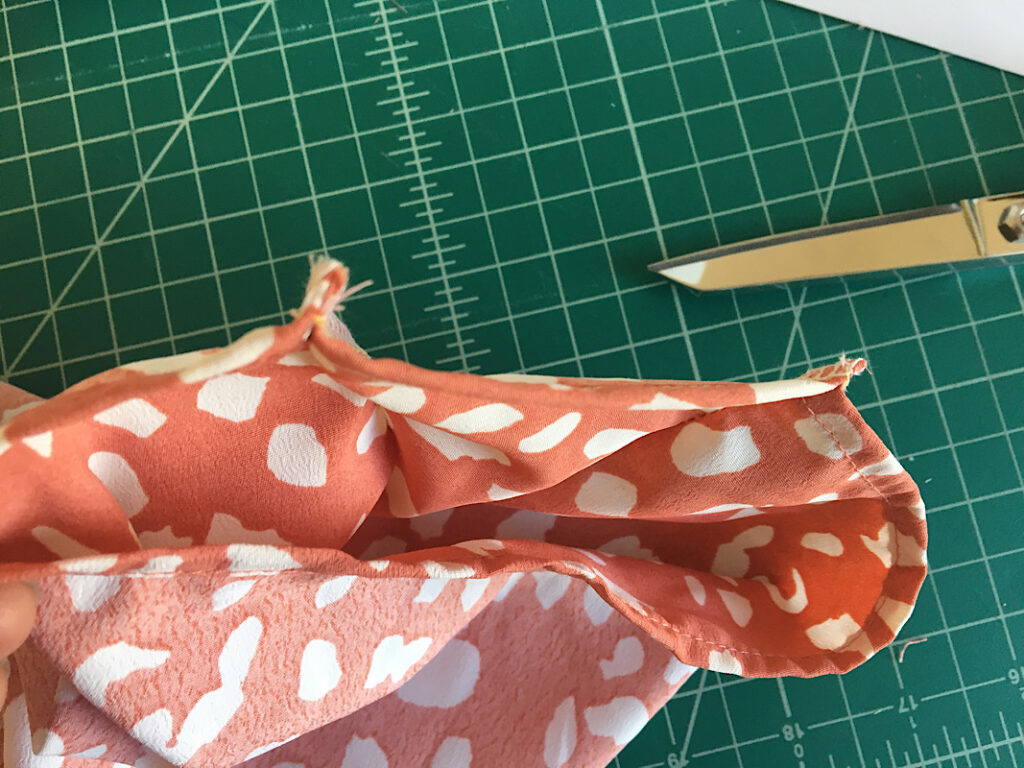
What I like to do is make a tiny stitch down the center of the seam to sew it flat against the sleeve.
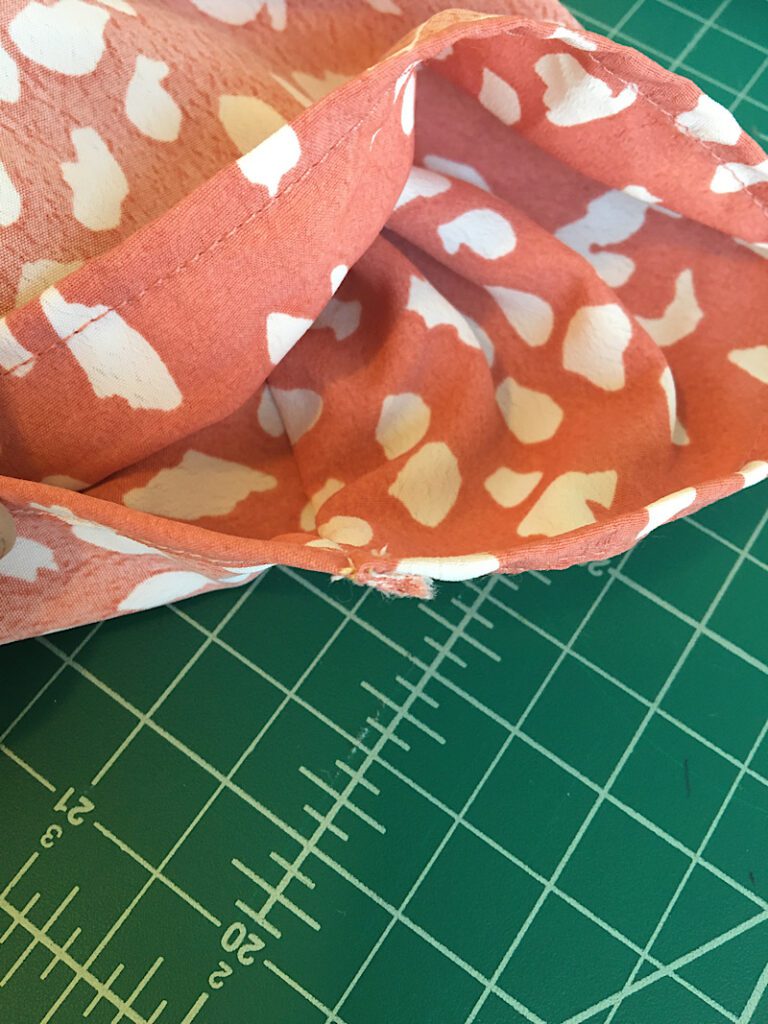
From the top it looks like a tiny stitch line, just on the hem or so, I do about a half an inch.
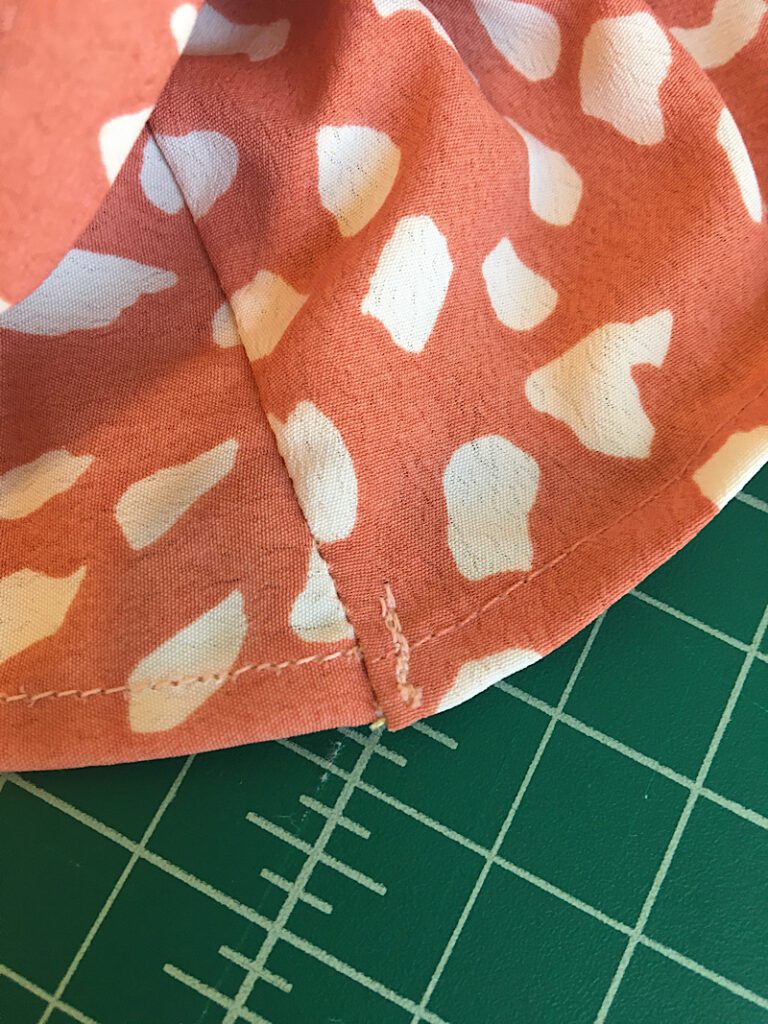
This completes the triangle sleeve gusset!
Here is what the underside of the sleeve looks like now…
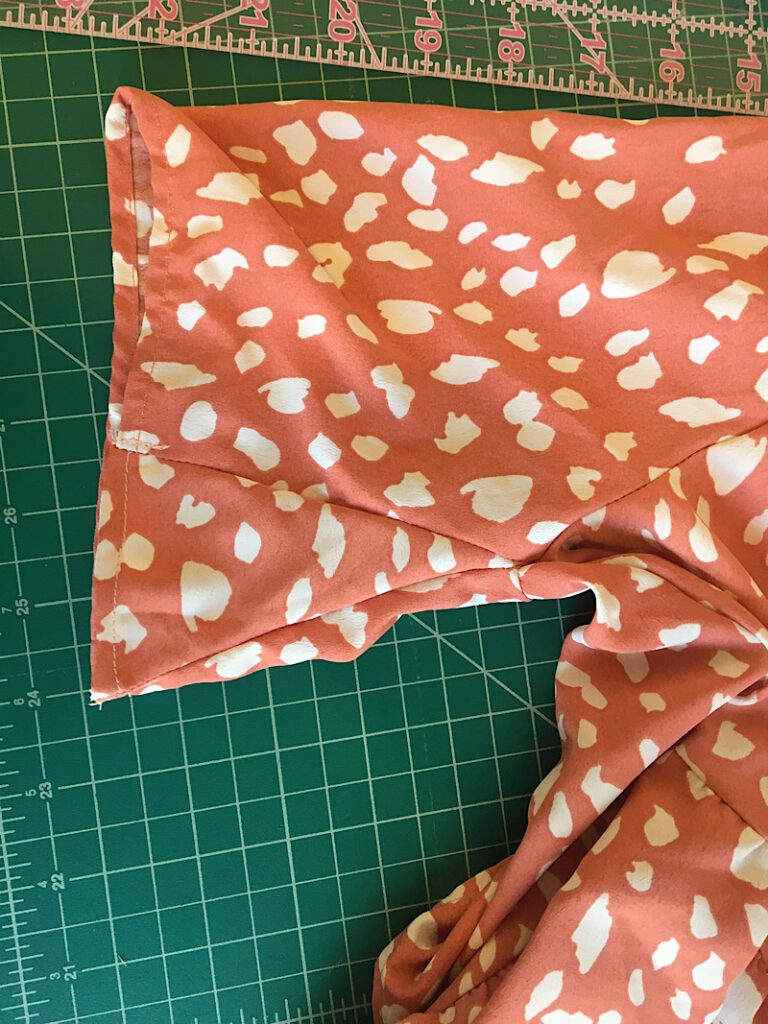
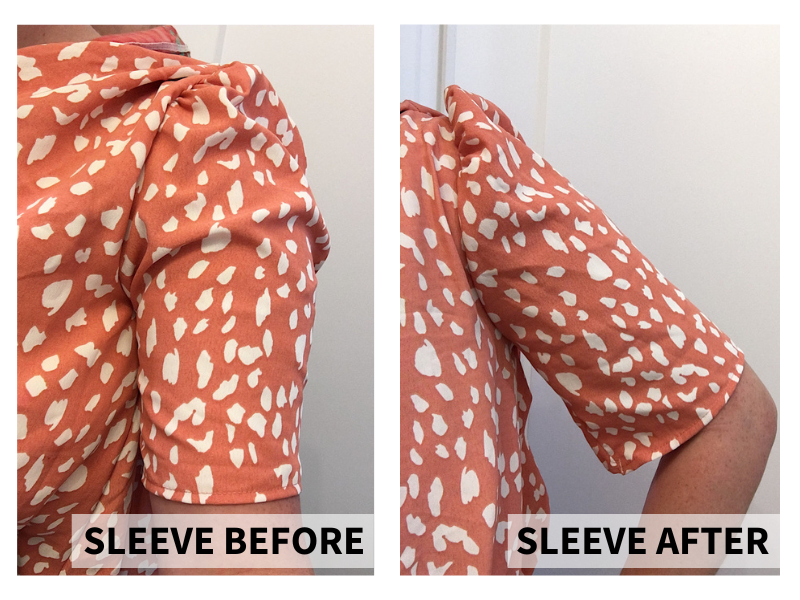
Your sleeve should fit much better now! Mine definitely does.
Here is a before and after so you can see the difference. I can actually lift my arm up now…
If this post was helpful please consider Pinning it to Pinterest and joining my email list!
And as always, let me know in the comments if you need any extra help.

Greate artiϲle. Keep writing such kind of information on your blog
Thank you!
thank you very much, cheers Yvonne
You’re welcome!