
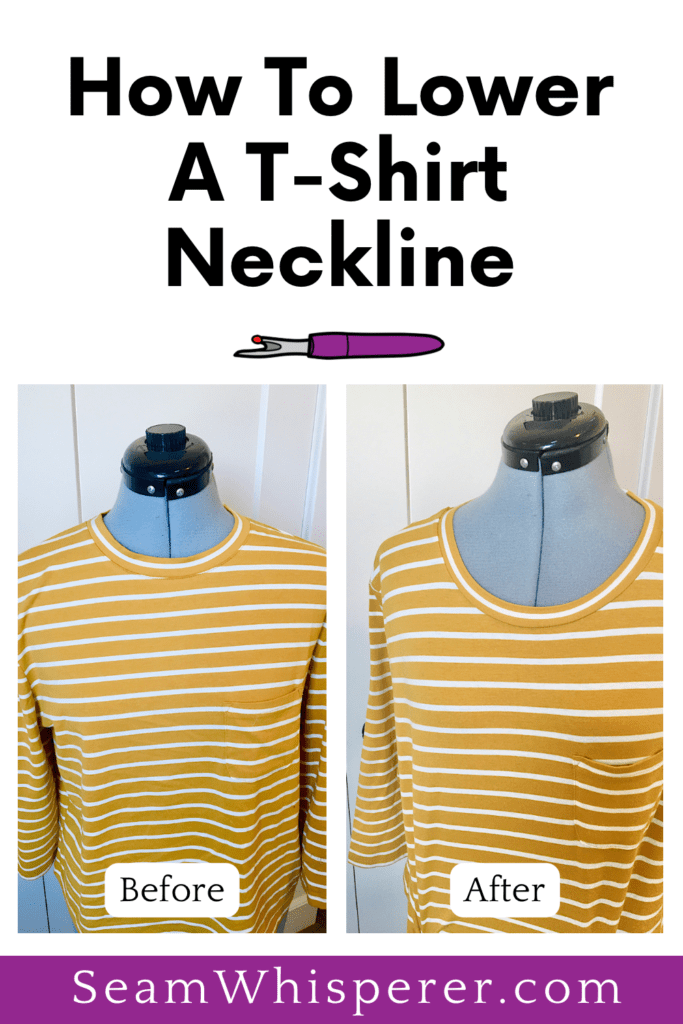
Want to learn how to turn a crew neck into a scoop neck? In this quick tutorial you will learn how to lower the neckline on a stretchy T shirt. This method is simple to learn, and produces good results. A serger is recommended, but not required for this alteration.
When I see other people wearing crew neck shirts, I think they look cute. When I wear them, I feel like I am choking! Can you relate?
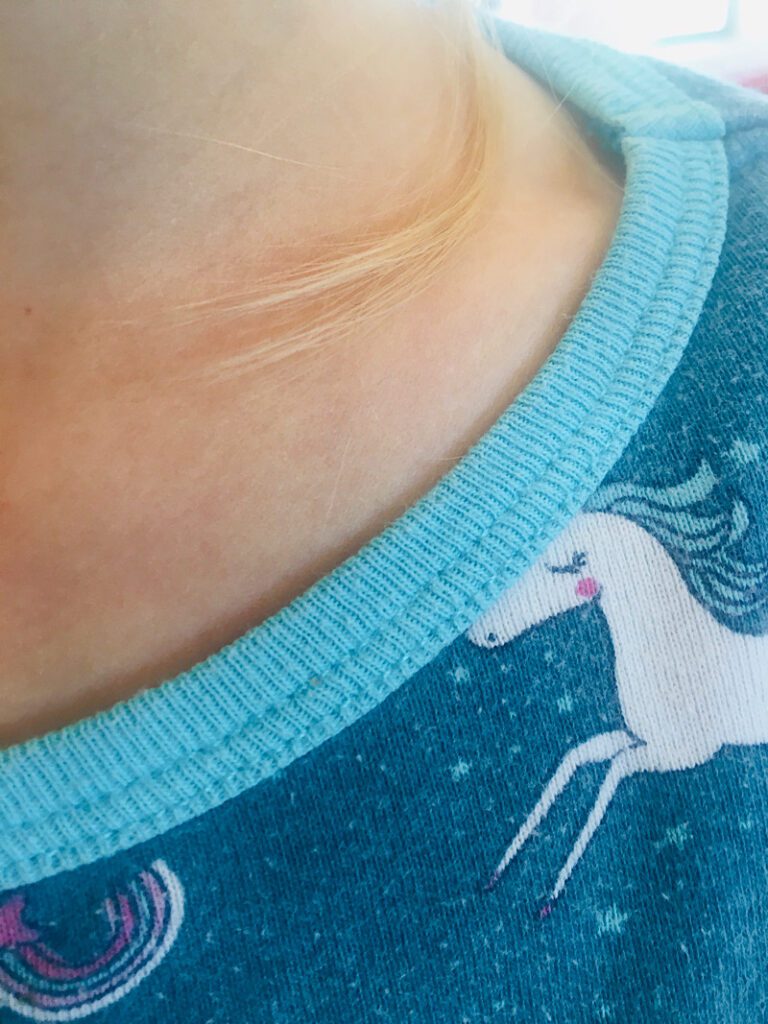
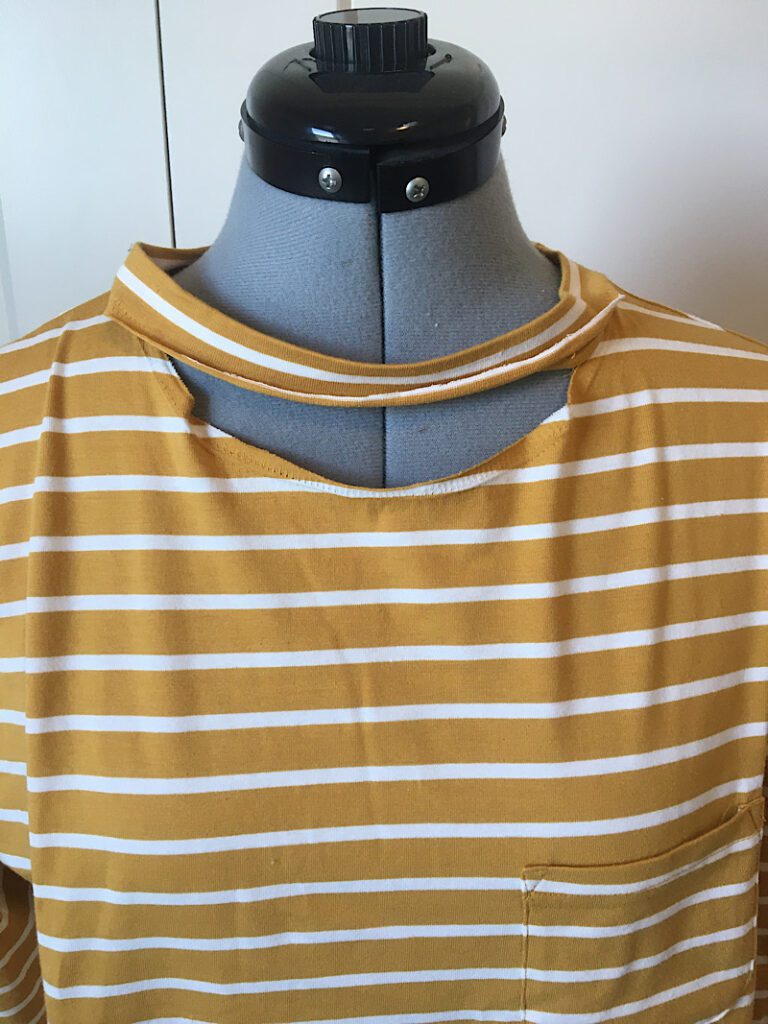
I recently got this super cute yellow striped T shirt that has a very boxy look and a crew neckline. It is my favorite color, but I instantly knew I would have to lower the neckline if I was going to wear it!
That is what I love about tailoring. Being able to alter clothing to suit your exact wants and needs is so liberating! And this is a very easy alteration, so read on.
This post may contain affiliate links. Read the full disclosure here.
T-Shirt Neckline Tutorial Details
This tutorial is pretty simple, I would call it advanced beginner friendly, or even adventurous beginner friendly.
I recommend using a serger for this alteration. Sergers are not hard to use, I promise! This is how I tailor neckbands for my clients.
However, you can use a regular sewing machine if you don’t have a serger.
This method of lowering the neckline will not work with t shirts that have bound necklines, such as in the image below. (Unless you cut off the original neckband and replace it with an entirely new one, which is totally do-able!)
Lets get on to the tutorial!
Supplies Needed
- Sewing Machine
- Serger (Optional but recommended)
- Zig Zag Presser foot (If not using serger. Don’t know what presser feet you have? Look at my presser foot guide and chart!)
- Sewing Scissors
- Sewing pins
- Seam Ripper
Materials Needed
- T-Shirt
- Matching Thread
How To Turn A Crew Neck Into A Scoop Neck (Lower T Shirt Neckline)
Step 1. Determine How Much You will Lower Neckline
Try the t shirt on and determine how much you want to lower the neckline. (I lowered mine about 1.25 inches)
The number of inches down from the original neckline you want to make your new neckline determines how you will detach the neckband and sew it back on.
- If you are going to lower the neckline about 1.25 inches or less, you can detach only the front half of the neckband (detached from shoulder seam to shoulder seam across the front.) and it will stretch enough without too much warping. This is easier than detaching the whole thing.
- If you are going to lower the neckline 1.5-2.5 inches or so, or your neckband is not very stretchy, it is probably wise to detach the entire neckband so you have more ease to re-stretch it when you sew it back on.
- If you want to lower the neckline much further, OR you are cutting off a bound neckband, you will need to create a new neckband entirely that is a couple inches smaller in circumference than the measurement of your new neckline.
Step 2. Unstitch the Neckband
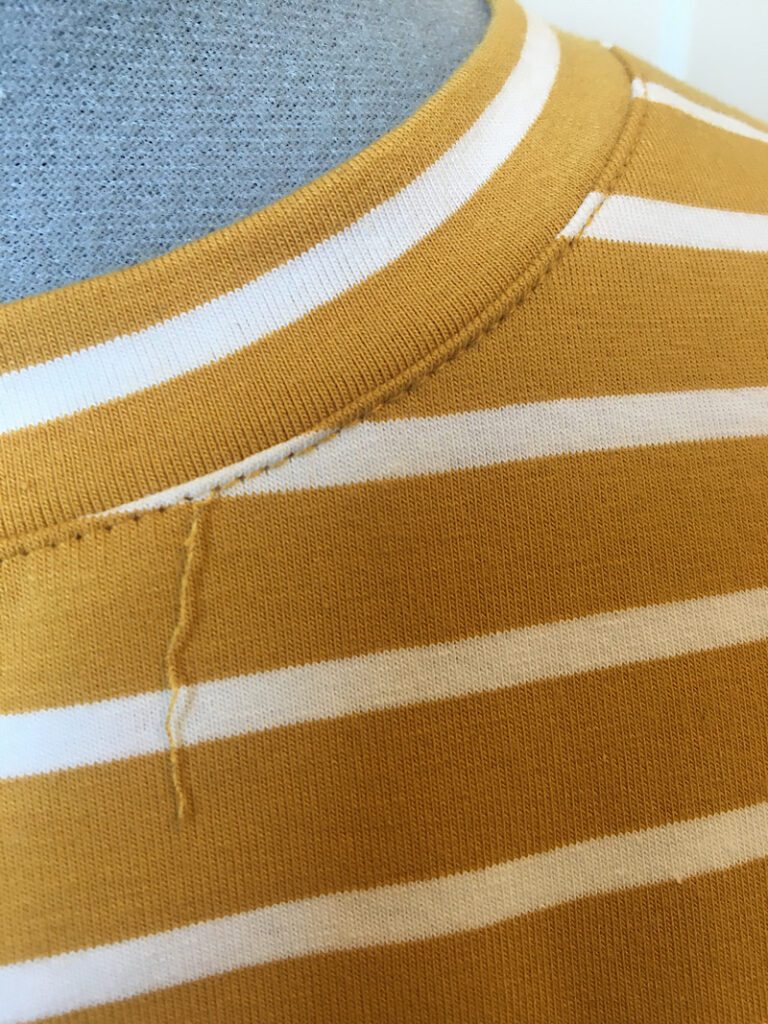
Many T Shirts have topstitching (stitches on the right side of the garment) near the neckband to stabilize them. Some don’t.
If yours does, the first step is to unpick the entire topstitching carefully with your seam ripper.
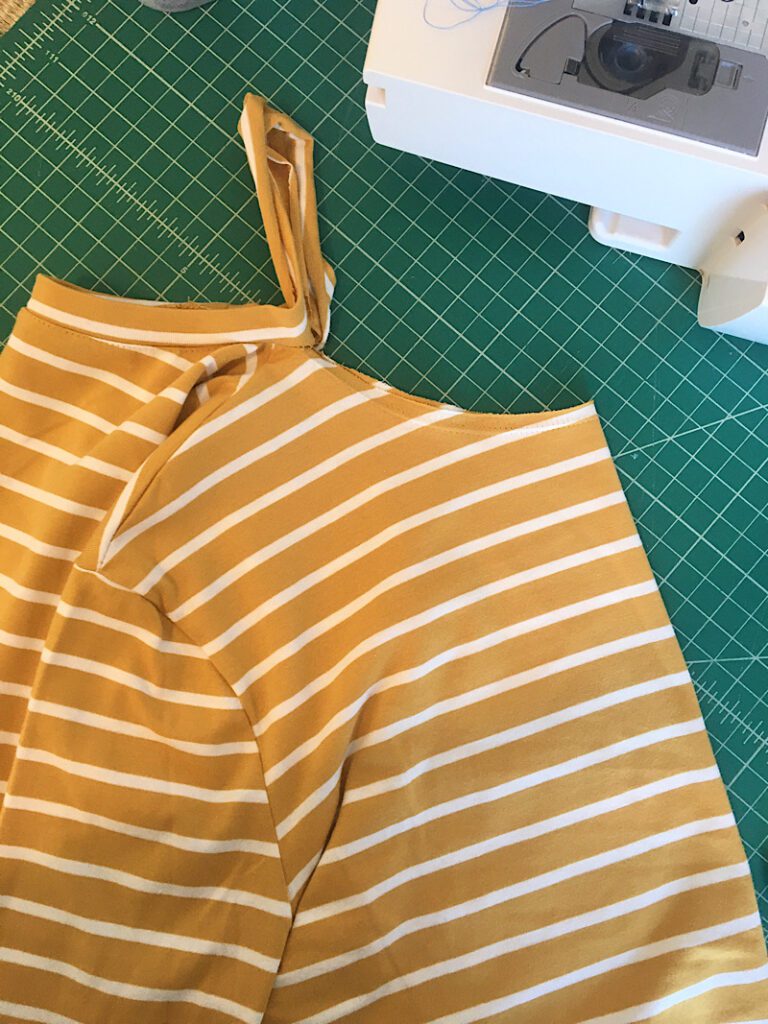
Step 3. Detach the neckband from the shirt
To detach the neckband from the shirt, you will have to unpick the serged stitches. Unpicking serged stitches seems tedious, but it is actually very simple if you do it right.
Examine the serged hem and locate the two stitch lines that are straight. There is one in the middle, and one on the bottom.
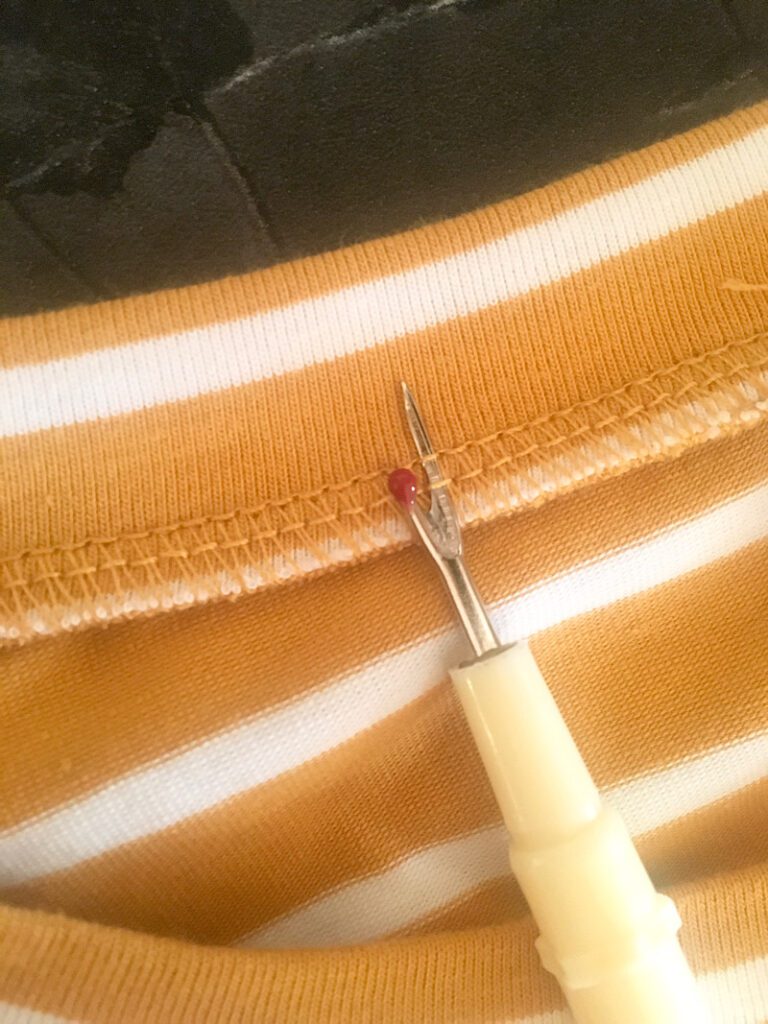
Remember to keep in mind how much of the neckband you need to detach, half, or the whole thing. I only did the front half.
Insert your seam ripper into the straight stitches, being careful not to cut the looped threads.
Seam rip the straight threads and pull them out of the shirt. It may help to rip them every few inches or so, so they are easier to pull.
After removing the straight threads, the looped threads will pull right off.
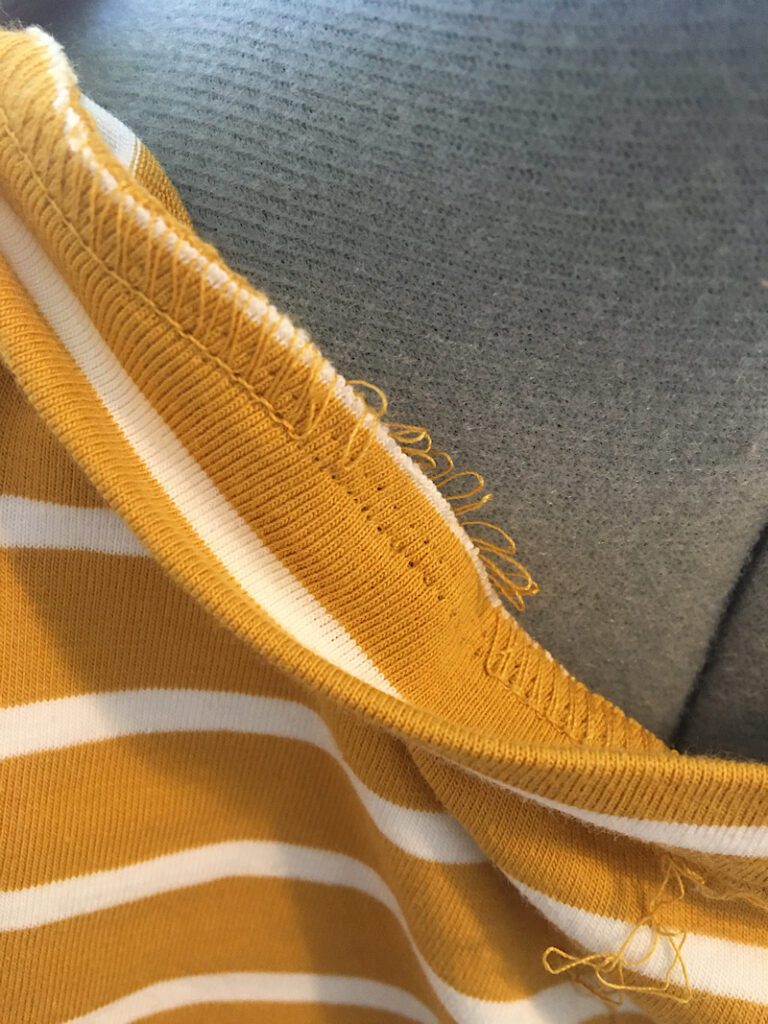
The neckband is now detached.
Step 4. Cut the New Neckline
Fold your T shirt in half so the center front line is on the fold. Make sure to line up the shoulder seams well, or the neckline will not be symmetrical when you cut it.
The total distance you want to lower your neckline is the distance from the raw neck edge you will begin cutting, on the fold.
For example, to lower the neckline 1.25 inches, start cutting 1.25 inches down on the fold.
As you cut, gradually slope the curve up to the shoulder seams. You should not cut through the shoulder seams, but end right at the point where the shoulder seam meets the neckband seam.
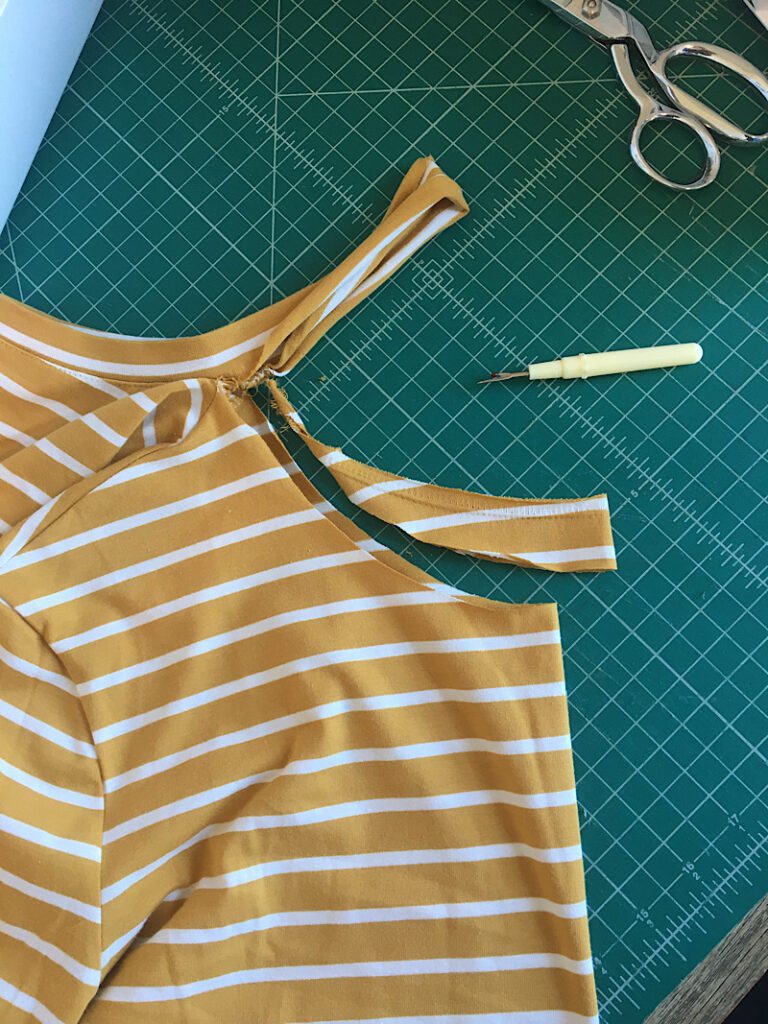
You want this curve to be gradual and round so it makes a nice scoop neck. If it helps you, you can turn the T shirt inside out and very lightly mark it with a pencil.
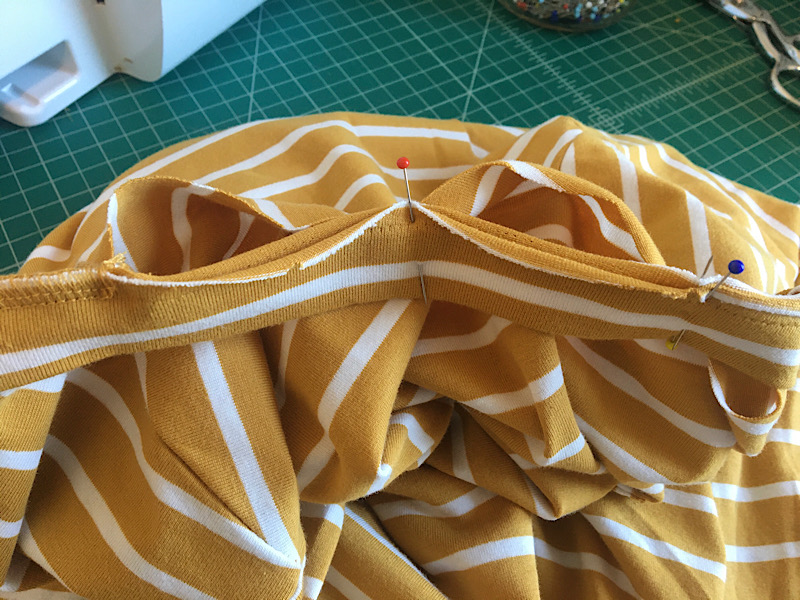
Step 5. Pin the Neckband to the shirt
Place a pin on the fold of the neckband and also the t shirt, to mark the centers.
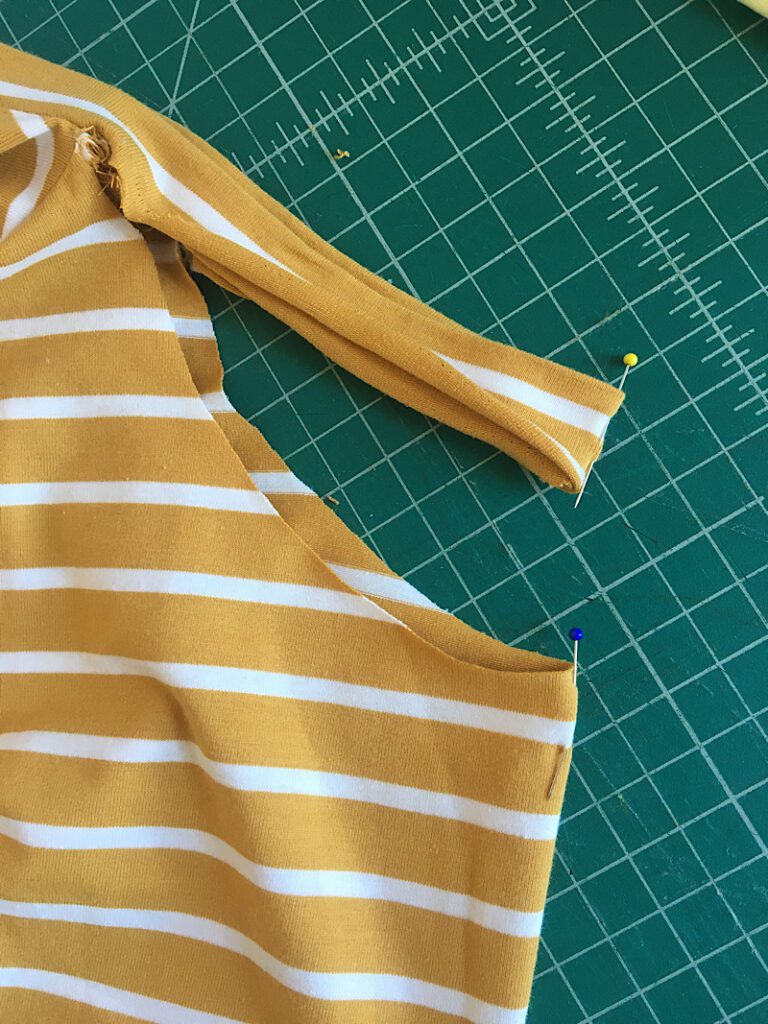
Flip the neckband back over the right side of the shirt and align the raw edges. Pin them together.
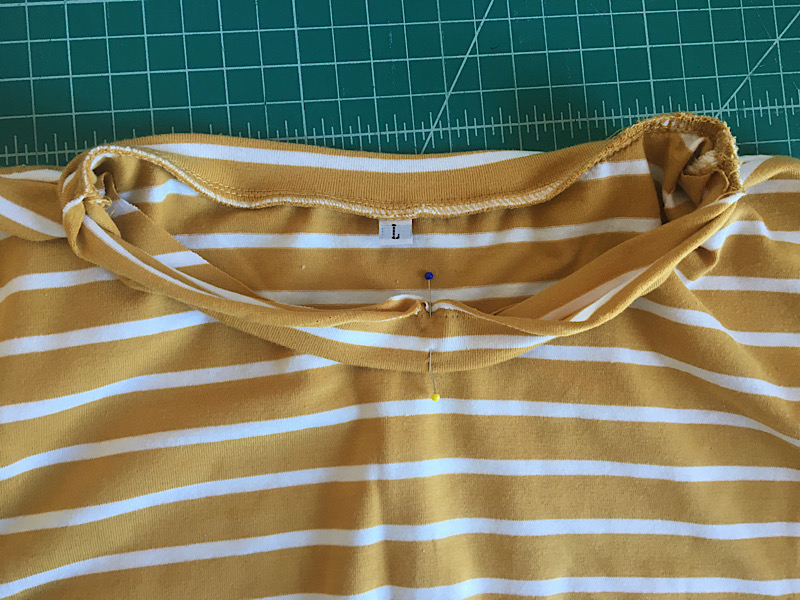
This pin marks the center of the neckband. It will help you sew it on if you also pin the quarter way points of the neckband (halfway between the center pin and the shoulder seam).
The quarter point on the neckband will be a shorter distance than the quarter point on the shirt. When pinned, the shirt should have extra fabric loose on both sides of the pin.
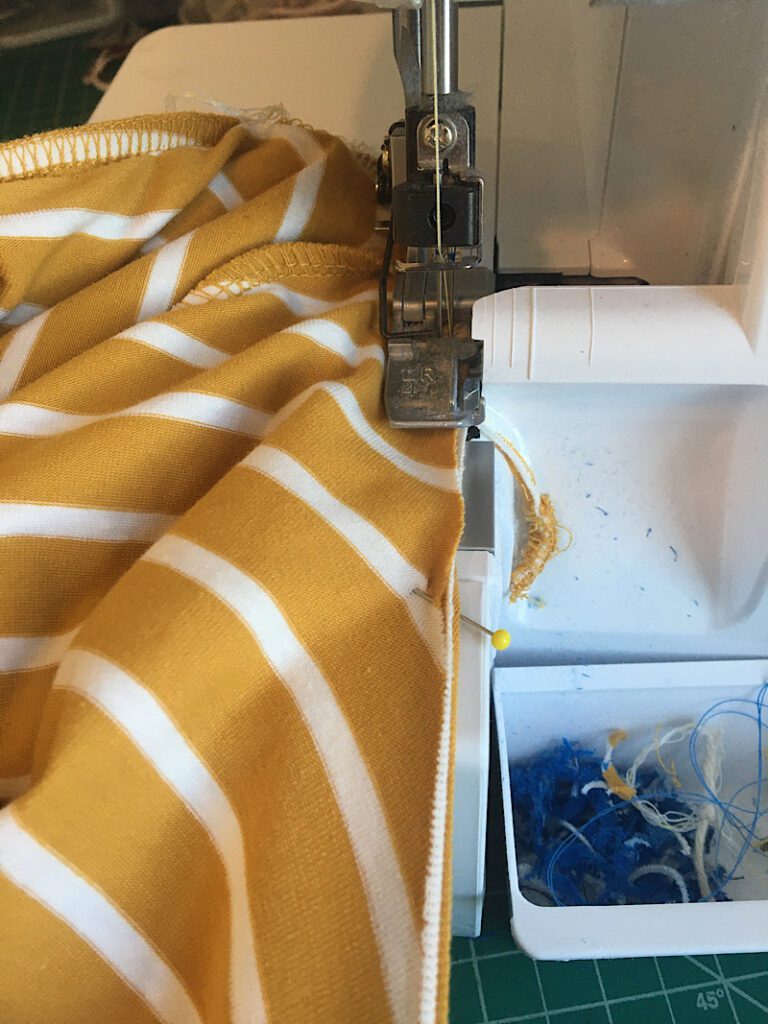
Step 6. Reattach the neckband to the T shirt
To sew the neckband to the shirt, you will have to stretch the neckband until it lies flat on the shirt as you sew. Use one hand pulling the shirt from behind the presser foot, and one hand stretching it in front.
Sew slowly, and make sure to use a stretch stitch. (Like a zig zag stitch). I serged mine.
Related: Serger vs Sewing Machine, which is better?
The edge of the knit fabric will probably have a tendency to roll, so make sure the flatten it as you go.
Clip your threads, turn it right side out, and you are done!

Conclusion
This method allows you to re-use the original neckband, without losing any of it’s width! Of course, you could sew on a new one and just cut the old one off, which would help you avoid all that unpicking… plus it might look cool to use a contrasting fabric!
I hope this tutorial was helpful to you, let me know if any of the steps need clarification! I am happy to help.
Pin this post to share it with others who might be looking for it, and also make sure to sign up for my email list!
This is really amazing. I’ve never seen this kind of creativity before. Thanks for sharing this with us
This doesn’t make sense to me.. Don’t you need a longer neckband piece if you are lower the neckline because the neckline is actually longer?
Christine, yes and no! If you only lower it a little bit you can stretch out the neckband before re attaching it and it will still work. But if you lower the neckline too much (more than an inch perhaps) then yes you will need to cut a new neckband.