Have your sweatshirt or hoodie sleeve cuffs been stretched out, and no other method worked to fix them? Or maybe they were a little too loose to begin with. This sewing tutorial will walk you through the steps to tighten them up and make them fit right again!
Oversized sweatshirts are so cozy, but when the hem of the sleeve (called the cuff) is too loose, it can be pretty annoying. I recently got out one of my favorite sweaters to wear for the fall season, but determined I needed to fix those cuffs if I was going to be happy wearing it!
Altering Clothes is so much fun and very rewarding. Let me show you how I did it!
This post may contain affiliate links. Read the full disclosure here.
About This Sleeve Cuff Tailoring Tutorial
This tailoring method is pretty easy, but if you have never sewn before I would recommend practicing on a sweatshirt you don’t care about first. This tutorial is suitable for advanced beginners or intermediate sewers.
This method is meant to be used on sweatshirts and hoodies or even pajama tops that have cuffs that are folded in half to make a “tube” like cuff.
I use a 3/8ths seam allowance in this tutorial.
Supplies Needed
- Sewing Machine
- Serger (OPTIONAL but I love using mine for professional finishes! They are not hard to learn!)
- Fabric Scissors
- Sewing Pins
Materials Needed
- Sweatshirt with loose cuffs
- Matching Thread
How To Tailor Sleeve Cuffs To be Tighter
Step 1. Remove The Cuff
Carefully remove the cuff from the sweatshirt arm. I cut mine off right beside the seams, this the the easiest and quickest way to remove it.
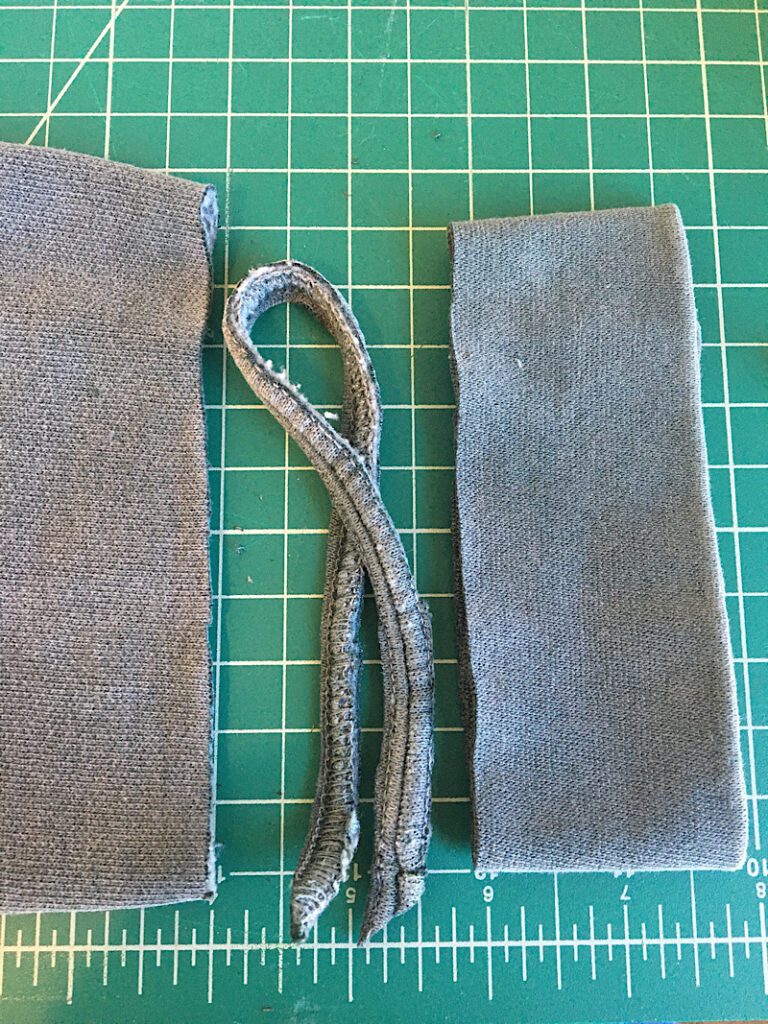
However, because you need to sew it back together, the sleeve and the cuff will both lose a bit of length in the new seam allowance.
If you absolutely don’t want to lose any length from the cuff, you can unpick the seams, but it will take a bit of time. Cuffs are usually serged or coverstitched, which means there is a lot more stitches to undo.
Step 2. Measure The Cuff
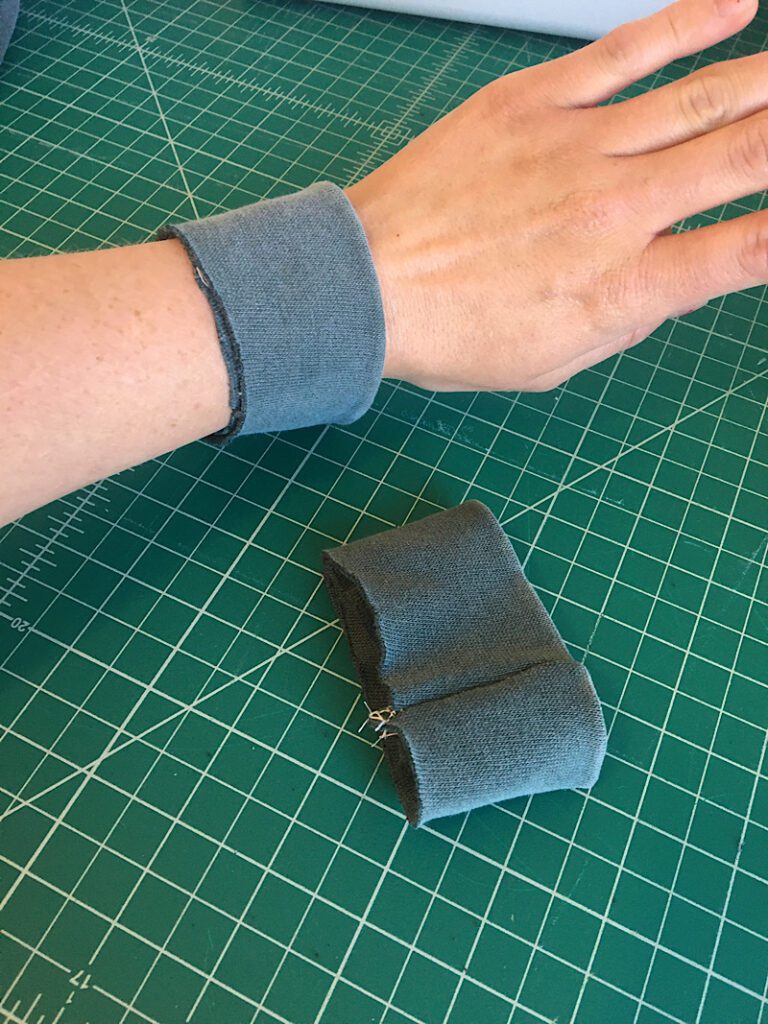
Put the cuff onto your wrist the way it would be if it were still on the shirt. Pinch it to measure how tight you want it to be, and place a pin at that point.
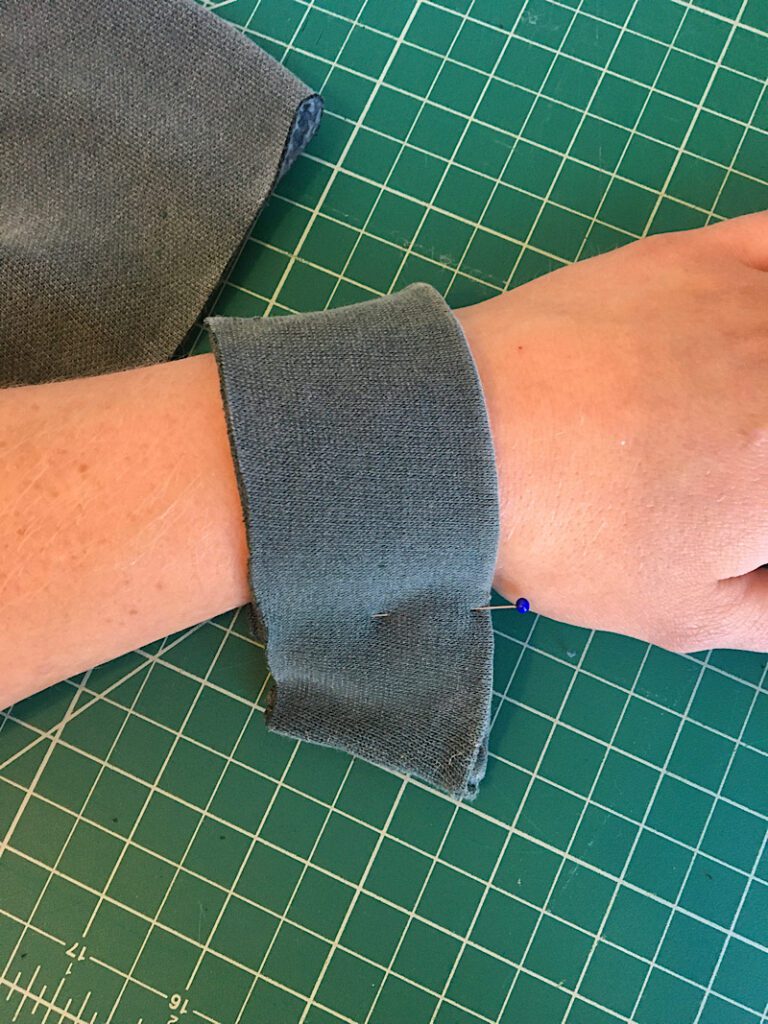
Carefully take the cuff off and lay it flat on the table.
Step 3. Cut the Cuffs
Don’t cut Yet! **To account for the seam allowance, you need to cut further out than where you placed the pin. If you cut on the line of where you placed the pin, the cuff will end up too tight.
Cut the cuff 3/8ths of an inch on the OUTSIDE of the pin.
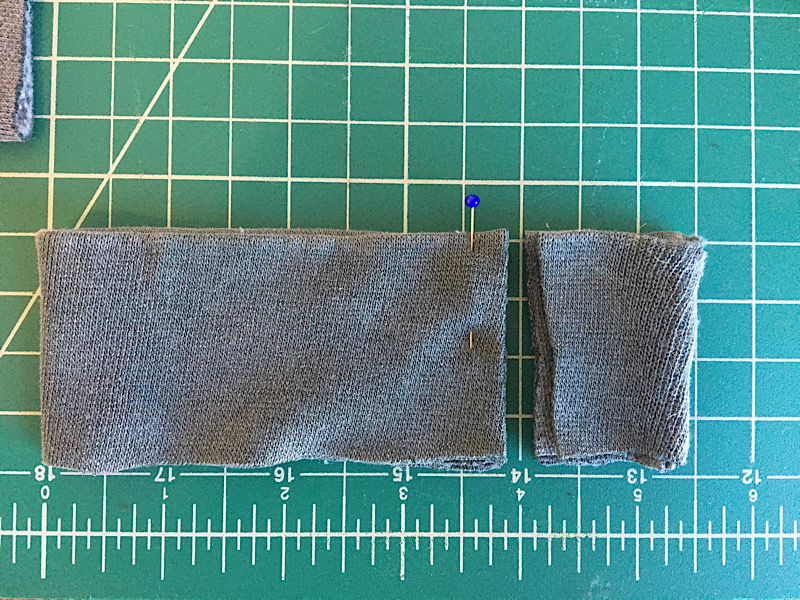
Take note of how much you cut off here. Notice I cut off about 1.5 inches of the excess cuff. You will need this information later.
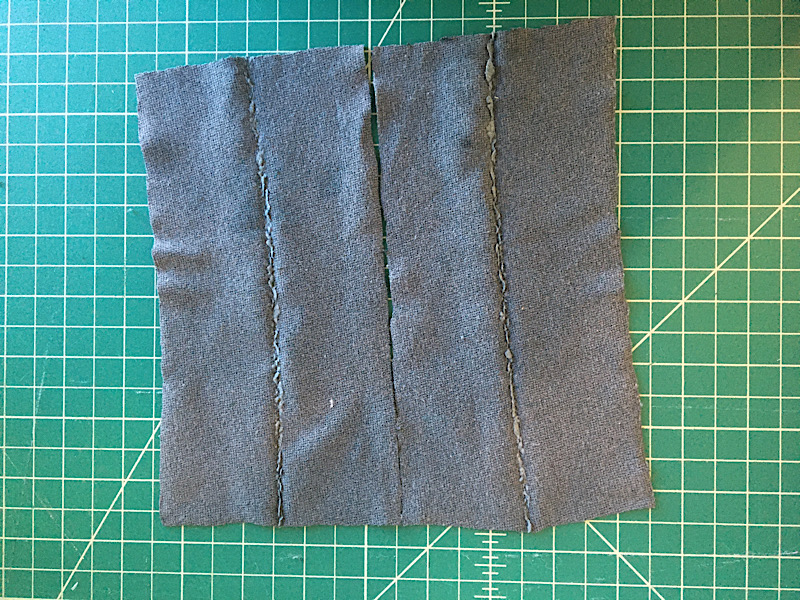
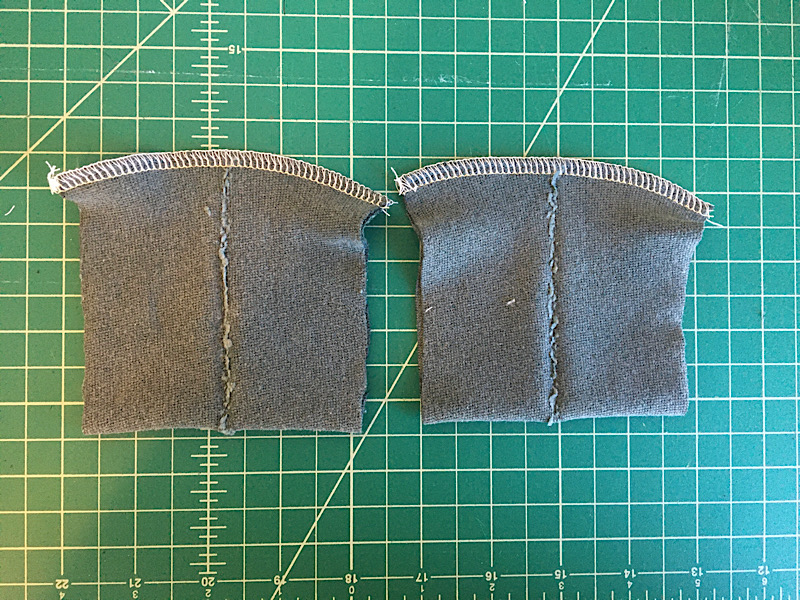
Open up the cuff and lay it flat on the table. You can now use it as a guide to measure and cut the other cuff the exact same size without having to pin it again.
Do this by cutting open the second cuff at the seam, them laying it flat. Place the already cut-to-size cuff on top to use as a guide, and cut the second cuff the same size.
Step 4. Sew The Cuff Closed
Fold the cuff in half aligning the two SHORT edges of the rectangle (hamburger style) with the right sides of the fabric facing together. (It should be inside out.)
Sew along the edge opposite of the fold with a 3/8ths inch seam allowance. (I serged mine. You can use a regular sewing machine, using a stretch stitch will help prevent it from breaking)
Now fold the cuff back right side out to hide the seam you just made. It should look like the original cuff you cut off, only tighter!
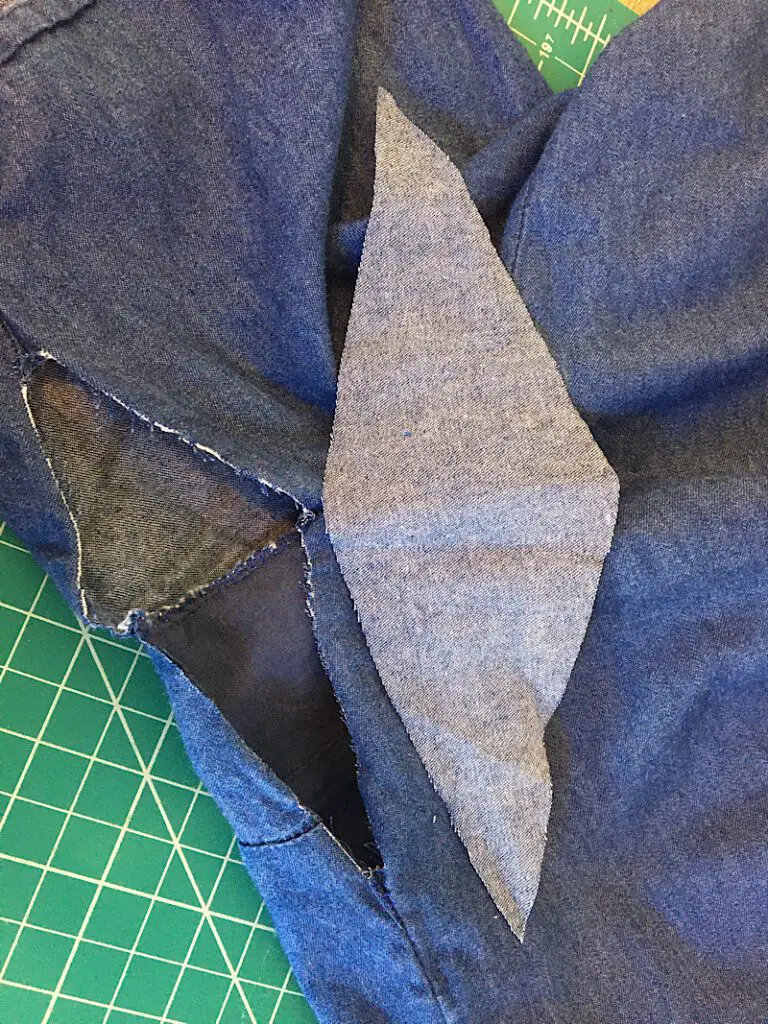
Step 4.5 Taper The Sleeve If Needed
** IMPORTANT SIDE NOTE. If you cut off more than about 1-1.5 inches of the cuff back in step 3, you will probably want to taper the sleeves of the sweatshirt a little bit so the cuff doesn’t have to stretch out too much when you sew it back on. This isn’t strictly necessary, but it will produce better results.
To taper the sleeves, you will sew a line that gently tapers from around the armpit point on the original seam, down towards the sleeve end. Ideally you want the sweater sleeve to be only about 1.5 inches wider than the sleeve cuff.
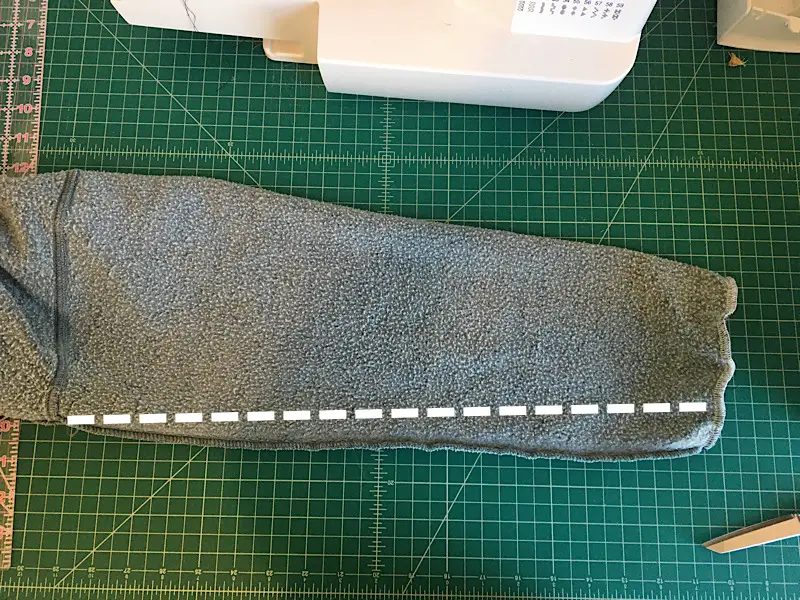
Again, this is optional, but will produce better results.
End Side Note**
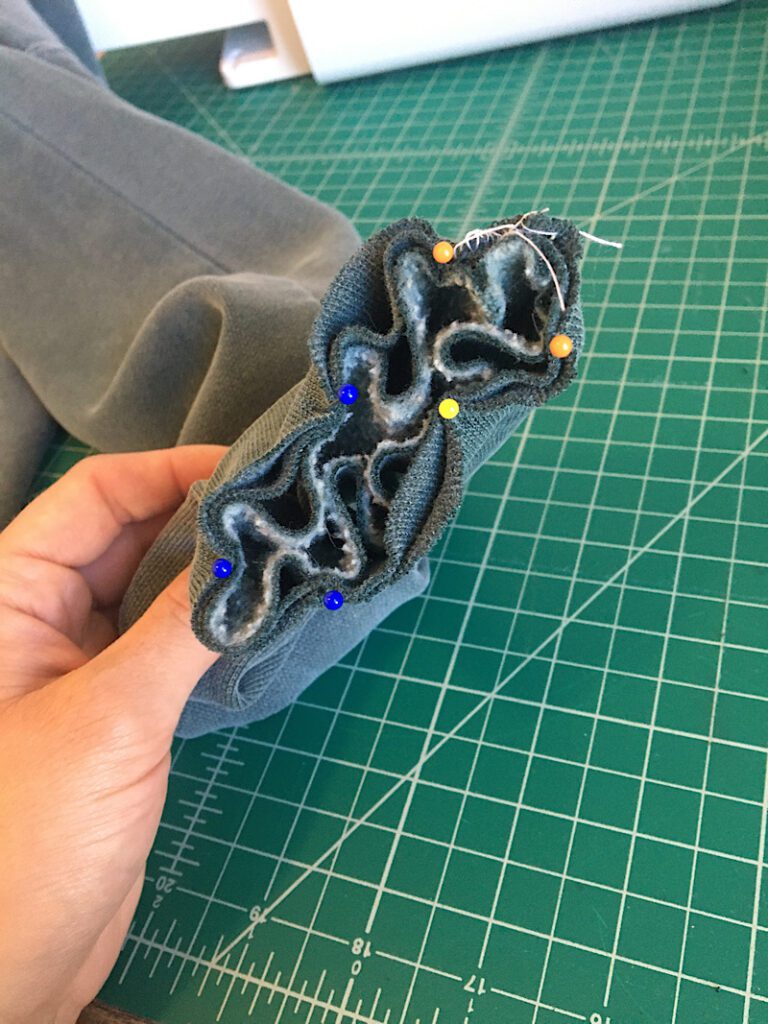
Step 5. Pin The Cuff back Onto The Sweatshirt or Hoodie
Place the cuff around the sleeve with the raw edges aligned. Make sure to line up the seam of the sleeve with the side seam of the cuff.
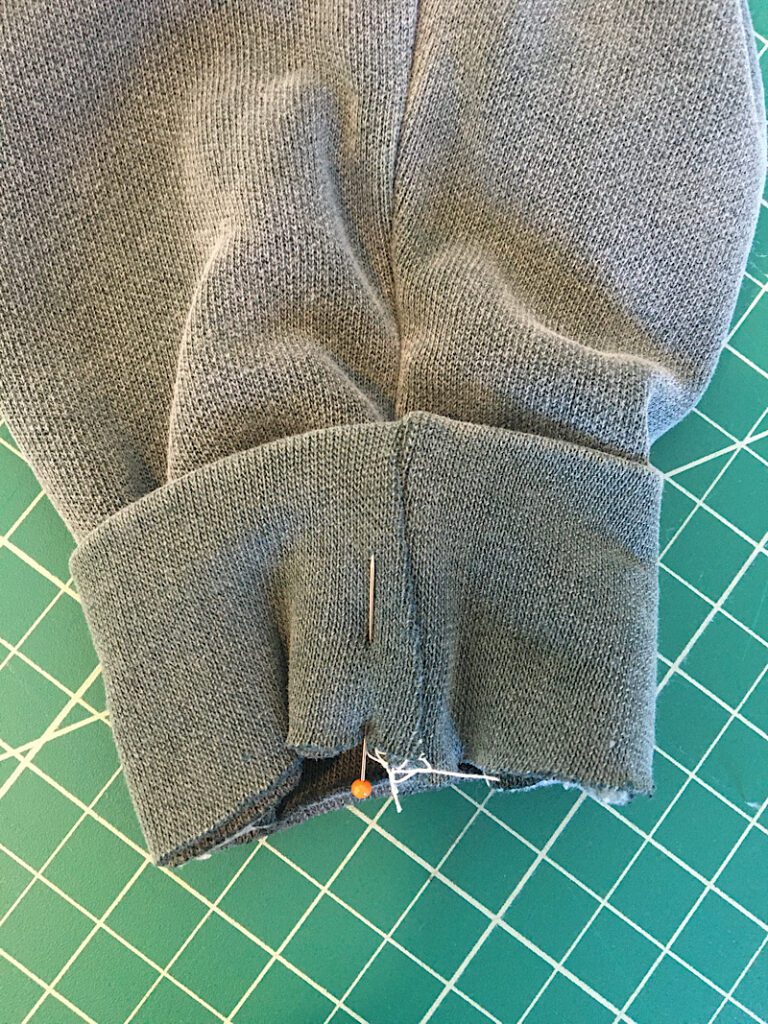
Pin the cuff to the sleeve, you will have to stretch it out so the sleeve lays flat against the cuff to place pins evenly all around. When you stop stretching it out, it should be evenly “bunched” around the circumference.
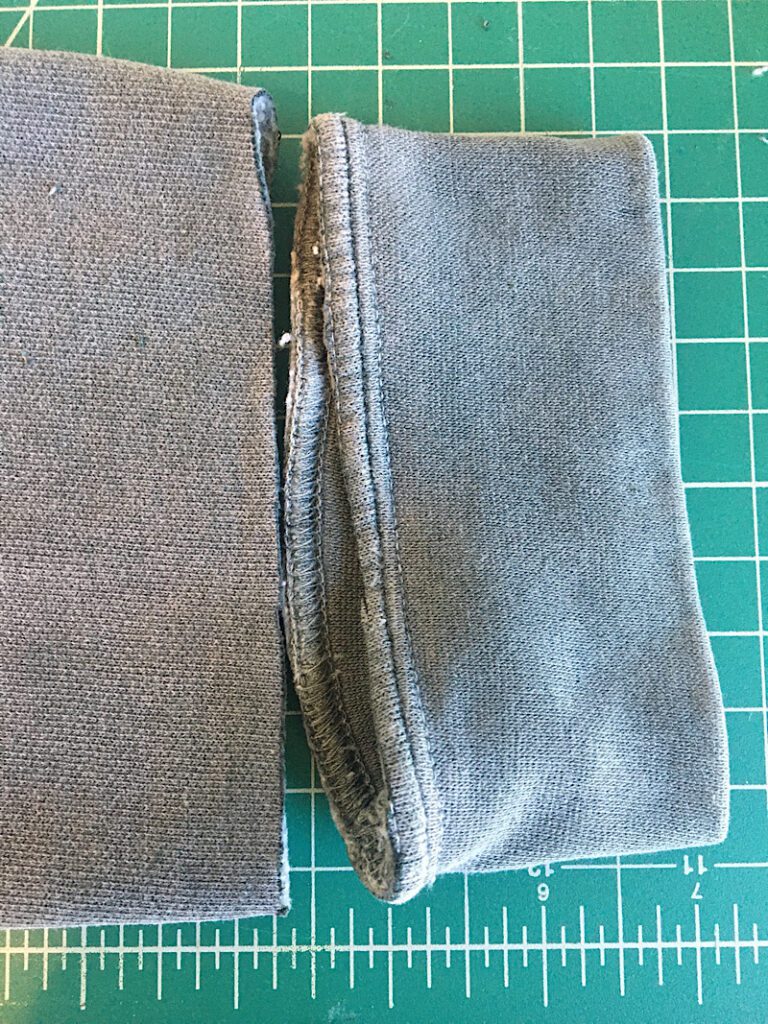
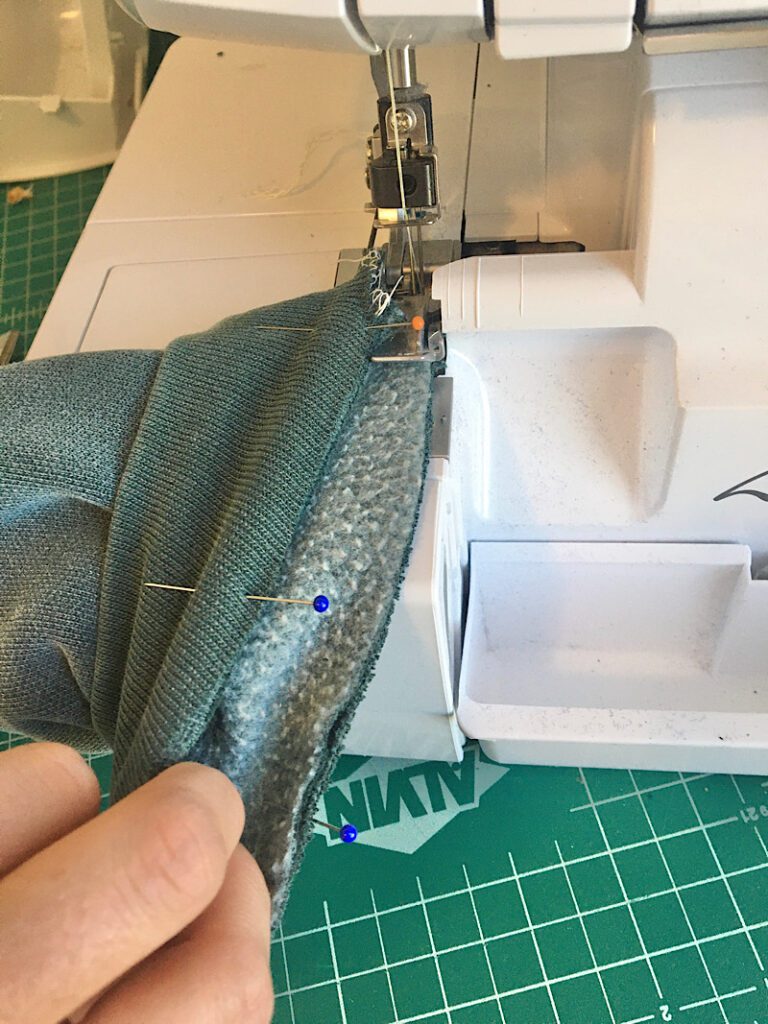
Step 6. Sew the Tightened Cuffs Back On
To make this easier, I recommend taking the removable table extension off your machine so the sleeve can fit around the plate for easier sewing. (If you don’t know what I mean, you can look at my labeled chart in my guide on sewing machine parts here.)
Again, I am serging it, but you don’t have to. You can use your sewing machine to overlock the edge, use a zig zag stitch, or just a straight stitch. Since this is knit fabric, it won’t fray.
Sew the cuffs on using a 3/8th’s inch seam allowance. Stretch out the cuff as you sew so it lays flat on the sleeve.
When you are done, the new seam of the cuff should look like this!
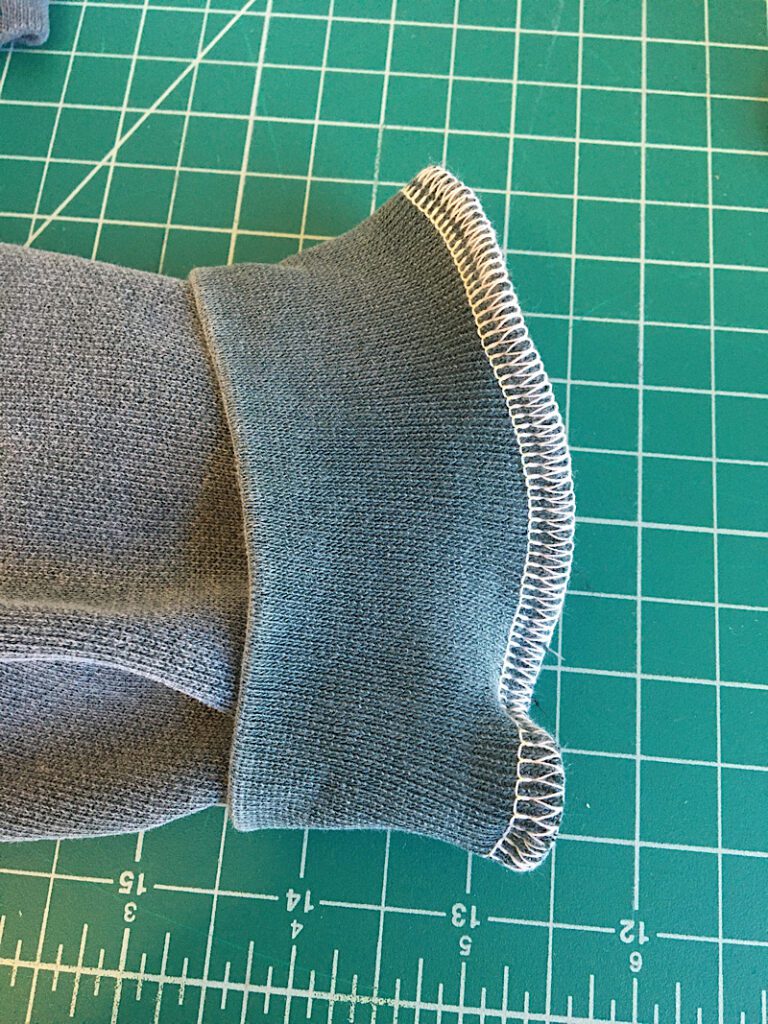
Turn the cuff right side out and you’re done!
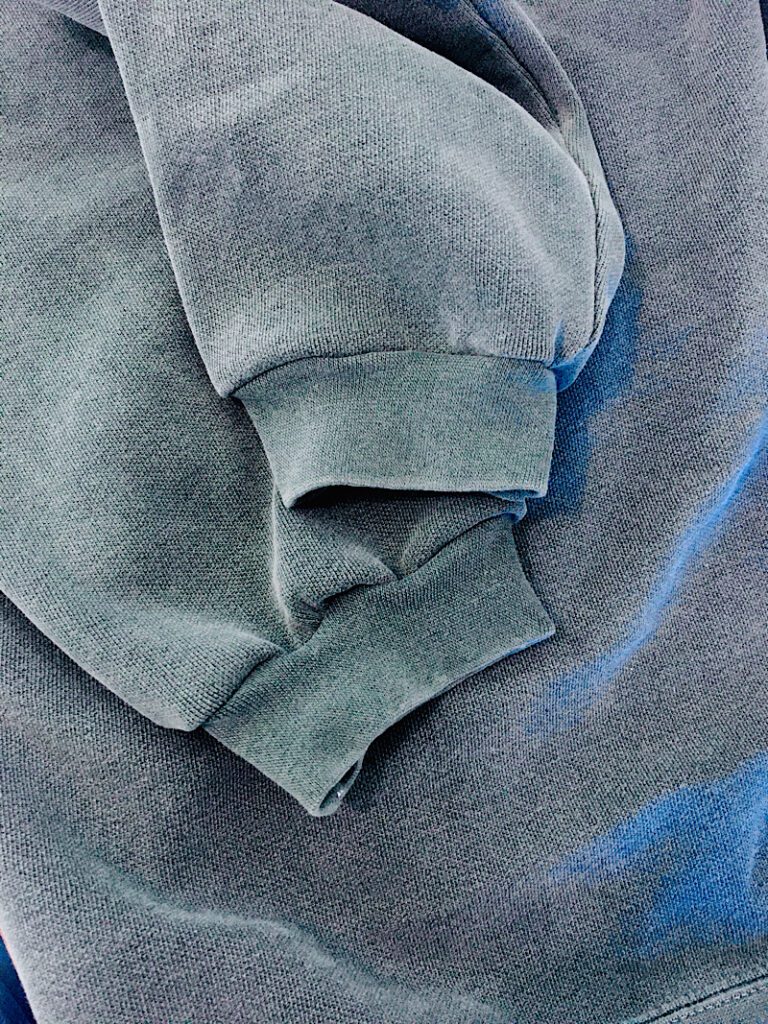
It fits so much better now! It won’t drop in my soup all winter long, yay!
I hope this tutorial helped you fix your sweatshirt or hoodie! If any part was confusing, please let me know and I will be happy to assist!
Pin this post for later and sign up for my email list for more helpful sewing content.