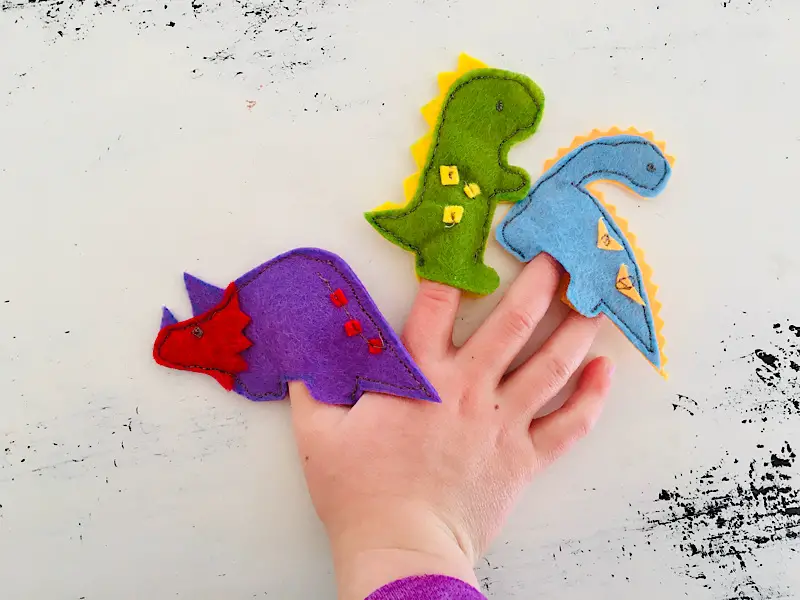
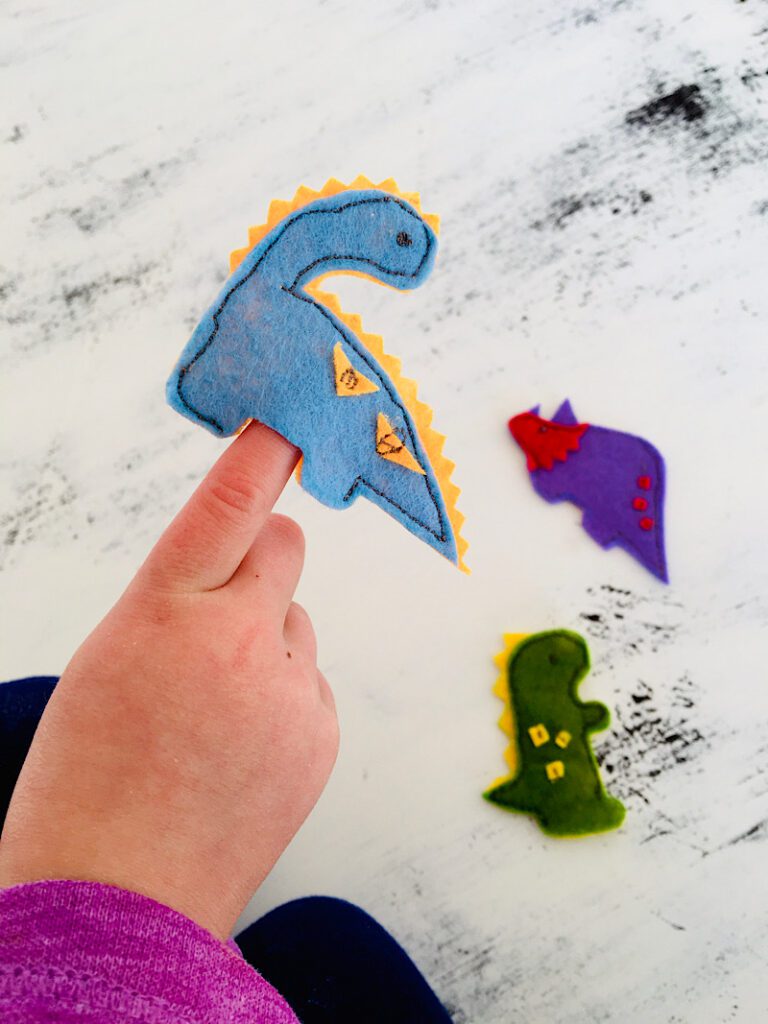
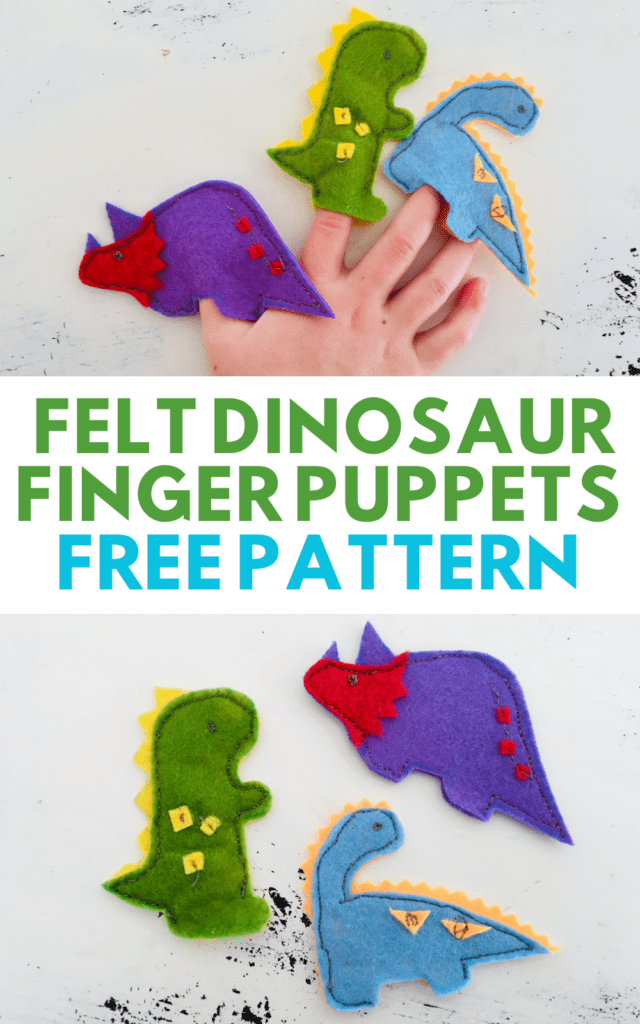
Make a set of three tiny finger puppets with felt with these free patterns! Sew them by hand or by machine.
Finger puppets have been so much fun to make lately, and now that I am in dino mode for my little boy I thought it would be fun to whip up some felt finger puppets in the shape of dinosaurs!
This pattern is free for you to use, and only takes a few minutes. You’re going to love it!
This post may contain affiliate links. Read the full disclosure here.
About The Tutorial
This is a great beginner sewing project and also a good way to use felt scraps.
You can hand sew the puppets using a backstitch or running stitch, or you can machine sew them like I did.
To machine sew them, I recommend using a darning presser foot (you can read about different presser feet here) or you can use a regular foot or monogramming foot and just pivot it a lot around the curves and corners.

Supplies Needed
- Sewing Machine (Optional)
- Hand Sewing Needles (Optional)
- Darning Presser Foot (Optional)
- Fabric Scissors
- Disappearing Ink Fabric Marker
- Pinking shears (recommended but optional)
- Free Pattern (Download Below)
Materials Needed
- Colored felt Sheets (I used two colors for each puppet)
- Matching Thread
How To Download The Free Pattern
To download the free printable pattern, type in your email address to sign up for my mailing list and I will send you the file!
This pattern is a PDF. Print it at 100% scaling and measure the “test square” to make sure everything is the right size before cutting it out.
How To Make Felt Dinosaur Finger Puppets
The basic steps are the same for each puppet. (Except the triceratops, it has a head as well as a front and back piece.)

Step 1. Trace The Pattern
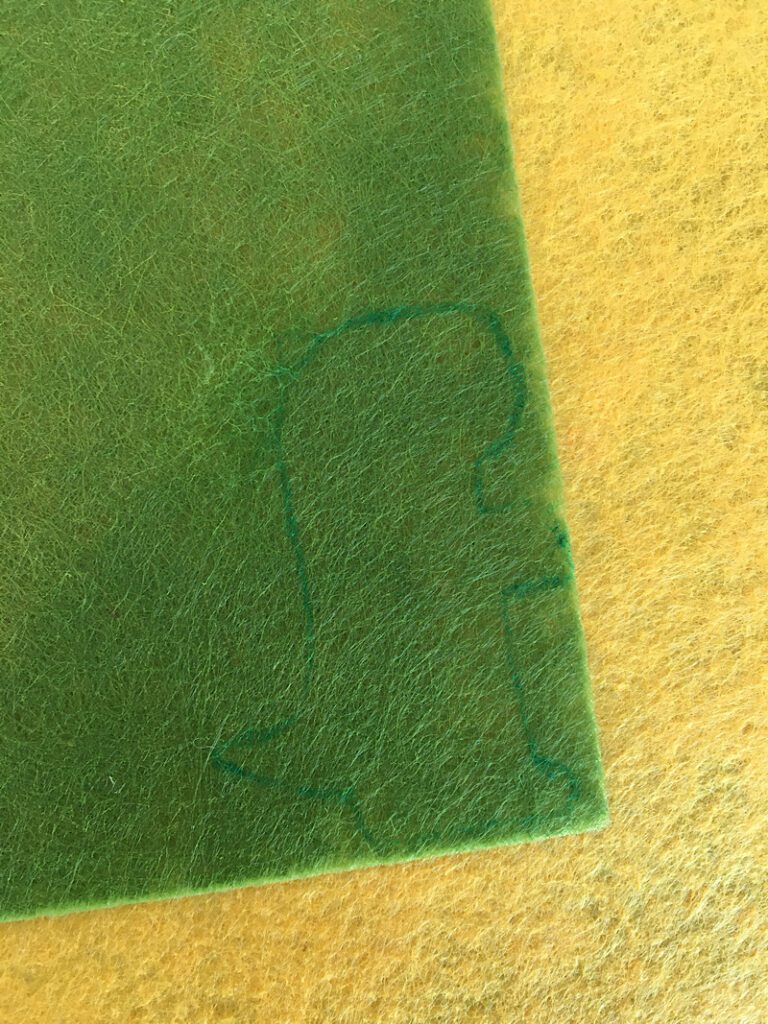
Cut out the pattern and trace it on your piece of felt. This will be the front piece of the dinosaur.

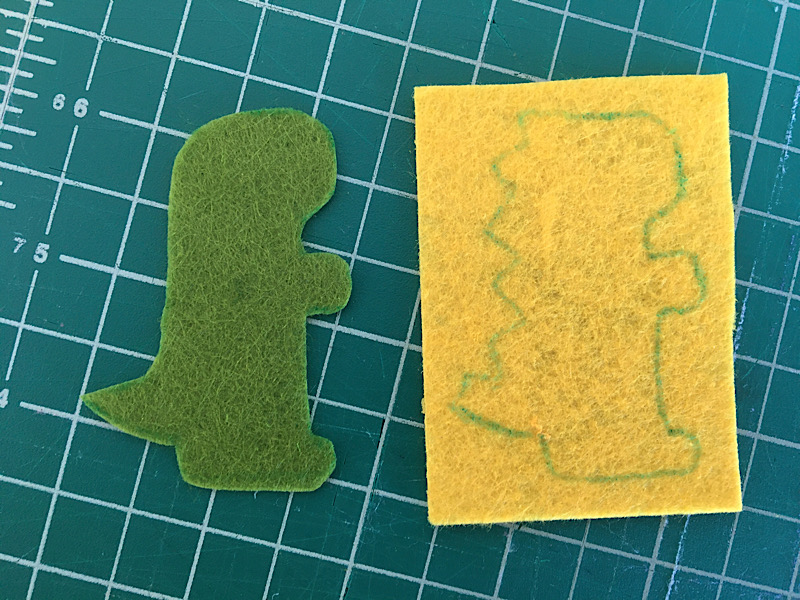
Cut it out.
Then, on another color of felt, trace the pattern again but this time also draw spikes on its back. This will be the back piece. Don’t cut it out yet. It’s easier to sew on the machine when it is in a square still.

Step 2. Add Details & A Face
Now it’s time to give your dinosaur some personality.
Cut out some little shapes from a different color of felt than the front of your dinosaur and sew or glue them to the dinosaur. These shapes look like scales to me.
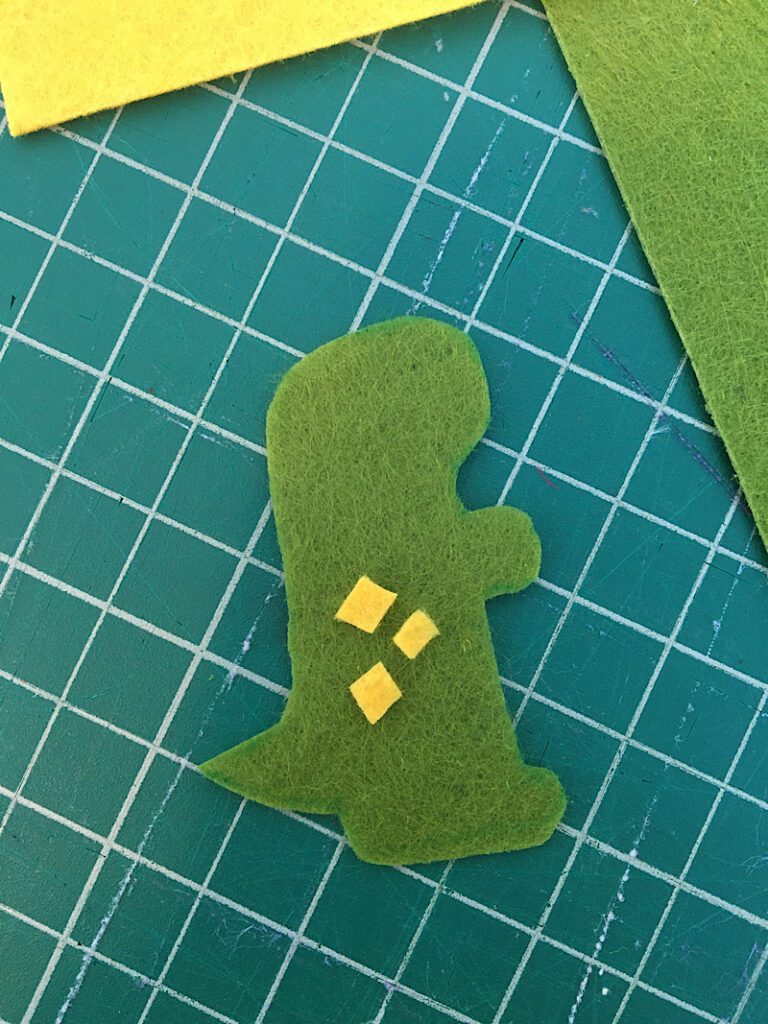

Next, give your guy a face by drawing or sewing an eye and mouth if you want.
I sewed an eye by stitching in the same spot several times.
Step 3. Sew The Back And Front Together
After finishing the front of the dinosaur, place it onto the felt piece that has the back traced on and pin them together.
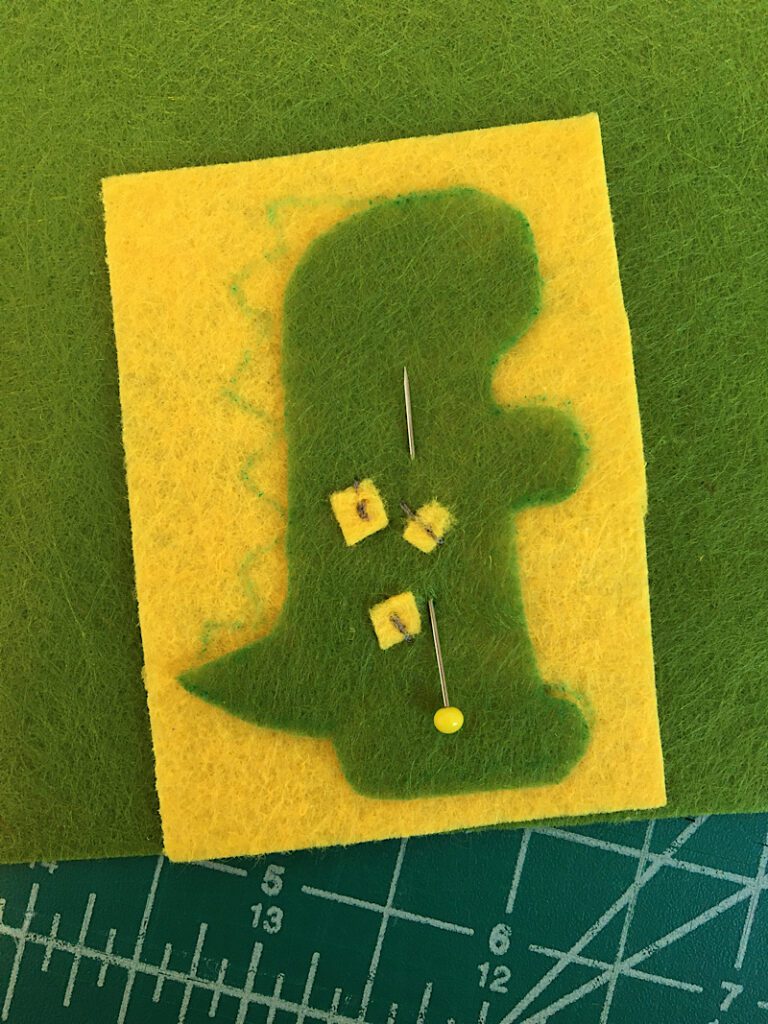

Then sew around the perimeter of the dinosaur leaving a one inch gap somewhere at the bottom.
(The easiest place for the gap is the feet. You can just sew up the sides of the legs and leave the feet open.)
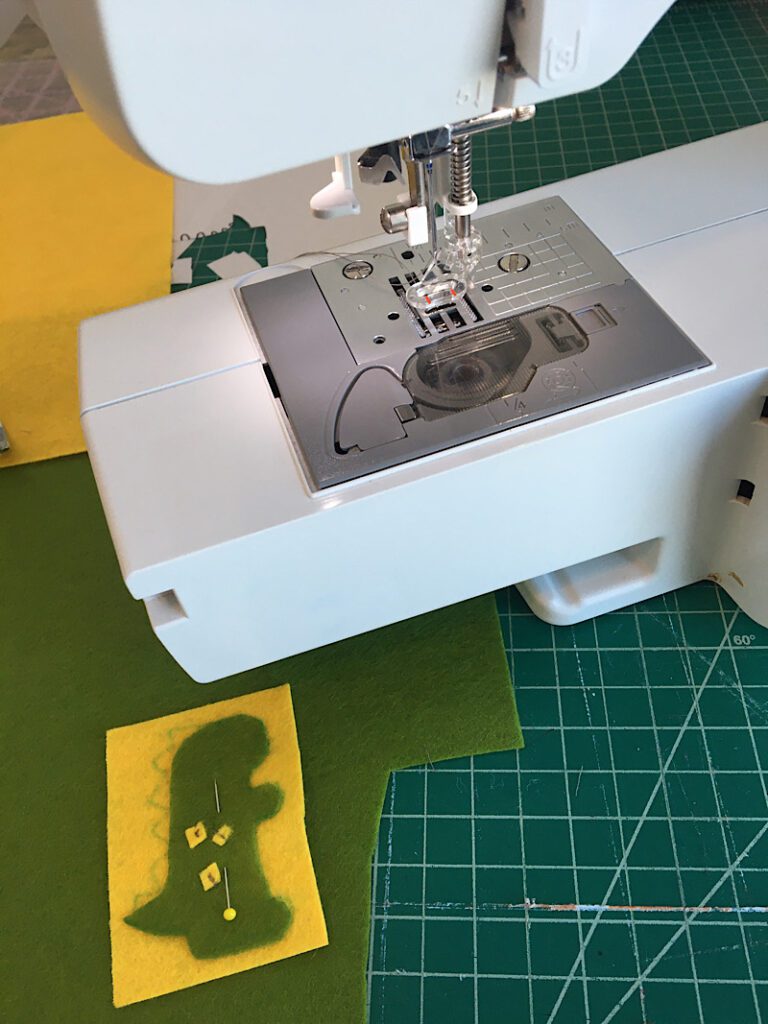

I used a darning foot to sew around the dinosaurs (You can see from these pictures I’m not very good at making the lines perfect yet especially when I am going fast and trying to watch kids at the same time, but this is good practice!)
To use the darning foot you will need to lower your feed dogs. I like this presser foot because you don’t have to turn or pivot the design while you sew. It is easier to free motion sew the edges.
Step 4. Cut Out The Back Of The Dinosaur
Once the back and front are sewn together, cut out the dinosaur back layer.
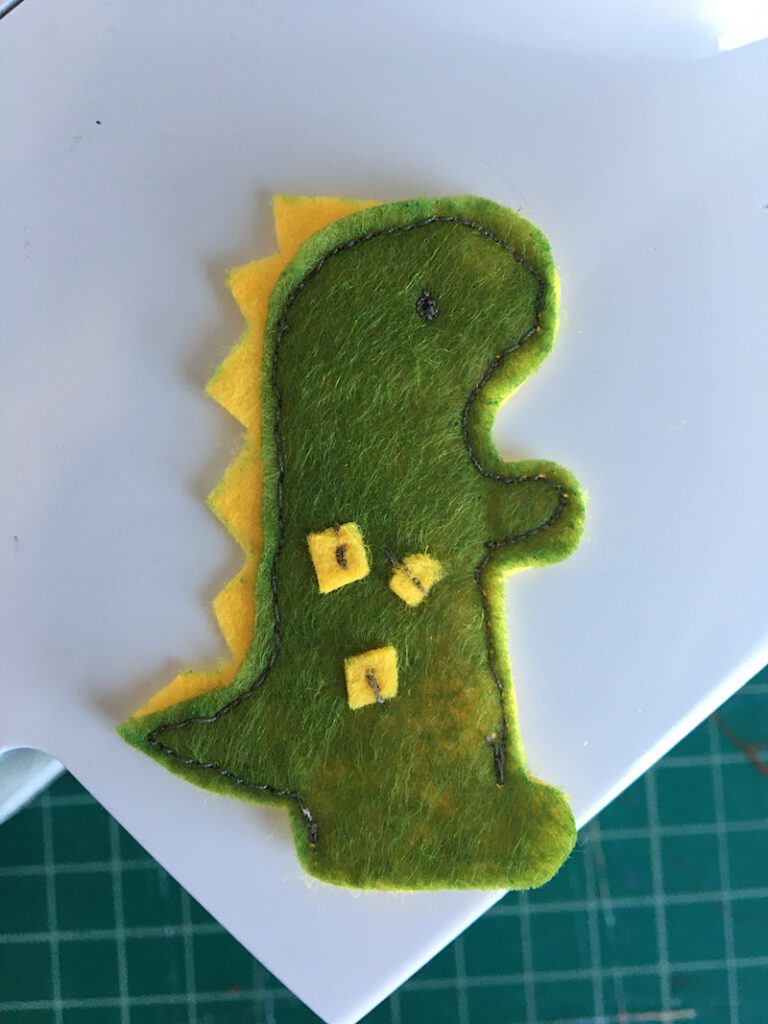

I realized that if I cut the spikes with my pinking shears they looked so much better! Here is what the spikes look like when cut with pinking shears:
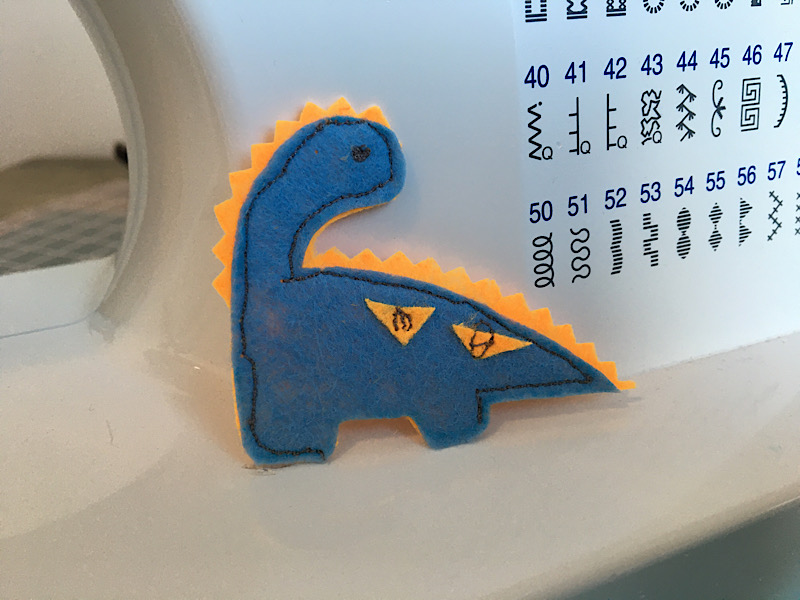

But you can just cut spikes with your scissors if you want like I did on the T-rex.
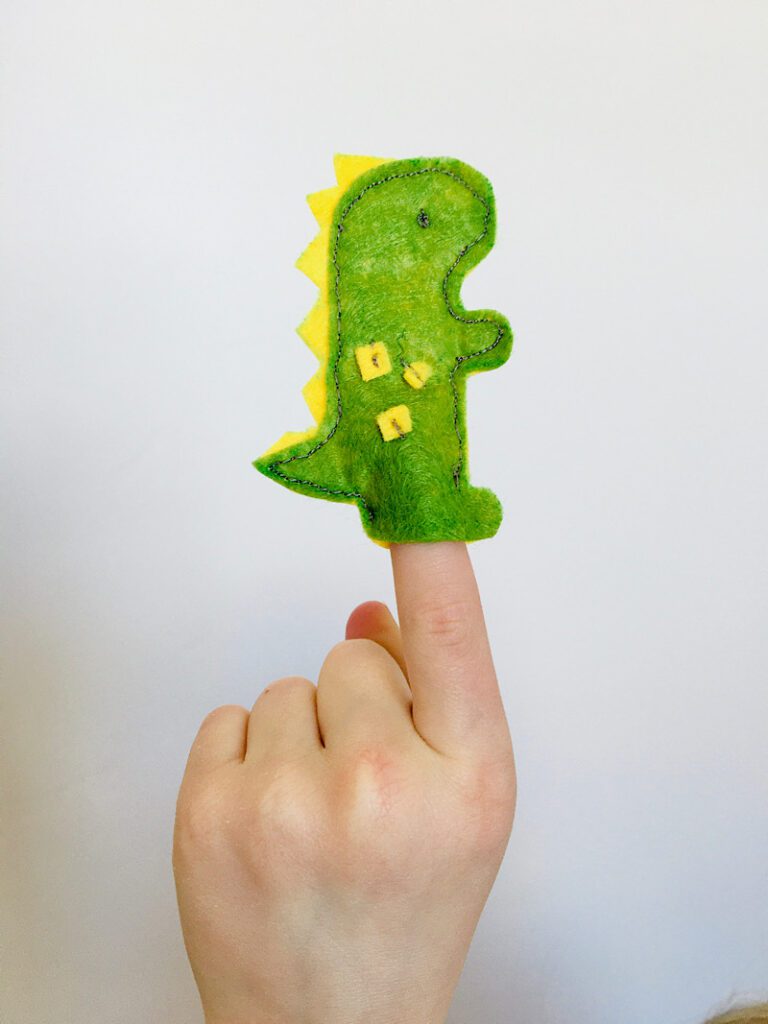

Triceratops Notes
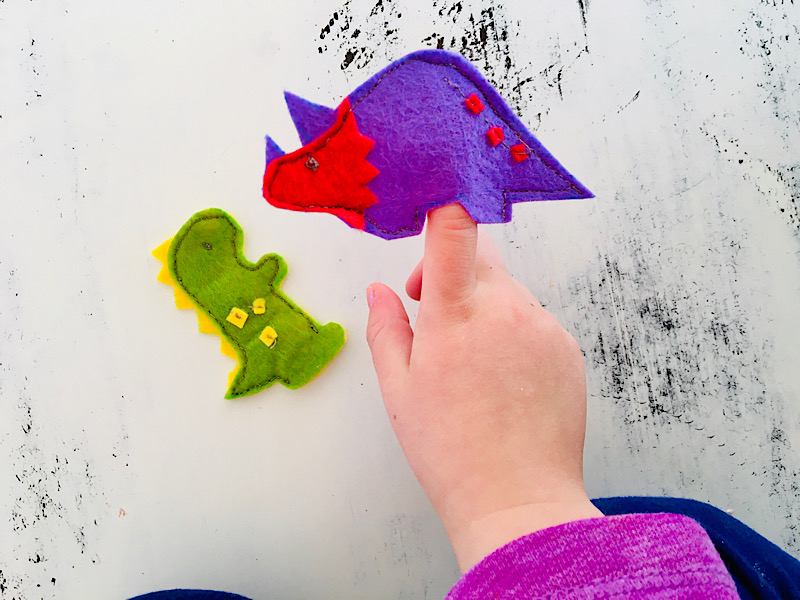
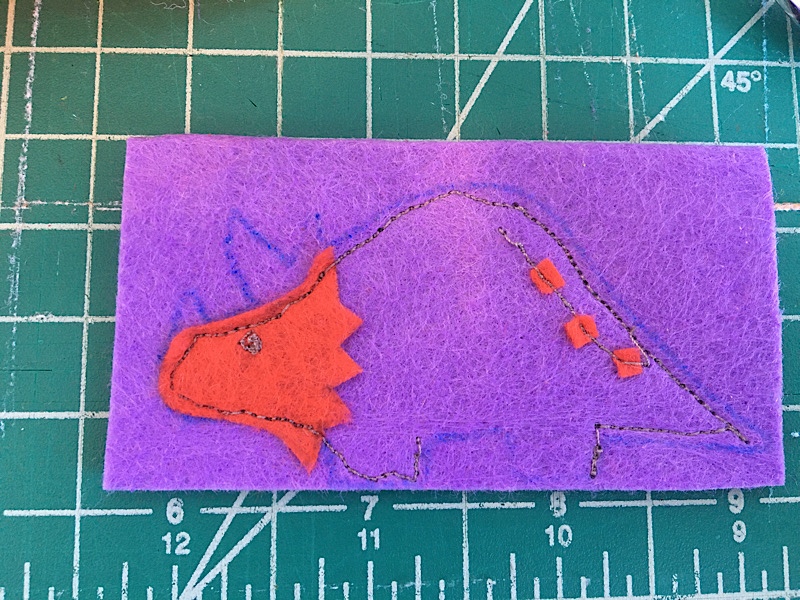
When sewing the triceratops, you will follow these basic steps, but you will pin the head to the front of the body and sew the eye/face, and then sew through all three layers when you sew around the perimeter to attach the front to the back.

Conclusion
This completes your Dino finger puppets!
They are so cute it’s hard not to make a whole army.
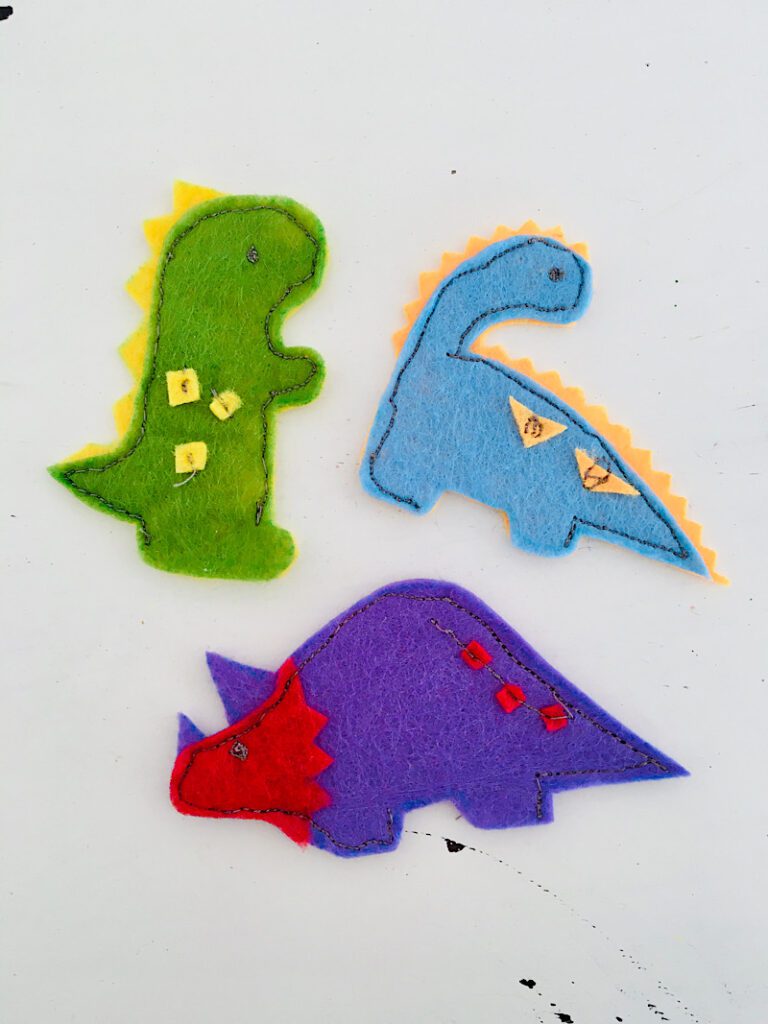

My kids liked them too which is always a good sign I’ve sewn something awesome.
If you liked this tutorial, please Pin it to Pinterest!

Show & Tell


Alexandra shared these adorable dinosaurs she made and commented:
“I used this as a general guide and reference it was easy to use. I would definitely recommend I made them as a gift and he loves them.”

