Want to learn how to make yarn doll hair for cloth dolls? This post will help you choose a method that works for you!
Although I have a favorite way to make doll hair, sometimes a different method works better for a different doll or a different hairstyle.
Today I have rounded up a bunch of different ways to sew your own yarn doll hair. Each of these methods produces quick and fun doll hair of varying fullness and stability.
Read through the overviews I have provided below to decide which method you want to try!
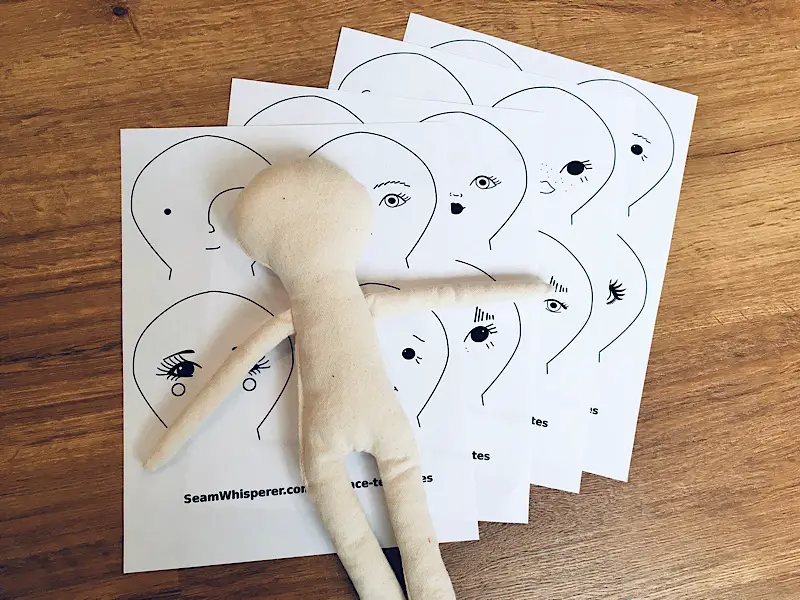
And make sure to check out my free Doll making patterns for your next project!
- 16 Free Printable Doll Face Templates
- Free Cloth Doll Body Pattern
- How To Make A Dress For A Cloth Doll
- How To Embroider Cloth Doll Eyes
- How To Make A Cloth Doll Mouth
This post may contain affiliate links. Read the full disclosure here.
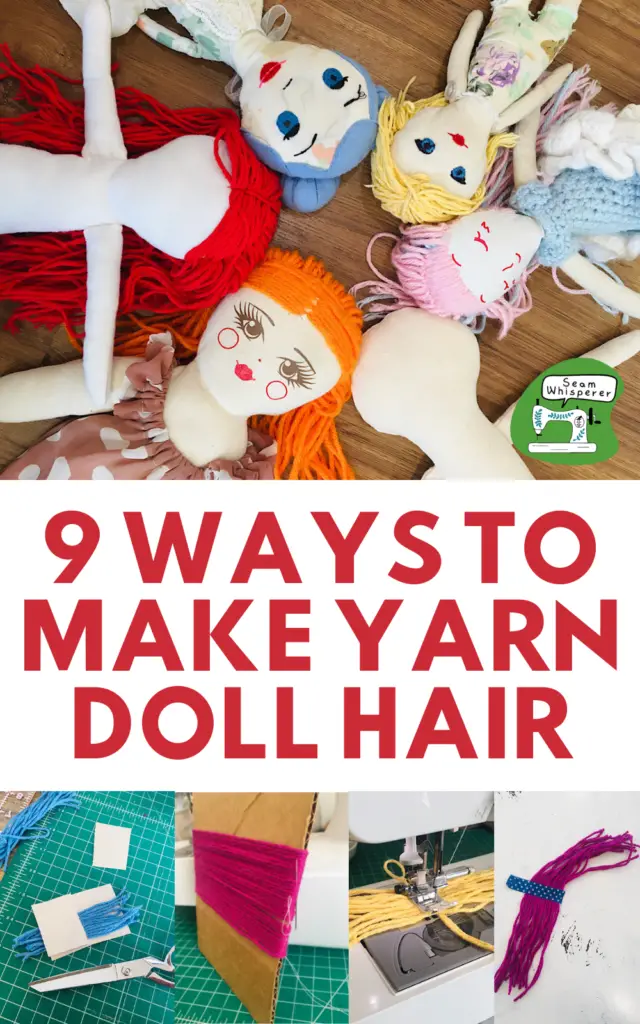
9 Ways To Make Yarn Doll Hair
Pin & Wrap
The Pin and Wrap method is one of my favorite doll hair techniques. I learned it through a video by Hillary Lang, who makes the cutest doll sewing patterns ever! (Have you seen them? You have to check them out!)
The method is entirely done by hand, which makes it a great option for doll making on the go.
This method can produce many hairstyles such as bangs, short hair, long hair, side bangs, short boy hair, and more. It can either cover the entire back of the head for a very full look, or just the front and crown for a quicker but still style-able version.
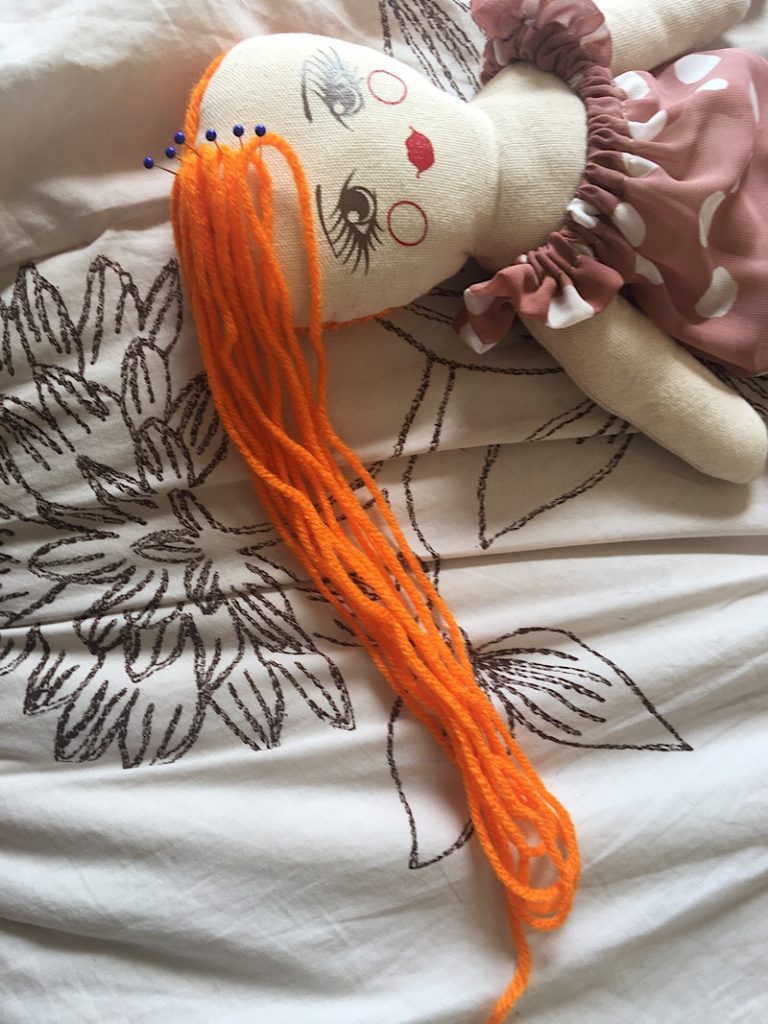
What you do is place pins along the hairline of the doll, wrap the yarn around the pins in a particular way, and then sew the ‘bend’ of each strand of yarn to the doll’s head. Then you remove the pins.
Pros:
- Can be completed away from your machine
- Uses pins to very precisely place hair ‘roots’
- Can be as full as you want
- Ability to make flat bangs
Cons:
- You CAN use multiple colors of yarn, but it is easier to just wrap a single color.
- You have to deal with a lot of pins
- More difficult to stop in the middle and start again later, the yarn wrapping may come loose if you haven’t yet sewn it.
- Not the fasted method
Here is my step by step photo tutorial that teaches you how to achieve the Pin & Wrap method.
You can also see this method used in this short video by Wee Wonderfuls.
Thread & Sew
The Thread & Sew technique is one that I created to solve the problems I had with the Pin & Wrap technique.
It is another hand sewn method of making rag doll hair, and another one of my favorite methods. In this technique, you don’t have to make wefts or use pins, and the result is very stable and versatile.
The basic idea is to thread the needle straight through the center of each strand of yarn (or a few at at time) then backstitch them onto the doll’s head. They are very secure and it is very full (if you want it to be).
All you need to try the thread and sew method is yarn, scissors, and a hand sewing needle and thread! Here is what I like and dislike about it:
Pros:
- Hand sewn, and doesn’t use pins or wefts!
- Easy to add in different color strands
- Very easy to place hair exactly where you want it
- As full as you want
- Versatile for different hair styles
Cons:
- Can’t get totally flat bangs with this method like you can with the pin & wrap method
- Doesn’t have a shortcut to cover the back of the head like the pin & wrap method
- Similar to the Stitch Spine method, but a bit slower
To try the Thread & Sew method, you can read my step-by-step tutorial here.
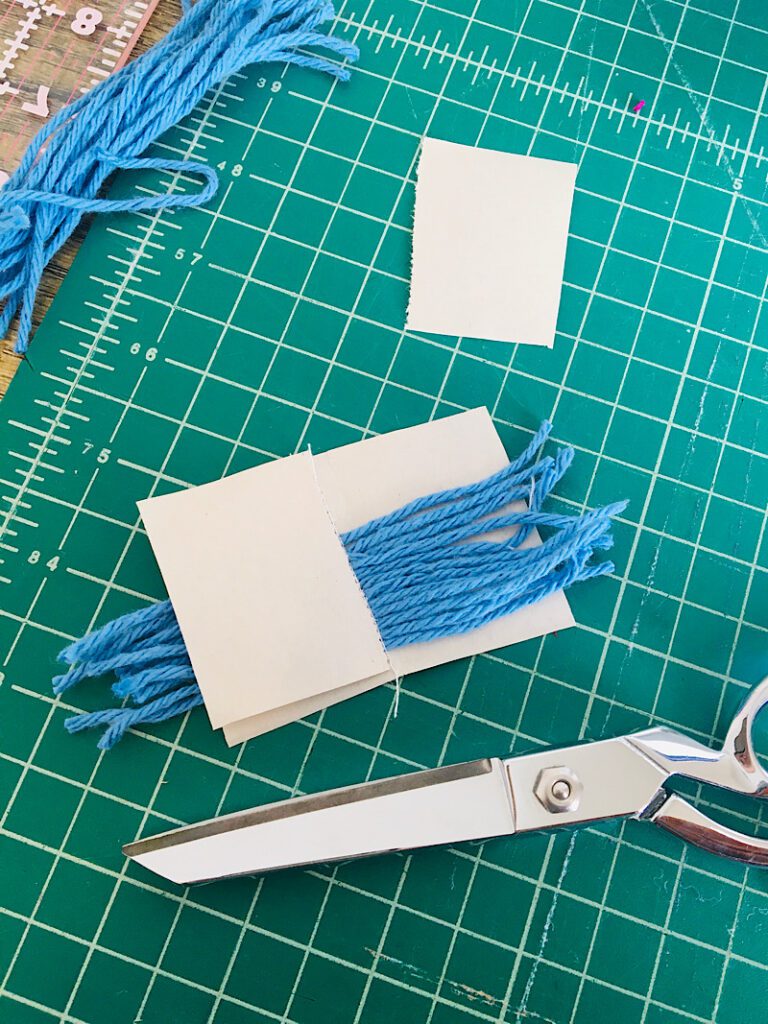
Paper Weft
Making yarn doll hair using paper to sew the weft is a good way to attach a lot of hair to a doll fast! You can add multiple wefts for a more full head of hair, or one weft around the circumference of the doll’s hairline to put the hair in a bun.
This method is done by wrapping yarn around an object such as a book many times, then cutting it off, lining up the strands between two pieces of paper and sewing a line down the center.
Pros:
- Lots of hair can be added really fast!
- Easy to add multiple colors
Cons:
- You have to be careful when removing the paper not to break the stitches (If you use a thinner paper this isnt such a big deal)
- It can be hard to keep the strands spaced evenly since you can’t see through the paper
- The weft is only held together with a line of stitches
- When I use this method, the hair tends to seperate and not stay tight together before sewing it on.
Pin Cut Sew Studio has an amazing video tutorial for this technique that is very easy to follow, make sure to check out their adorable dolls!
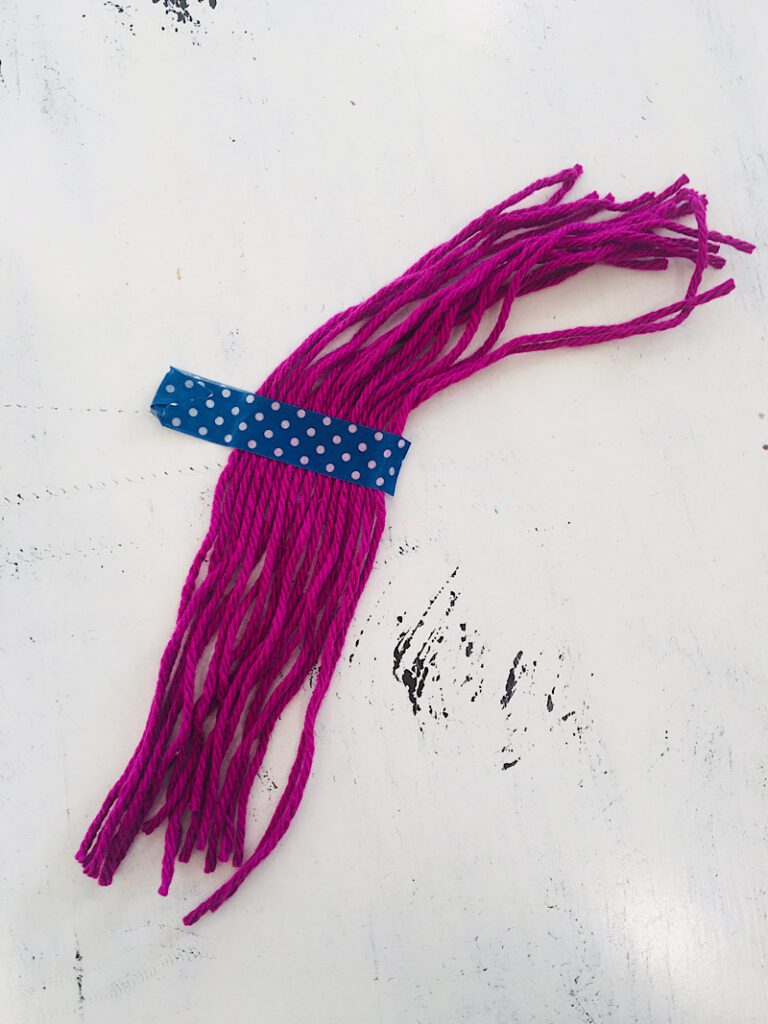
Tape Weft
The issues I have with the paper weft method above are gone with the tape weft method! Use a piece of washi tape or scotch tape to attach strands of yarn to, and add another piece of tape on top for good measure before sewing through.
The tape is sticky and holds the threads in place to reduce gapping and keep the spacing even. Washi tape makes it easy to tear apart from the stitched line.

Pros:
- Tape holds the yarn in place as you sew
- Clear tape allows you to see where you are sewing
- Fast
Cons:
- You have to hand sew it to the doll after sewing the weft at the machine
- The weft is only held together with a line of stitches, which may not be the most strong if you don’t backstitch each strand to the doll
If you try this method, you might be temted to use double sided tape which makes it easy to place down on the table, but I recomend only using single sided tape or it will be impossible to sew through!
Here is a video that teaches you how to do this technique.
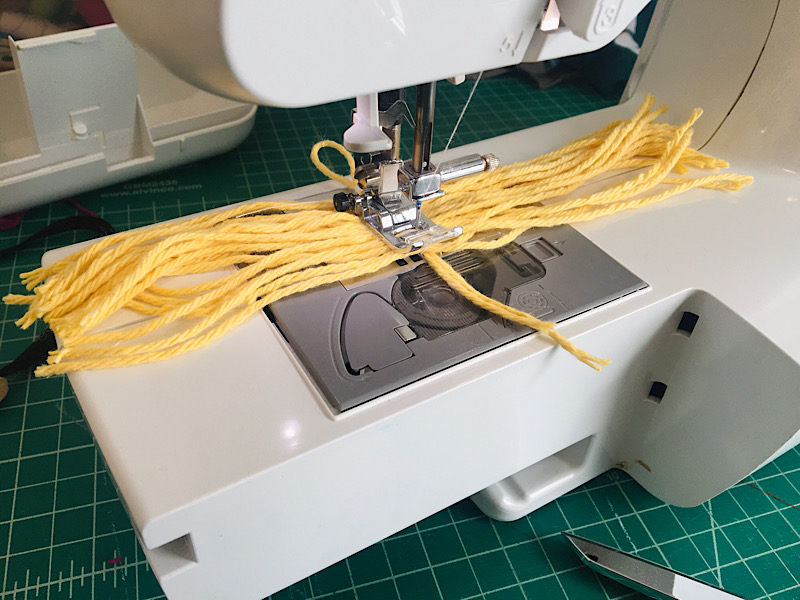
Yarn Spine
The yarn spine method is similar to the two previous weft making methods, but stronger! By using yarn as the spine of the weft, you make a more durable hair piece and use less supplies.
Line up a bunch of yarn strands over top of two pieces of yarn, and sew a zig zag stitch down the center. This essentially makes a weft using only yarn as the center material holding it all together, which adds strength and helps blend it together.
Pros:
- Less materials needed than other weft methods
- The yarn spine piece adds durability to the hair
Cons:
- You have to sew the spine at your machine, then hand sew it to the doll
- The Yarn spine piece may be noticeable if the hair is not dense enough
You can learn how to do this method with this awesome tutorial from The Project Lady.
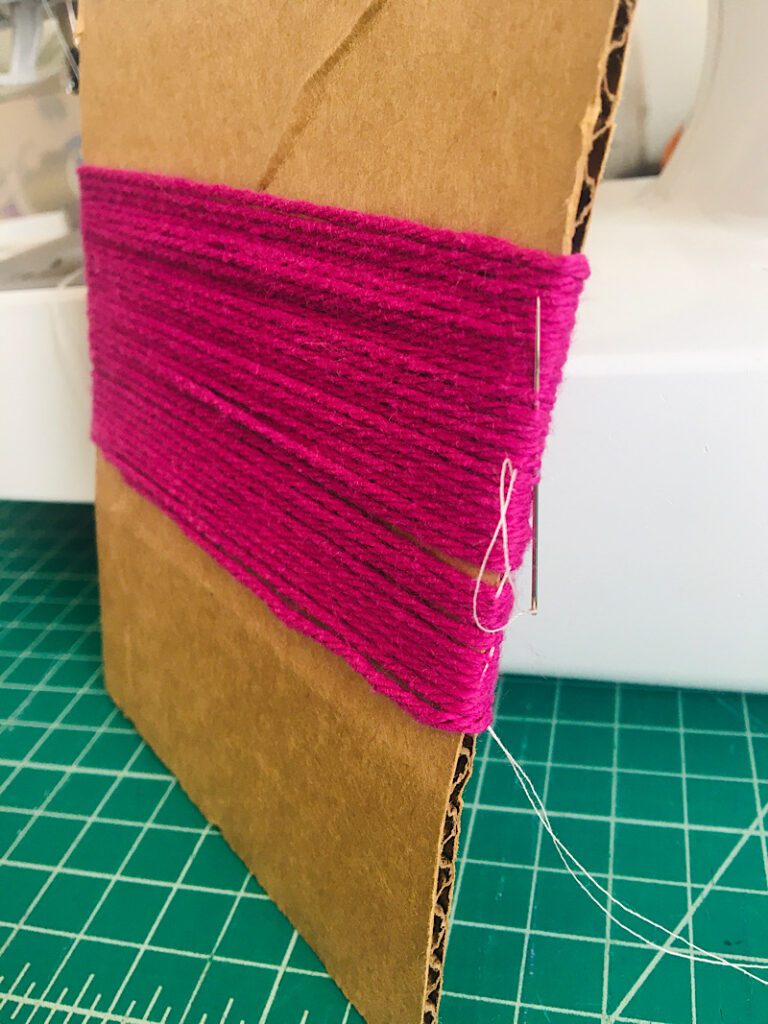
Stitched Spine
This method varies from the other weft methods because instead of sewing the strands of yarn to another material (tape, paper, yarn, etc) you simply stitch through the center of each piece of yarn before unwrapping it. This results in a quick weft that only requires yarn and thread!
This method is done by wrapping your yarn around a piece of cardboard or a book, then using a needle and thread to stitch through each strand on only one side of the wrapping. Then, cut the other side to remove the weft, and you have a nicely sewn hairpiece ready to be attached!
Pros:
- Uses only yarn and thread
- Can be done without a sewing machine
- Can be made very dense
- Fast
Cons:
- You might accidentally miss a thread while stitching it
- If you don’t attach each thread to the doll’s head, it may not be the most durable since the “spine” is just a stitched thread.
Learn how to do this quick method with this video Tutorial from Tilly & Puffin.
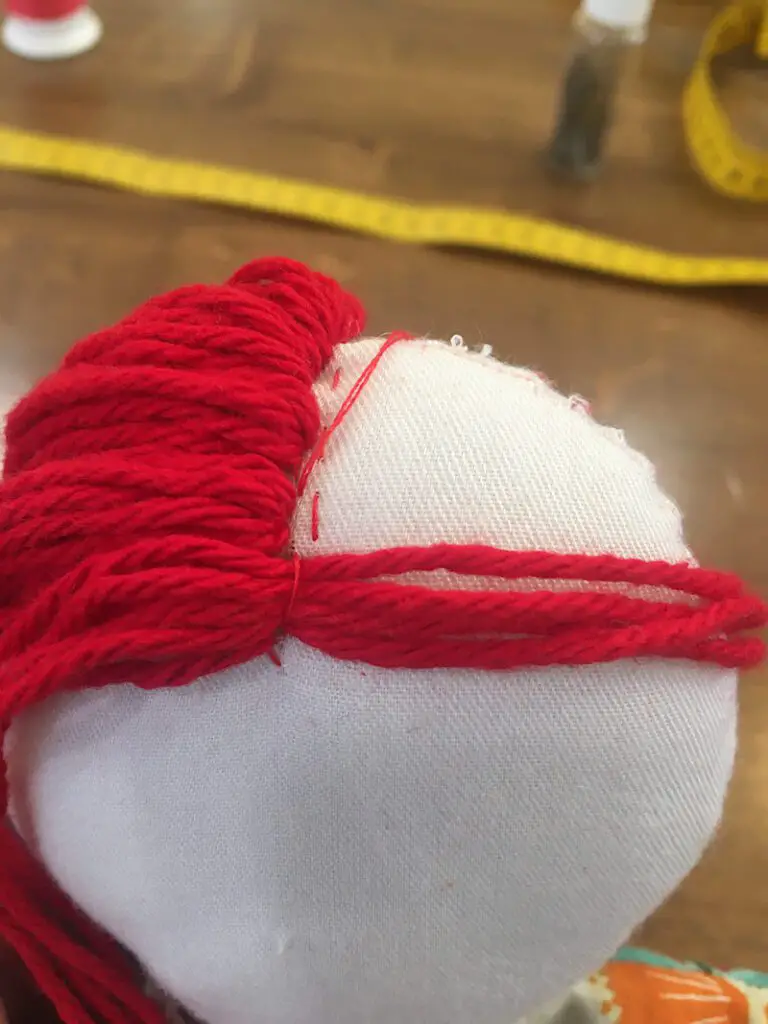
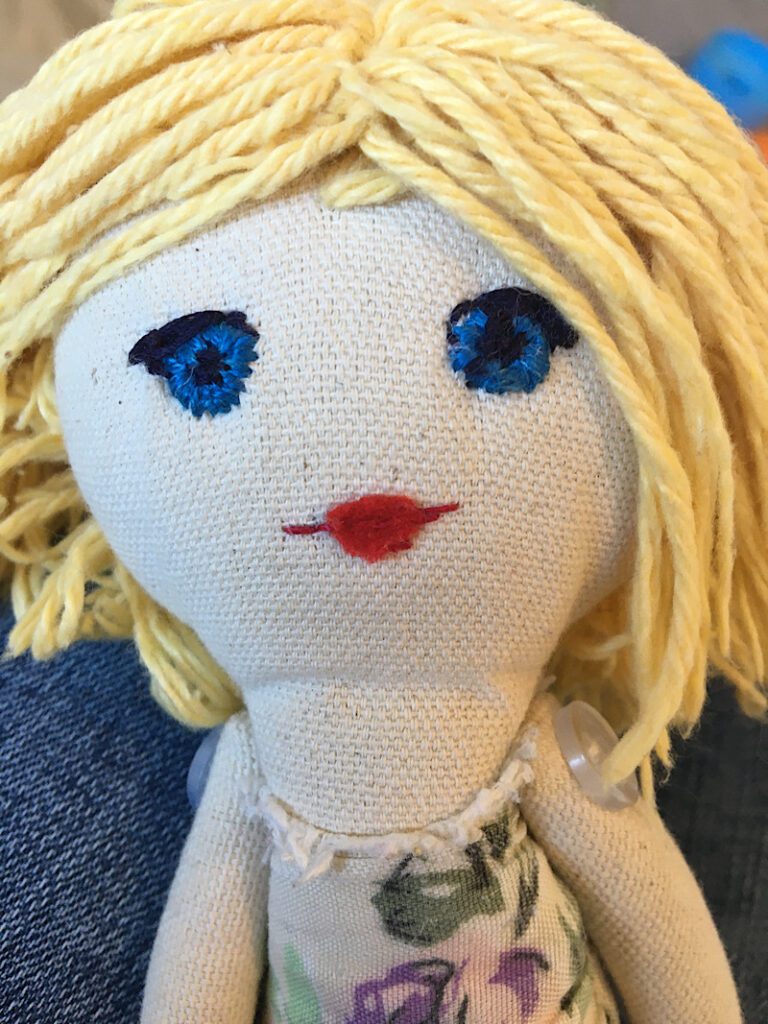
Running Stitch & Knot
The Running Stitch & Knot method was the first doll hair method I ever used to make a successful doll. The hair it creates is well rooted into the doll’s head, but with knots instead of stitches.
This method is a medium speed one, and can also be done without a sewing machine. However, it might not be the most durable. The knots have the potential to come undone if they are not tight enough. But it is still a favorite technique.
The basic idea for the Running Stitch and Knot method is to sew running stitches accross the doll’s head with yarn, and then you tie yarn around the stitches (typically using a lanyard hitch knot).
I used this method for this doll (one of my first dolls I made about 5 years ago)
Pros:
- Fast and mobile
- A lot less sewing than other methods
- Easy to add in different colors
Cons:
- Doesn’t lay as flat as other methods
- Not quite as full as other methods due to the gaps left in the running stitch
- Leaves big holes in the doll’s head (only a problem if you ever want to take the hair off)
I still need to make a tutorial for this method. But here is a good photo of what the running stitches should look like, then you tie the yarn strands to the stitches after, adding as many as you can fit, like this photo.
Loop Stitch
What I like to call the loop stitch method is an easy way to make yarn doll hair using ONLY yarn and a needle. No thread, no sewing machine!
The yarn is attached to the doll’s head with alternating tight stitches and loops. The end result creates a cute loopy hair style reminiscent of Raggedy Ann dolls.
Pros:
- Easy to sew with few supplies
- Can be used for long or short hair
- Durable
Cons:
- Although it is decently durable, if you really tug hard enough then the loops will pull, causing one loop to be longer than the rest.
- Really long loops tend to get caught on things. If you want long doll hair, another method might work better.
- It might be difficult to thread a large yarn needle through the doll.
- Can’t really use multiple colors
Here is a great tutorial that teach this looping method.
Crochet Chain
The crochet chain method is really great for styled doll hair, particularly bun updos.
This unique method works by crocheting a chain stitch around the doll’s head, then wrapping the yarn around it and a loop to cover the head. Then you can make a bun and sew it to the top!
Pros:
- Works great for updo’s
- Durable and won’t come undone
- Can be done away from sewing machine
- Looks very realistic
Cons:
- Only really works for updo’s, so the hair is not re-styleable
This is a less common method I haven’t seen on a lot of websites, and this is the tutorial I learned it from!
Conclusion
Who knew there were so many ways to make hair for rag dolls! I hope this post was helpful for you to decide which method to try.
If this post was helpful to you, sign up for my email list and make sure to Pin it to Pinterest!
Do you know of another method to make yarn hair? Let me know, I would love to add it to the list!
Thank you for your pattern and faces. I think it is very generous if you. I am just going to start my first one!
You’re welcome Mo! I’d love to see the photos in the facebook group!
Just what I needed! Thank you! Making my first doll for my daughter. 💗
Great! I’m glad it was helpful!
Thank you, have been looking for an easier pattern!
No problem! Good luck!