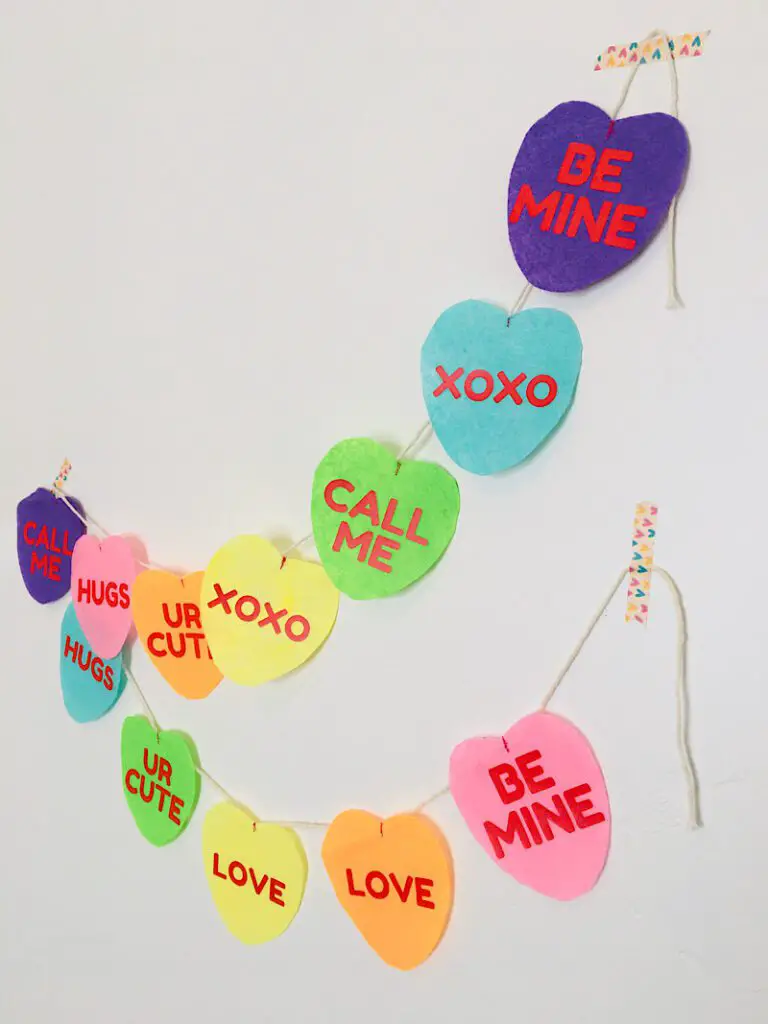
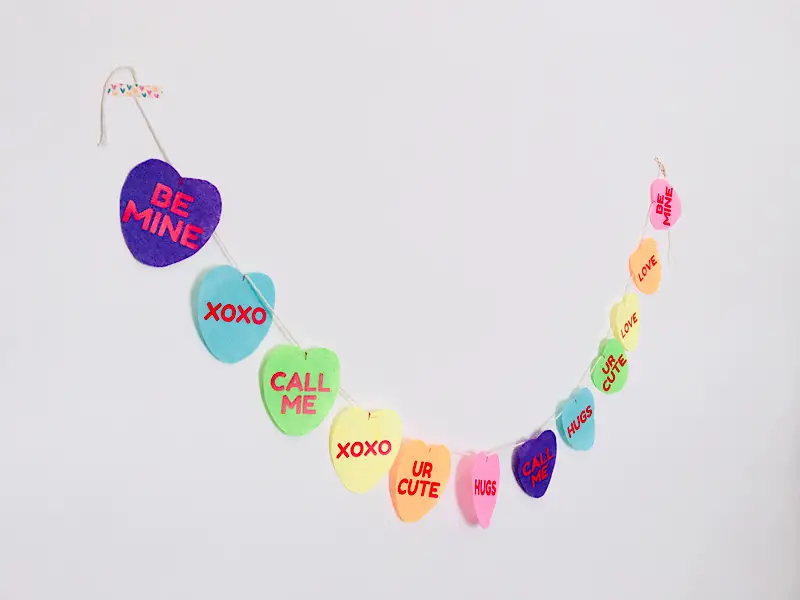
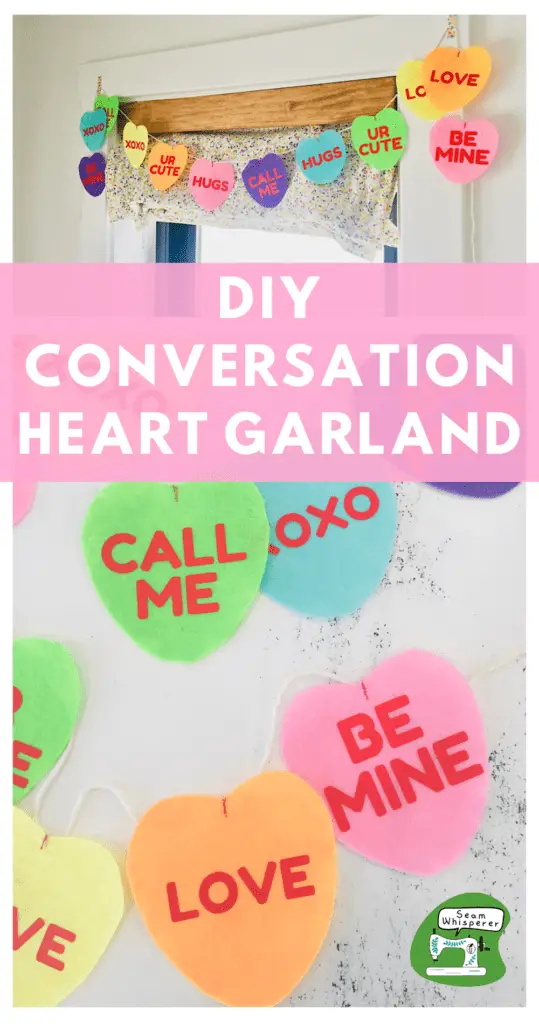
Transform some felt (or craft foam) into an adorable conversation heart garland perfect for Valentine’s Day. Download the free saying designs or get creative with your own in this easy tutorial.
Remember those candy hearts you used to get on valentines day? They are so colorful and fun, I thought they would make such a cute inspiration for this DIY Valentine’s Day garland!
This is an easy Cricut craft for valentines day, and also involves a bit of sewing (since this is a sewing blog after all!) All you need is some HTV (heat transfer vinyl, also called iron on vinyl) and some colored felt and string.
Lets make this reusable and fun conversation heart garland!
This post may contain affiliate links. Read the full disclosure here.
About This Tutorial
This garland can be customized in two ways: size and material. I decided to make medium sized candy hearts for the garland so I could fit more on the felt sheets, while still being able to read the quotes. You can also make large hearts which would look GREAT, or even tiny hearts for a very detailed look.
I used felt and heat transfer vinyl for this project since I had so much just waiting to be used, but craft foam and regular sticky vinyl would look even better, like real candy! (Though felt will be more durable and long lasting).
In addition, although I recommend you sew the hearts to the string or ribbon to make it more secure, you can hot glue them if you wish.
My favorite brand of HTV is Siser. If you don’t have a Cricut or vinyl you can STILL make this craft by purchasing custom cut vinyl on Etsy! Just send them the file and specify the width you want each saying to be (I did 2.25 inches).
Here are a few stores who do custom vinyl orders:
Supplies Needed
- Sewing Machine
- Fabric Scissors
- Iron and Ironing Board
- Cricut or other craft cutter, weeding tool, and mat
- Craft Scissors
- Pencil, pen, or disappearing ink marker to trace pattern with
Materials Needed
- Pastel Colored Felt (Alternatively you can use craft foam, but make sure you DONT use heat transfer vinyl or you will melt the foam.)
- Pink or Red Heat Transfer Vinyl (Or regular vinyl if using craft foam)
- 4.5 feet of string or ribbon
- Thread for sewing machine
Download The Free Designs
The file is a PNG file, which you can upload into Cricut design space and use to make your vinyl pieces.
You can also print it out to cut the heart for use as a pattern.
You can make your own heart pattern and sayings, or you can use the ones I made! To download the free pattern and designs, sign up below.
How To Make A Conversation Heart Candy Garland
Step 1. Cut Out The Hearts
Cut out the heart pattern and trace it onto the felt.
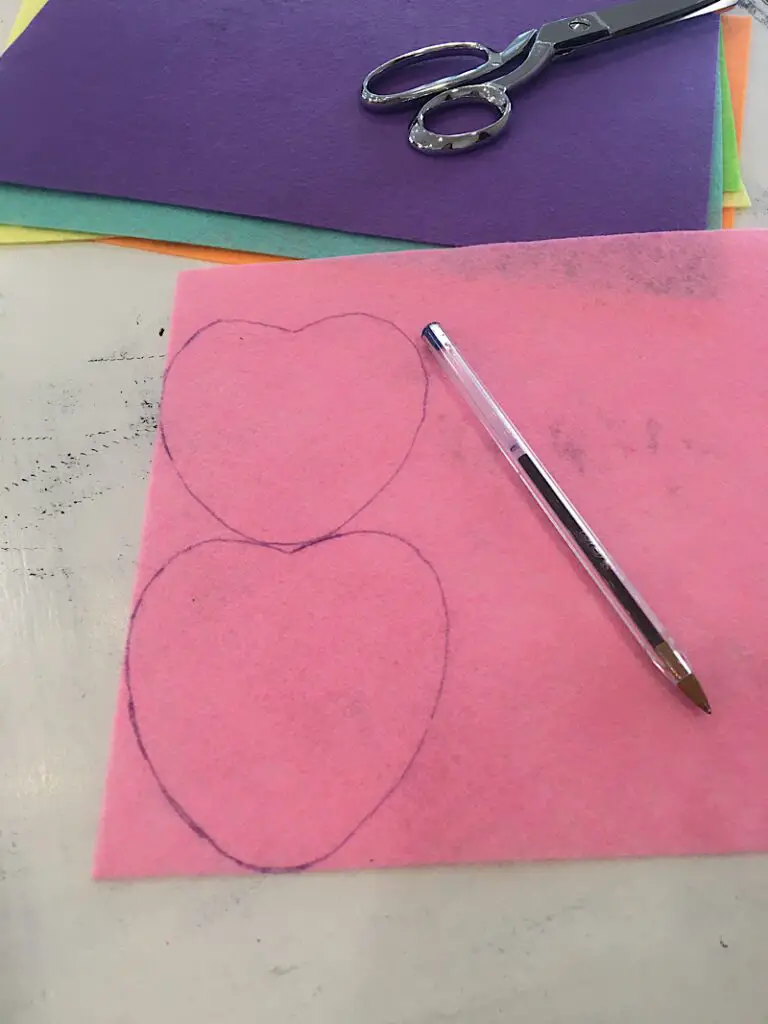
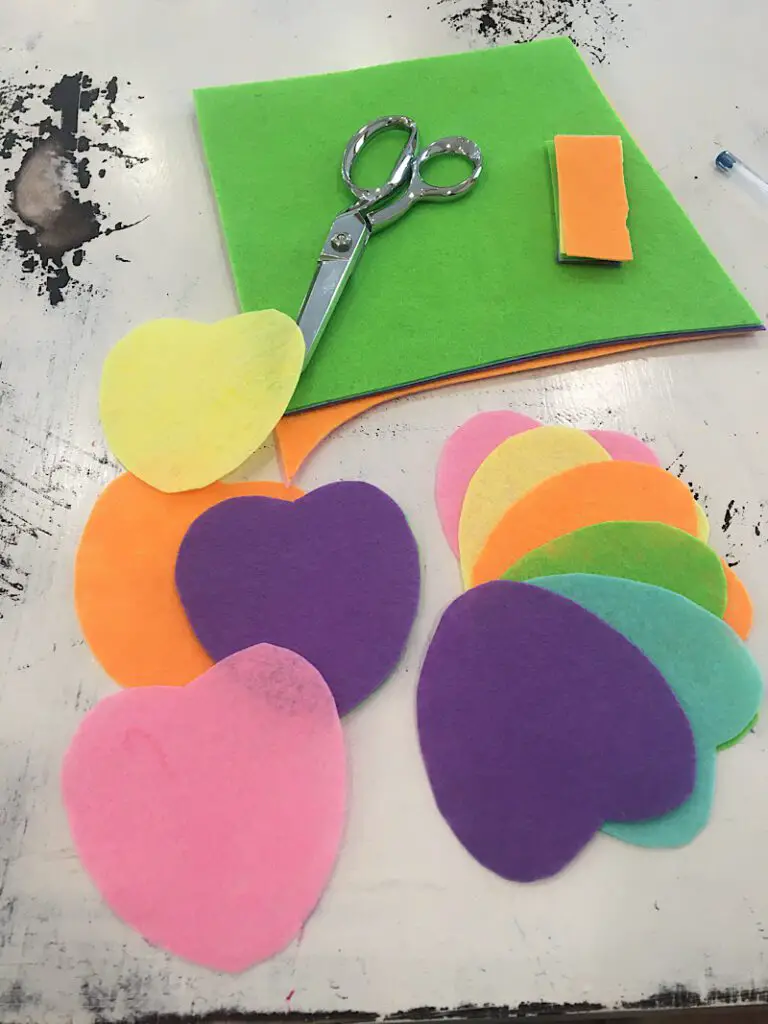
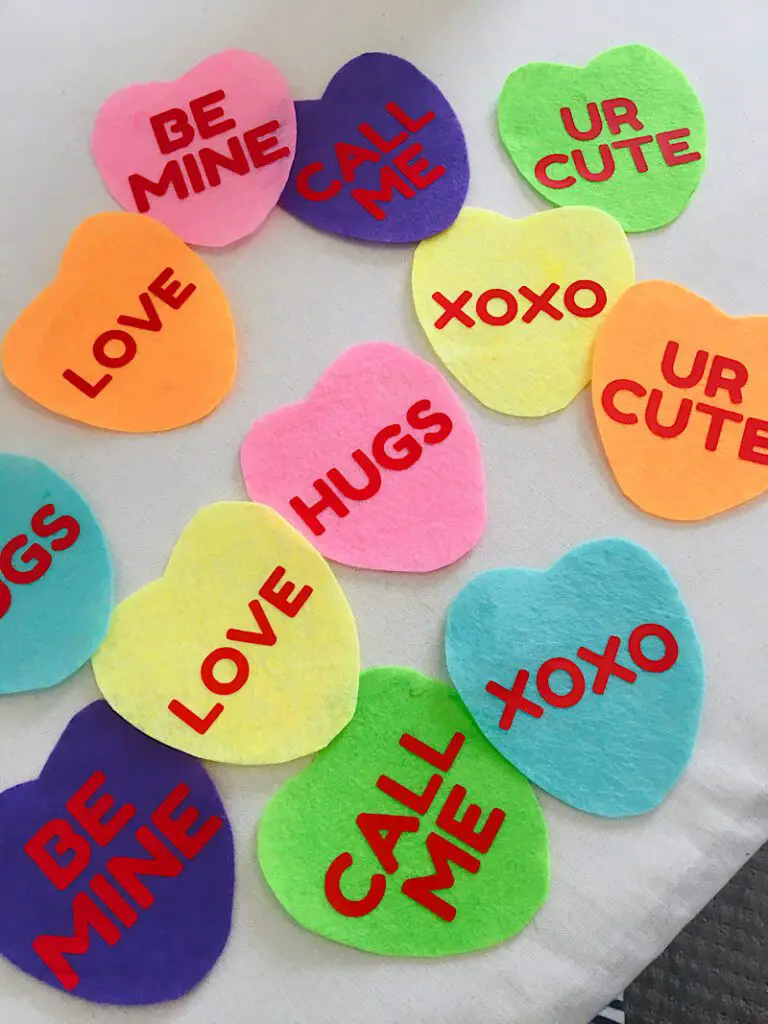
Cut out 12 pieces in the colors of your choosing. (Or cut it out with your Cricut if you want.)
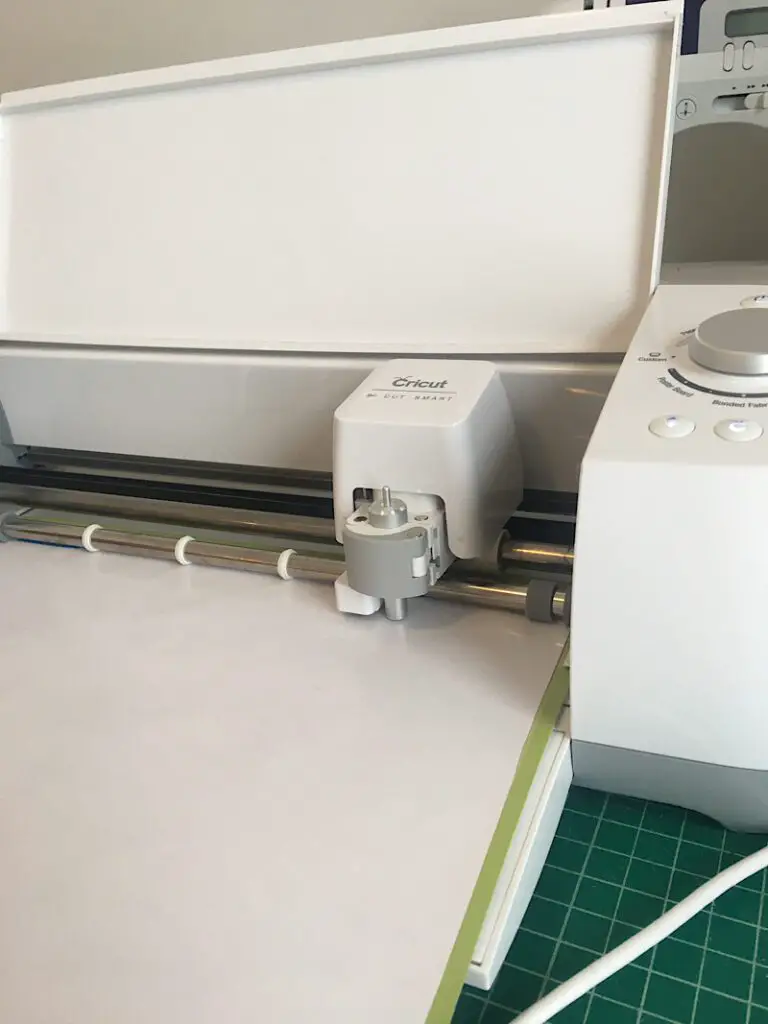
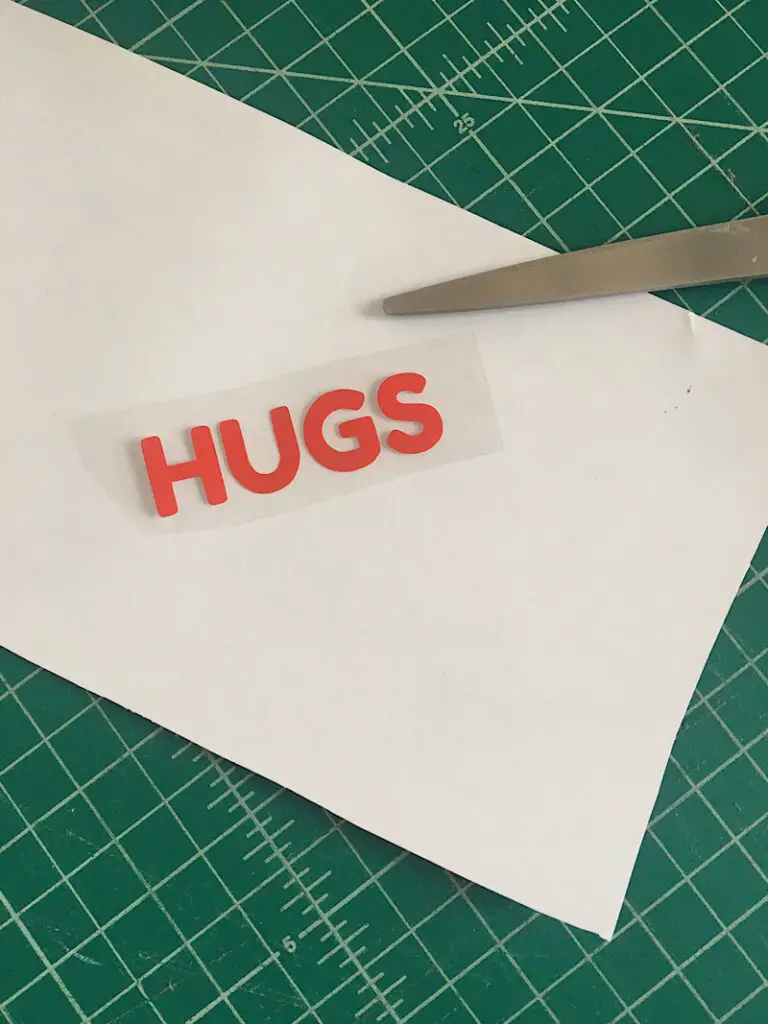
Step 2. Cut Out The Conversation Sayings
Using your Cricut (or other craft cutter), cut out the sayings you want to use on your hearts. I cut two of each saying.
If you have never used heat transfer vinyl before, make sure you load the vinyl onto the mat with the shiny side down, and cut the sayings out mirrored.
Make sure to measure your hearts and cut the sayings to be a width that will fit nicely on them. If you are using my heart pattern, make the sayings 2.25 inches wide.
Weed the vinyl by removing the unneeded portions of the vinyl from the design.
Step 3. Iron The Sayings To The Hearts
Heat your iron to the cotton setting. (or whatever setting your vinyl recommends. I use Siser vinyl, which I think is the absolute best after trying a few other brands.)
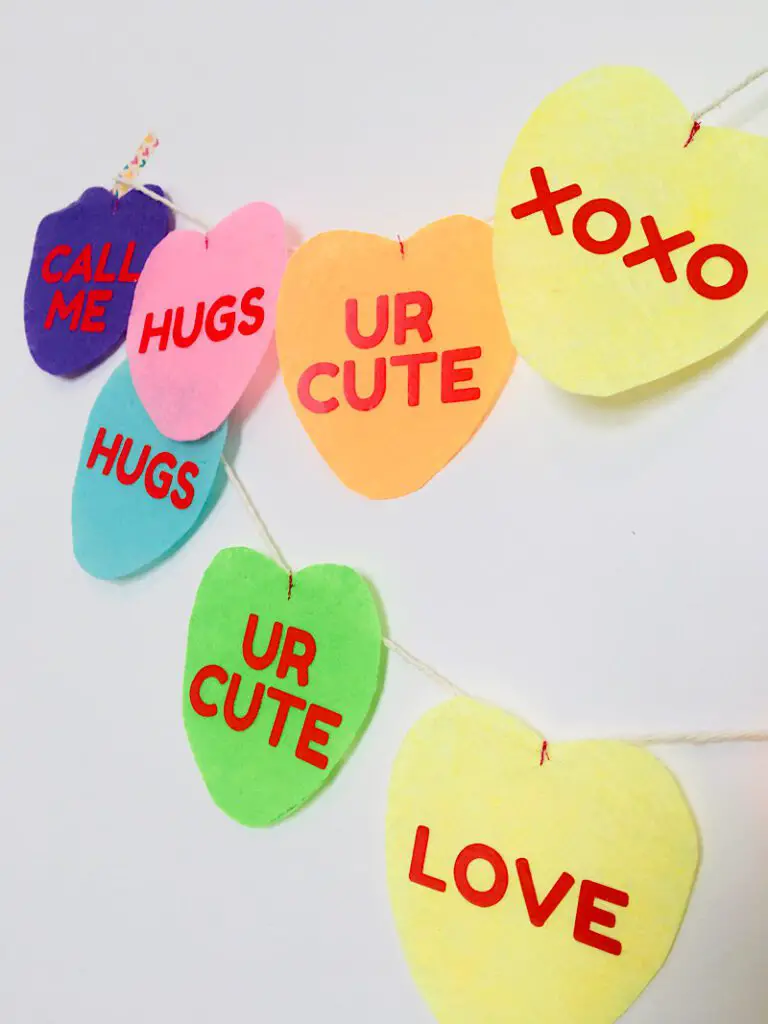
Position the sayings on the hearts.
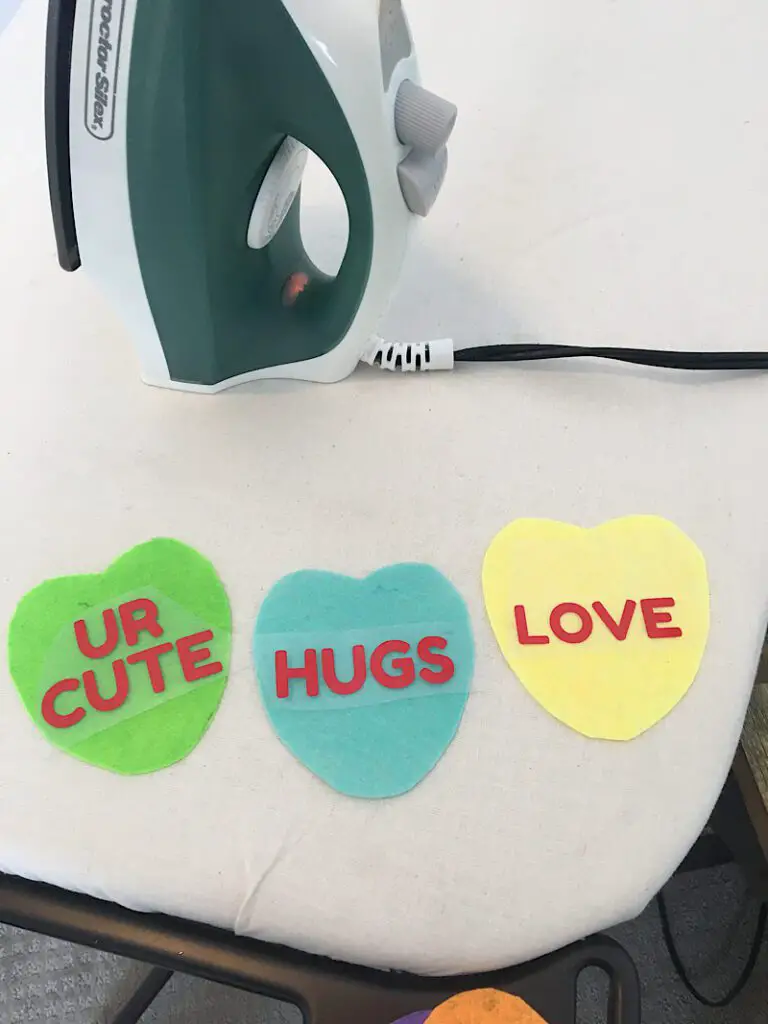
Then, iron the sayings on by pressing them down for several seconds. Then carefully peel off the plastic backing.
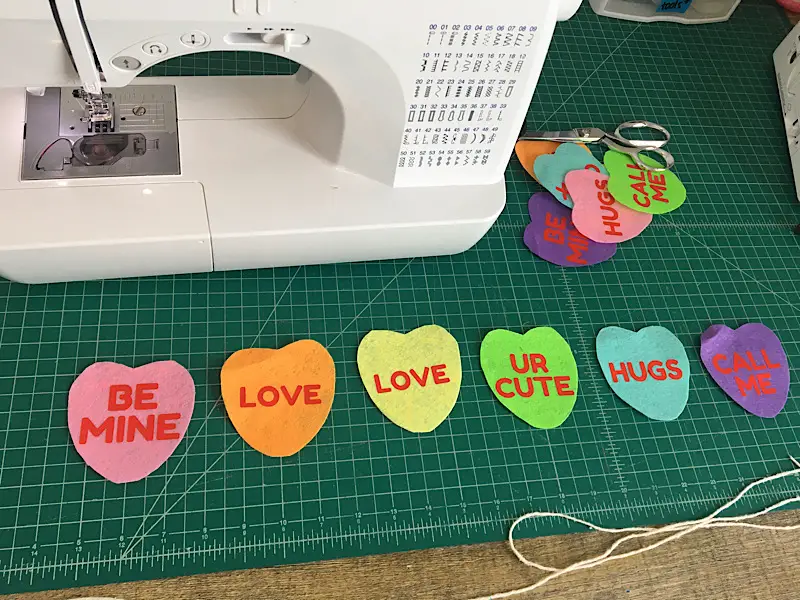
Step 4. Sew The Hearts To The String
Decide what order you want the hearts to be in. The order I chose for mine was: pink, orange, yellow, green, blue, purple. I didn’t pay attention to the order of the sayings, but you can if you want!
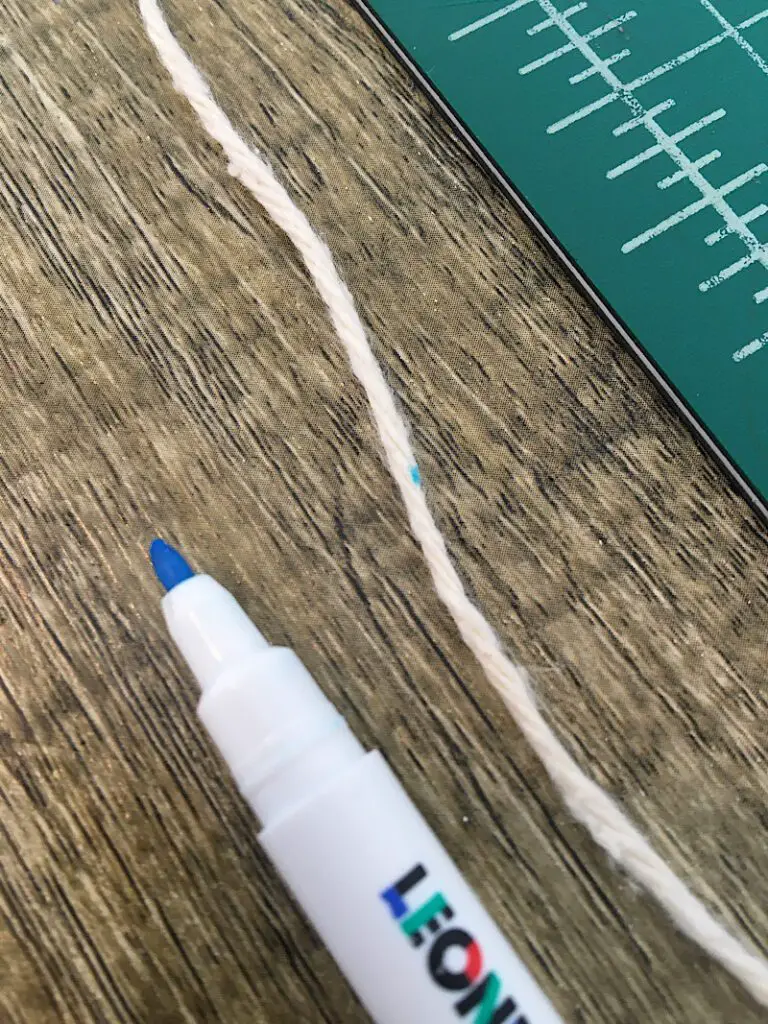
Make a mark 6 inches in from the beginning and end of the string, and then every 4 inches between them with a pen or marker.
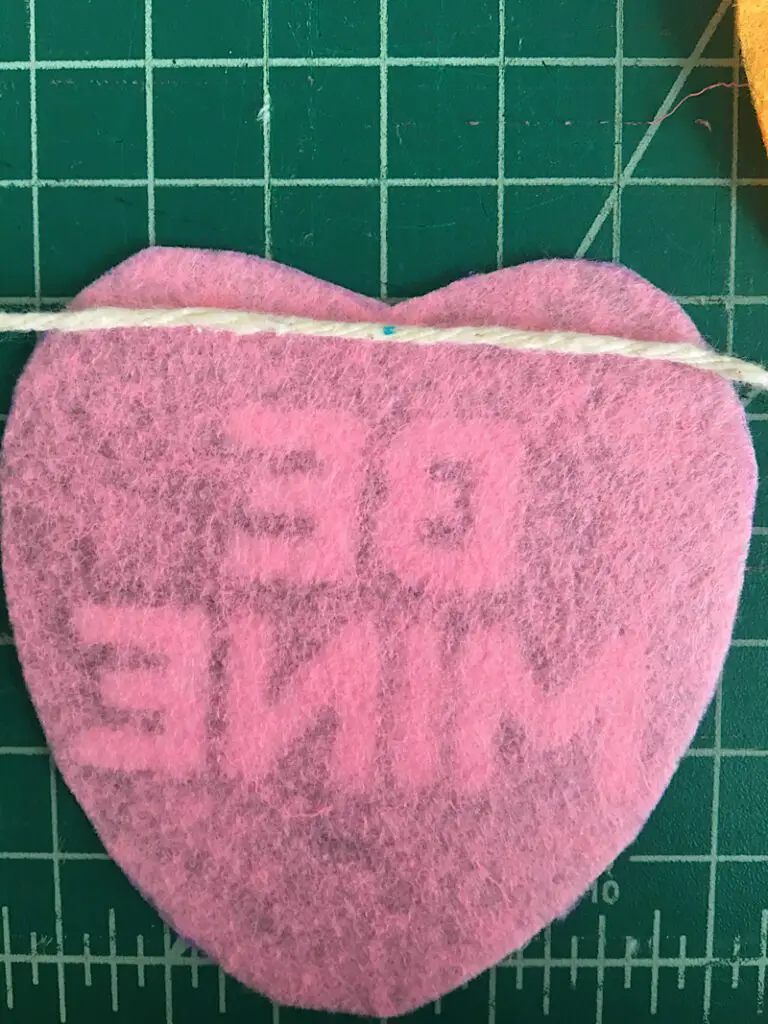
Line up the marks on the string to the top-center-back of the first heart.
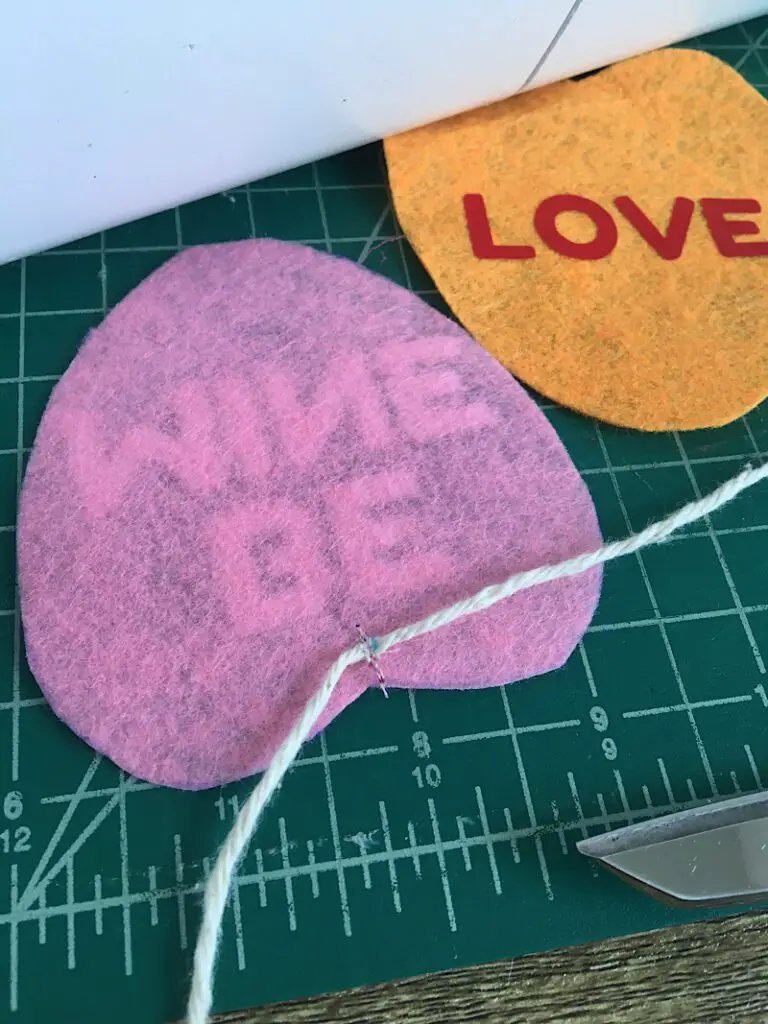
Then sew the string to the heart with a few backstitches.
I worked in a chain down the string, one heart at a time. After I had sewn all the hearts on, I clipped the threads.
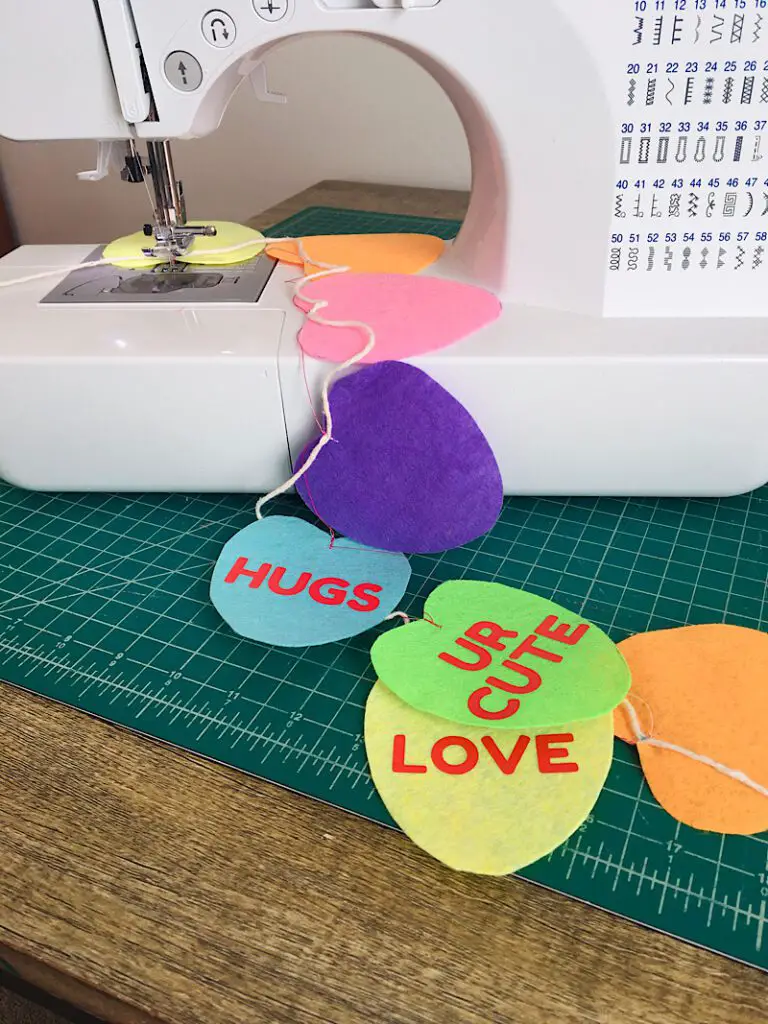
After clipping the threads, the garland is complete.
Now you can hang it up over a window, door, or just on the wall for a super cute Valentine’s Day look!
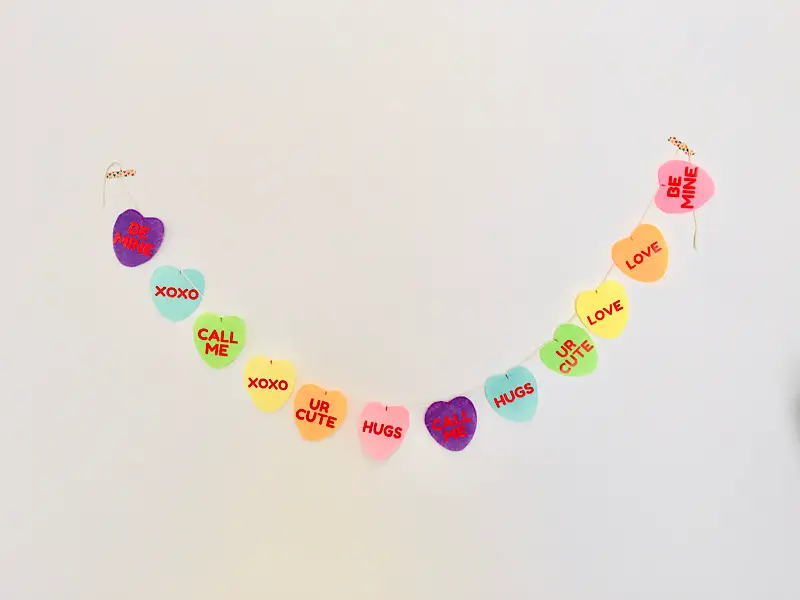
I love how it turned out, this is the first time I have made it so I was crossing my fingers!
I tried to make the hearts rounded instead of pointed just like the real candies look.

Conclusion
What I love about this garland is how reusable it is! It can be easily stored and used again to decorate for next Valentine’s Day.
That is why I use fabric in so much of my crafting instead of paper. It is durable, which is important since I have little ones who like to play will all my decorations!
This garland is a little more colorful and modern than some of my other holiday decorations, which I thought was really fun. I hope you enjoyed making it as much as I did.
Make sure to check out my other holiday garlands:
If you have any questions, be sure to leave me a comment and sign up for my email list.
And as always, please pin this tutorial to Pinterest if you loved it!
[convertkit form=3880407]