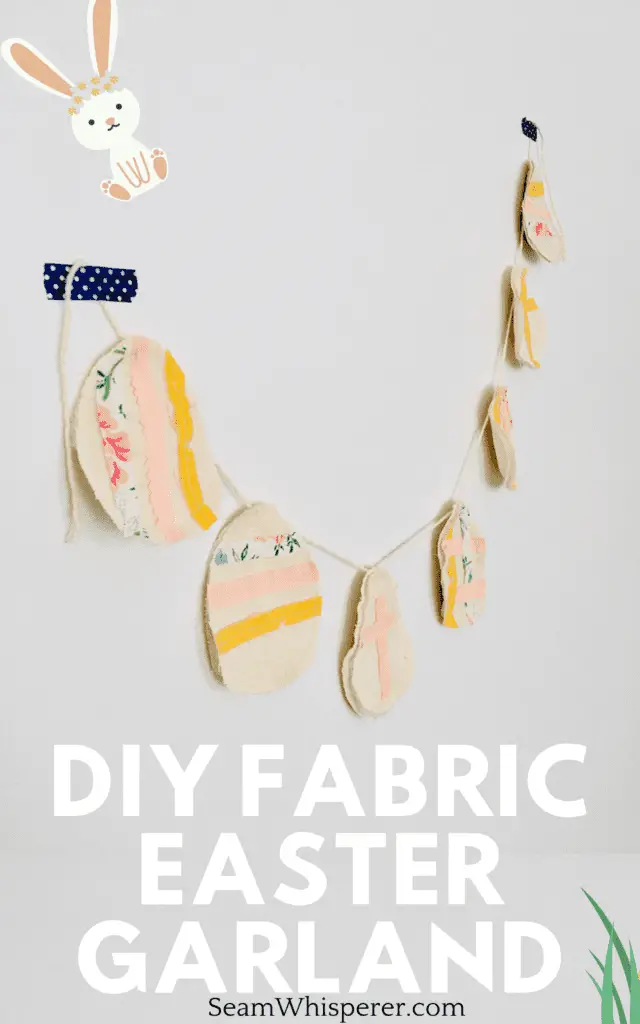
Download this free pattern to make your own farmhouse inspired Easter egg garland! This scrap-buster is so quick and fun, and very customizable!
These Easter eggs are colorful and fun, I added crosses to mine to make them a little more of a Christian Easter decoration. The sky is the limit with how you design yours!
I love making garlands and doorknob hangers for the holidays. They are such a fun way to use up scraps while adding some holiday decor around the house.
I am all about simple and cute! Let me show you how to make your own…
This post may contain affiliate links. Read the full disclosure here.
About This Tutorial
To make this a more farmhouse style, I chose to use natural colored canvas and a natural colored cotton yarn, but you can really use any colors for these!
I really like the scrappy look of these rustic eggs, so I leave the edges unfinished. You can finish them with a zig zag if you prefer.
The amount of fabric and batting needed depends on how long you want your garland to be, and how close/far you want the eggs to be spaced. I will let you decide these details!
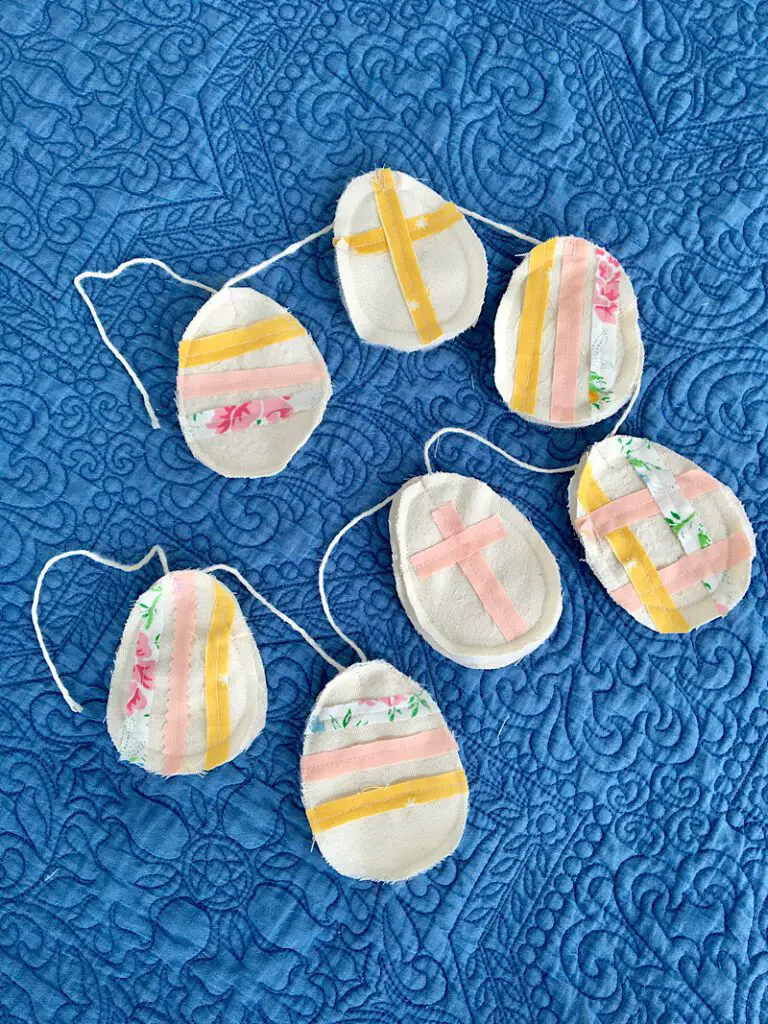
Lastly, you can “decorate” the eggs however you want. I just used varying stripe designs for mine, but you could totally do polka dots or use lace. The sky is the limit!
Supplies Needed
- Sewing Machine
- Fabric Scissors
- Pinking Shears (Optional)
- Rotary Cutter, mat, and ruler (Optional but recomended)
- Easter Egg Template Printable (Below)
Materials Needed
- Cotton String
- Natural colored canvas fabric (I use one like this one)
- Quilt batting
- Scrap quilting cotton (A spring themed charm pack like this one would work great for this)
- Matching Thread
How To Make A DIY Easter Egg Garland
Step 1. Print The Easter Egg Template
Today I am giving you this Easter Egg template printable for free, no email required!
To download it, click the link below, then save it to your computer.
Print it at 100% scaling, and you can measure the 1 inch test square to make sure it is the right size.
Or you can draw your own egg template if you want!
Once it is printed, cut it out.
Step 2. Cut Out The Fabric
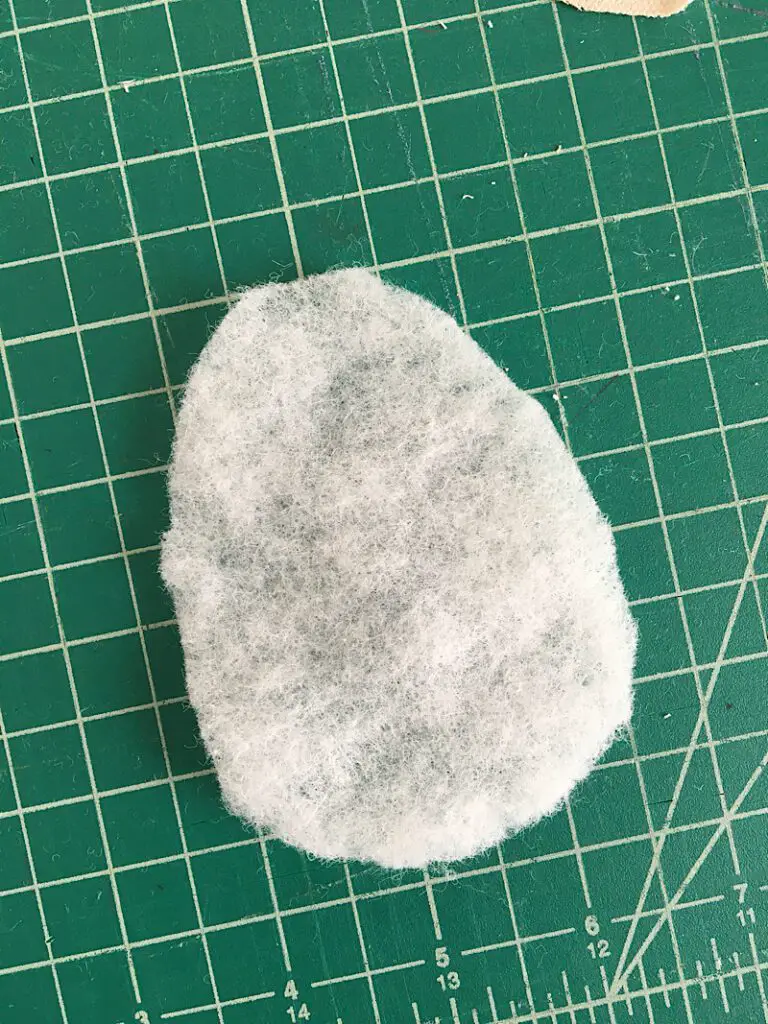
Use the egg template to cut out two pieces of canvas for every finished egg you want on your garland.
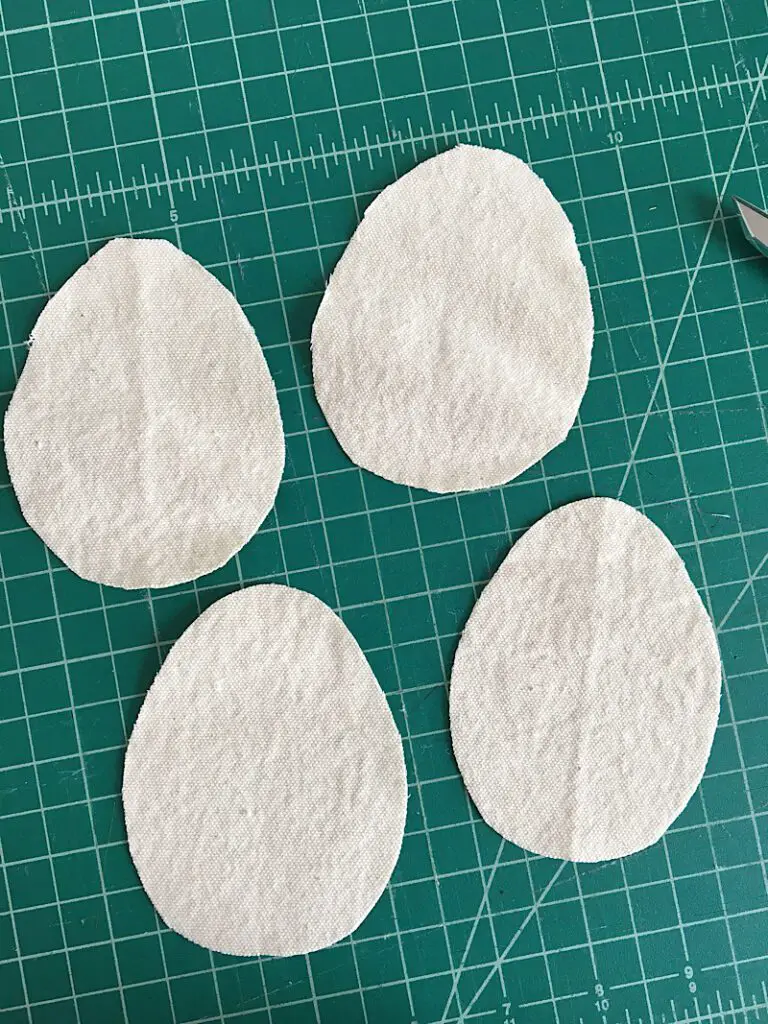
Also cut out one piece of batting for each egg.
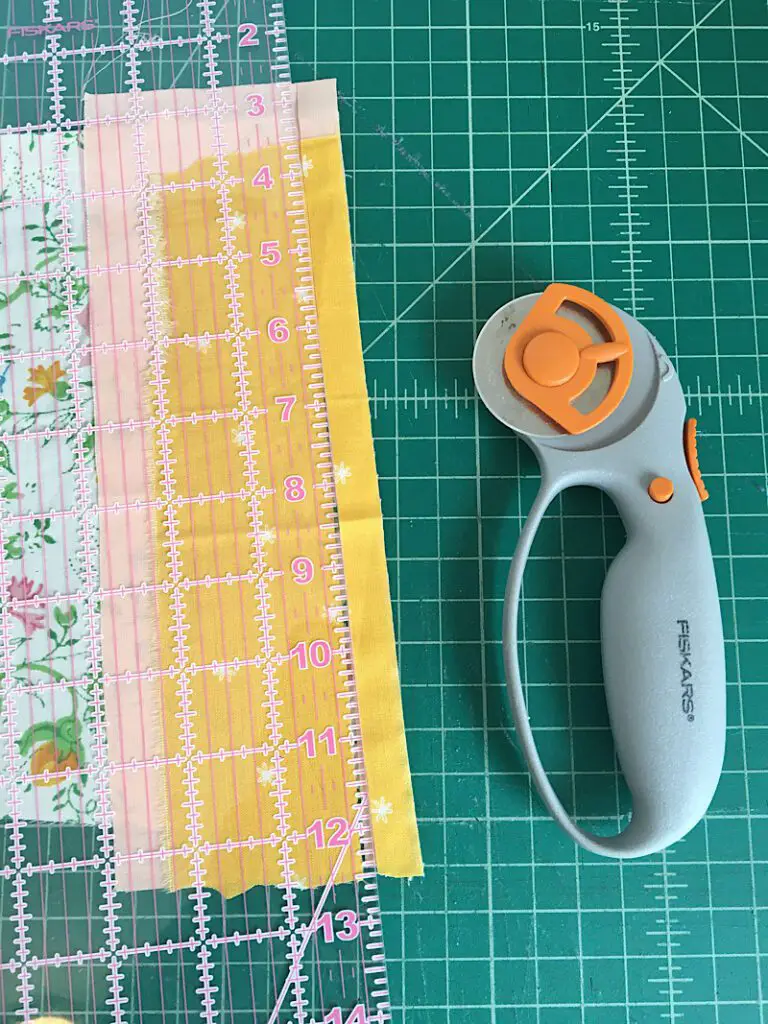
Finally, using your quilting cotton, cut out a whole bunch of thin strips 1/2 inch wide.
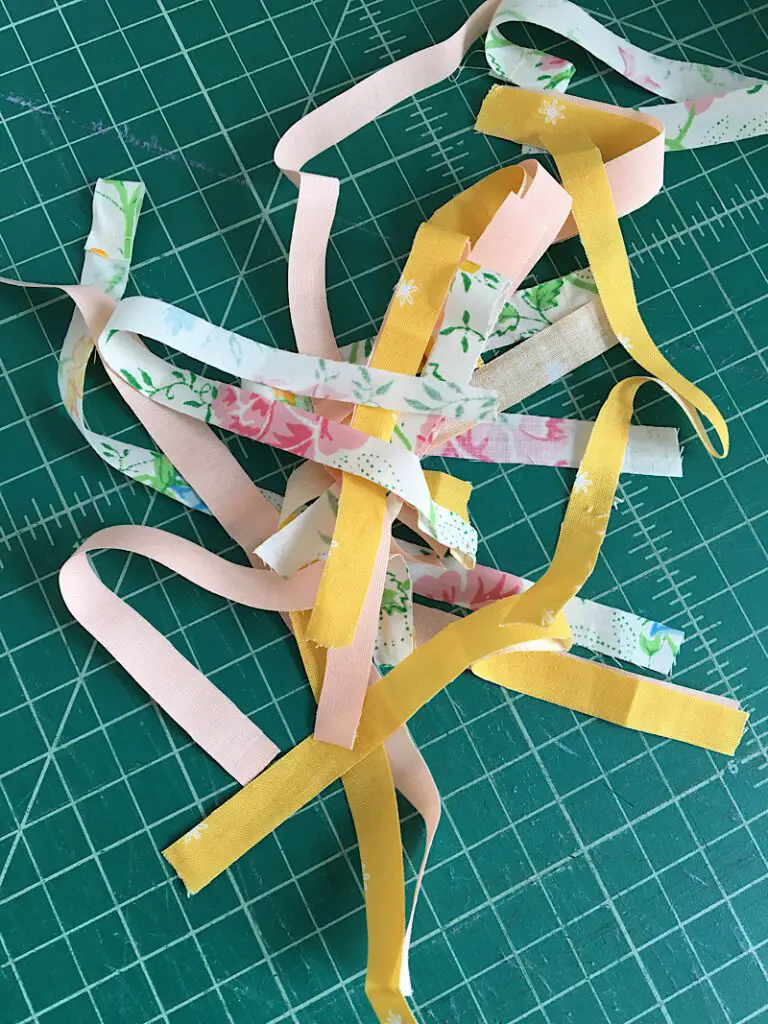
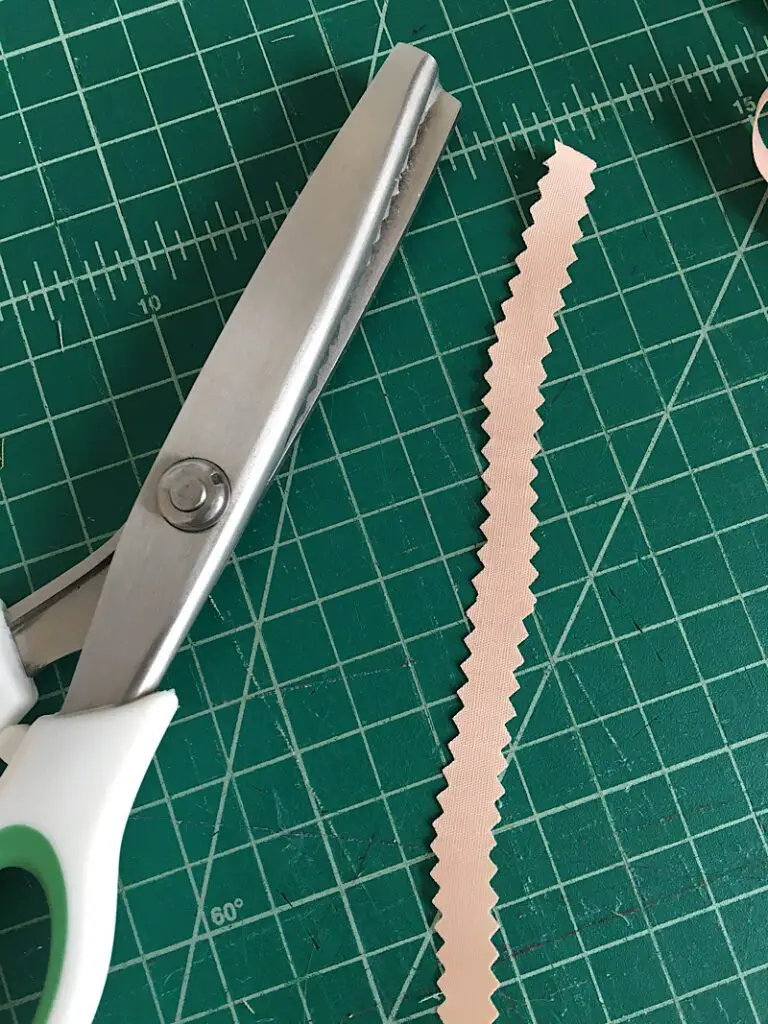
You can also use pinking shears to make the strips, which will add a fun zig zag edge to the design.
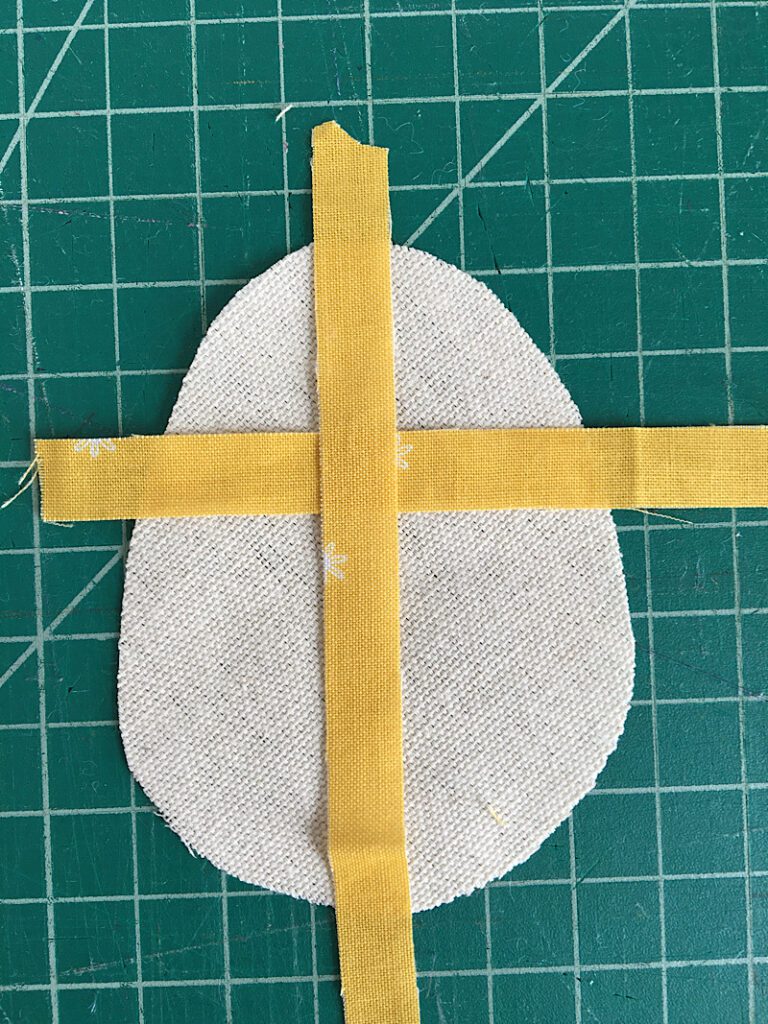
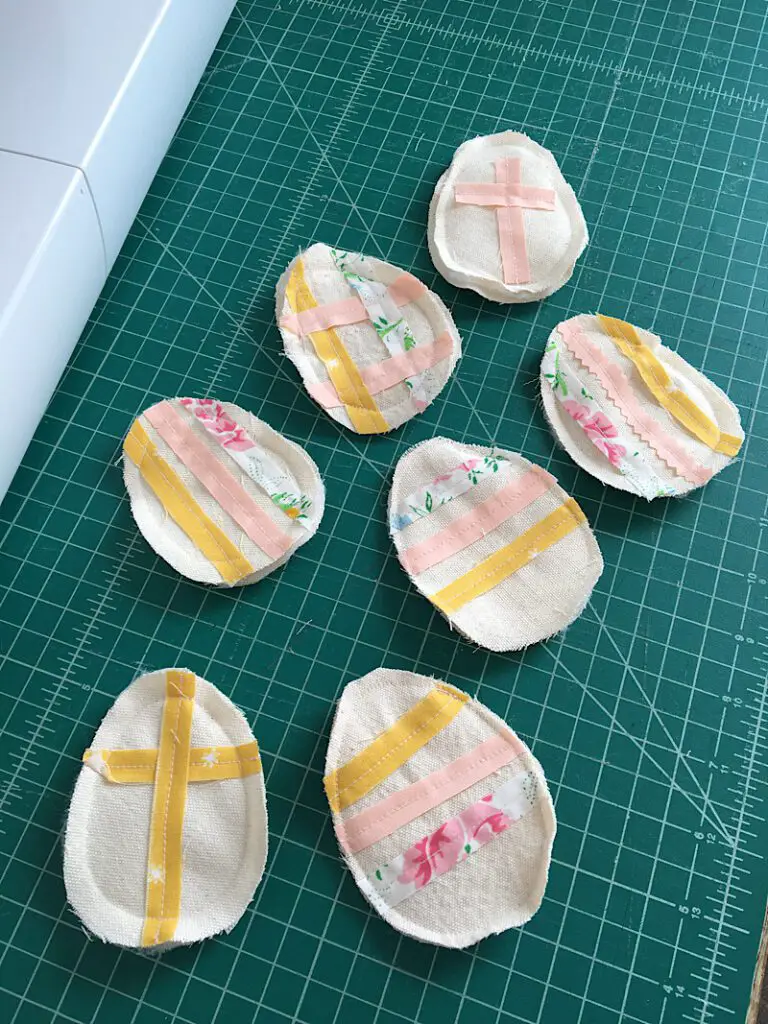
Step 3. Arrange The Fabric Strips
Next you are going to arrange and sew on the fabric strips to the fronts of the eggs.
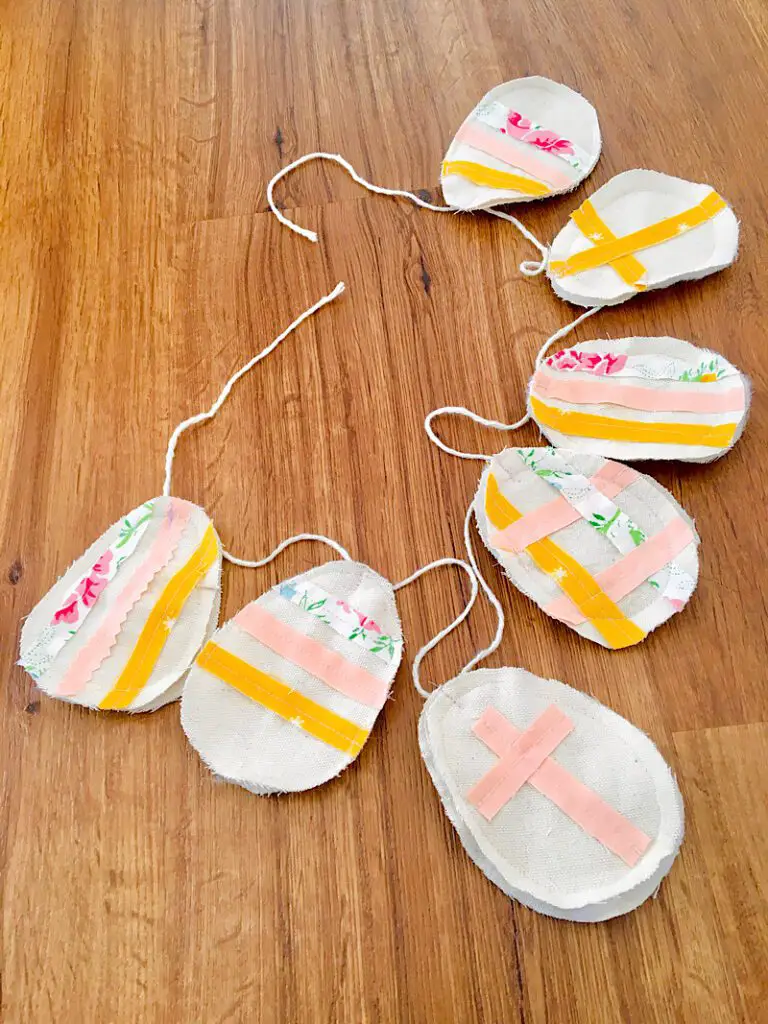
You can do this any way you want. You can make a cross shape, horizontal stripes, vertical stripes, woven plaid, whatever you can think of!
Grab one of the canvas egg shapes, and lay the strips on it how you like. You can pin or glue-stick them down if you want.
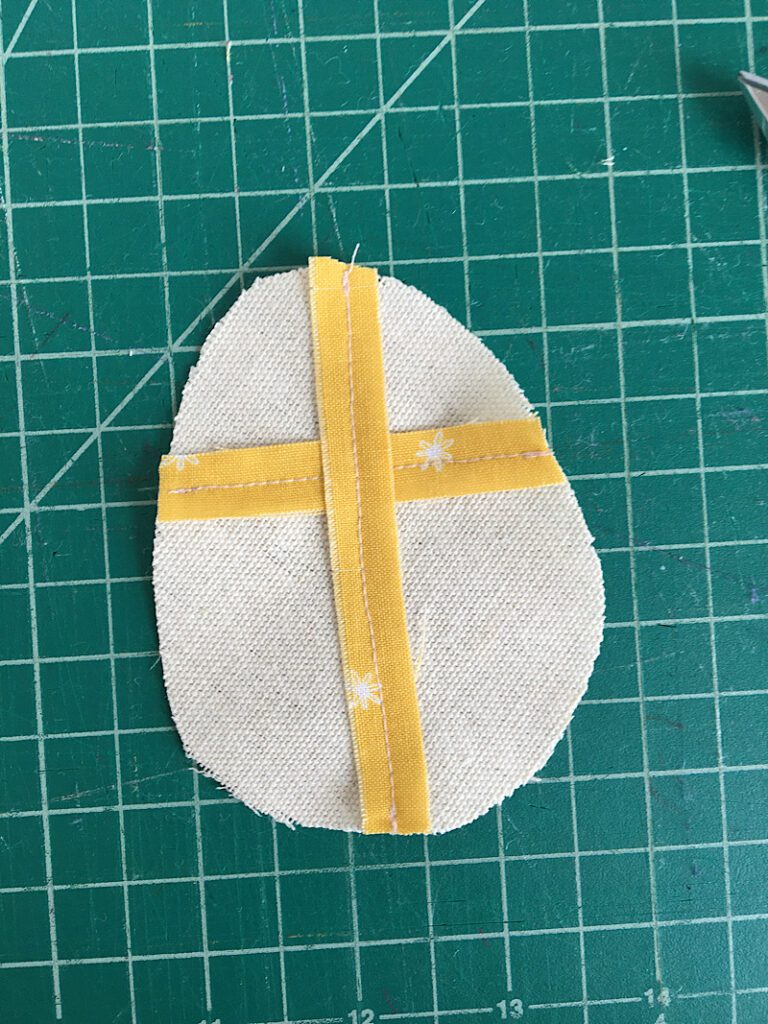
Then, sew them to the egg. I just sewed a single line right through the middle down each strip. (You could do a decorative stitch, that would be cute too!)
Then after sewing, trim the excess of the strips off.
Then you need to sew strips onto each of the egg fronts until they are all complete.
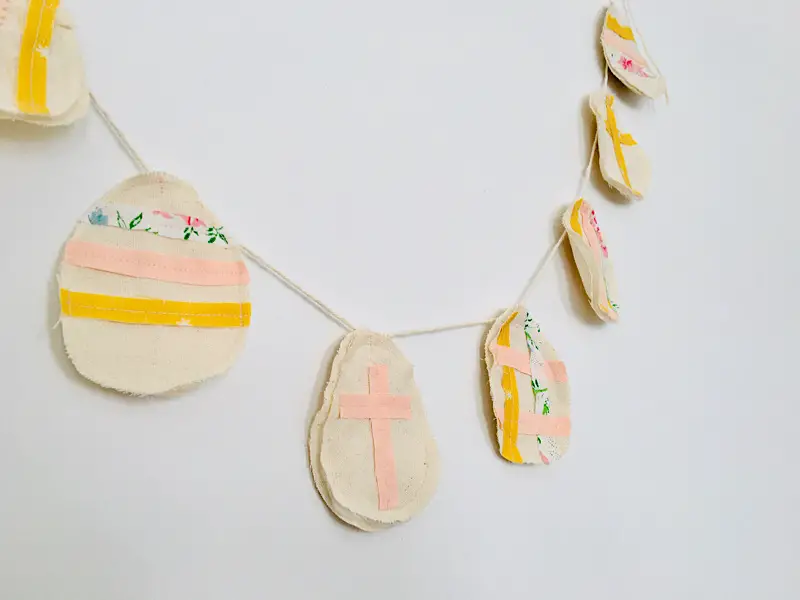
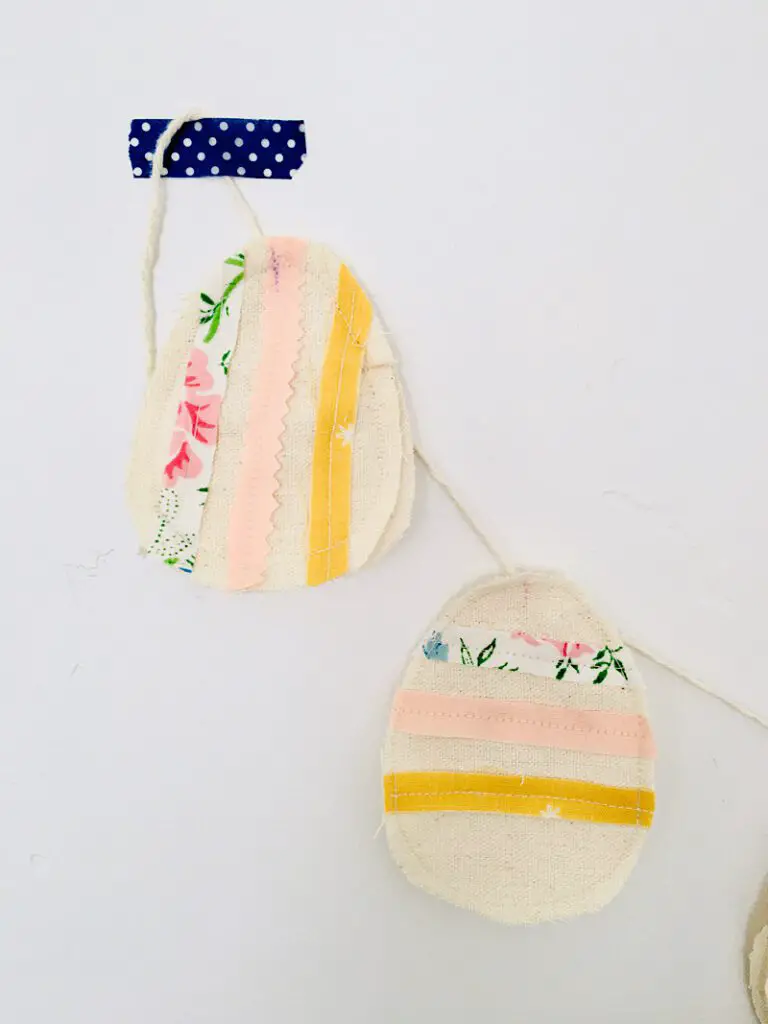
Here are some close ups of the different designs I did:

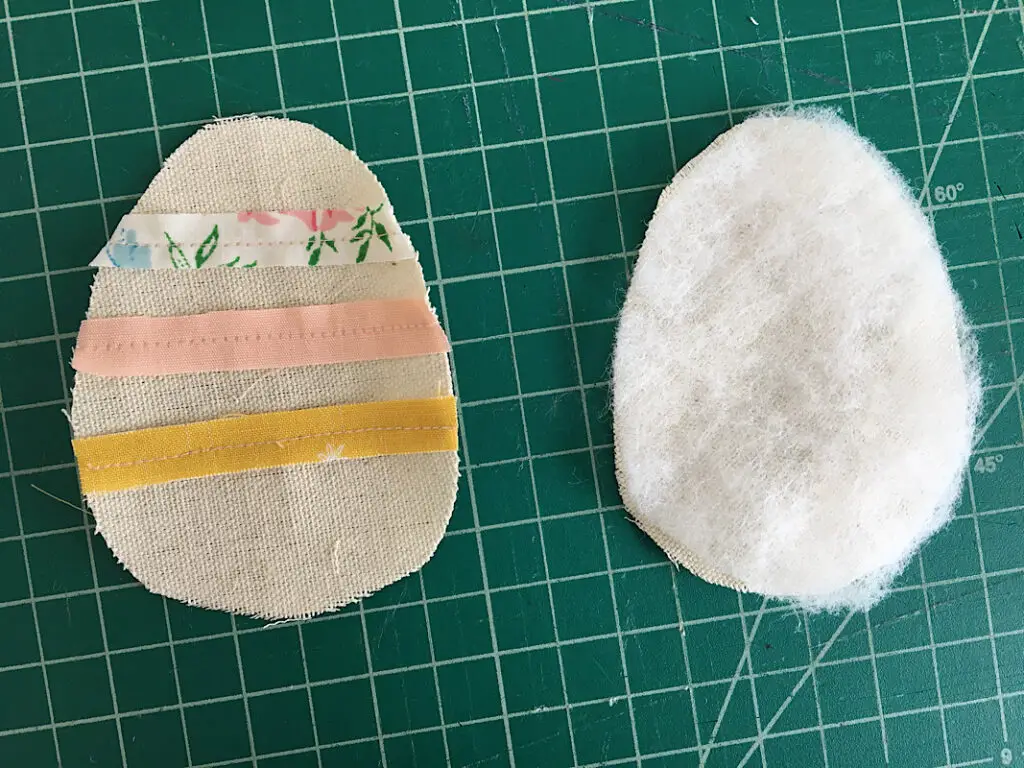
Step 4. Layer The Eggs And Batting
Once each egg front is sewn, you will sew the eggs to the batting.
Lay an egg back piece of canvas on the table, then place the batting on top of it. Then place an egg front on top of the batting, and pin it together.
Repeat this for all the eggs.
Step 5. Sew Around The Eggs
To finish the eggs, you are going to sew around the perimeter. They look cuter with a 1/4 inch seam allowance, but it is harder to catch the bottom layer perfectly if the layers shift while you sew. A 3/8ths inch seam allowance is easier. It’s up to you!
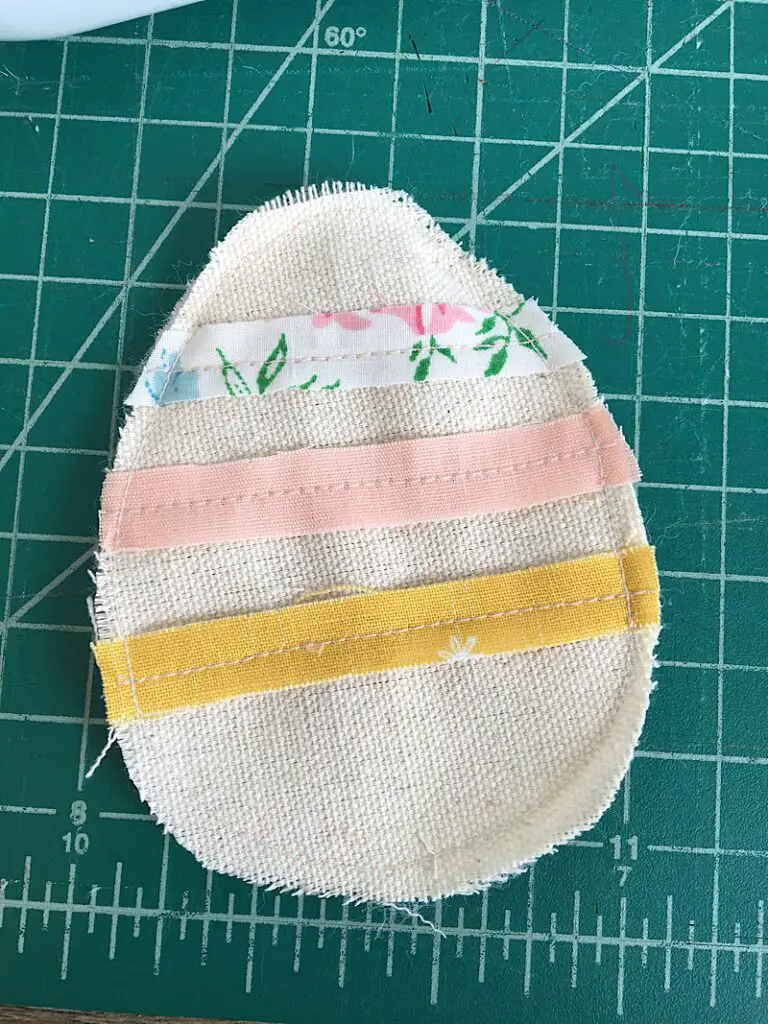
Sew around the edges of the rest of the eggs. If you want to zig zag around the edges, you can do that too. I left it frayed.
Step 6. Sew The Eggs To The String
To sew the eggs to the string, I made a mark 8 inches in from the first end, and sewed the first egg to the mark.
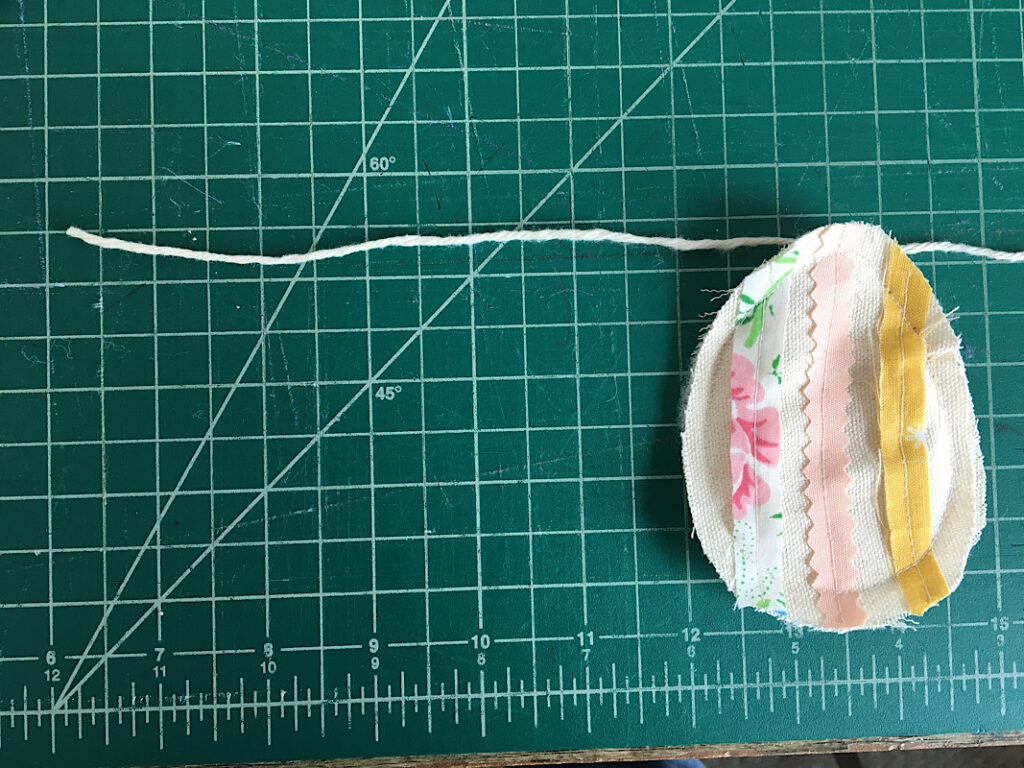
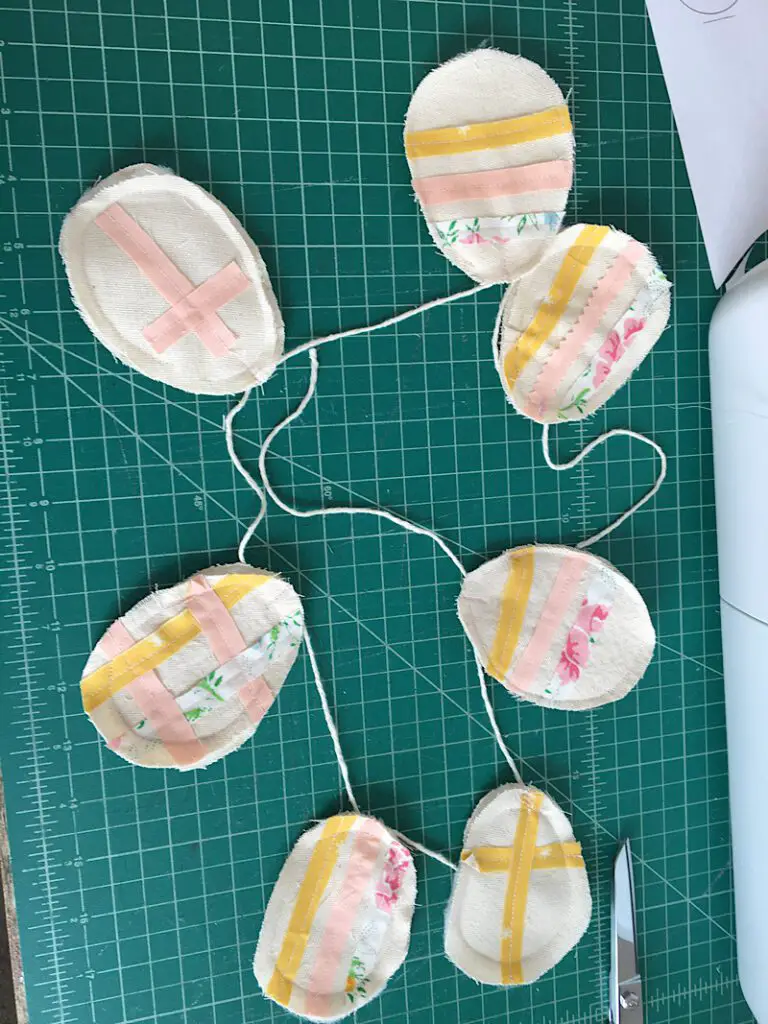
To sew the eggs on, I lined the string up across the back of the top of the egg, and sewed back and forth over the string a few times. I spaced them about 4 inches apart.

After the last egg was sewn on, I measured an 8 inch tail and cut the string.
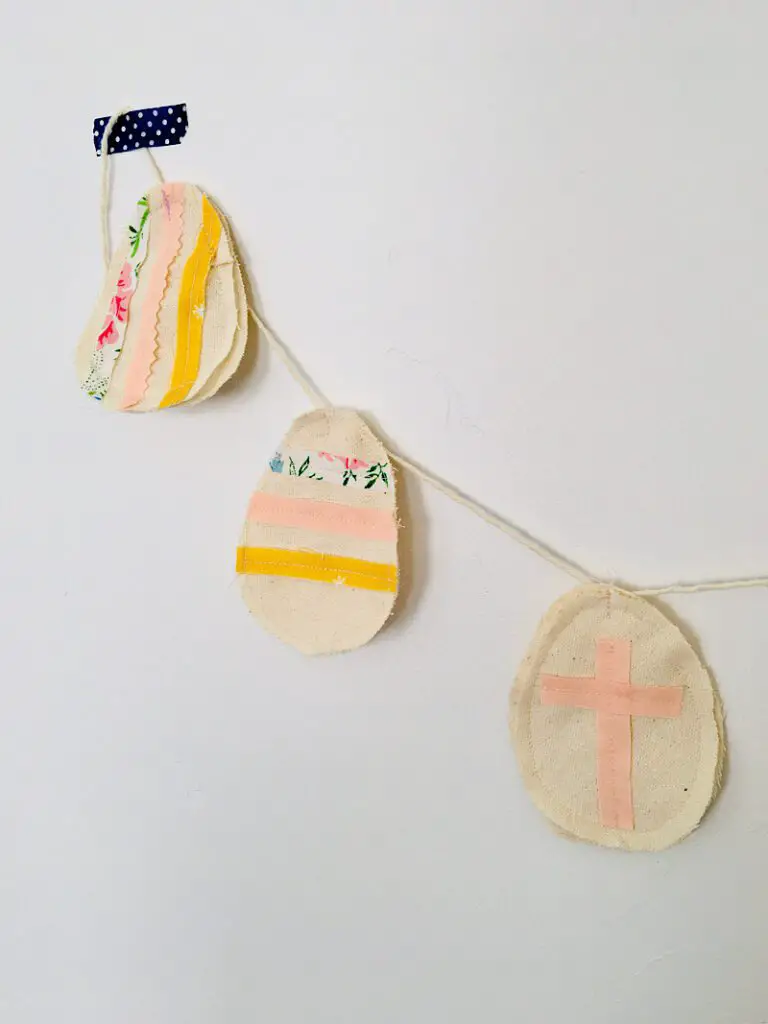
And this completes the Easter egg garland! I have so many cute photos of it, I can’t pick just one. Here is one of the crosses:

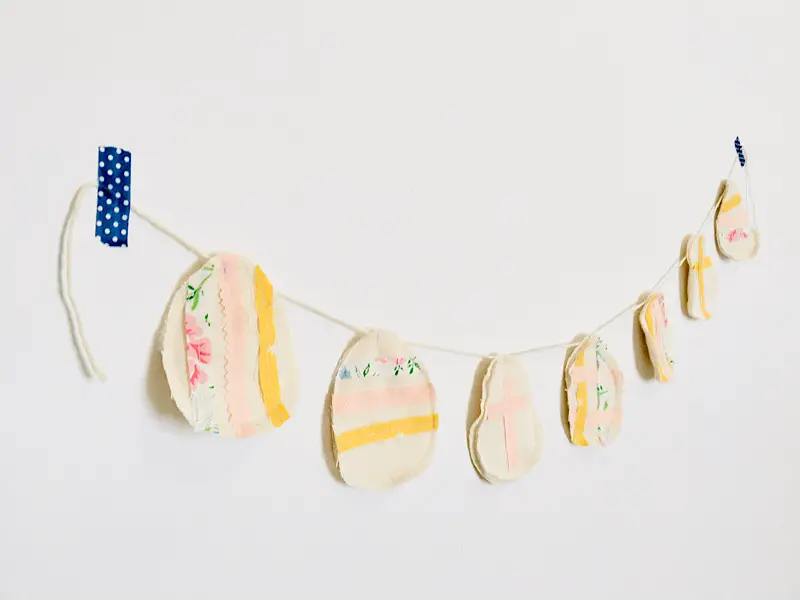
Here it is hanging on the wall:
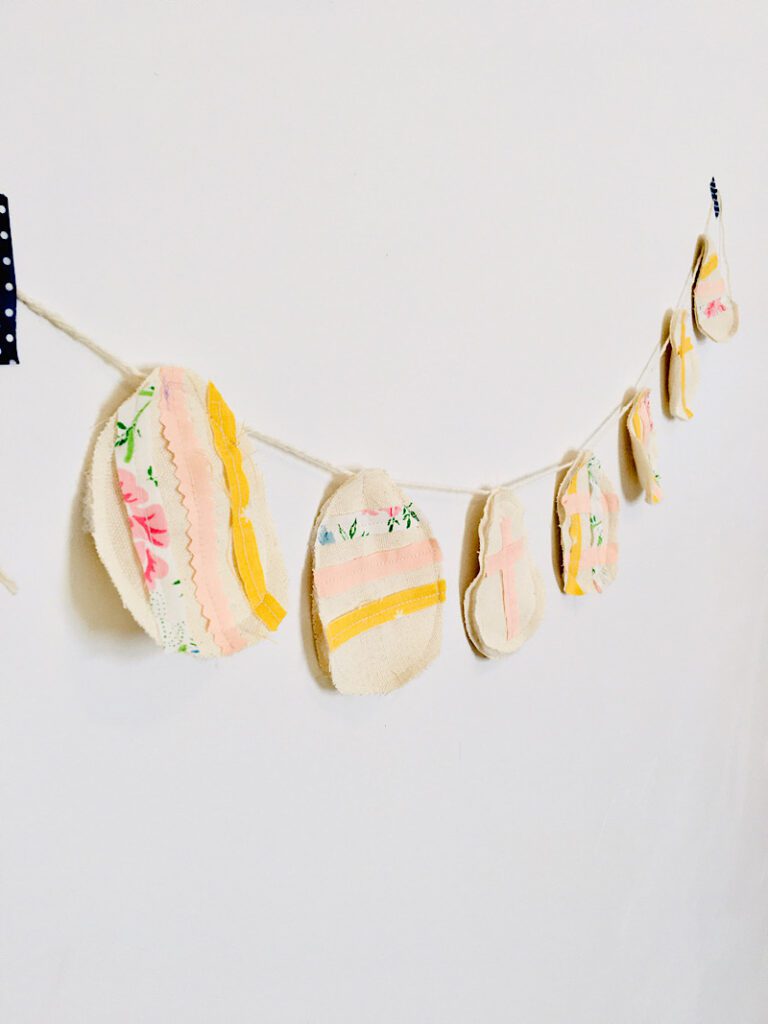
I think the pinked edges look so cute. The zig zag adds a nice touch.
I am pretty happy that this DIY Easter garland came together in about a half an hour, it would be a great neighbor gift or craft night project.
Conclusion
I am in love with how this turned out, I feel the need to make more in other colors! The pink yellow and white theme here is too cute.
I hope you liked this tutorial, if you are a garland gal like I am make sure to check out my other holiday garland tutoirals!
Sign up for my email list for more sewing fun!