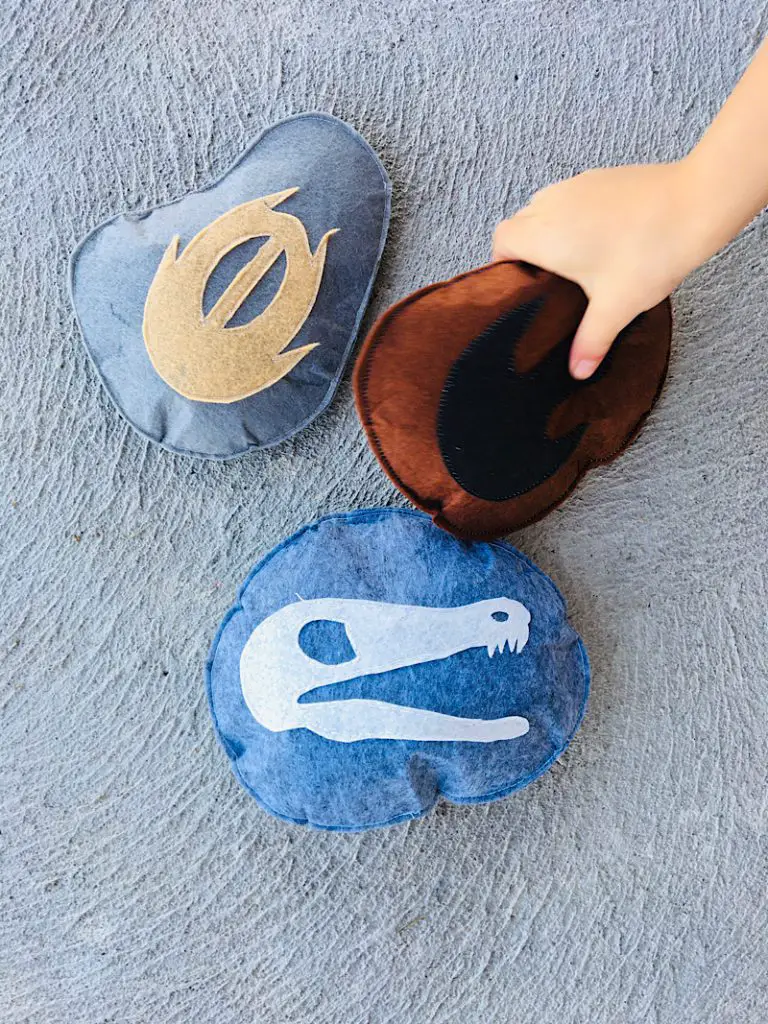
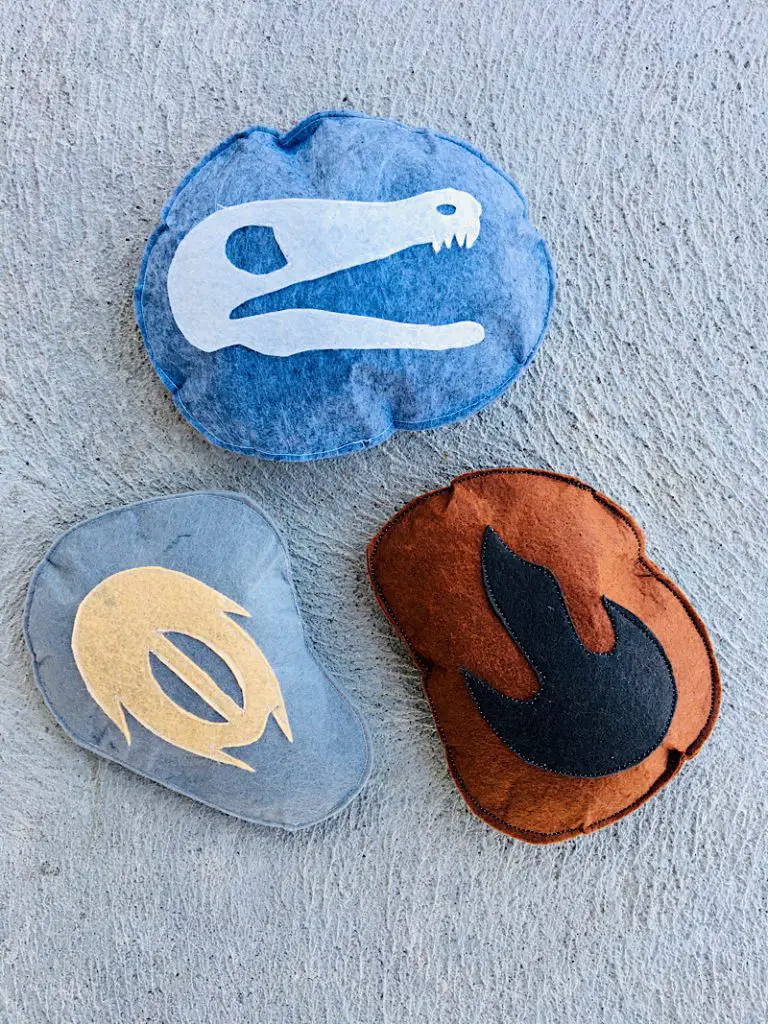
Sew your own plush fossil toys with these scientific patterns! Each pattern makes one large stuffed “rock” with a unique fossil applique. The download includes separate rock shapes and fossils for a skull, a dinosaur foot print, and a trilobite. These DIY softies are sure to be a hit!
Do your kids love dinosaurs? Do you have a budding archeologist in the house? These soft toys are perfect to use as toys or decorations for all little scientists!
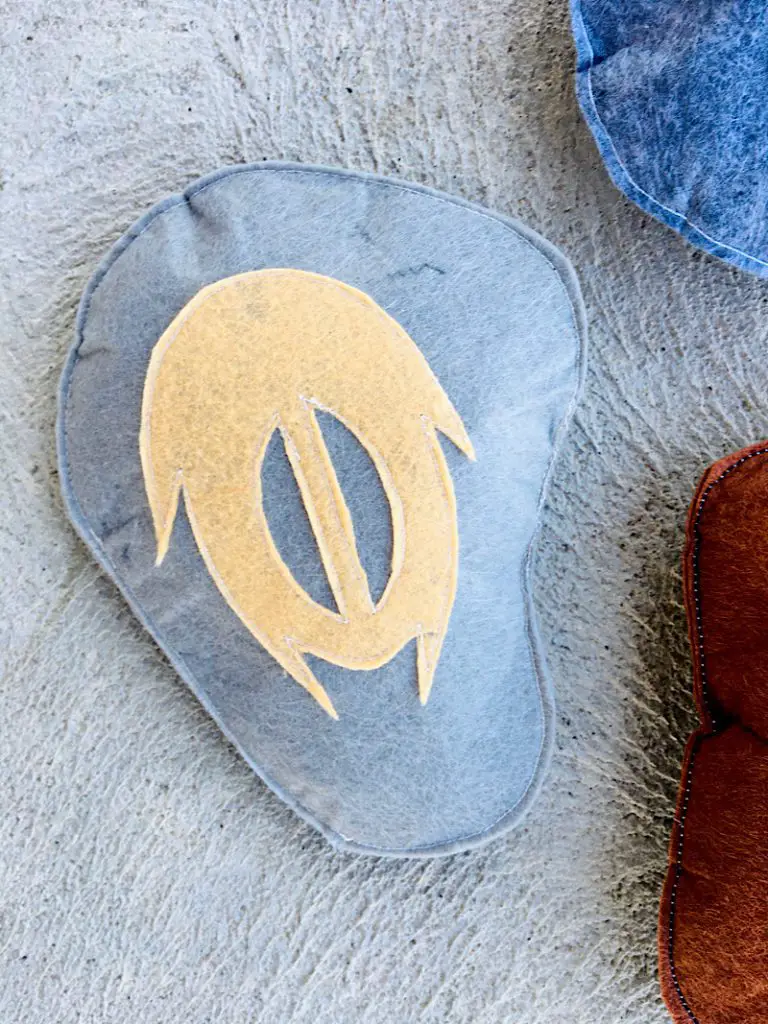
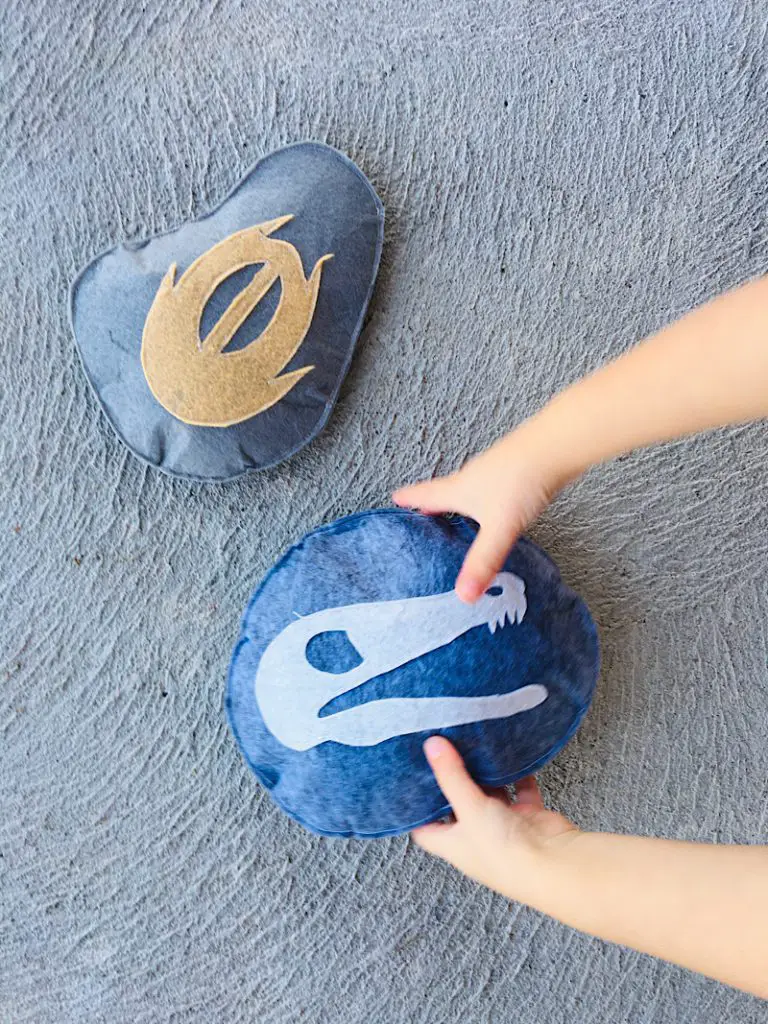
Featuring a dinosaur skull, a trilobite, and a dino foot print, this DIY fossil craft is quick to make and great for imaginative play.

Want more dino themed sewing projects? Check out this huge list of free project ideas!
This post may contain affiliate links. Read the full disclosure here.
About The Fossil Patterns
This is an intermediate or advanced beginner pattern. You will need to sew around several curves in this project, stuff it with fiberfill, and sew closed the opening.
I have simplified these fossil shapes so they are easier to sew. The trilobite and the skull are not very detailed, but have enough detail to be able to tell what they are without being a pain to appliqué !
Felt is perfect for this sewing project because it won’t fray. A good quality wool felt is preferred to acrylic because it is soft and mote pliable, but use what you have!
For the stuffing of these soft toys, you can use fiber fill, wool or cotton stuffing, fabric scraps, or even plastic grocery bags.
This fossil soft toy pattern set can be made in a few different ways.
- You can sew the fossils onto the rock felt pieces by hand (This will take longer but you might get more precise results)
- You can applique the fossil shapes on using a free motion quilting presser foot
- You can use your regular presser foot and sew very slowly, pivoting and turning at each corner and bend. (This will take the longest, and might not have the smoothest stitching results)
Don’t know what a free motion foot is? Read about 15 Types of Presser Feet (with photos!) & Pin the chart!
The seam allowance for this project is about 1/8ths inch. Sew as close to the edge as you are comfortable for the best results!
Supplies Needed
- Sewing Machine
- Sewing Scissors
- Hand needle (Optional, If you are going to sew by hand)
- Free motion presser foot (Optional, to applique the fossil shapes)
Materials Needed
- One 12″x12″ Felt sheet per rock (This will be the color of the rock)
- One 6″x6″ Felt sheet per fossil shape (This will be the color of the fossil shape)
- Matching Thread
- Fiberfill or Stuffing
How To Make A DIY Fossil Toy
Step 1. Download, print, and cut the pattern
The pattern for this DIY fossil craft is a PDF download, free for those who sign up for my email list! The fossil pattern includes three pages for three different fossil rock designs.
To download the template, enter your email into the box below.
Once you have downloaded the pattern, print it out. Make sure it is printed at 100% scaling to make sure nothing gets cut off.
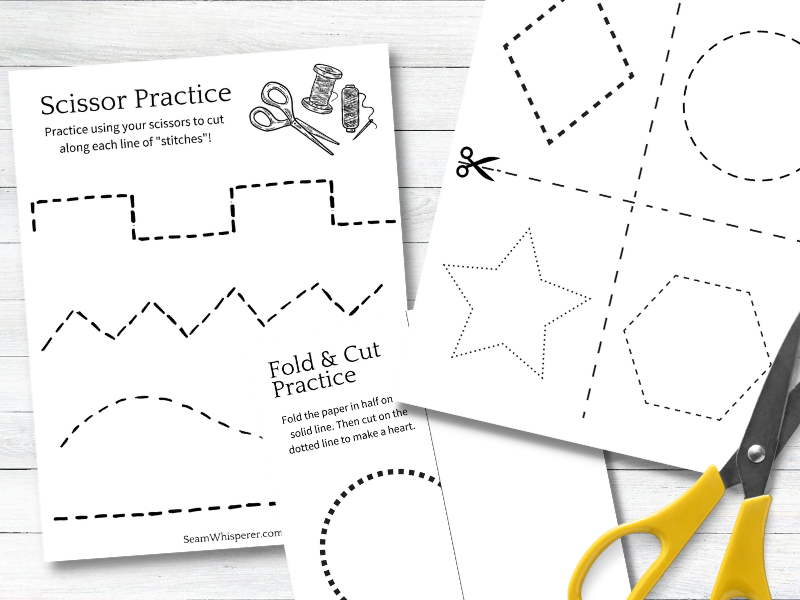
Cut out the paper pattern pieces. Notice that the skull and trilobite fossils have internal shapes that need to be cut out also.
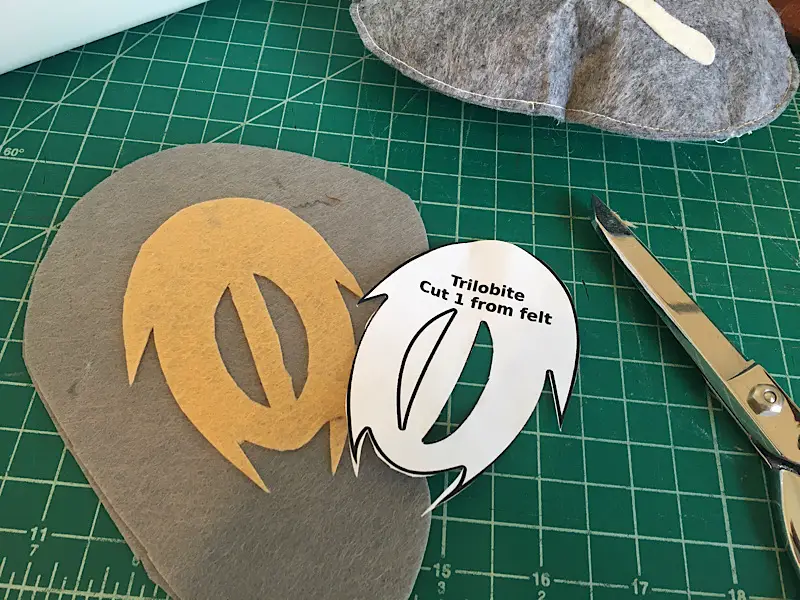
You will have to carefully use your scissors to cut out these center elements.
Heres a tip to make cutting easier: turn the pattern piece around and trace it onto the wrong side of the felt. Then, cut on the lines you drew.
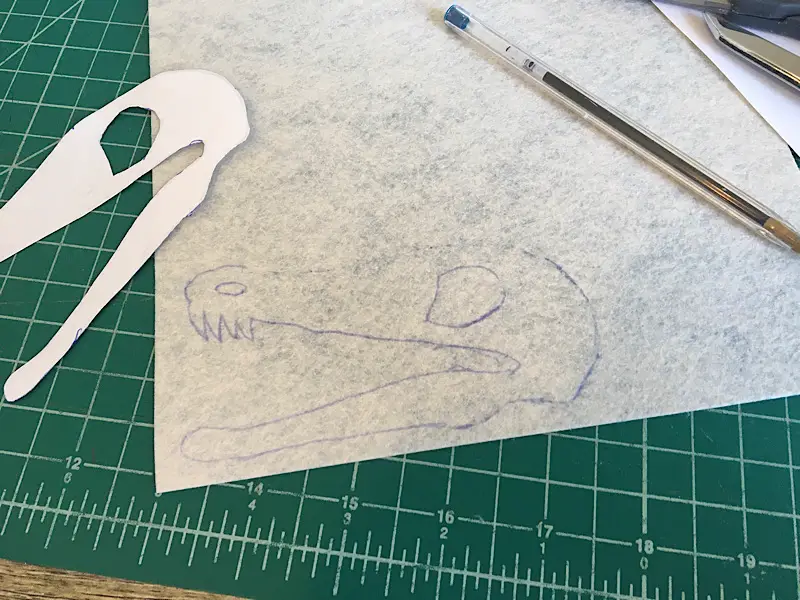
Another idea is to use a cutting machine to cut these shapes out! If you have a Cricut, you can use Cricut design space to make SVGS of this design and cut out the felt with your machine.
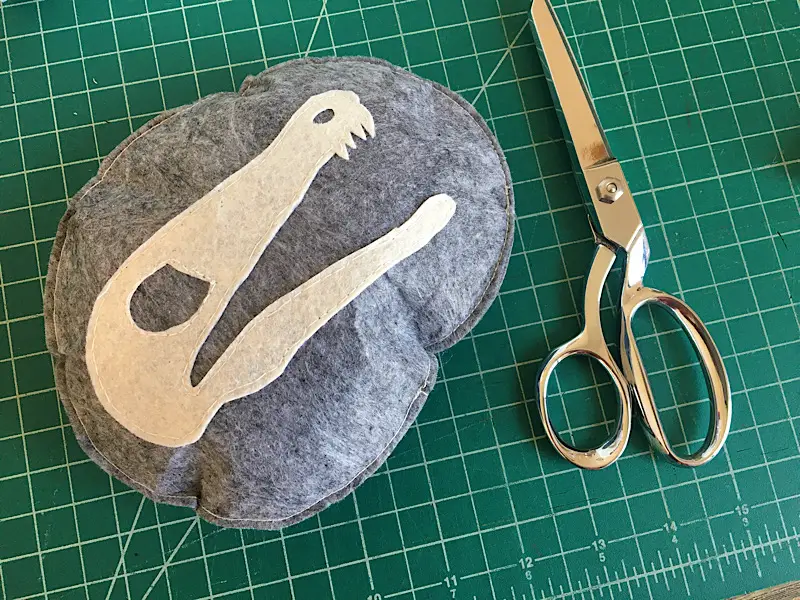
Step 2. Applique the Fossil Shapes
Arrange the fossil shape on top of one of it’s coordinating rock pieces. Make sure it is at least 5/8ths inch away from the edges all around.

Pin the fossil shape to the rock piece.
Using the sewing method of your choice, applique the fossils to the rock pieces. Sew close to the edges of the fossil shape, about 1/8 inches away.
I chose to use free motion quilting foot for the first time for this project! (It went really well for my first time!)

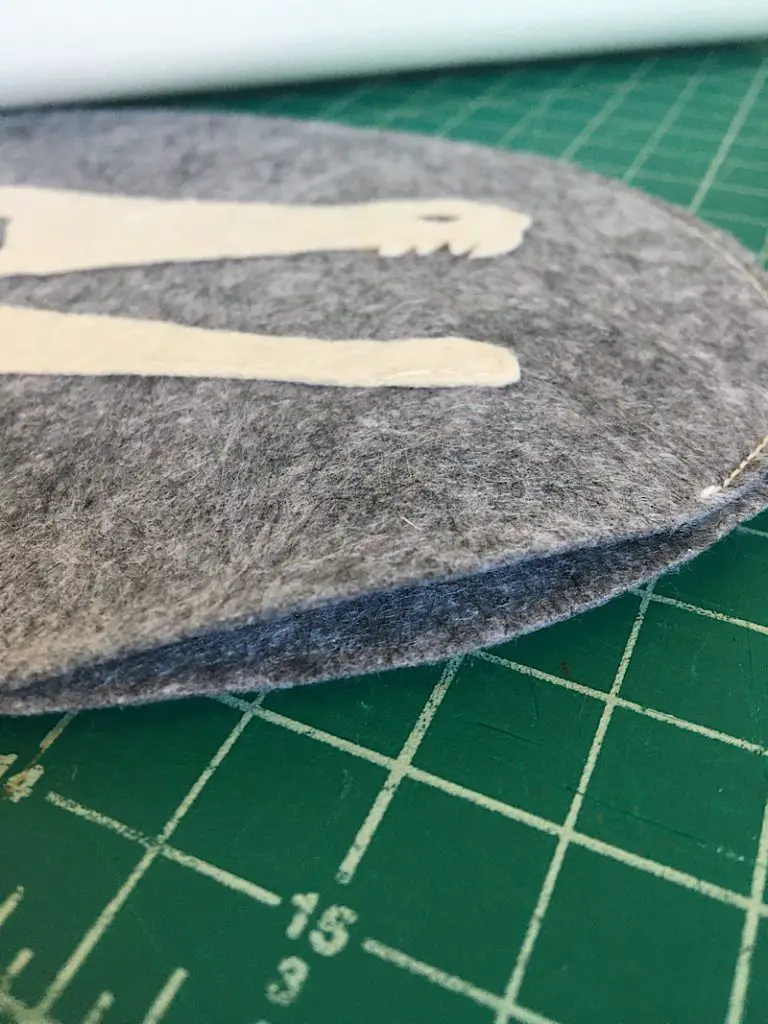
Step 3. Attach the top and bottom of the rock
Once your fossil is sewn on, you can finish your rock two ways. With either method, you will need to leave a 2 inch opening to stuff the rock full of fiberfil before closing it all the way.
*Try to leave the 2 inch opening on the flatest part of the rock for easier sewing later.
Method 1: Top Stitch.
You can stack two pieces of the rock with wrong sides facing, and simply top stitch around them to close. This will result in an exposed seam all around the rock, but since it is felt, it doesn’t look bad.
Method 2: Sew inside out & turn.
You can stack the two rock pieces together with right sides facing, sew around the edges, then turn it inside out so the seam is hidden inside. You can hand sew a ladder stitch to close the hole.
Step 4. Stuff the rock
After sewing around the rock pieces and leaving a 2 inch opening, stuff the rock with fiber fill until it looks how you want it.
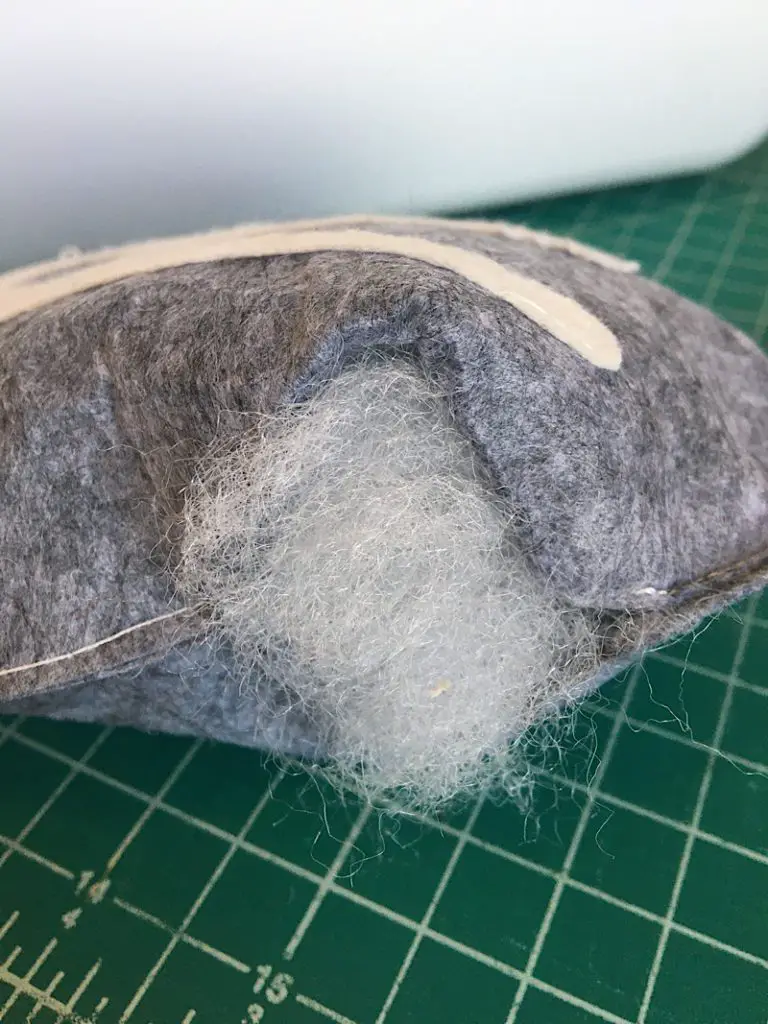
When the rock is stuffed, sew the opening closed.
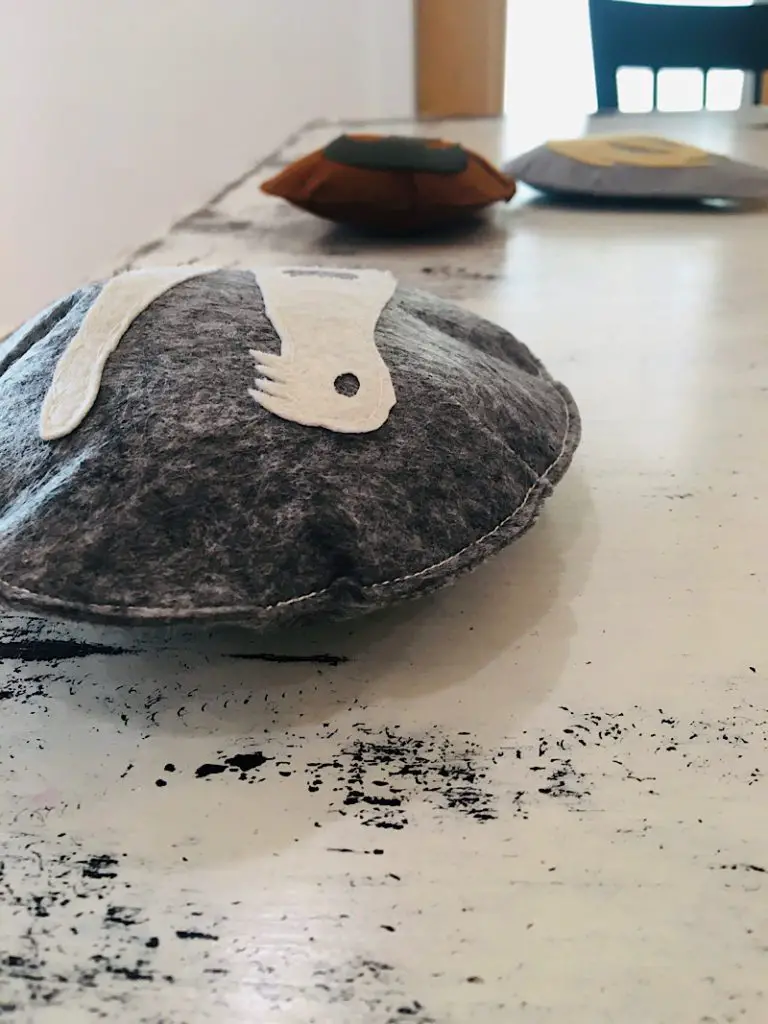
This completes your fossil soft toy!
I love that these fossil toys are not only cute and soft, but are a great way to teach your kids a little bit about science. Toys and objects like these that open up a doorway to educational conversations are great for kids.
You can try changing up the colors of the felt to make the fossils look how you want. i thought white was appropriate for the skull, and I brown and charcoal for the footprint.
I can also imagine making a pillow sized version of these fossils, perhaps with some dimension besides just a front and a back. How fun would that look on a bed!
These would make a perfect gift for any dinosaur lover out there, my kids were just so excited to take them and play.
I hope you have fun making these DIY fossil softies! if you have any questions let me know below in the comments or send me an email.
And don’t forget to subscribe and pin this post for later! I so appreciate it!
[convertkit form=3599038]