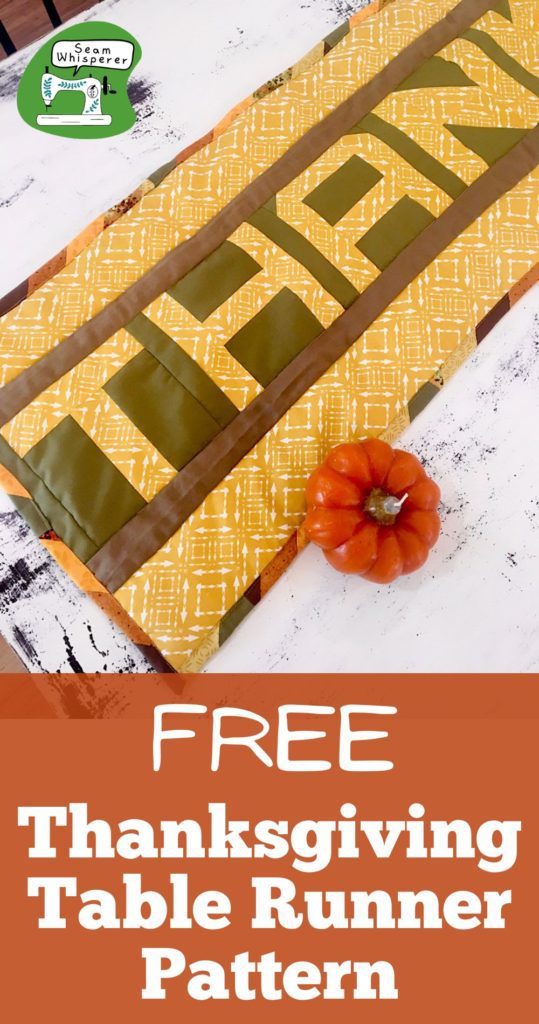
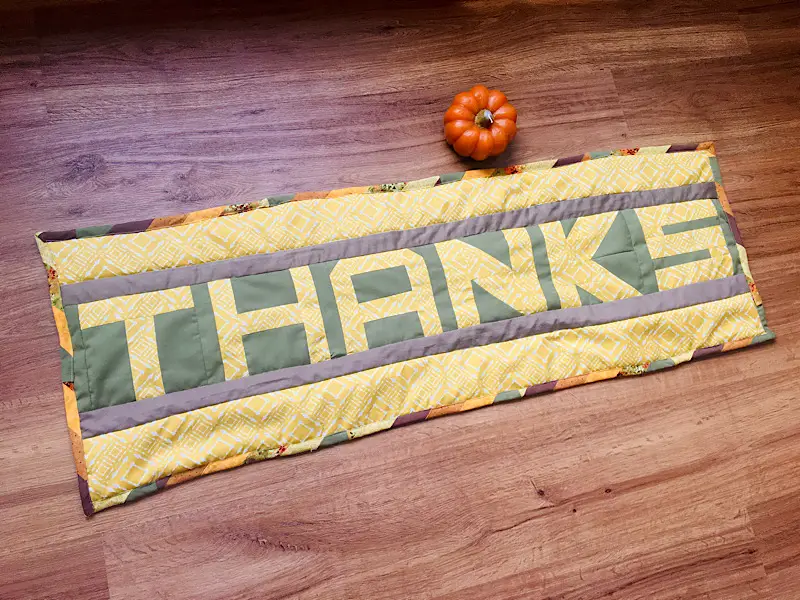
Make a festive and modern “THANKS” table runner for Thanksgiving this year. The letter blocks on this quilt are just detailed enough to be impressive to show off, but simple enough to be a quick project that only takes an afternoon or two. This pattern is somewhat length adjustable just in case you have a longer or shorter table!
Sometimes, great ideas just come out of nowhere. Well, that happened to me with this table runner, and I am so glad it did! Who thinks of Thanksgiving table runner patterns in the middle of August? Apparently I do!
What I love about this sewing pattern is how customizable it is. You can use the letter blocks that I have provided to make your “Thanks” word, then finish the rest of the quilt however you want.
Maybe you want to just finish with strips of material as a border. Maybe you want to create some decorative blocks to surround the letters with. Maybe you want to just use whatever scraps you have around. It’s up to you!
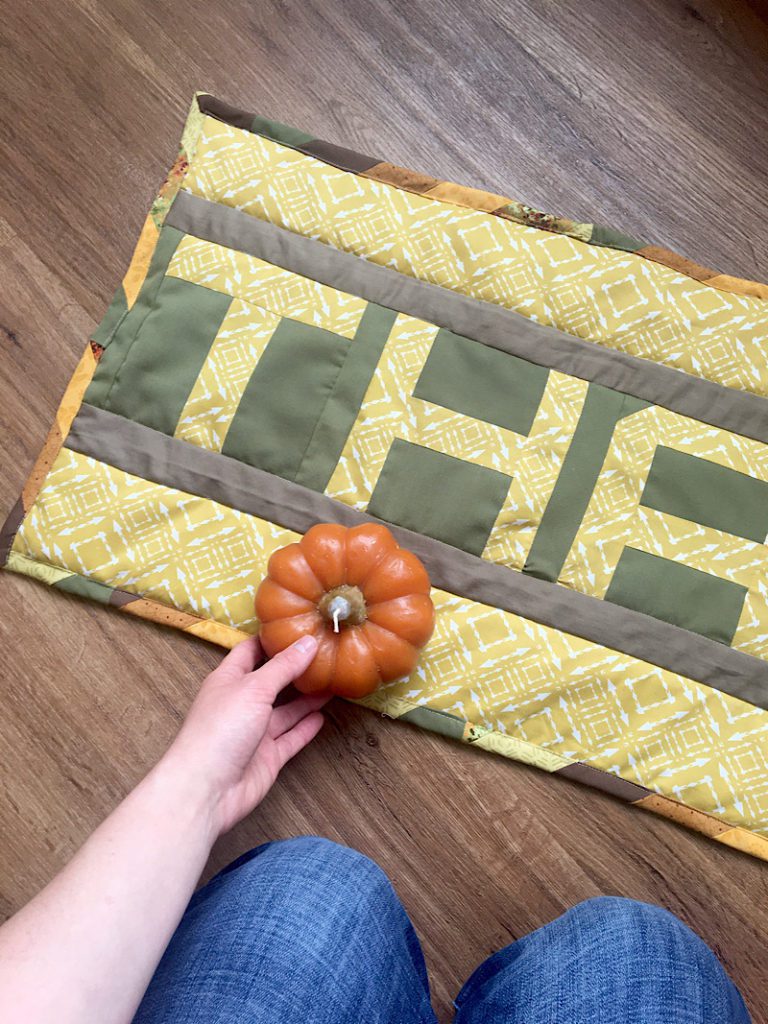
Fun tidbit: My husband’s grandmother was a great quilter. She has recently been giving away her old quilting materials that she can no longer finish or use, and she gave me a pile of some absolutely gorgeous quilted blocks that she never finished. I didn’t want them to go to waste, so I utilized a few of them in this quilt by turning them into the binding.
This table runner is the best of both worlds. Modern, but festive. Quick, but interesting. I can’t wait to teach you how to make it!
This post may contain affiliate links. Read the full disclosure here.
About The Thanksgiving Table Runner Pattern
This is an intermediate or even advanced-beginner pattern. You will be sewing lots of straight lines and ECT’s (Easy Corner Triangles.) You may finish the binding however you like, I chose to make my own binding tape.
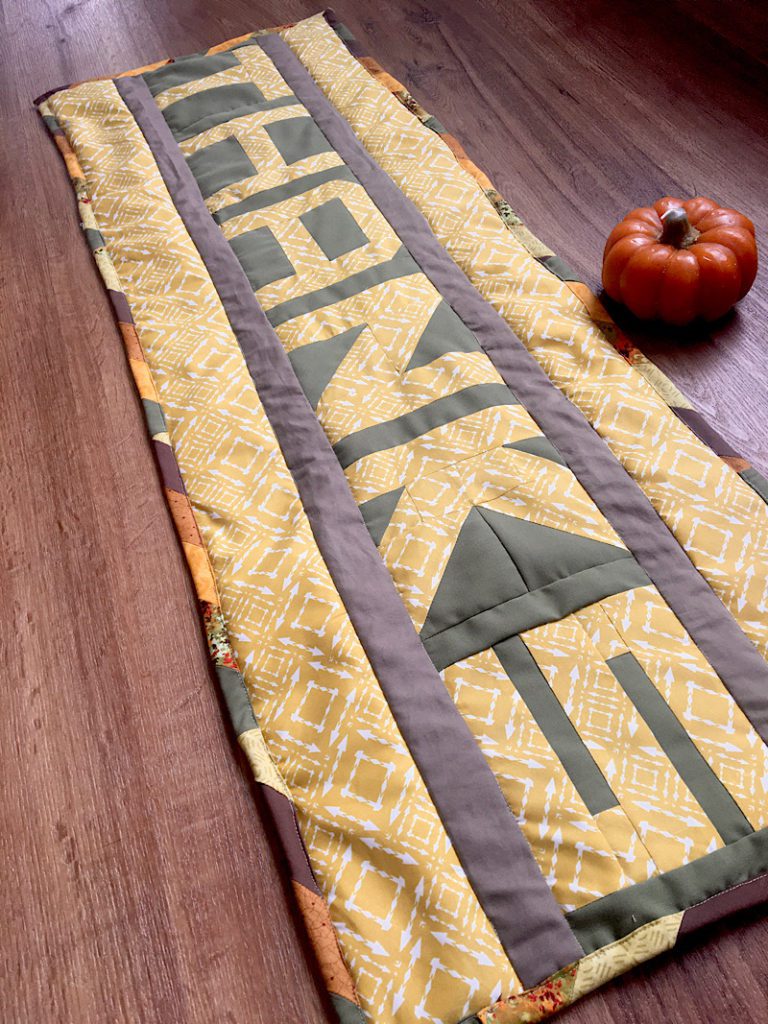
To change the length of this quilt, simply add space between each letter, and add or remove space before and after the word “THANKS”. You can also adjust the width to make it fatter or thinner if you want by adjusting the thickness of the border strips.
If you want to make your quilt larger or shorter, the amount of fabric you will need will differ from what I have listed below.
The blue fields on the pattern = print (or main) fabric. The white fields = background fabric.
The seam allowance is the standard 1/4 inch. Each block should measure 6×6 inches when completed, before attaching them to each other.
Equipment Needed
- Sewing Machine
- Sewing Scissors
- Rotary Cutter, Mat, and Acrylic Ruler
- Iron and Ironing Board
- Quilting Pins (Or Safety pins. Or you can hand baste your quilt.)
Materials Needed
- 1/2 Yard 44 inch width Quilting Cotton for Main Print
- 1/2 Yard 44 inch width Quilting Cotton for Background
- 1/2 Yard 44 inch width Quilting Cotton for Backing
- Quilt binding (3.5 yards)
- Quilt Batting
- Matching Thread
Download The “Thanks” Table Runner Pattern
To download the cut list/pattern for this project, enter your email below.
The pattern is a 3 page PDF with labels on each block and the cutting dimensions.
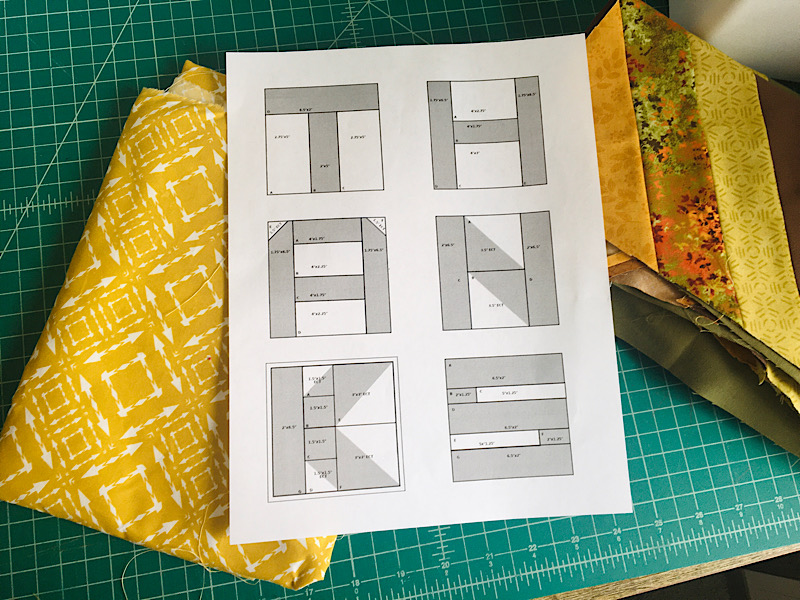
Step 1. Cut and Sew the “T”
Cut out the pieces for the “T” quilt block.
Sew the pieces together in order as indicated on the pattern. A, B, & C first. Then press your seams.
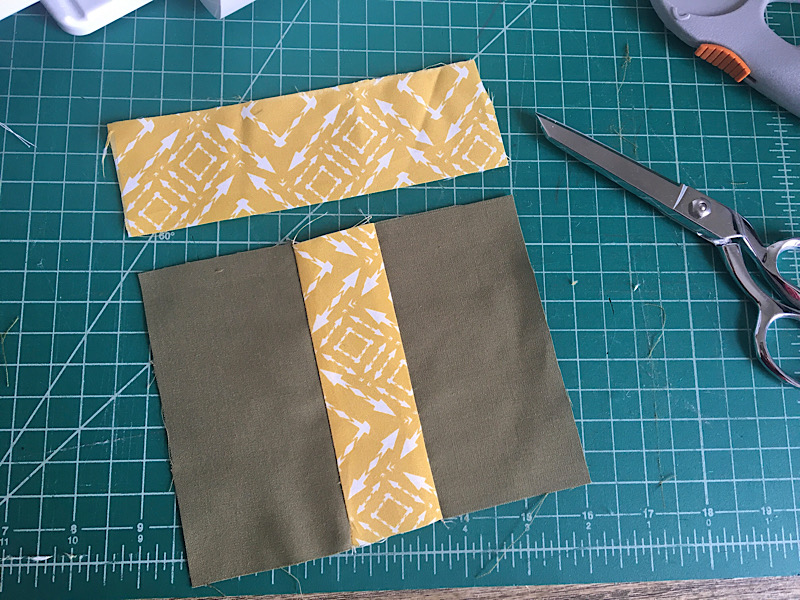
Then attach D across the top to make the “T”. Press the seams again.
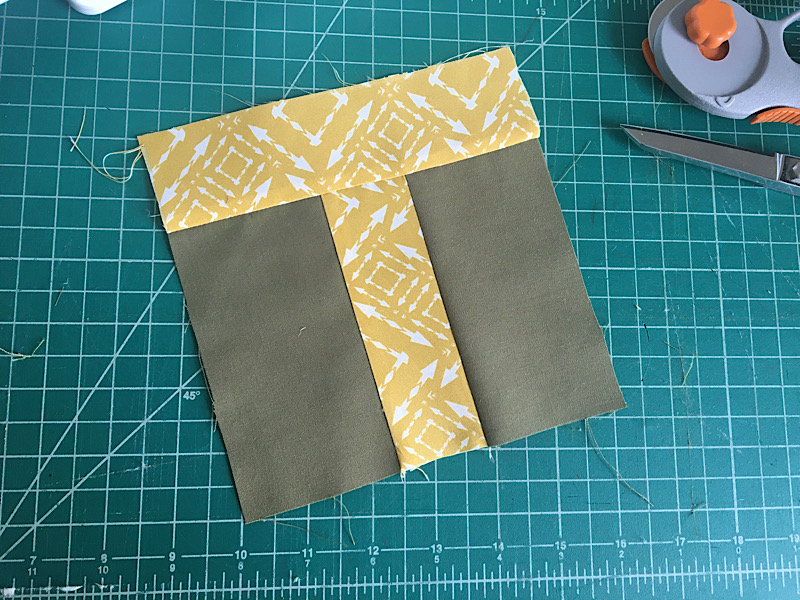
This completes block “T”. Set the block aside.
Step 2. Cut and Sew the “H”
Cut out the pieces for the “H” quilt block.
Sew the pieces together in order as indicated on the pattern. A, B, and C first, then press your seams.
Then attach pieces D and E to either side to make the “H”, and press your seams flat again.
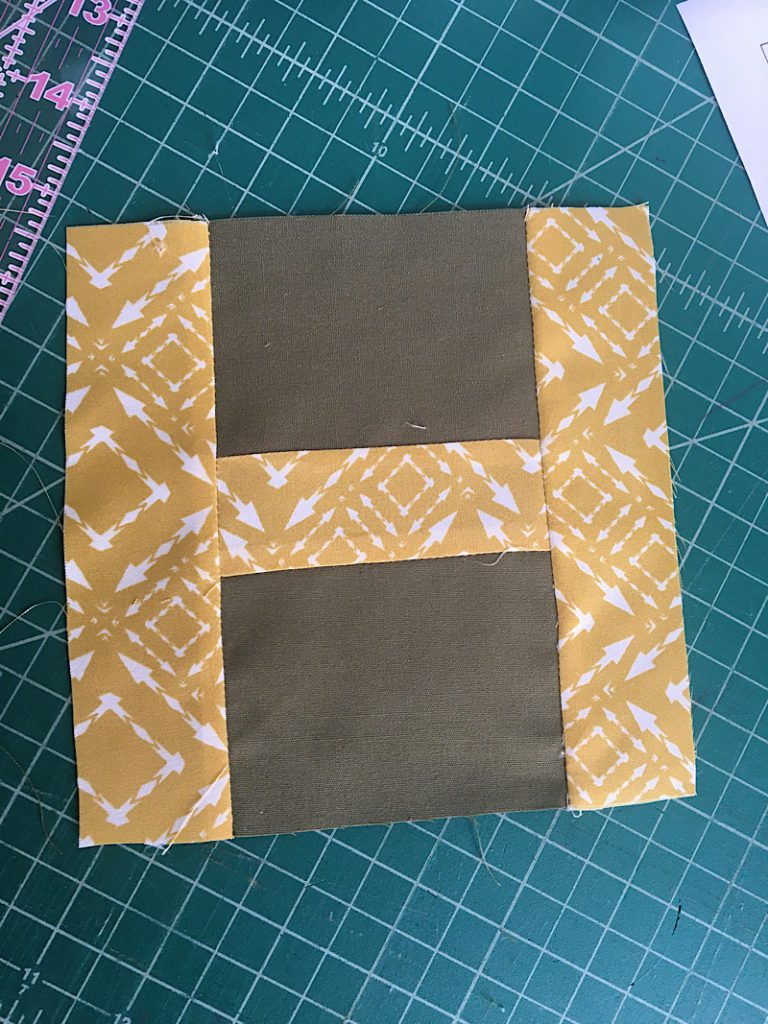
This completes block “H”. Set the block aside.
Step 3. Cut and Sew the “A”
Cut the pieces for the “A” quilt block.
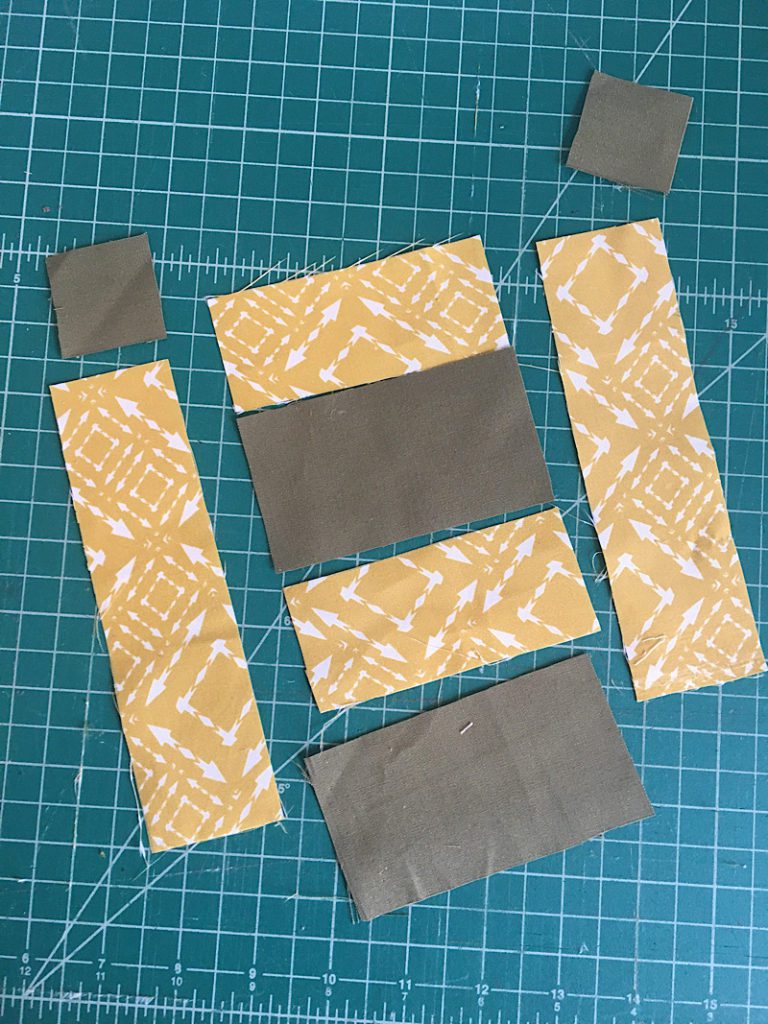
Sew the pieces together in order as indicated on the pattern. A, B, C, and D, then press your seams.
To make the Easy Corner Triangles for pieces E and F, lay the 1.5″ square in the top left corner of piece E (right sides facing), and the other 1.5″ square in the top right corner for piece F (with right sides facing).
Sew the square from corner to corner as shown in the image below. Trim the excess fabric 1/4″ away, then press the corner open.
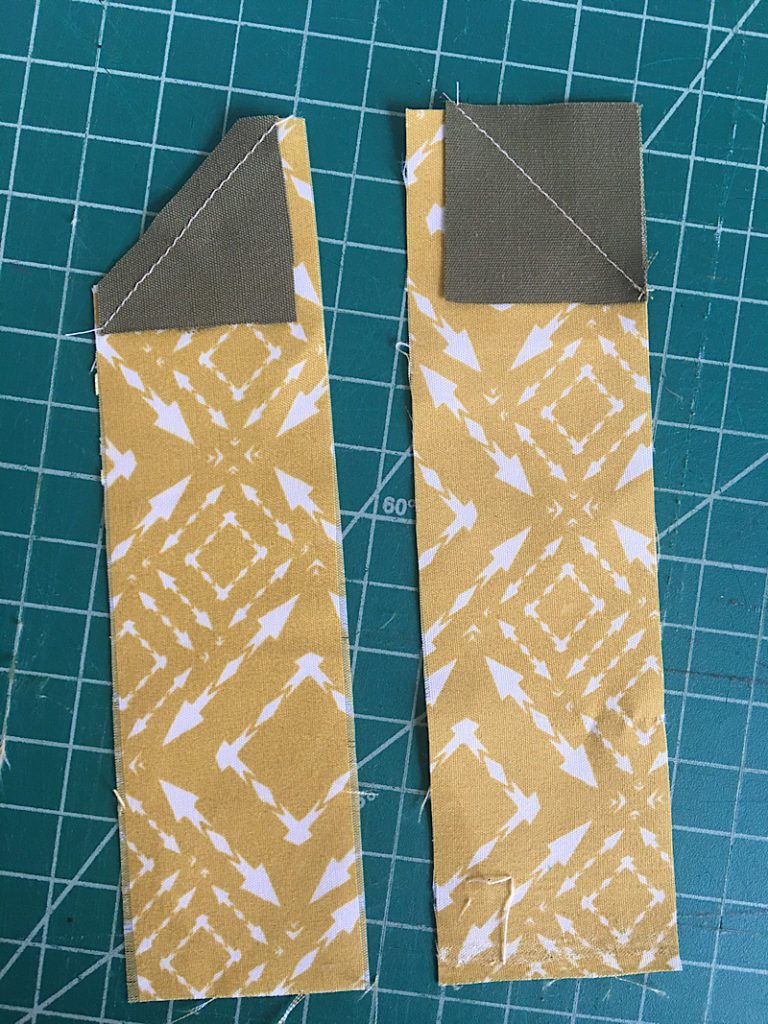
Sew piece E to the left of the block, and sew piece F to the right of the block.
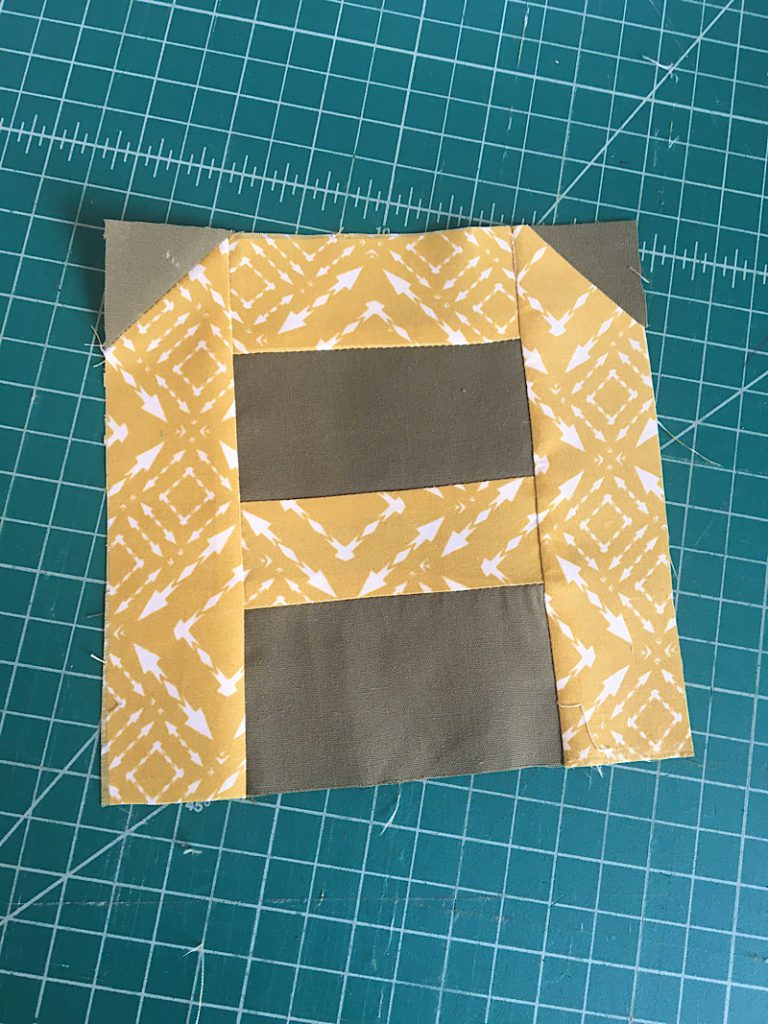
This completes block “A”. Set the block aside.
Step 4. Cut and Sew the “N”
Cut the pieces for the “N” quilt block.
To make the Easy Corner Triangle pieces A and B, lay one printed square and one background square together with right sides facing, then sew from corner to corner. Trim the fabric 1/4 inch away from the seam, and press the square open.
Sew pieces A and B together. Make sure the printed fabric is oriented correctly as shown in the pattern to make the diagonal line of the “N”.
Press the seams flat.
Attach piece C and D the either side of the block, and press the seams open.
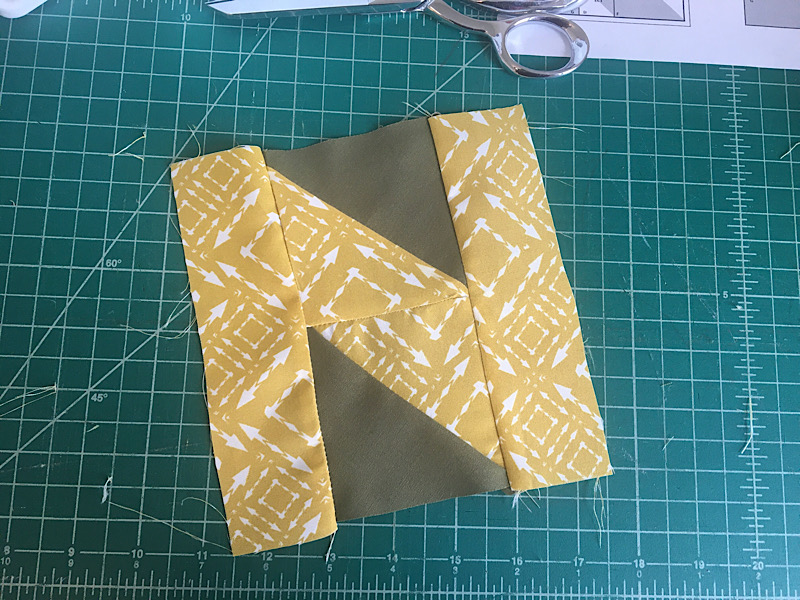
This completes block “N”. Set the block aside.
Step 5. Cut and Sew the “K”
Cut out the pieces for the “K” block.
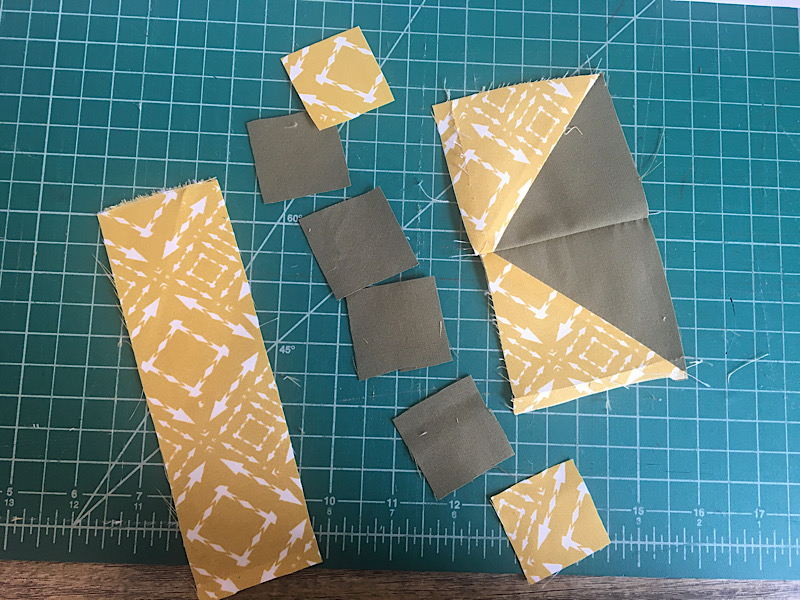
Make sure to orient all your pieces correctly as shown in the pattern for this block. This is the block with the most pieces.
Create the ECT’s (easy corner triangles) for pieces A, D, E and F. Then attach the pieces in the order indicated on the pattern.
First sew together A, B, C and D. Then press your seams flat.
Then sew E and F together, and press flat the seams.
Then, sew the A/B/C/D piece to the E/F piece. Then attach piece G to the left side, and press flat the seams.
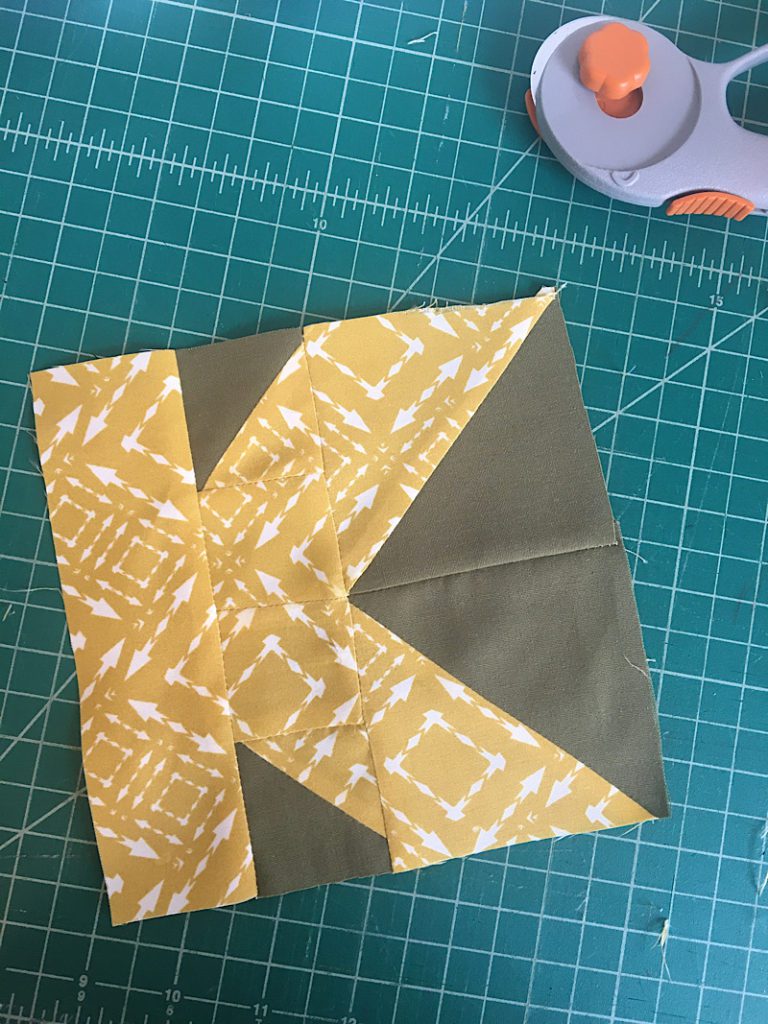
This completes the “K” block. Set the block aside.
Step 6. Cut and Sew the “S”
Cut out the pieces for the”S” block.
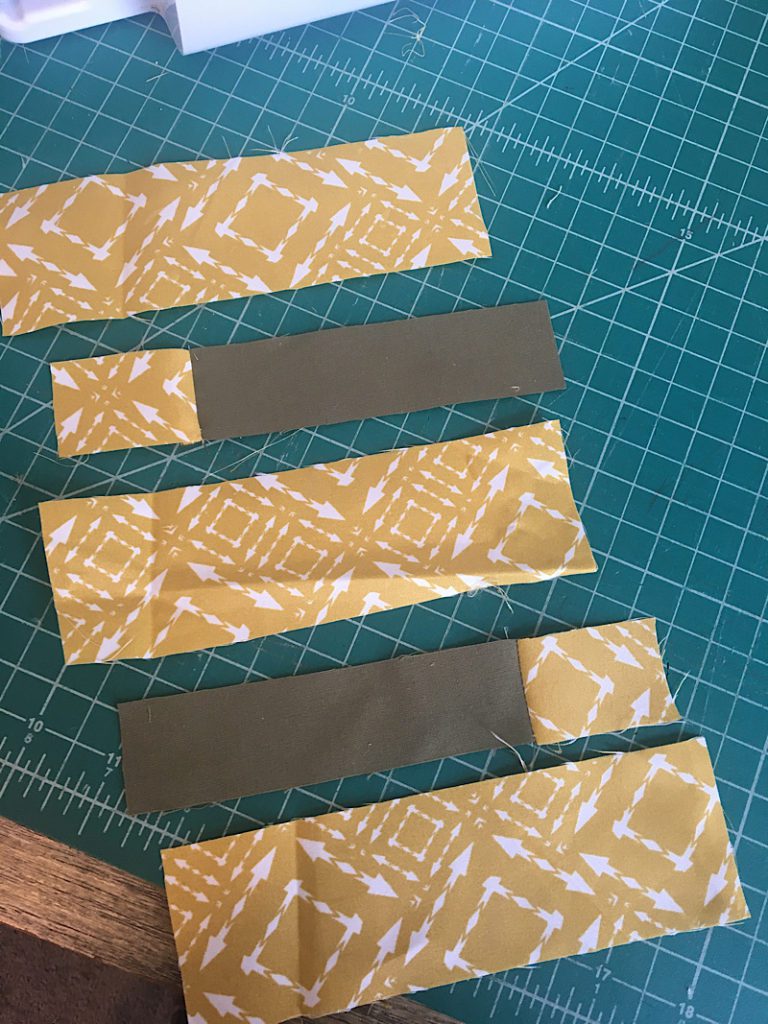
Sew together pieces A and B. Press the seam flat.
Attach piece C to the top of piece A/B. Sew piece D to the bottom of piece A/B. Press the seams flat.
Sew together pieces E and F. Press the seam.
Attach piece E/F to the bottom of D, and attach piece G to the bottom of the block.
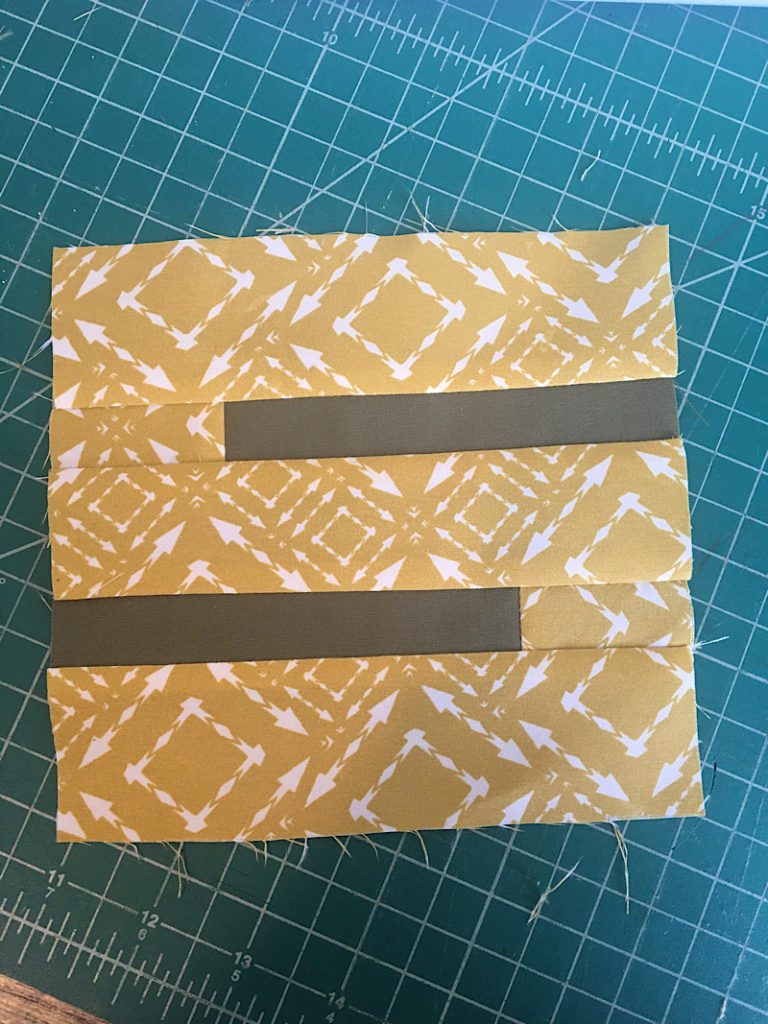
This completes the “S” block. Set the block aside.
Step 7. Cut and Sew the Spacing Strips
To space each letter out, cut 7 strips of the background fabric, 1.5″x6.5″.
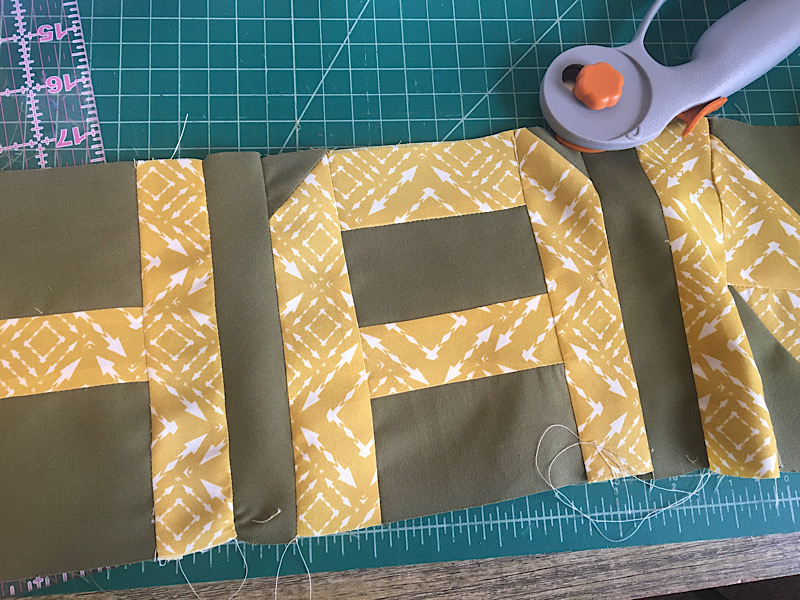
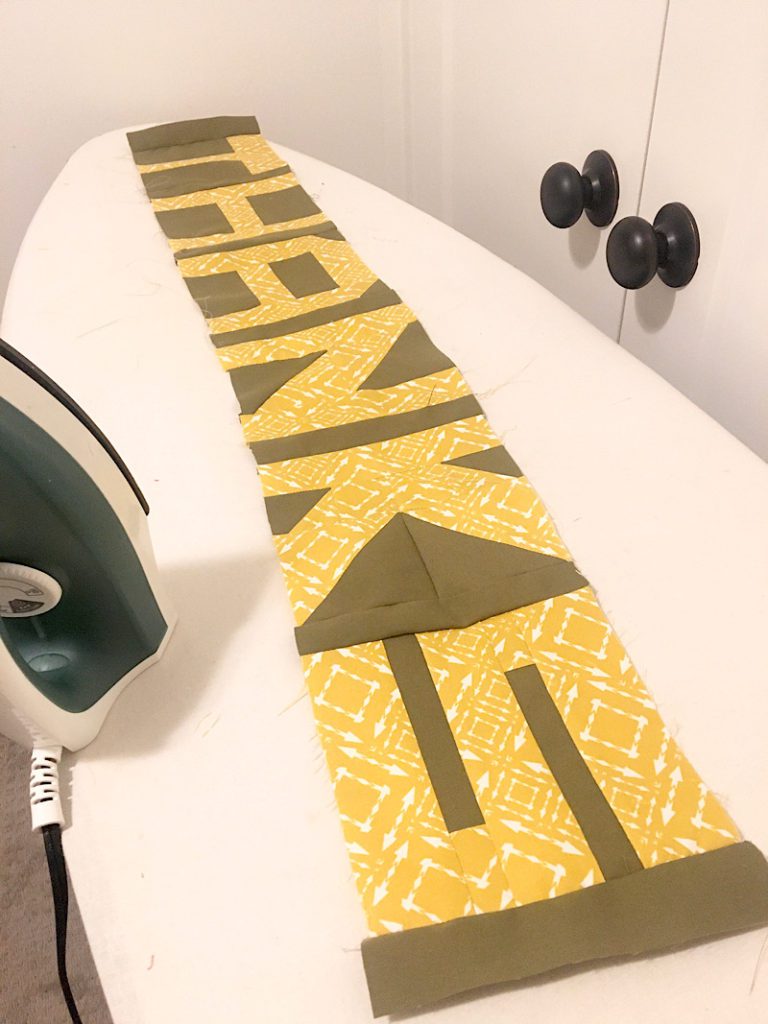
Sew the blocks together in order to spell “THANKS” with a spacing strip in between each block, as well as at the beginning and end.
Step 8. Cut and Sew the First Border
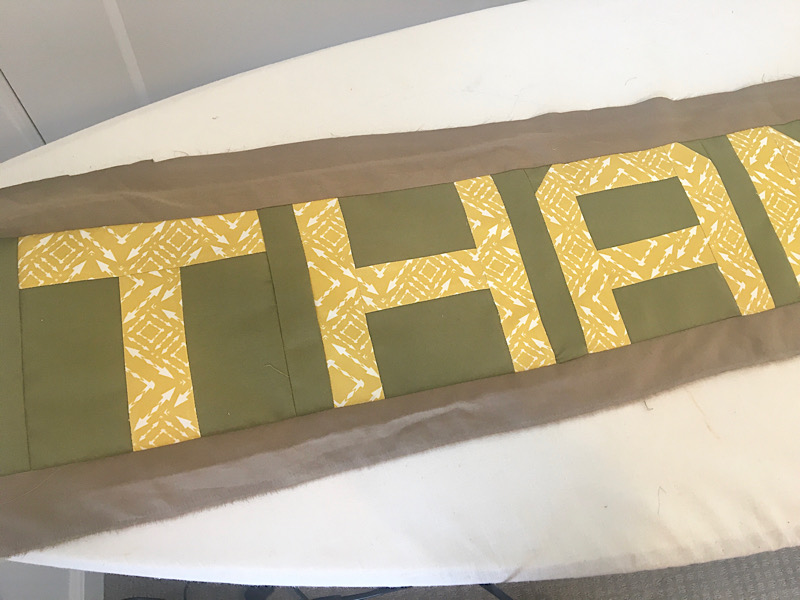
Cut two pieces of background fabric 2″x44″.
(I ran out of my background fabric since I was using scraps, so I used another color.)
Sew the strips to the top and bottom of the word “Thanks” to make the first border.
Step 9. Cut and Sew the Second Border
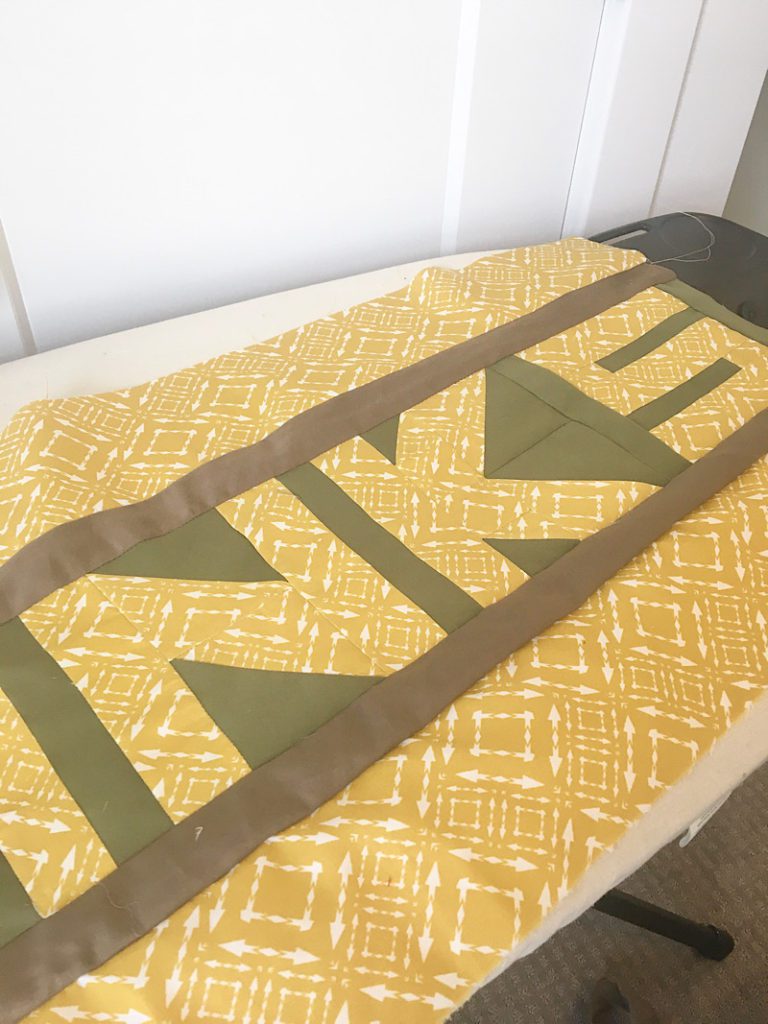
Cut two pieces of the print fabric 4″x44″. Sew the strips to the top and bottom of the runner.
Step 10. Clean up the Runner and Cut the Backing
At this point, the front of your runner is complete! It should measure about 16×43 inches.
You can now tidy up any loose threads and square it up if it needs to be. Also give it a nice last press.
Measure the completed dimensions of your runner. Cut out a piece of batting and backing that are each at least 4 inches taller and wider than the runner quilt top.
To make the quilt sandwich, lay the batting down on a flat surface with the right side down. Then lay the batting on top. Finally, lay the quilt top on top of the batting.
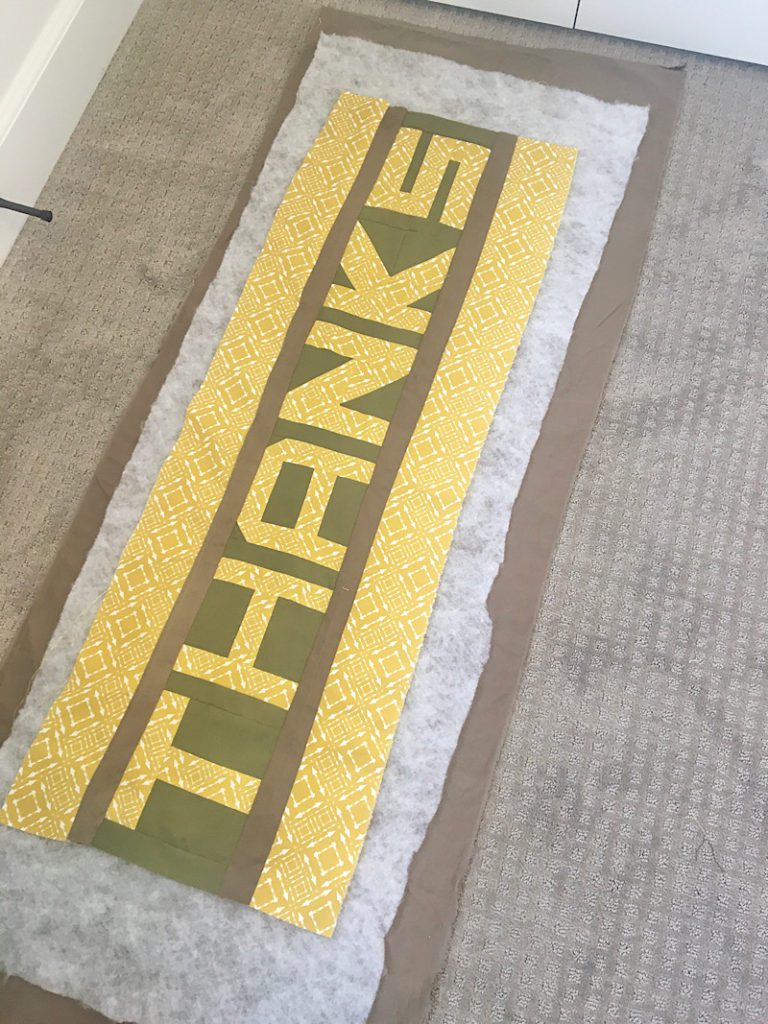
Smooth out each layer and baste the quilt sandwich with pins spaces every hand’s width or so.
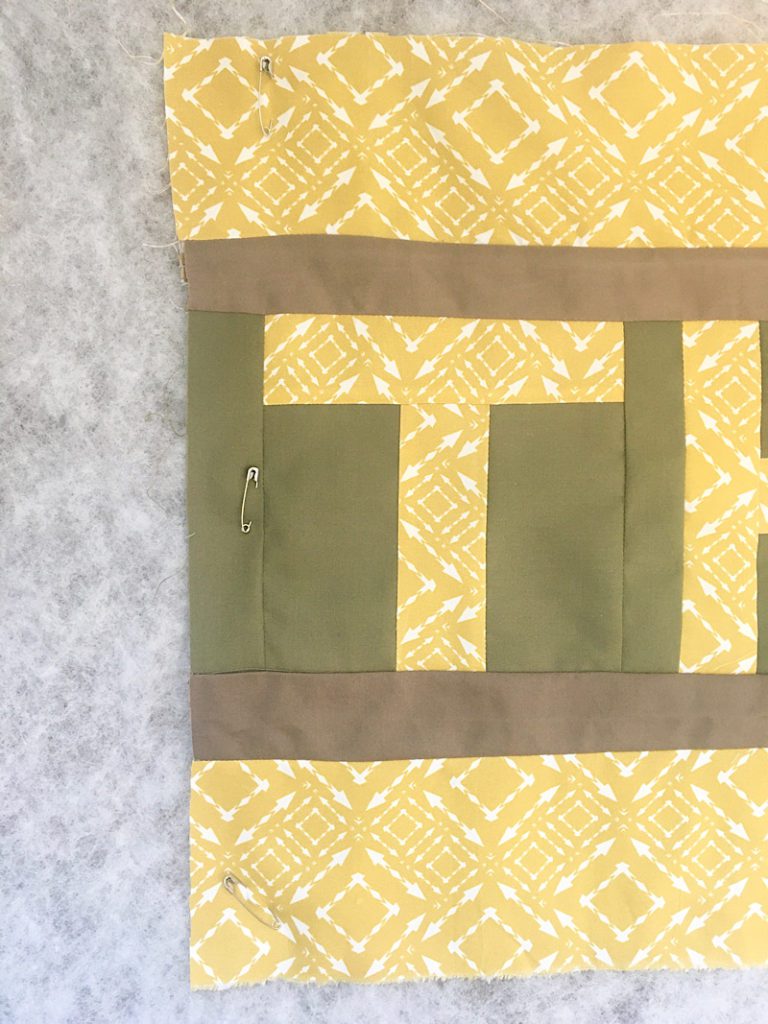
Step 11. Quilt the Table Runner
To quilt this table runner, simply sew down each of the four long seams between the border strips. (“Stitch in the ditch.”)
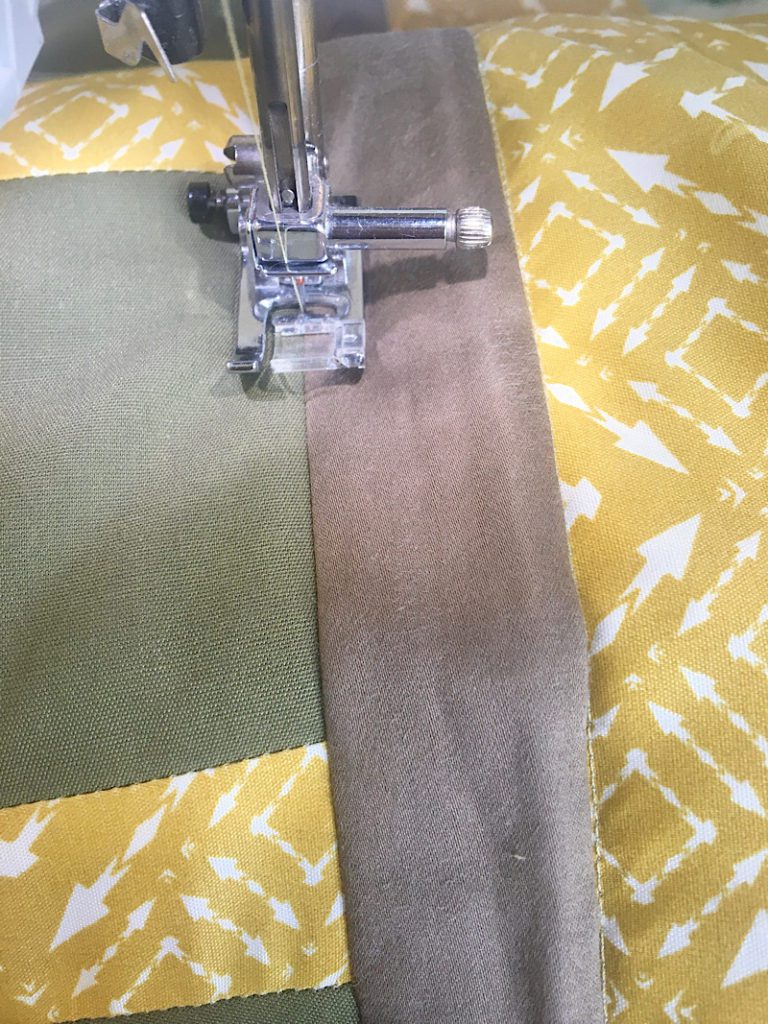
After sewing down each seam, I like to carefully sew around the perimeter to help hold it all together while I attach the binding.
After sewing, trim away the extra batting and backing.
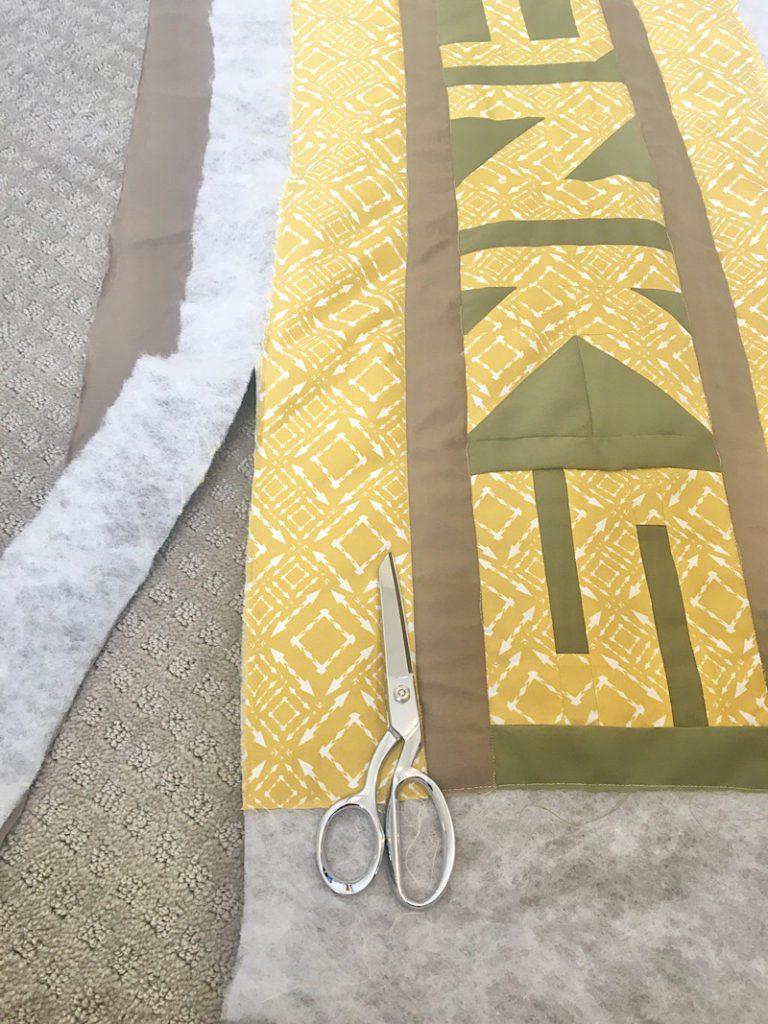
Step 12. Sew On the Binding
Sew on your quilt binding using the method of your choice.
If you are new to quilt bindings, here is a great binding tutorial video by Just Get it Done Quilts (I love her Youtube channel!)
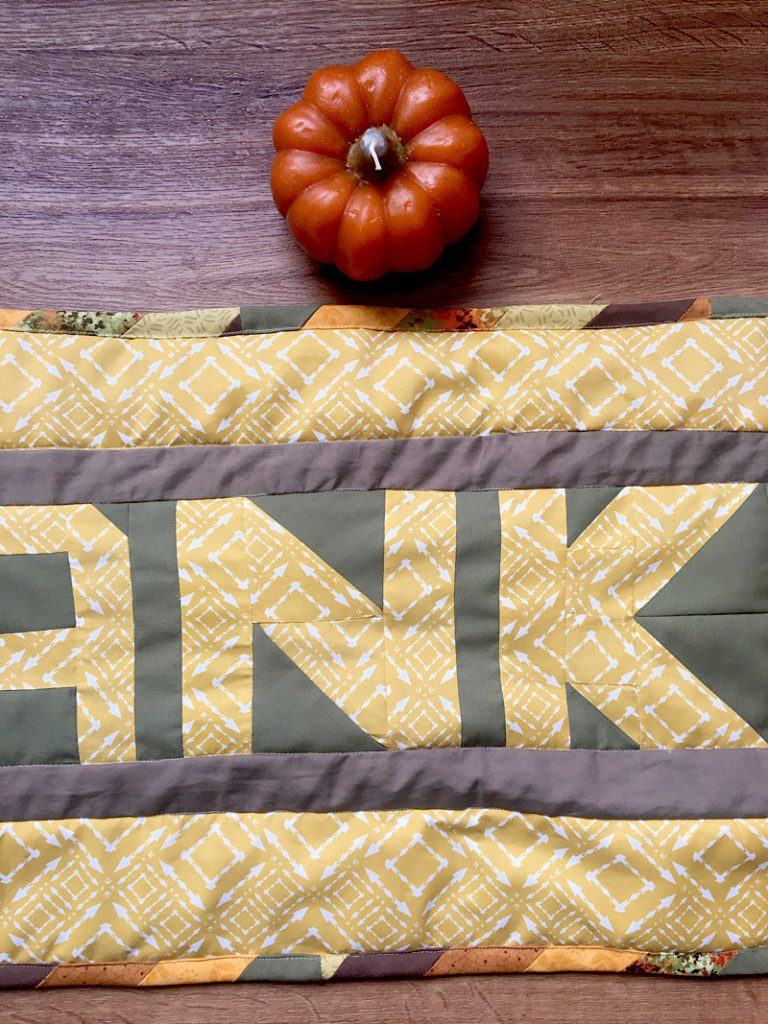
As I mentioned before, I made my binding out of old quilt blocks I got from my grandmother! So it ended up very colorful and pretty.
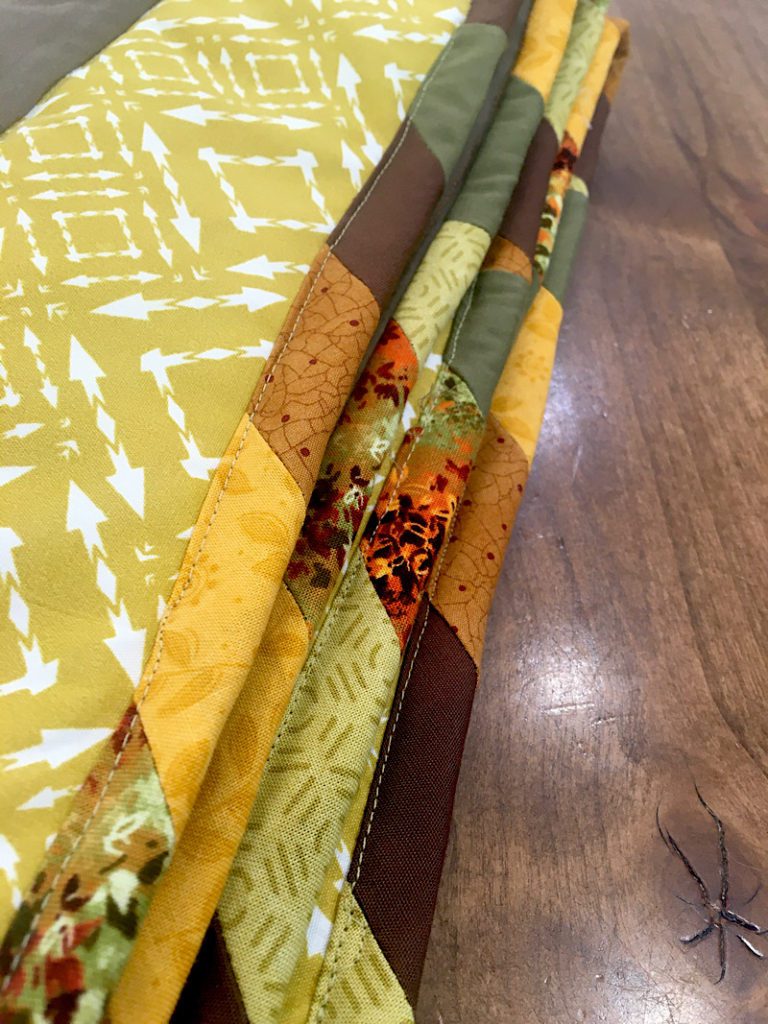
That completes the Thanks Table Runner Quilt!
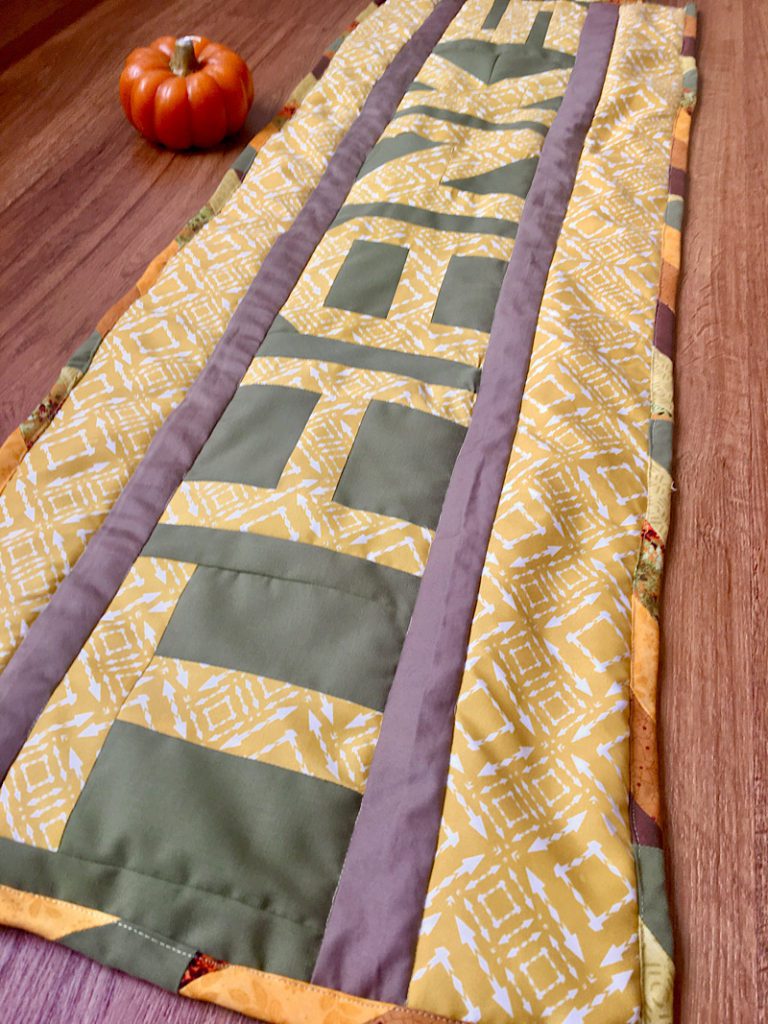
For a scrap quilt, I think it turned out pretty cute! The colors aren’t perfectly coordinated, but I am glad to use up the fabric I had laying around for this fun project.
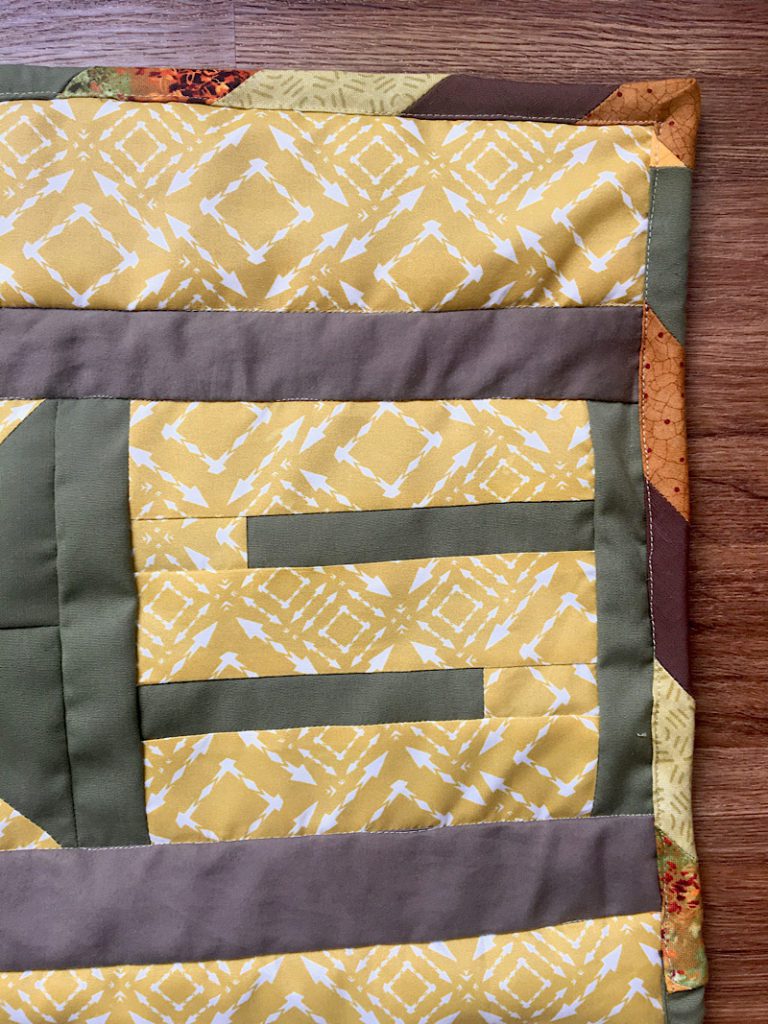
Let me know if you have any questions! Thanks for stopping by!
Be sure to pin this post for later, it helps my blog every time you share. And sign up for the email list if you haven’t already to receive your free copy of the pattern.
