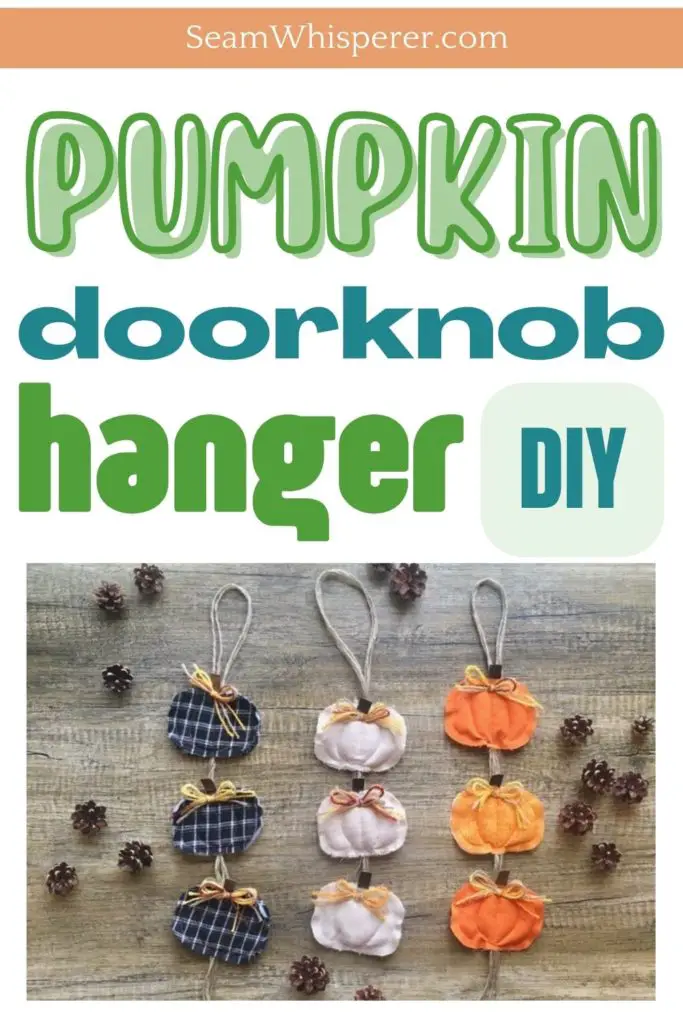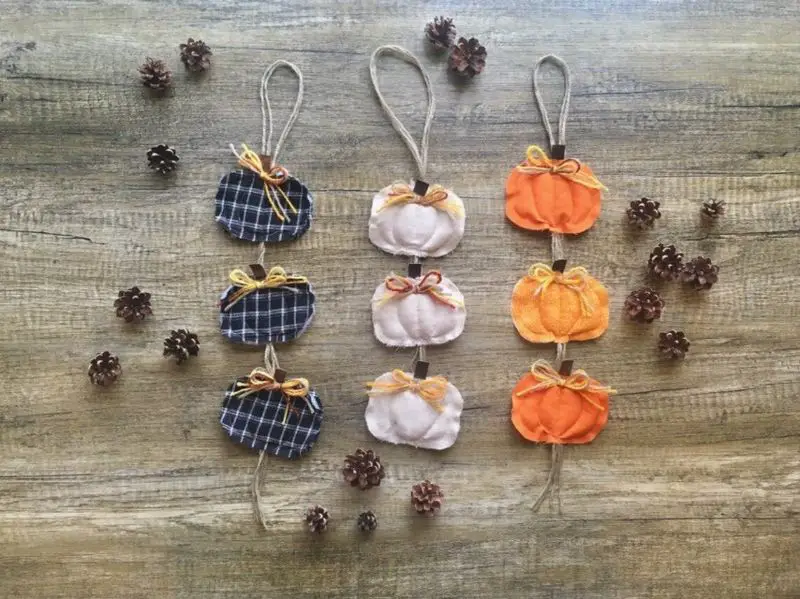
Easily spruce up your home for autumn with these DIY fabric pumpkin doorknob hangers! Made with fabric scraps, batting, and string, they are a quick and inexpensive (or free) way to add some rustic fall decor to your space. This project is great for beginners, and simple to customize with the materials you already have on hand.
This post may contain affiliate links. Read the full disclosure here.
When I was a child I remember some darling fabric doorknob hangers my mother would decorate our house with every winter. Although those decorations are long gone, I was so inspired by them that I decided to make my own for every season. And so these pumpkin door knob hangers were born!
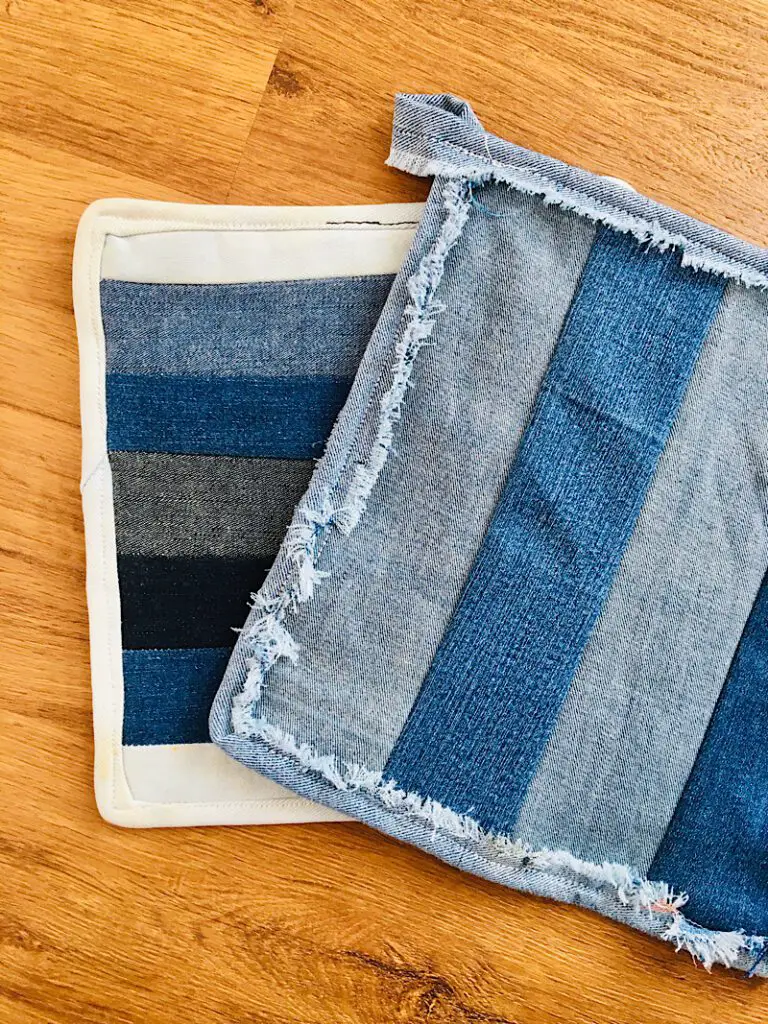
This project is perfect for using up old scraps of fabric and batting. Since there is no hemming involved (the raw edges give them a rustic look) this project is good for beginners.
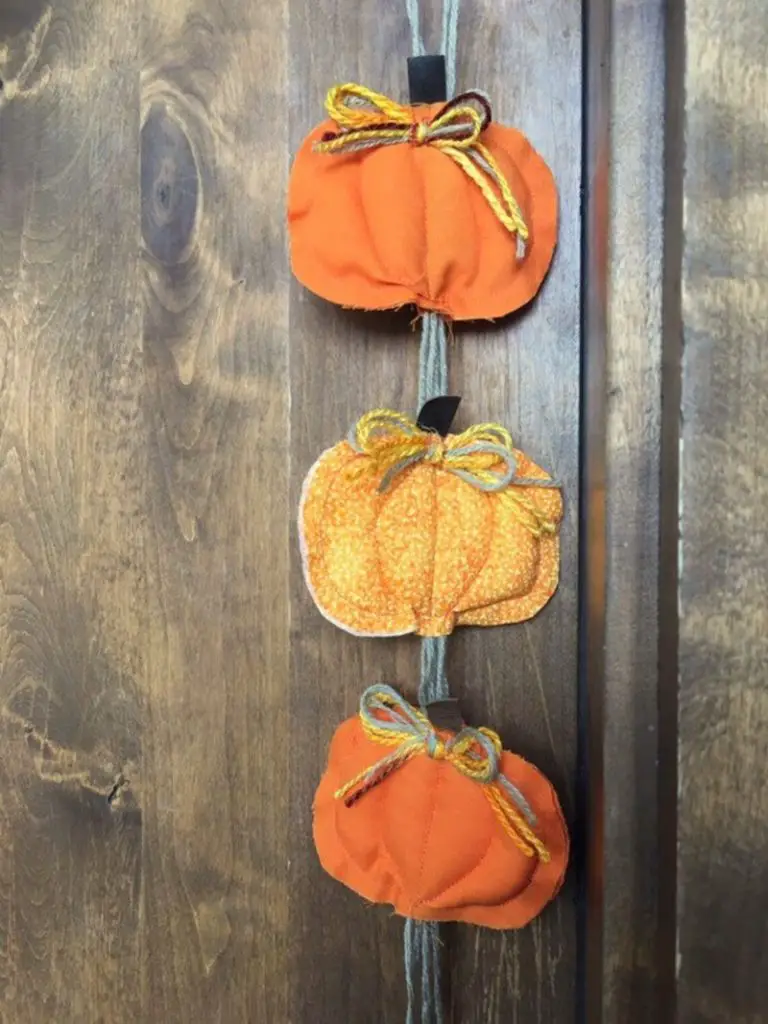
There are lots of ways to customize these pumpkin door hangers! You can experiment with using different colors for each pumpkin on the string. If you don’t have leather for the stems, you can use brown felt or brown fabric. You can also make a hanger with only 1 or 2 pumpkins, instead of three.
I love projects like this because there is no right or wrong way to make them! Just do whatever you think looks best.
Want more pumpkin projects? Take a look at my coastal inspired stuffed pumpkin pattern!
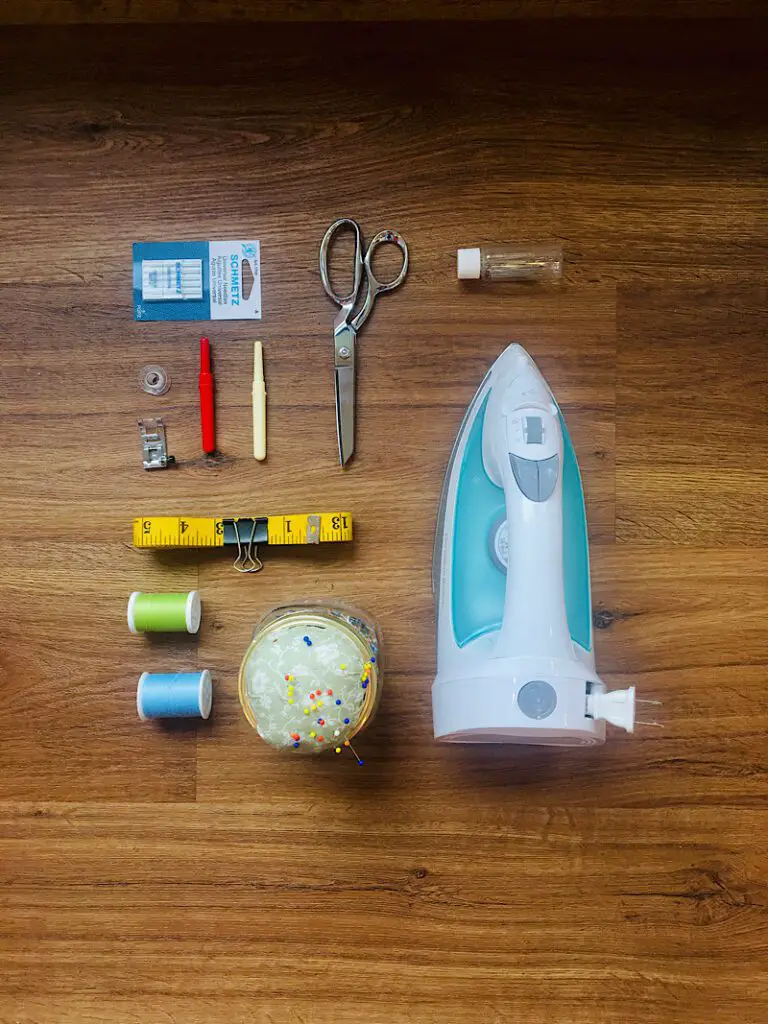
Supplies Needed
Equipment:
- Sewing Machine
- Sewing Scissors
- Sewing Pins or Clips
Materials:
- Two 4″x6″ pieces of fabric for EACH pumpkin
- One 4″x6″ piece of Cotton batting for EACH pumpkin
- One 1/2″x1-1/2″ strip of brown leather or felt of EACH pumpkin
- Matching thread (Or a complimentary color of thread)
- String, Yarn, or ribbon for the hanger (For each pumpkin you will need 10 inches plus 10 more inches PER pumpkin. So 1 pumpkin = 20 inches string. 2 pumpkins = 30 inches string.)
- String or yarn for the bows on top of the pumpkins (I mixed colors for the bows to add a little pop of color.)
Download the Pumpkin Pattern
You can make your own pumpkin shape of any size you want for this craft, or you can download the exact one I used for mine!
To download the printable PDF pattern, enter your email below.
How To Make A Pumpkin Door Knob Hanger
1. Print & Cut the Pattern
Download the pattern PDF by signing up for the email above. Then, print the pattern at 100% scaling. The pattern includes a “1 Inch Test Square” That you can measure after printing to make sure the pattern was printed at the right size.
If you would rather draw your own pumpkin shape, I recommend folding a piece of paper in half and drawing half of the pumpkin on the fold to make sure it is symmetrical. Be sure to make it small enough to fit under a doorknob so it doesn’t get stuck in a door.
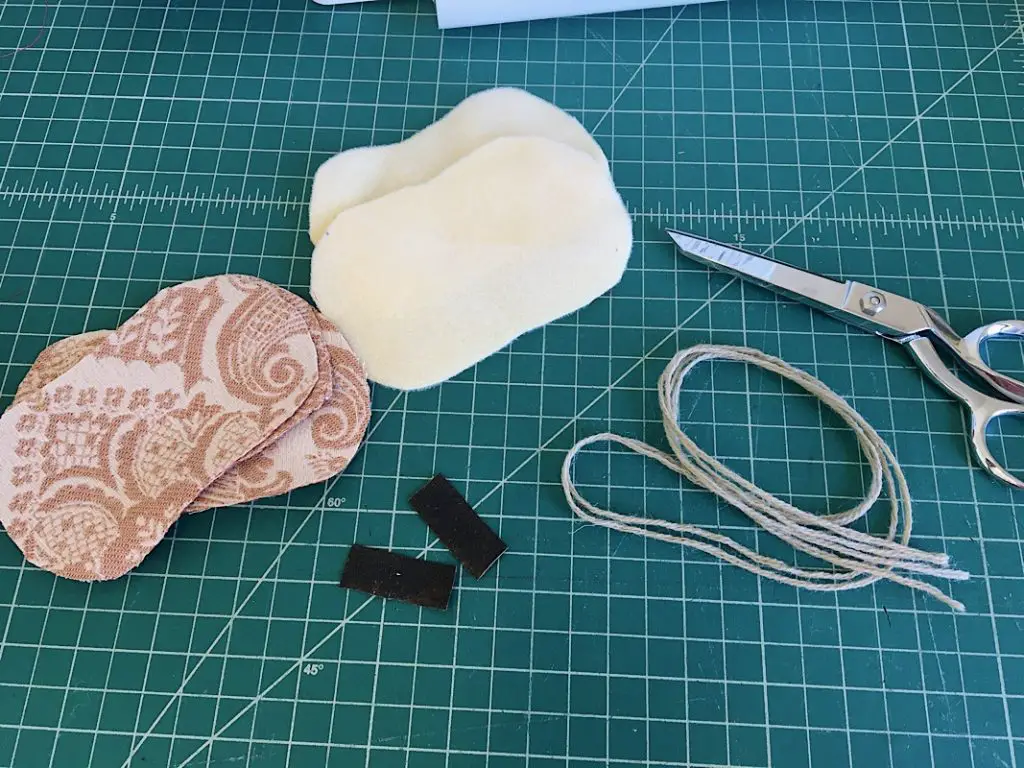
2. Cut Out The Materials
Use the pattern to trace and cut out the materials to make your pumpkins. You will need two pieces of fabric and one piece of batting for every pumpkin. You will also need one stem 1/2″x1-1/2″ in size cut from felt, leather, or fabric.
The length of the string depends on how many pumpkins you want it to have. You will need 10 inches for the loop that goes around the doorknob, and add 10 more inches per pumpkin you want.
For 2 pumpkins on the doorknob hanger, cut your string to be 30 inches long. I cut two strings to use side-by-side since mine was a little it thin. You could also use a flat ribbon instead.
You will also need some string to make bows with to sew on the pumpkins at the end.
3. Layer and Pin the First Pumpkin
You are going to sew your pumpkins together with the string going straight through them. This makes your doorknob hanger look cute from both sides.
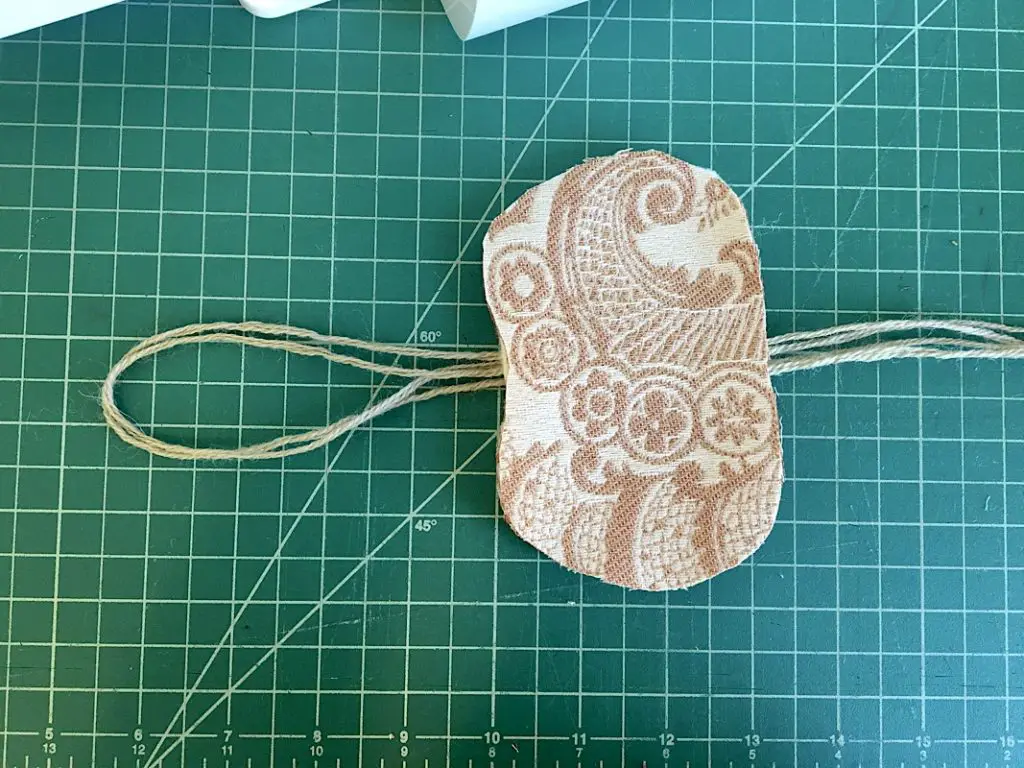
Fold your long string in half, and lay it on top of one piece of fabric that has the wrong side facing up. Make sure that about 5 inches of the string loop is coming out from the top of the pumpkin.
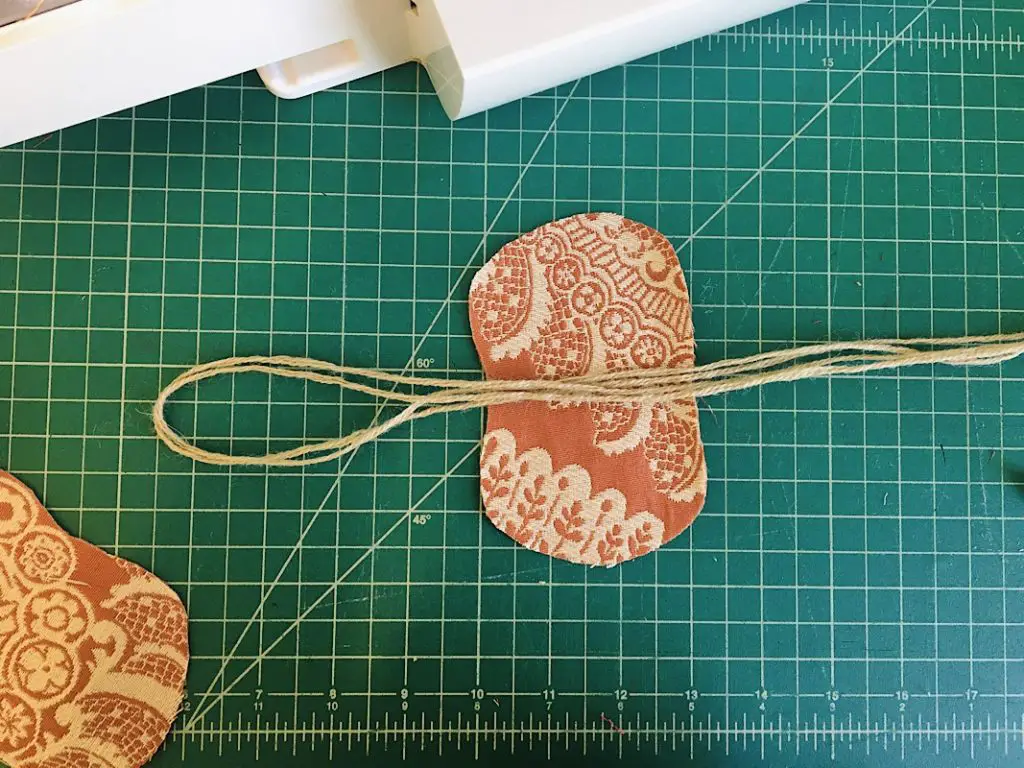
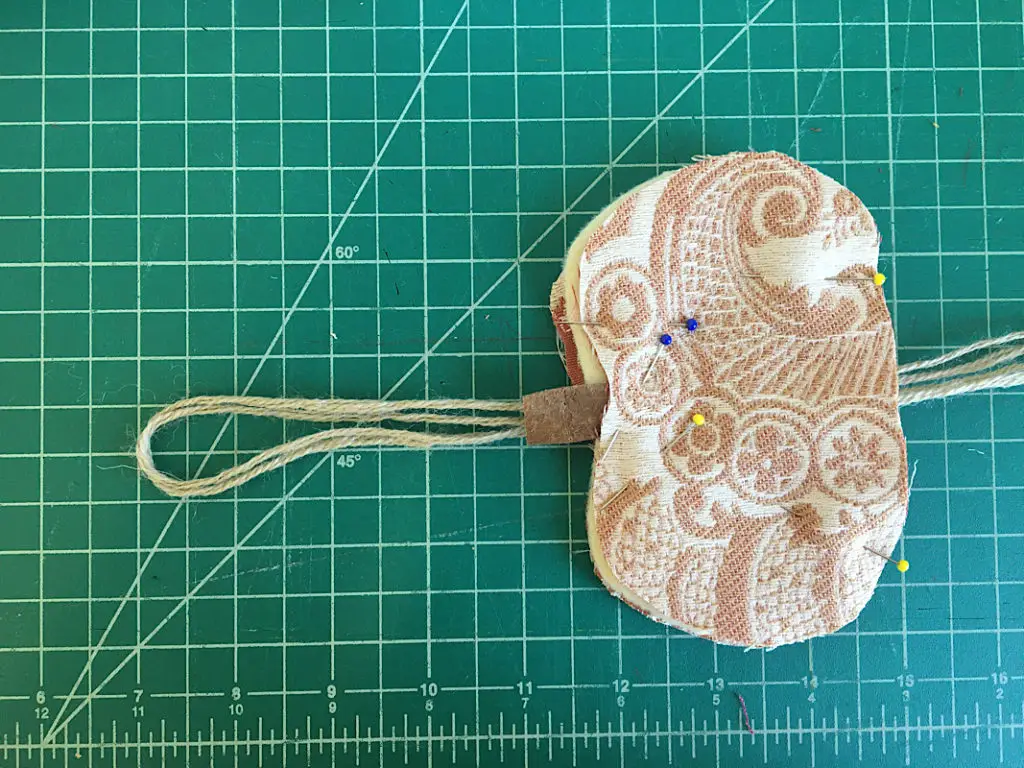
Then, lay the batting and the second piece of fabric on top of the string. Make sure the fabric has the right side facing out. Pin around the pumpkin and string to hold it in place.
At the top of the pumpkin, slide in the leather stem piece and pin it in place.
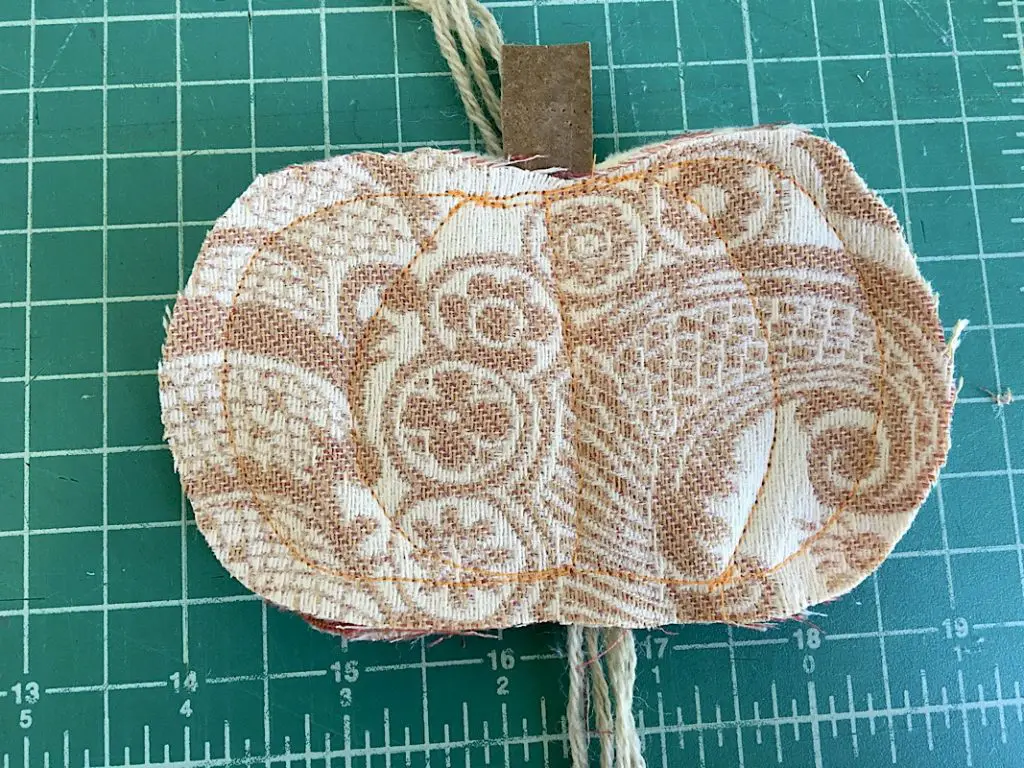
4. Sew the Pumpkin
Carefully sew around the perimeter of the pumpkin with about a 3/8 inch seam allowance. Make sure that the strings stay in place at the top and bottom of the pumpkin as you sew through them, as well as the leather stem. Make sure not to sew through any pins.
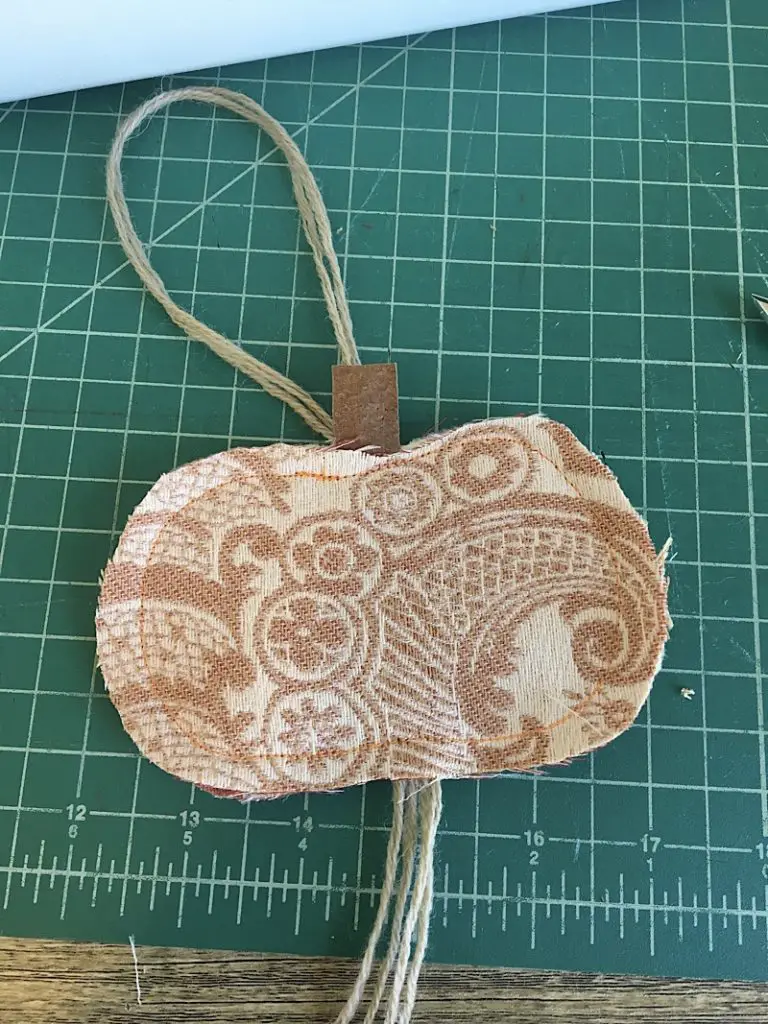
After sewing the perimeter, you can trim the edges a little bit to clean them up if you need to.
You can also sew some curved lines down the middle and two sides of the interior of the pumpkin to make it look more real.
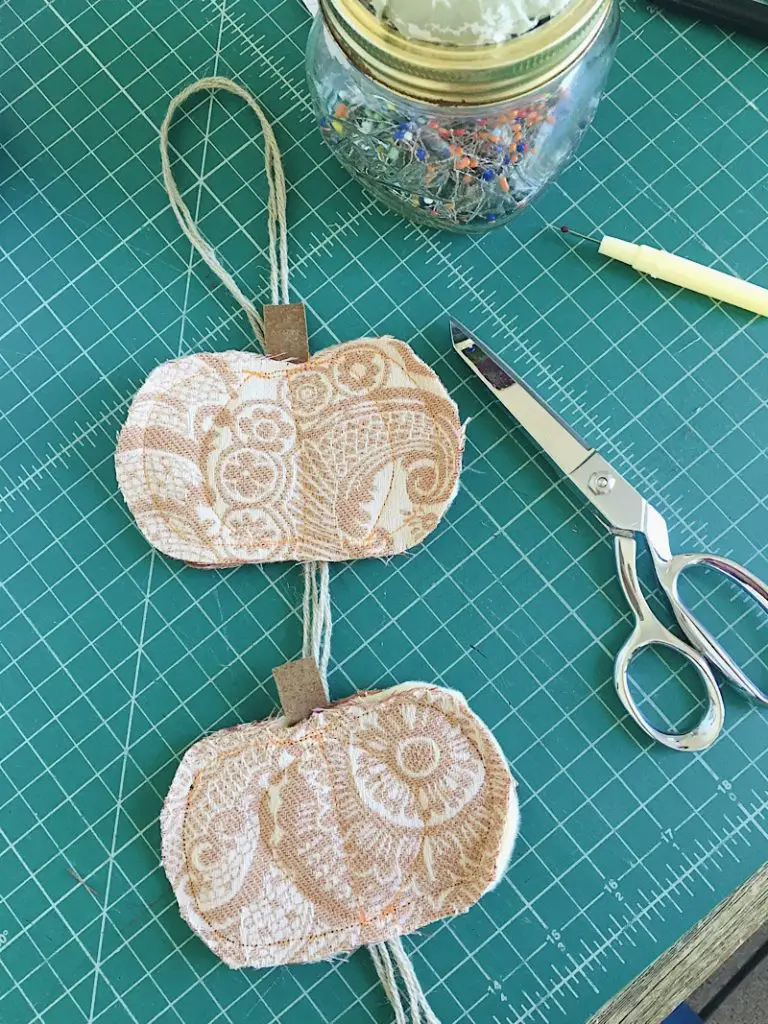
5. Sew on the remaining pumpkins
Repeat these steps with the next pumpkin. Line up the fabric a few inches below the first one and layer it, pin and sew.
6. Add the Bows
When you have sewn all the pumpkins to the string, tie some bows and sew them to the tops of the pumpkins under the stems. Be careful not to sew through the bow’s knot, you may break your needle. Sew two lines on both sides of the knot.
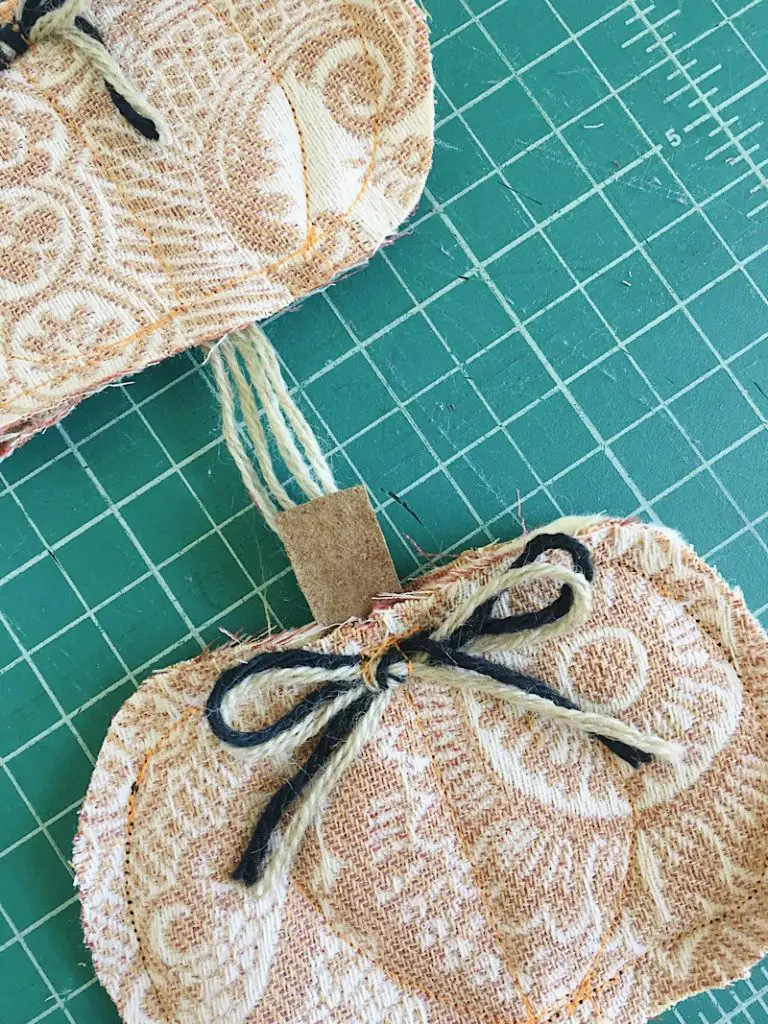
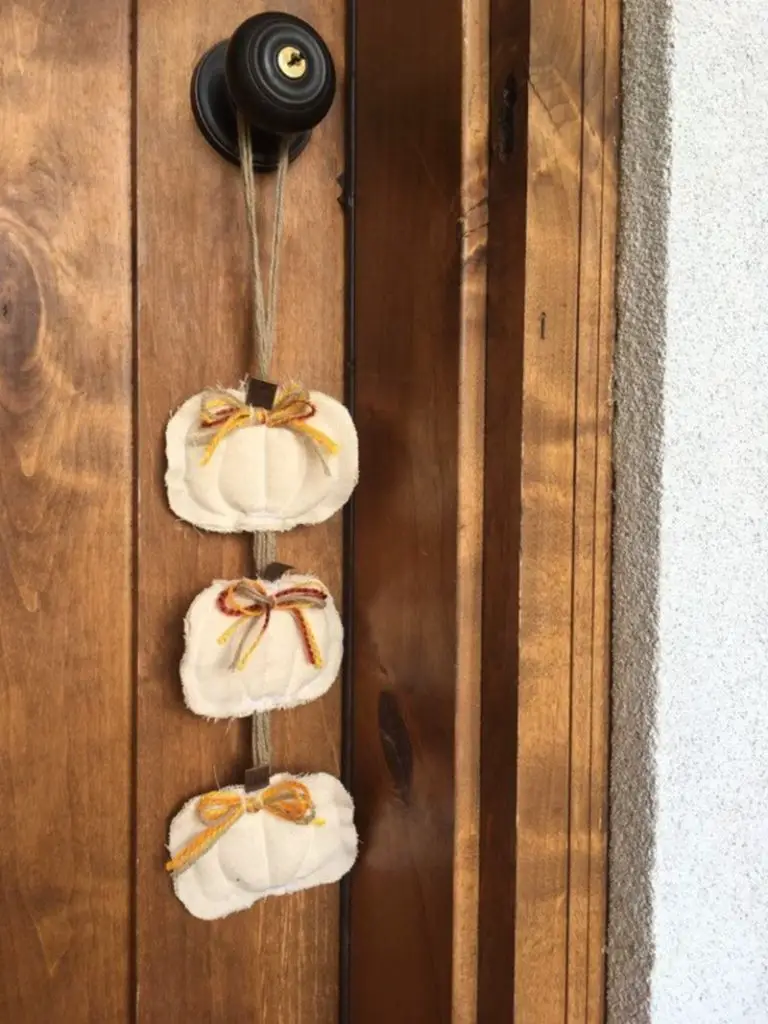
And you’re done!
Hang up your cute pumpkin doorknob decoration and then go make 5 more like I did!
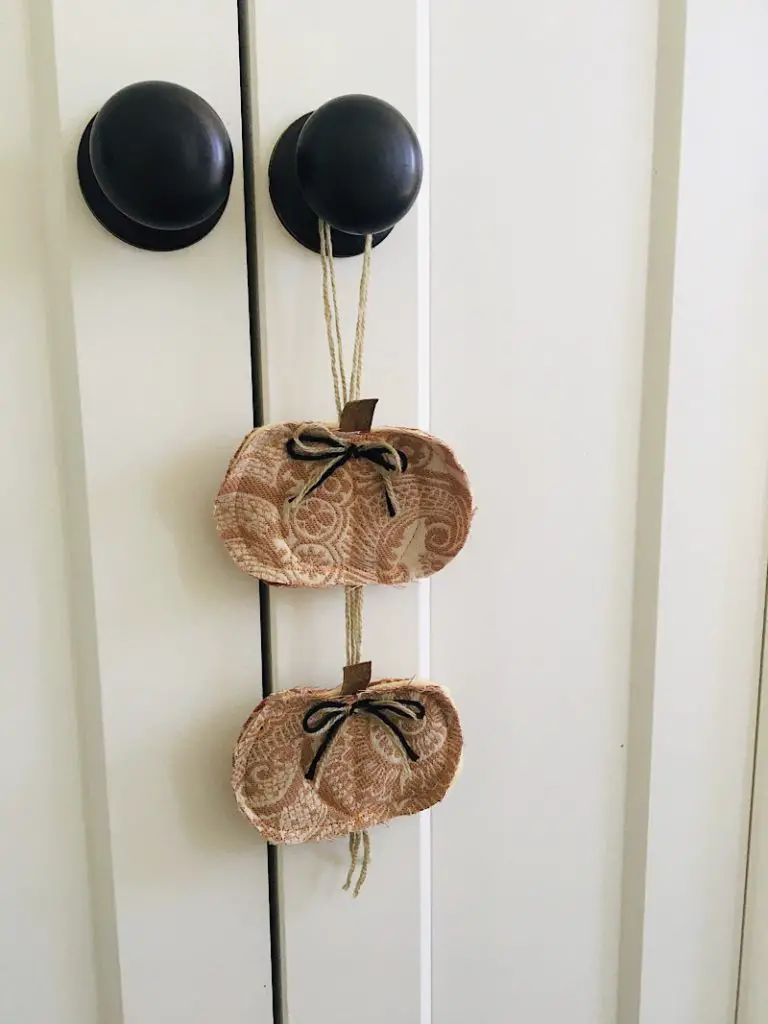
These pumpkin doorknob hangers would be great gifts or even something you could make and sell. I’ve already made several of them in different colors and sizes, they are just too cute!
If you liked this tutorial, make sure to subscribe to get my emails for more projects and sewing tips! And pin this post for later!