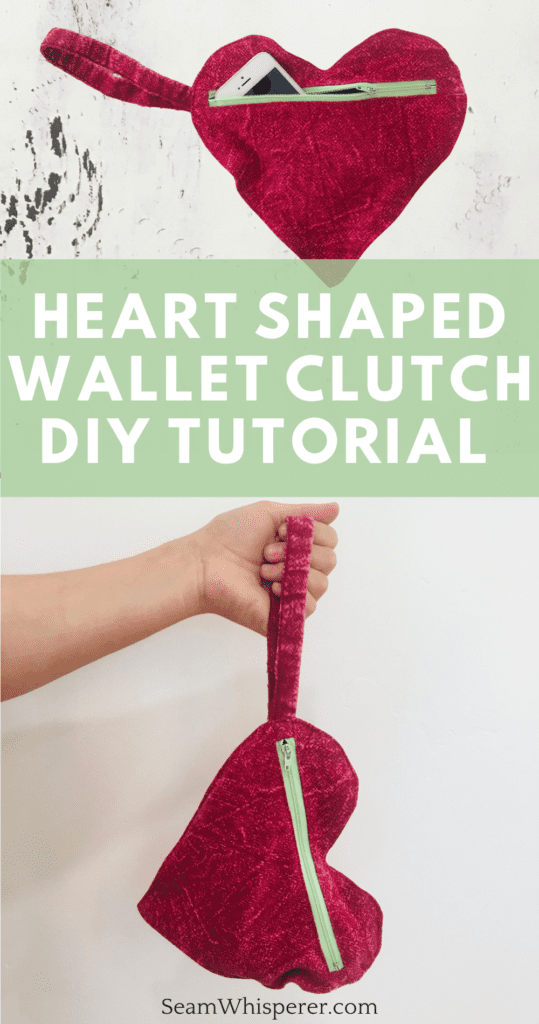
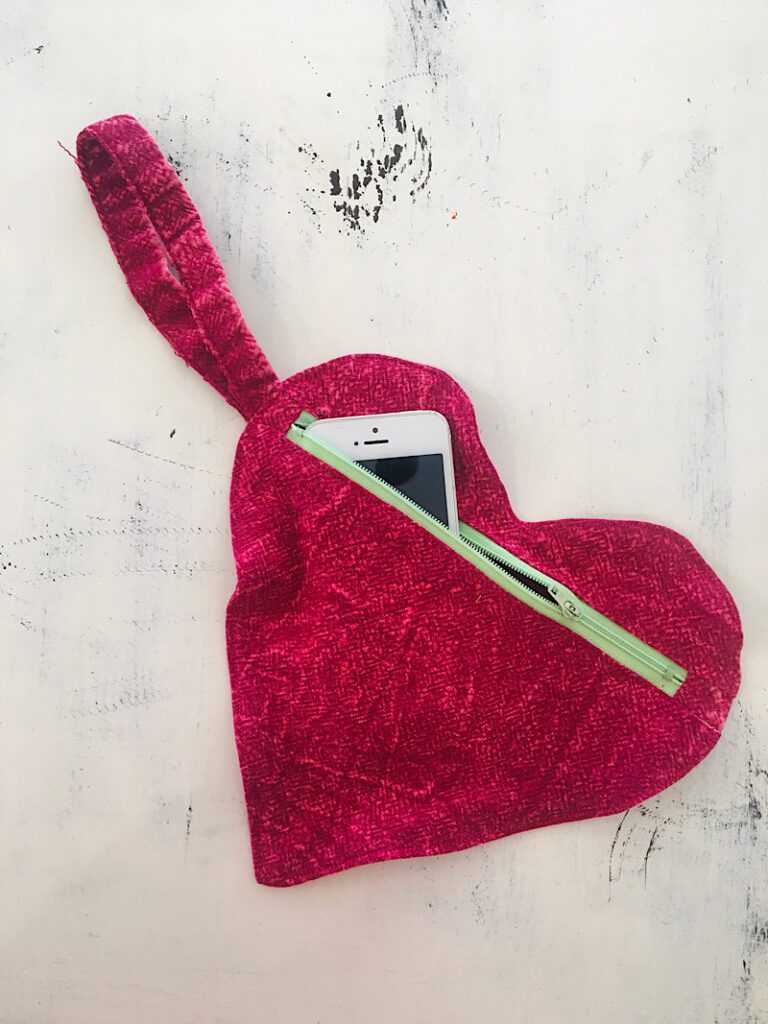
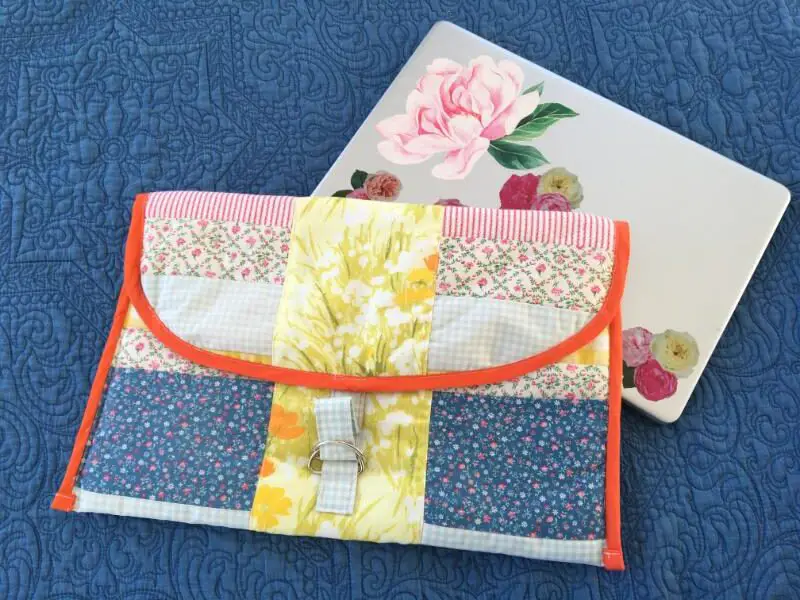
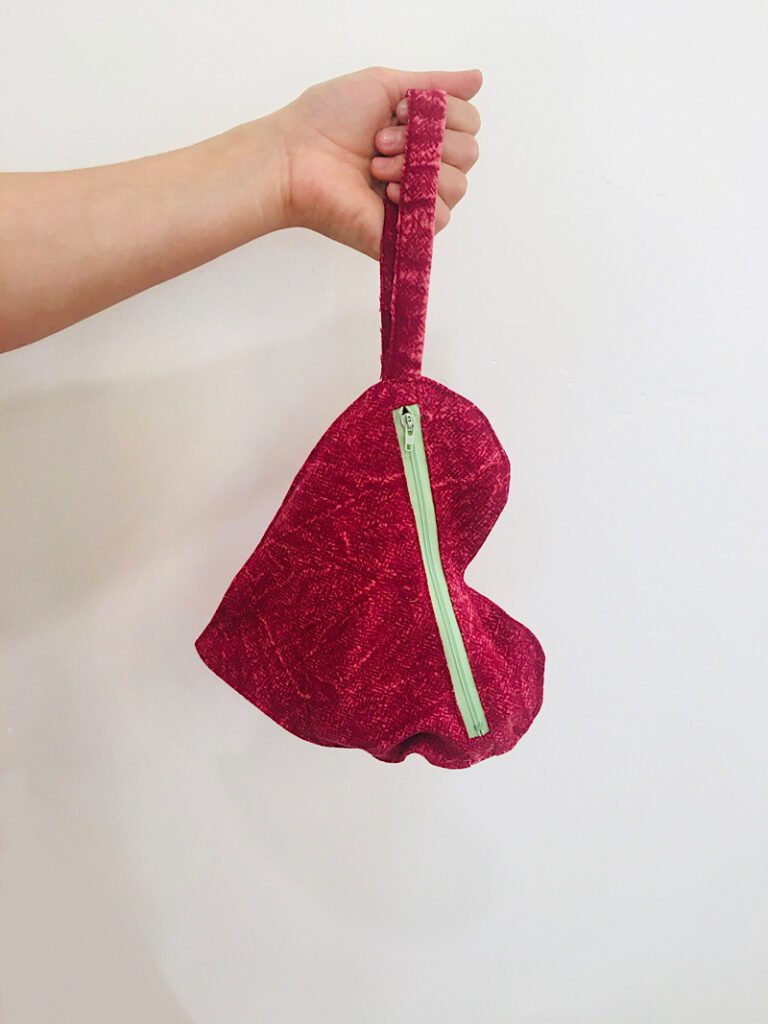
In this post I will teach you how I made an adorable little heart shaped purse, perfect for keys, a cell phone, and chapstick!
After altering a dress for my close friend, I had a bit of this really pretty red acid washed denim material left over! I thought it would make a stylish Valentine’s day project. The problem was, I didn’t have very much, so I had to make something rather small.
That’s how I got the idea for this small purse/clutch. It’s a good size for a phone, and other accessories that you need to carry with you but not so big that it’s a pain to haul around!
This is a perfect accessory for a Valentine’s Date night.
This post may contain affiliate links. Read the full disclosure here.
About This Tutorial
This heart pattern makes a little clutch that is about 9×9 inches in size, plus the strap. It is a great size for the basic things you need for a day (or night) out like cash, your phone, keys, lipstick, etc.
It also makes a sweet gift for a Valentine’s basket for your girls or teen. My daughters love toting it around with their sunglasses inside!
Supplies Needed
- Sewing Machine
- Fabric Scissors
- Sewing Pins
- Zipper Presser Foot (May not be necessary if you can move your needle over to the side of your presser foot.)
- Free Pattern Download (See Below)
Materials Needed
- 7 Inch Zipper
- 1/4 Yard Red denim, canvas, or other medium weight material
- Matching Thread
How To Download The Pattern
To download the free pattern, enter your email address below to sign up for my email list.
To print it, make sure the scaling is “Actual Size” or 100% and measure the “1 inch test square” to make sure it printed accurately.
How To Make A Heart Shaped Clutch
Step 1. Cut Out The Pattern
Print your pattern, then cut it out.
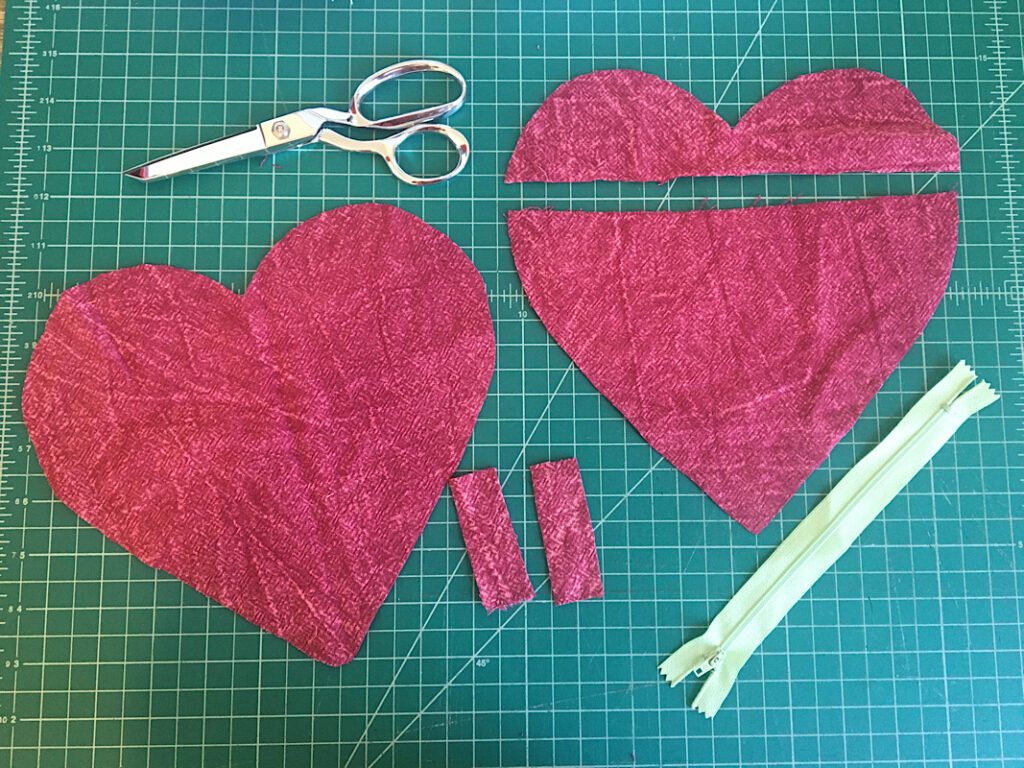
Line it up on the fabric and cut out all the pieces. There should be:
- A heart back
- the two pieces for the front of the heart
- two little rectangles
You will also need to cut a strip of fabric to make the strap. I didn’t include this in the pattern because I just used the hem of the denim for my strap, and you could also use a thick band or ribbon.
But to make your own strap you can cut a piece of material that is 4″x10″, and I will teach you how to make it later.
Step 2. Prepare The Zipper Pieces
Serge or zig zag stitch the flat edges on the two front heart pieces (where the zipper will be).
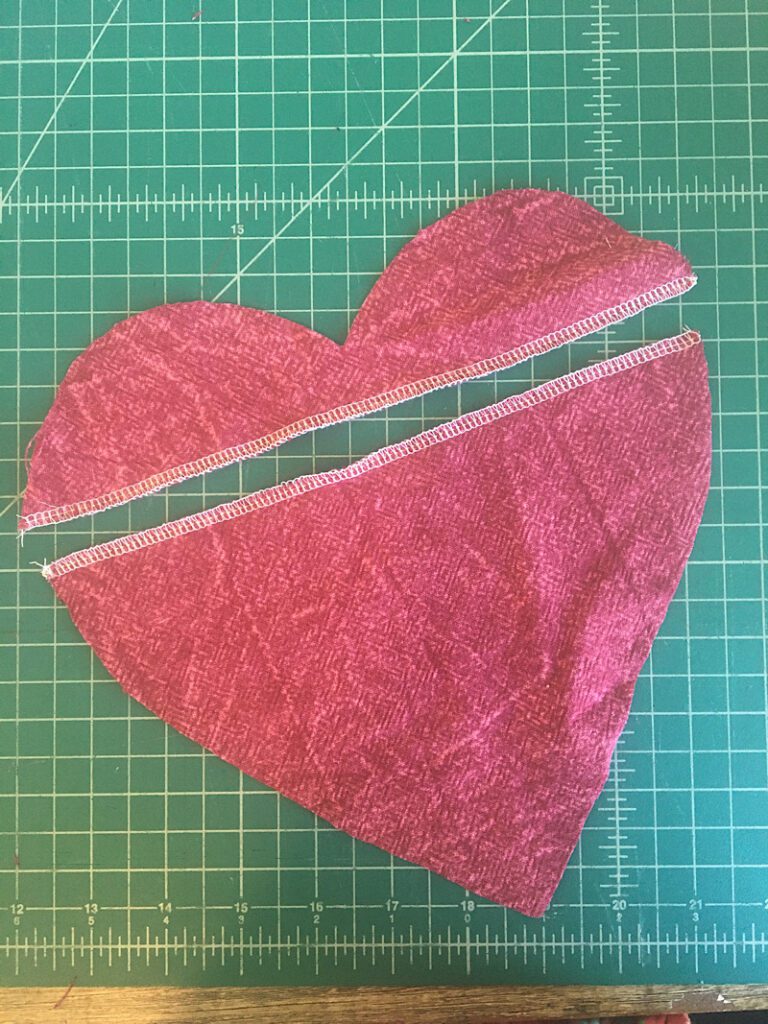
Then set these pieces aside for now.
To prepare the zipper, take one of the little rectangles and lay in on the short edge of the zipper with right sides touching. Pin it in place.
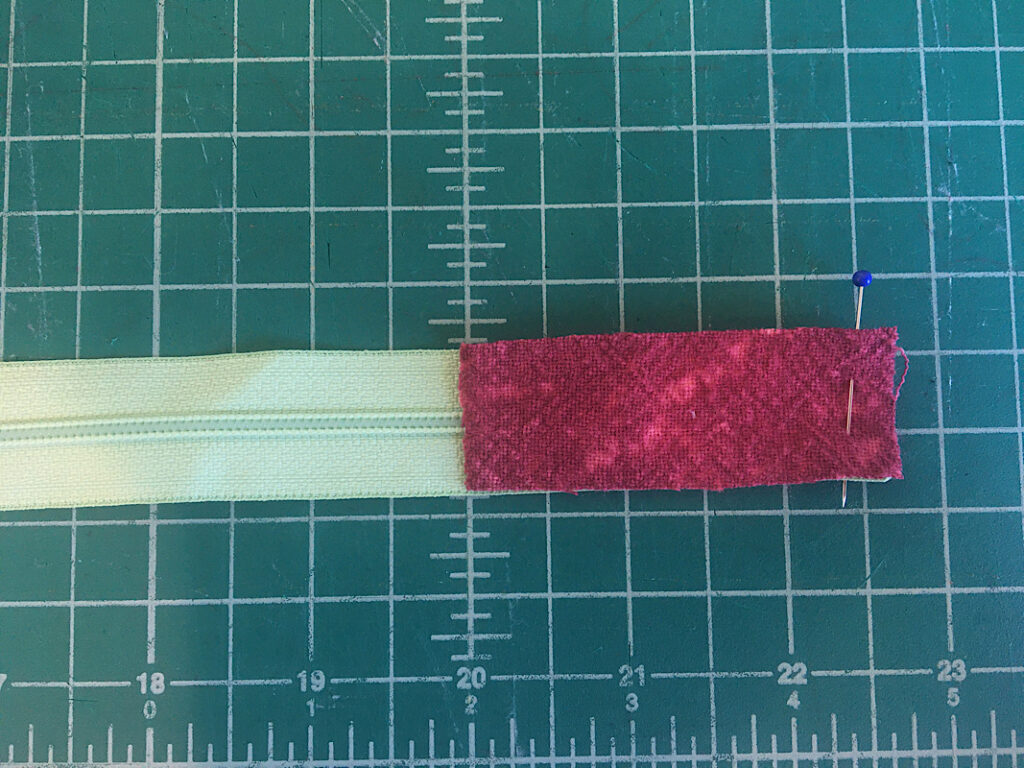
Carefully sew a line that is parallel to the short edge, as close as you reasonably can get to the metal “stop” of the zipper. I turned it over so the zipper was on top so I could see where I was sewing.
Don’t sew too close, or you might break your needle.
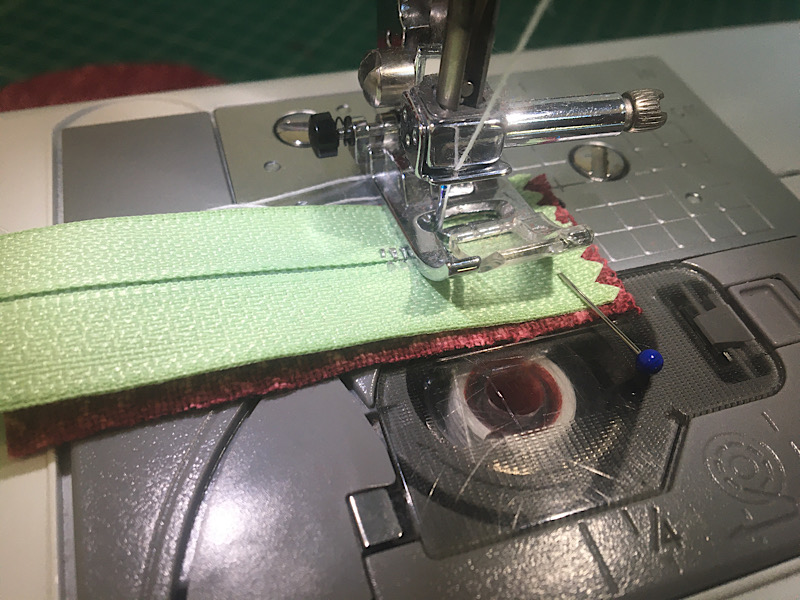
Repeat this with the other side of the zipper.
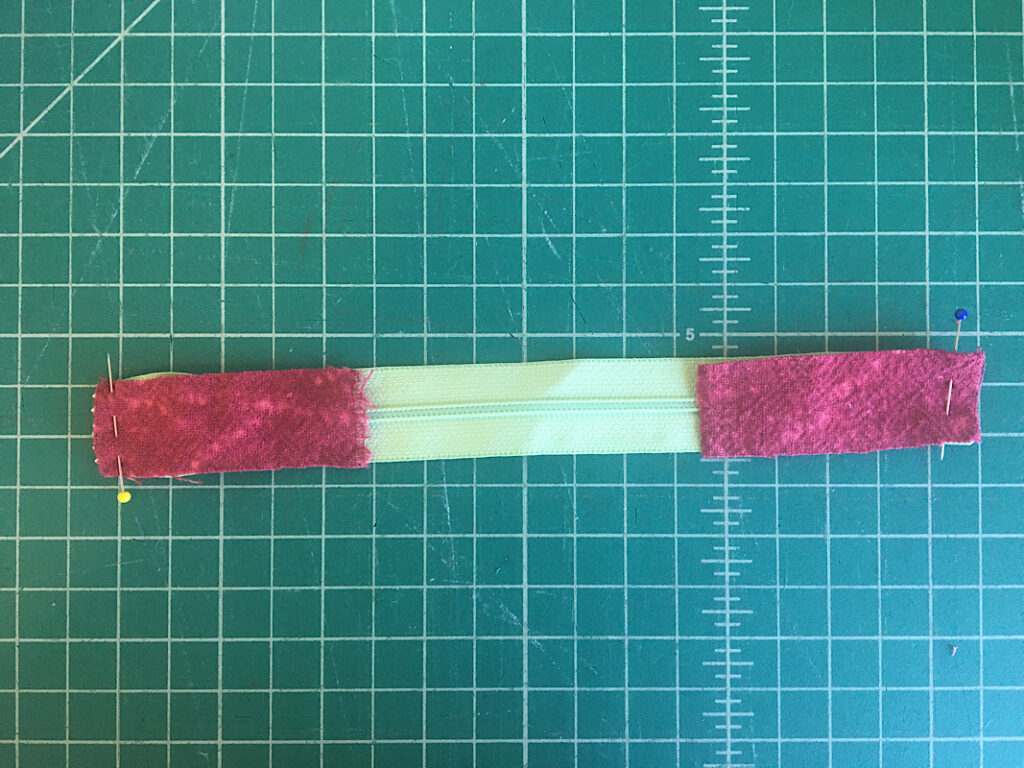
Now the zipper is ready to insert into the front of the clutch.
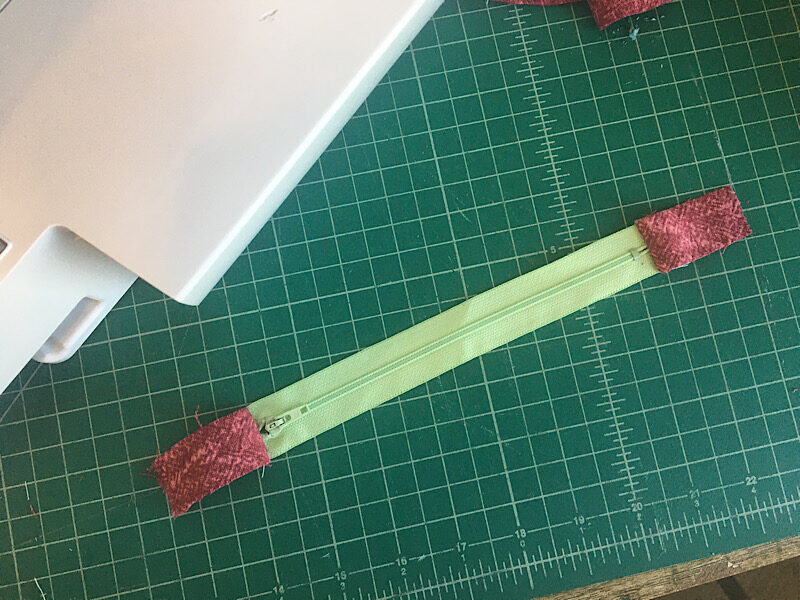
Step 3. Sew The Zipper To The Clutch
Lay one edge of the zipper on top of the bottom front heart piece, with right sides together. Align the middle of the zipper with the middle of the heart piece. The two rectangles that you sewed to the zipper will stick over the sides, that’s okay.
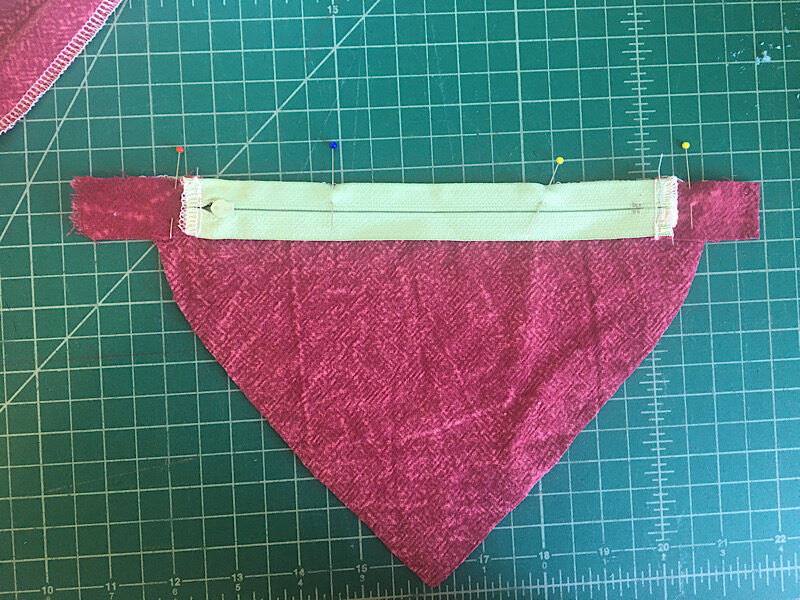
Sew the zipper to the fabric with a 1/4 inch seam allowance.
Then flip if over to see what it looks like.
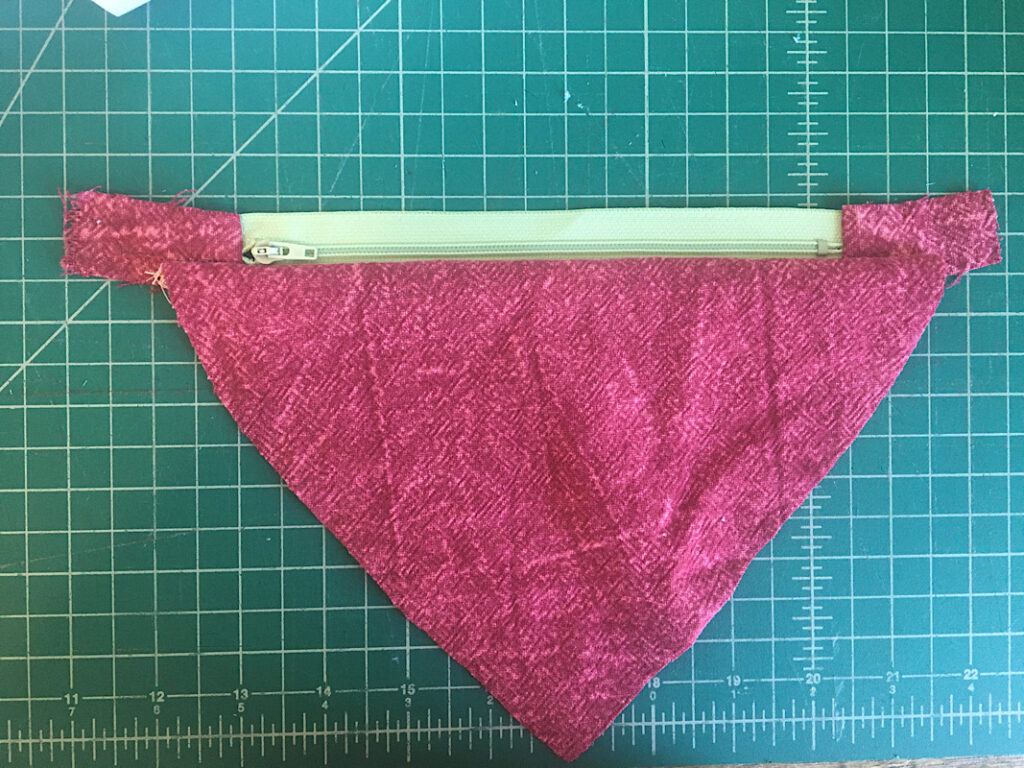
Next, lay the top heart piece on top of the zipper, with the right sides facing. Line it up so the center is aligned with the center of the zipper, and the edges match the bottom heart piece below.
Pin it in place.
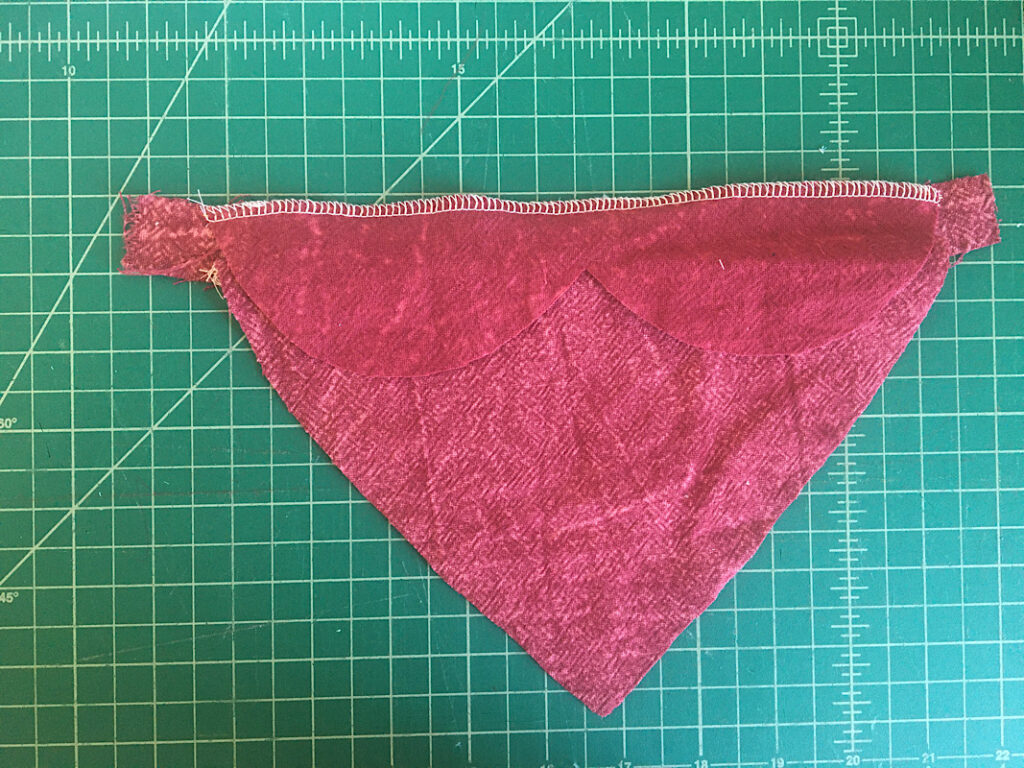
Sew the zipper to the top of the heart using a 1/4 inch seam allowance like before.
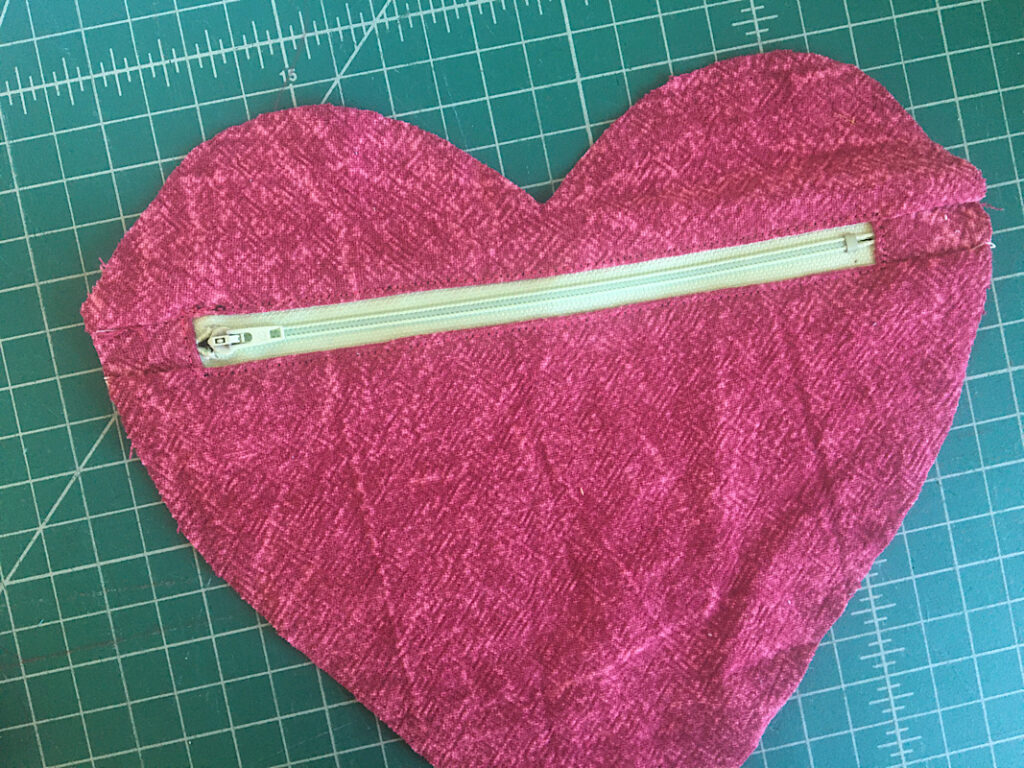
Then, open it up and flatten it out. Trim off the excess material from the two rectangle tabs on the sides of the zipper.
Sew a top stitch on the fabric around the zipper. (It is hard to see in the image below, but I used about an 1/8th inch seam allowance or less.)
Step 4. Make The Strap
To make the strap, place the 4″x10″ strip of fabric on the table. Fold in the two long edges to meet in the middle, then fold it in half. Pin in in place, then sew down the edge to close it.
This will hide the raw edges inside, and make it thicker and stronger without having to do any turning! It should end up about an inch wide.
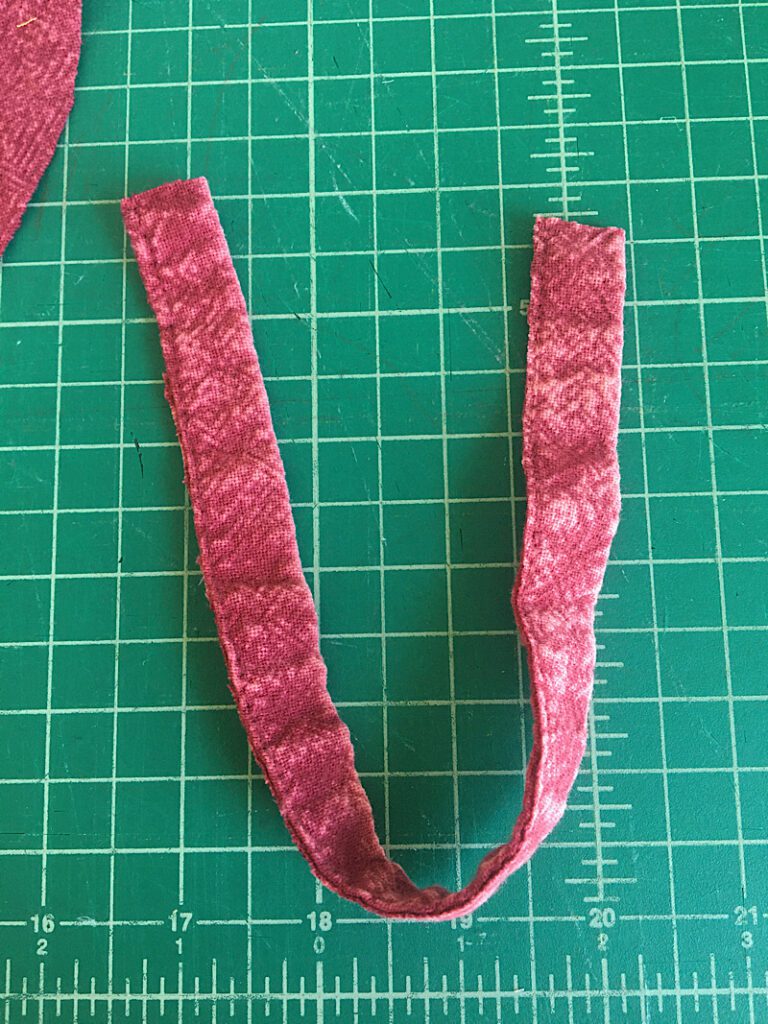
Now, fold the completed strap in half and line up the two short edges with the side edge of the clutch, and pin it together.
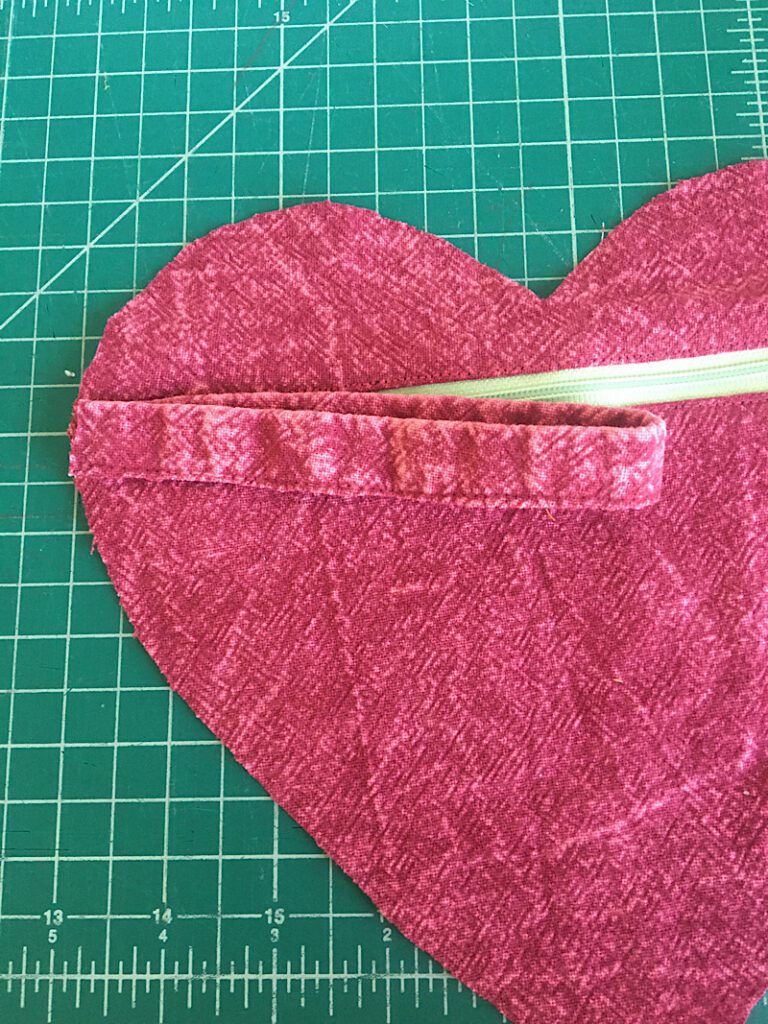
Sew the strap to the front of the purse with a 1/4 inch seam allowance.
Step 5. Sew The Heart Clutch Together
Make sure the strap is facing the inside of the heart, and open the zipper.
Lay the back heart piece on top of the now completed front piece, with right sides together. Pin all around the edges.
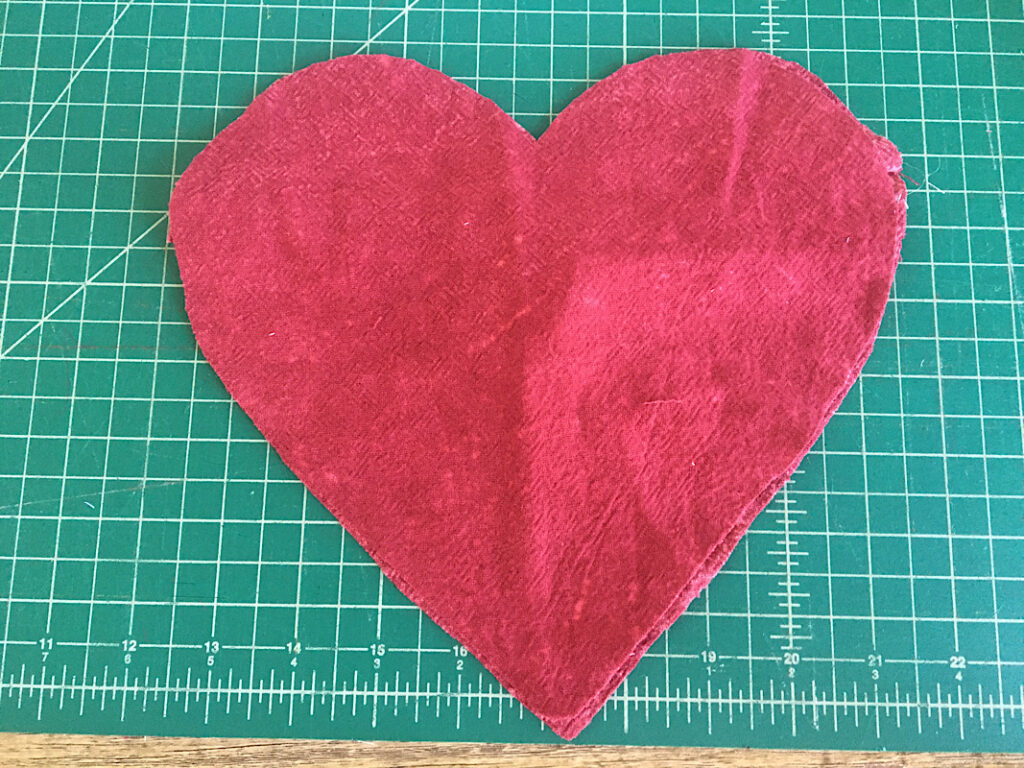
Sew around the perimeter of the heart clutch with a 3/8ths inch seam allowance.
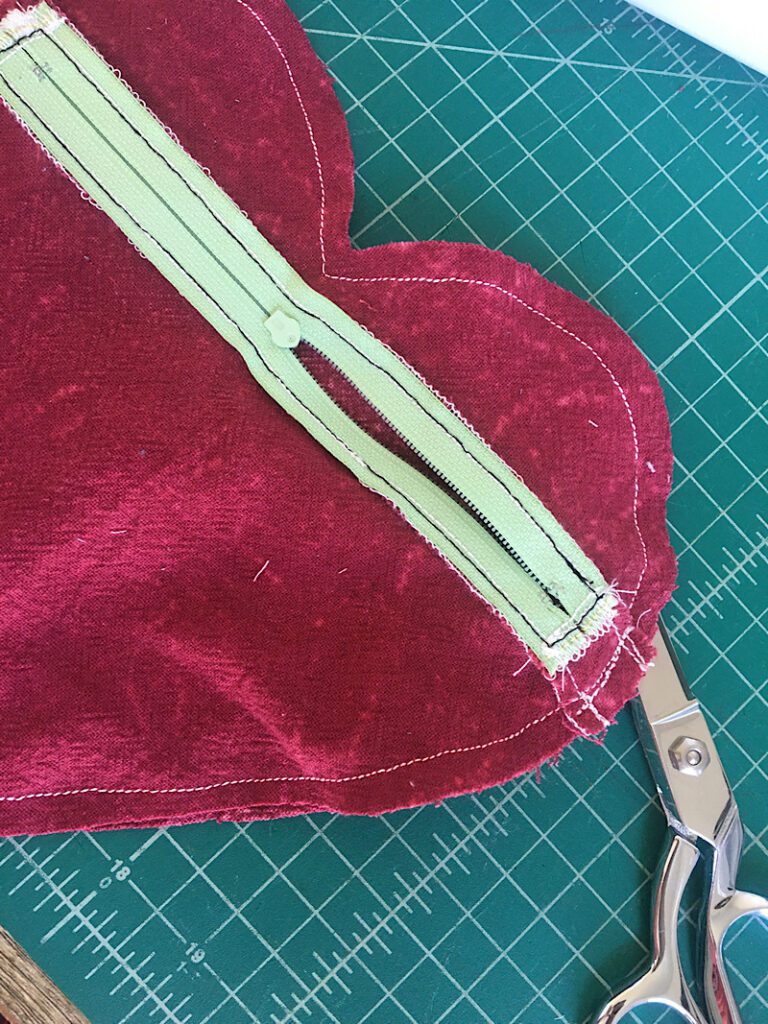
Then, you can zig zag around the edges if you want too.
Turn the clutch inside out through the zipper, and press it as flat as you can. Put your hands inside it to really push out the point and the curves to get that heart shape.
Finally, sew a top stitch around the entire edge of the clutch to make the heart shape nice and crisp.
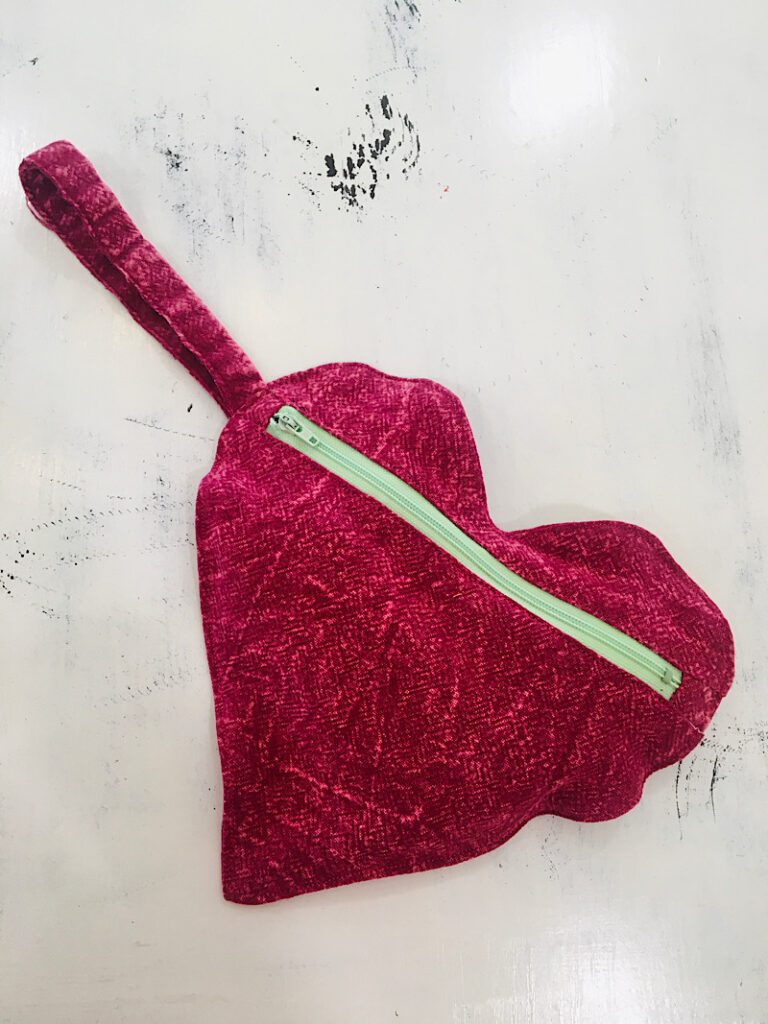
That completes the heart shaped clutch! You can now test it out by putting some accessories inside to see what fits!
Conclusion
I hope you enjoyed this cute tutorial, this project is so quick and fun but makes a really practical item.
This is such an easy method to make a simple clutch, You could really do it with any shape! I am thinking a cat shape or a moon shape next…
If you have questions, let me know and I will love to help you out!
Pin this post so others can make this project too. And send me an email with your finished product, I would love to see it!
Be sure to check out my other Valentine’s Day projects as well!
