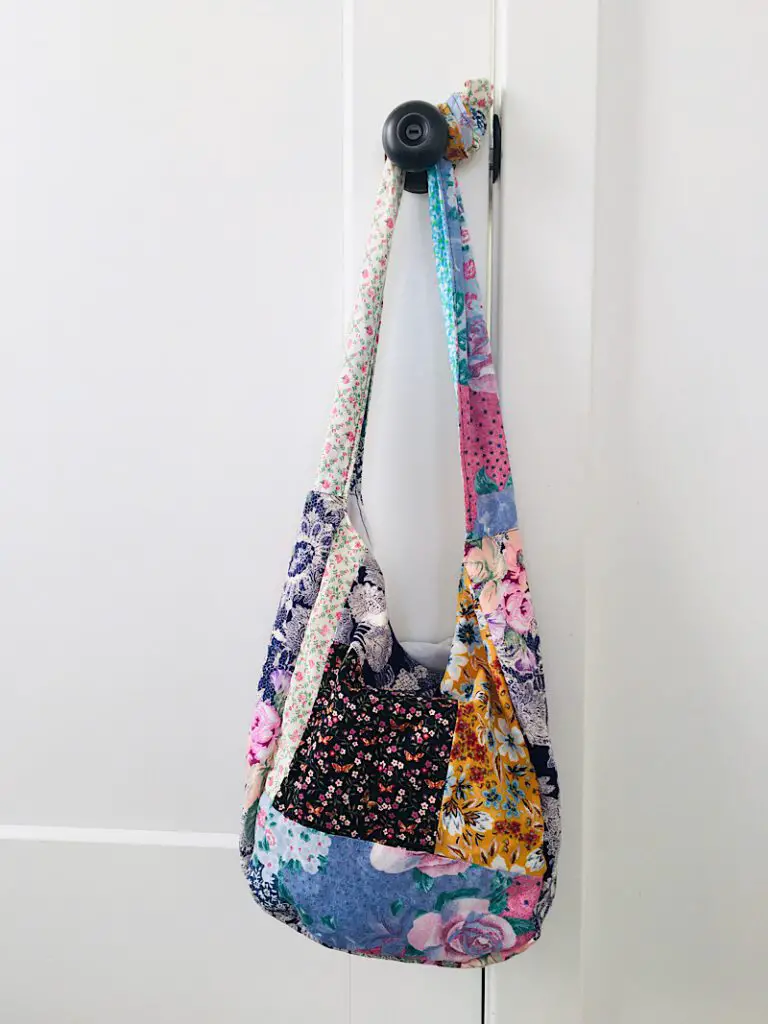
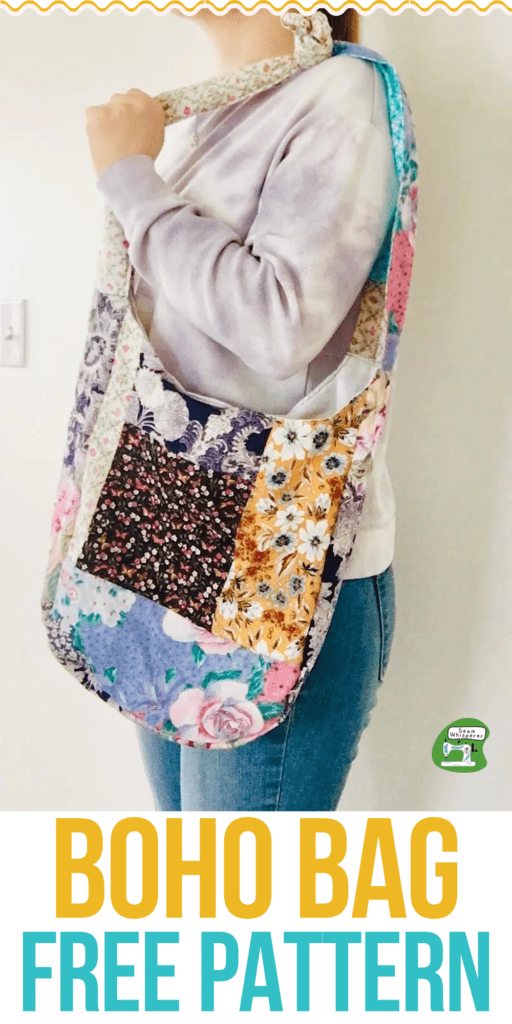
I LOVE this boho bag because it is the perfect blank slate. Make it as simple or accessorized as you want, with funky stitching, quilting, mixed fabrics, or trim. Start with the base pattern, and make it your own!
I saw some stinking cute bags online this week, and I realized, I need to make a bag! So I came up with this adorable hobo/boho bag pattern that I really hope you enjoy!
Supplies Needed
There are so many things you can do to this bag. If you choose to make it like I did, with mixed/quilted together fabric scraps, and no closure, here is what you will need:
- Enough fabric scraps to make 2 – 14″x20″ rectangles of pieced fabrics. (For the front and back of bag)
- 1 – 5″x38″ long strip of fabric for the sides and bottom of the bag (can be pieced together fabrics, or one long strip)
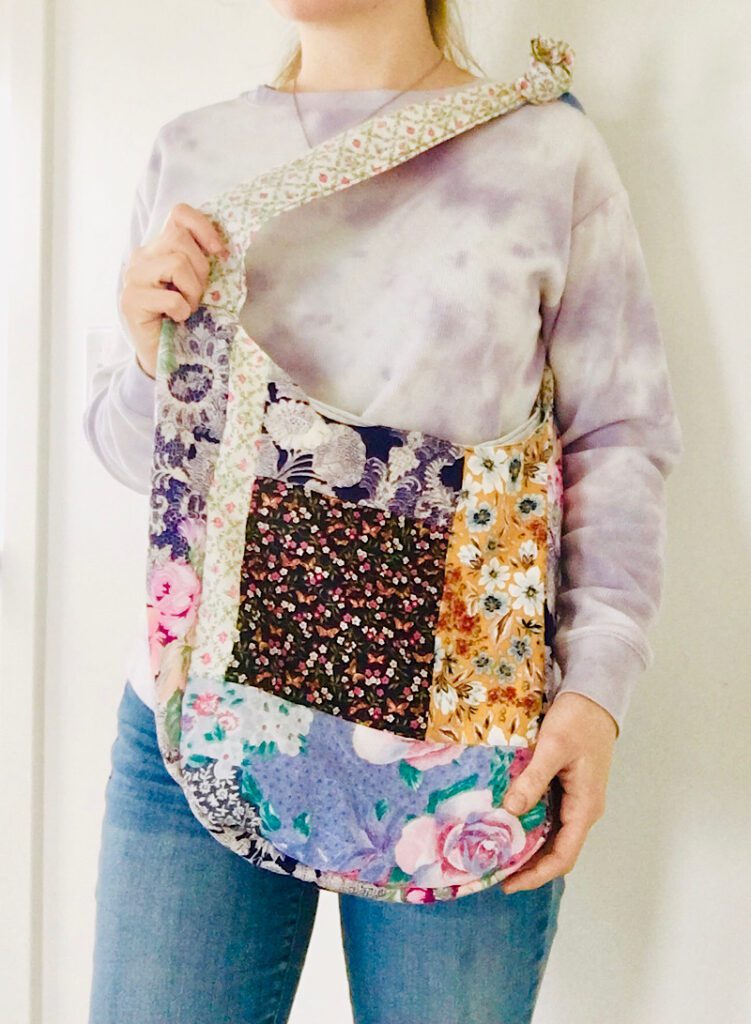
- 2 – 5″ wide strips of fabric for the bag strap, The length depends on your size and how you will wear the bag (For a cross body bag for women’s size S-L, 40 inches long. For a shoulder bag, 30 inches long. You can measure across your body to estimate the length of strap you need. Too long is better than too short, we can fine tune it later.)
- 2 – 14″x20″ pieces of lining fabric for front and back lining
- 1 – 5″x38″ piece of lining fabric for side lining
- Matching (or mismatching) thread
- Iron & Ironing Board
- Sewing Pins
- Free Boho Bag Pattern (Download and print below)
How To Download The Pattern
I have offered this base boho bag pattern for FREE to my email subscribers. When you are done sewing it, I would LOVE you to email me a photo!!
Download the pattern by signing up with your email below, and I will send it to you right away.
Print the pattern at 100% scaling, and cut it out on the black lines. Tape the pattern together so that the two halves of the Seam Whisperer logo become aligned.
How To Make A Boho Bag
Step 1. Cut The Bag Front & Back
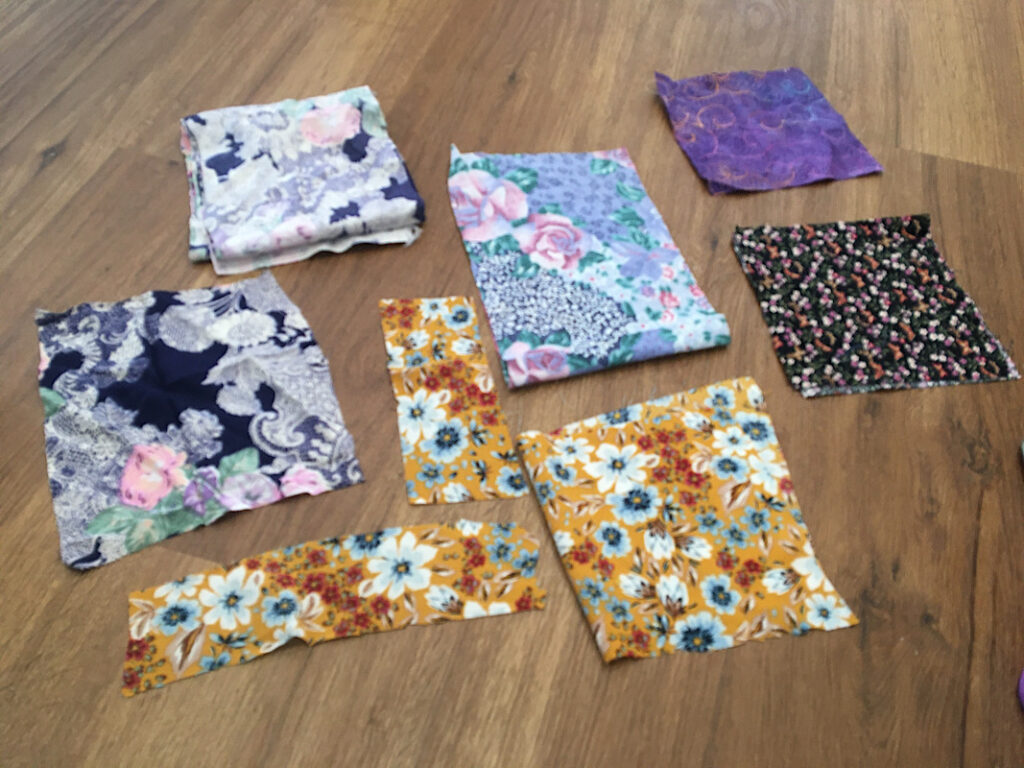
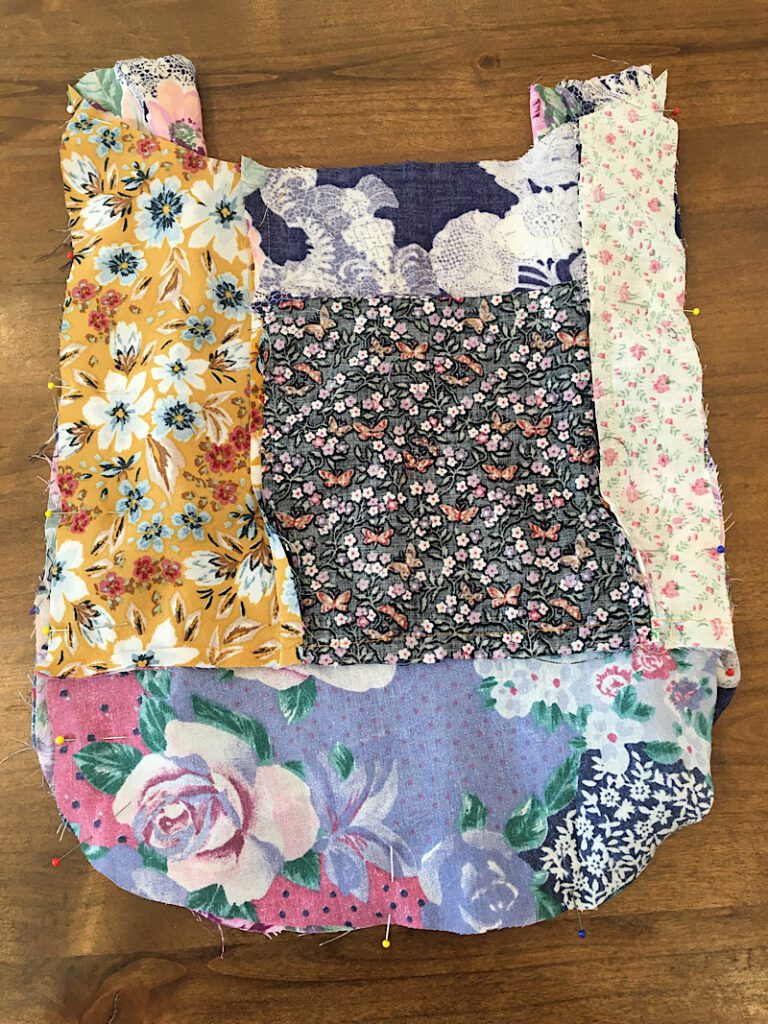
I decided to make this bag pieced together and quilty, but you can also just use a solid piece of fabric! I used quilting fabric and old shirt scraps.
Gather your fabrics. Make sure they are similar in thickness, and coordinating in color or pattern. I do not recommend stretchy material for this bag.
Iron your fabrics and cut them into square scraps of different sizes.
Sew the scraps together however you choose.
Press each seam flat after you attach two pieces together.
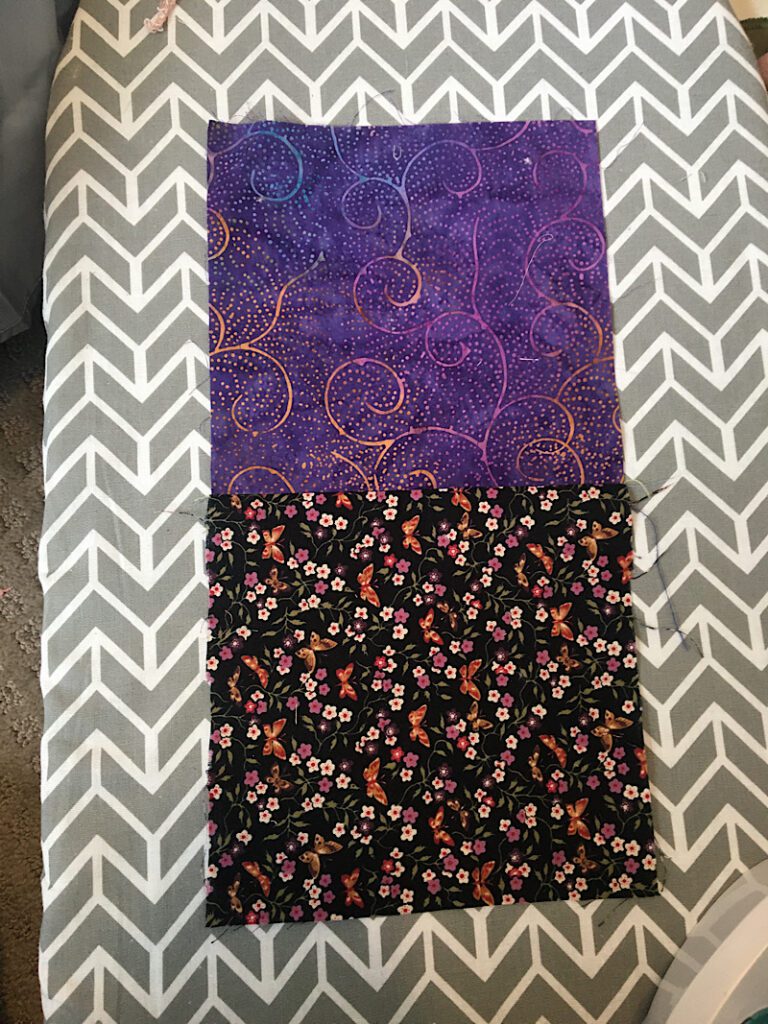
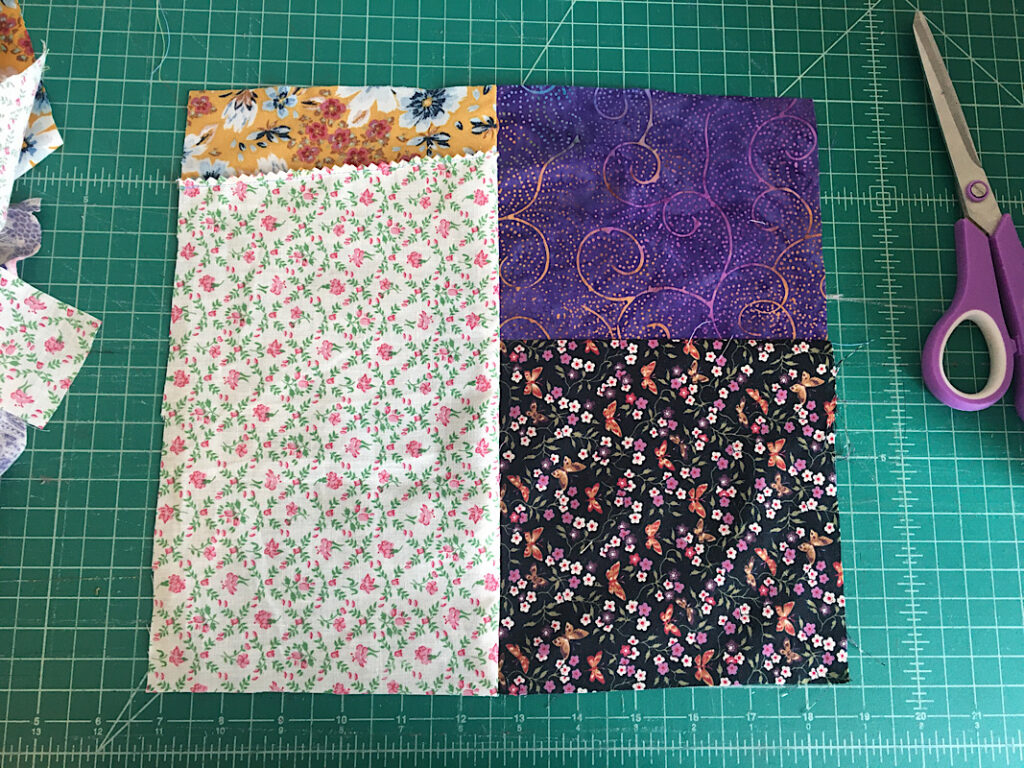
Keep piecing until you make a shape large enough that your pattern can be cut from it. (About 14×20 inches or so)
You can make your seams on the outside, or inside. I made one seam face out to show you how cute it can look. (I pinked it, also.)
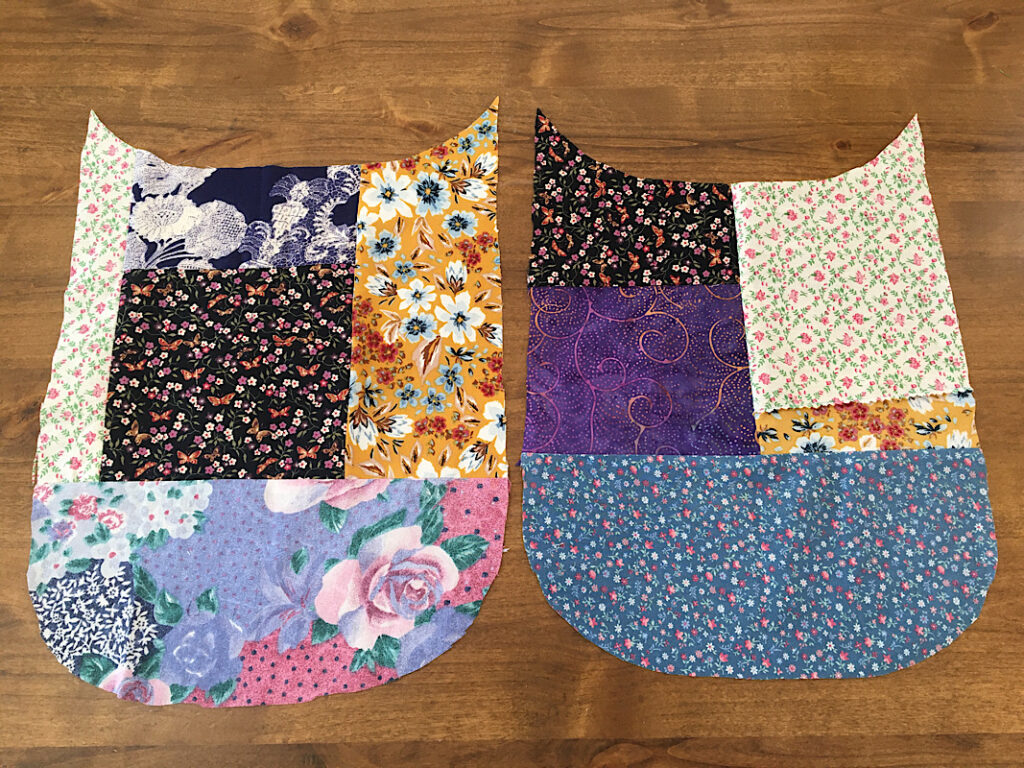
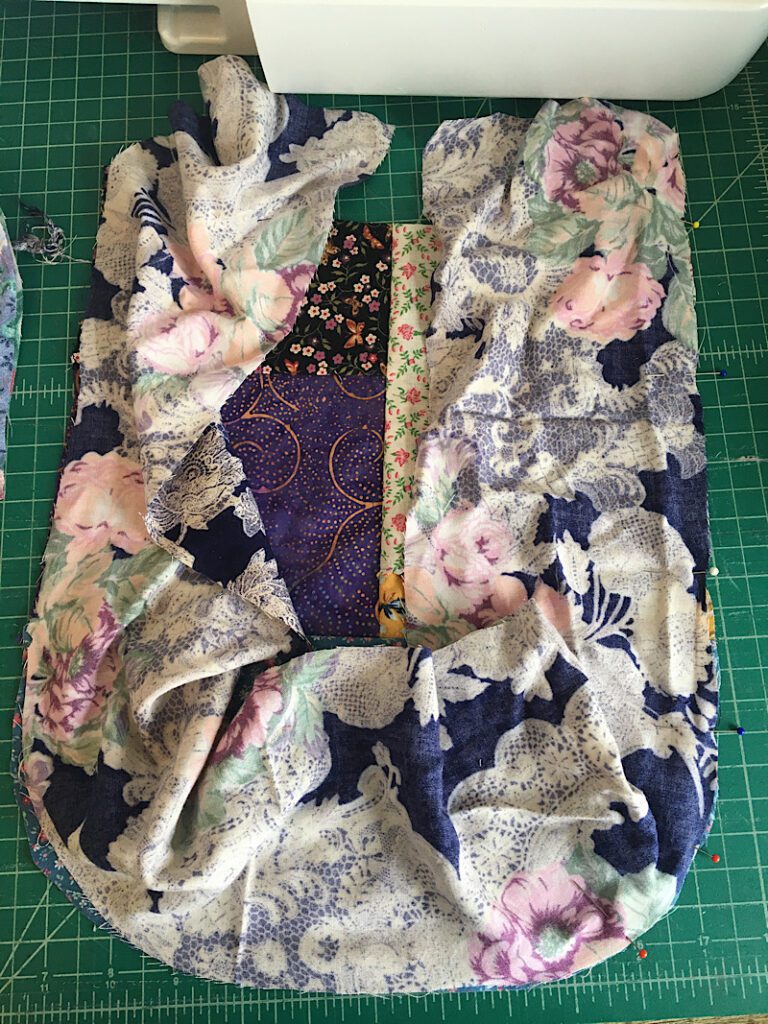
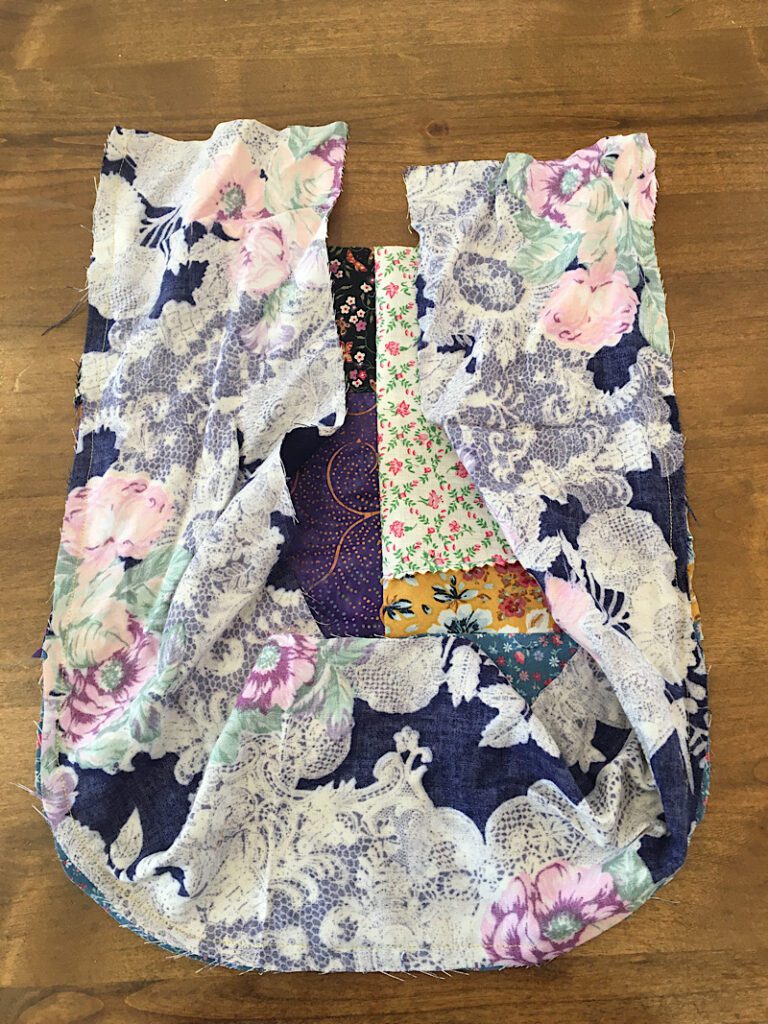
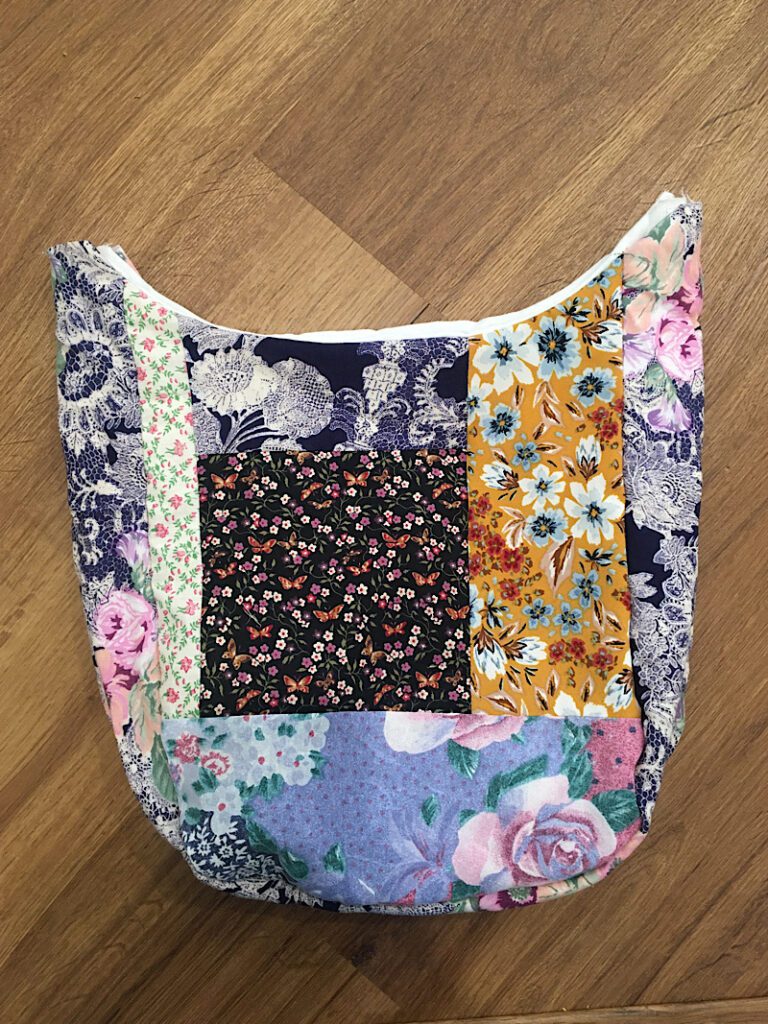
Once your quilted piece is large enough, fold it in half and cut your pattern piece out from it.
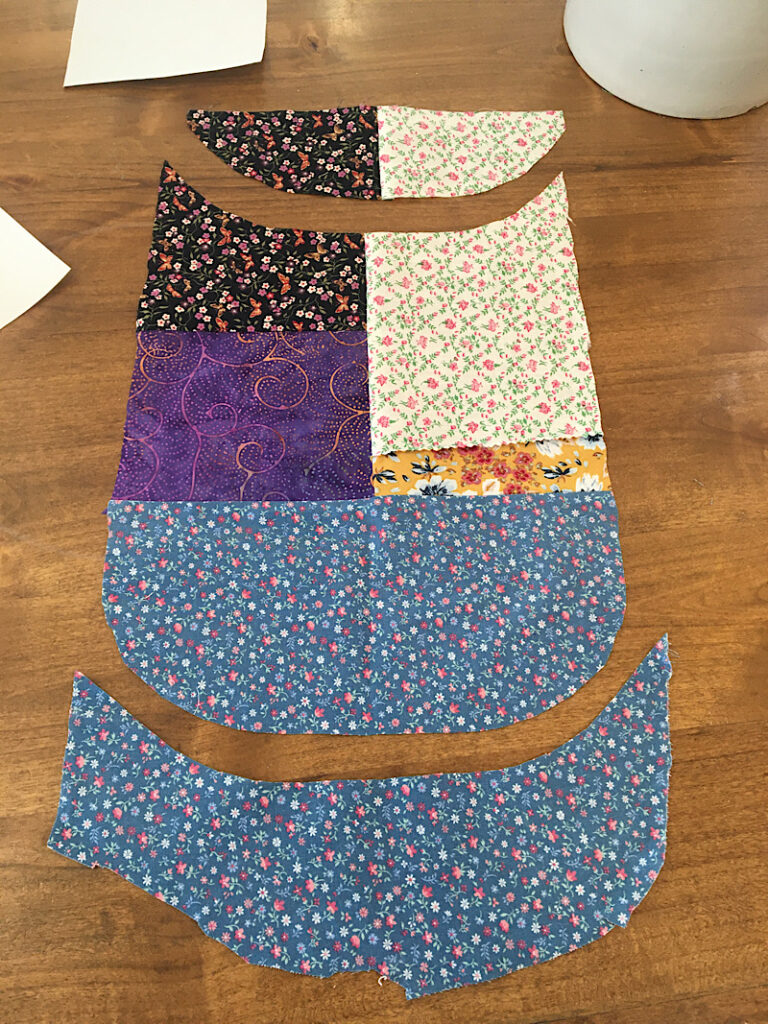

Repeat these steps to make the back piece of the bag also.
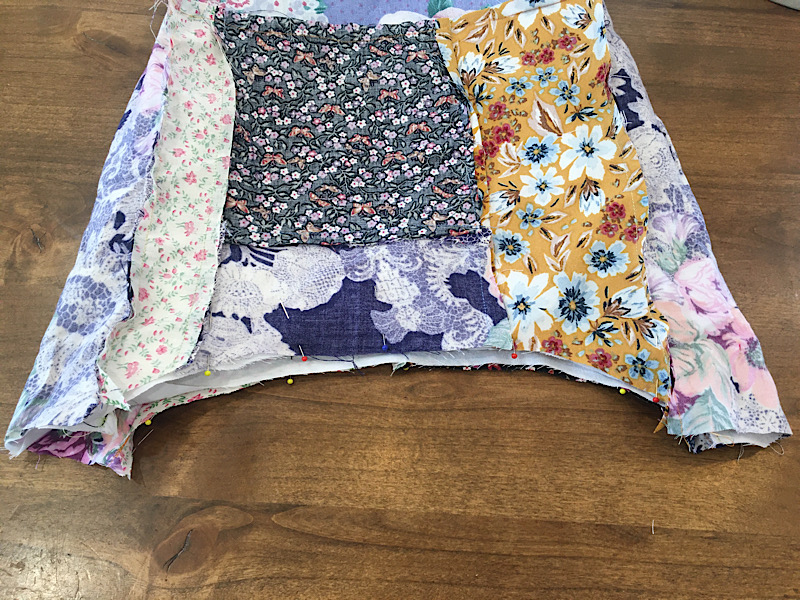
Step 2. Attach The Bag Sides & Bottom
Cut out a (or make a scrappy) strip of fabric 5″x38″. With the right sides facing, pin it to the curved edges of one of the bag pieces, all the way to the other side.
Then sew the strip to the bag front with a 3/8ths inch seam allowance.
Next pin the back piece to the other side of the strip the same way you did the front piece, making sure the right sides are facing.
Sew the back piece on.
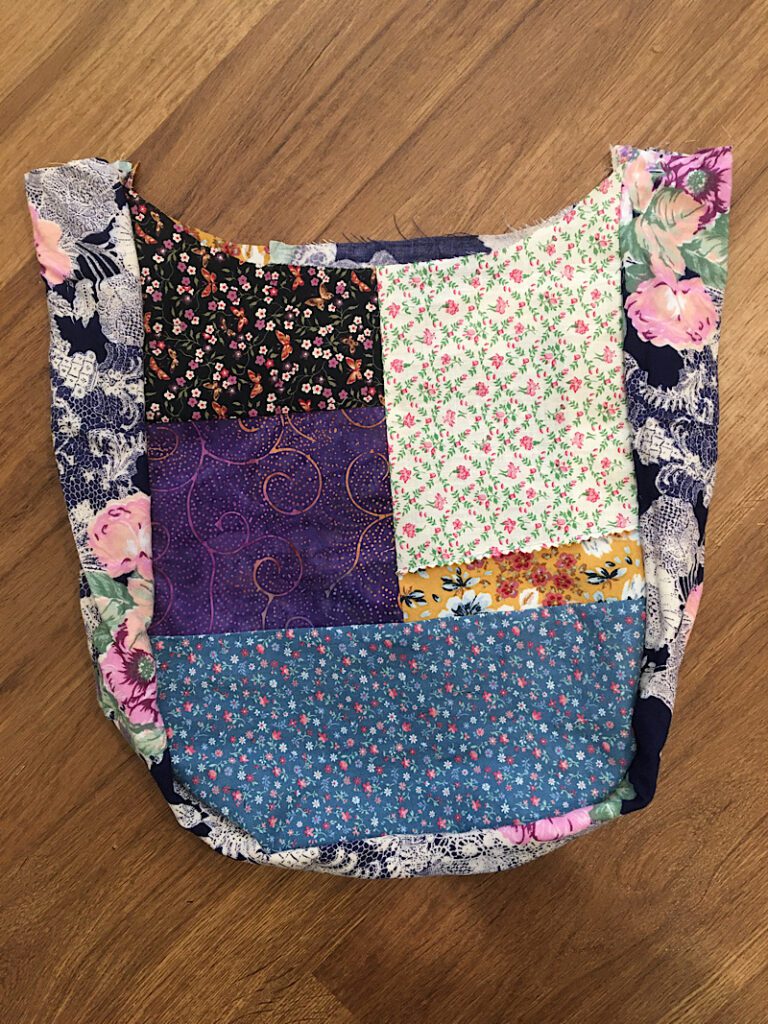
Now turn your bag right side out and see how it looks so far.
Step 3. Attach The Lining
Now, you will need to make a lining. I chose just to cut out a plain white material to line it with, instead of piecing together scraps. Attach the side strip to the front and back pieces of the lining the exact same way you did with the exterior of the bag.
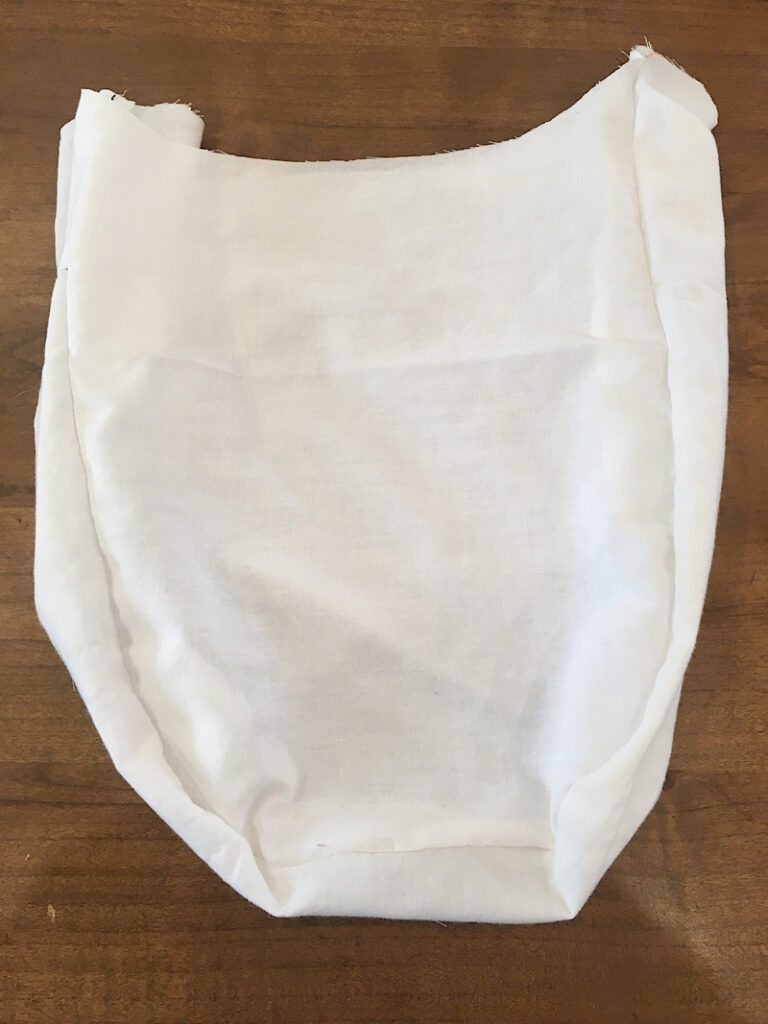
When you have the lining complete, it is time to sew it to the bag.
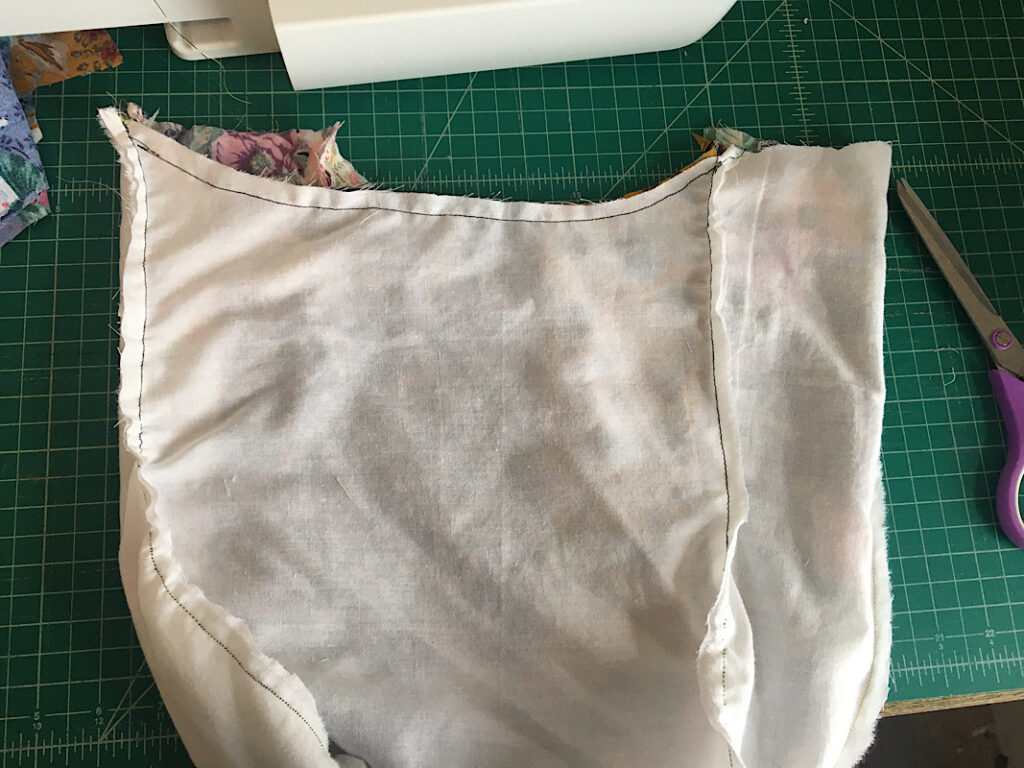
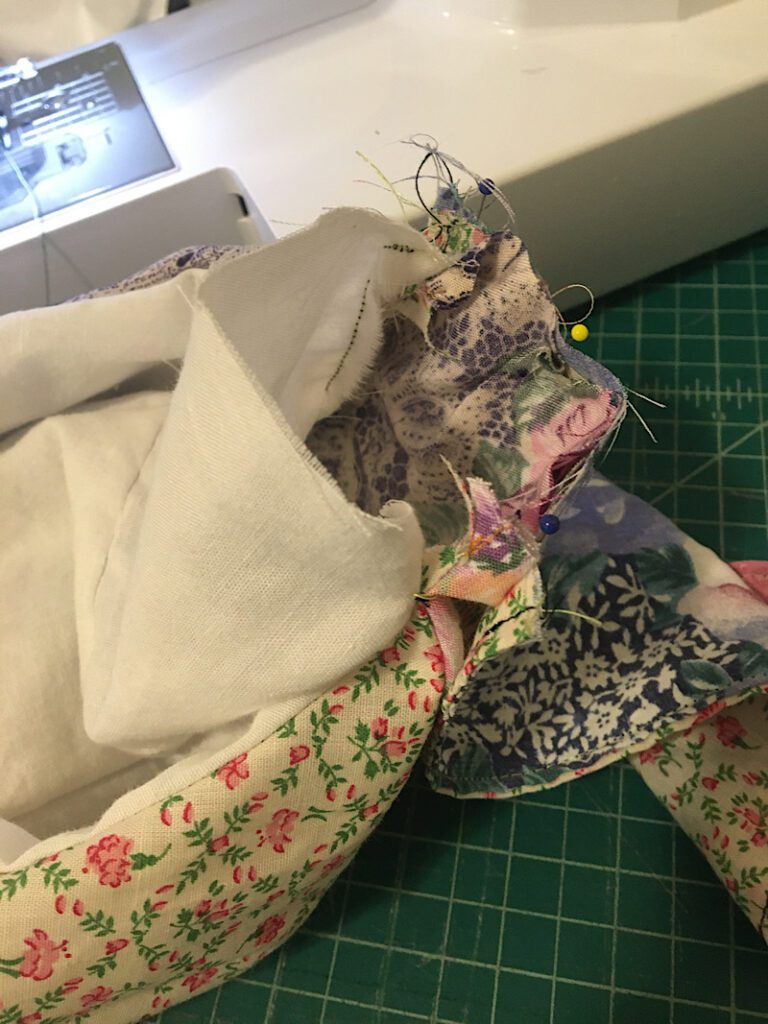
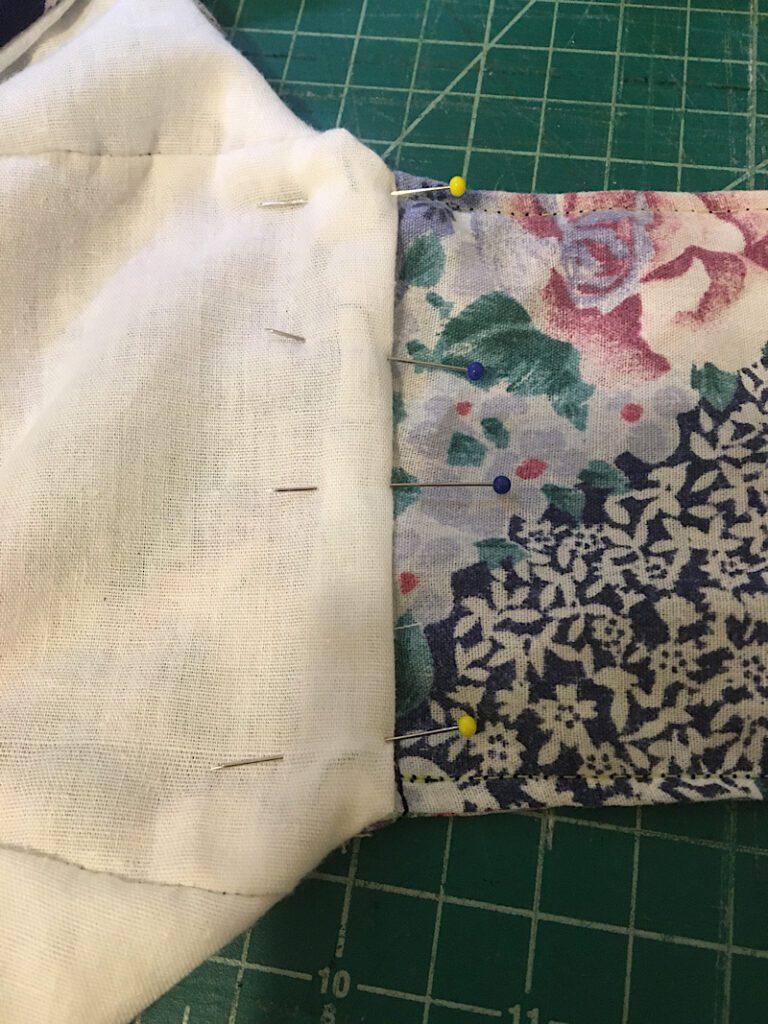
Turn the bag inside out, and place the lining inside so the right sides are facing each other. Pin the two pieces together along the curved tops.
Don’t pin across the side strip areas.
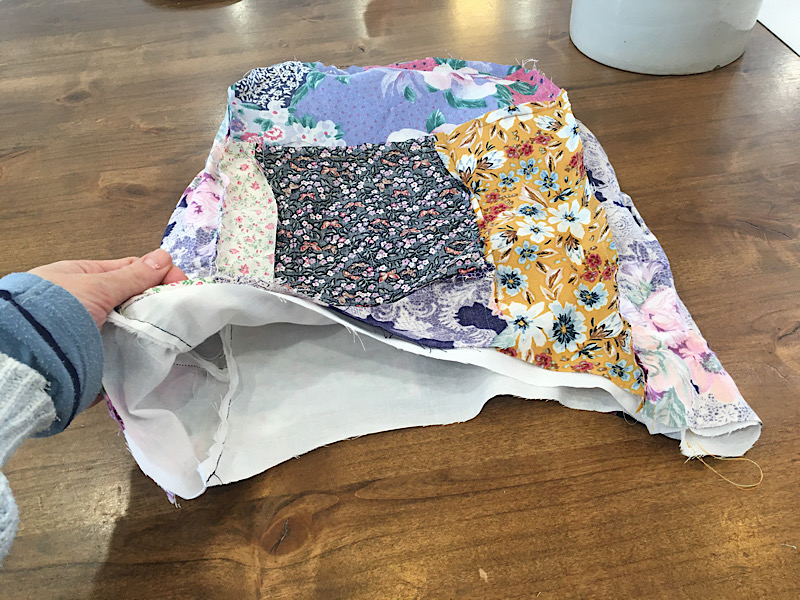
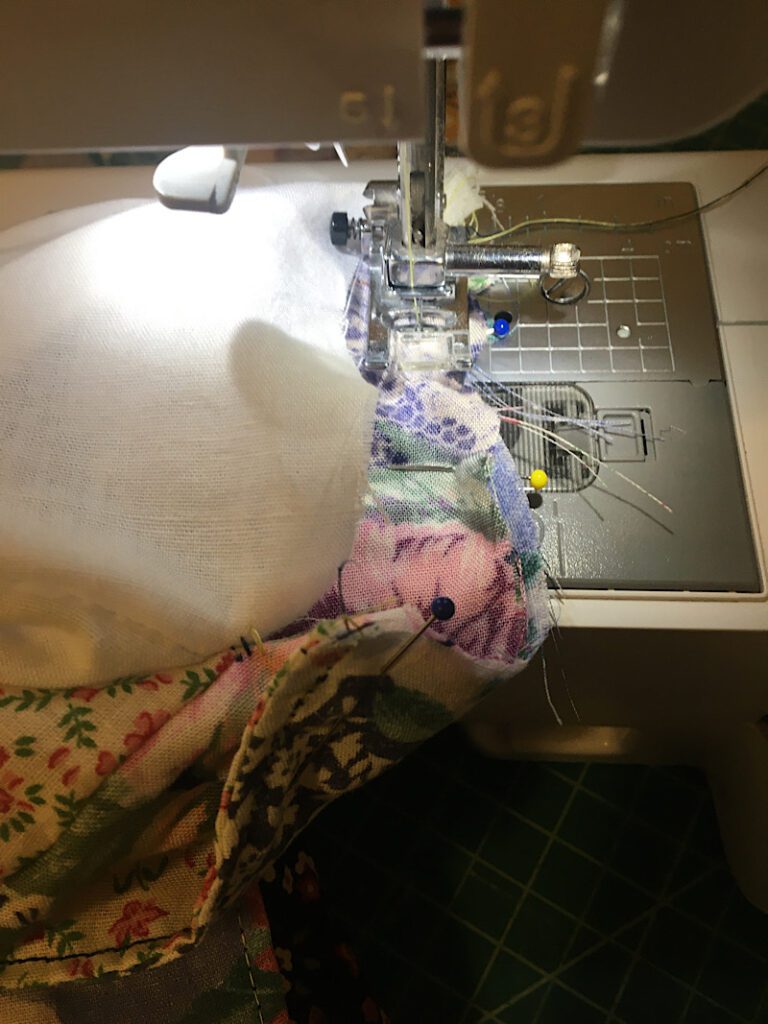
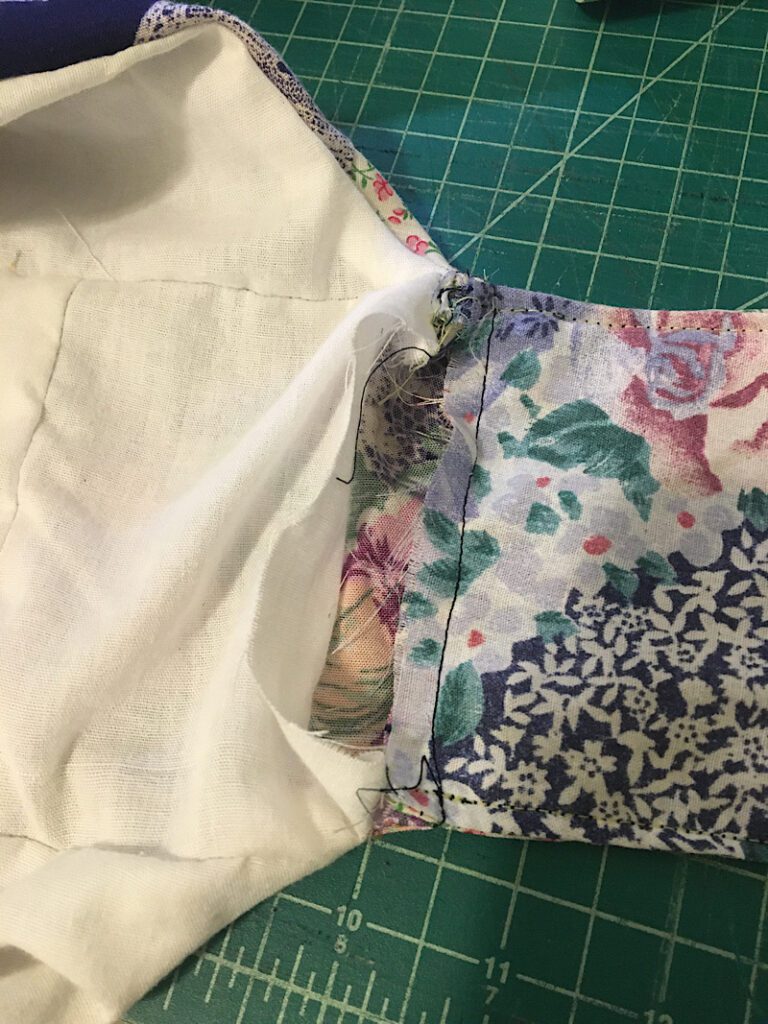
Sew across the top curves of the front and back of the bag with a 3/8ths inch seam allowance. Do not sew across the side strip areas.
Turn the bag right side out through one of the open holes.
Step 4. Make The Strap
Cut two strips of fabric that are 5″ wide and the length you want the strap to be. I used 40 inches, and I am a size medium. You can cut a too-long piece and I will show you how to make sure it is the right length later, if you wish.
You can cut the strips to be a single piece of fabric, or scrappy like I did.
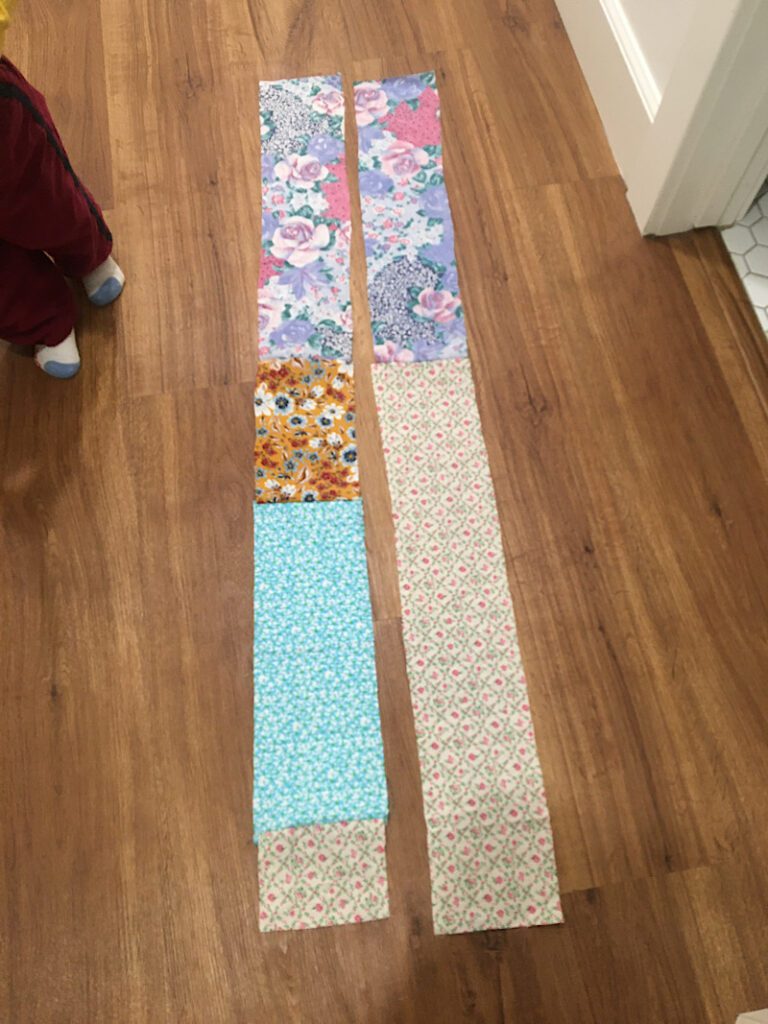
Lay the two pieces on top of each other with the right sides facing, and pin and sew down the long sides. (Keep the short sides open.)
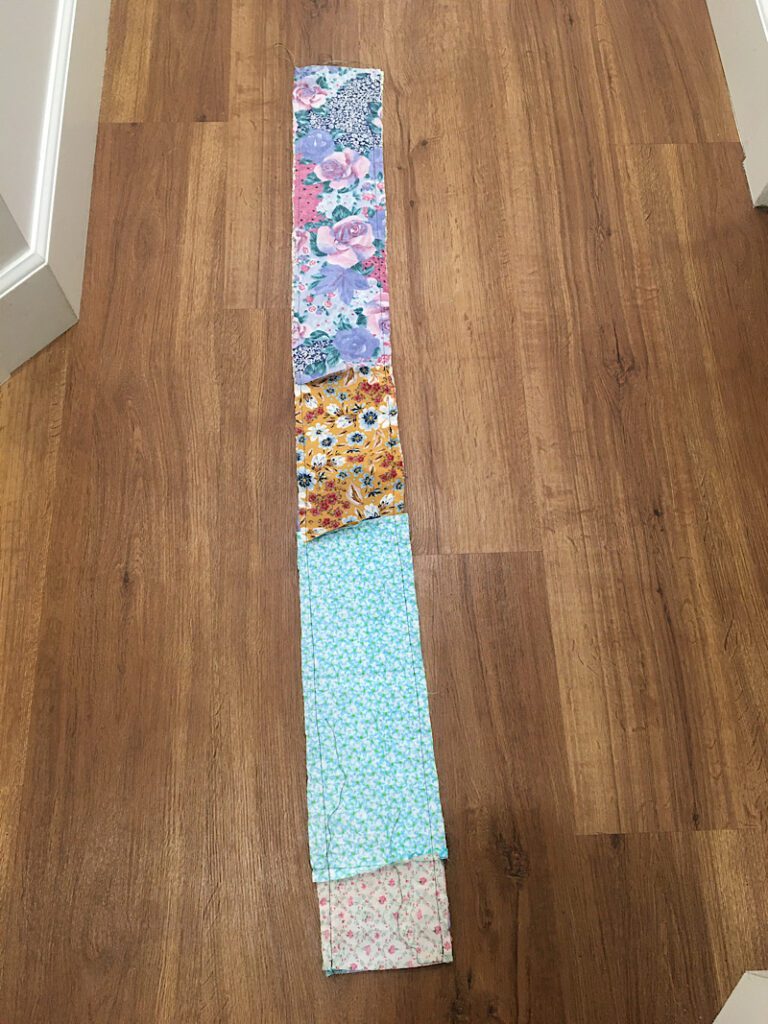
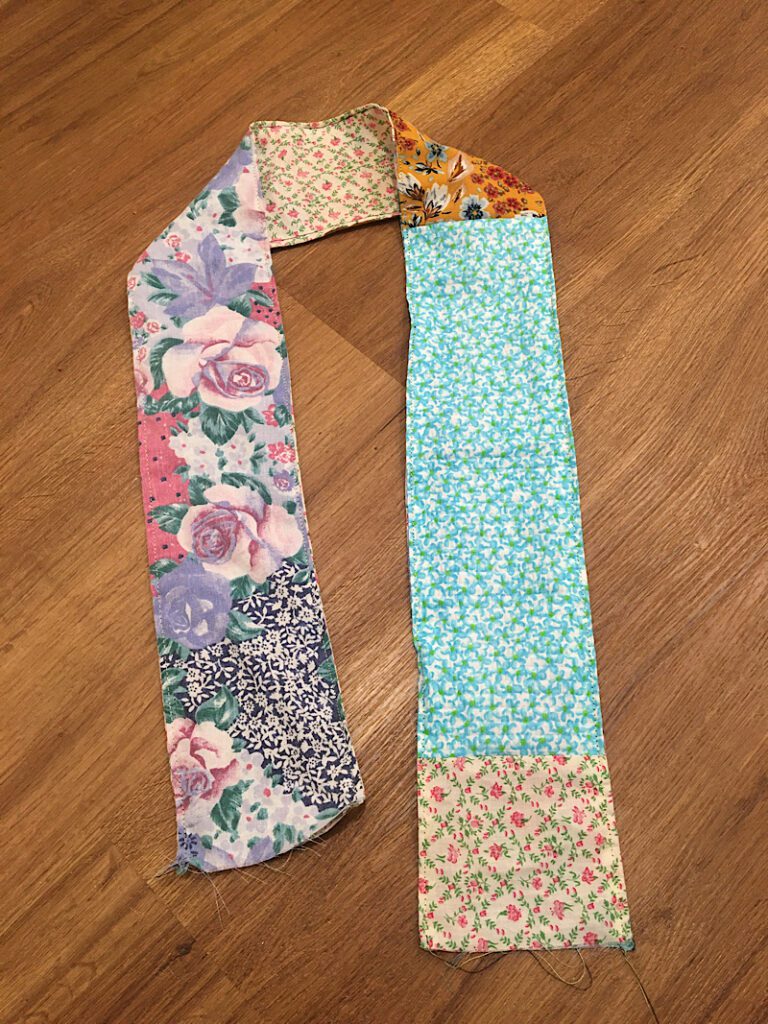
Turn the strap/tube right side out.

Now here you have to make a decision. You can leave the strap as is, and it will give you a more “rope-y” scrunched looking strap in the end, or you can topstitch along the two side seams, and it will give you a more flat looking strap at the end.
If you can’t decide, just leave it alone and you can add the top stitch later if you decide you want it.
I decided to add the top stitch now, by pressing the strap with my iron, and then sewing a line about 1/8ths inch away from the side seam.
Step 5. Attach The Strap
Now you are ready to attach the strap to the bag!
Align the short end of the strap to the open edge of the bag and pin it in place. (Don’t pin it to the lining, just the exterior piece.)
Carefully sew the strap to the bag, without sewing through the lining.
Here is what it should look like:
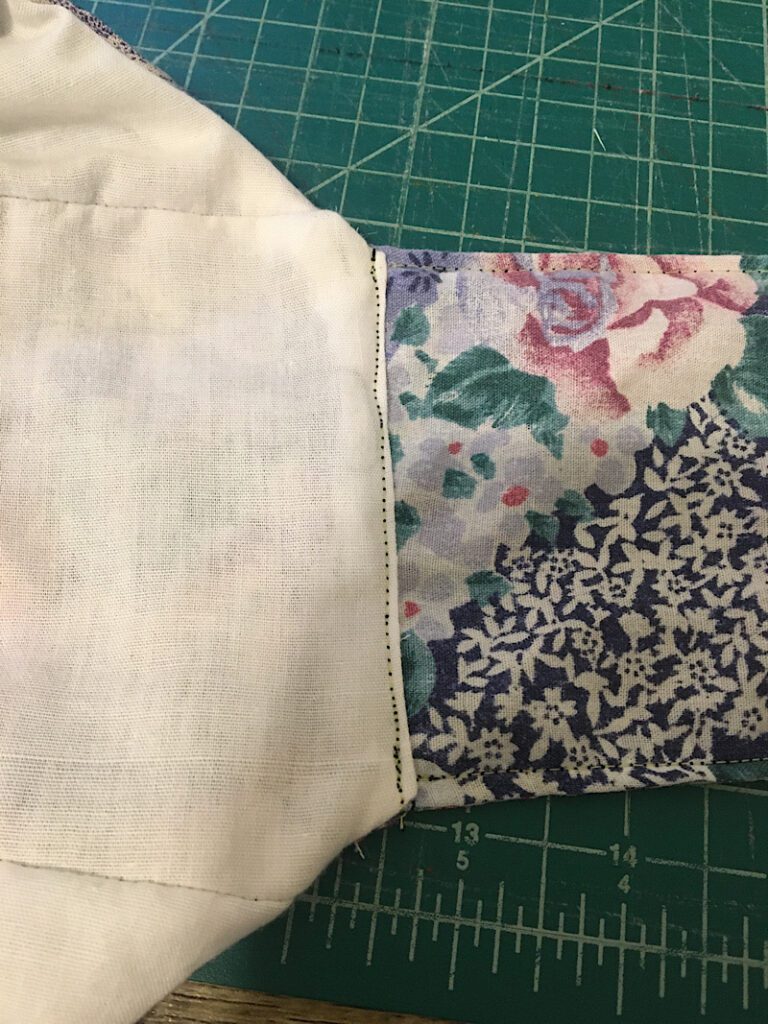
Finger press the seam allowance down, so it is facing into the bag not up the strap. Then, fold the raw edge of the lining under about 3/8ths of an inch and pin it over top of the seam allowance of the strap.
Sew a top stitch along the edge of the fold.
Now you have attached one side of the strap.
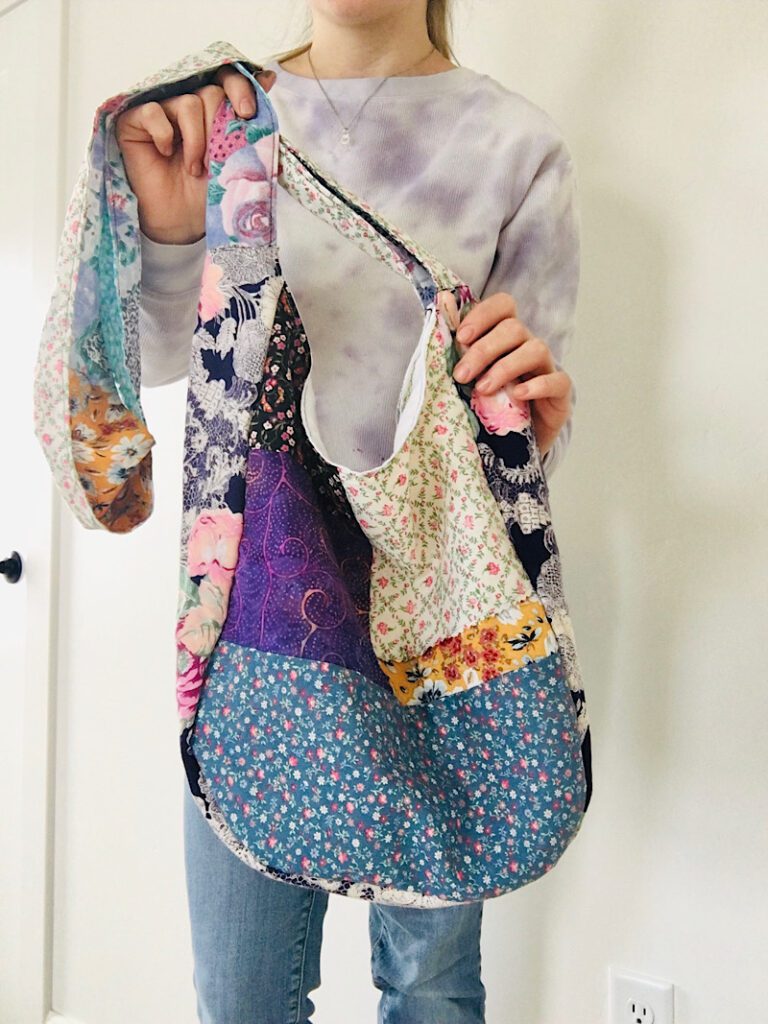
Before attaching the second side, hold the bag over your shoulder how you would wear it, and measure how long the strap should be, and cut it shorter if you need to.
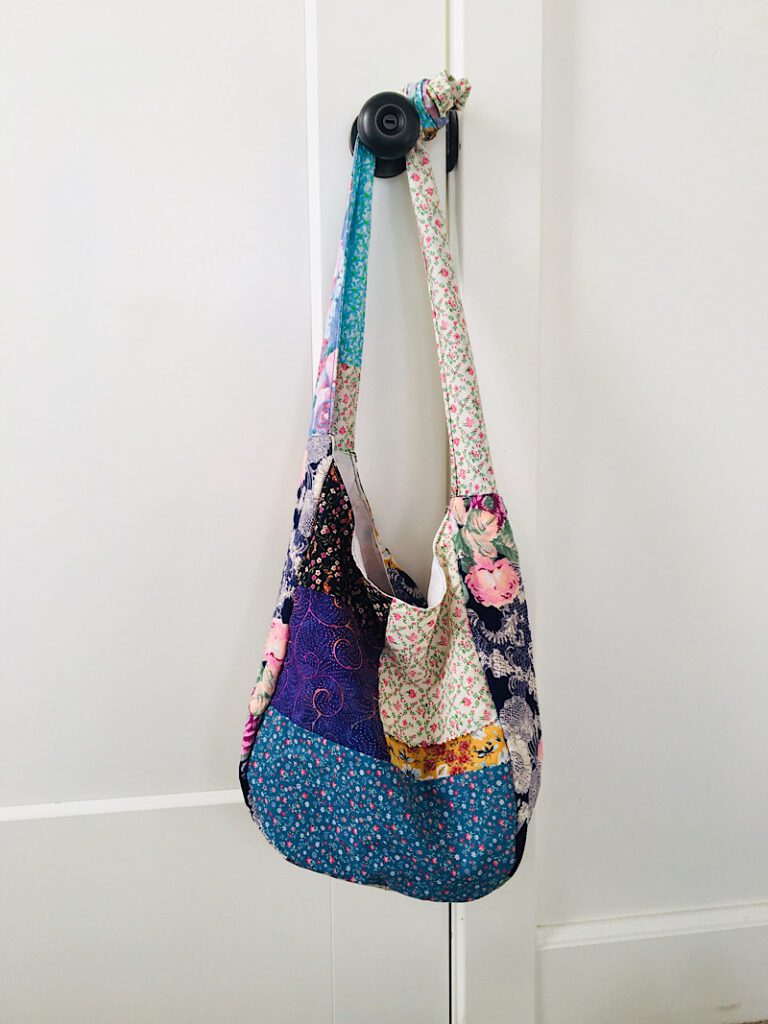
Mine was just about right. I liked it a little long so I could knot the top.
Now, sew the second side of the strap to the other sdie of the bag in the same way. Make sure the strap is not twisted.
Now the strap is attached to the bag!
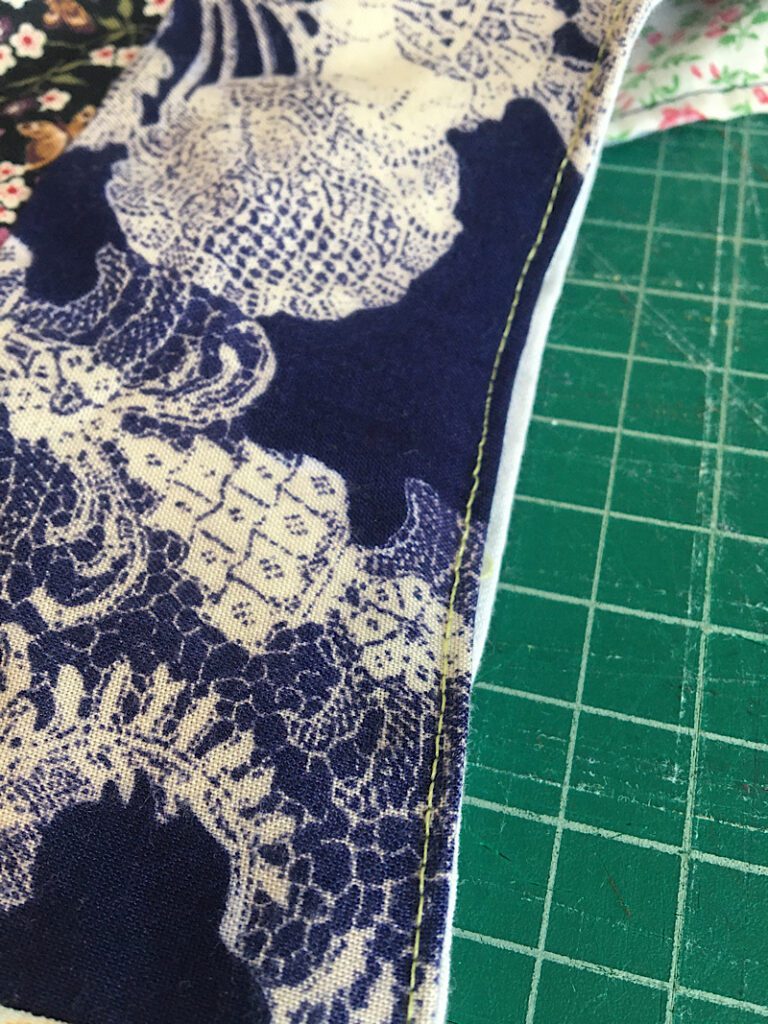
Step 6. Topstitch The Top Curve
The final step is to press and topstitch the top curve of the front and back of the bag, if you wish, to give it a more crisp appearance.
Sew a straight stitch along the curve with a 1/8ths seam allowance.
Now you are done!
I am so happy with how easy and fun this bag is. My girls also loved it.
I have so many ideas of what I could do with this base pattern….
- Add pom poms across the front and back
- Add ruffled alond the sides and bottom seams
- Add a large front pocket
- Add interior Pockets
- Sew all the scraps into stripes
- A zipper closure
- A snap or button closure
- A tie bow closure!
- An adjustable strap
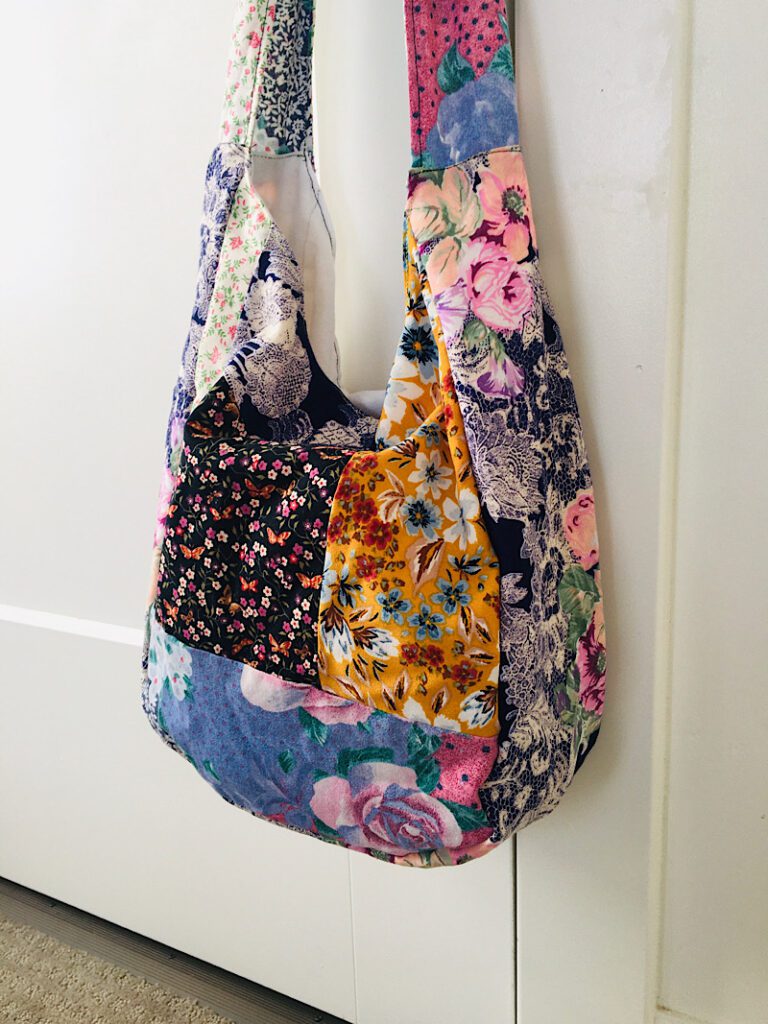
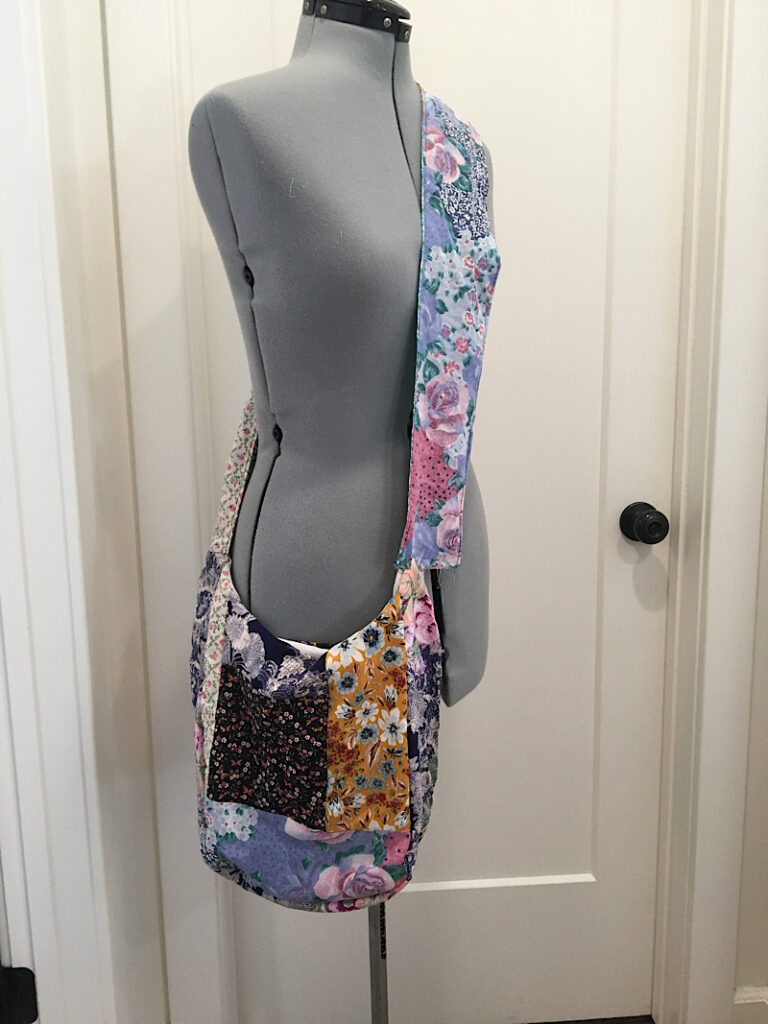
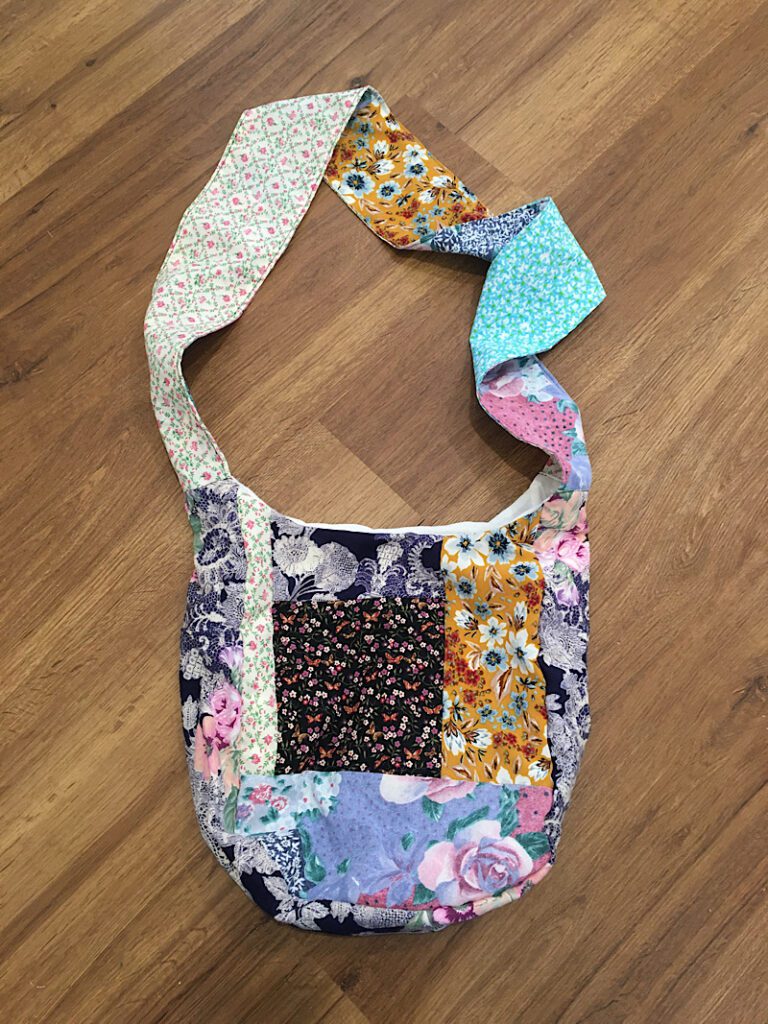
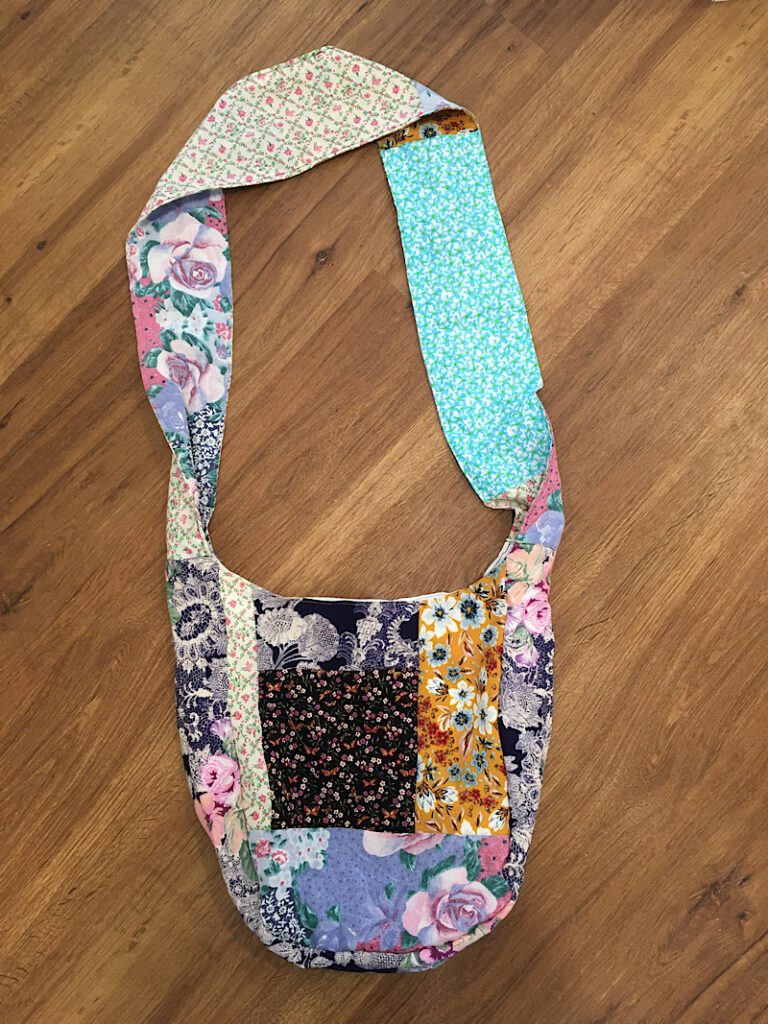
Here is the front and back views of the finished product!
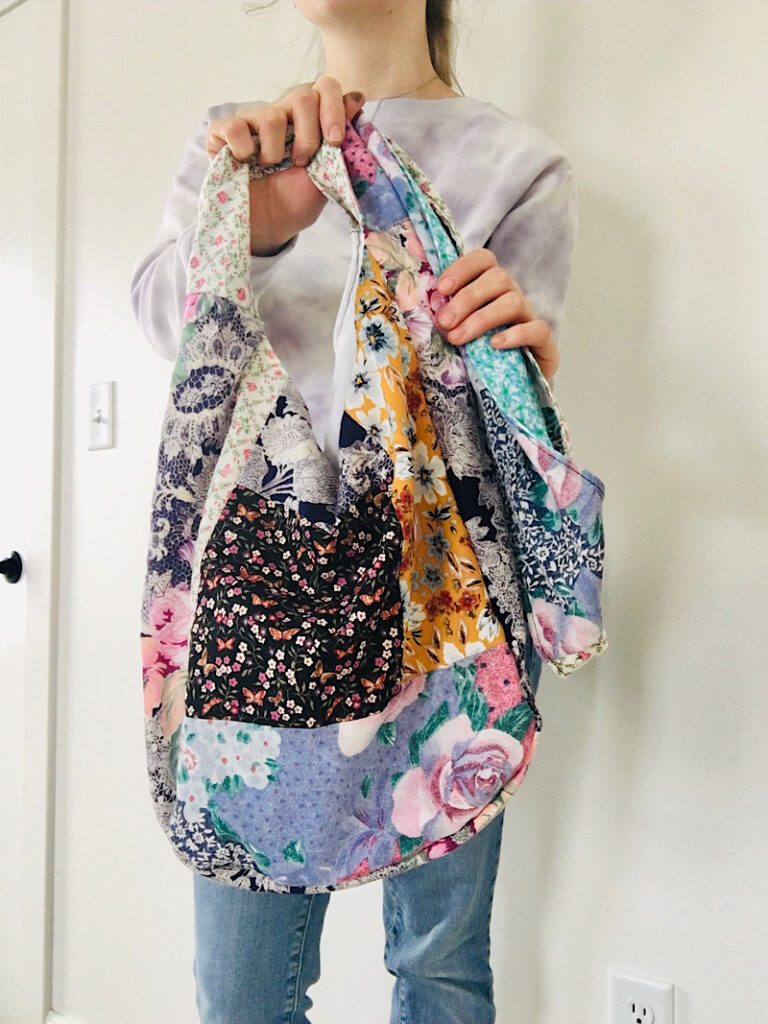
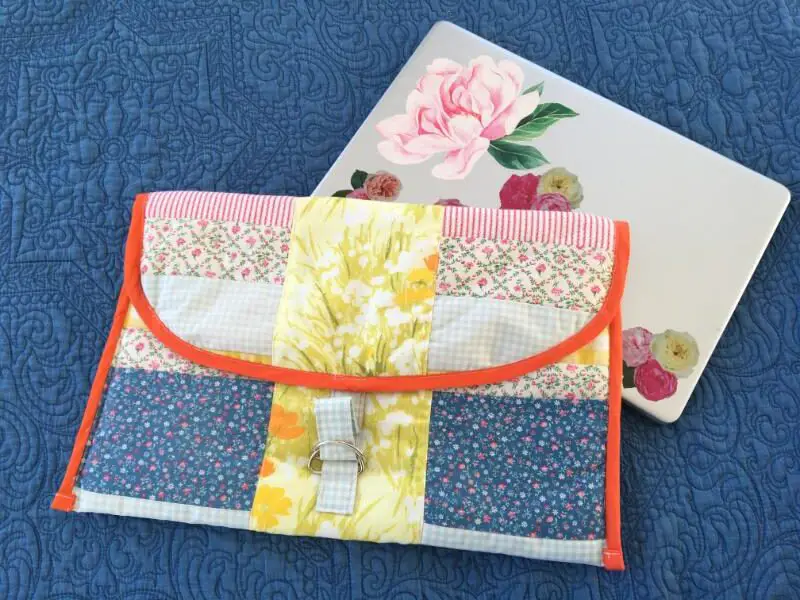
I am obsessed with quilty, scrappy, pieced together items. I have made several garments this style, as well as a laptop sleeve. It is so colorful and fun, plus it is a great way to use what you have and make a statement.
I hope you like this tutorial and PLEASE share it to Pinterest! Let me know if you have any questions.
Thank you for the great Boho bag pattern. Am going to definitely make this. 😊X
You’re welcome Mandi! Send me a photo when you are done!!