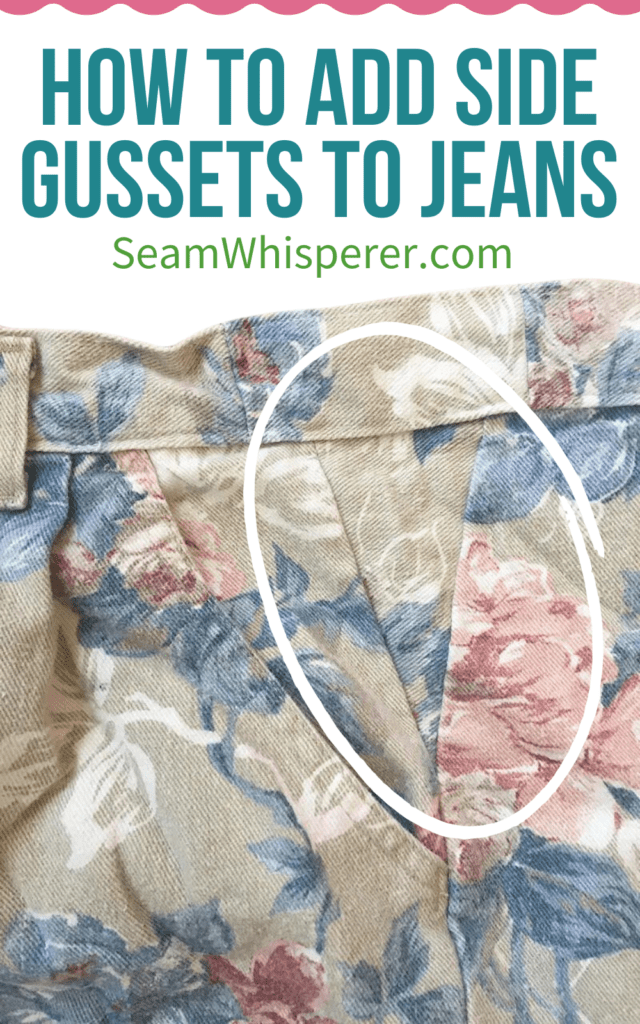
Is your denim a little bit too tight? Learn how to add side gussets to your pants or denim skirt to make the waist bigger!
This post may contain affiliate links. Read the full disclosure here.
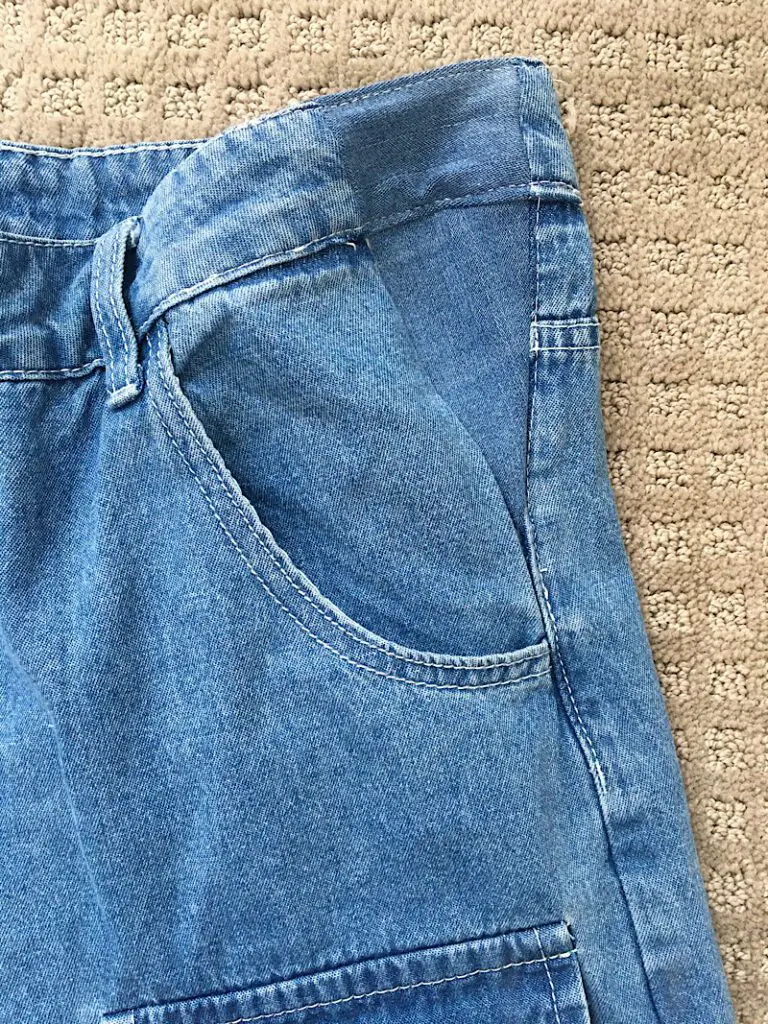
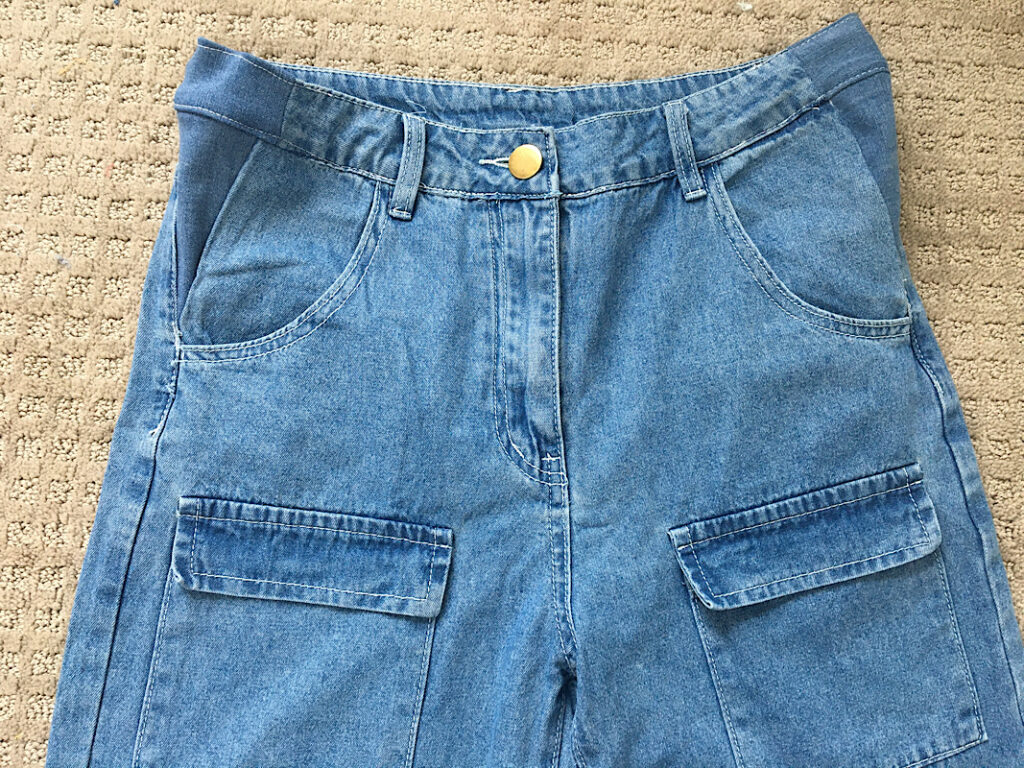
I recently got these super cute pants at a thrift store, but when I took them home they were just a bit too small. I added some gussets to the sides to make the waist larger, and it wasn’t too tricky!

I like adding the gussets to the sides so that you don’t have to unpick any belt loops, and I think it hides it a little better than adding the gusset to the center back.
This tutorial works best if your pants fit at the hips and crotch fine, but the waist just needs some width. (Thanks, pregnancy for changing my waist size!)
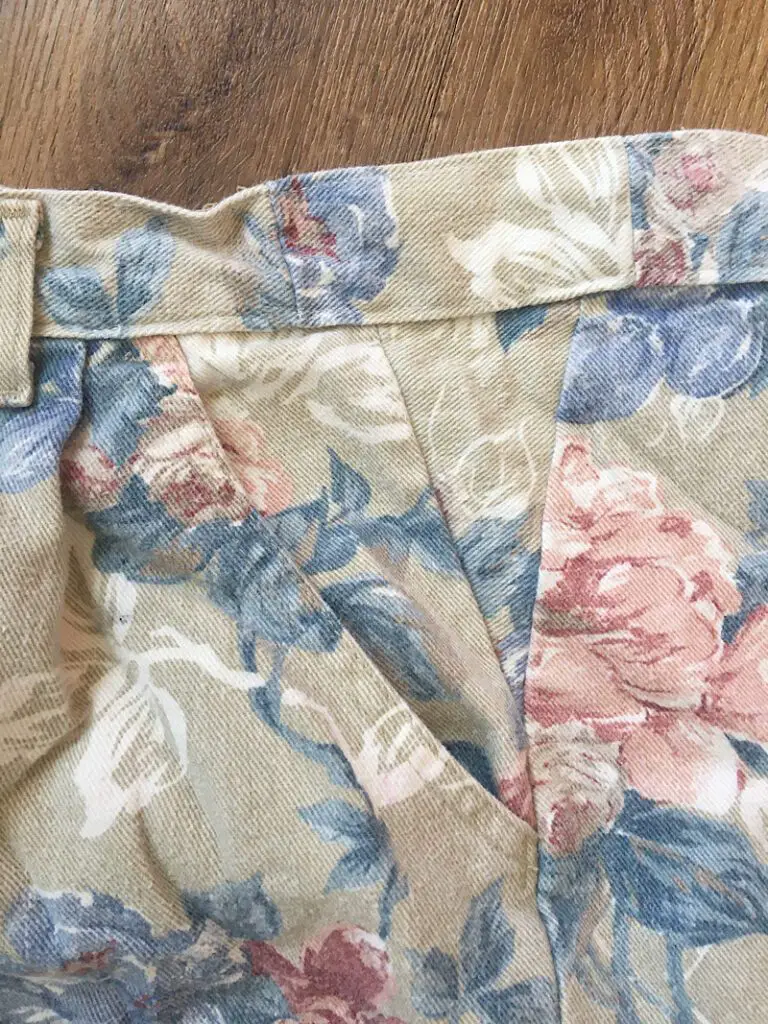
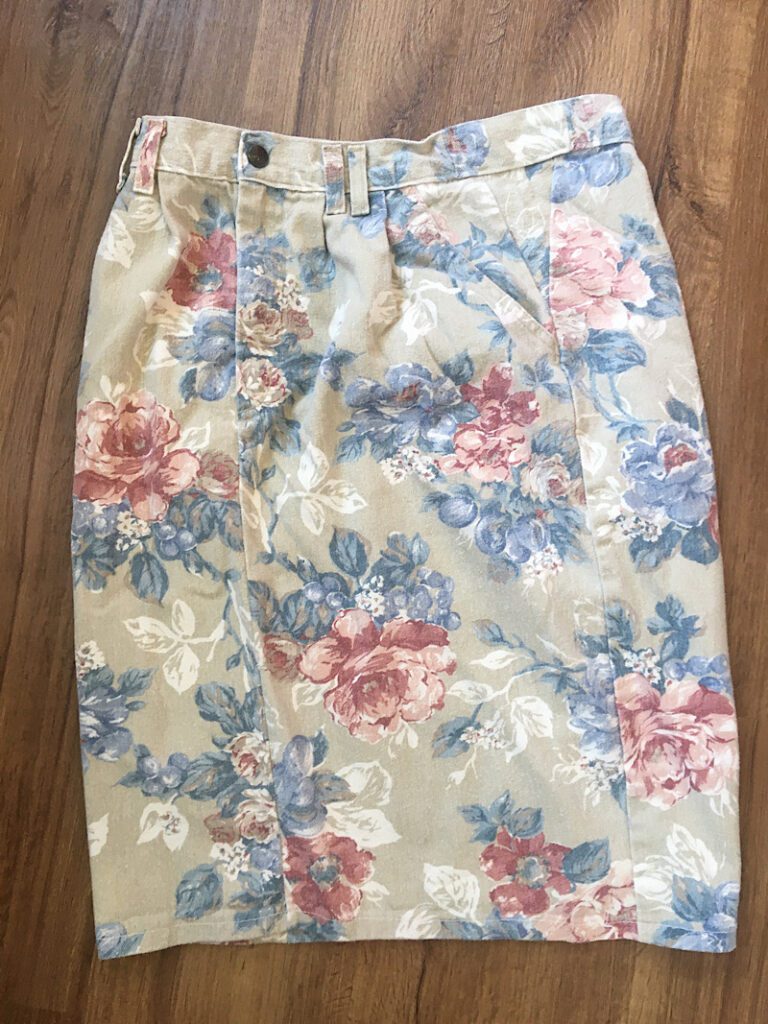
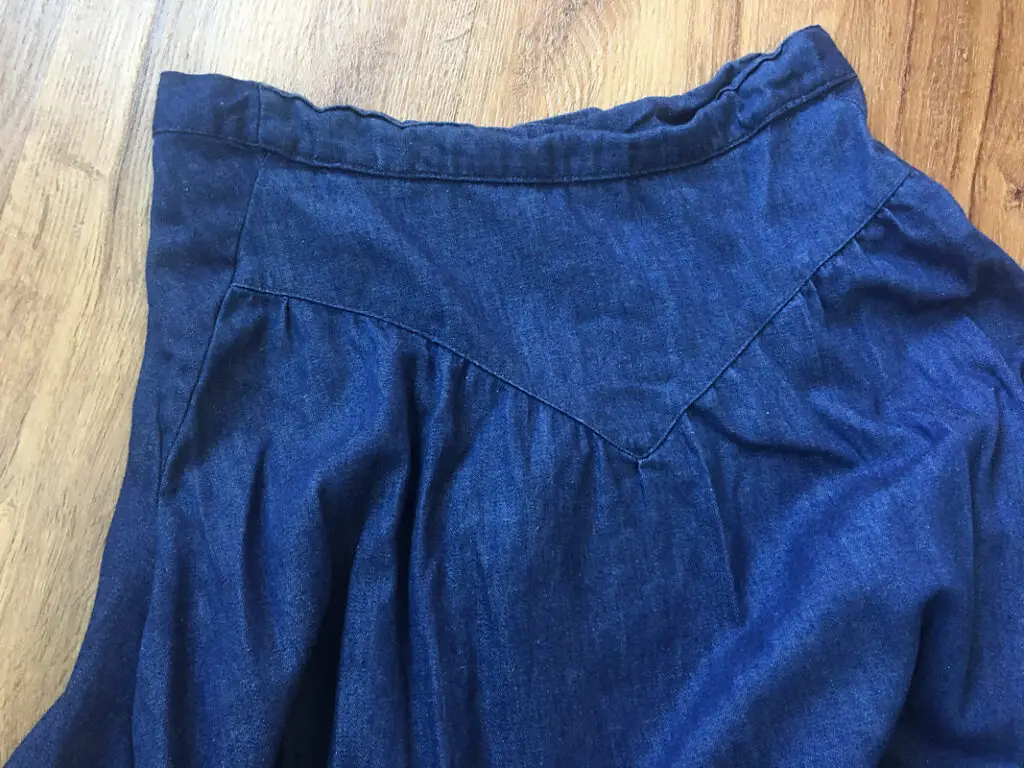
I have also done this with two different denim skirts!
Supplies Needed
- Jeans to repair
- Matching denim fabric (find another pair or pants, or material that is as close as possible to the color of your jeans. Or crop the pants into shorts and use the excess fabric to mend the waist.
- Thread that matches the top stitching on the jeans (may be tan, yellow, white, etc)
- Thread that matches the denim fabric color
- Seam ripper
- Sewing Pins
- Measuring tape, sewing machine, scissors, etc.
- Paper, ruler, and pen to make a pattern
How To Make Jeans Waist Bigger
Step 1. Disassemble The Pants
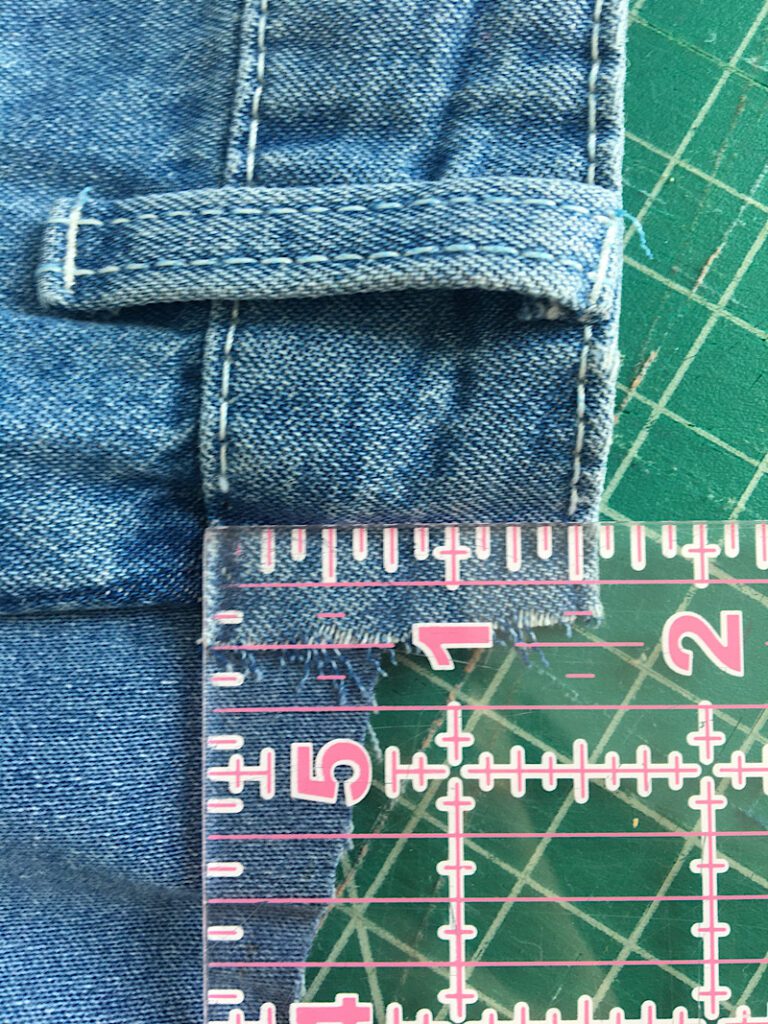
Locate the side seam of your jeans. Directly above the seam, use your scissors to cut through the waist band (cut ONLY through the waist band, not through the side of the pants)

Next, using your seam ripper, open up the side seam under the cut you just made a few inches down. (I stopped above my pockets).
Also open the waist band on each side of the cut you made 1-2 inches.

Repeat these steps on the other side of the pants.
Step 2. Make The Gusset Pattern
Now, try on the pants the best you can and look at the side seams you have opened. Decide if they need to be opened further down, or if there is enough slack now that you can measure them for a gusset.
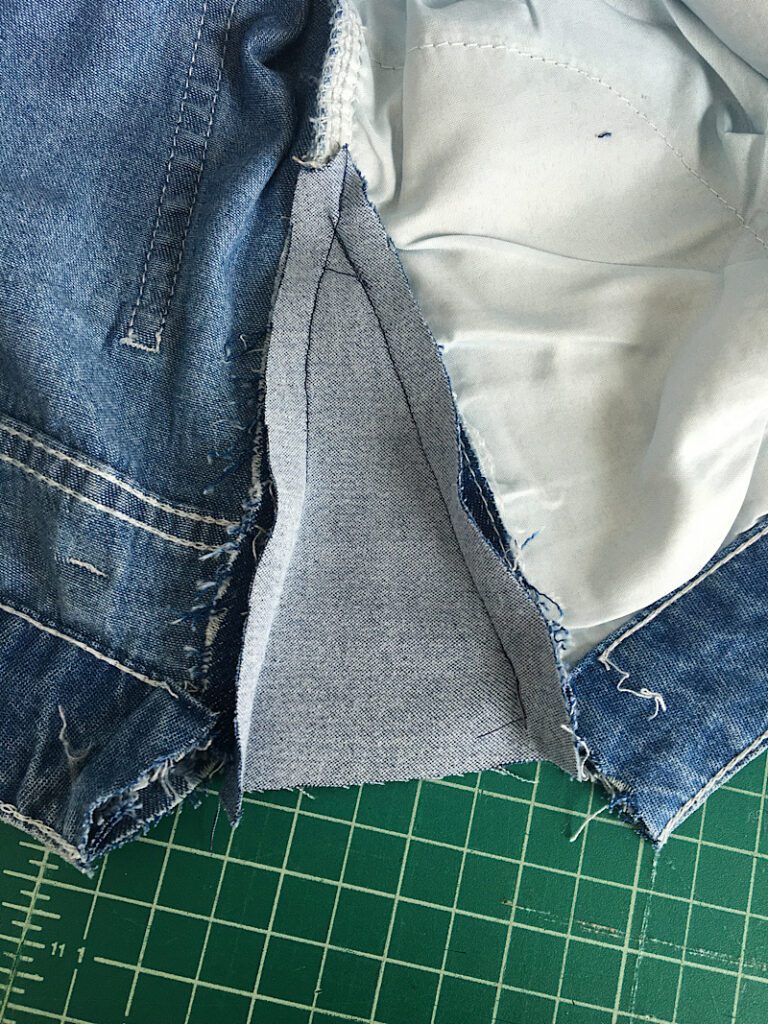
With the pants on your body, try to hold the front and back of the pants evenly, so the openings are the same on both sides. You will notice that it makes little triangle shapes.
Measure the top of the triangle opening just underneath the waistband. You want to include the seam allowance in your measurement. This will determine how wide your gussets need to be.
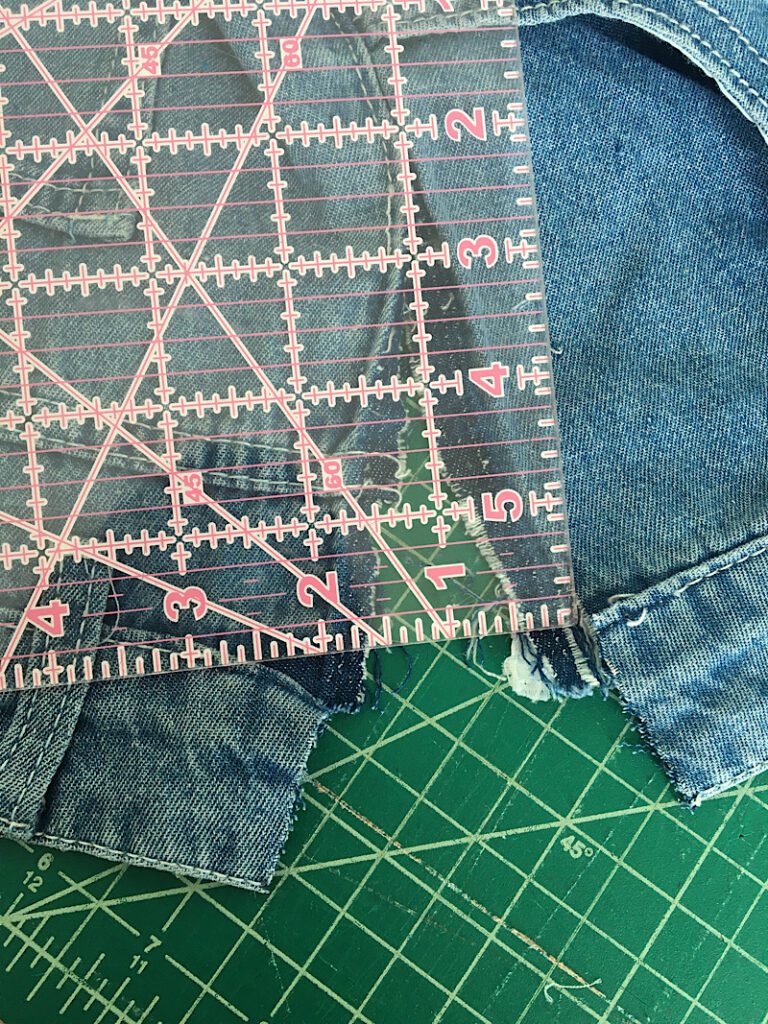
Also measure the height of the seam you opened, not including the waistband portion.
These measurements will be used to make your gusset pattern.
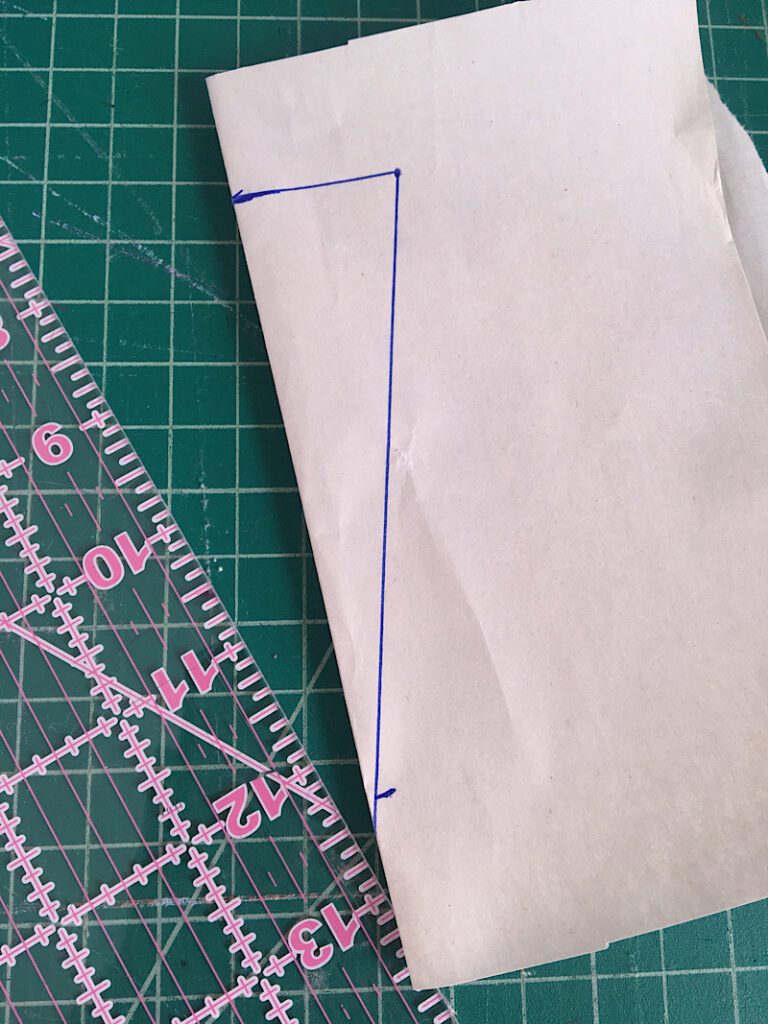
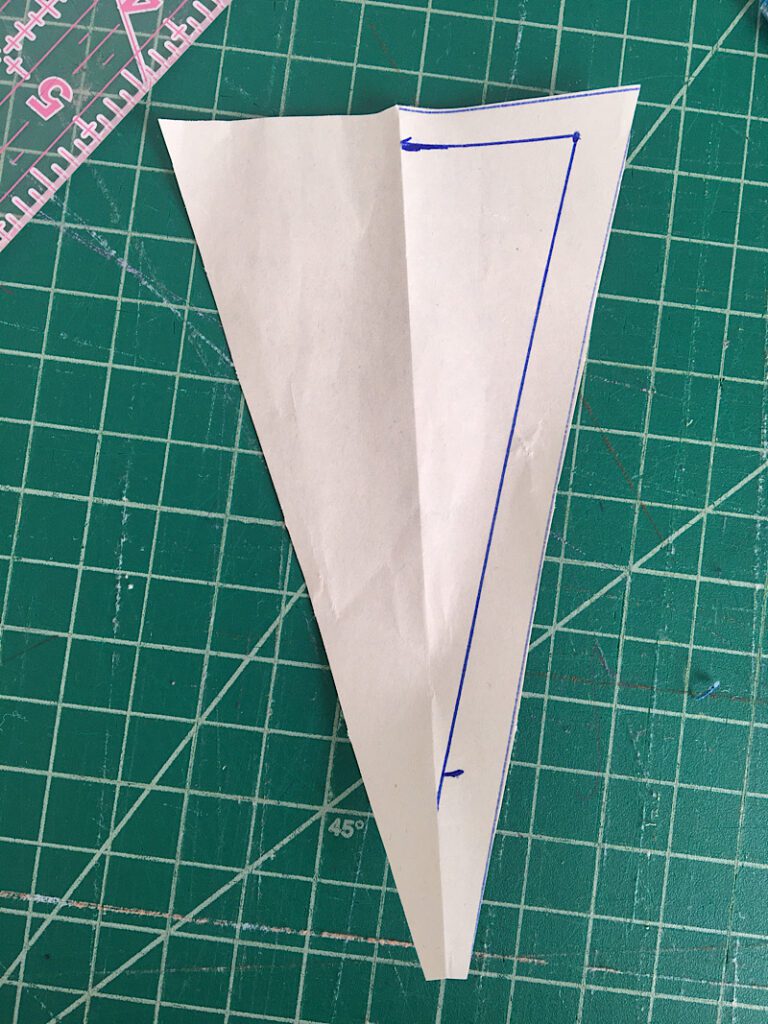
Now, get a piece of paper and fold it in half. Take your gusset WIDTH measurement and divide it in half.
From the fold, measure out that half measurement and make a point. Then draw a line from the point to the fold for the top of your triangle gusset.
Now take your side seam height measurement, and make a line equal to that measurement that goes from the previous point you drew, down to the fold to make a triangle.
Next, around the triangle draw a 3/8ths inch seam allowance.
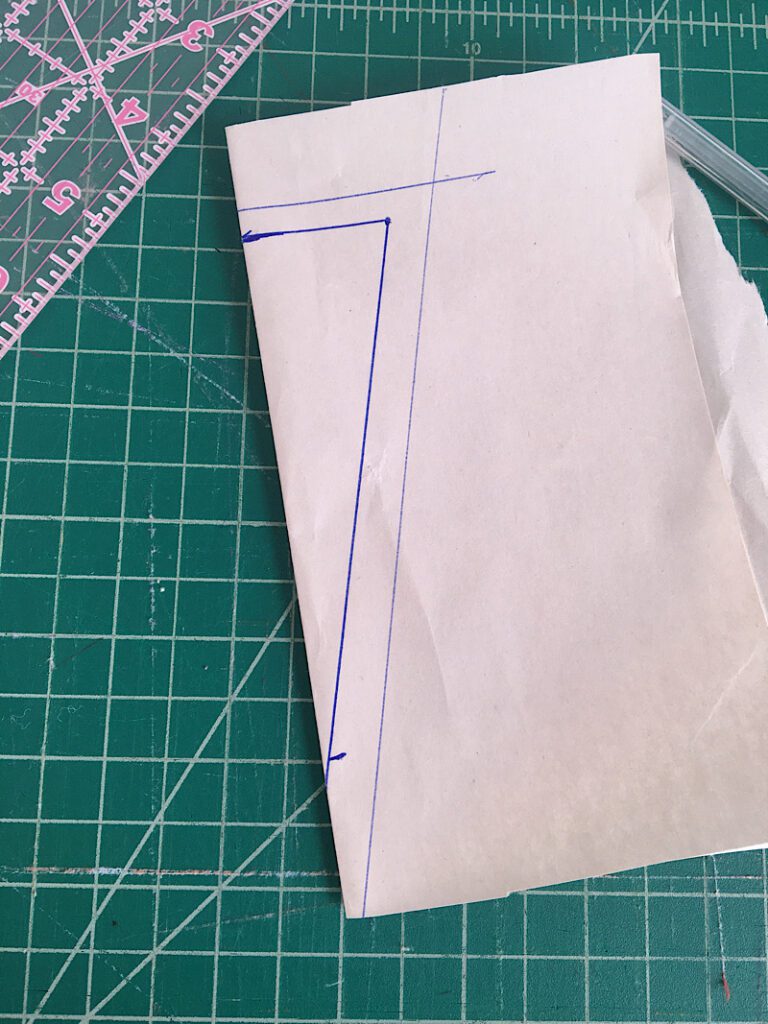
Now you can cut out the triangle and unfold it, and you have your gusset pattern!
Step 3. Attaching The Side Gussets
Now you can use your gusset pattern to cut out two triangle pieces of fabric.
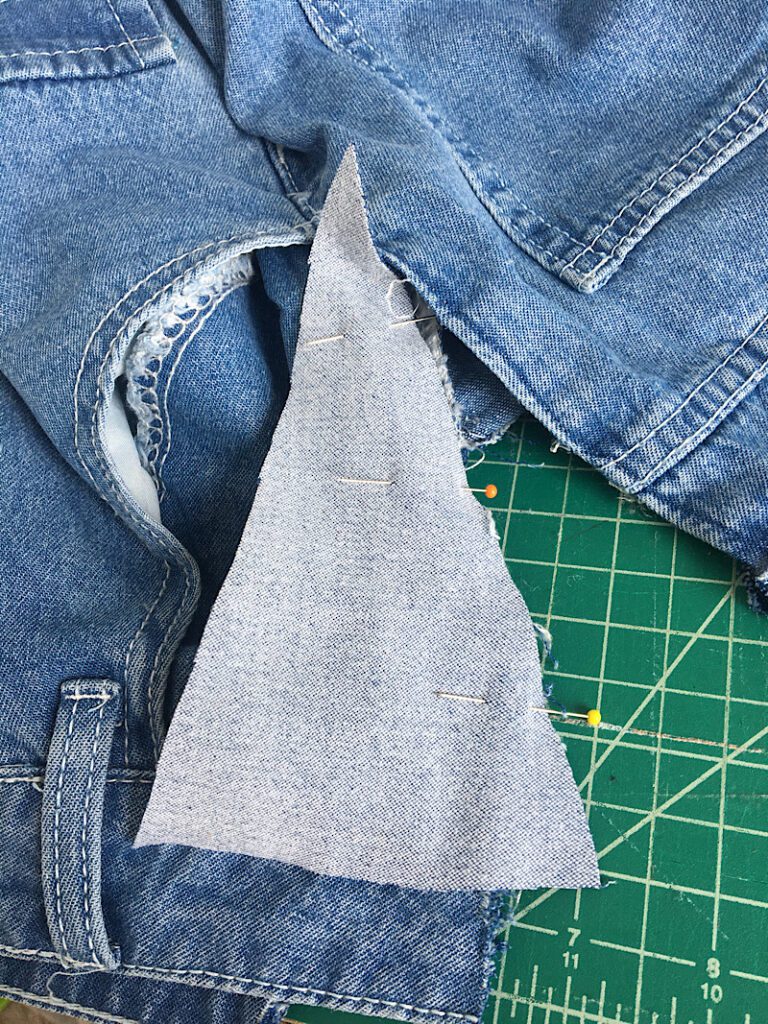
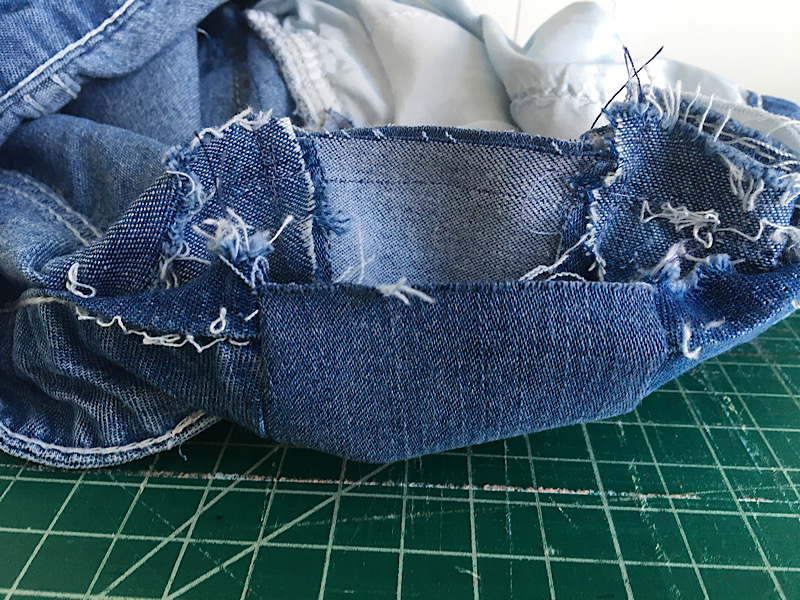
Position one of the gussets along the side seam of your pants with the right sides touching. Make sure the gusset sticks up above the side seam (not including the waistband) about 3/8ths of an inch. (This is really important, when we add more waistband there needs to be space on the top of the gusset to sew it to, so make sure the gusset doesn’t end right under the waistband, it needs to go about 3/8ths inch up “into” it.) Pin it in place.
Sew the gusset to the pants starting at the top of the side seam. Move the waistband out of the way so you do not sew through it. Sew with a 3/8ths seam allowance, or sew directly on the original stitch/fold line of the seam if you can.
Do not sew to the bottom of the triangle gusset, sew only to the bottom of the seam. (You should end in the center of the bottom of the triangle where the two seam allowances would meet.)
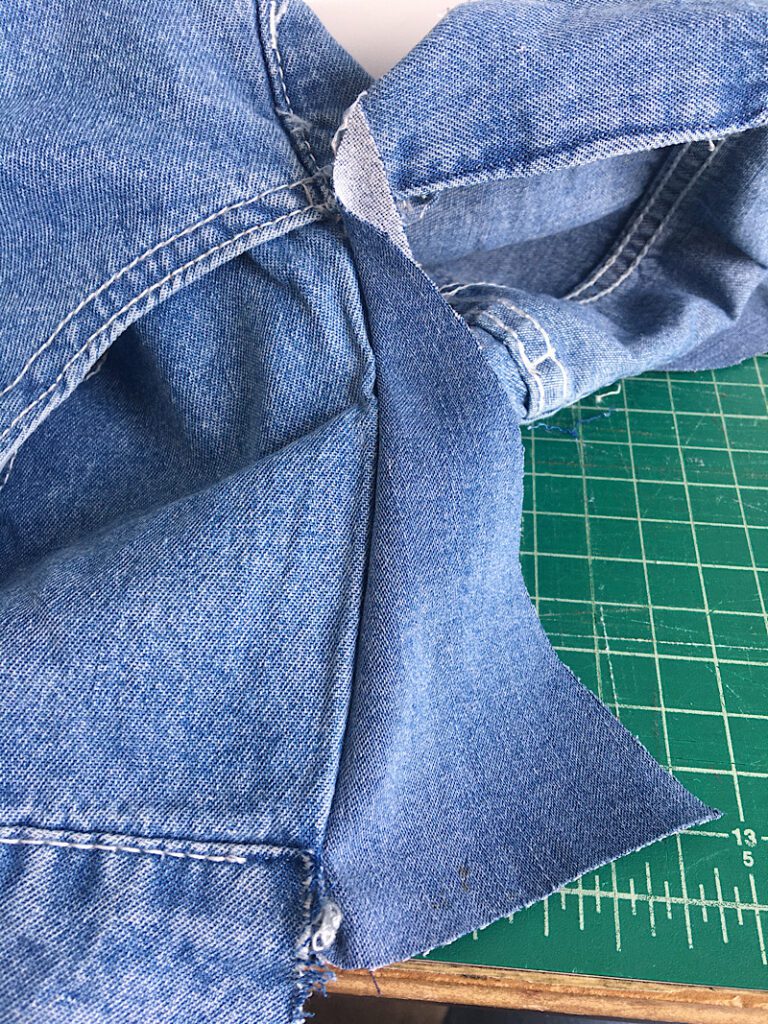
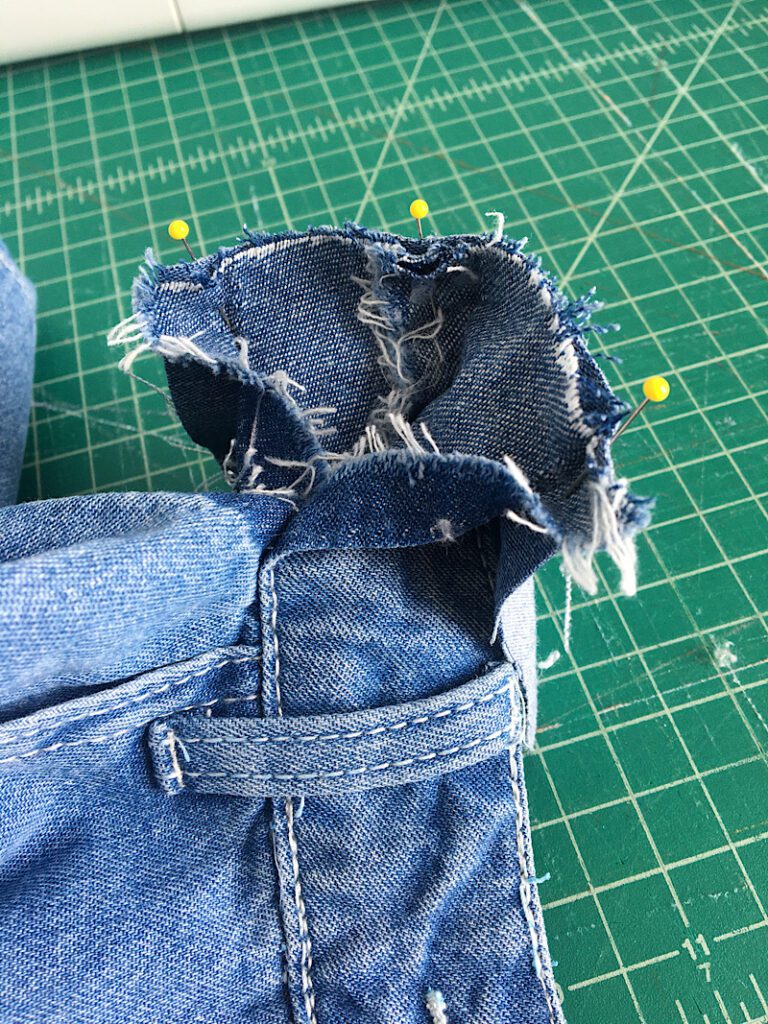
Here is what the front and back should look like after sewing the first side of the gusset:
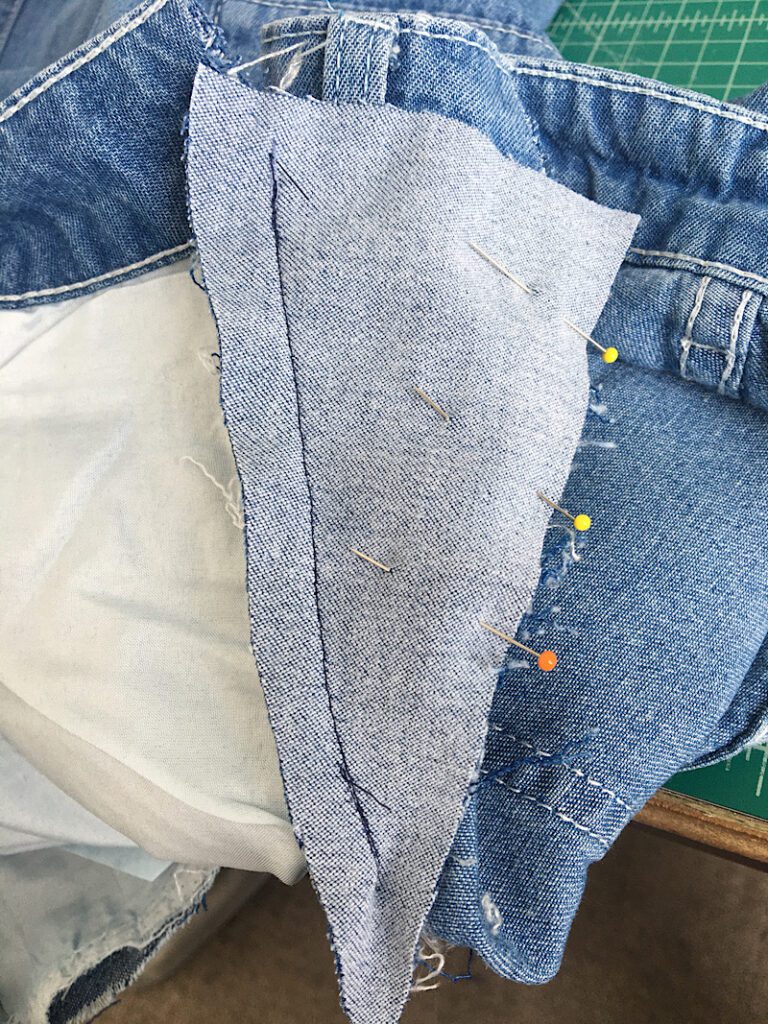
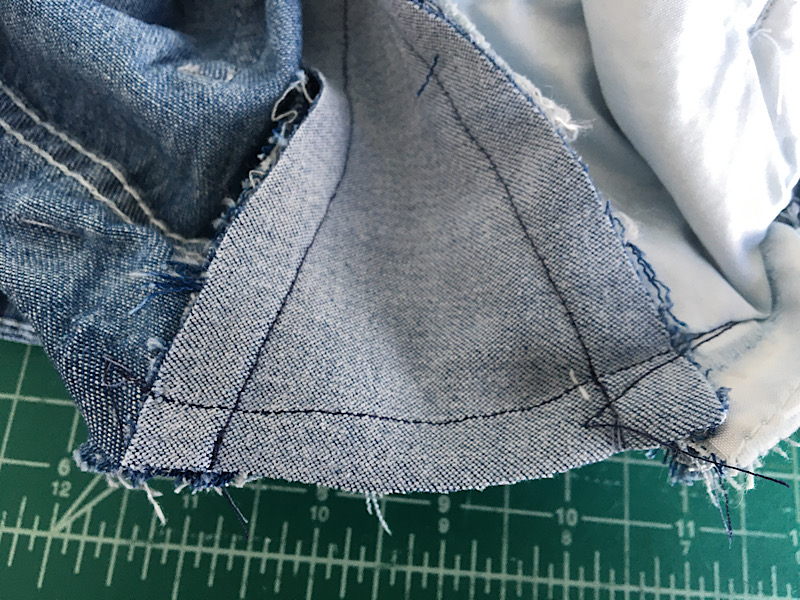
After you have sewn the first side of the gusset, pin the second side of the gusset to the other side of the seam. It will be easier if you turn the pants inside out.
Sew down the second side of the gusset the same way you sewed the first side, the two stitches should meet at the end.
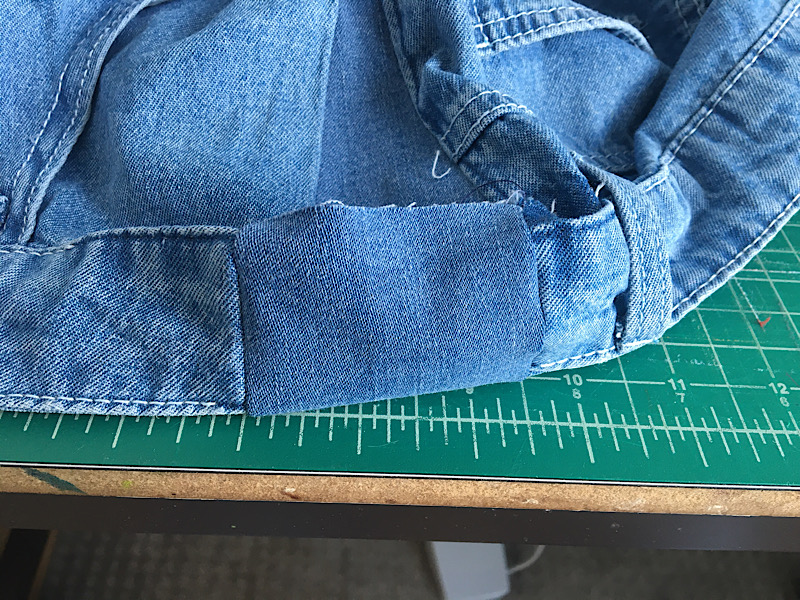
Here is the inside and outside view:

Now you will need to repeat these steps with the other side of the pants (or skirt). Then when both gussets are inserted, move on to the next step!
Step 4. Add Width To The Waistband
Now to finish off the waistband we need to add a section above the gussets on both sides.
Measure the flat top of your triangle gusset pattern. (Mine was 2.75 inches)
Then, measure the height of your waistband. Multiply this number by 2, and add 3/4ths an inch for seam allowance. (My waistband was 1 5/8ths, adding seam allowance made 2 3/8).
Then, cut out two denim rectangles with these dimensions.
Unpick the topstitching of the waistband on either side of the gusset about an inch or two.
Pin one of the rectangle pieces to one side of the waistband with the right sides together. You will have to kind of open up the waistband piece so you can pin the seam allowances.
Sew the piece together with 3/8ths seam allowance.
Now this part is a bit tricky. You will need to pin the other side of the rectangle to the other side of the waistband, with the right sides touching. So you will need to manipulate the pants inside out until the two sides of the waistband are close enough together that they can almost stack on top of each other.
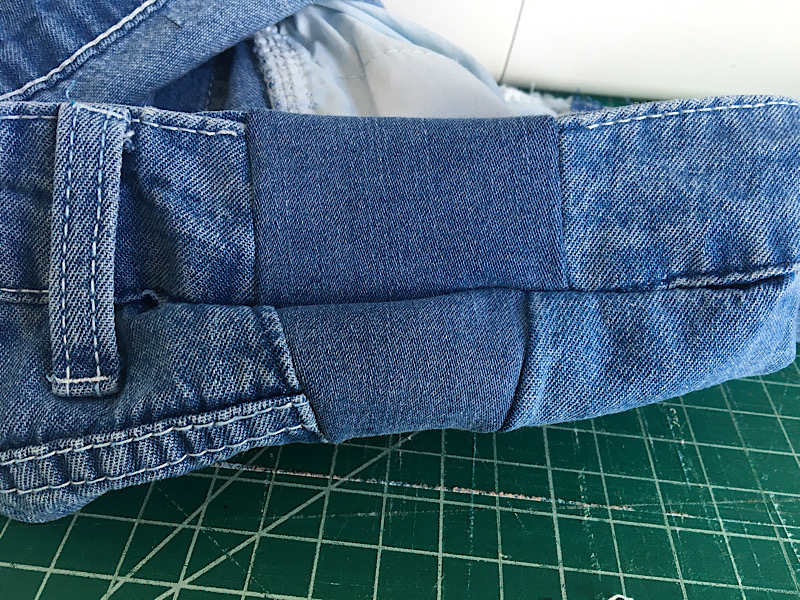
Pin the other side, and then sew it down as well. Then turn it right side out, and it should look like this:
Now fold the rectangle piece in all the places that the original waistband was folded to make it match as best you can. You can use an iron if you need to.
Now working on the inner side of the waistband, open up the waistband and pin the raw edge of the rectangle to the top edge of the triangle gusset.
Sew them together by sewing this entire side of the gap closed, being careful not to sew through the front side of the waistband.
Now working on the outside of the pants, fold the raw edge of the rectangle piece under so it matches the original waistband, and pin it down. Then sew across the bottom of the entire gap with a top stitch.

Then repeat this step with the other side!
Step 5. Add Top Stitching
This step is optional. You should have been using the denim colored thread this whole time of course, but now if you want to add back some top stitching that matches the original jeans, it will make it look just a bit more professional!
My jeans have white top stitching, and although my thread is not as thick and didn’t have as long of a stitch length, I still think it helps it look a bit better.
I added top stitching along the sides of the gusset, and the top and bottom of the new waistband piece.
Then, you are done!
This was a bit of a trickier alteration, but it really works!
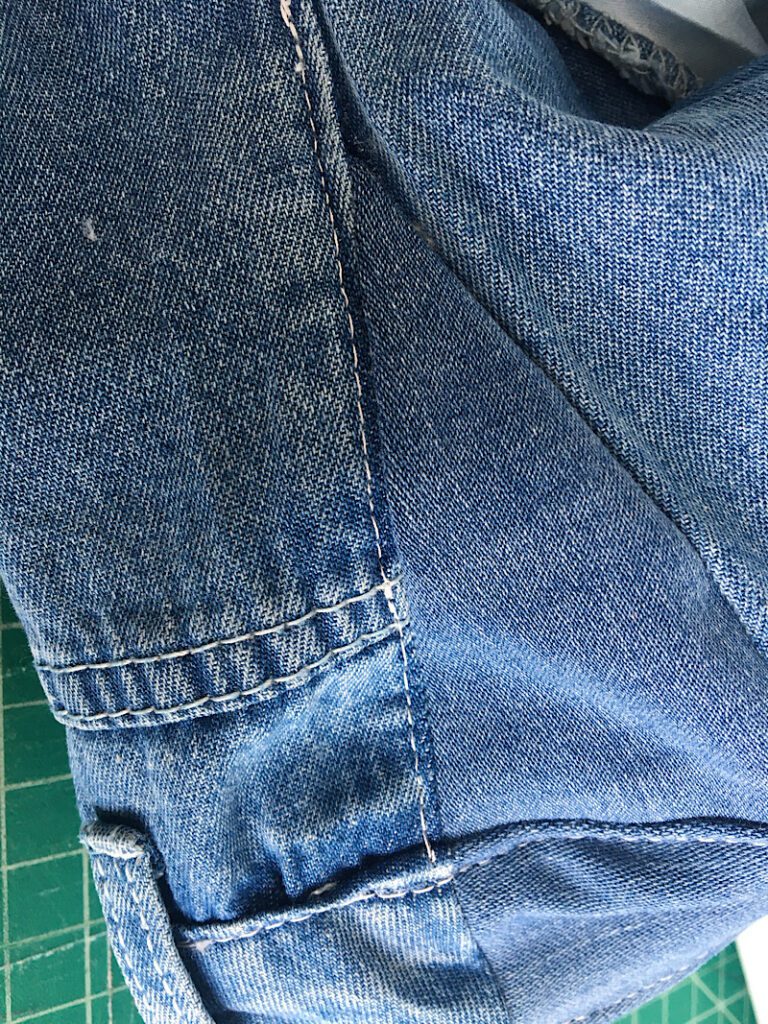
Here is the completed project:
Adding side seams to jeans (or any denim pants or skirts that have a waistband like in this tutorial) can be done using this method!
I hope this tutorial was helpful to you, it is an involved one so if you need help let me know.
And be sure to sign up for my email list to neve miss my sewing updates!