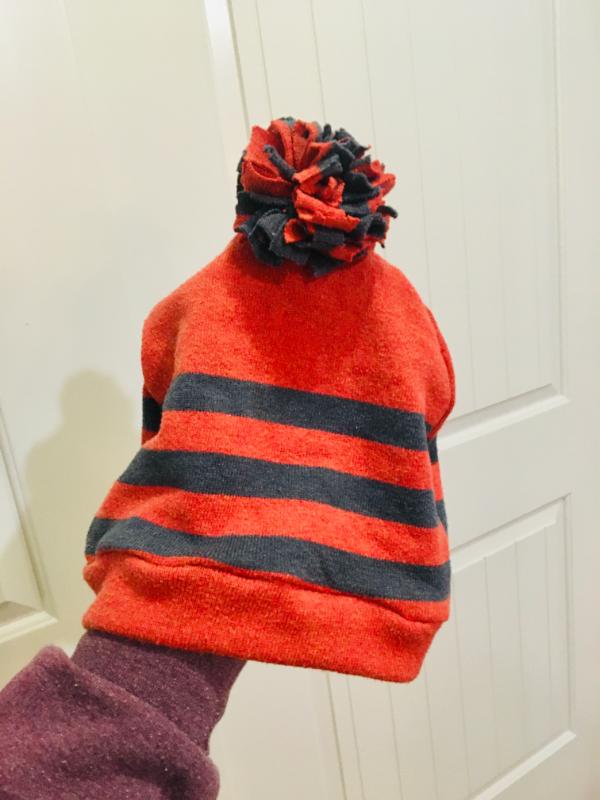
Don’t throw out your old sweaters! They are good for so many things! Learn how to turn a sweater into a beanie hat with this easy sewing tutorial.
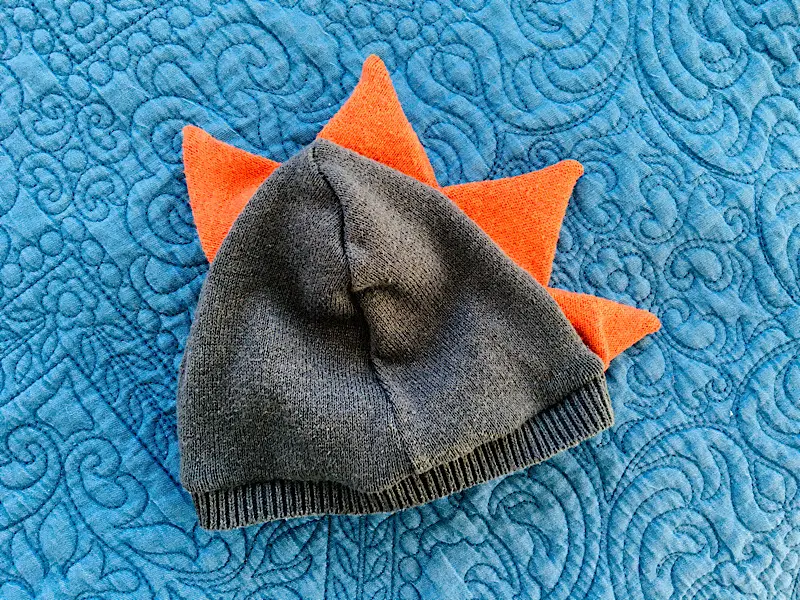
I have used sweaters for a lot of upcycle projects over the years. This season, my kids needed a few more winter hats and I still had a lot of my husband’s old knit pullover sweater left (I previously used it to make a dinosaur beanie hat).
Today I will show you how to make a plain ol’ beanie, as well as a pom pom beanie from an old sweater!
Supplies
- A knit sweater (the chunkier the knit, the cuter, but also the more difficult to sew.)
- Matching Thread
- A serger (optional! You can use a zig zag stitch if you want instead.)
- A piece of paper to make a pattern, OR another beanie to trace
How To Turn A Sweater Into A Beanie
Step 1. Make A Pattern
When making your hat, you want to keep in mind how stretchy your sweater is. You could hold the fabric around your head before cutting to double check it.
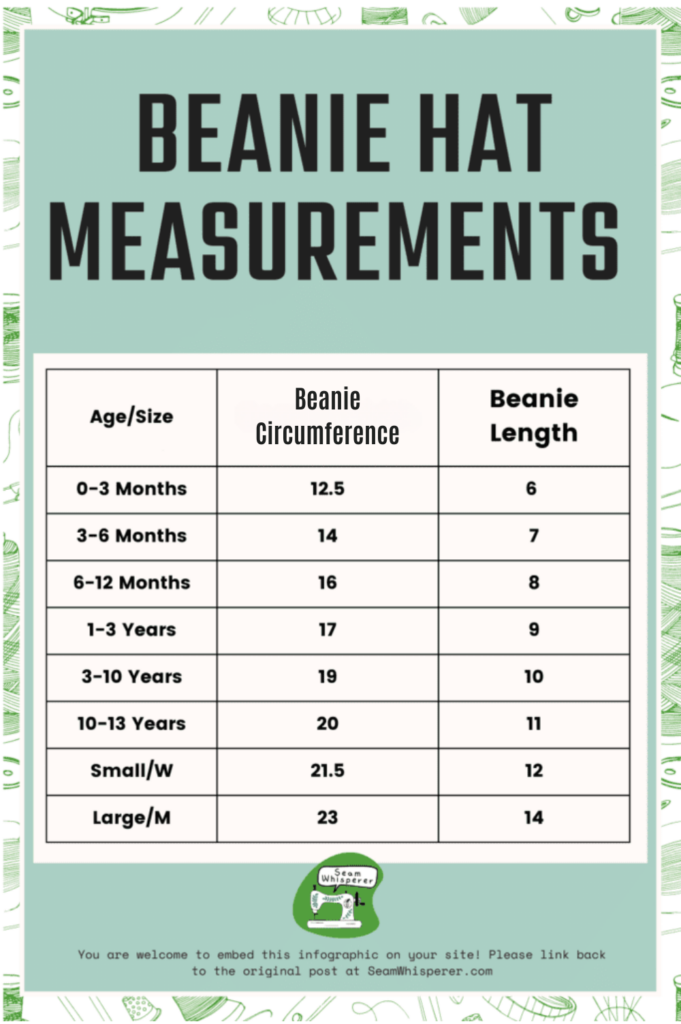
You can either trace an existing beanie you have, or you can make a pattern. Here is a handy chart with general measurements you can use to make yours:
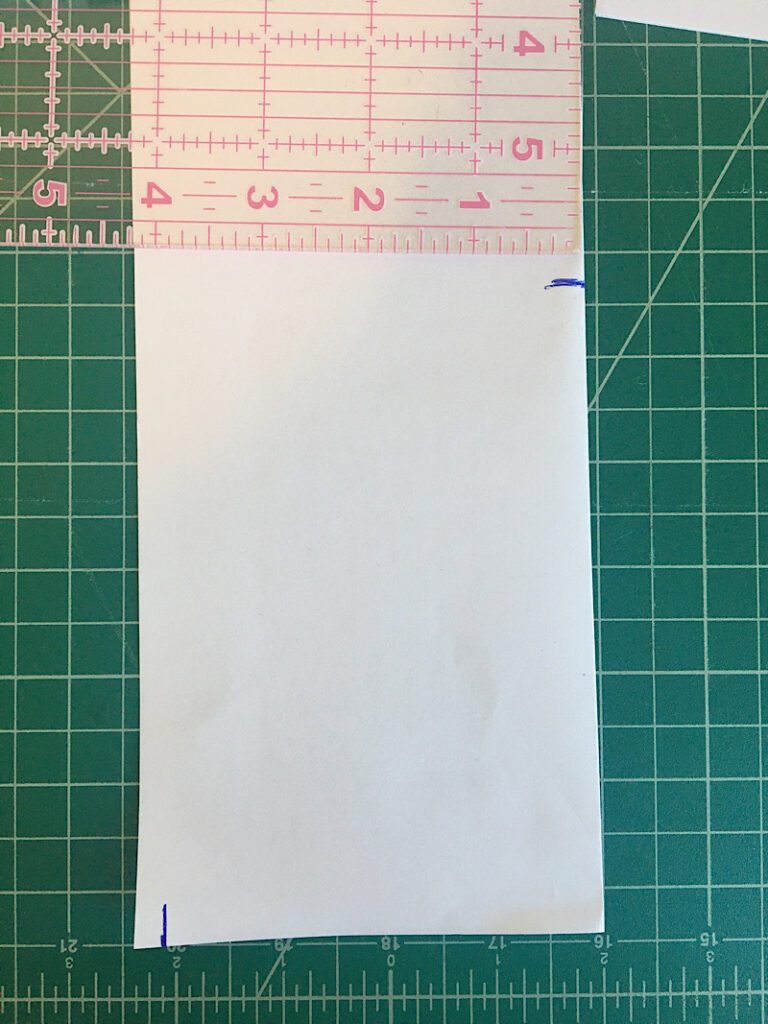
To make a pattern, fold a piece of printer paper in half lengthwise. Measure up from the bottom the height you want your hat to be, and make a mark on the fold.
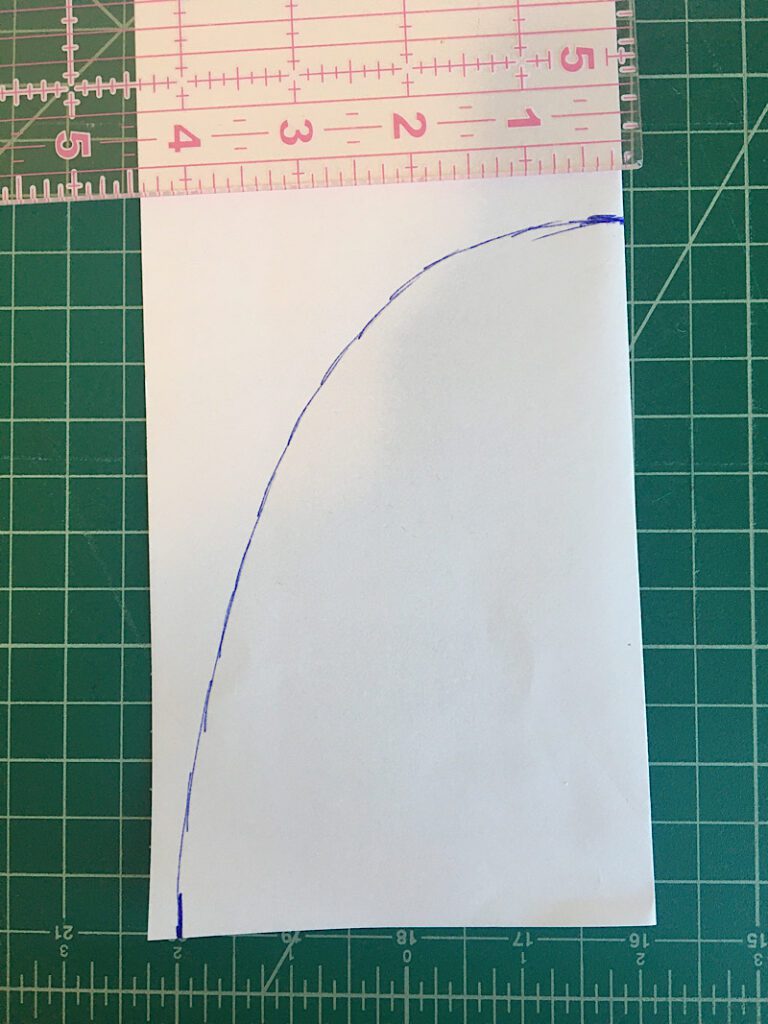
Then, measure out from the fold along the bottom edge 1/4th of the circumference you want your hat to be. Then, draw a nice curved line from the top curve down to the bottom mark.
Then cut your pattern out and open it up.
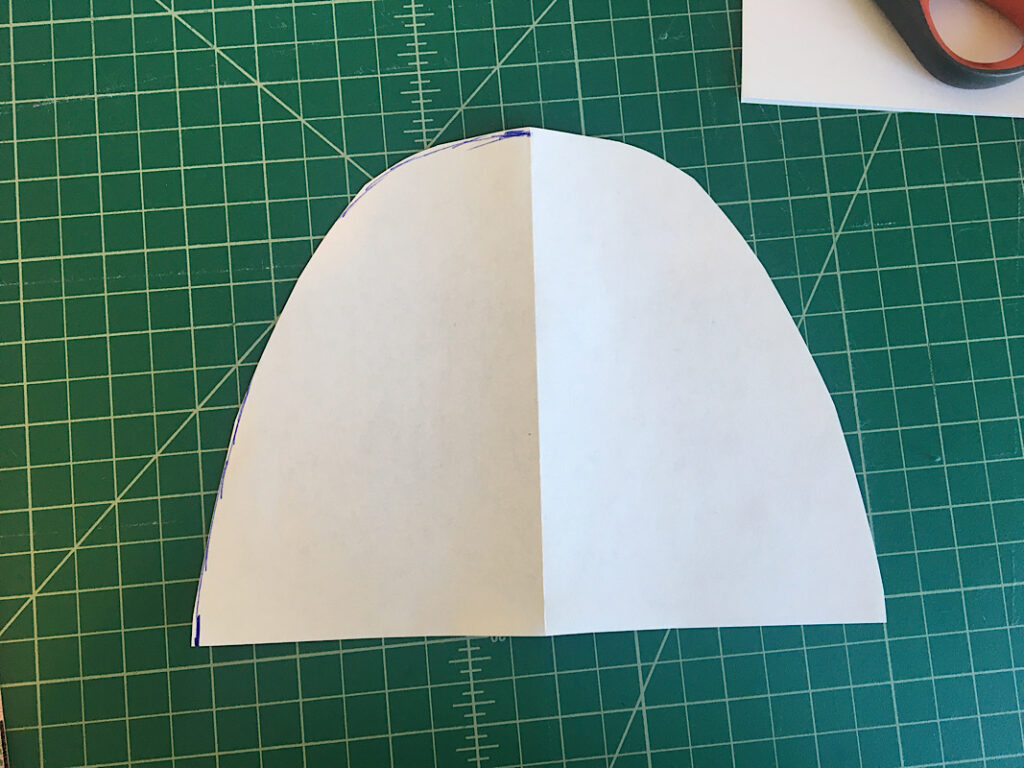
Step 2. Cut Out The Sweater
Use your pattern to cut out 2 pieces from your sweater. You can utilize the original hem of the sweater to make this project SUPER easy, or you can make a folded hem later like I did.

Place both hat pieces on top of each other with the right sides together, and serge (or zig zag) the curve. Make sure to backstitch over the beginning and end.
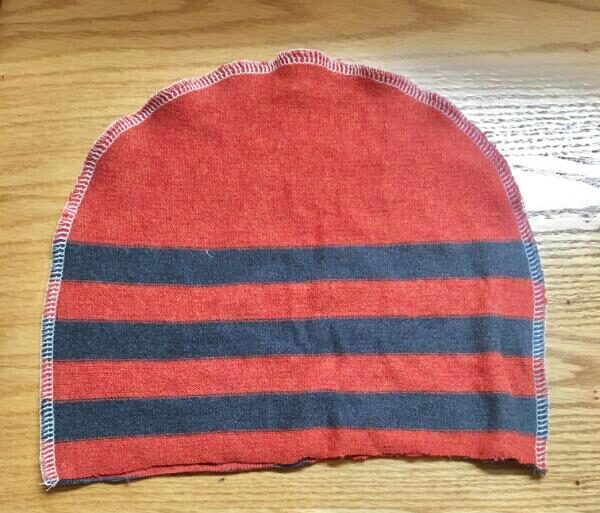
If you used the hem of the sweater to be the hem of your hat, you are now done! Just flip it right side out. If you are going to make a folded hem, keep reading.
Step 3. Make The Hem
Determine how tall of a hem you want to make, I wanted mine to be about 1.5 inches when it was done. Then, cut out a strip of the sweater (with the stretchy-ness going lengthwise along the strip) that is 1/2 to 1 inch shorter than the total circumference of the hat, and 2.5 times wider than the width you want. (So for my hat which was 20 inches circumference, I made the strip 19 inches by 3.75 inches)
Fold the strip in half with the right side together, and serge or zig zag down the short end.

Then fold the hem in half lengthwise with the wrong sides facing, to hide the side seam inside.

With the hat right side out, place the hem around the bottom of the hat, aligning the raw edges. Pin around the hem to hold it in place.

Serge or zig zag around the bottom circumference of the hem to attach it to the hat.
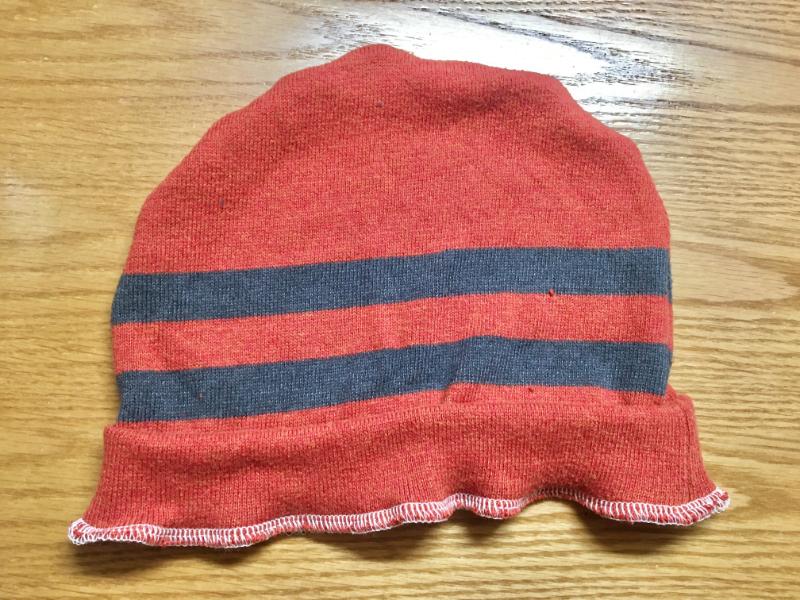
Now flip the hem down to see your finished hat!
If you want to stop here with a regular beanie, then you can. You’re done! So easy!

If you want to add a pom pom, read on.
Step 4. Add A Pom Pom
Making a pom pom from your sweater is optional, you can make one out of yarn if you want or even buy a fur pom pom.
I wouldn’t try this with a really chunky fabric, but you can if you want!
Cut out a LOT of thin strips from your sweater, about 1/2″x4″. You want a nice thick pile. The more the better it will look.
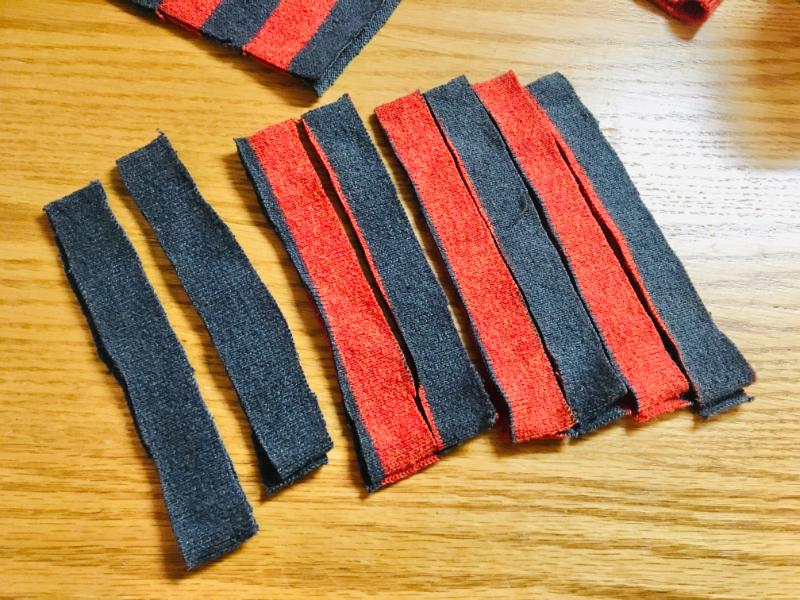
Cut another strip that is longer, and lay it horizontally. Then pile all the 4 inch strips on top in the center.

Tie the horizontal strip around the pile VERY tightly, as tight as you can.
(In this image I have not used all my strips, so that you can see the knot better. You should use more strips to make a fat pom pom.)

Now, spread the strips out into a pom pom shape and use your scissors to trim it all around and make it even. I cut about an inch off mine to make it look really good.
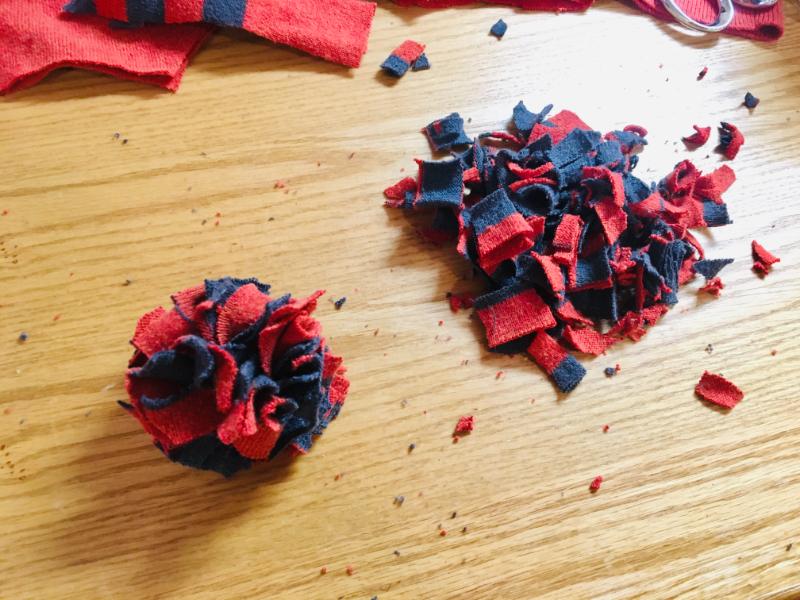
Here was my finished sweater pom pom:
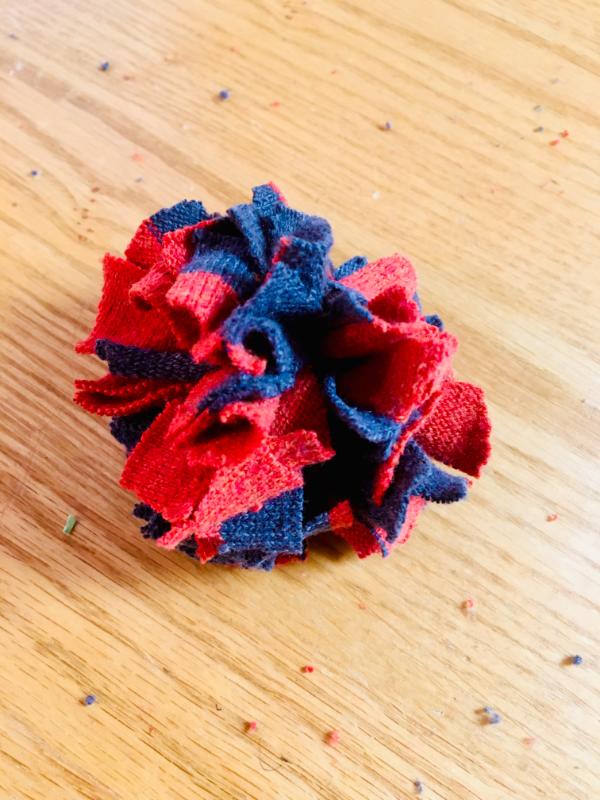
The last step is to use a needle and thread to hand sew the pom pom to the top of your beanie. Insert the needle through the center of the pom pom and through the top of the hat, and back again a few times.
Then you are done!

I am SO happy with how this turned out! This is why I love upcycling.
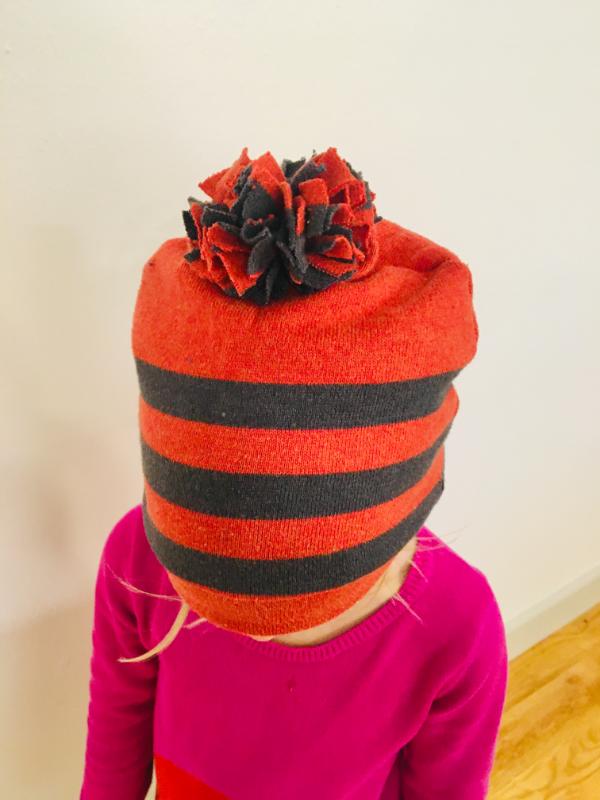
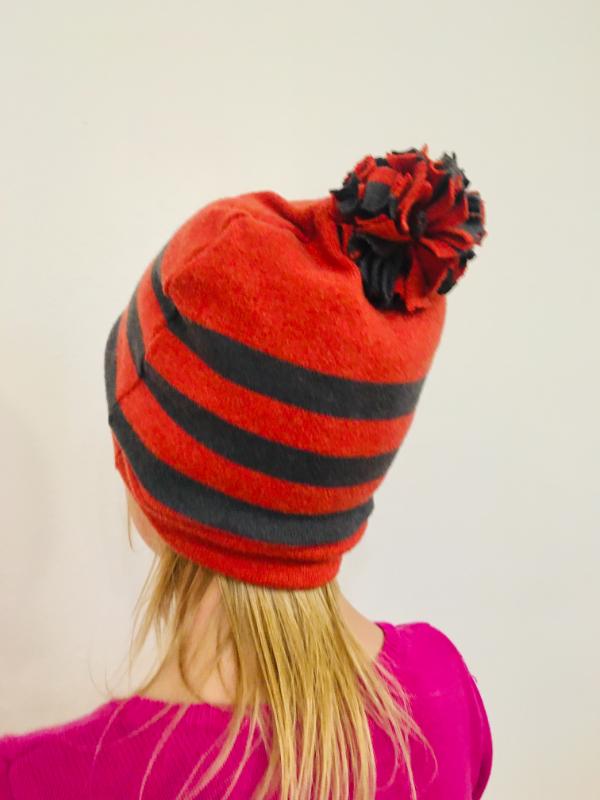
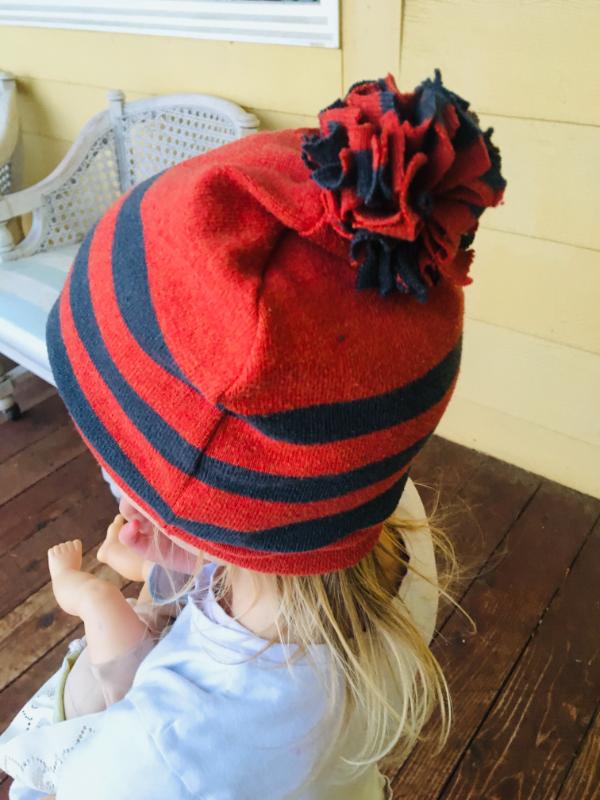
Here are some close ups of my daughter wearing her cute new hat!
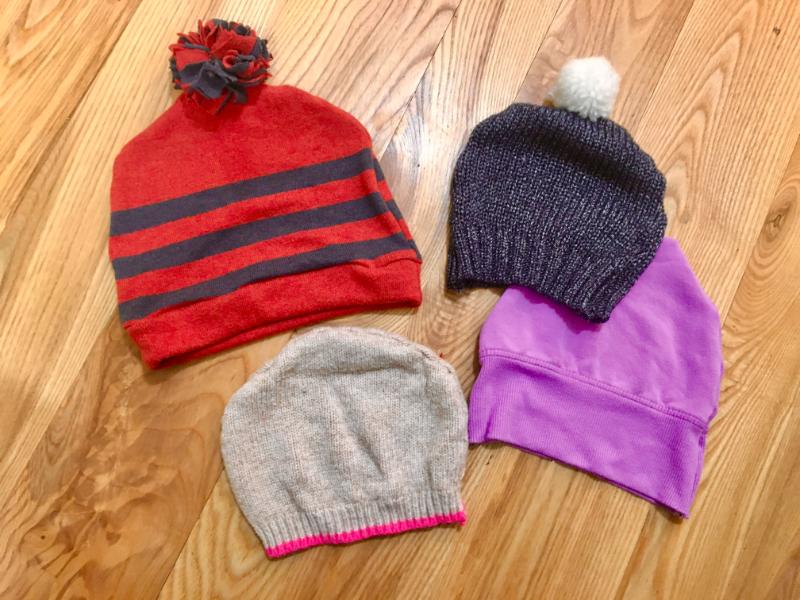
These are not from this tutorial, but here is one last photo that shows a few of the other sweater beanies I have previously made in different sizes.
One has a yarn pom pom, and they all use the original sweater hem. The purple sweatshirt is not my favorite, but it was an experiment. And it’s warm for playing in the snow.
I hope you enjoyed this tutorial! Let me know with a comment below if you have an questions. And when you try this project email me a photo!


A sweater beanie is the perfect blend of warmth and style!
Thanks Lisa!
What a simple upcycling idea! Who doesn’t have at least one old sweater just waiting to be transformed into something new? Today I’ve featured your project on Crafts on Display, I hope you enjoy it, and keep up the amazing work! https://craftsondisplay.com/sewing/upcycled-beanie-163652/
Thanks for including my project Violeta!