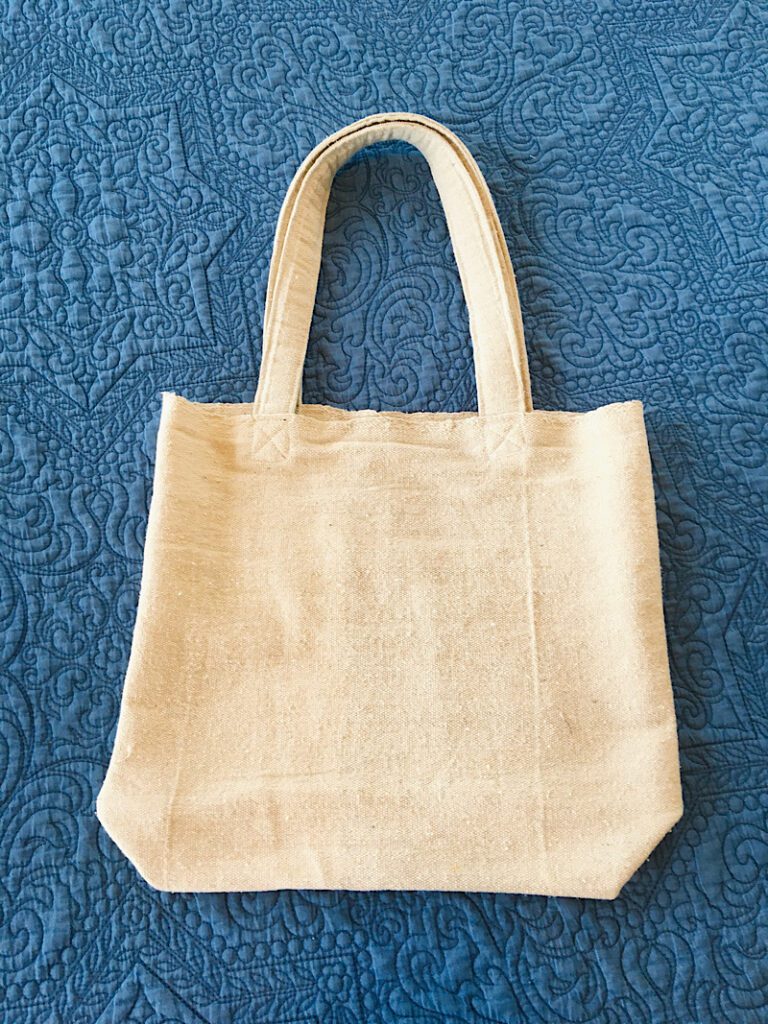
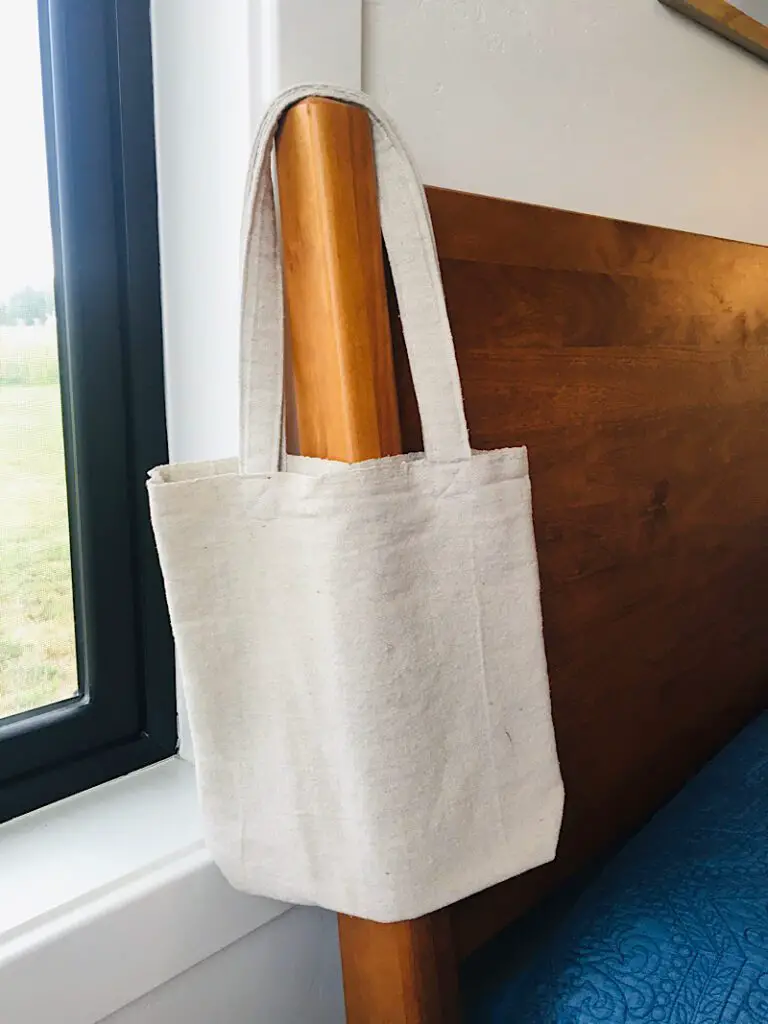
Drop cloth makes an excellent cheap material to make tote bags from! This easy tutorial makes a perfect blank canvas for any tote bag DIY project.
After finishing my beautiful ruffled Drop Cloth curtains and reupholstering an old chair with the remaining drop cloth, I still had a few scraps left that I needed to use somehow.
Enter: super easy tote bags!
I love tote bags because they have so many uses and are so fun to decorate. Plus, using drop cloth adds a lot of charm and texture due to the thicker weave.
These bags can be made in any size, but I found this small-medium sized bag to be perfect for a simple half hour project.
This post may contain affiliate links. Read the full disclosure here.
Supplies Needed
- Half a yard piece of Drop Cloth (or, one 28″x14″ piece, and two 24”x4″ pieces)
- Matching Thread
- Rotary Cutter, mat, and acrylic ruler
- Serger (optional. You can just zig zag stitch your edges)
- Sewing Pins, Sewing Machine, Fabric Scissors, Etc
How To Make A Tote Bag
Step 1. Cut The Fabric
For this project I decided to make a little square bag that is roughly a foot square or so. You can use any measurements you want, but here is what I did.
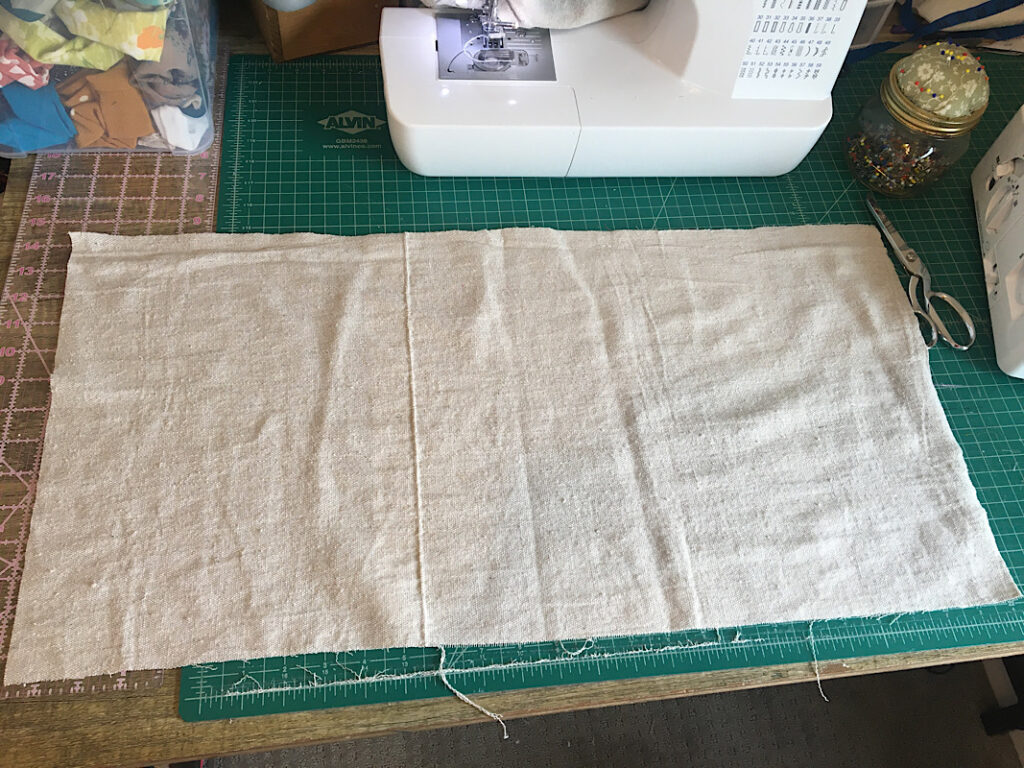
Cut out one piece of drop cloth that is 28″ by 14″. I lined my cuts up so that one of the long edges (which would end up being the top of the bag) was on a finished edge of the drop cloth, so I didn’t have to hem it.
You can add an extra inch (15″) if you need to hem the top of your bag.
For the straps you will need two 24”x4″ strips.
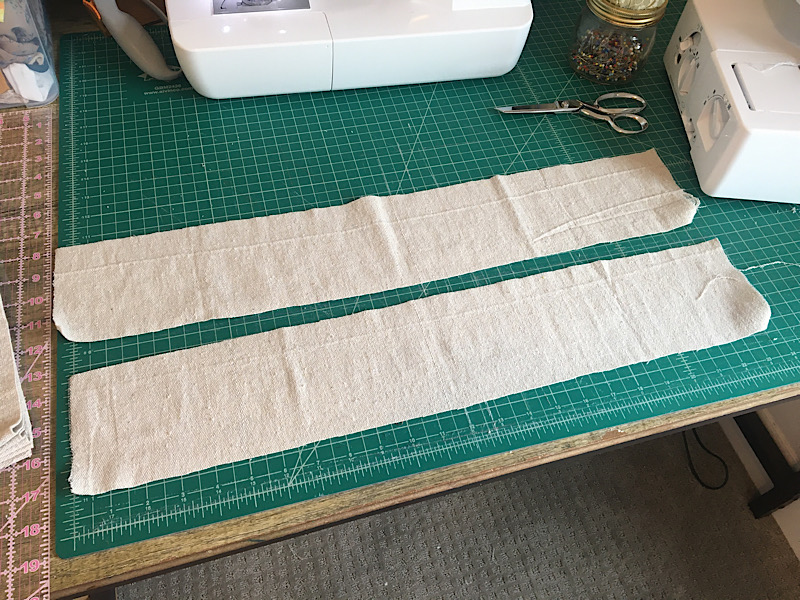
Set the strap pieces aside for now.
Step 2. Make The Bag
Fold the larger piece of fabric in half with the right sides together, and serge along the side and bottom edges.
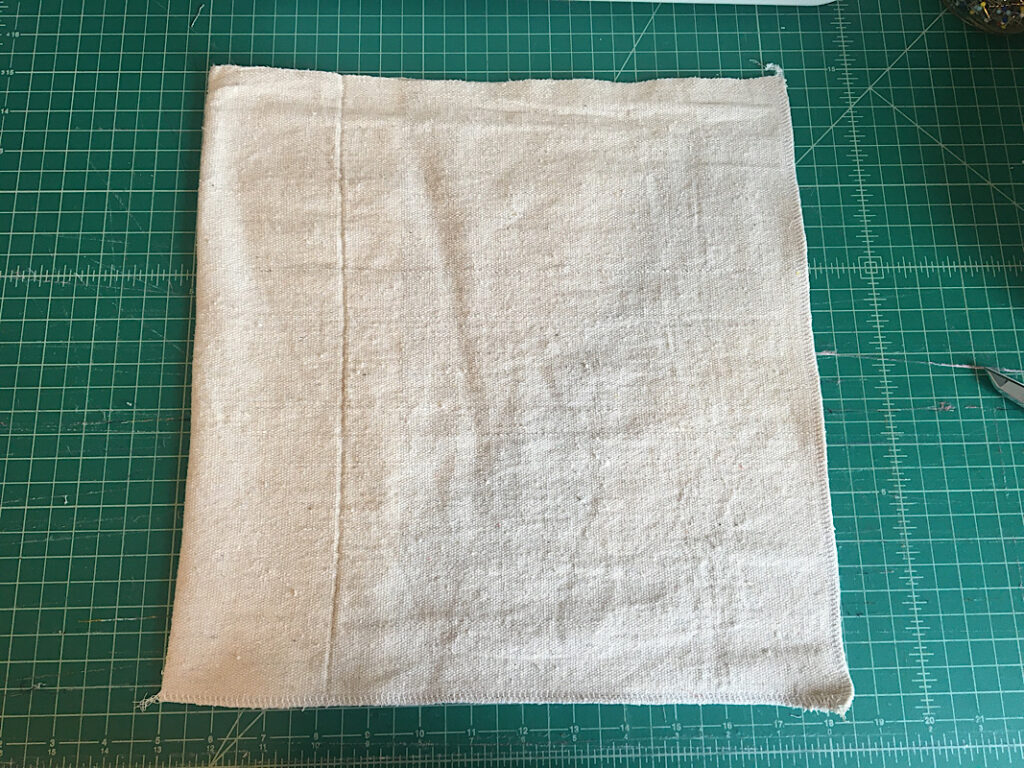
If you need to, now is also the time to hem the top of the bag by folding it over twice, or zig zagging the edge and folding it over once, then sewing it down.
Step 3. Square The Corners
Make sure your bag is nice and flat.
Using your acrylic ruler and rotary cutter, cut out a 1.5″ square from both bottom corners of the bag.
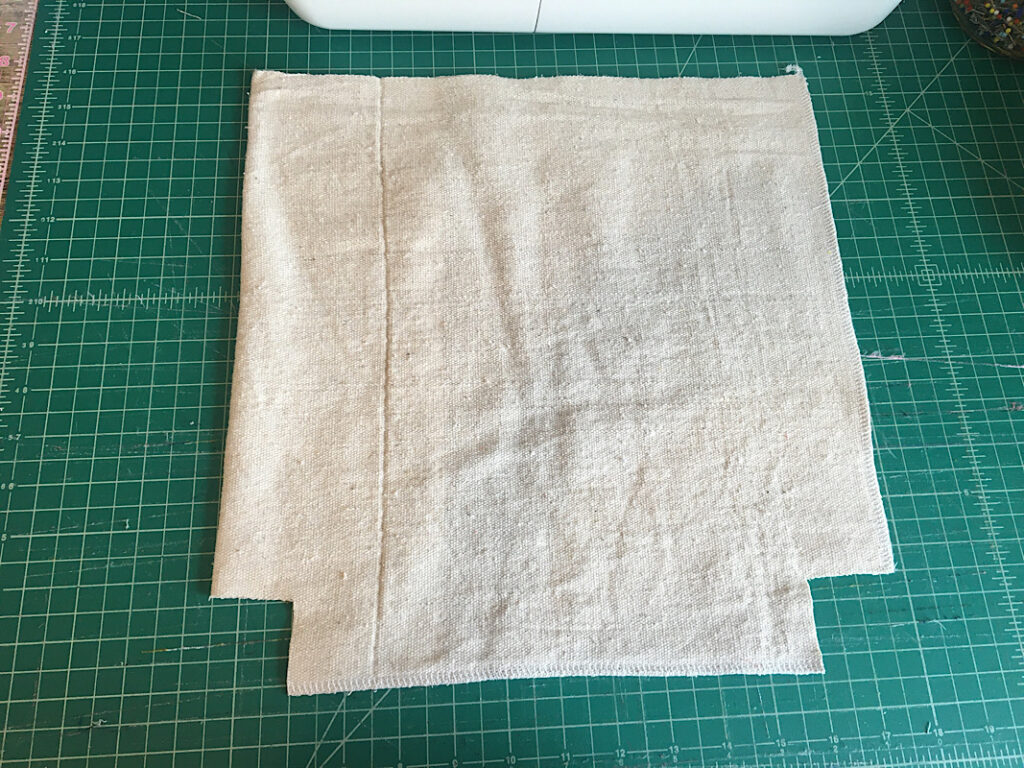
Then, open up the cut corners and align the side and bottom seams. Pin it in place.
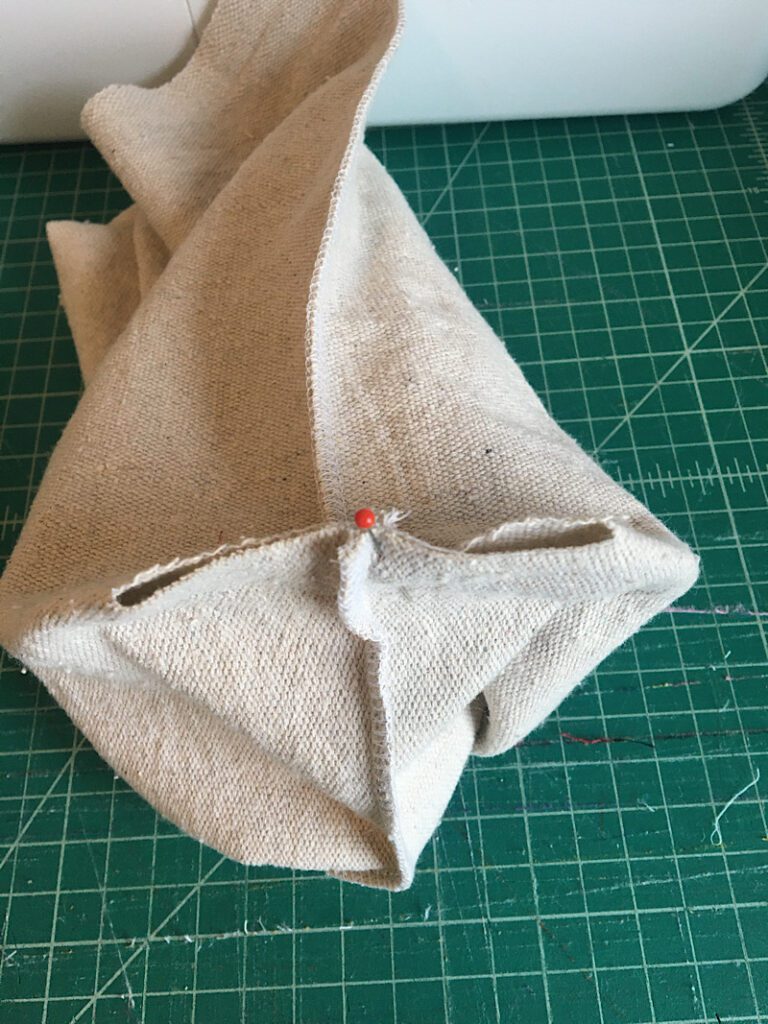
The, serge across the pinned line.
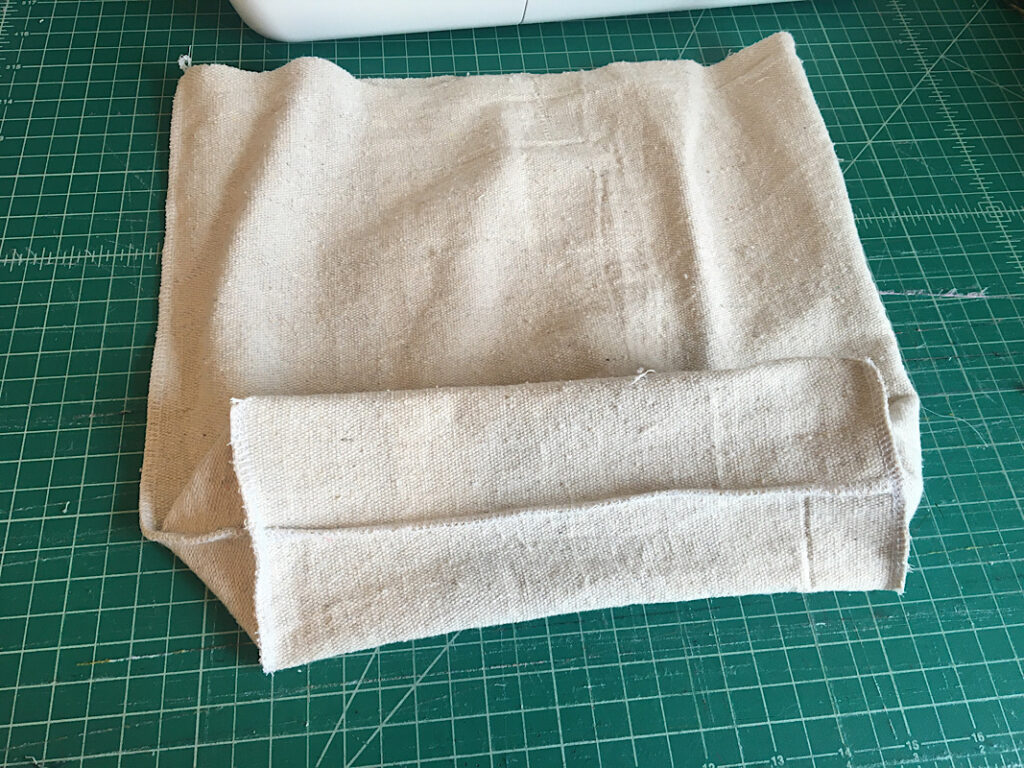
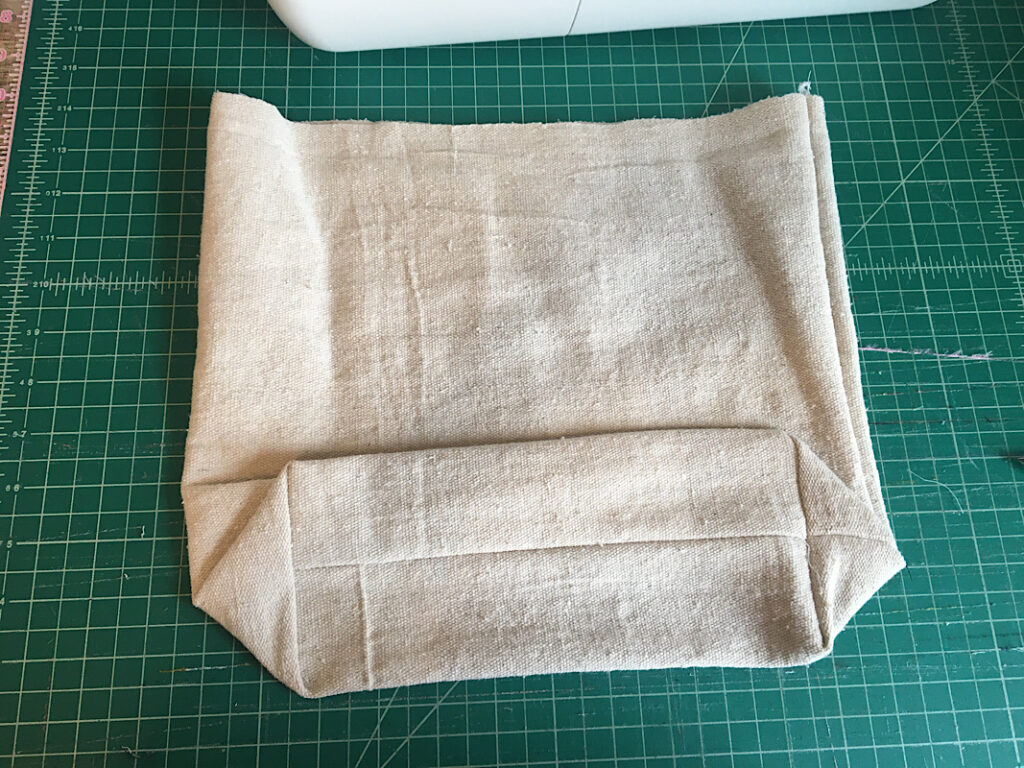
Now you can turn your bag inside out and flatten it out to see how great it looks.
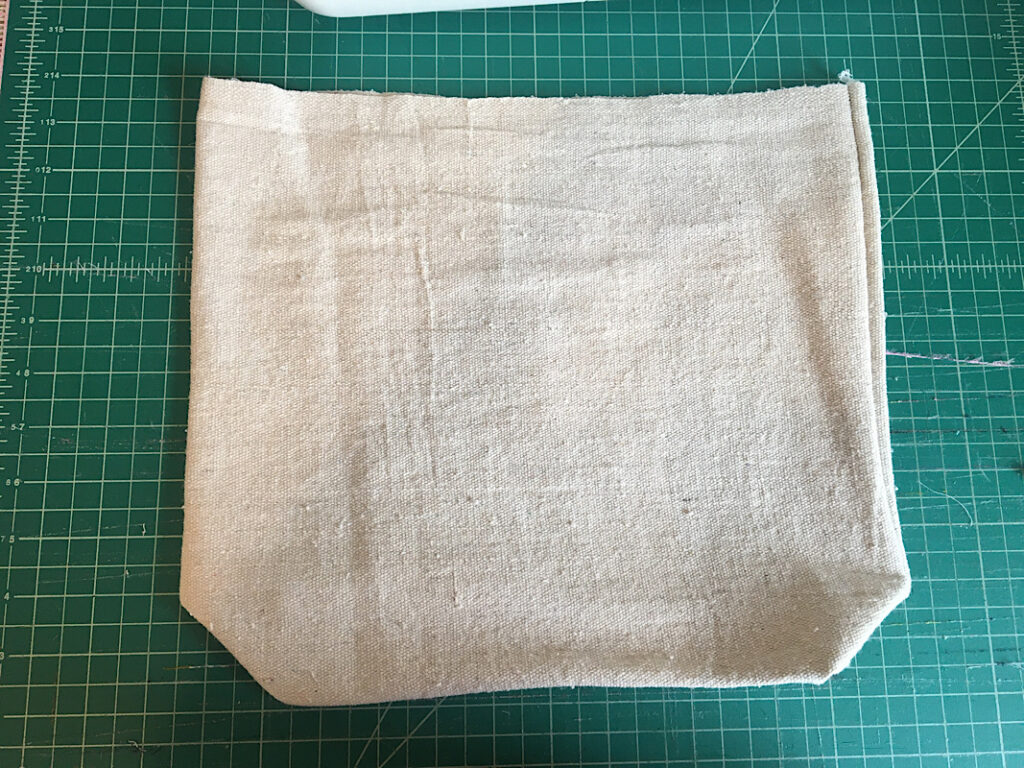
Step 4. Assemble The Handles
Now let’s move on to the handles.
Fold the two long edges of a strip into the center.
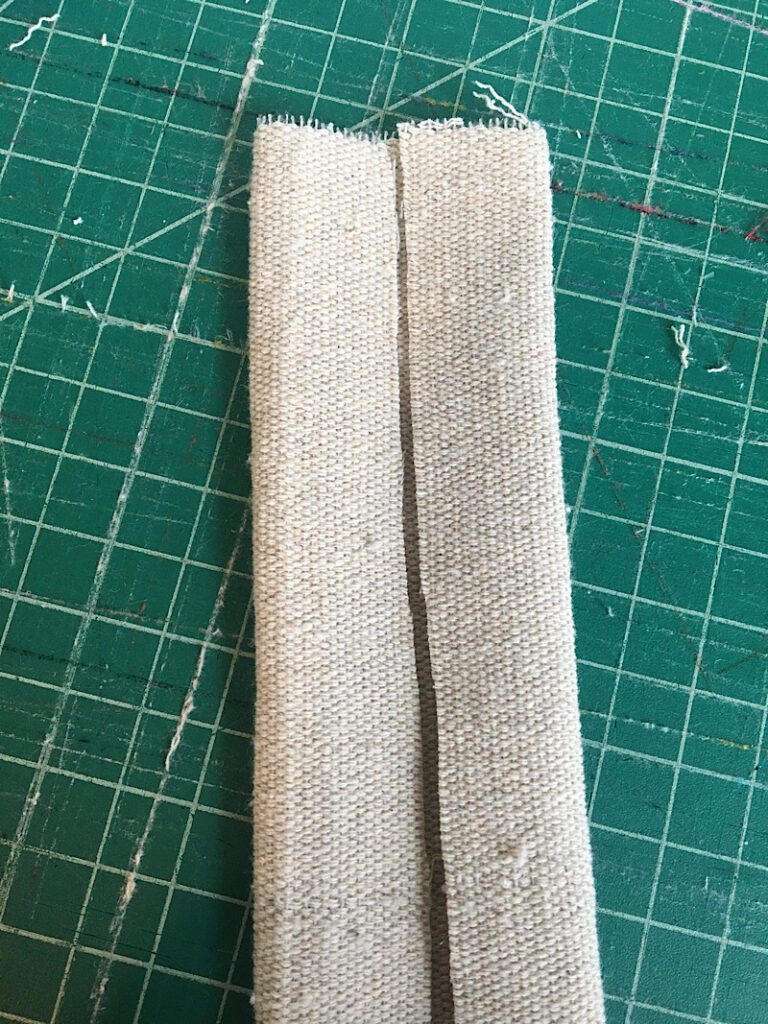
Then fold the strip in half, and pin it in place.
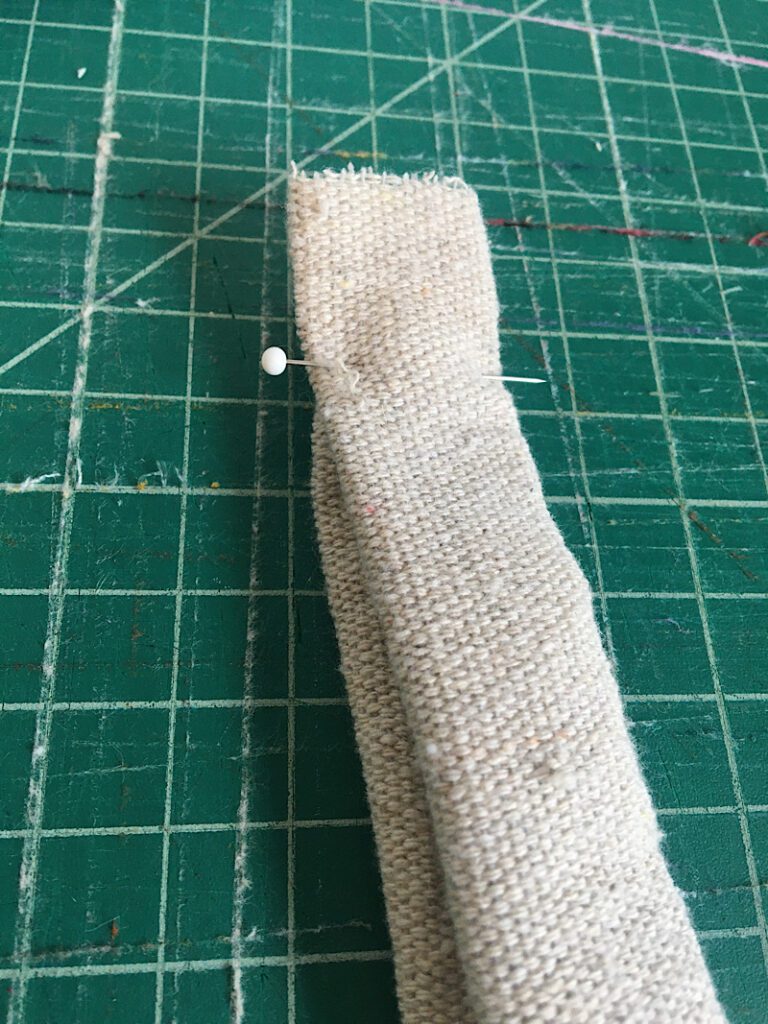
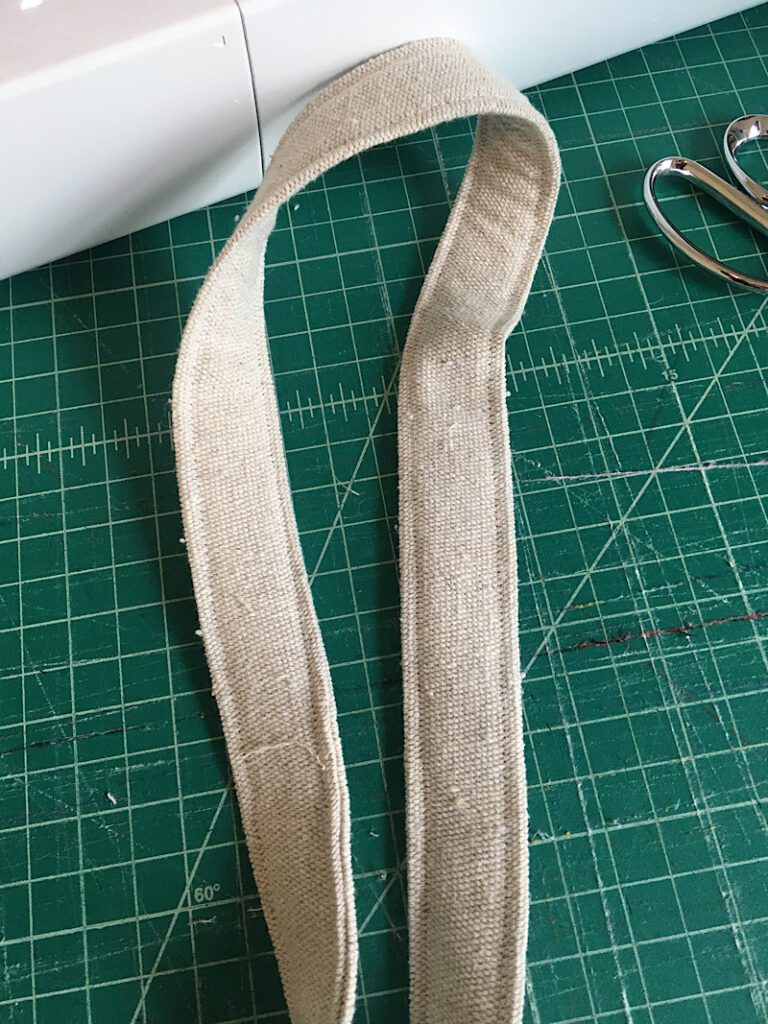
Sew down both sides of the strip near the edge, about 1/8th an inch or so.
Then repeat these steps with the other handle.
Step 5. Attach The Handles
To attach the handles, the the tote bag inside out again and flatten it out.
Measure where you want to attach your handles.
I attached mine 3 inches in, and one inch down.
Fold each end of the strap under 1/2 inch, and pin it in place on the bag.
Make sure the handle is not twisted.
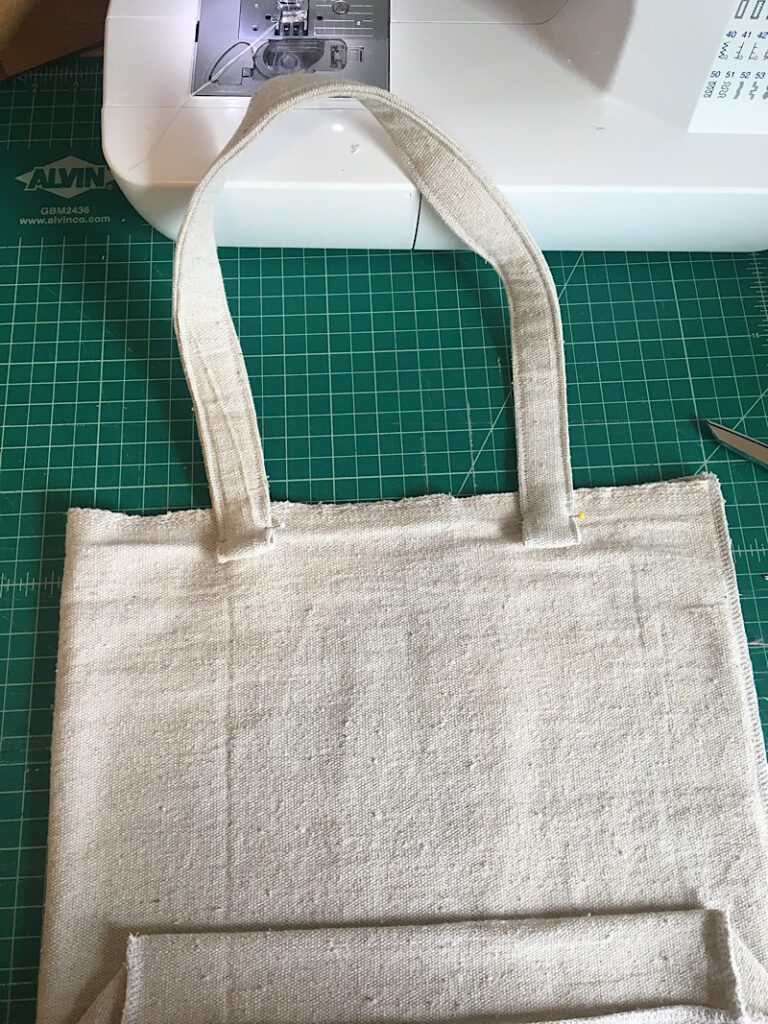
To sew the handles down, sew a square along the folded edge of the handle, then sew an X through the square to secure it.
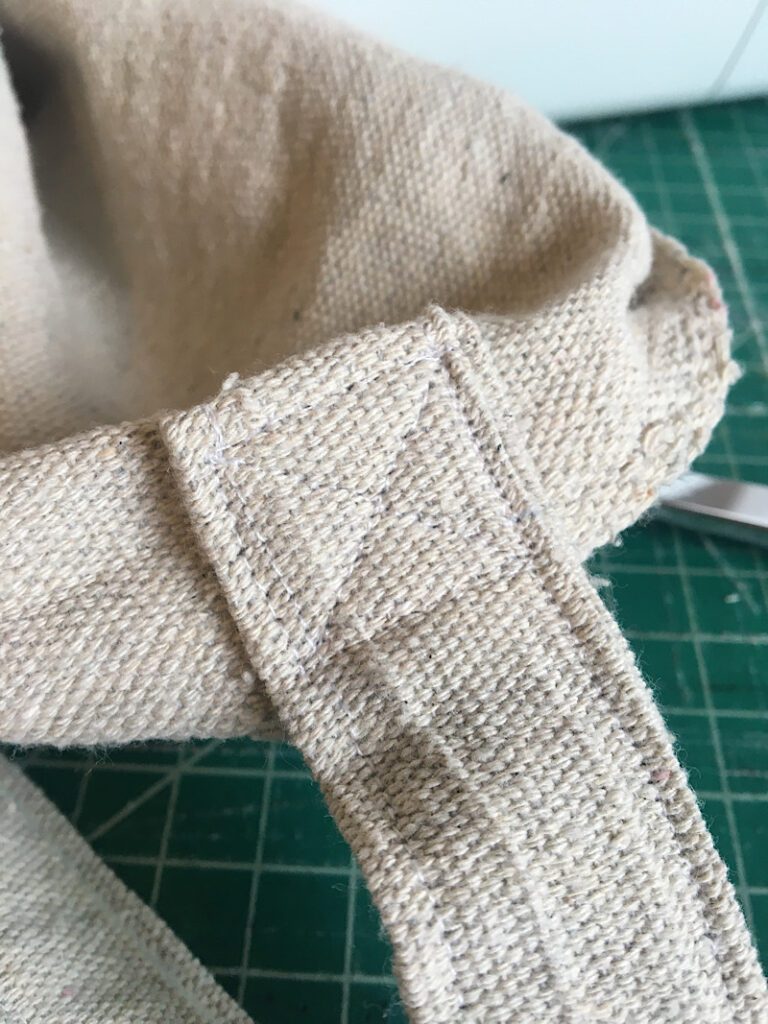
Repeat these steps with the other side, and take care that the straps are well aligned with each other.
Then turn the bag right side out again.
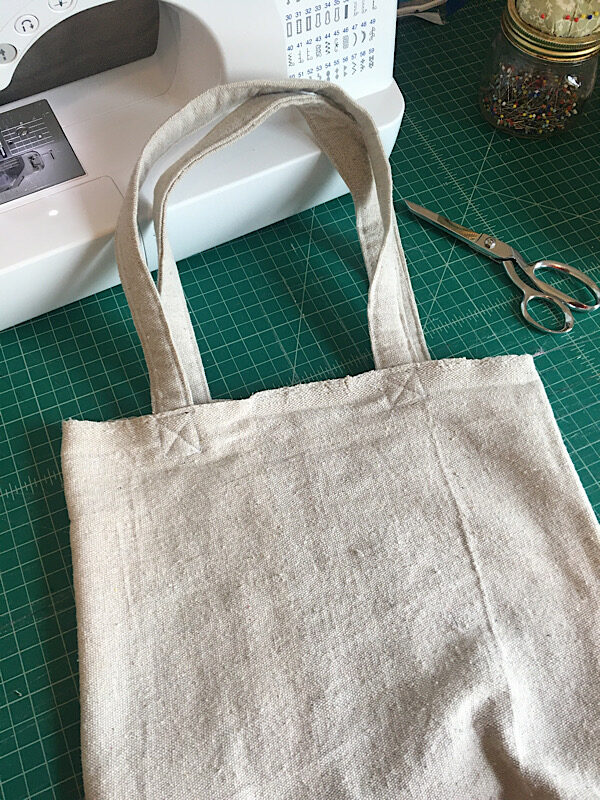
Now you are done! See how easy that was!
This project is so super customizable, you can make any size of tote with a bigger or smaller flat bottom, contrasting straps, etc.
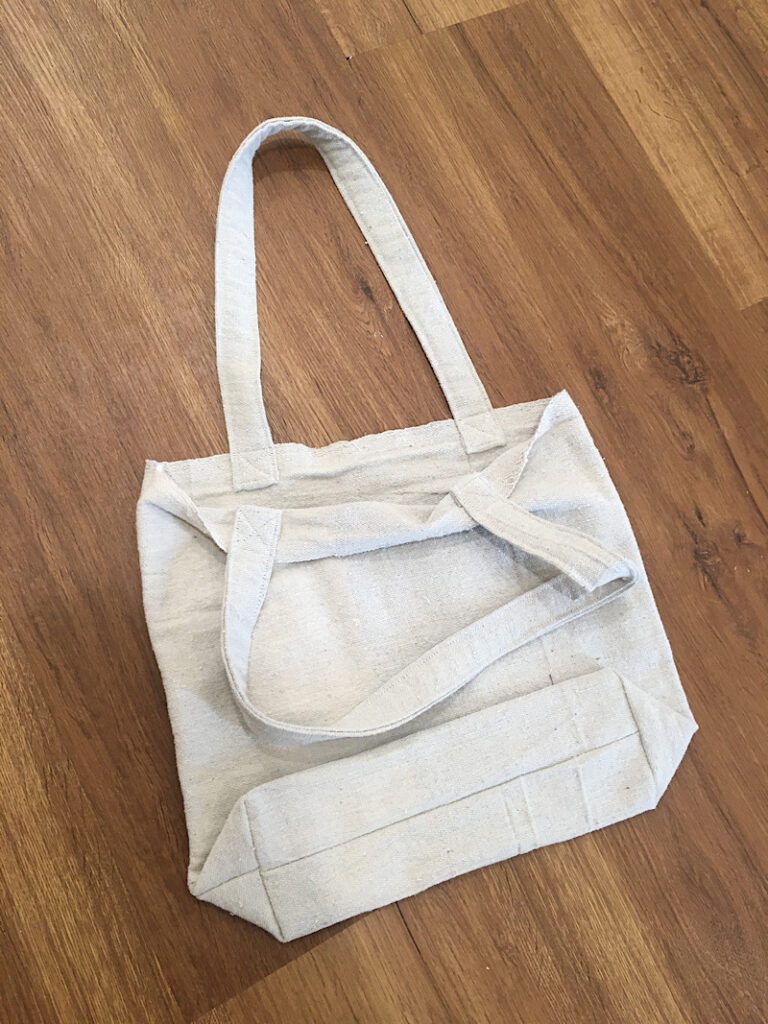
Have fun with your tote bags! (I’m off to make several more for an upcoming craft fair!)
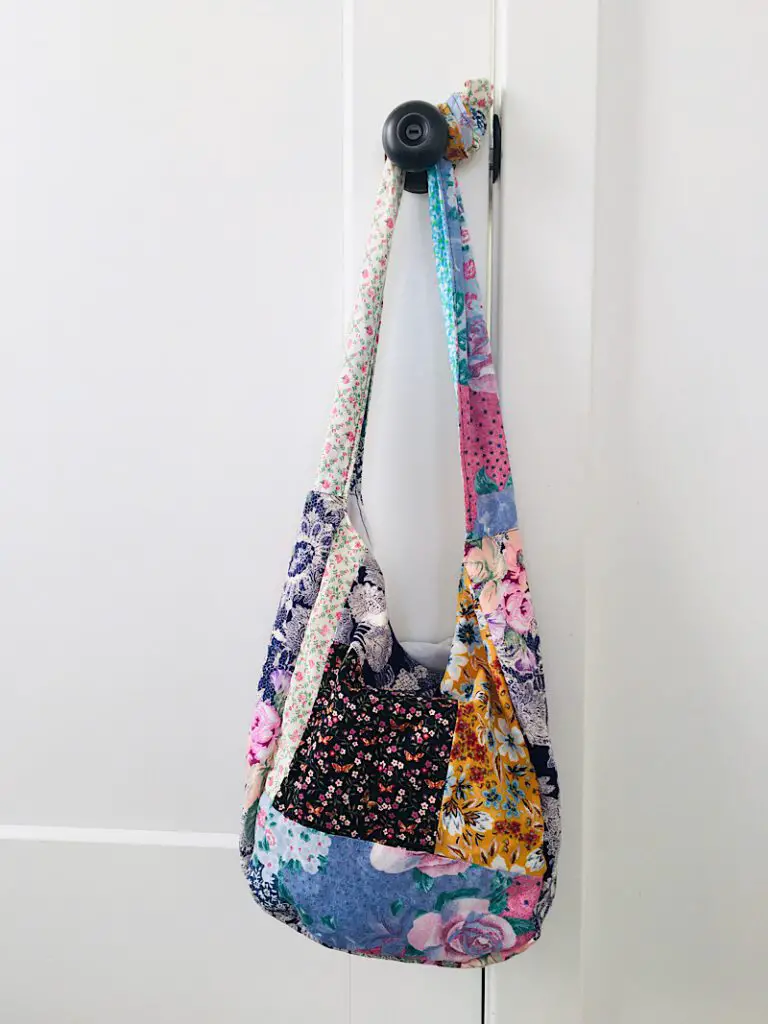
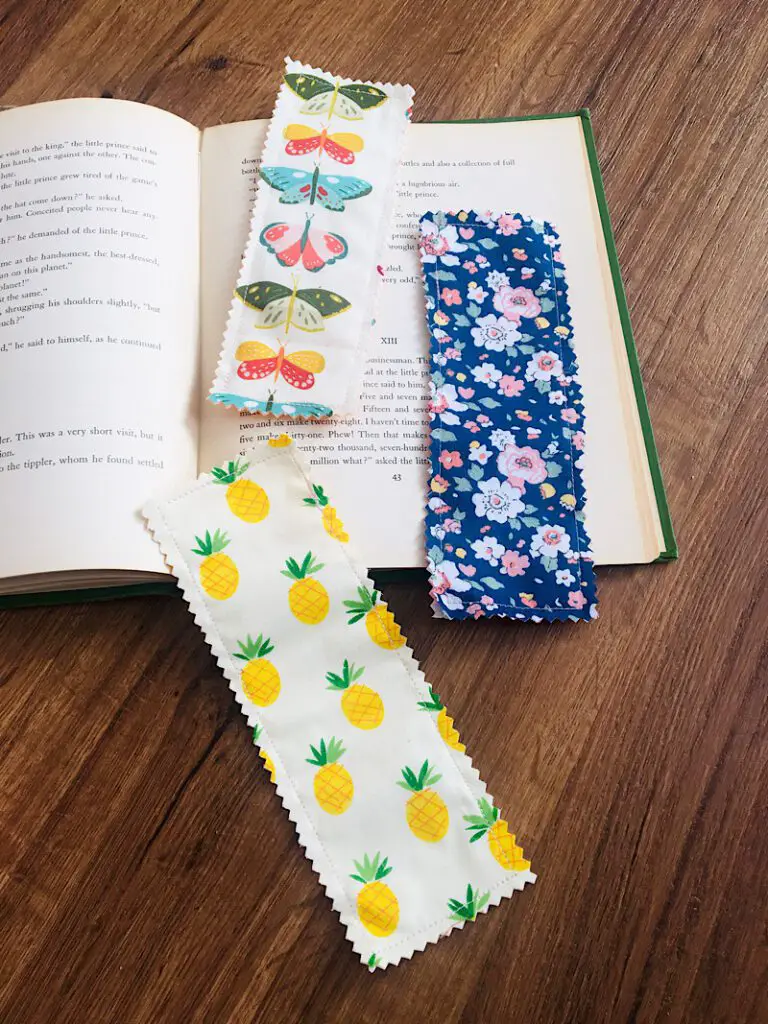
UPDATE: Here are the bags I made for my craft fair!



Did you wash the drop cloth before using? Wondering when the tote gets dirty, how well it will fare through the washer and dryer
I did. Some drop cloths are very loosely woven so it really depends on how tough you are on it. You can also purchase cheap duck cloth canvas if you need something a bit tighter of a weave (especially if you will hold heavy objects in bag)