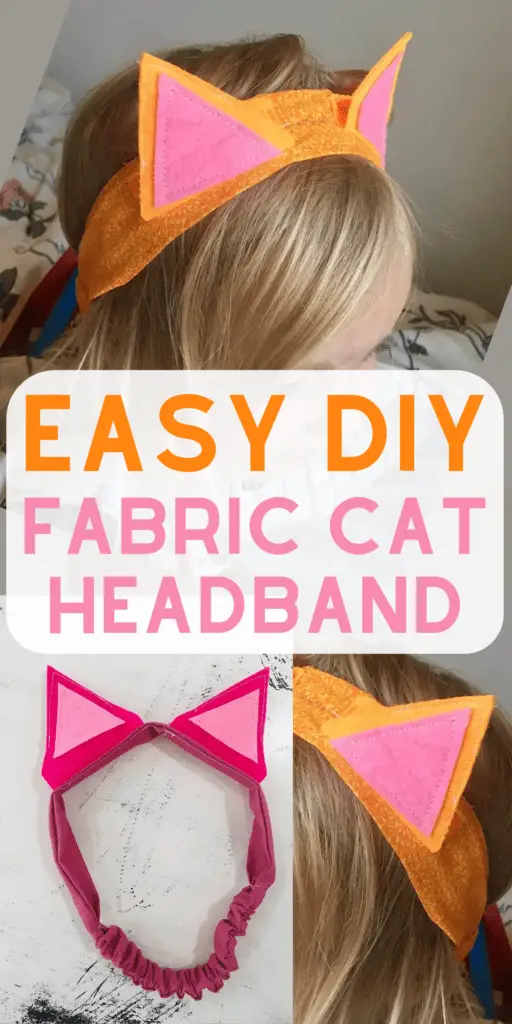
Learn how to make this super easy cat ears headband out of fabric and felt, in any size!
This post may contain affiliate links. Read the full disclosure here.
I whipped up these cute little fabric cat ear headbands for my girls who love pretending to be cats.
They were so easy and made from materials I already had lying around. You can make them in any color and any size!
Also be sure to check out my super cute FREE felt cat finger puppet pattern!
Supplies Needed
- 1/4 yard of cotton fabric in color of your choice
- 12/12 inch piece of felt the same color as the fabric
- 6×6 inch piece of felt in pink
- Matching thread
- Large safety pin
- 1/2 inch elastic, 6 inches long.
- Measuring Tape
- Sewing pins, fabric scissors, sewing machine, etc.
How To Make A Fabric Cat Ears Headband

Is this the only way to make cat ears? No! But it is a SUPER fast way, and the ears stand up straight.
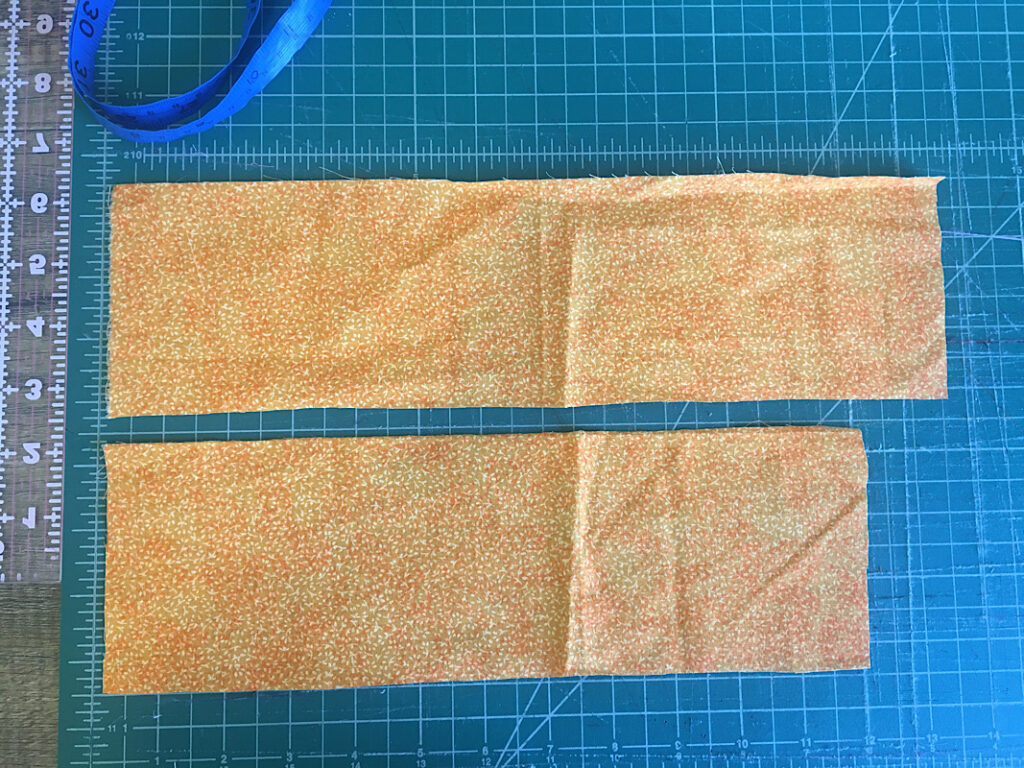
Step 1. Measure & Cut The Fabric
Measure the circumference of the head of whoever is wearing the cat ears. (20 inches is good for a small child.)
Now, whatever your measurement is, minus 5 from it, to get the headband measurement.
Cut one piece of fabric with this measurement, 4 inches thick.
(So for a 20 inch head circumference, minus 5, is 15 inches. So cut a 15×4 strip of fabric)
Cut a second piece of fabric that is 4 inches X 12 inches.
Also cut a 6 inch length of elastic.
Step 2. Make The Headband
Fold both fabric strips in half lengthwise with right sides together, and sew down the long edge with a 3/8ths inch seam allowance.
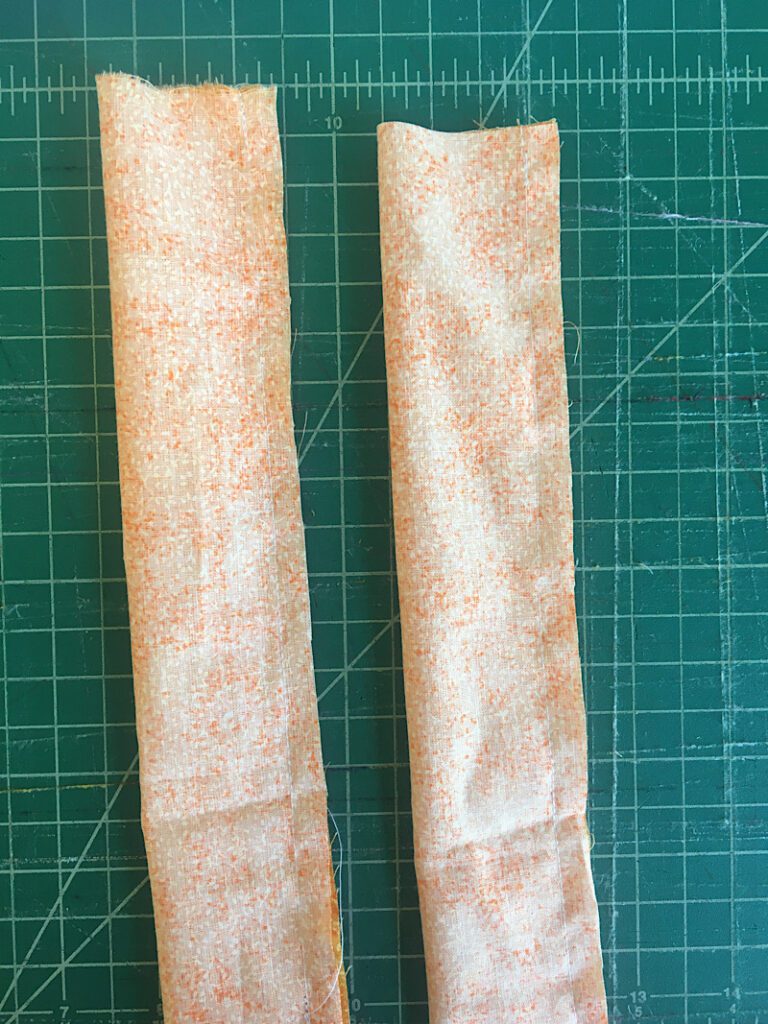
Next, turn both tubes right side out.
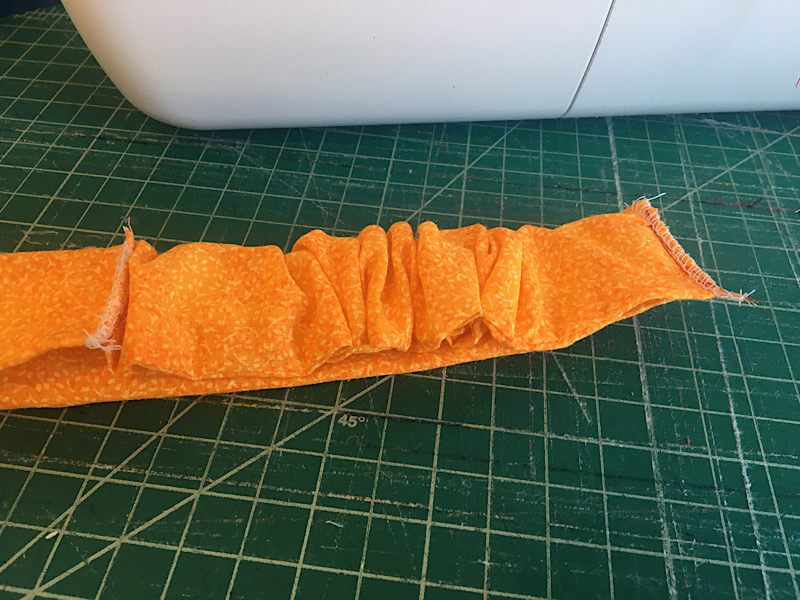
Attach the large safety pin to the end of the elastic, and thread it through the 12 inch tube.
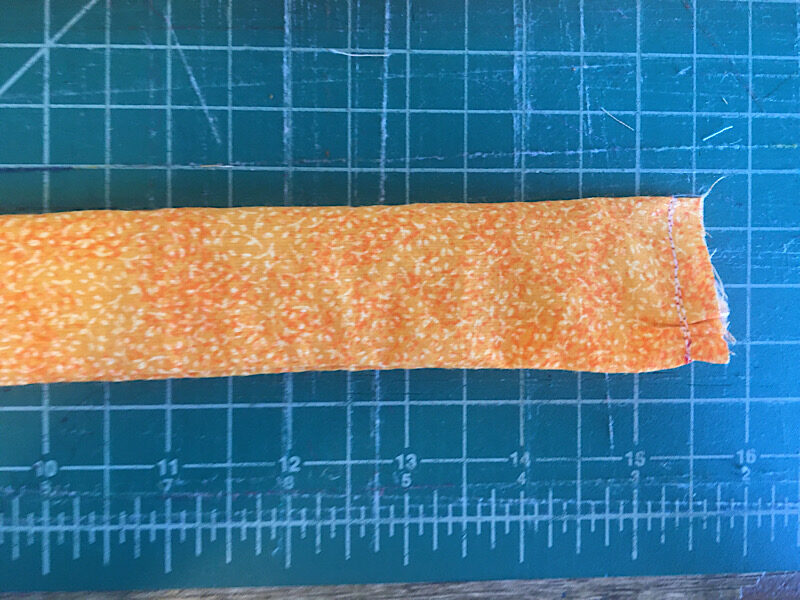
Align the elastic to the tube on the first edge, and sew it together near the edge. Then continue threading the safety pin through, and align the second side and sew it also.
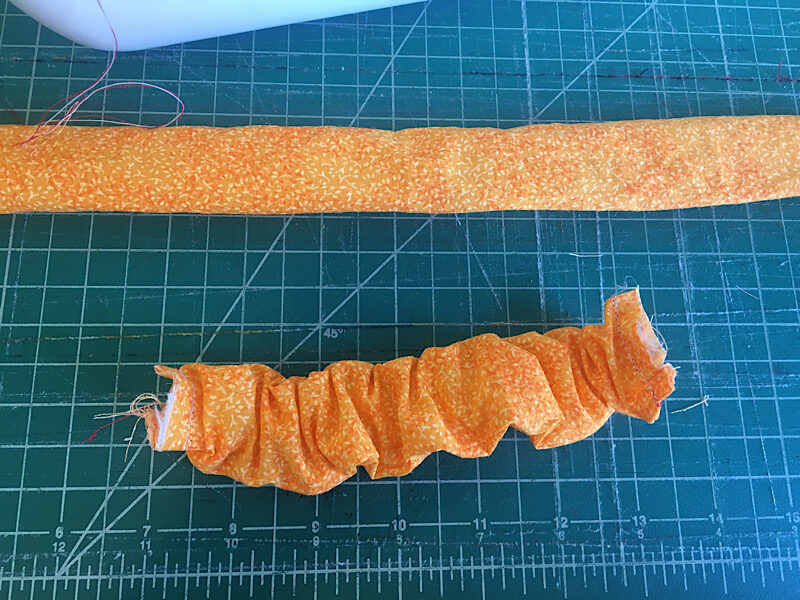
You will end up with a scrunchie looking tube.
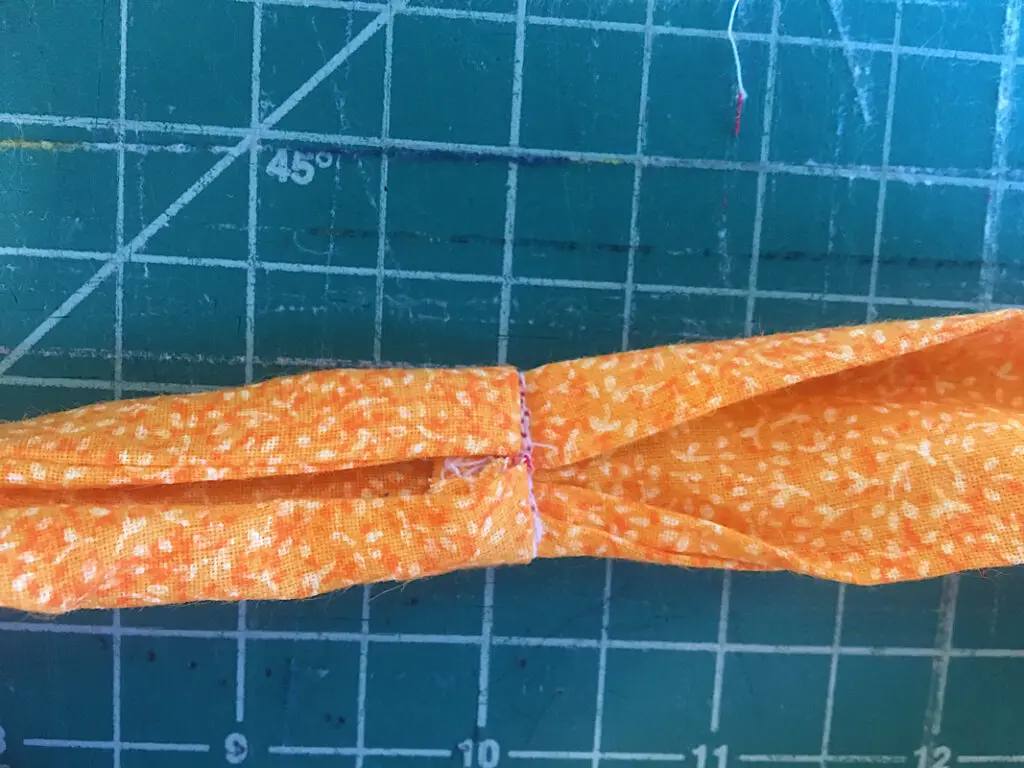
Now, you will attach the “scrunchie tube” to the headband piece.
Align the raw edges, and pin them in place. Then sew across the raw edge.
Repeat this on both sides.
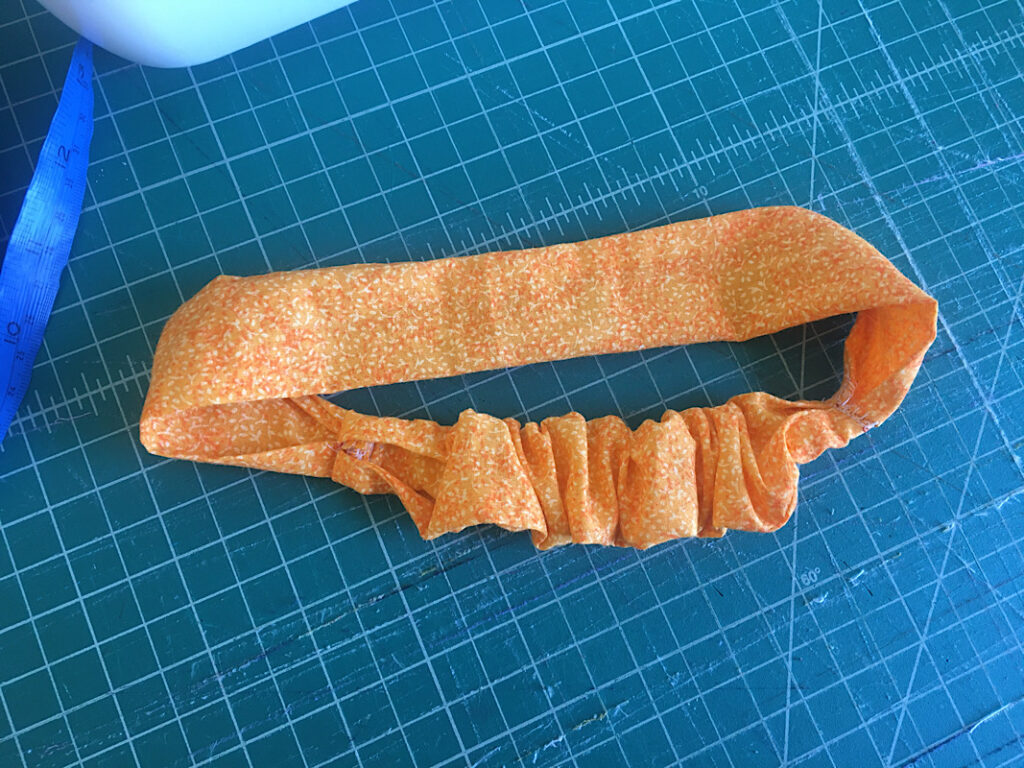
Next, fold the two sides of the headband into the center right over the seams, pin it in place, and sew a line across it to hide the raw sewn edges
Now the main headband is completed!
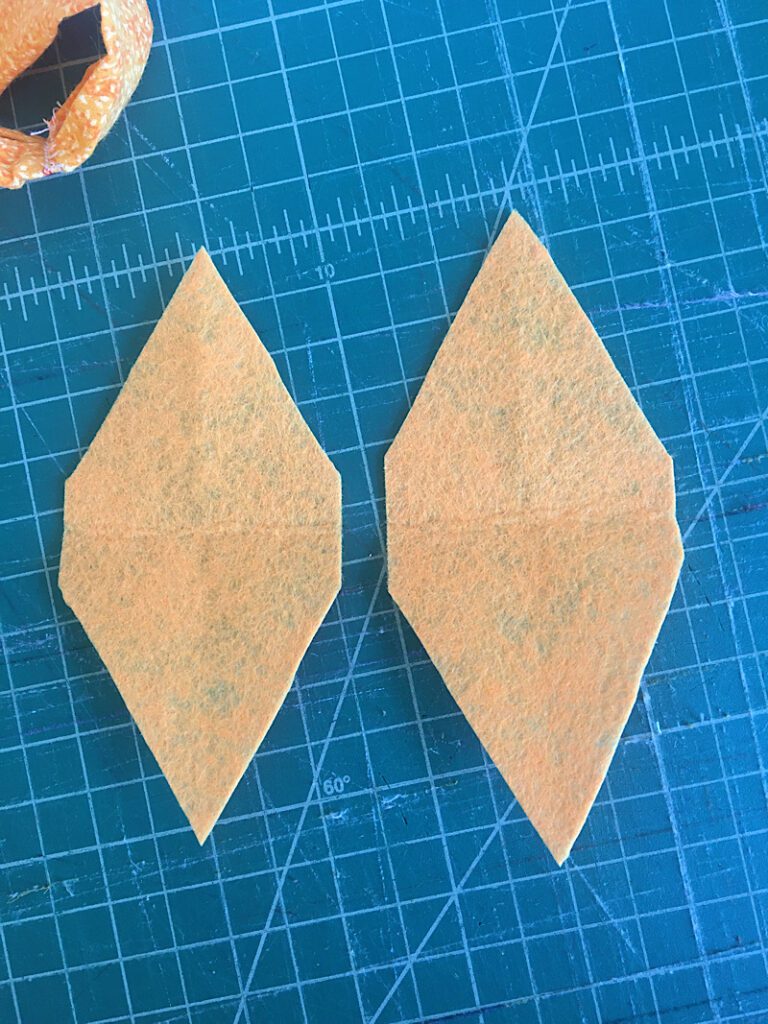
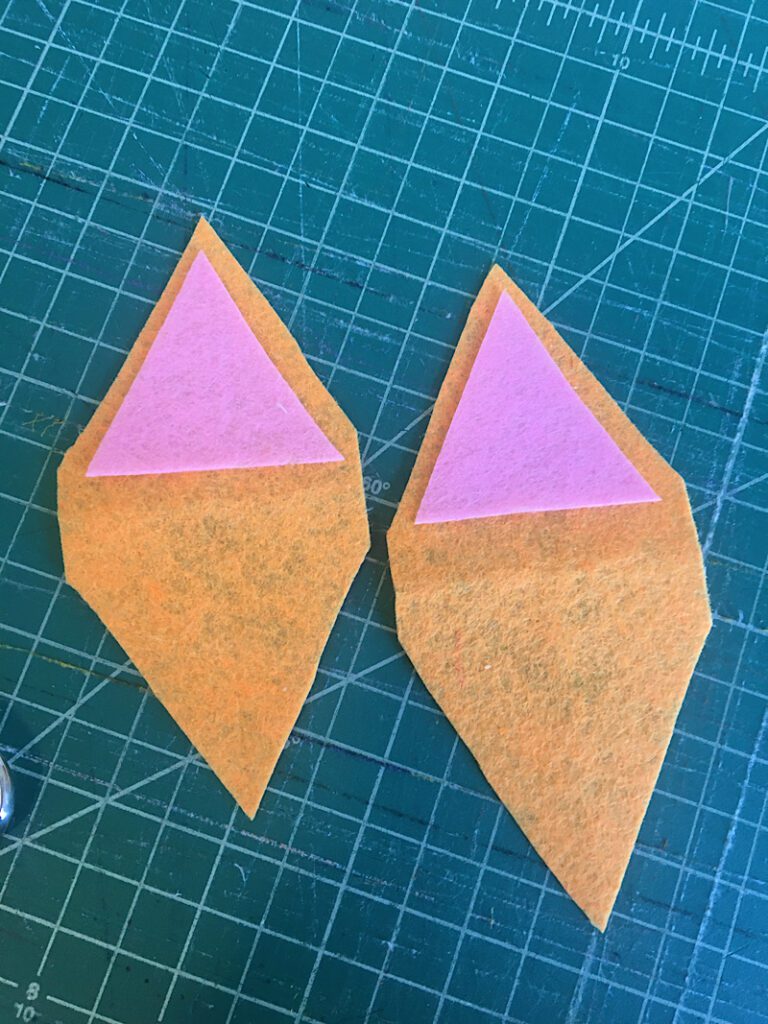
Step 3. Make The Cat Ears
To make the cat ears, you are going to cut out a triangle that has a rectangle base on the bottom, on the fold. When you open it up, ut should look like a rectangle with a triangle on both long ends.
I just eyeballed mine, but you can draw one on a piece of paper to make a pattern if you need to.
Cut two of these.
Next, cut two pink little triangles that will fit inside the ears, and sew them on by sewing around the edges of the pink triangles.
To attach the cat ears to the headband, flatten out the headband so the scrunchie part is on the bottom, and make sure it is all centered.
Lay both cat ears over the headband with the pink triangles facing down.
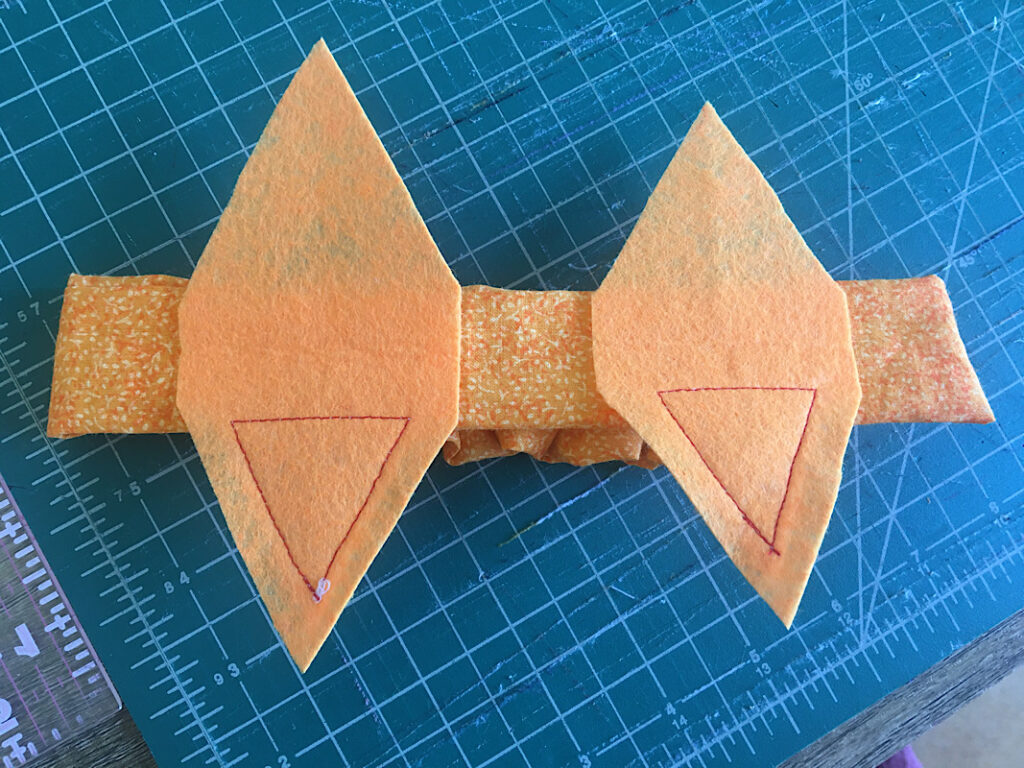
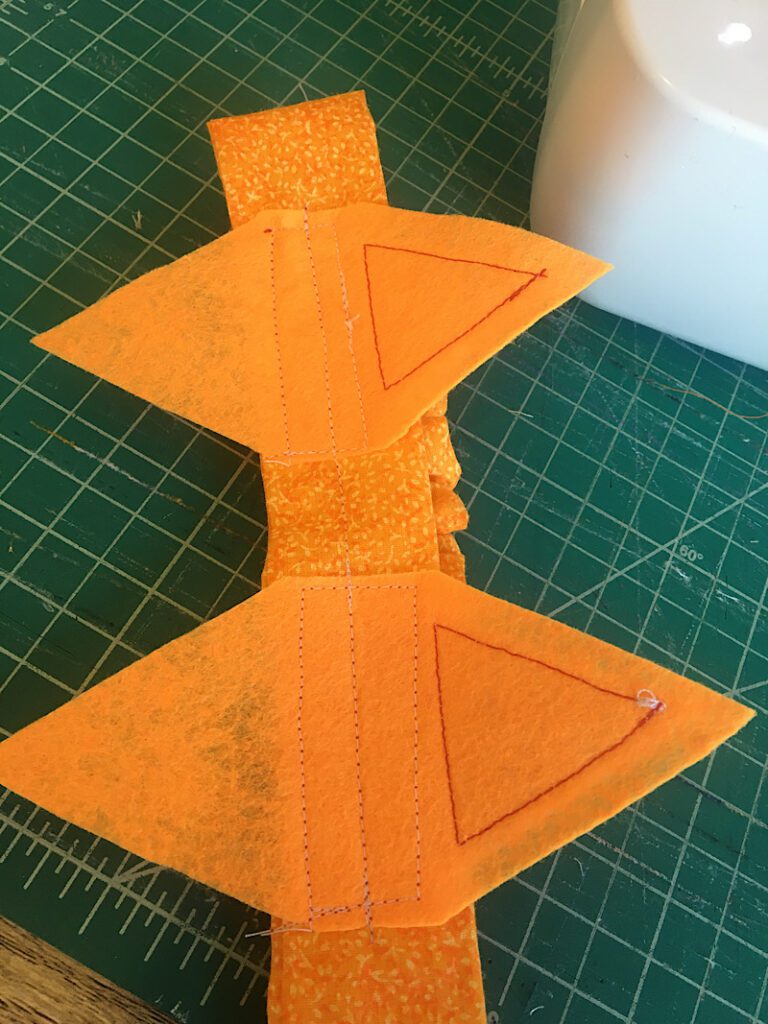
Sew a rectangle box shape in the rectangle portion of the ears, to attach the ears to the headband.
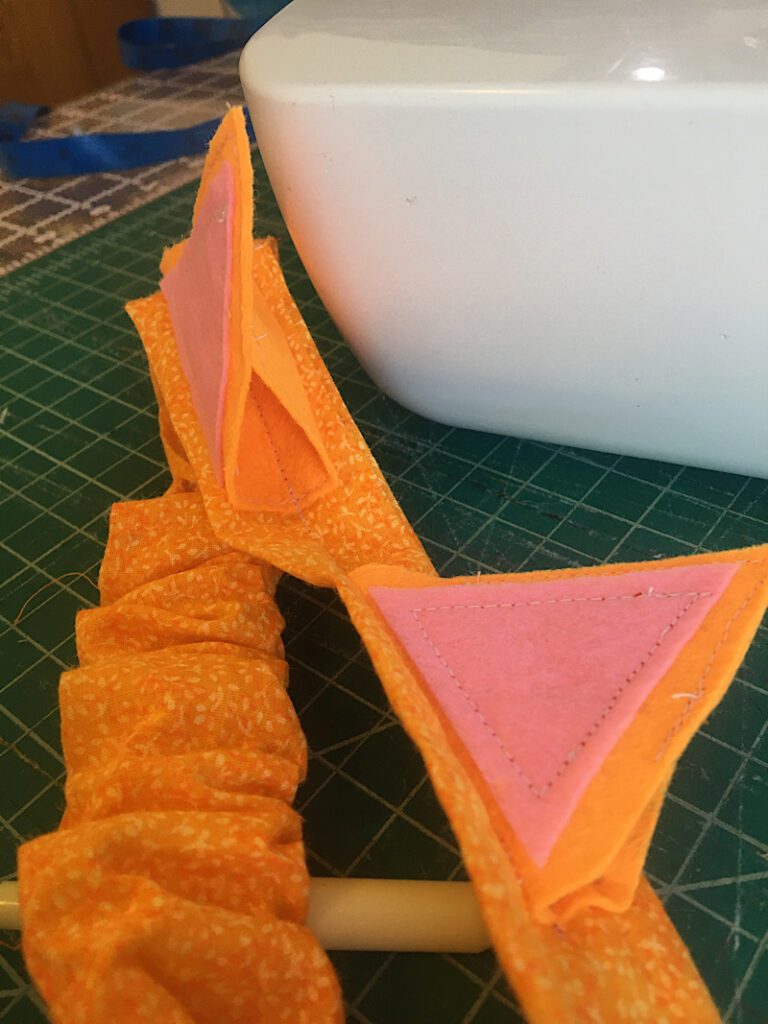
Finally, fold the front and back triangle ears up, and align them together.
Sew them together along the top portion of both sides (Leave at least an inch from the bottom unsewn).
This leaves a gap on the sides of the ears, BUT it makes the ears stand up perfectly straight!
Repeat these steps with the other ear.
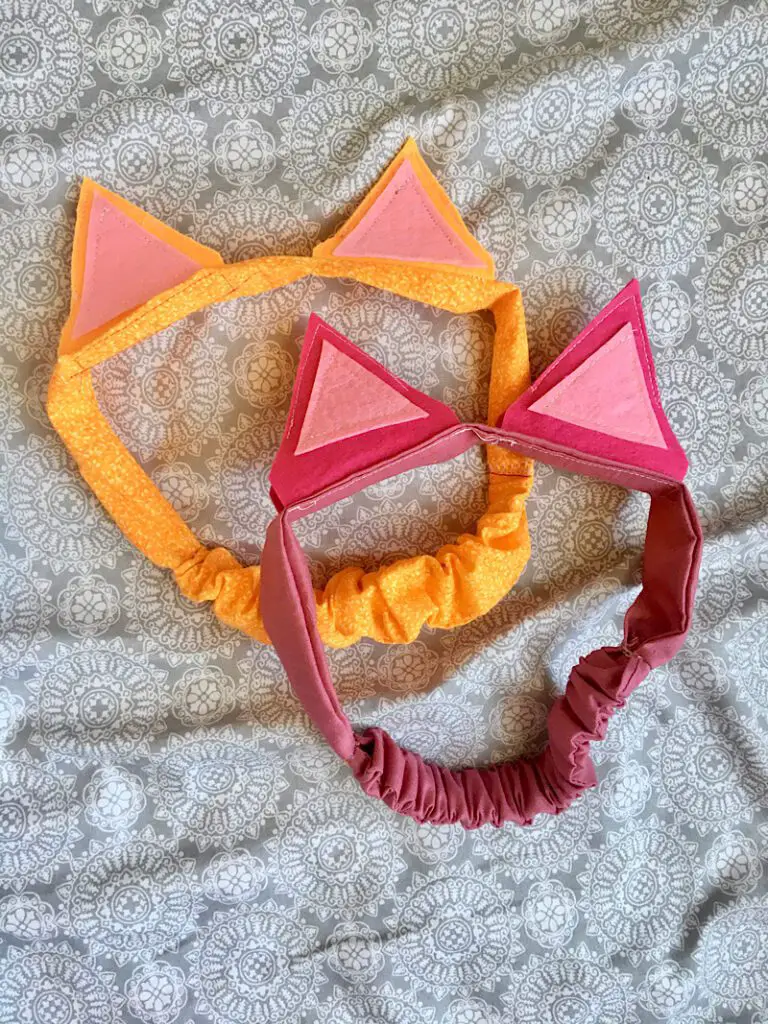
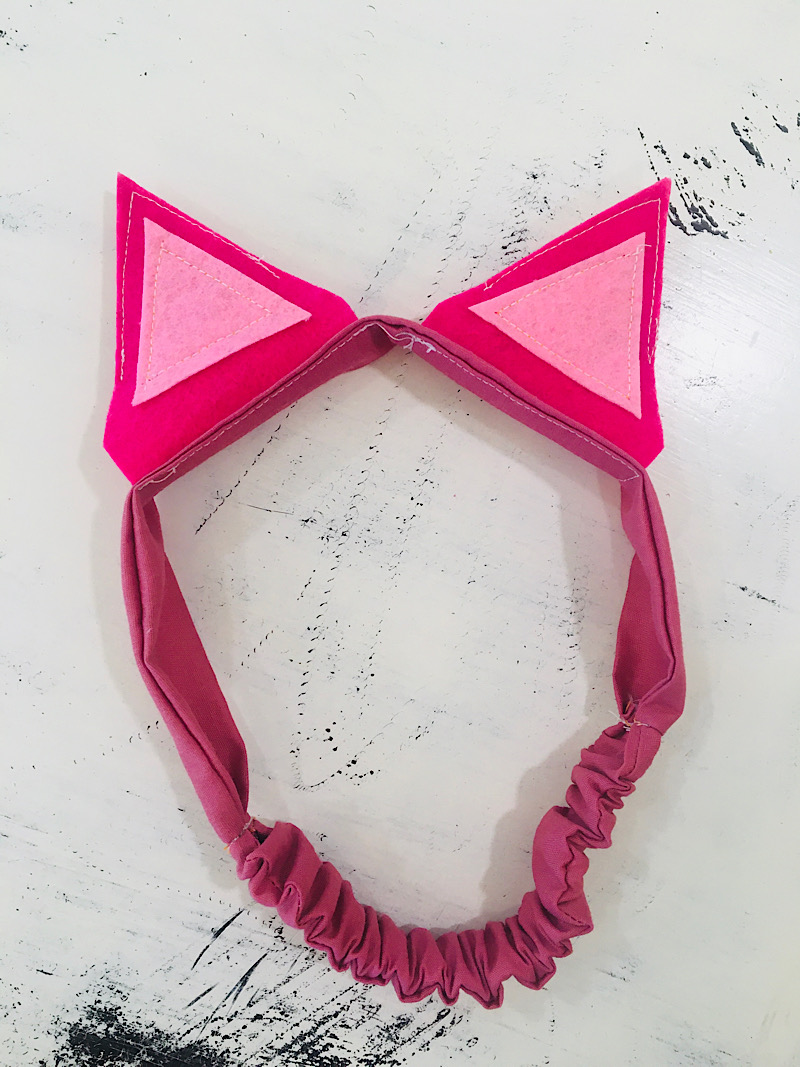
And you are done!
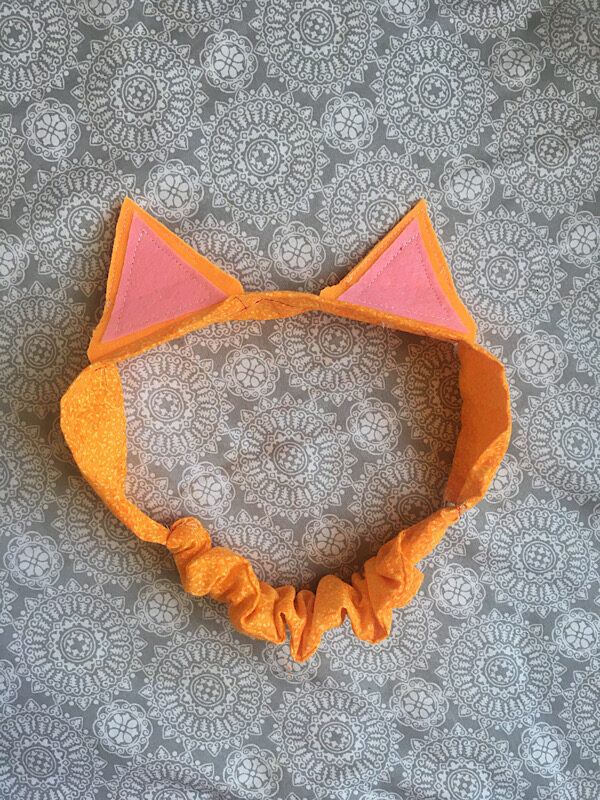
These cat ears are soft, stand up straight, and super fun and easy! I made two so both of my kids could wear them.
I hope this helps you out with your cat costumes or dress ups, let me know if you have any questions!