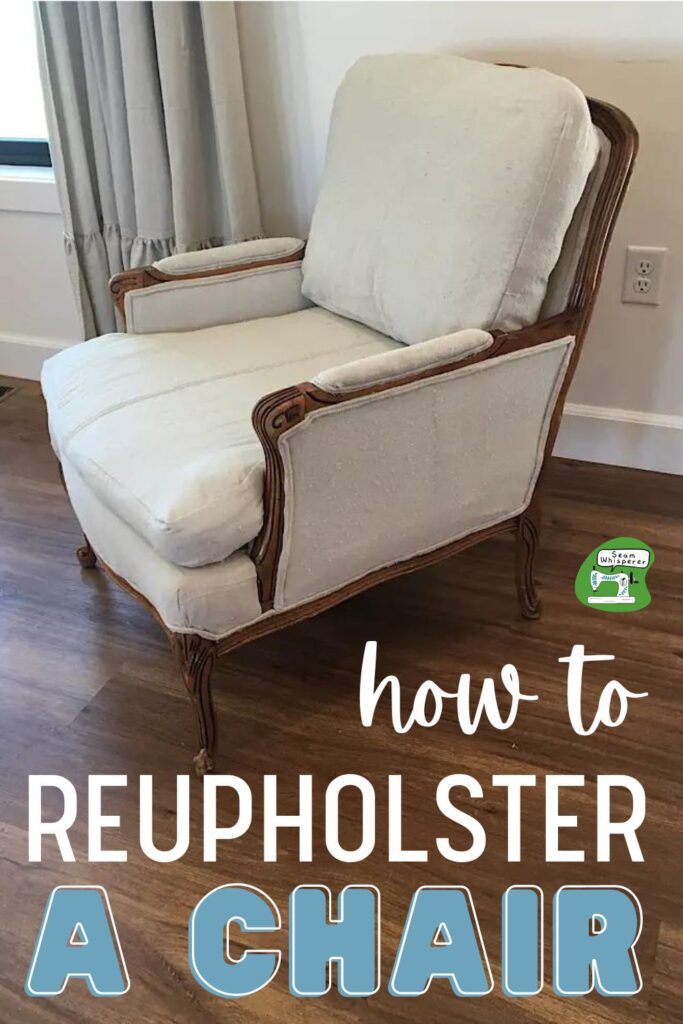
Give an old chair new life by updating the fabric through re-upholstery! Intermediate crafters (and even adventurous beginners) can tackle this project in a weekend with inexpensive materials.
This post may contain affiliate links. Read the full disclosure here.
Supplies Needed
- Staple Gun & Staples
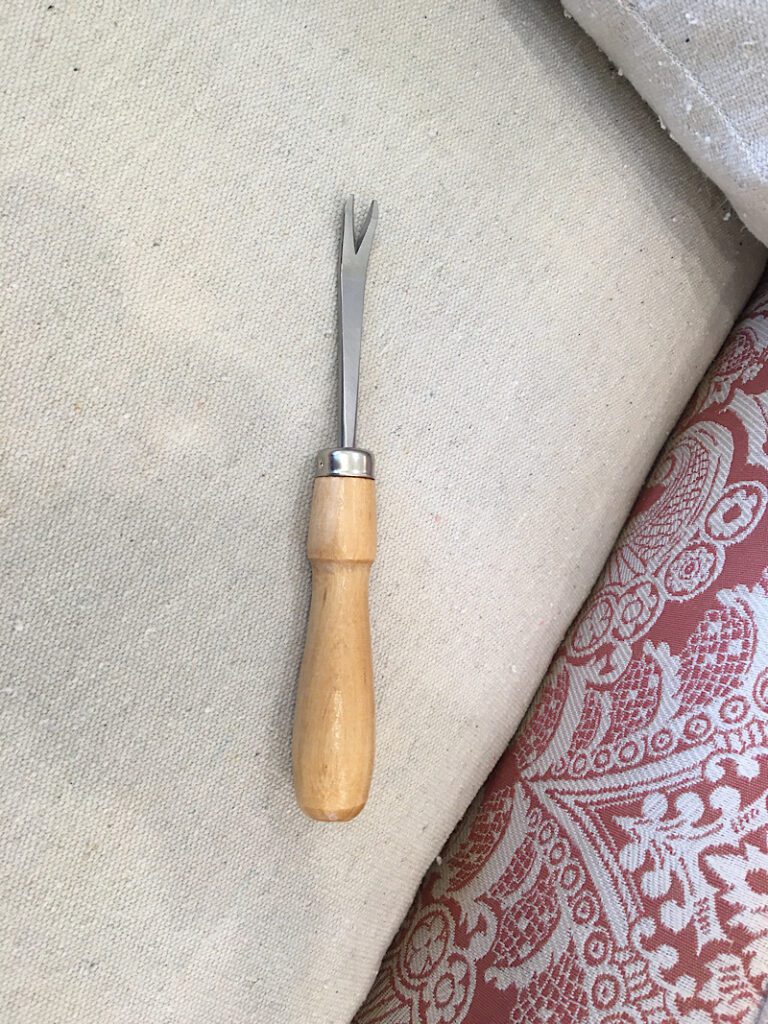
- Upholstery Tack Remover (Like this kind) and eye protection
- Needle nose pliers
- New Upholstery Fabric
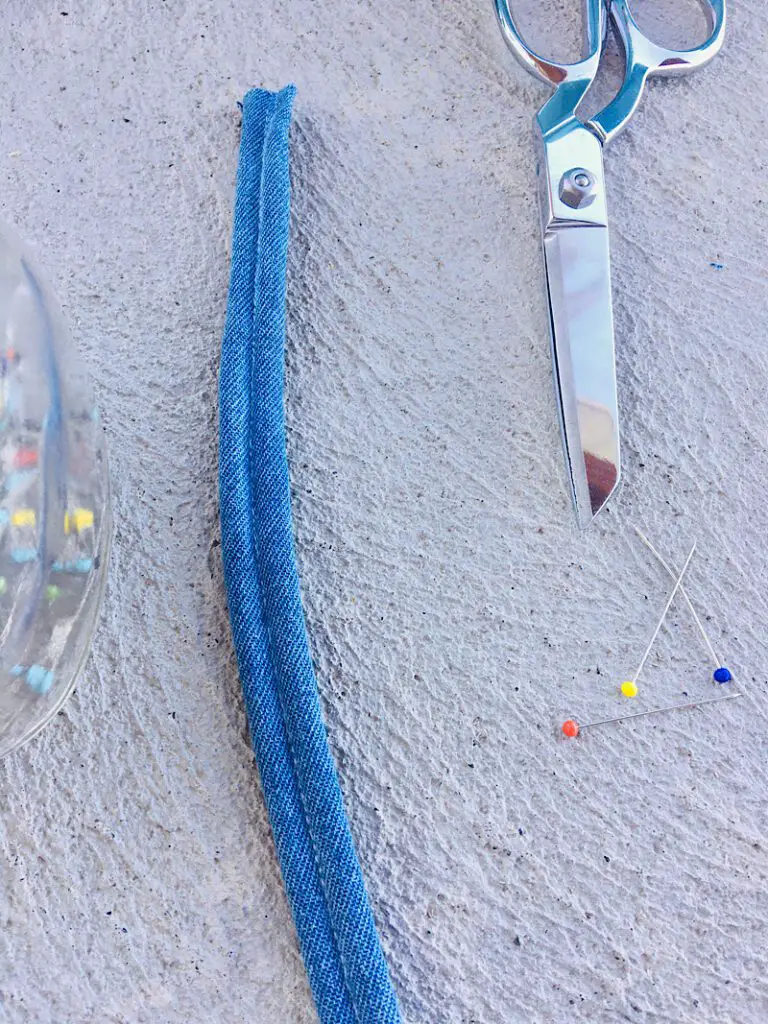
- Double Piping (Learn how to make your own in this tutorial!) or decorative upholstery tacks like these or other finishing trim (such as braided trim)
- Replacement batting (if needed)
- Replacement zippers (I re-used the originals)
- Wood repair-finishing supplies (if needed)
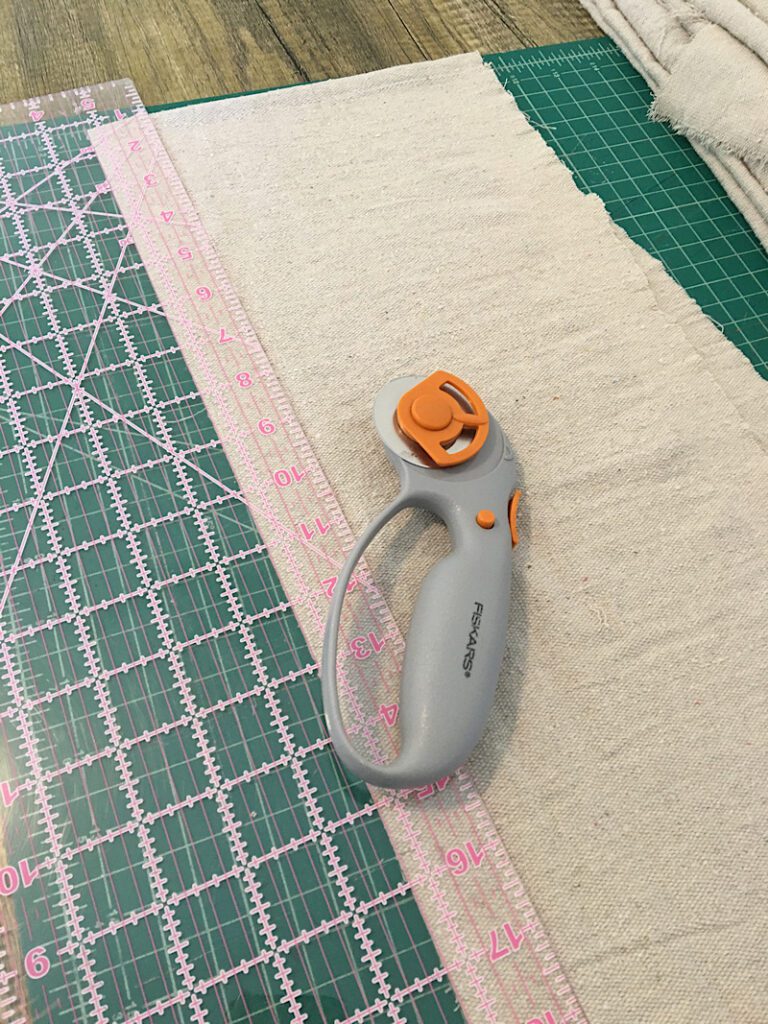
- Rotary cutter, mat, and acrylic ruler
- Seam Ripper
- Fabric Scissors, Sewing Pins, Measuring Tape, Sewing Machine, etc
Tips For Success
If you have never reupholstered something before, it can seem like a big challenge! It really isn’t too difficult. The general idea is to remove all the material, copy it, and then replace it in the opposite order you took it off.
Here are some essential tips that will help you achieve professional results.
- Take photographs while you remove the fabric and disassemble the pieces.
This will ensure that you remember exactly how the chair is supposed to be put back together. - Use a tight weaved, upholstery weight fabric.
It is tempting to use thinner material, especially when you love the print. But thin materials simply cannot without the stress a piece of furniture goes through. Use upholstery weight fabric, that has a tight enough weave that it won’t pull apart at the seams or raw cut edges. - Use the old pieces of fabric to trace as patterns for the new fabric
When removing the material from the chair, use care to not rip the material if you can, so that you can use the old pieces to trace the new materials into the right shape. - Measure your chair to determine how many yards of fabric you will need.
There are charts online that give you estimates of yardage needed for upholstery projects, but it is always best to measure your own piece of furniture so that you buy enough, but not TOO much, and certainly not too little!
Measure each surface in the direction the print will need to travel, and add a few inches on each side for seam allowance and extra. Remember to also account for the fabric needed to make the piping if you are making your own.
How To Reupholster A Chair
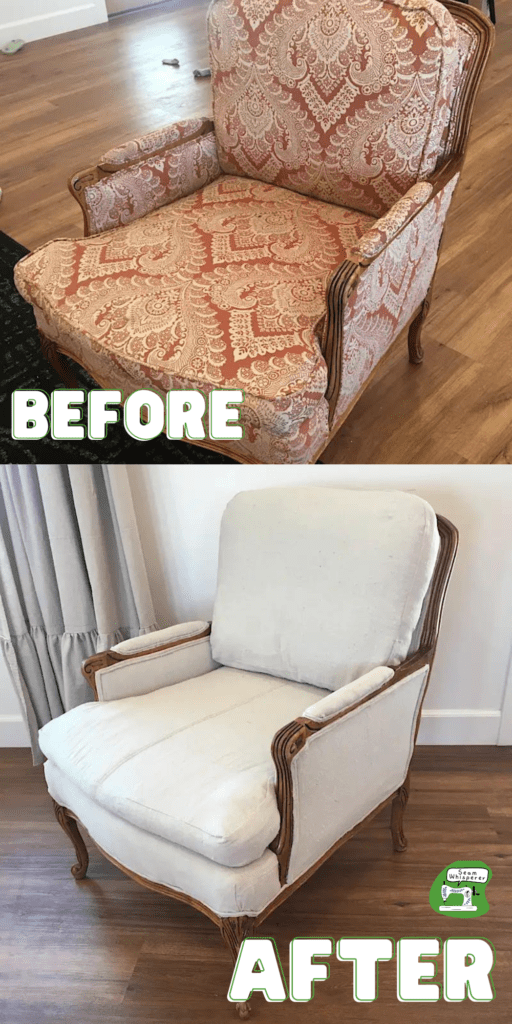
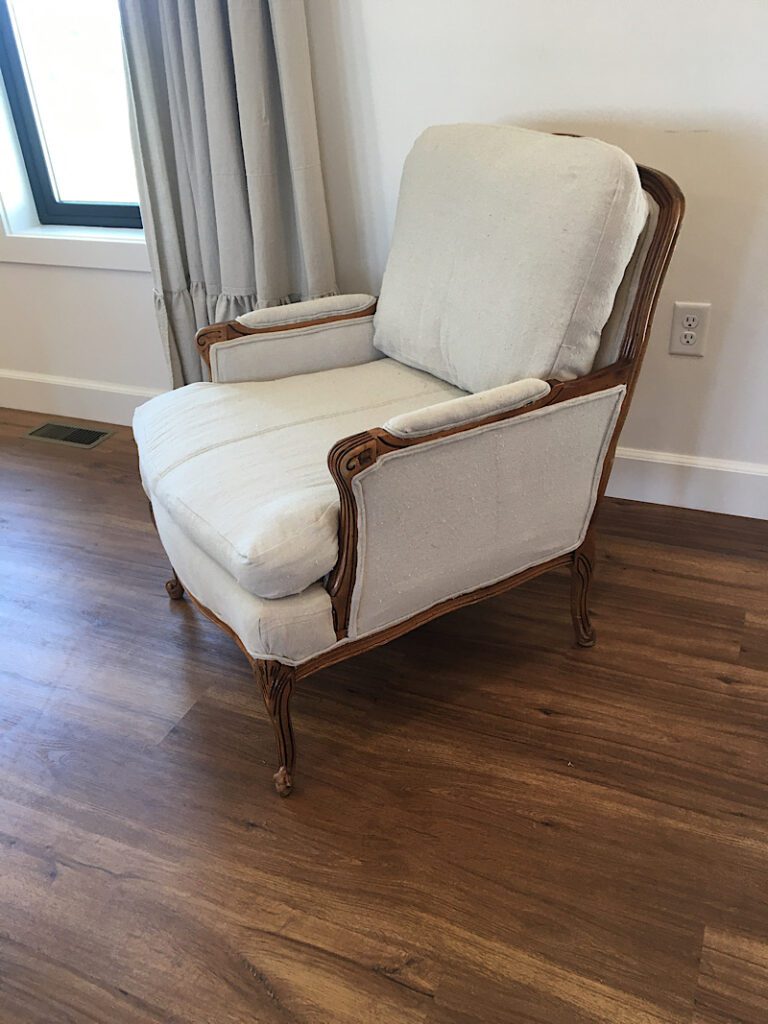
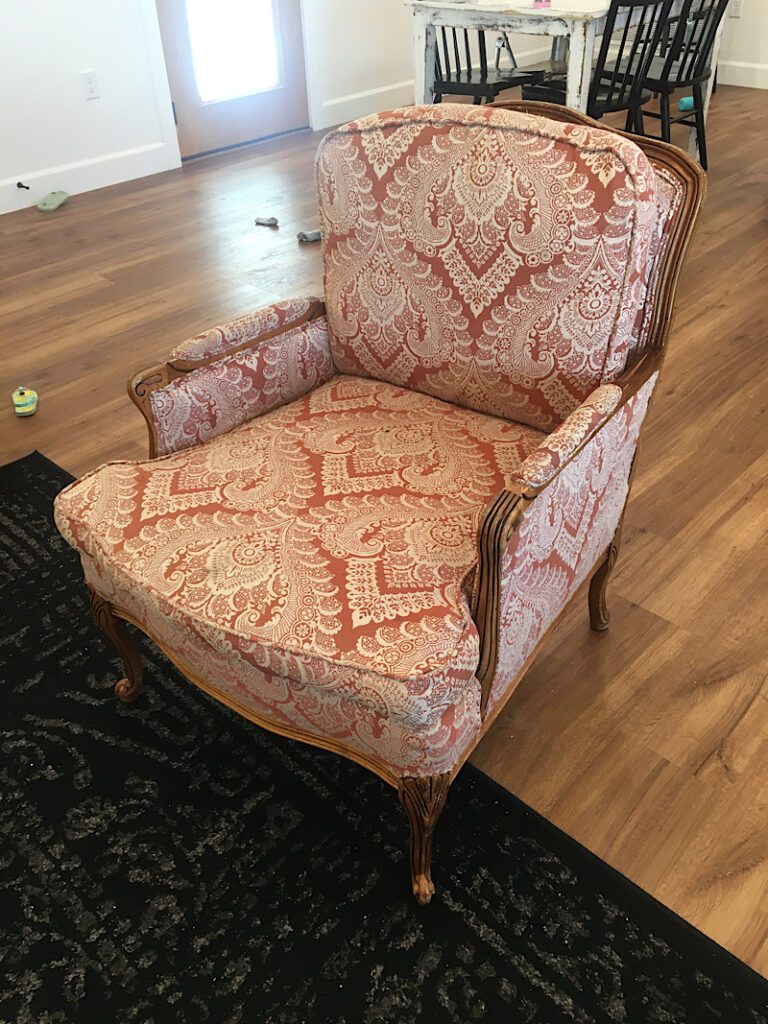
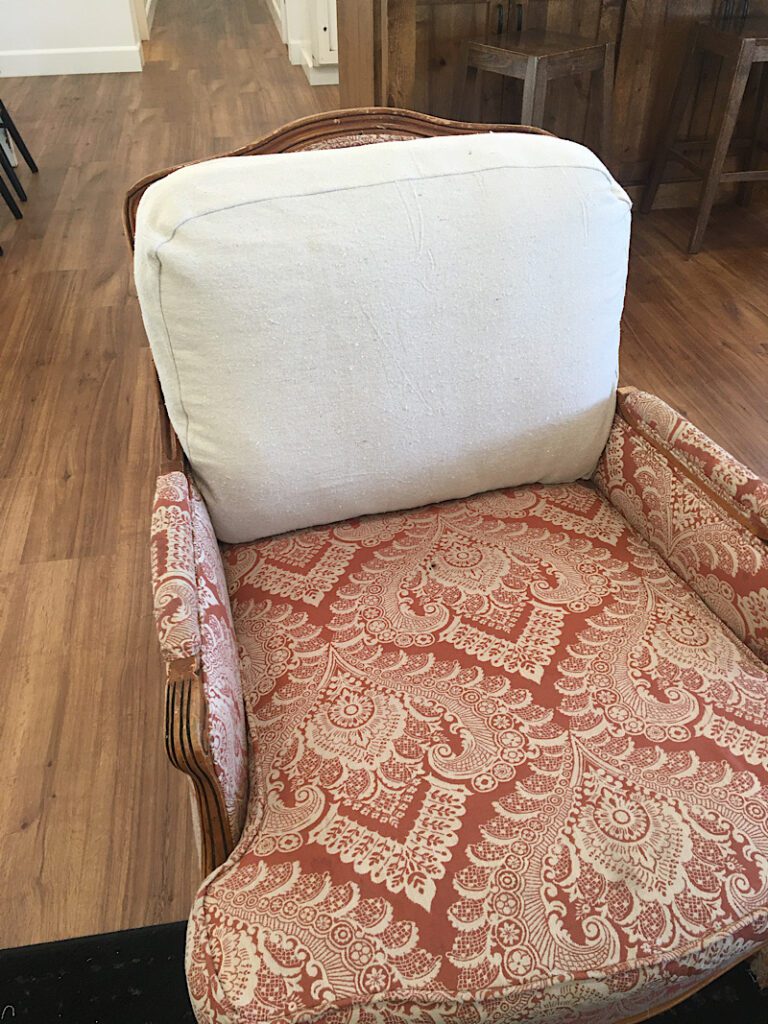
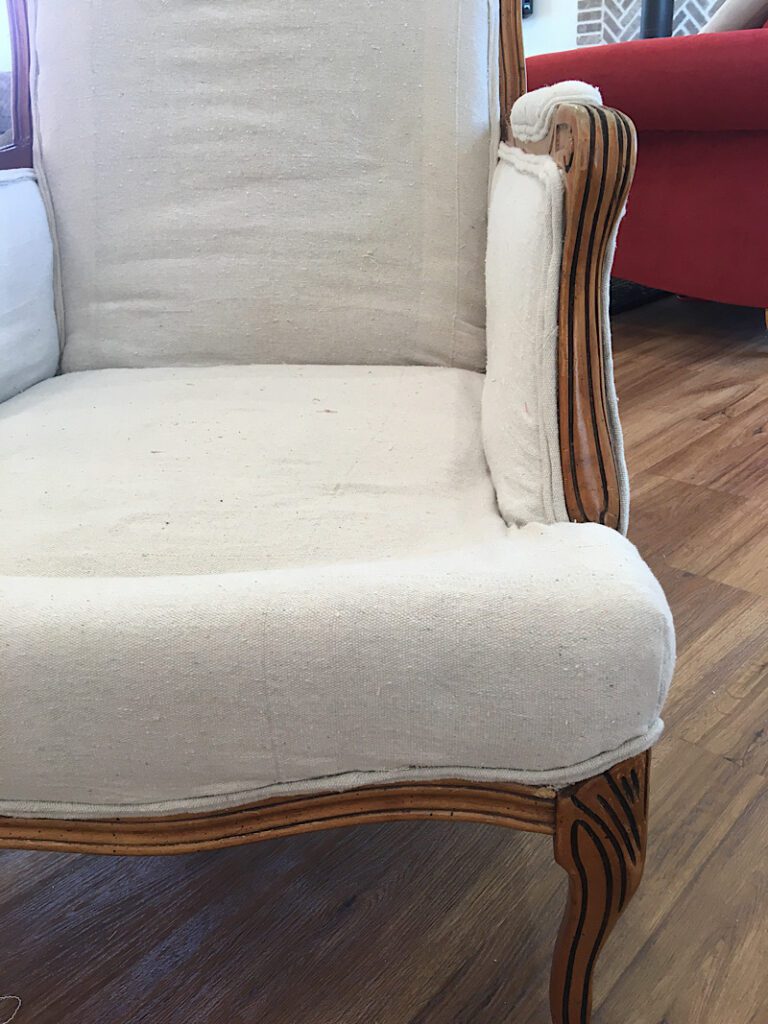
Note: Here is what my chair looked like before!
Step 1. Recreate The Cushions
If your chair has any loose/removeable cushions, lets tackle those first to get some easy wins out of the way!
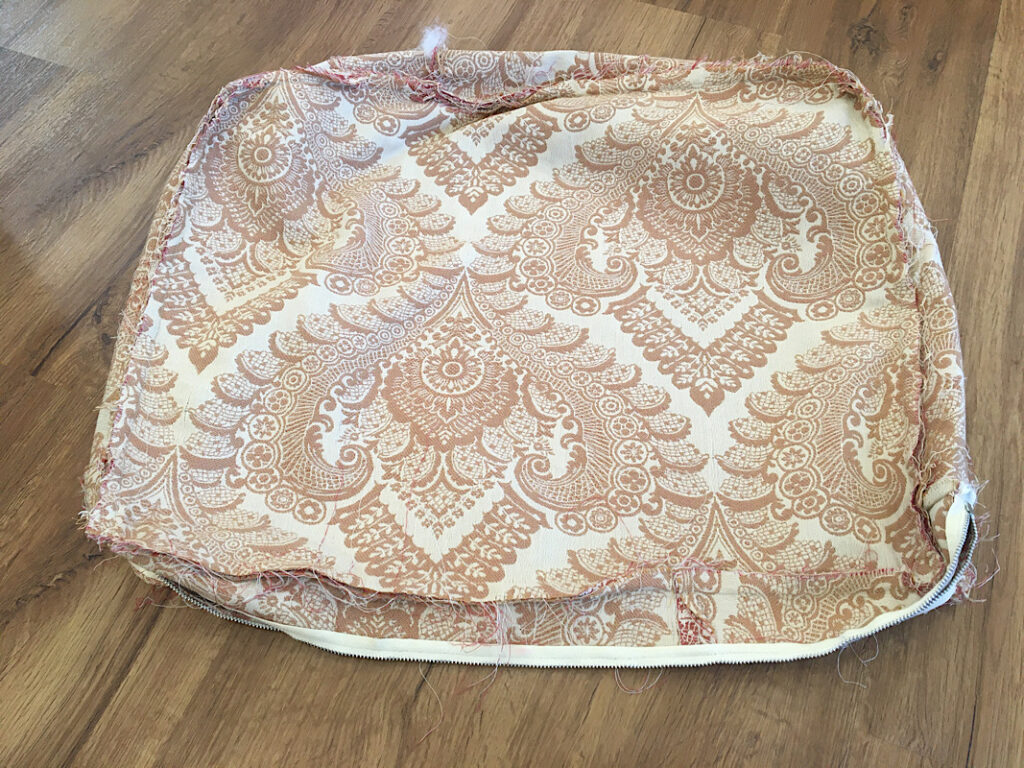
First, unzip the cushion covers and carefully peel them off of the cushions. Set the cushions aside for later.
Turn the cushion covers inside out. Using your seam ripper, carefully take apart the cushion cover.
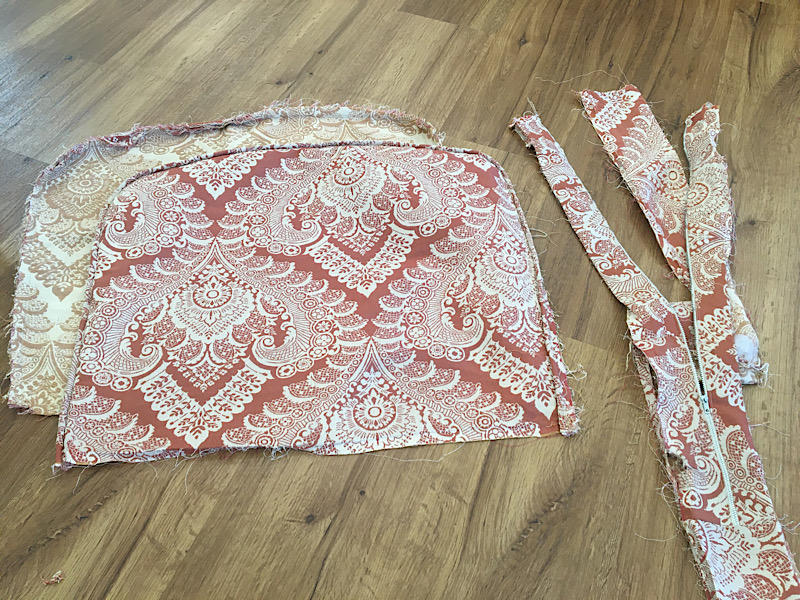
Using the pieces you have disassembled from the cushion covers as patterns, trace each piece of the cushion onto the new fabric. Remember to include the seam allowance.
Cut out the new fabric pieces.
Note: I decided not to do piping on my new cushions, so if you are going to do piping on yours, you will have to remember to sew it in since I won’t instruct you to!
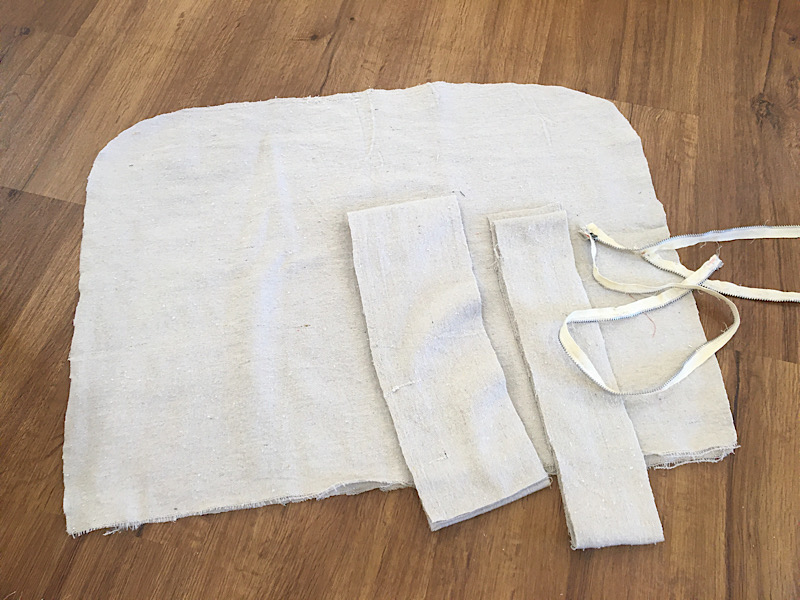
Now, you will sew together the cushion cover pieces.
Start by attaching the zipper.
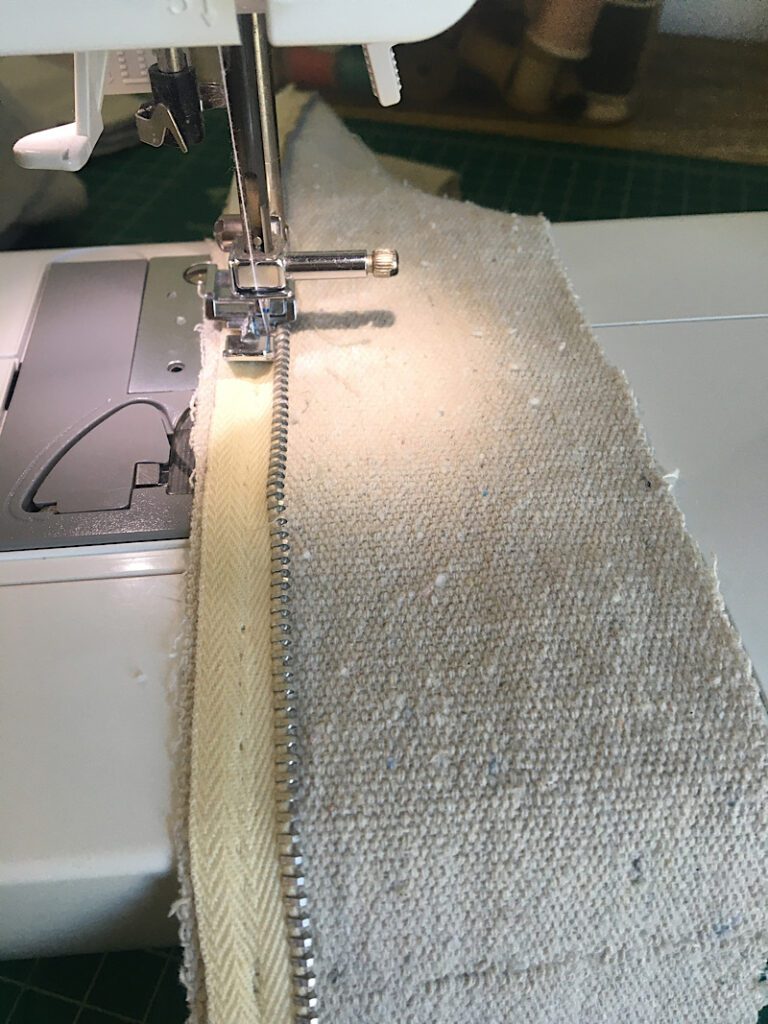
Then, sew the side panels together to form a loop. Pin them to the front piece of fabric, with right sides facing, and sew it together with the appropriate seam allowance (mine was about half an inch.)

Before sewing the back piece on, unzip the zipper a bit so you can turn it inside out later.
Pin the back piece of the cover to the side panels, and sew it together.
Then, turn it inside out through the open zipper.

Then you can put the cover back onto the cushion and see how it looks!
Repeat these steps with the second cushion (if you have two cushions).
I am sewing with a leftover drop cloth from when I made curtains (which I don’t necessarily recommend, it isn’t quite durable enough to last a super long time) which is why there is a seam in the middle here.
I love getting the cushions done first because they are quick wins, and you can really imagine what it is going to look like!
Now you can move on to the real upholstery!
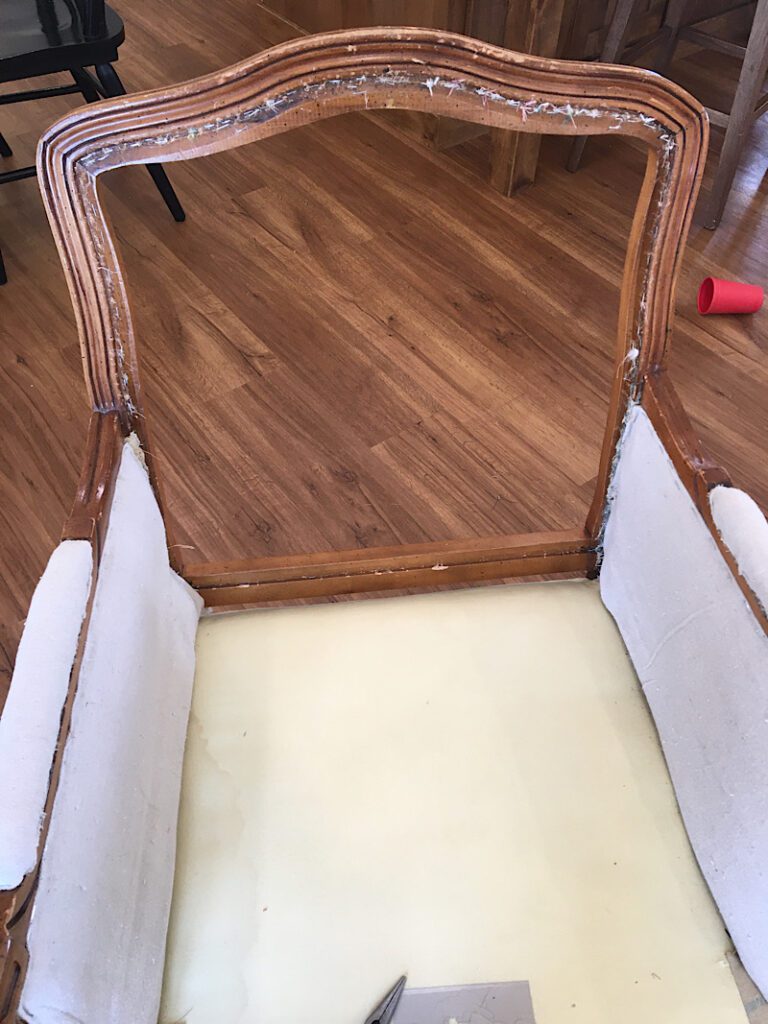
Step 2. Remove Old Fabric From Chair
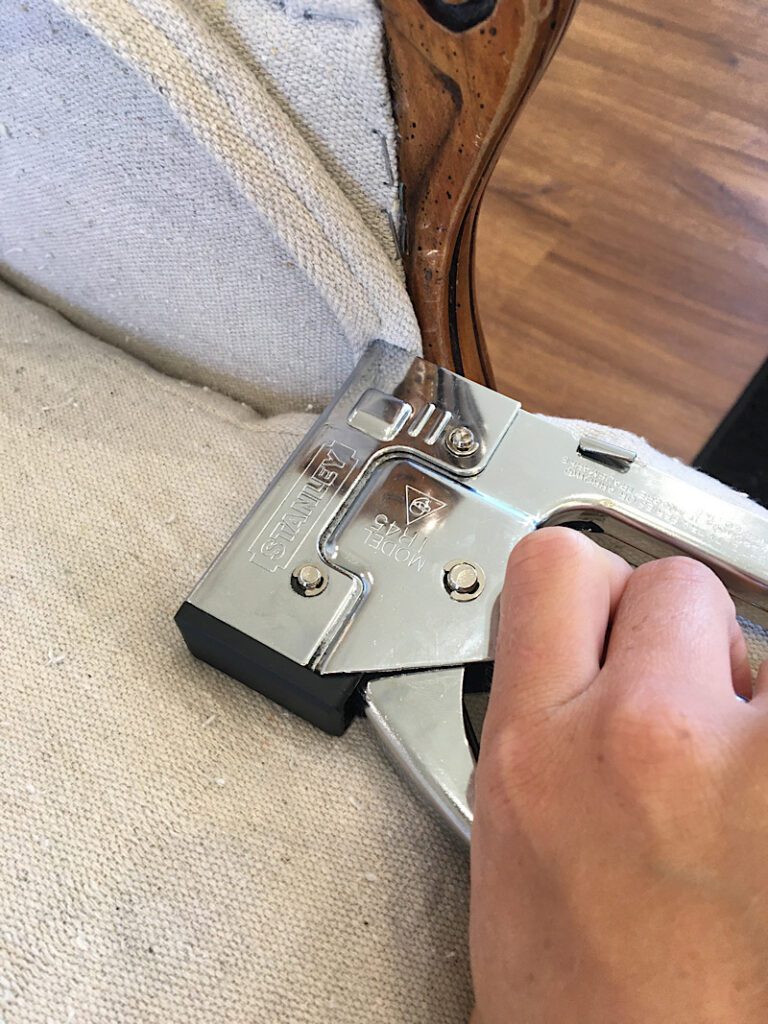
To remove the fabric from your chair you will need to remove any trim, tacks, and staples holding the fabric to the chair using an upholstery tack remover.
(In my photos, you will see that I removed and replaced fabric in sections, but on many chairs you will have to remove it all before replacing any. Do it how it works best for your chair!)
Make sure you wear eye protection just in case, and work carefully!
It can be useful to have a pair of needle nose pliers on hand to yank out any stubborn staples.
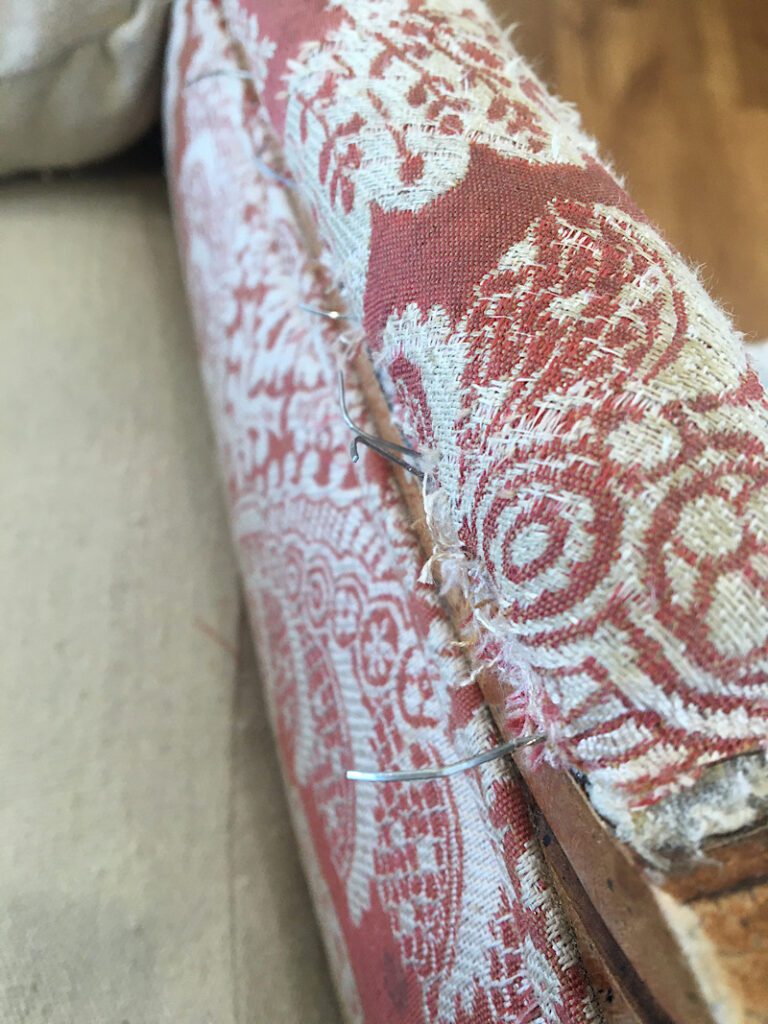
I found that an easy way to remove the double piping was to grab it with the pliers and roll it off.
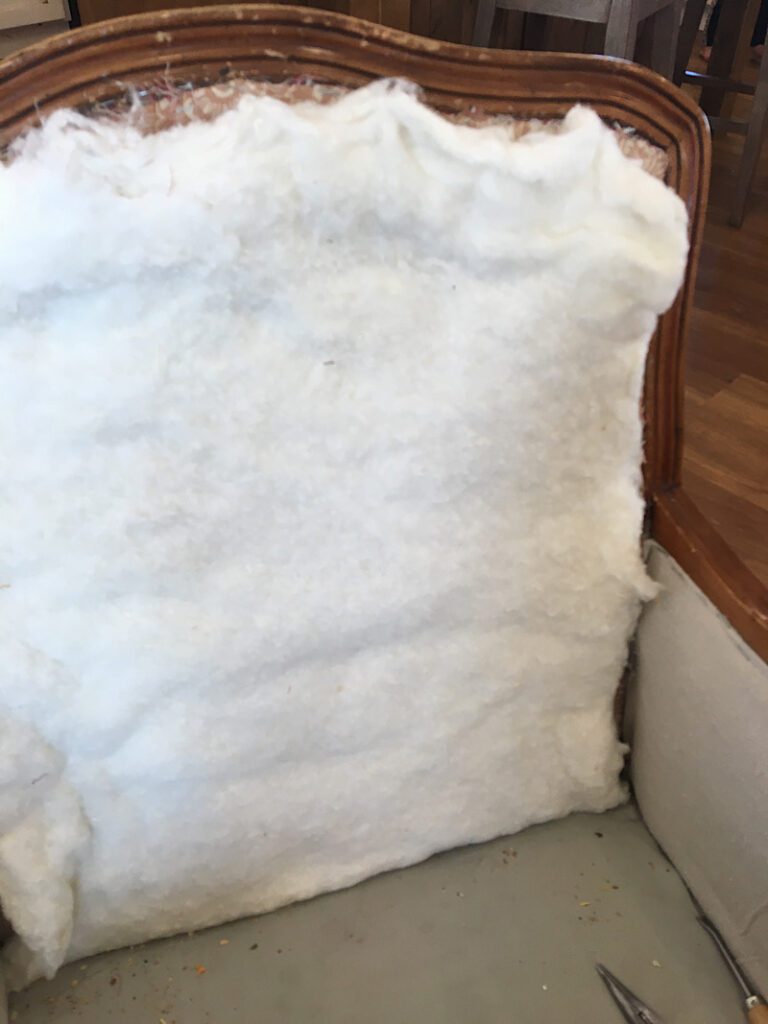
There may be a layer of material underneath the upholstery fabric that is holding the batting in place. You can leave that fabric alone.
Step 3. Make Necessary Repairs
Now that the old material is off of the chair, now is the time to make some repairs if they are needed.
If your are going to refinish, clean, or paint your wood or the legs of the chair, do so now.
Also, if there is any batting that needs to be replaced, go ahead and add it now.
My chair did not need repairs, so I skipped this step.
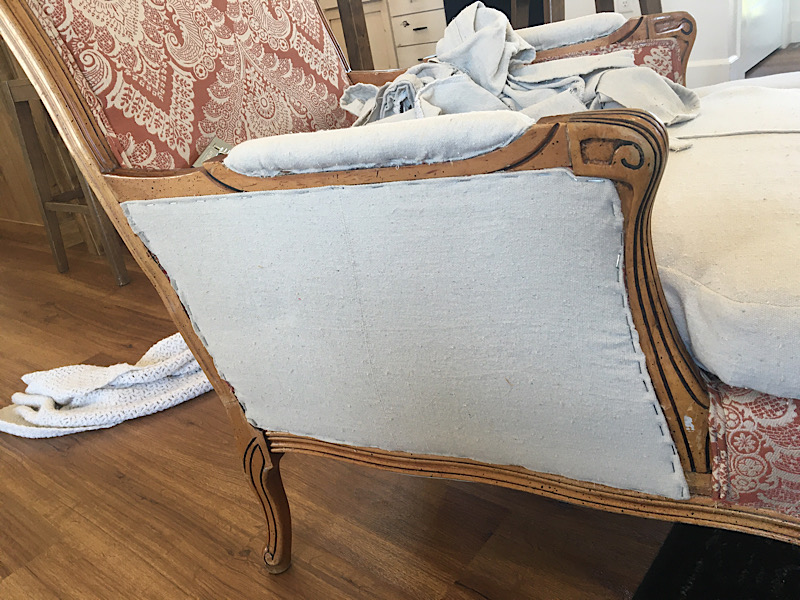
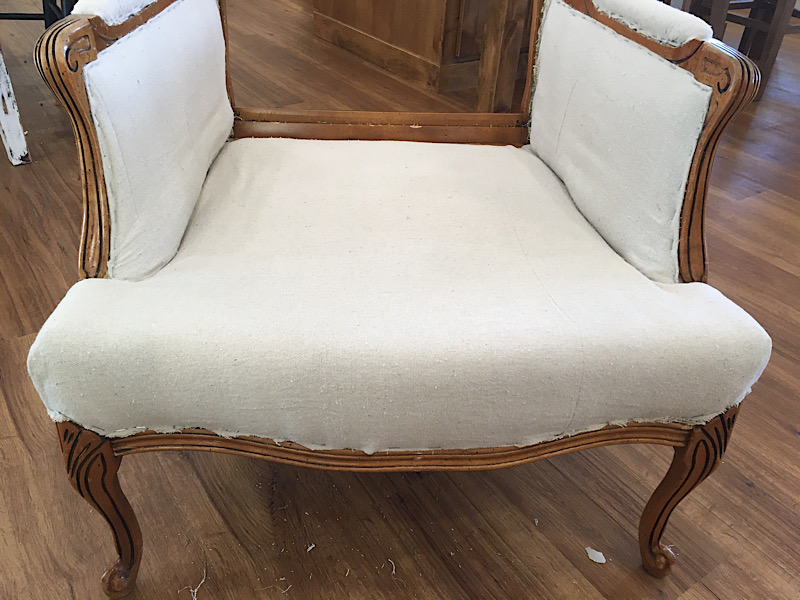
Step 4. Attach New Fabric To Chair
When you have removed the fabric pieces of your chair, you can use them to cut out sections of the new fabric.
Instead of tracing the exact shape like you did with the cushions, add a few inches to each side and just cut out a big rectangle, so that you will have enough to grasp and staple on. Then you can trim away the excess later.
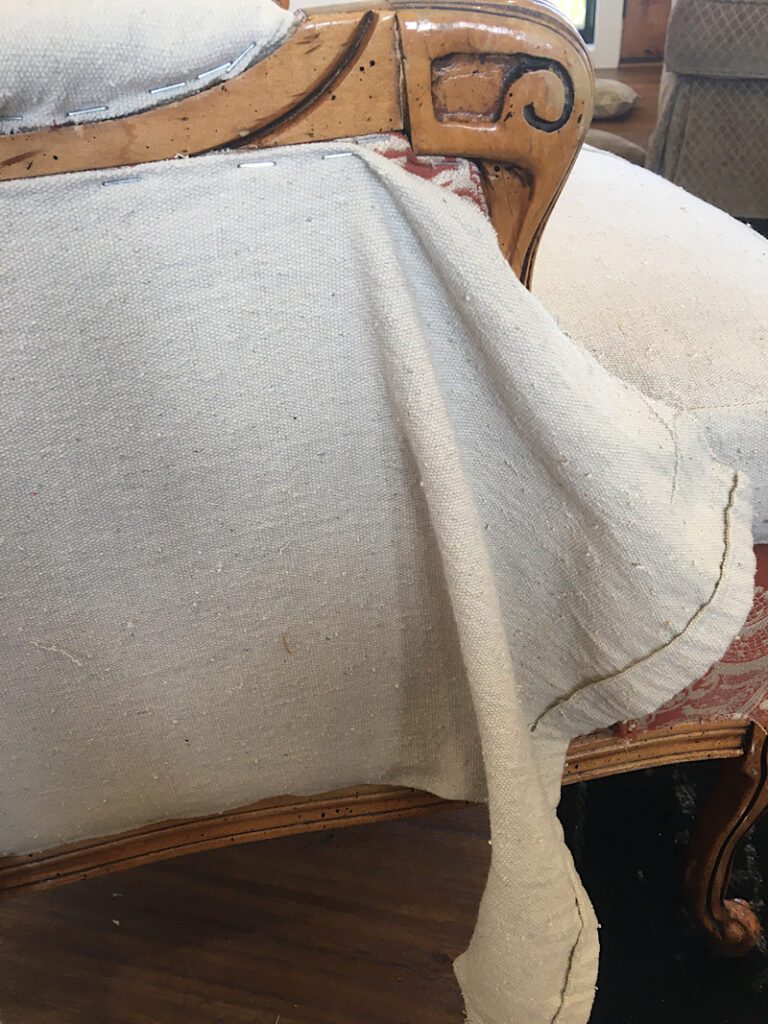
Use the staple gun to attach the fabric to each section of the chair. Make sure the staples are near the edges so they can be covered up by trim later.
On my chair, the back was open, with two layers of fabric facing outwards and a layer of batting in between
Wrap the fabric down through the bottom of the chair and staple it underneath.
On the front of the chair when stapling the fabric, you will need to fold it neatly at the corners.
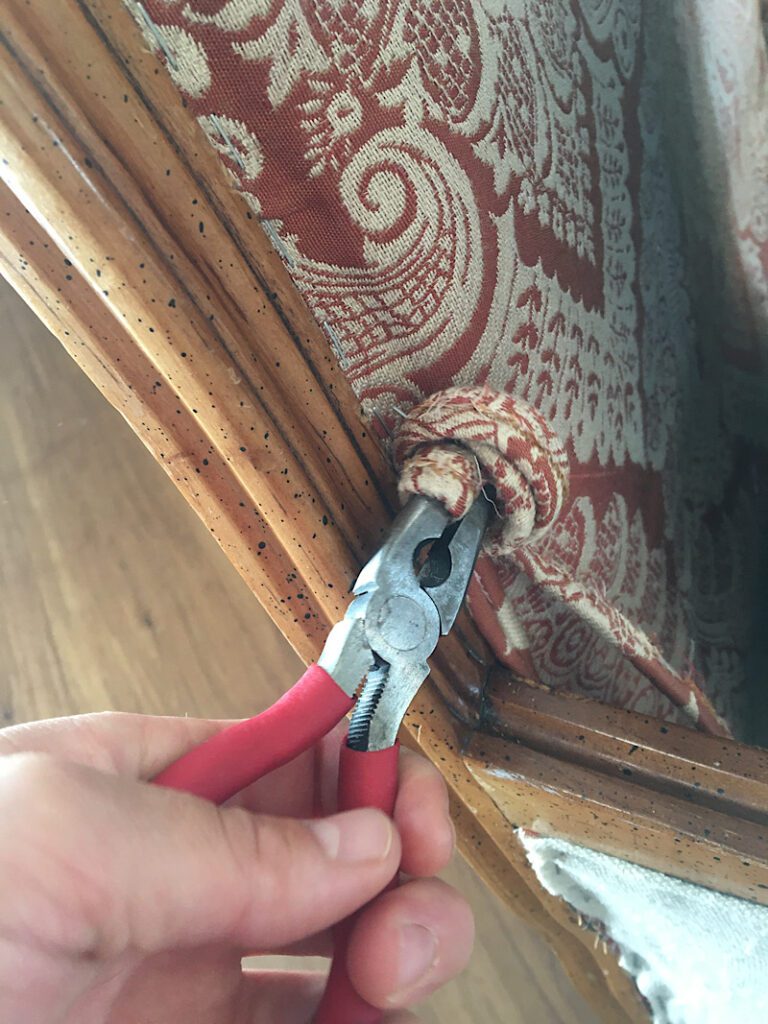
Step 5. Make & Attach Trim
To finish your chair, you will need to cover up all the staples along each edge with some kind of trim.
You can use decorative upholstery tacks, upholstery trim, or double piping.
I made my own piping using the method in this tutorial, it is super easy!
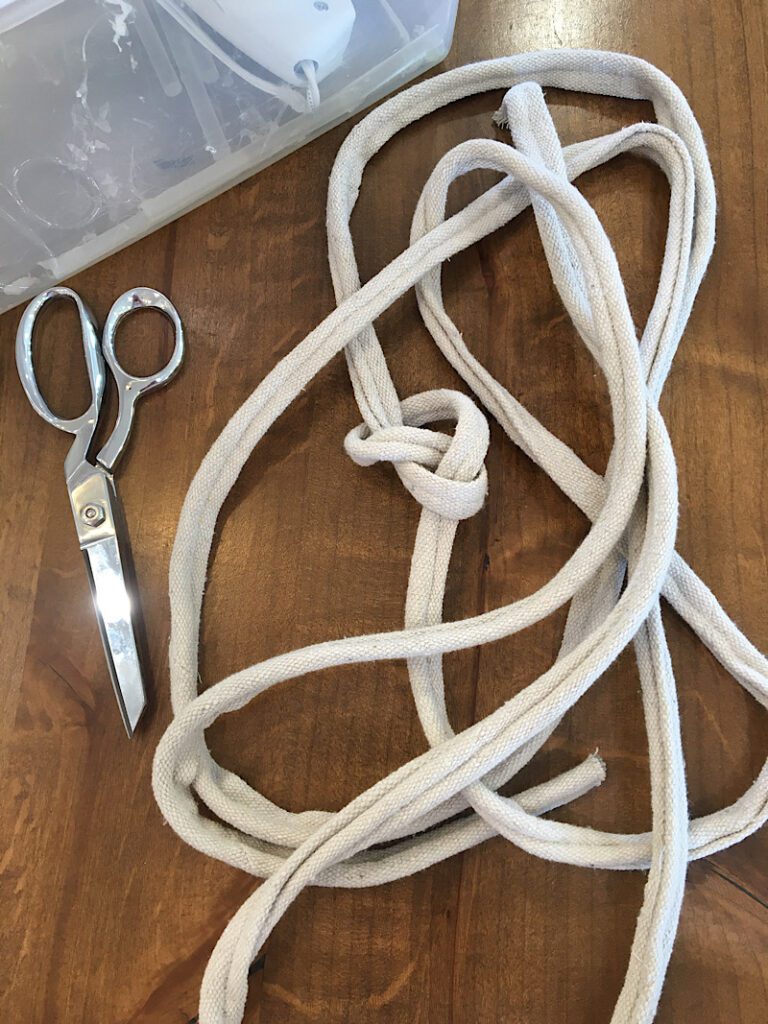
I recommend measuring all the areas you will need trim on your chair, then adding at least 10% in length just to make sure you have enough.
When attaching the trim, you want to make sure you hide the raw ends by cutting out a bit of the cording, then folding over the fabric.
You can use hot glue or a staple gun to attach the trim. They are both good methods with pros and cons.
I wrote an entire in depth post JUST about attaching double piping to a chair, if you need extra help and tips to figure it out. So make sure you read it!
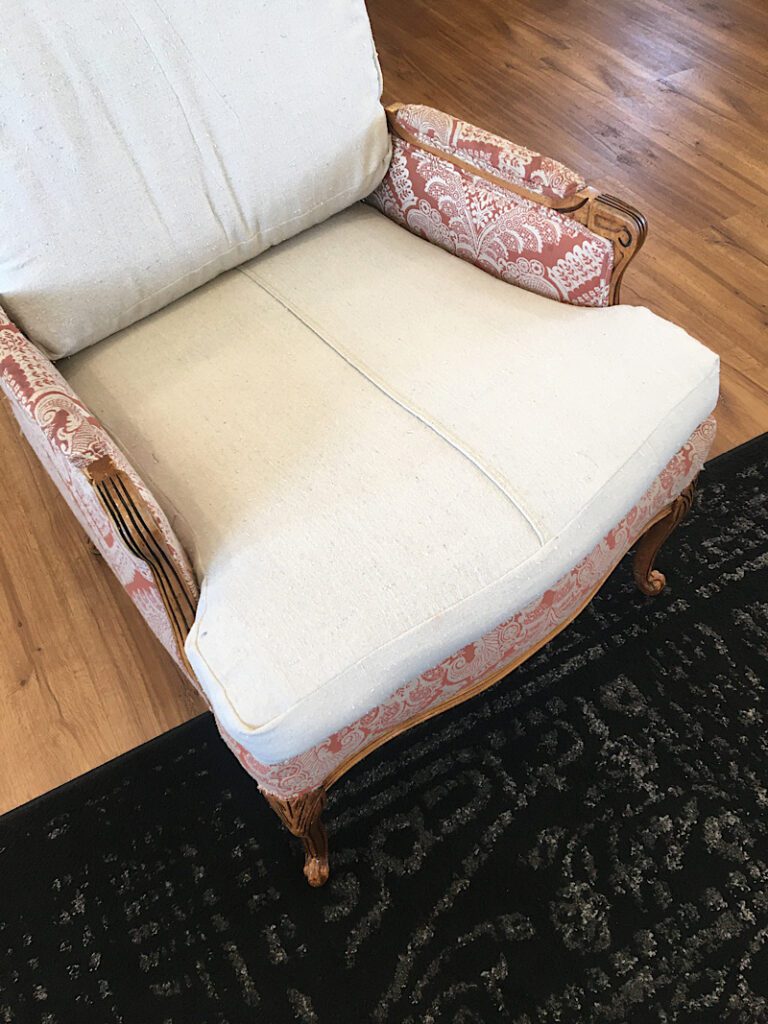
After you have attached all of the trim, the chair is complete!

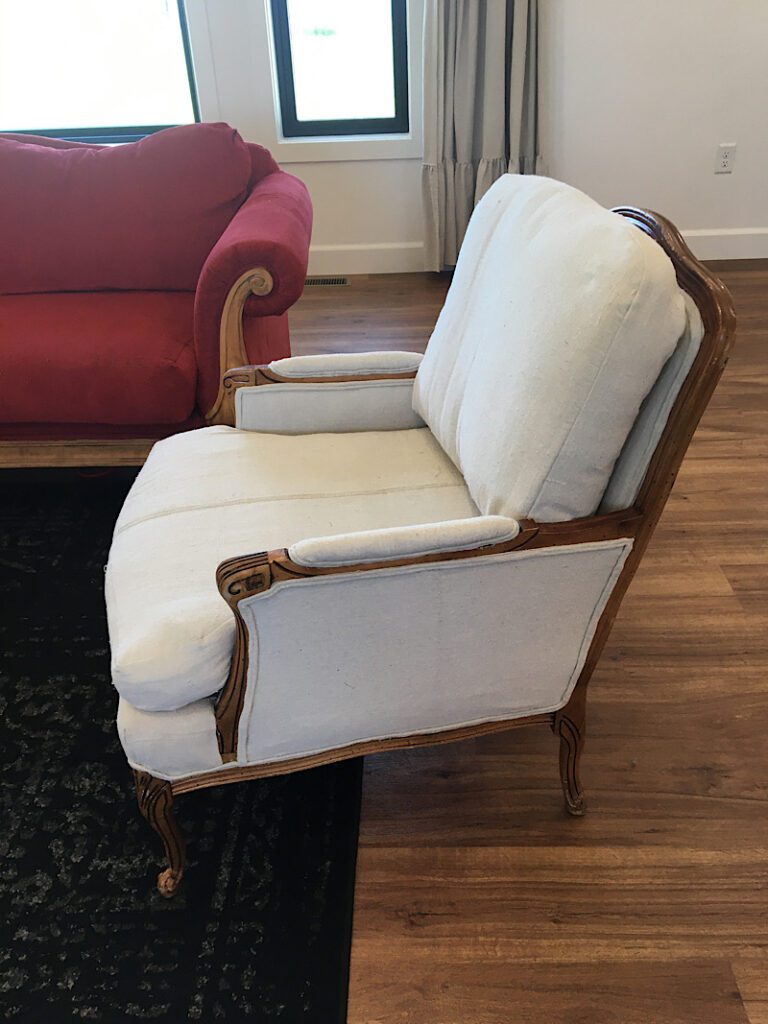
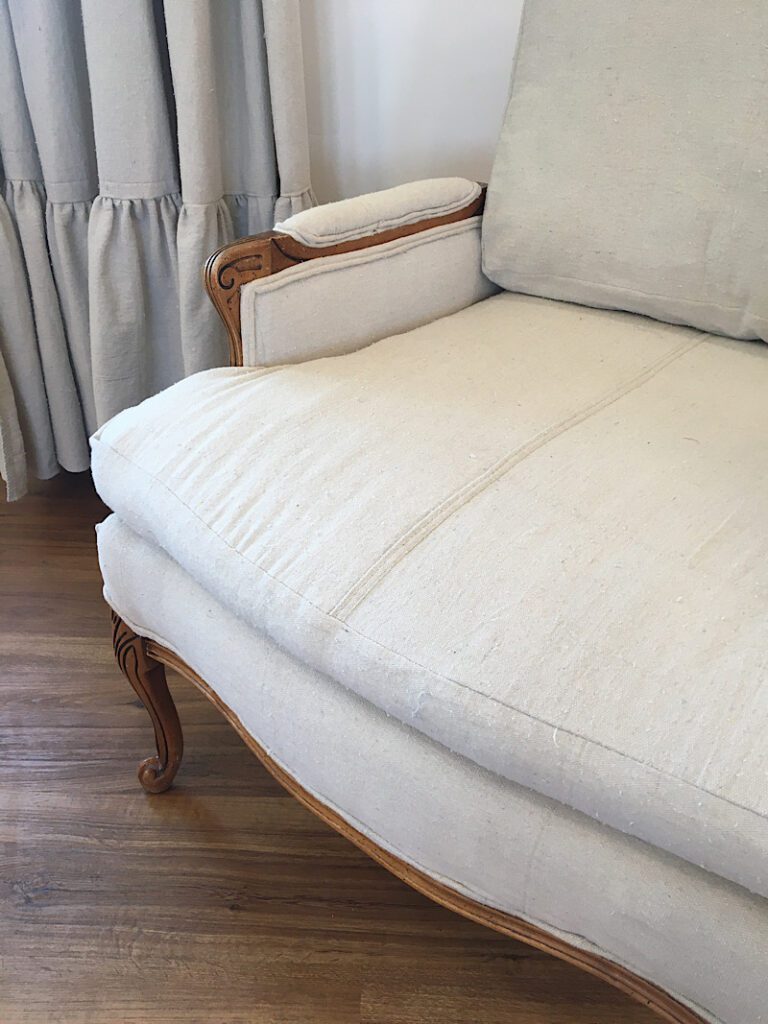
Here is the chair in it’s spot next to the couch I upholstered.
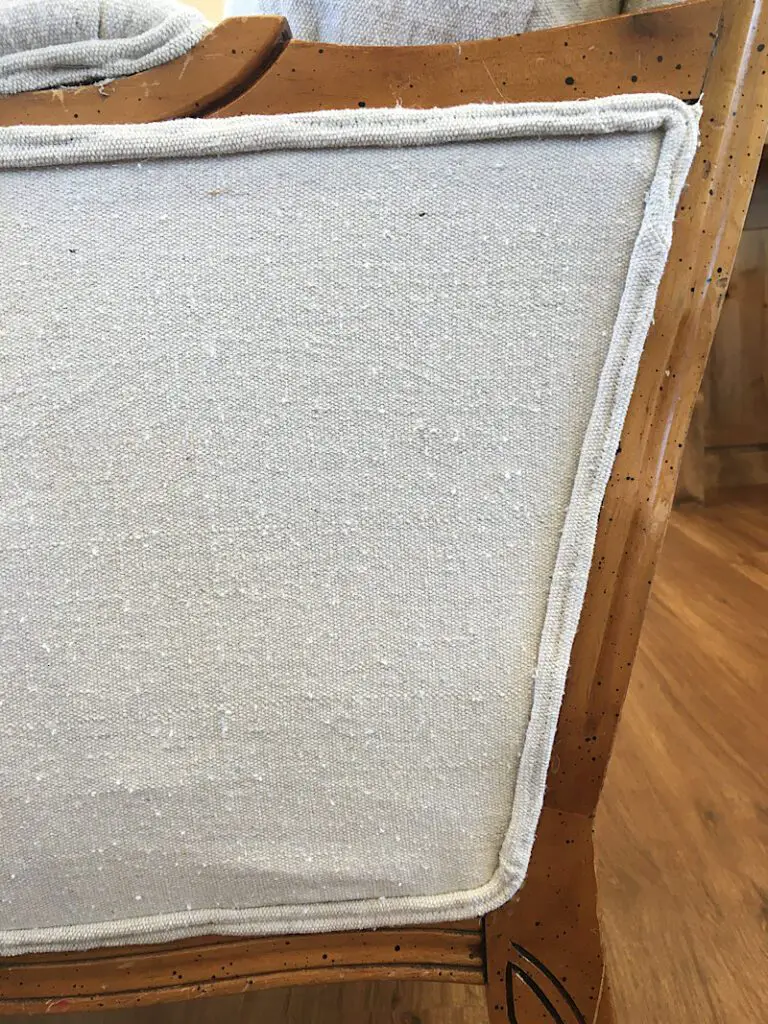
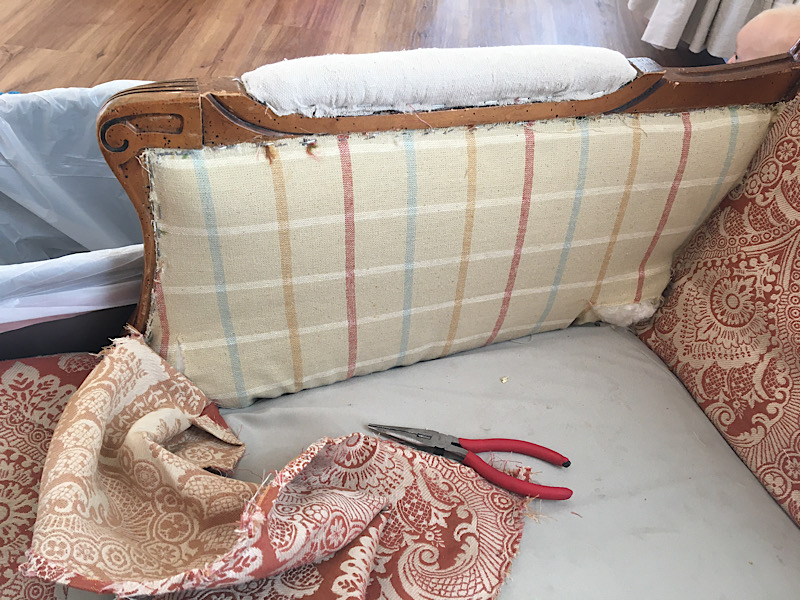
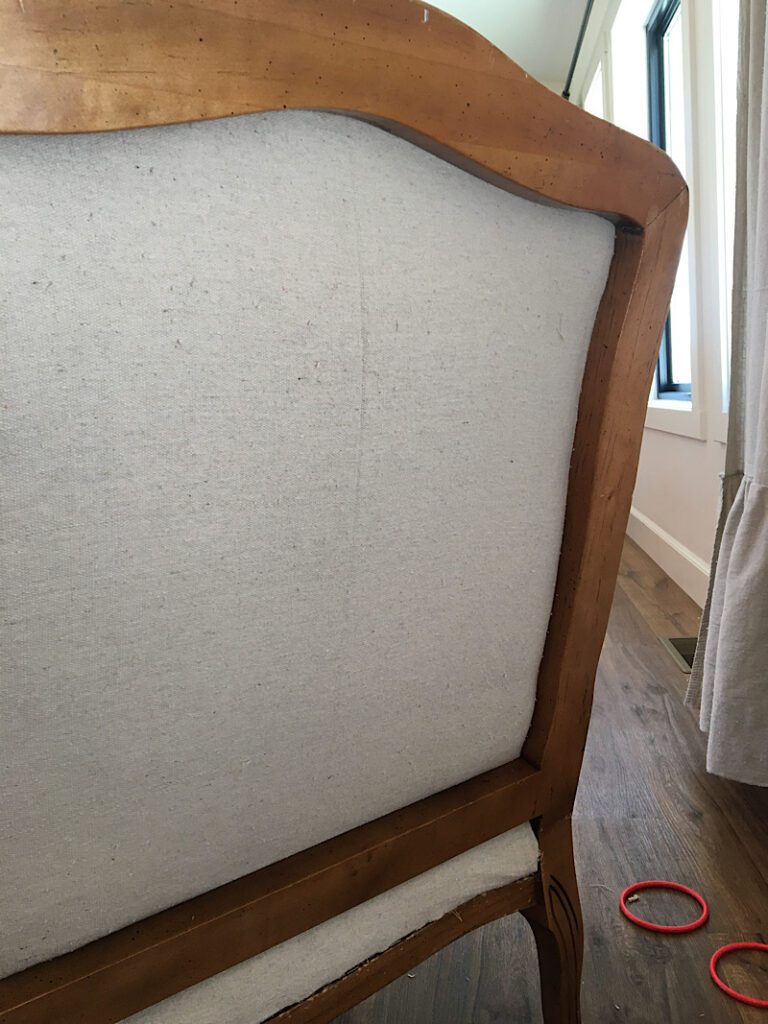
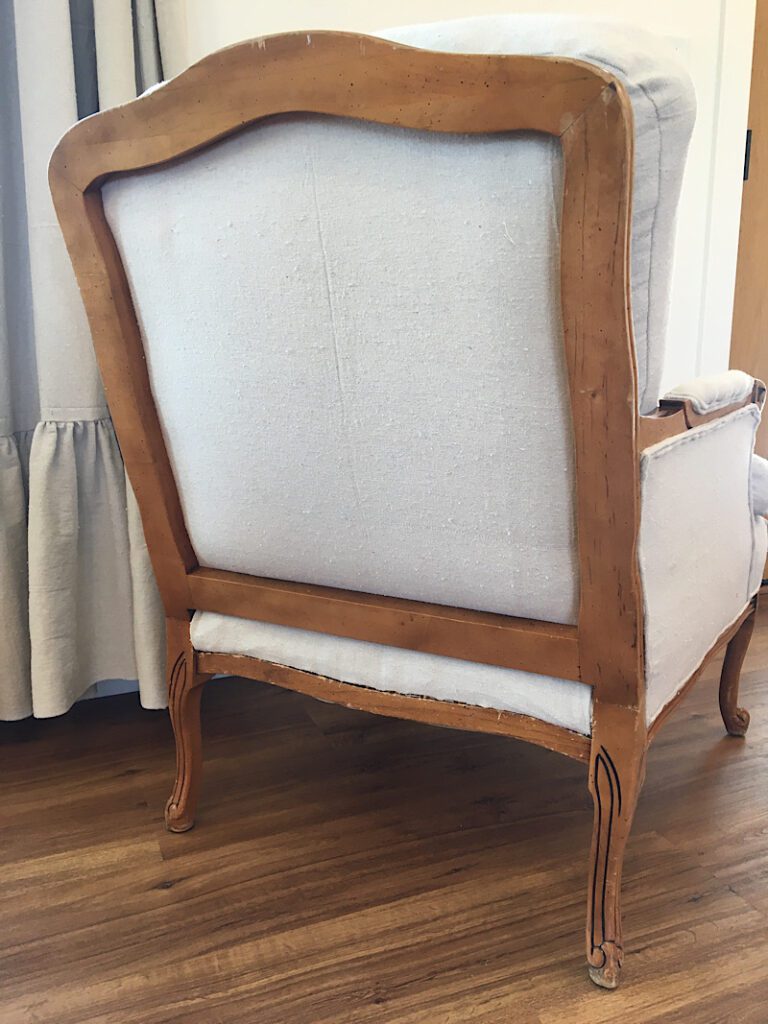
Here is the back of the chair.
I was over the moon with this transformation! It fits so nicely in our living rom and matches the curtains.
I hope this little walk through was helpful to you as you attempt to reupholster your own chair!
Let me know if you have any questions about these steps!