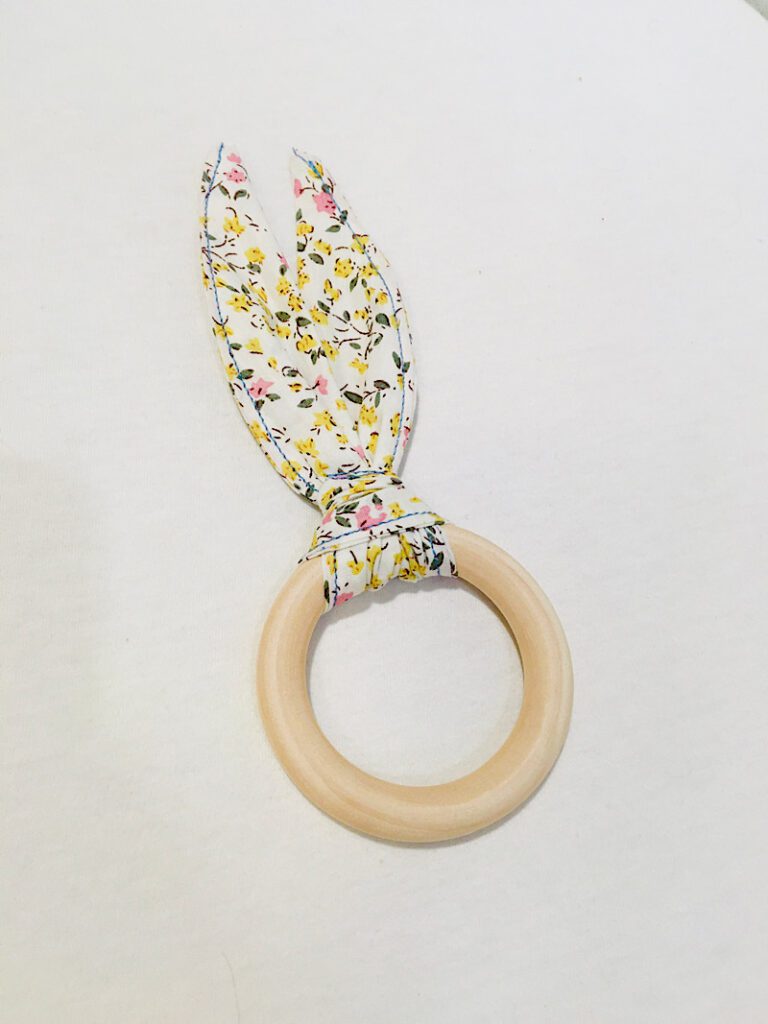
Learn how to make a simple bunny ear style teething ring for babies, it makes a great gift!
Teething rings are such a fun little gift to make for babies! They love to chomp on the wooden ring to massage their gums.
I often like to sew these for my friends who are pregnant, but this time I made one for my baby to tuck into her Christmas stocking!
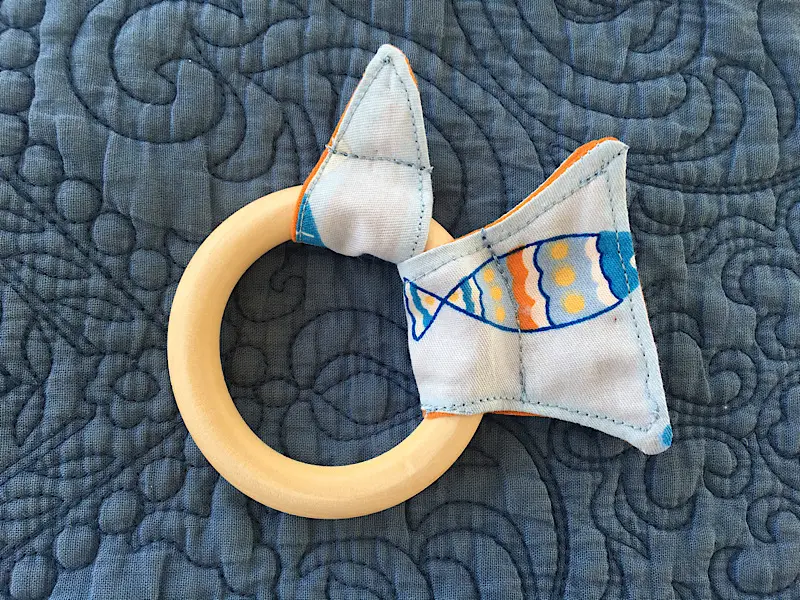
Make sure you also check out the cute fish teething ring that I made a few years ago for my son!
This post may contain affiliate links. Read the full disclosure here.
Supplies Needed
- Wood teething rings (Here is a good place to get them in different sizes!)
- Cotton Fabric
- Matching Thread
- Pinking Shears (optional)
How To Make A Bunny Ear Teething Ring
Step 1. Make The Bunny Ears
Cut out a strip of cotton fabric that is about 3″ by 12″.
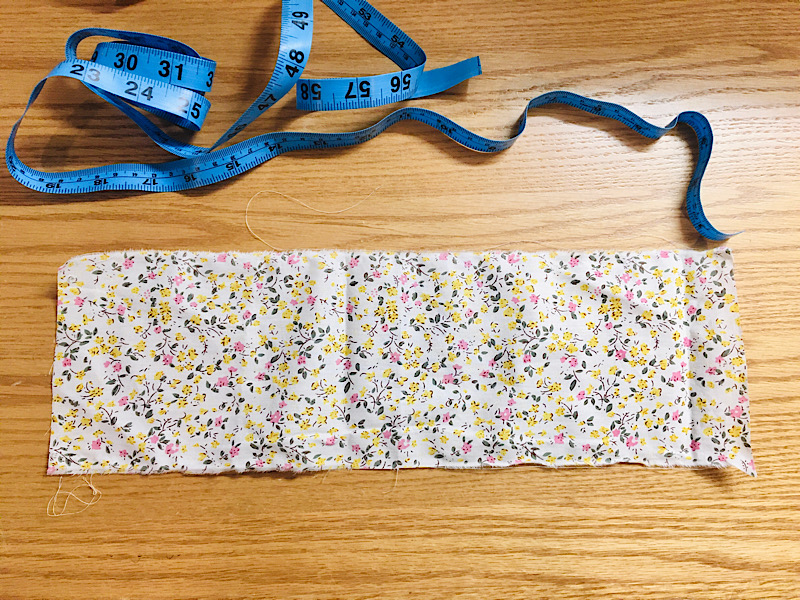
Fold the fabric in half lengthwise with the right sides together.
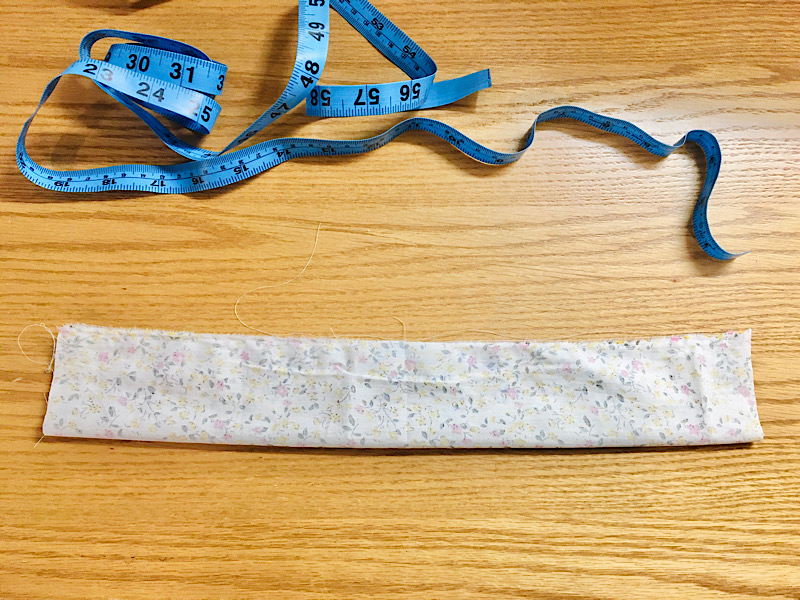
Then fold it in half again, widthwise.
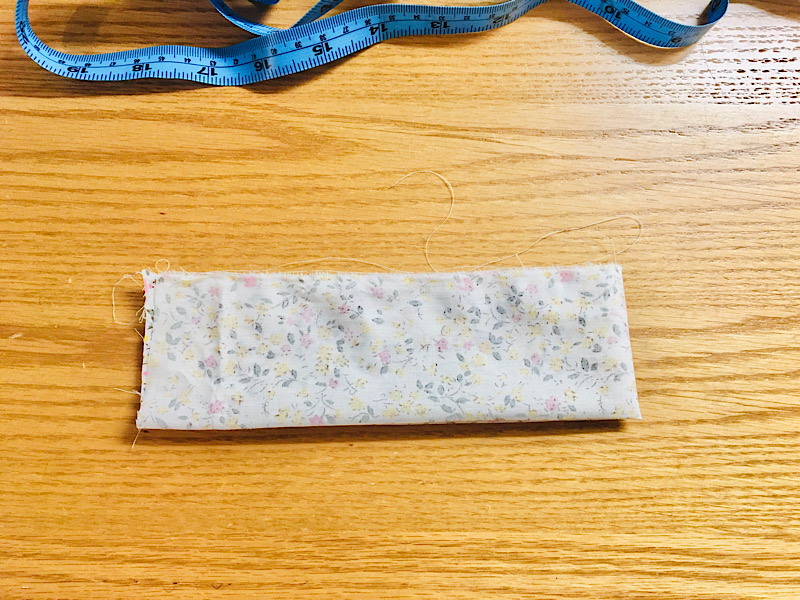
Cut a curve from corner to opposite corner along the NON folded side of the fabric. In my picture this would be the bottom left corner, curving up to the top right corner.
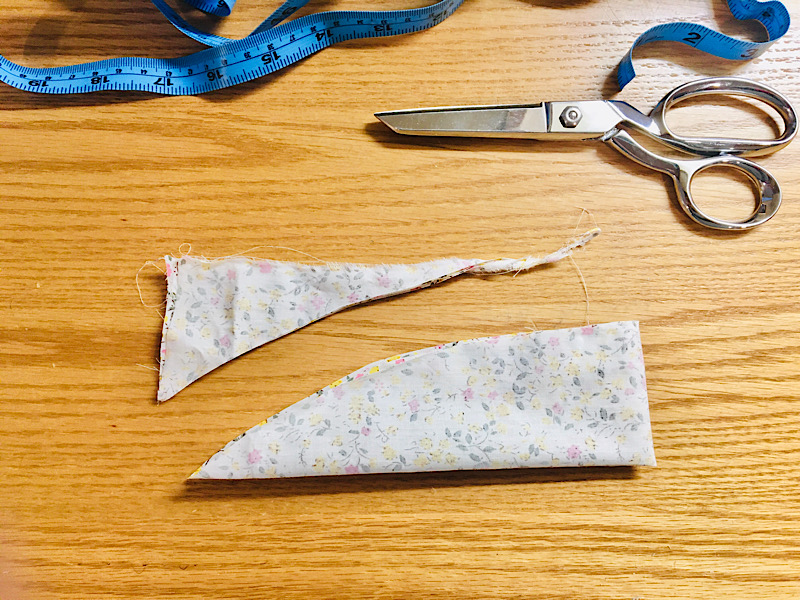
If you open up the fabric all the way, it is now a football shape. But we are going to keep it folded once lengthwise still, so the top is curved and the bottom is a flat fold.
Sew along the top curved edge with a 3/8ths inch seam allowance, and leave a 1.5 inch gap in the center.
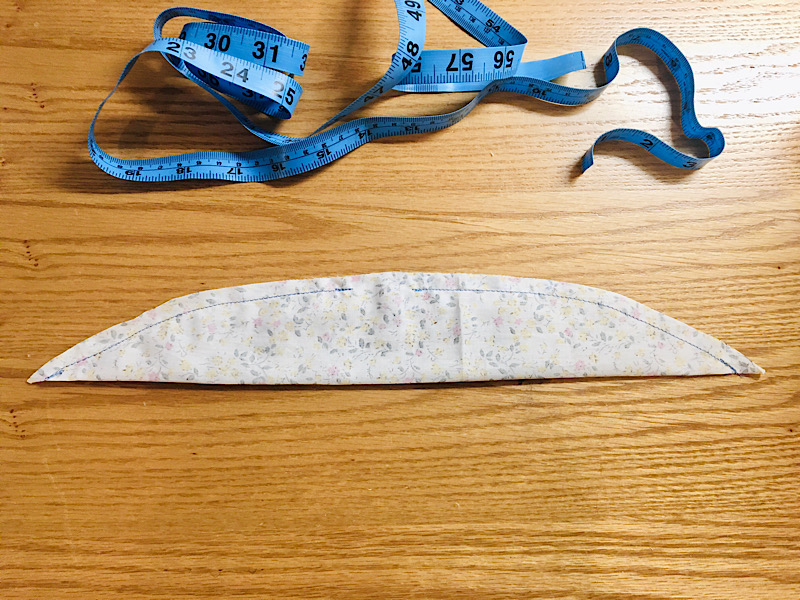
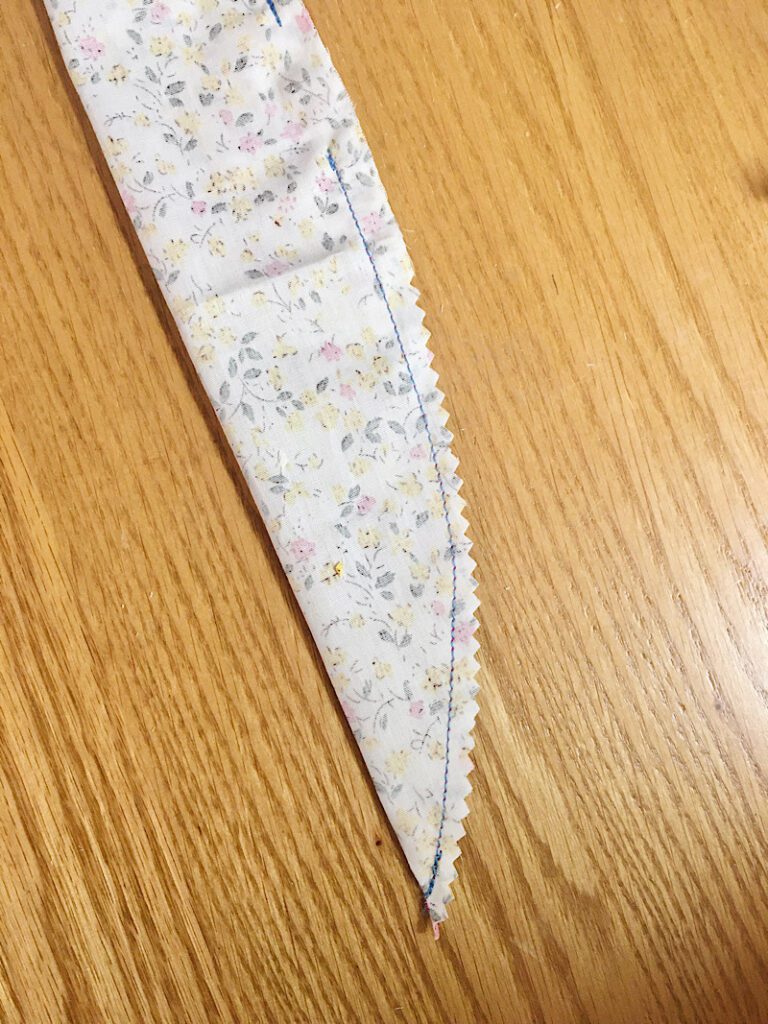
If you have pinking shears, you can pink along the curve. This is optional but helps it turn better because it removes the extra fabric.
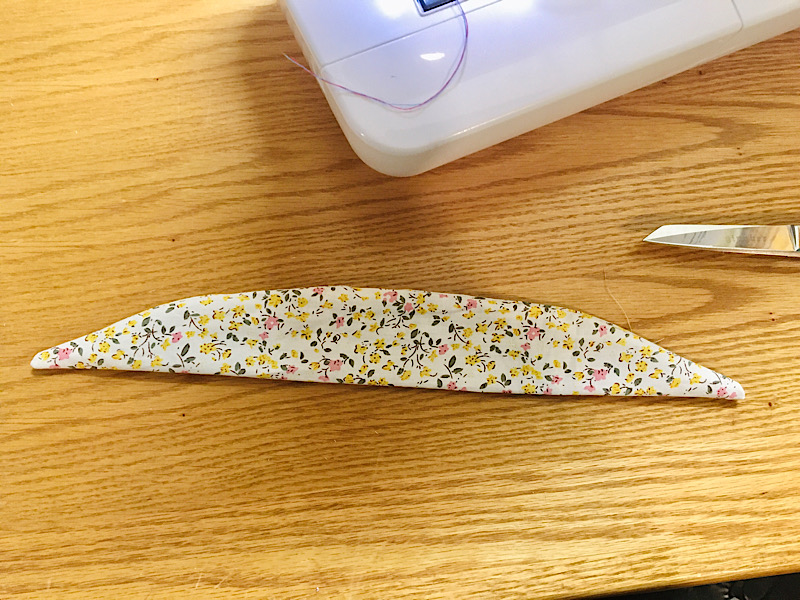
Through the gap, turn the fabric right side out. You can carefully use a pen or your scissors to poke out the ends.
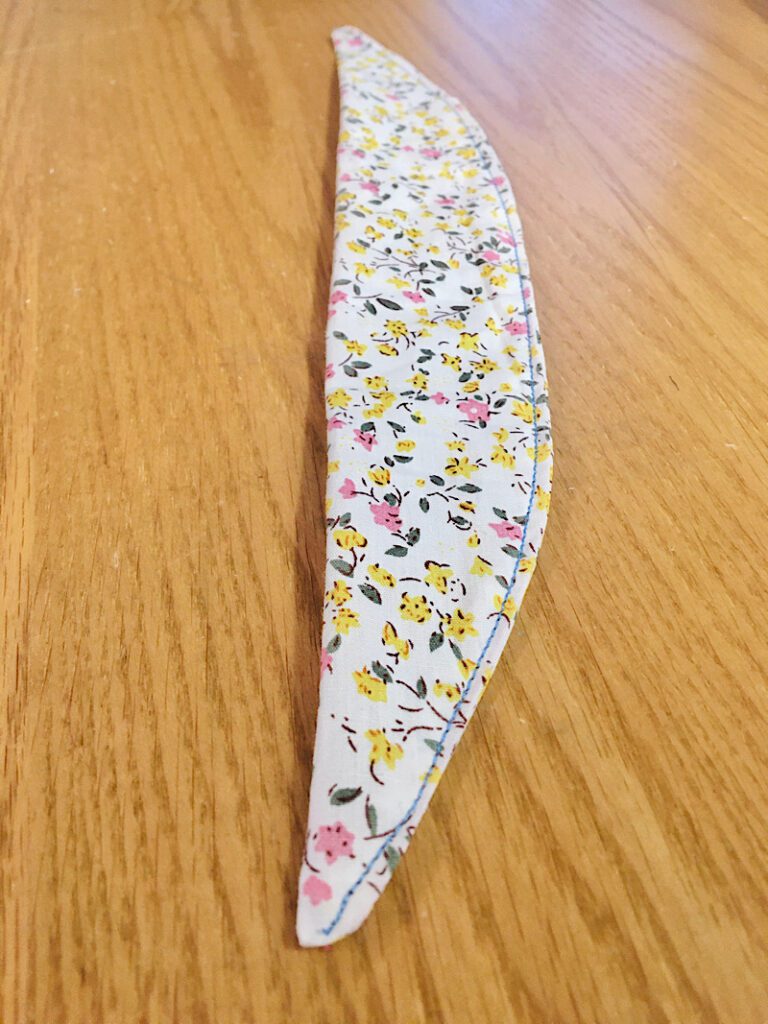
Now, sew a top stitch around the perimeter of the fabric, 1/8ths inch seam allowance. I only sewed along the curve but you can sew all around. OR you can just not sew around the edges, only where the gap is.
Step 2. Tie The Ears On
Now you have your “bunny ears” sewn. Grab a wood ring.
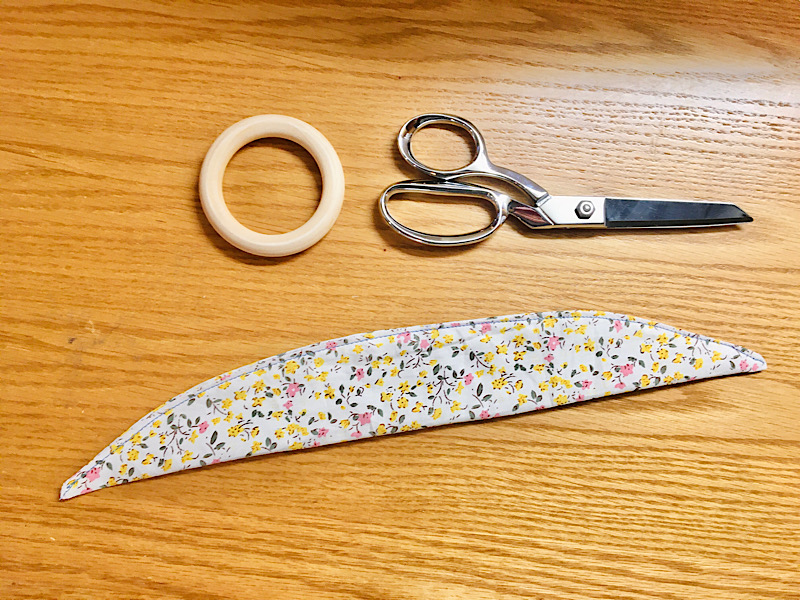
Fold your fabric into a loop as shown in the picture below. (Instead of just folding the fabric in half, you are folding it in half, then flipping ONE of the tail ends over.)
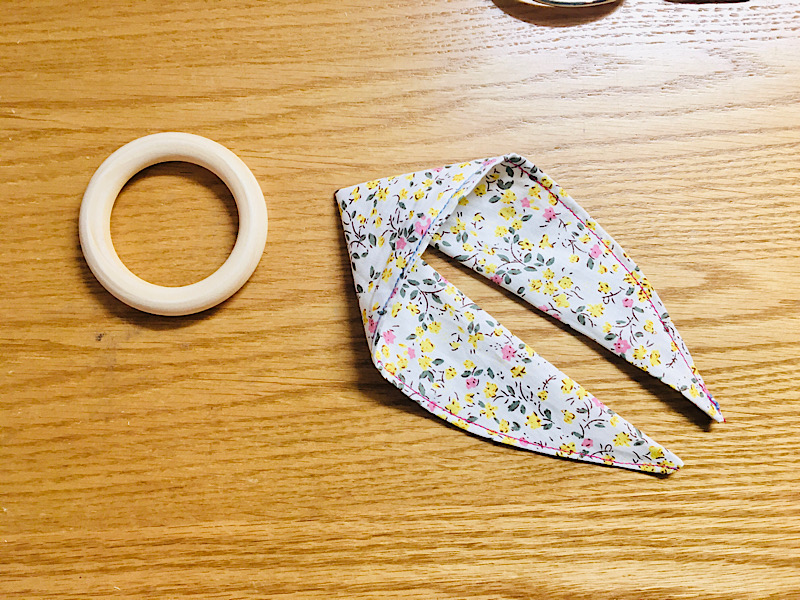
Insert the folded end of the fabric through the ring.
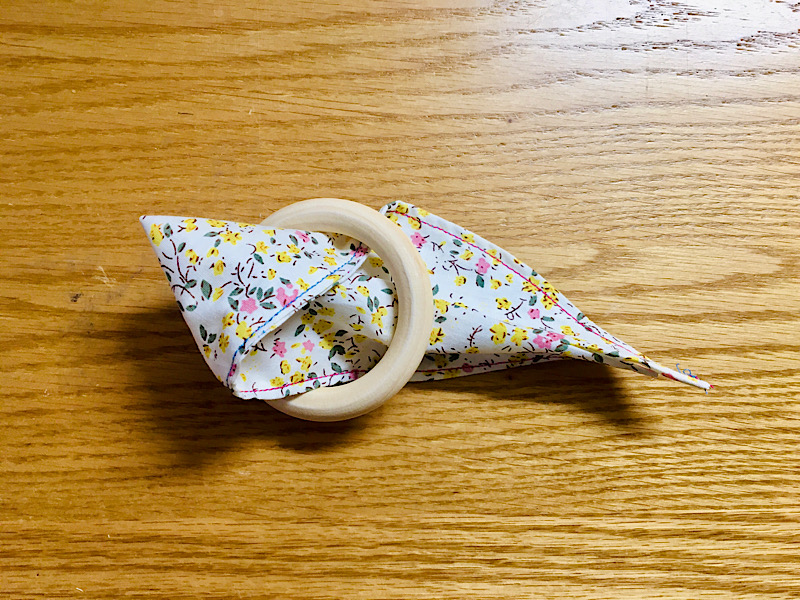
Then wrap the two tail ends of the fabric around the ring and through the looped part of the fabric, and pull them through.
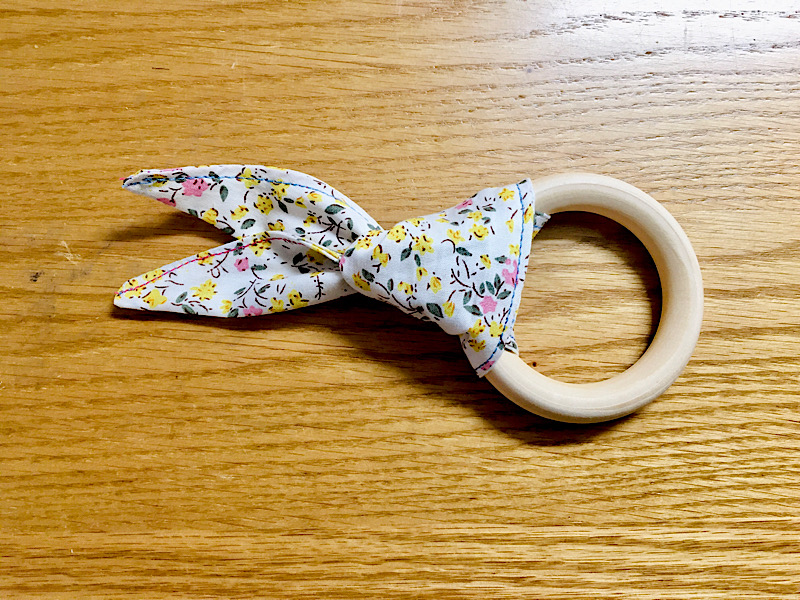
Pull the ends tight to make a nice knot.
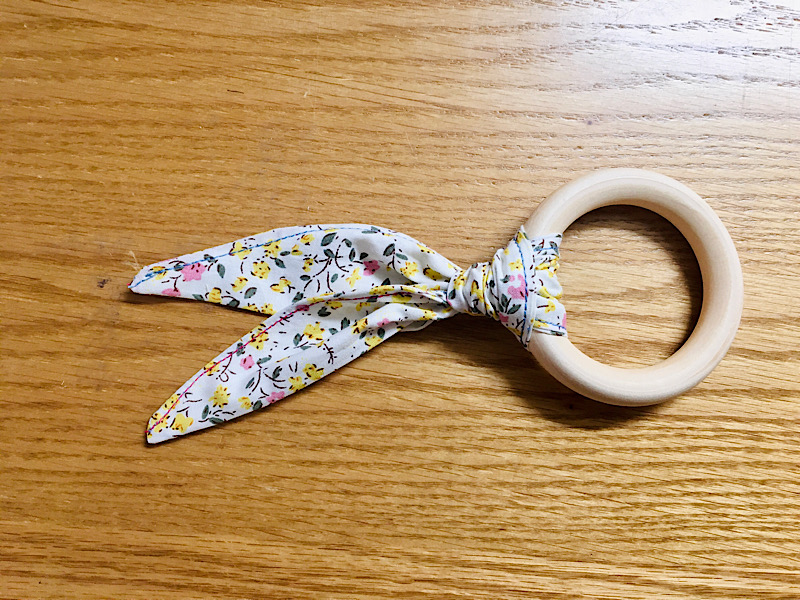
Finally, you want to keep the knot from coming undone. Sew some stitches through the knot near the tails to hold it in place.
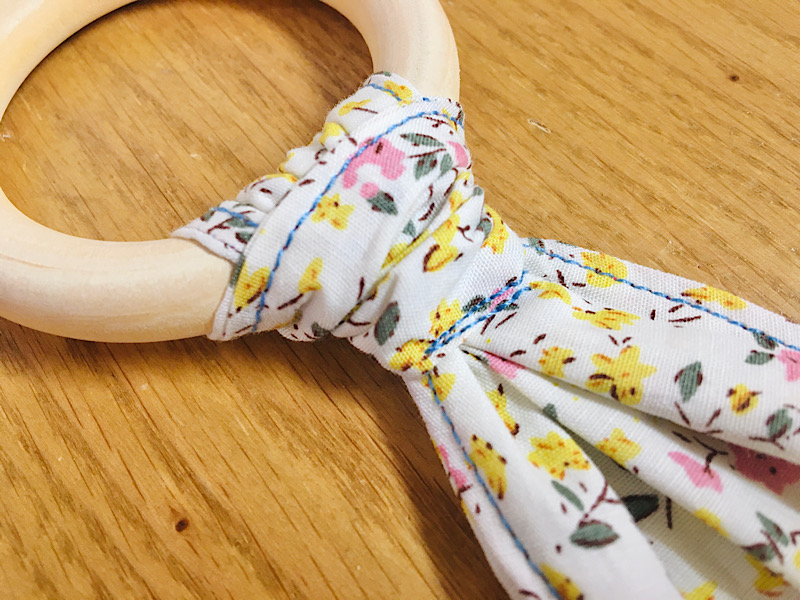
Then you are done!
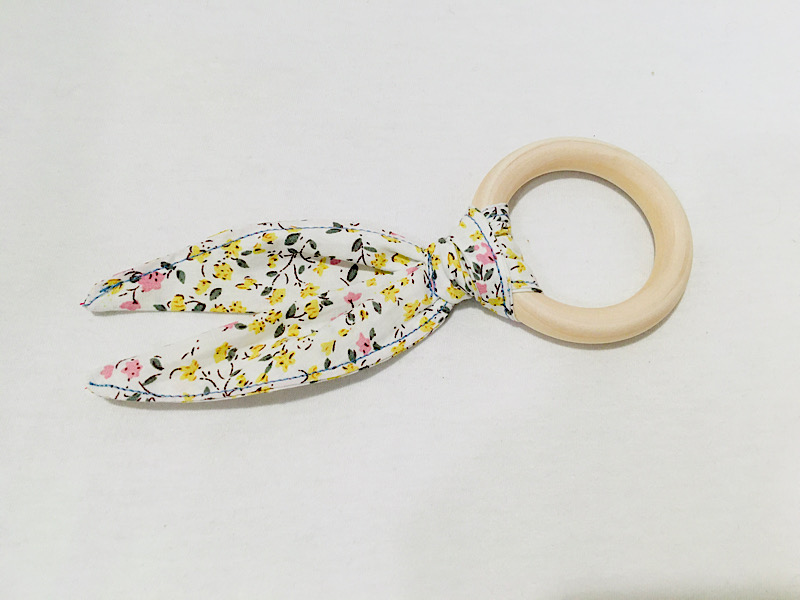
This turned out so cute and simple and I was excited to tuck it into my baby’s stocking!
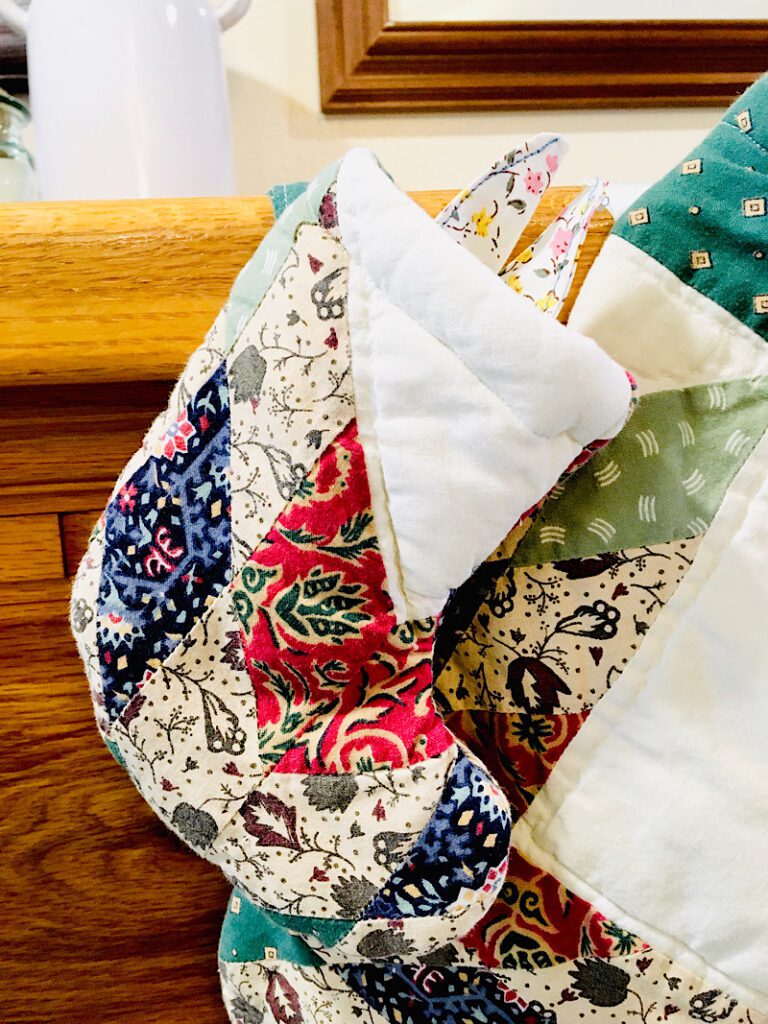
See those bunny ears sticking out? I made these stockings last year from a vintage quilt!
I hope you liked this tutorial. Let me know if you have any questions!


I am concerned about this being sanitary for a baby. It will get “soggy” from baby’s chewing on it. Just toss it in the laundry – or hand wash? I want to make one for my new grandson. It is so cute.
Karen, valid question!! what I do is hand wash it and let it air dry! If you prefer to not sew the ears to the ring you can omit the last stitch at the end, then you can machine wash the fabric. I also like to apply food grade beeswax or olive oil to the wood and let it soak in, then wipe off the rest to make it more water/spit resistant.