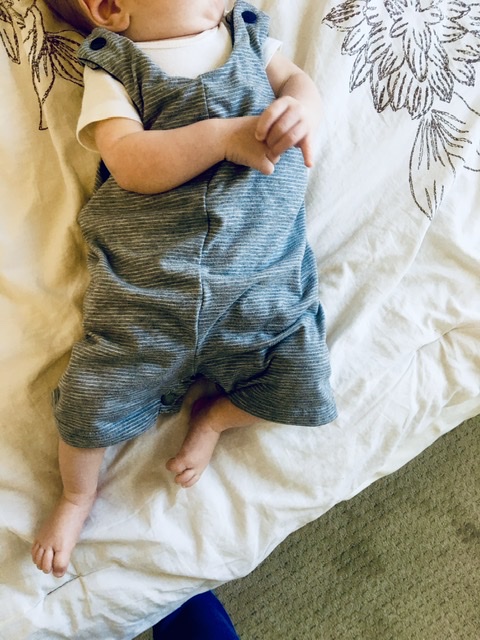
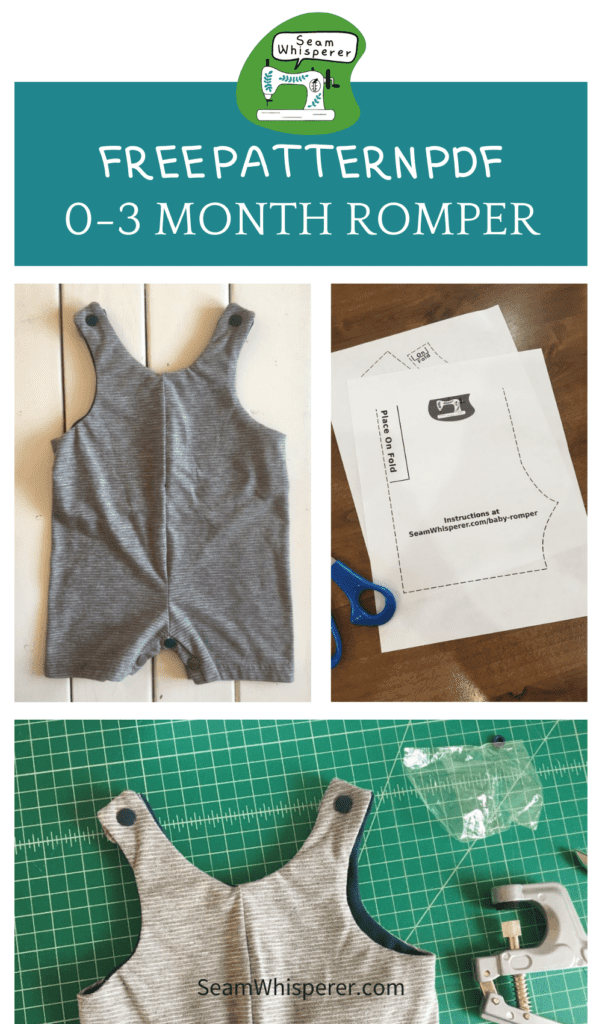
I have noticed that a LOT of the kids sewing patterns online (especially the free ones) are for girls. I just had a baby boy, so I thought I would whip up a super comfy romper outfit for him! If you are looking for a free baby romper pattern (one that is good for boys OR girls) then you’re in the right place!
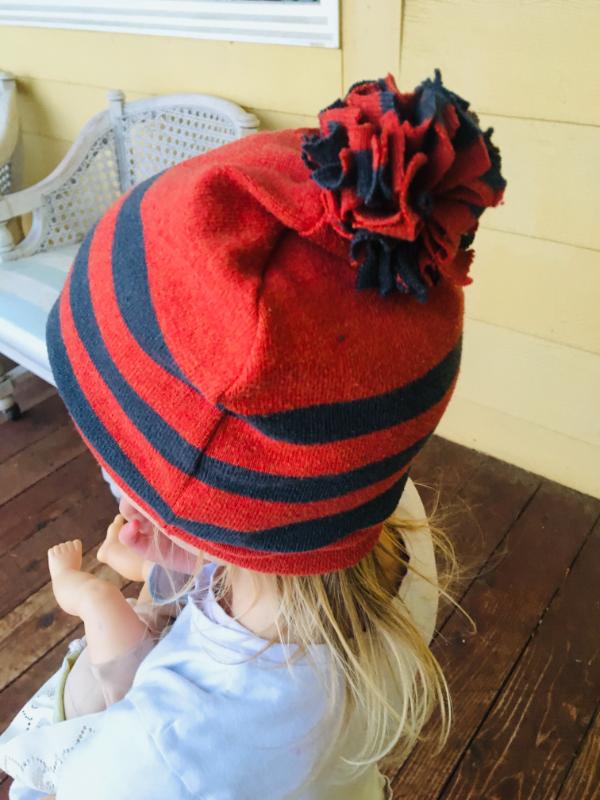
Here’s two more great boys sewing projects, a dinosaur spike beanie hat, and a super simple sun hat!
This post may contain affiliate links. Read the full disclosure here.
What you’ll need to use this Free Baby Romper Pattern:
Equipment
- Sewing Machine & Serger (serger is optional but I swear by mine!)
- Sewing Scissors
- Pins
- A button hole foot (only if you choose to use buttons for the shoulders.)
Materials
**FABRIC NOTES: There are a few options for fabric I want to discuss. This pattern will fit just fine on 3/4 yard of fabric, however if you want the lining to be a different complimentary fabric you can use 1/2 yard for the main romper, and 1/4 yard for the lining.
The stretch doesn’t matter very much in this pattern, it is suitable for both stretchy and non stretch materials.
In addition, you may also make this an upcycle project like I did and use a large men’s t-shirt for the main material, and another shirt or fabric for the lining.**
- 1 Yard of 44 inch width fabric for both main romper & lining, OR 1/2 yard main fabric + 1/4 yard for lining OR 2 men’s t shirts to upcycle
- Matching Thread
- 5 Plastic Snaps to match your fabric & snap plier tool (OR 3 snaps for the crotch closure + snap pliers, and 2 buttons for the shoulder straps + button hole foot)
Pattern Notes:
- This pattern uses a 3/8 inch seam allowance
- Make sure to use a stretch stitch if using stretchy fabric! (Or you can serge it, like I did.)
Update: I made an ADORABLE girl version of this romper out of thrifted pajama pants. Here’s how they turned out!

Instructions
1. Print the Free Baby Romper Pattern & Cut It Out
Download the free pattern by signing up your email below.
When printing this pattern, make sure that you don’t scale the document up or down. Print it at “Actual Size” or “100% Scaling”.
After you print the pattern, measure the “1 Inch Test Square” to make sure it does measure 1 inch. If it does, then congratulations, you printed it correctly!
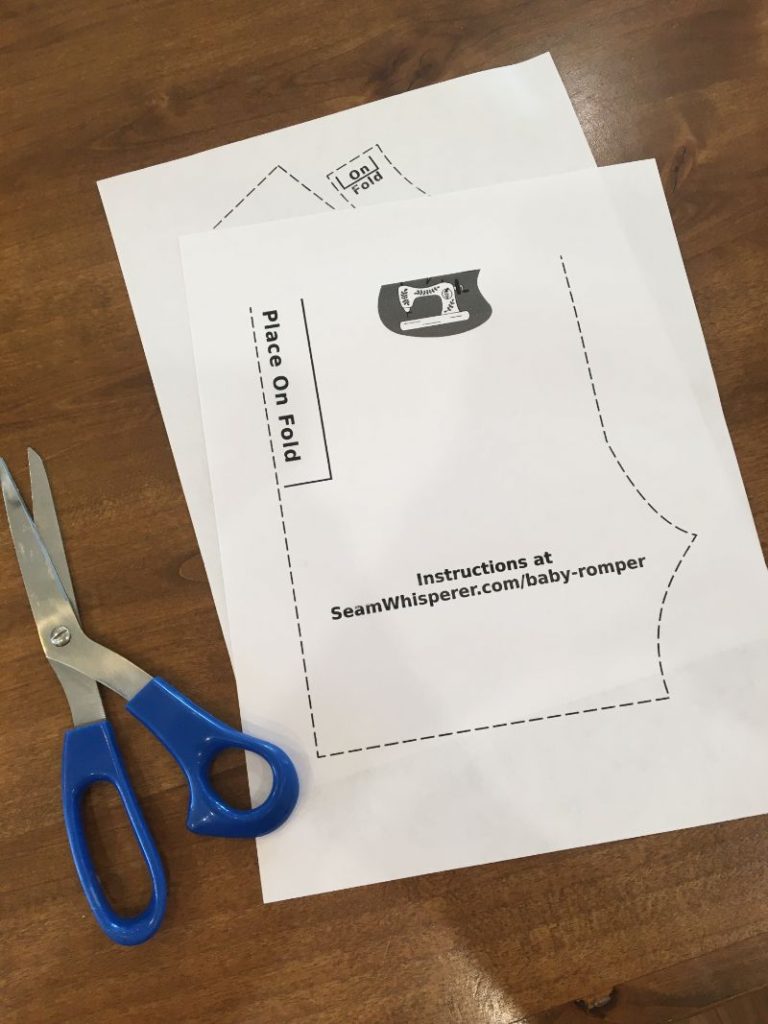
Cut out the pattern along the dashes lines. The pattern will need to be taped together, line up the halves of the “Seam Whisperer” Logo to make sure it is taped correctly.
2. Cut out the pattern pieces from the fabric
Before you cut out the pattern pieces, you will need to prepare your fabric.
Whether you are using the 3/4 yard or the 1/2+ 1/4 yard of fabric, fold it in half lengthwise (parallel to the selvedge) and cut it in half so that you now have two 22 inch wide pieces. Then, fold those pieces in half again to end up with a 3/4 yard by 11 inches, or 1/2 yard by 11 inches.
Now you can line up the pattern pieces on the folds and cut them. I have illustrated the layout below.
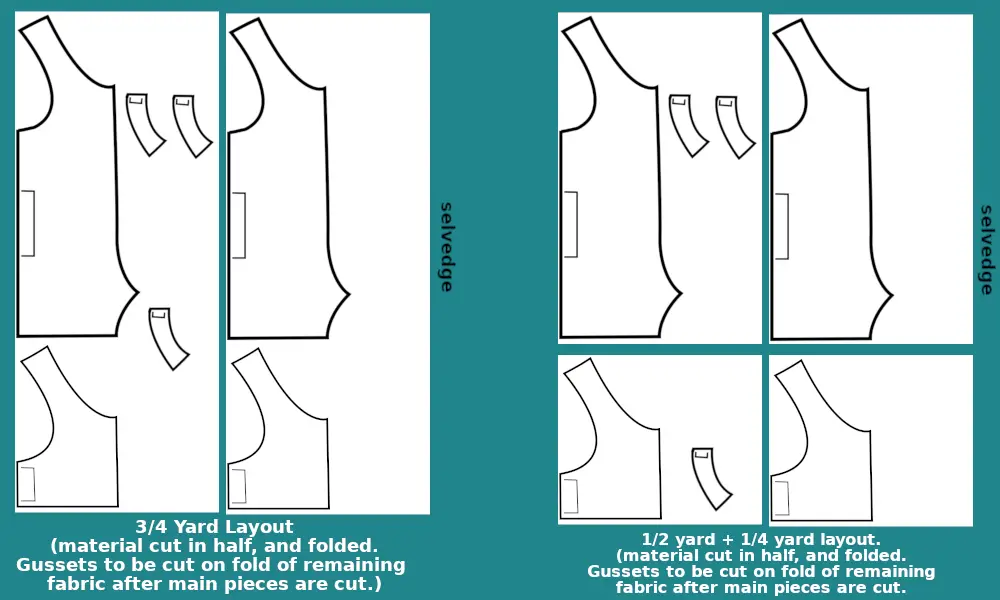
Cut two main romper pieces on the fold, cutting around the dashed lines of the pattern.
You will notice the straps have an extra solid line marked “strap height guide”. Do not cut that line yet. Cut only along the dashes for now.
Cut 2 lining pieces on the fold following the dashed line. Then fold the remaining fabric so that you can cut 3 snap gusset pieces on the fold.
3. Assemble The Lining Pieces
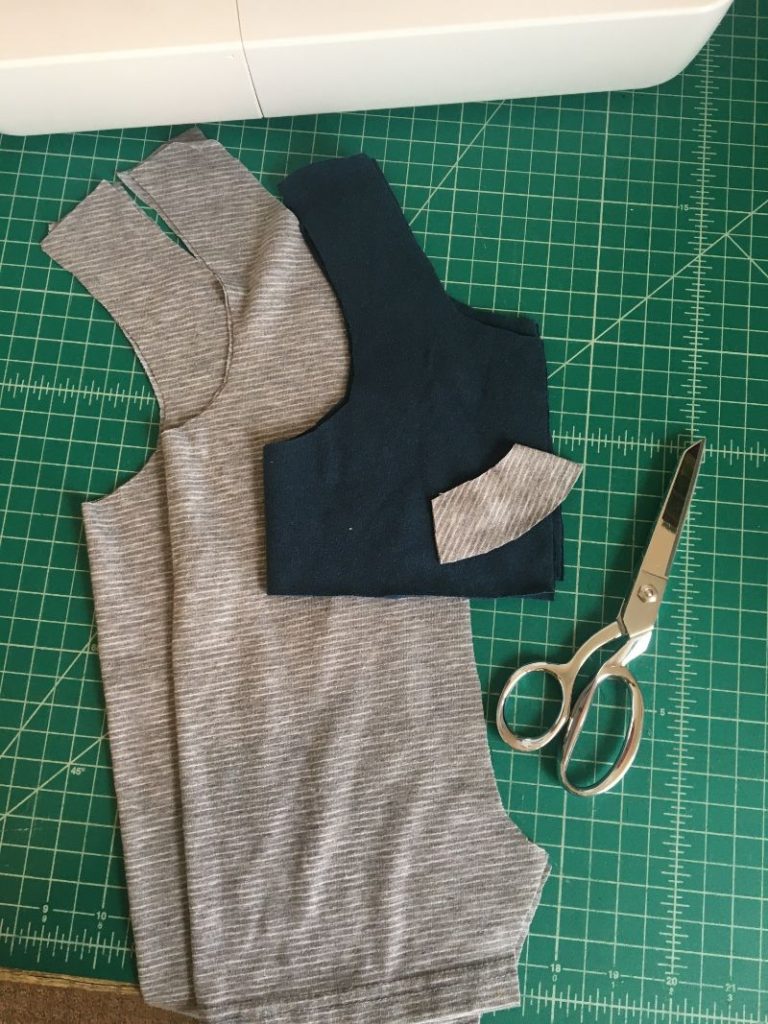
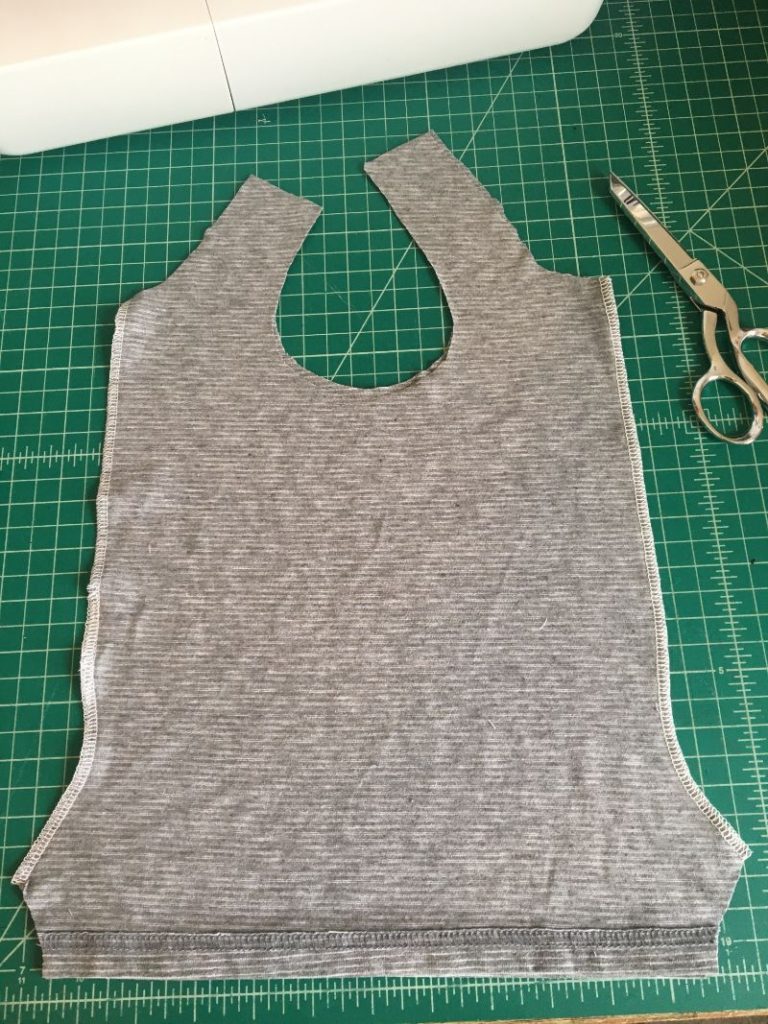
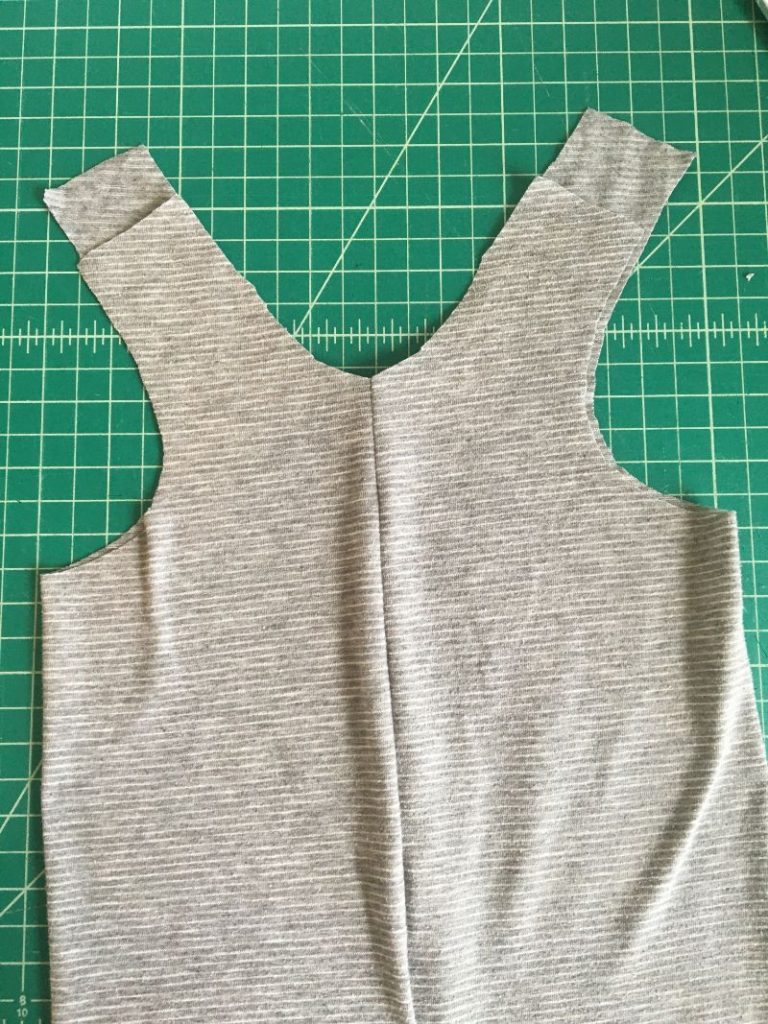
Open the lining pieces you cut and layer them with right sides together. Sew down the raw seams on the left and right, as shown in the image below. (I used my serger which made this super quick and easy, but you can just sew it if you don’t have a serger.)
You will also need to finish the bottom hem somehow. Since I am using a stretchy knit material, I chose to leave it raw since it wont be seen and it wont unravel. You can serge it, do a zig zag stitch, or make a simple hem.
Notice in the photo below that the straps on the left are shorter than the straps on the right. The left straps will be the front of the romper when you open it up, the right straps will be on the back.
Grab your lining pattern and fold down the strap along the “strap height guide” I mentioned earlier. Now line it up on your pattern, and cut ONLY the left straps, like in my photo.
4. Assemble the romper pieces
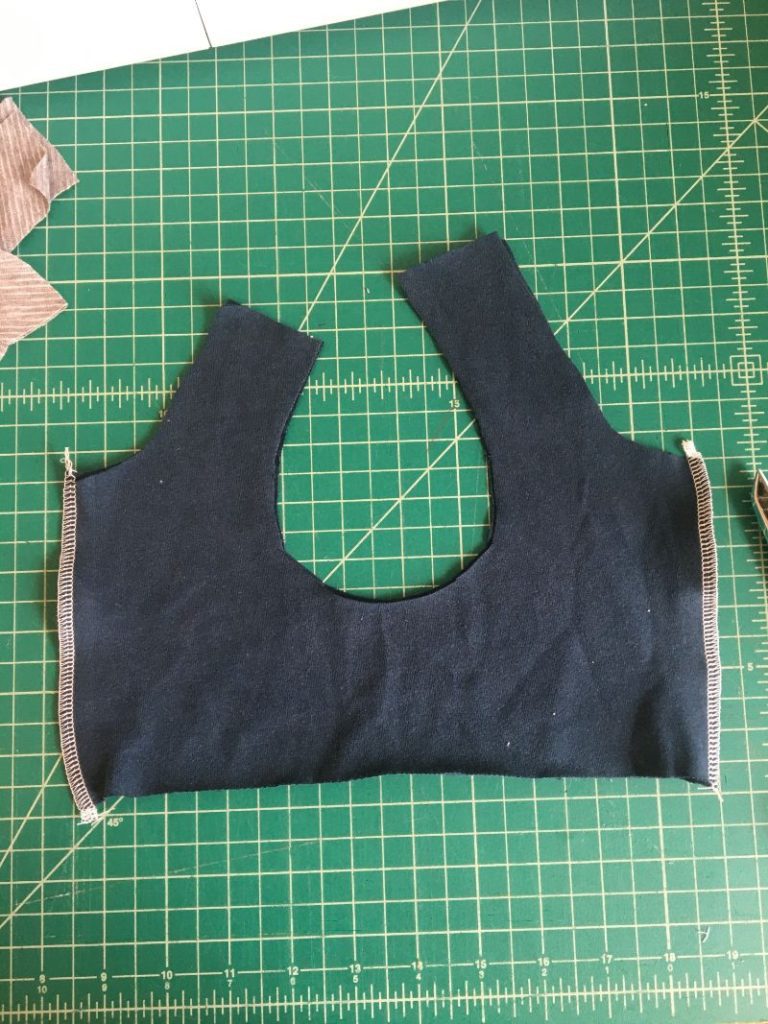
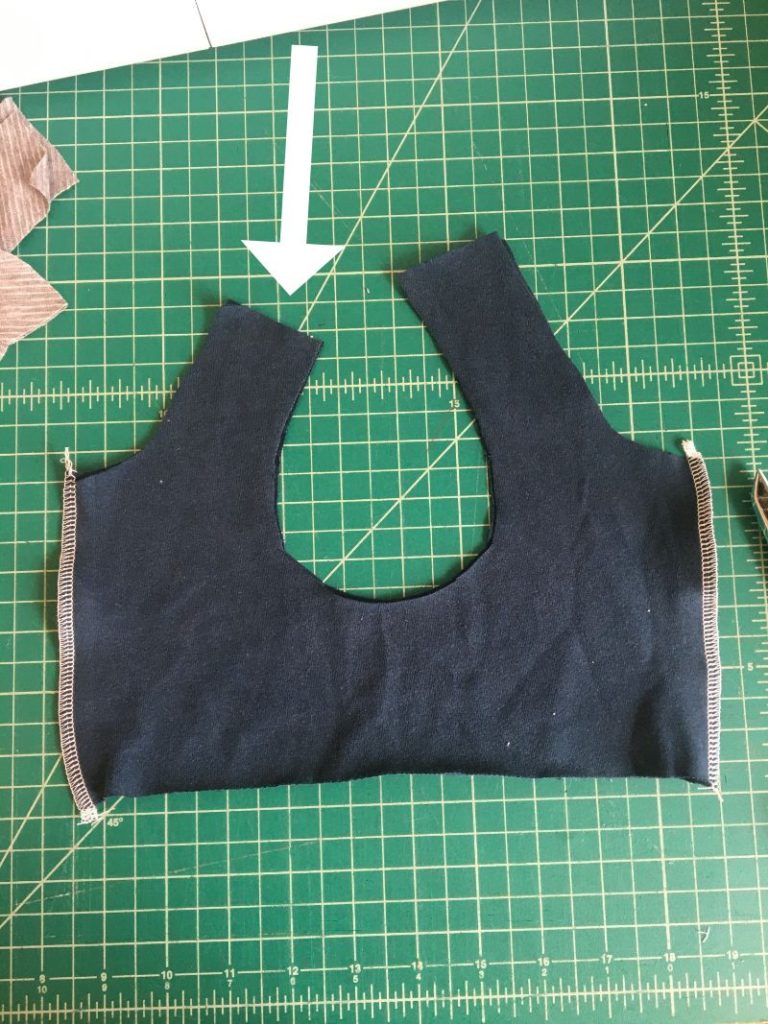
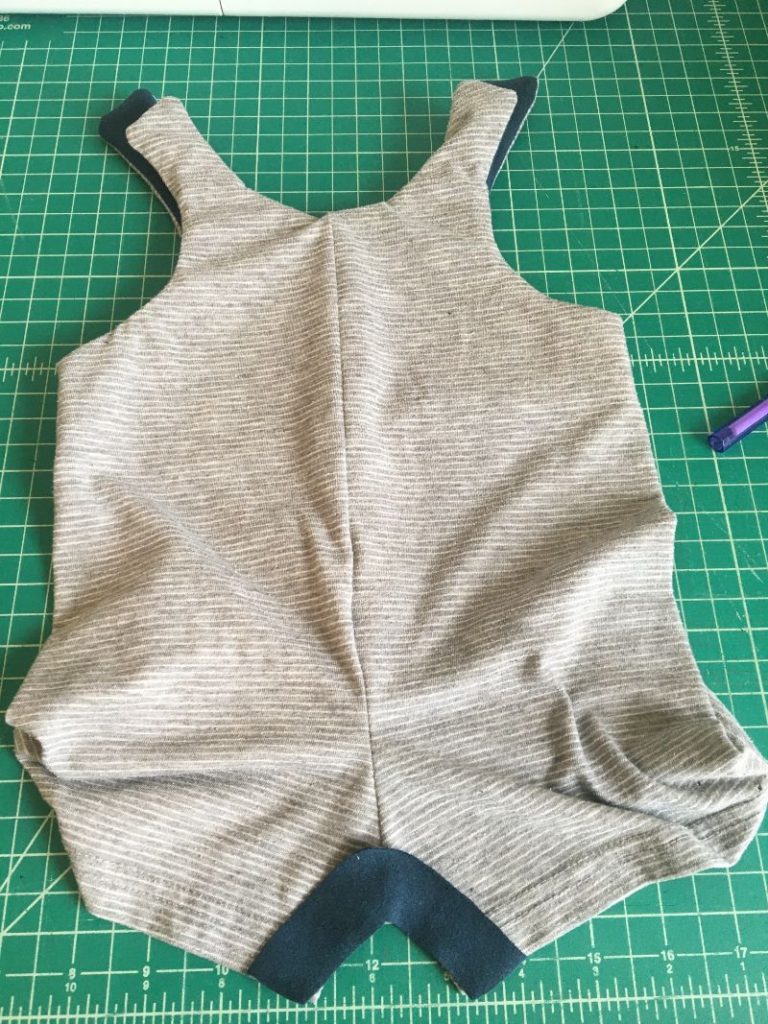
Open your main romper pieces, and face the right sides together. Sew down the left and right sides, just like you did the with the lining. Make sure not to sew the leg gusset openings. Sew only down to the crotch point, like in the image below.
Then, you will need to cut the left straps shorter, just like you did with the lining. Fold down your paper pattern and align it to trim the straps.
Now, when you open your romper and lining pieces, the seams will be on center front and center back. The shorter straps will be on the front, and the long straps on back.
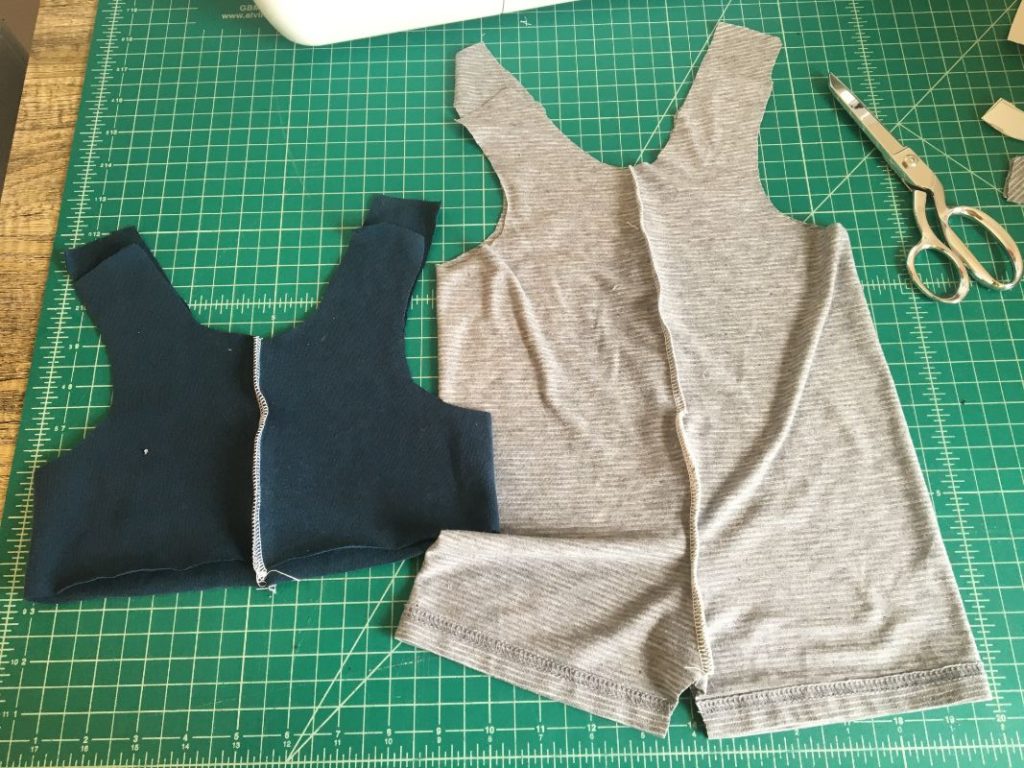
5. Attach the Lining To the romper
Turn the main romper right side out, and admire how nice it looks.
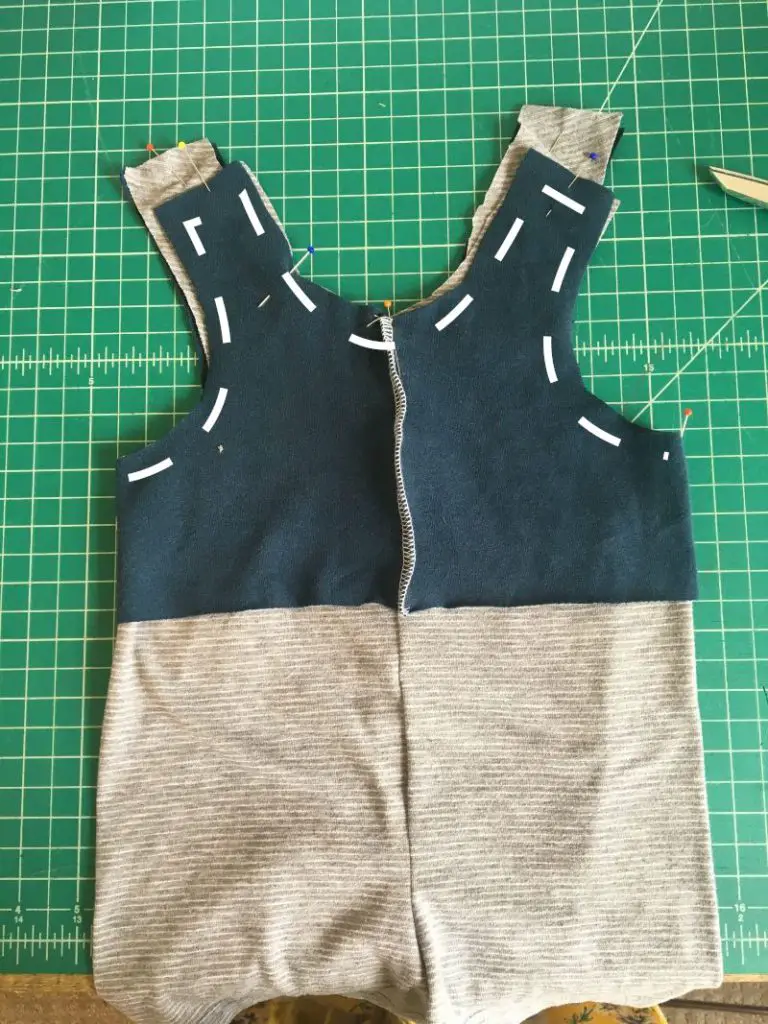
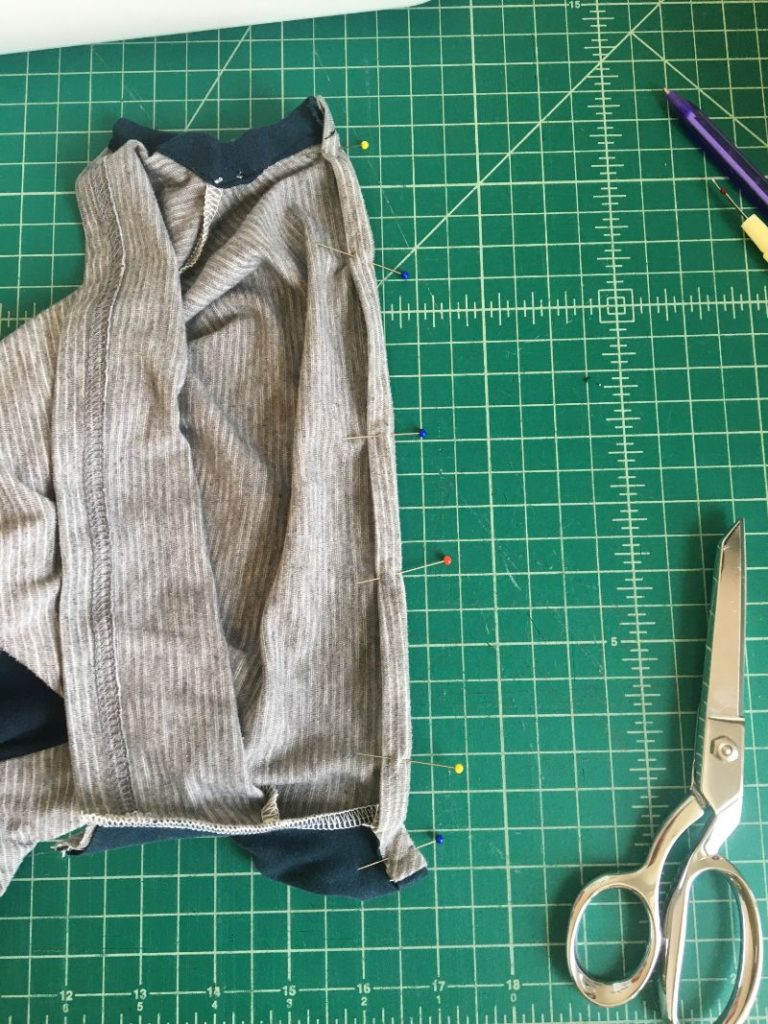
Then, with right sides together, place the lining around the romper. Align the short straps and the long straps. Pin it all in place. (See the image below if you need a visual.)
Then, sew around the edges of the neck line, straps, and arm holes, all around the front and back. (See the white dotted line in the image below)
If you wish, you can also tack the lining down so it doesn’t bunch up when it is being worn. To do this, simply sew a very small stich back and forth along the bottom edge of the lining, on the sides of the romper or hidden in the center seam.

After you have sewn around the edges, clip the corners of each of the 4 straps to make it easier to turn them right side out. Don’t cut too close to the thread.
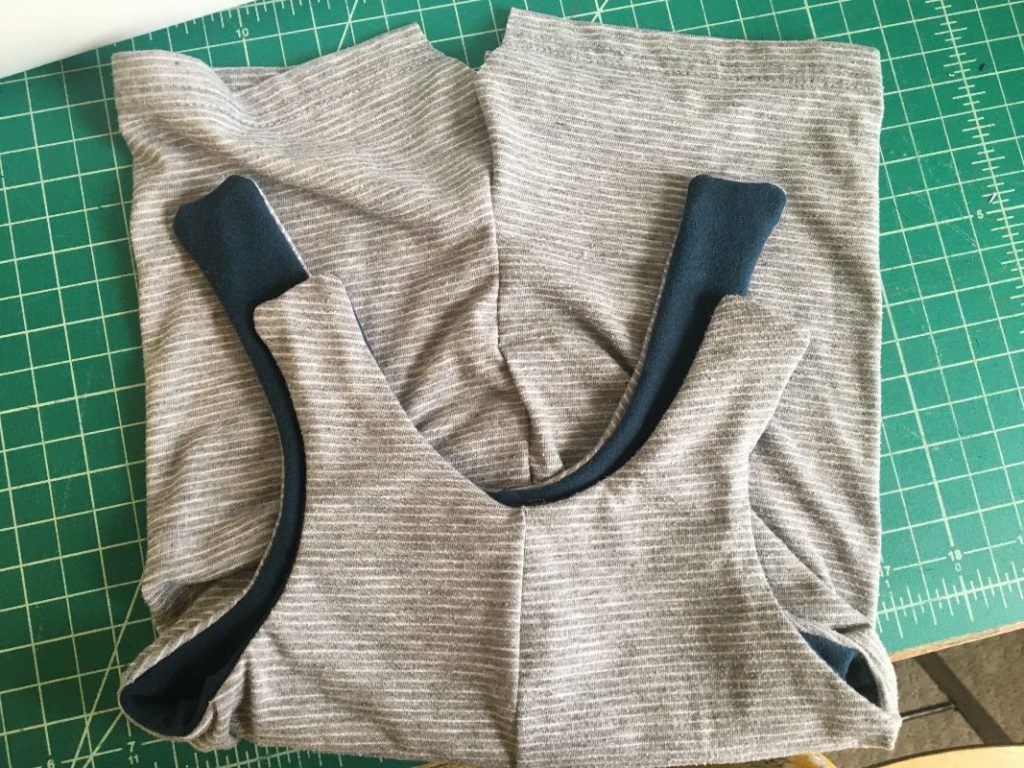
6. Turn the Romper Inside Out
Step 6 is fun! It finally is looking like a romper!
Turn the romper inside out. Carefully poke a dull pencil or something else long and thin into the corners of the straps to make them nice and square.
7. Sew on the Front Snap Gusset
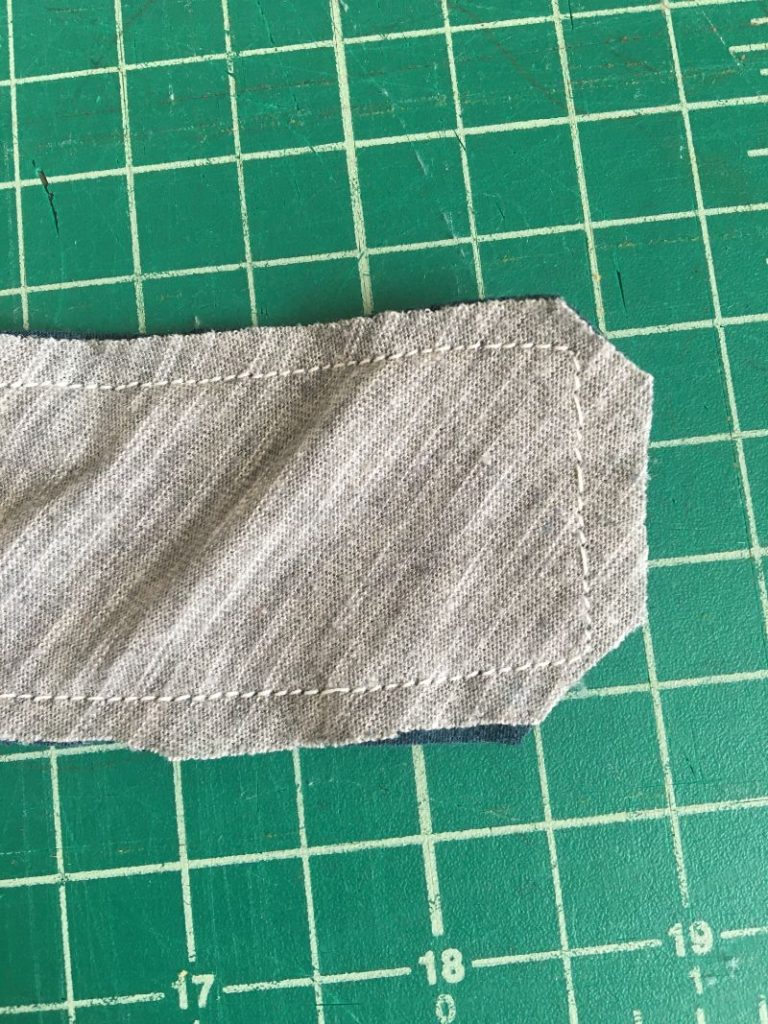
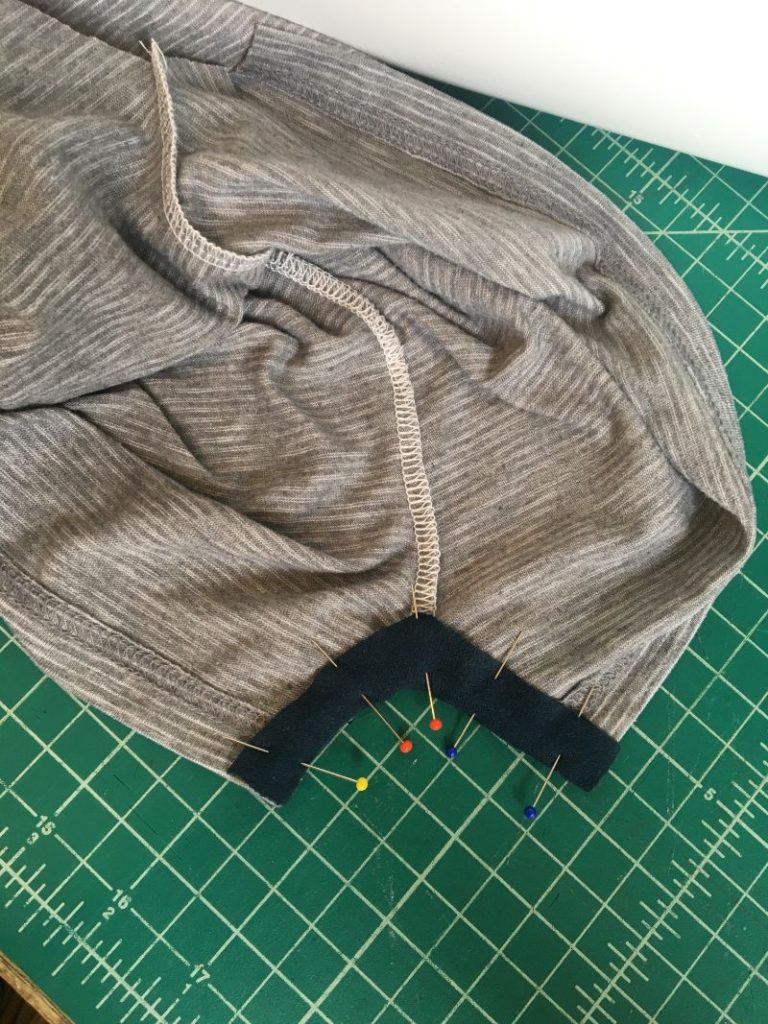
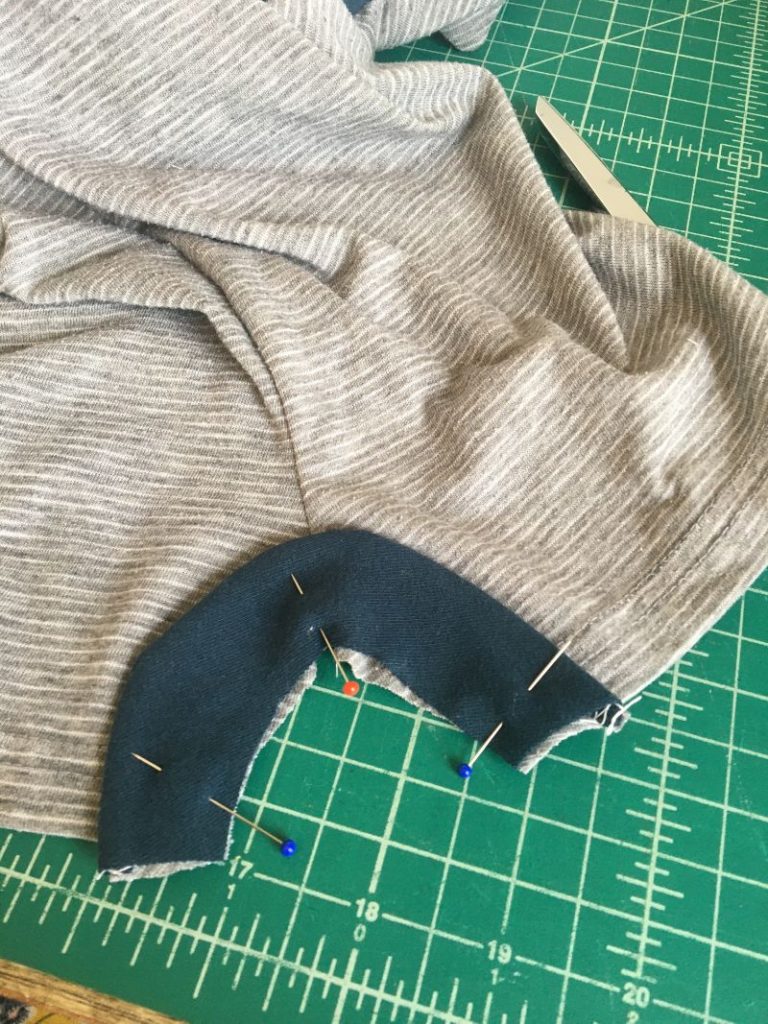
Take one of your gusset pieces, and pin it with right sides together to the leg opening on the front of the romper. It should follow the contour of the leg opening.
Then, carefully flip the gusset to the inside of the romper and smooth it out so it lays flat. Pin it down, then sew near the top edge to attach it to the inside of the romper.

8. Sew the Back Gussets
The back gusset attaches differently than the front gusset, so make sure to read through this step before sewing!
First, place the remaining two gusset pieces together right sides facing. Sew them together along the longer edge (if it was a rainbow, it would be the top red part of the rainbow 🙂 )
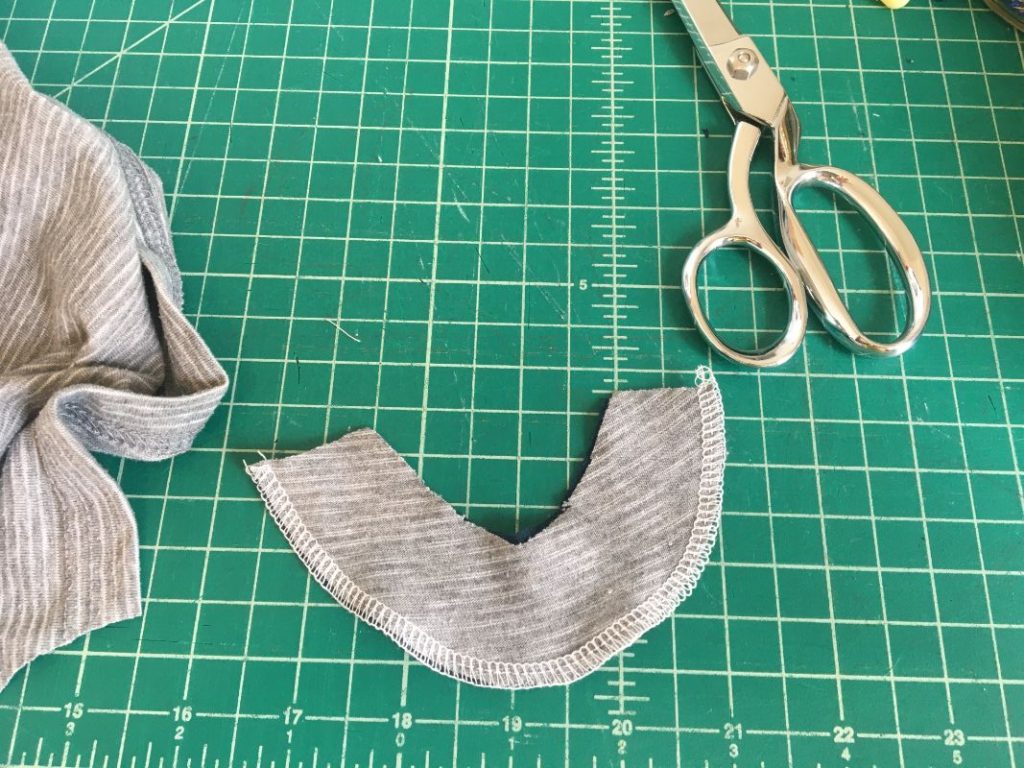
Next, flip the gusset inside out and smooth and flatten it well.
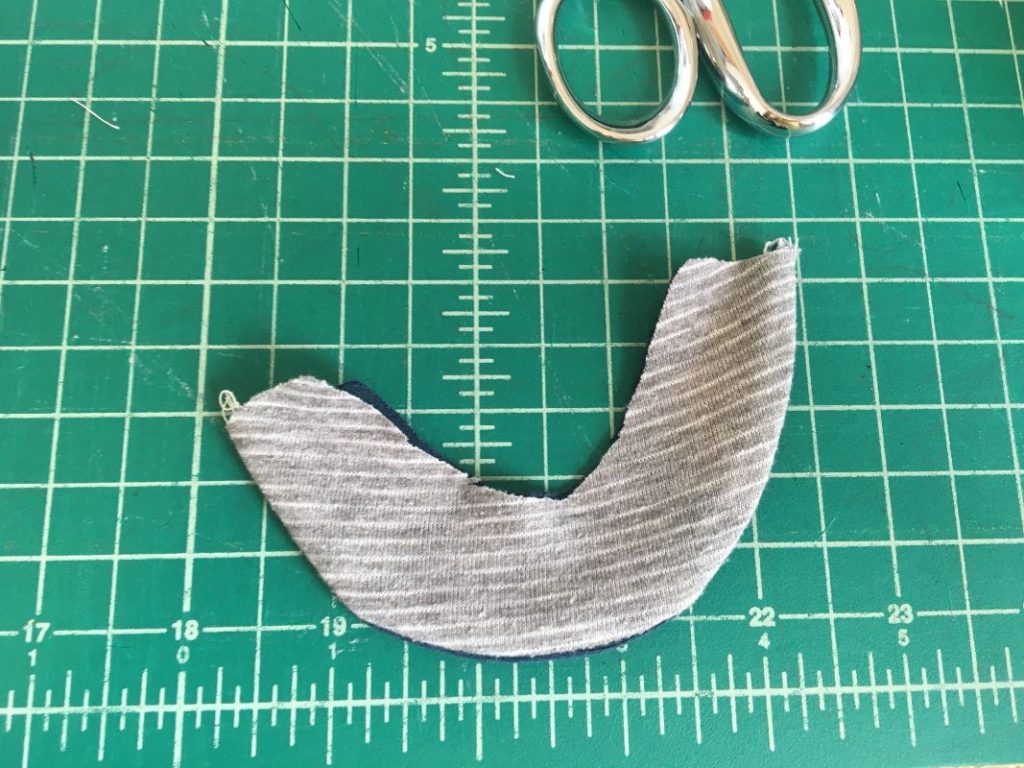
Then, sew along the raw edge to attach.
Almost done!
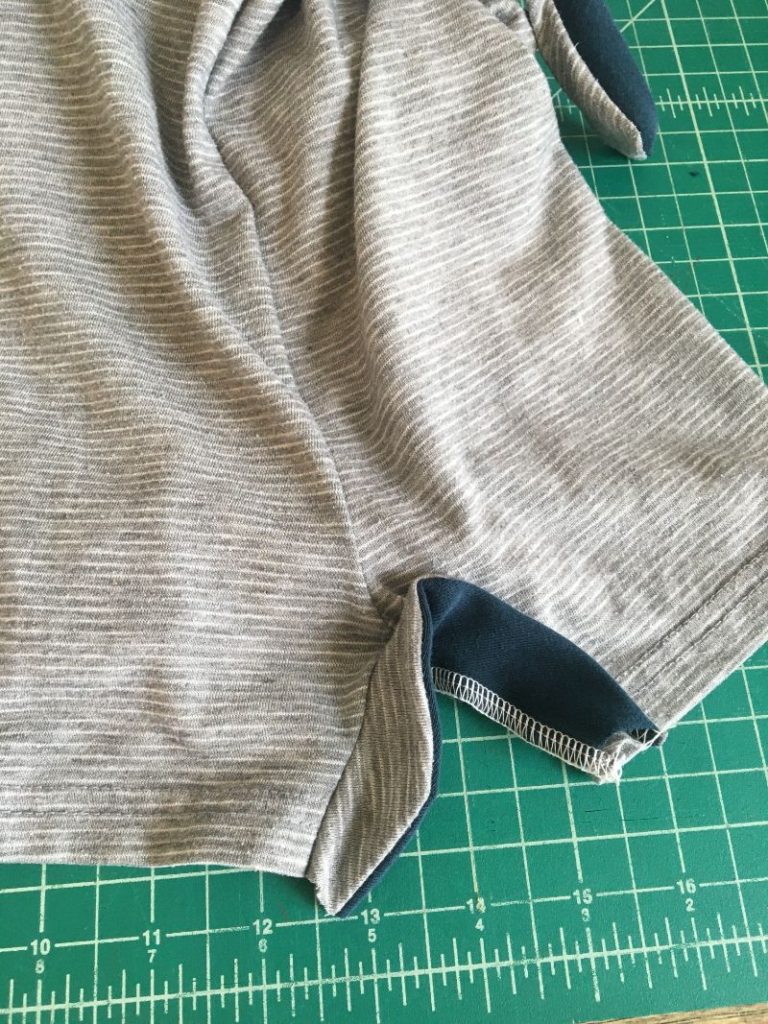
9. Hem the legs
Open up your romper and fold up the bottom hem and pin it in place.
If you are using a stretchy knit fabric, you can fold it up once since the raw edge wont fray. If you are using other material, fold it up twice or make sure to serge it or zig-zag stitch the edge first so the finished hem doesn’t fray.
Also make sure to fold it up all the way to the edge, even along the side of the gussets, as shown below.
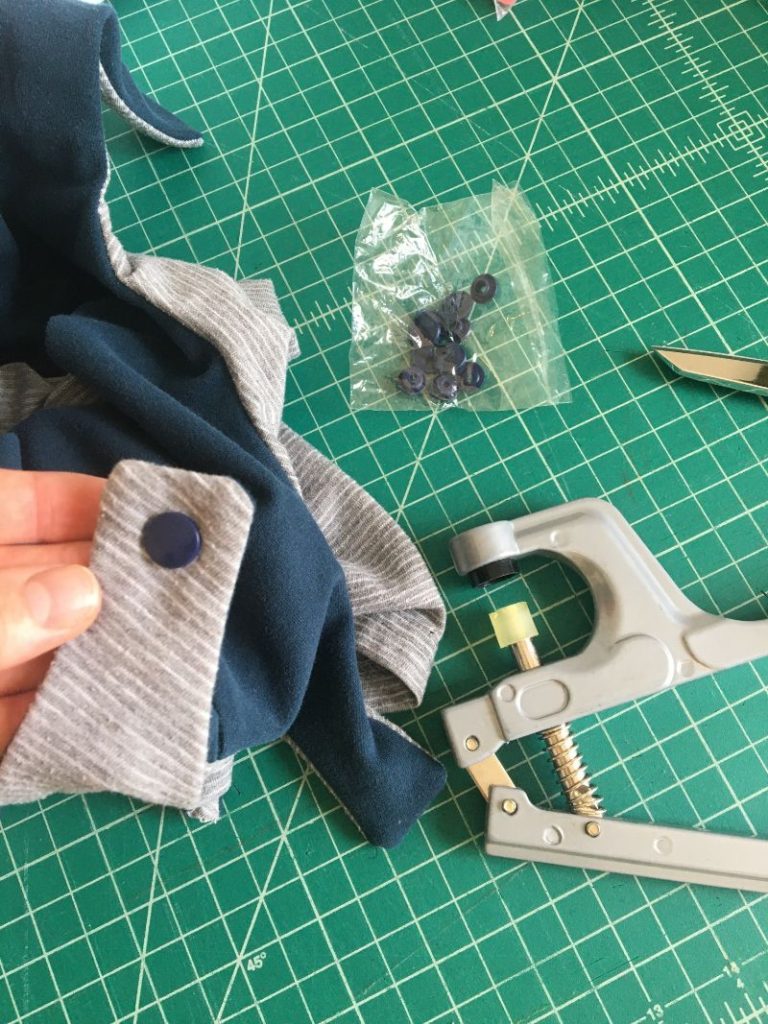
10. Attach the snaps with pliers
The last (and maybe the funnest) step is to attach the snaps!
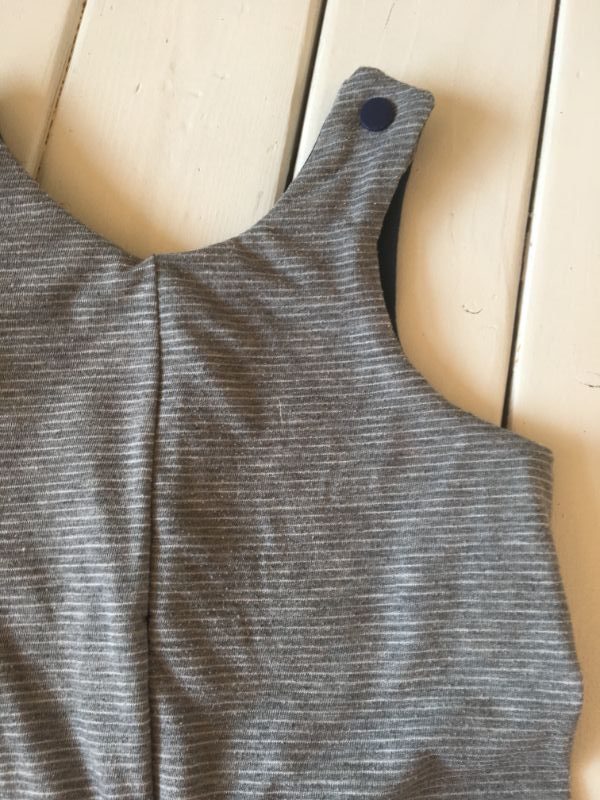
The short front straps are intended to lay on top of the back straps, so that you can add multiple snaps to the back strap if needed to be able to adjust the shoulder height.
This means that when attaching the snaps on the front straps, the smooth side of the snap should be on the outside of the romper, and on the back straps, the smooth part of the snaps should be on the lining.
Center the front snaps in the middle of the straps and attach with pliers. Here is a close up to see how I placed mine.
**If you choose to do buttons for the straps instead: sew the buttonholes to the front shoulder straps, and the buttons to the outside of the back straps.
Finally, attach the snaps to the gussets. The front snaps should have the smooth side on the outside of the romper. The back snaps should have the smooth part on the inside of the romper.
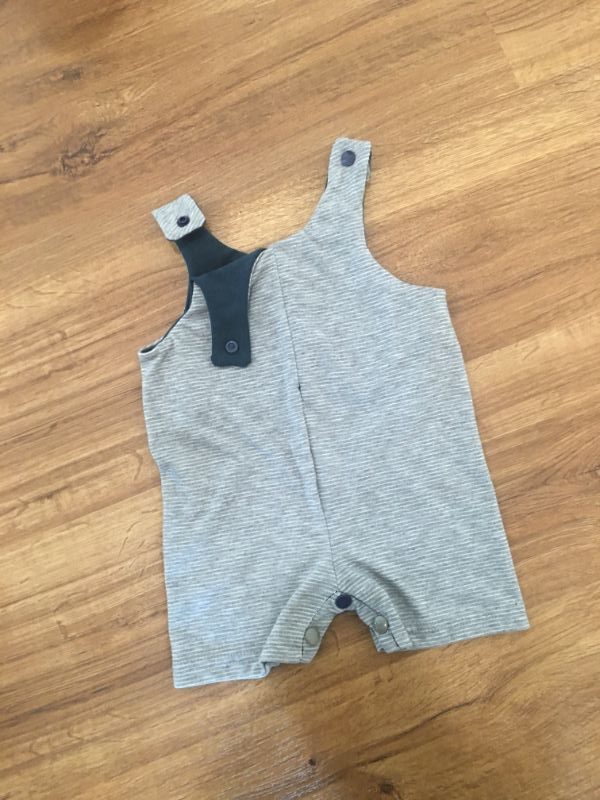
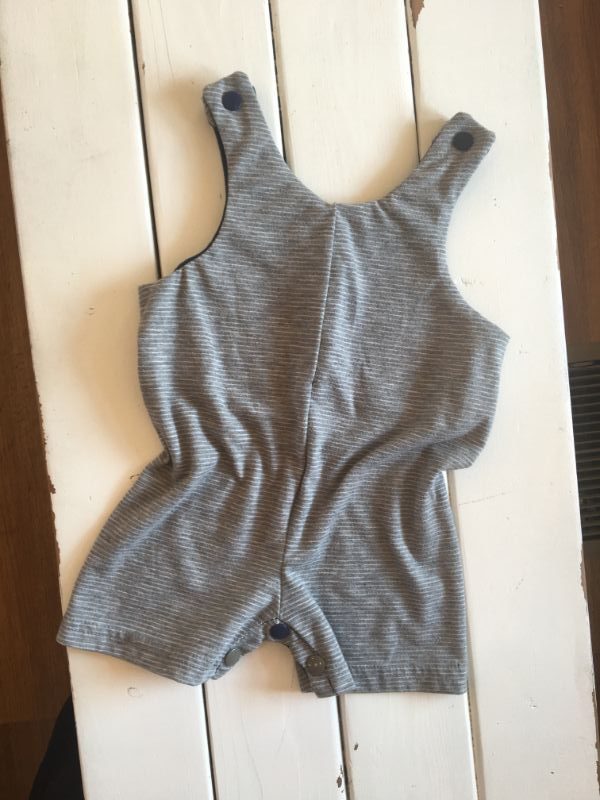
All done! Just 10 steps and you’ve got a romper!
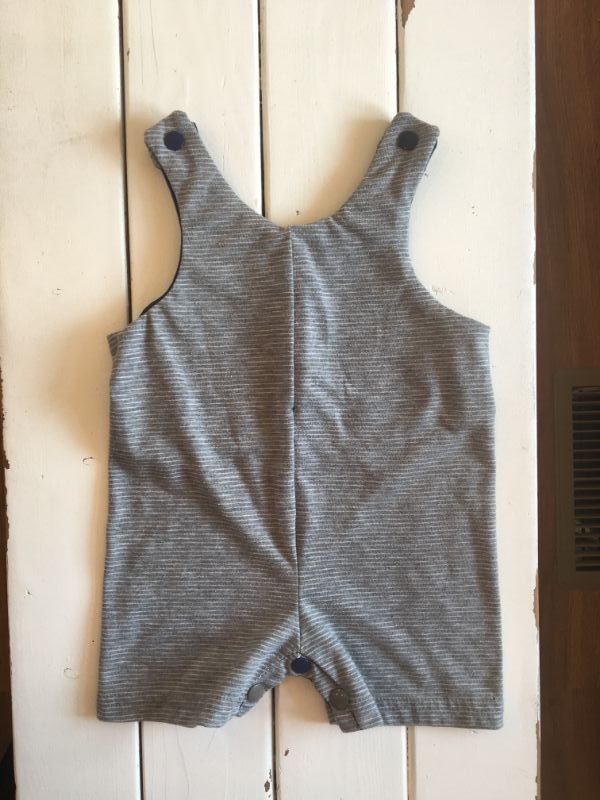
It turned out so cute! So nice for summer.
I love that this pattern is so basic. You can personalize it in SO many ways. Here are some of my ideas of how to use this pattern as a base…
- Add pockets to the legs or a pocket on the front
- Add ruffles to the straps for a girl romper
- Put a cute vinyl design or applique on front
- Make it reversable
- Add bows to the straps
- Add elastic to the waist to cinch it just a bit on the sides
Enjoy this free baby romper pattern! Let me know if there are any steps you need help with! I’d love to see a photo of your finished project.
Show & Tell
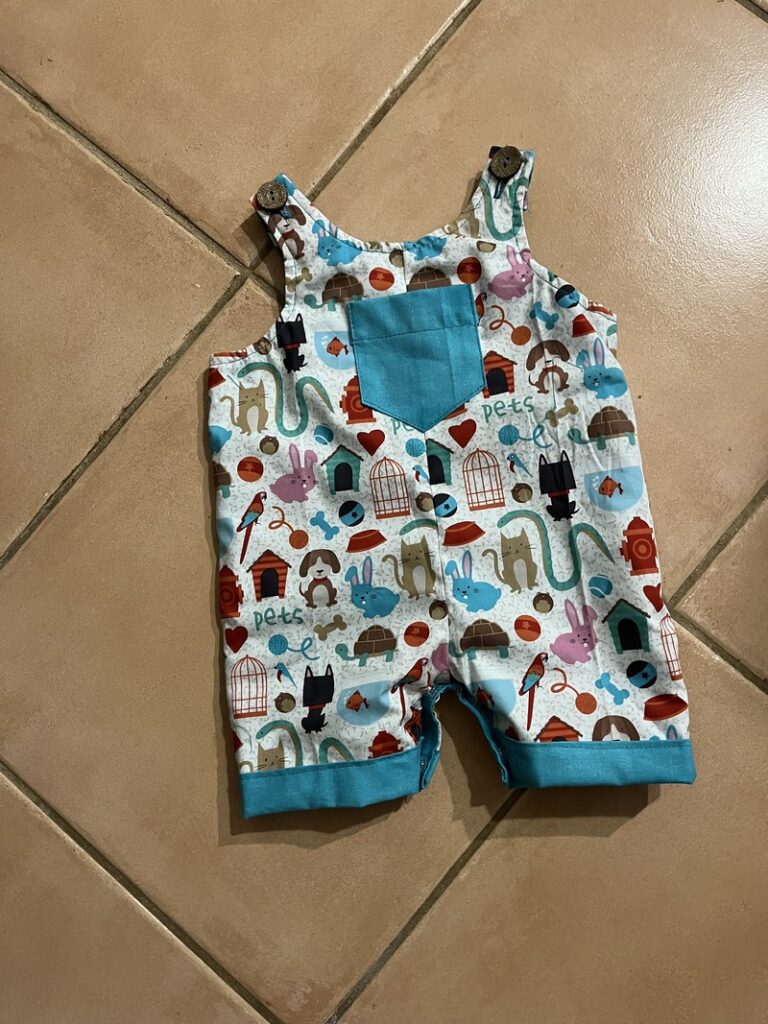
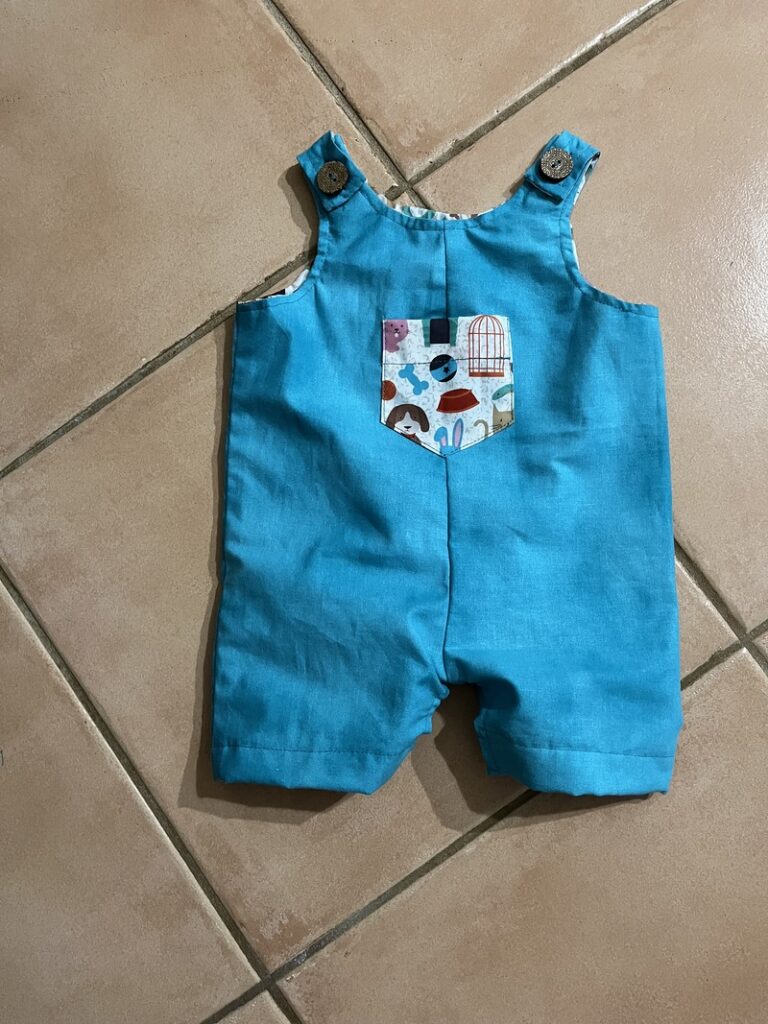
Lurline sent me these adorable pictures of the reversible baby romper she made!
She says: “I am happy with the reversible romper that I made from your pattern. Here are both sides of the suit!”
I love the pockets she added, so so cute! Nice work!
Kristy shared this photo in our Facebook group and mentioned how she liked it so much she also altered the pattern to be bigger to fit her nephew for Christmas!
Thanks Kristy, I love how you added metal snaps to the gusset.
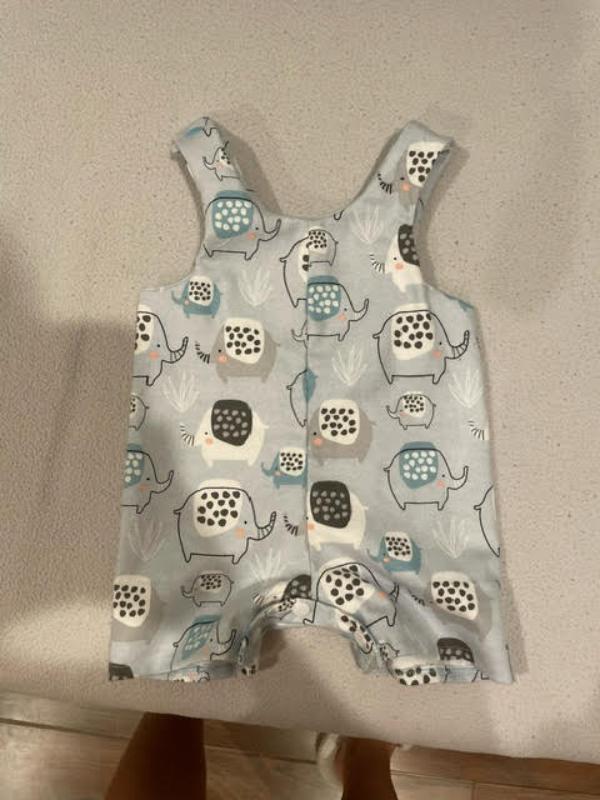
Cute elephant fabric Kimberly chose for her romper!

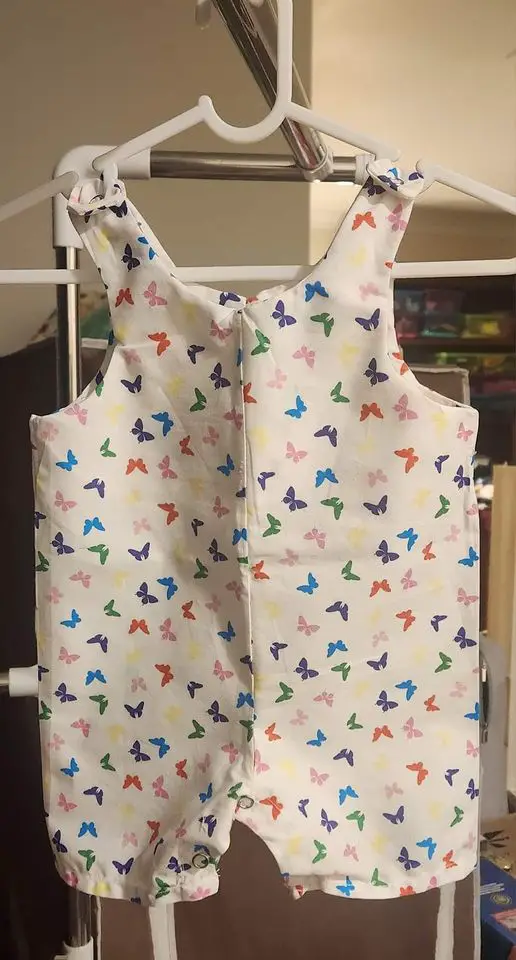
K.B. made this romper with an adorable fish fabric! It looks store bought!

Brenda chose very cute safari fabric for her romper!!

Ireen made this romper with metal snaps and the cutest unicorn fabric!
And as always, make sure to pin this post for later!
[convertkit form=3489055]
It’s great thank you x
You’re welcome Susan!
I made the 0-3 romper for a friend’s baby shower. It turned out so cute and I decided to tweak the pattern a bit and sew one for my nephew in a larger size for Xmas
Kristy that is so great!! I added your photo to the show and tell section on the post. Thank you so much for your great review!
Hi is there a bigger size for this pattern? I would like to purchase or learn how to make another size, thank you. Pat
Hi Pat, I have not drafted a larger size yet. I apologize! I did have one other person make their own bigger version by tracing and measuring their child to find the right widths and then extending the pattern in the right places, but it is kind of tricky.
Hi again, thank you for your help with reply, I wanted to put a pic on her of the one I made with your pattern but not quite sure how to do do that off my phone. It is so adorable by the way and love the snap bottom.
I got your email, It turned out so nice!! Thanks for trying it out.
Hello, i can’t find the link for download the pattern. Please help me
Hi Sarah thank you for your comment! The email software I was using is having a glitch. I am going to fix it, but for now I will email the pattern to you manually! Thanks!
I would love the pattern!
I emailed it!
I’m afraid the link to download the pattern has disappeared again, please could you reinstate it.
Thanks in advance, Jill
Hi Jill! I will email it to you! I am fixing each one, one at a time. Thanks!
will you please email it to me as well
Hi faith, It is in section 1 “print the pattern”. You enter your email and it pops right up, it is no longer emailed to you
please could you email me the pattern ?
many thanks.
Sent it!