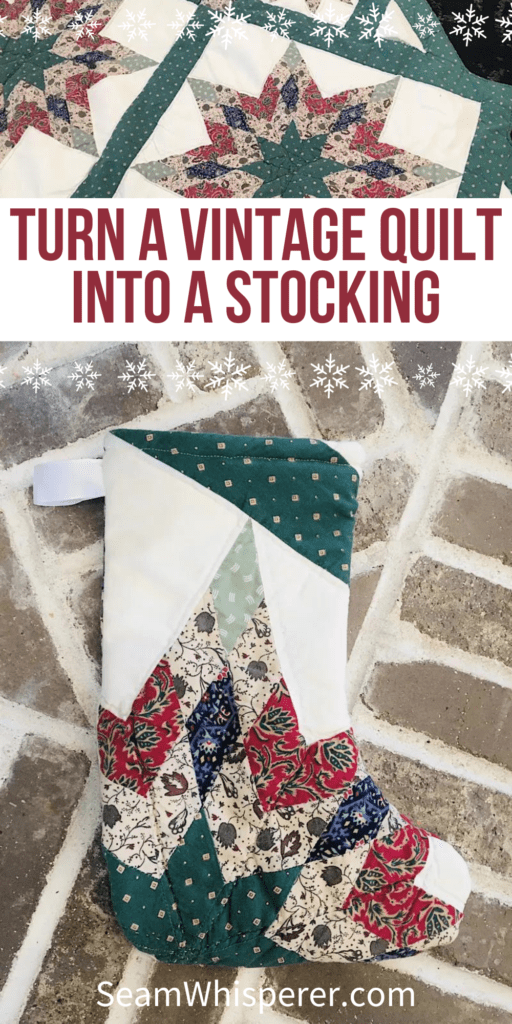
Quilted stockings are so IN right now, and making your own out of a vintage quilt is SO easy and fun! Use this free pattern to make your own set.
This post may contain affiliate links. Read the full disclosure here.
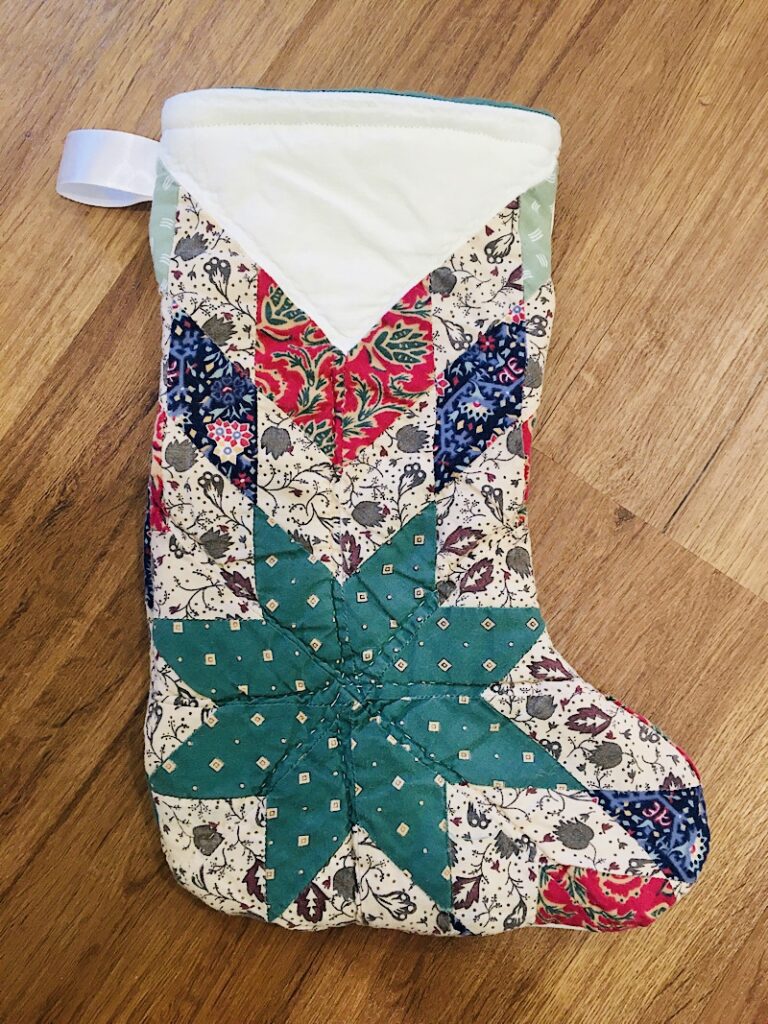
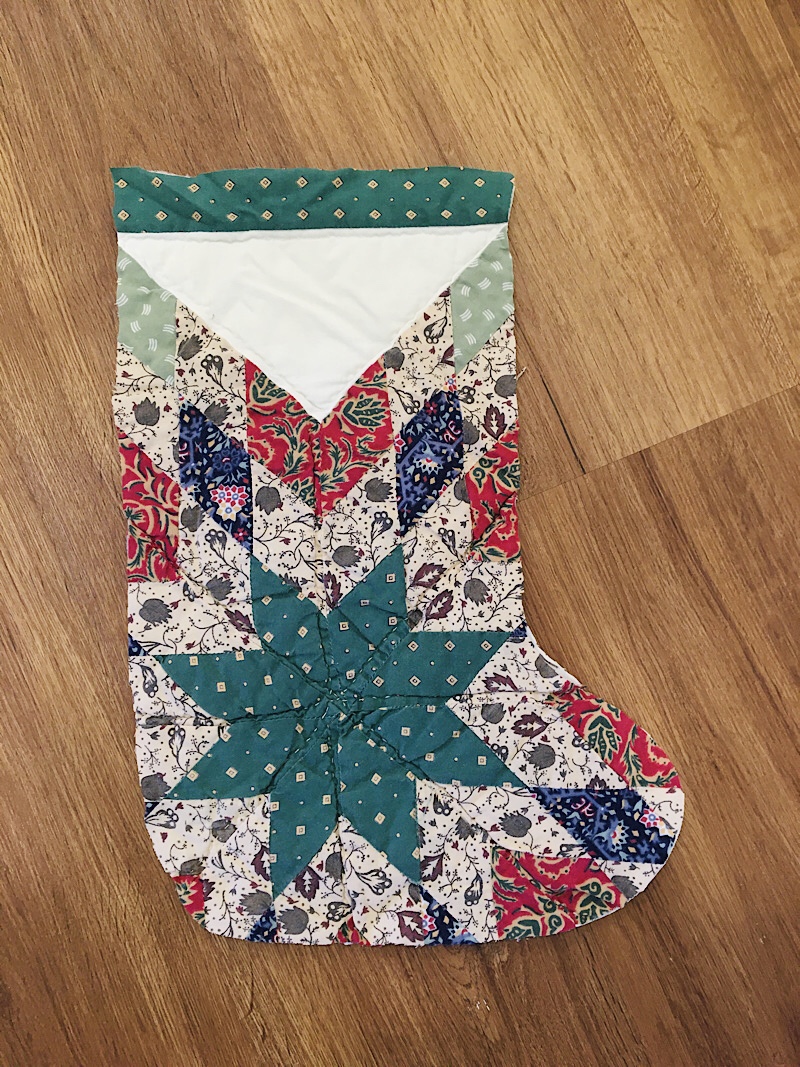
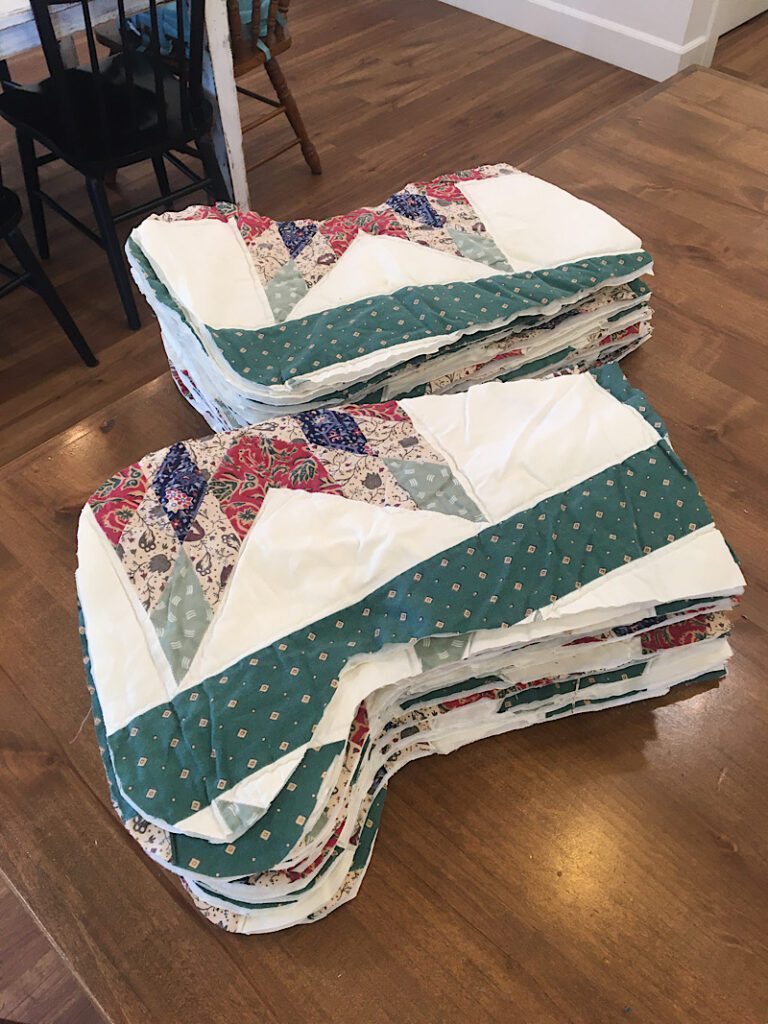
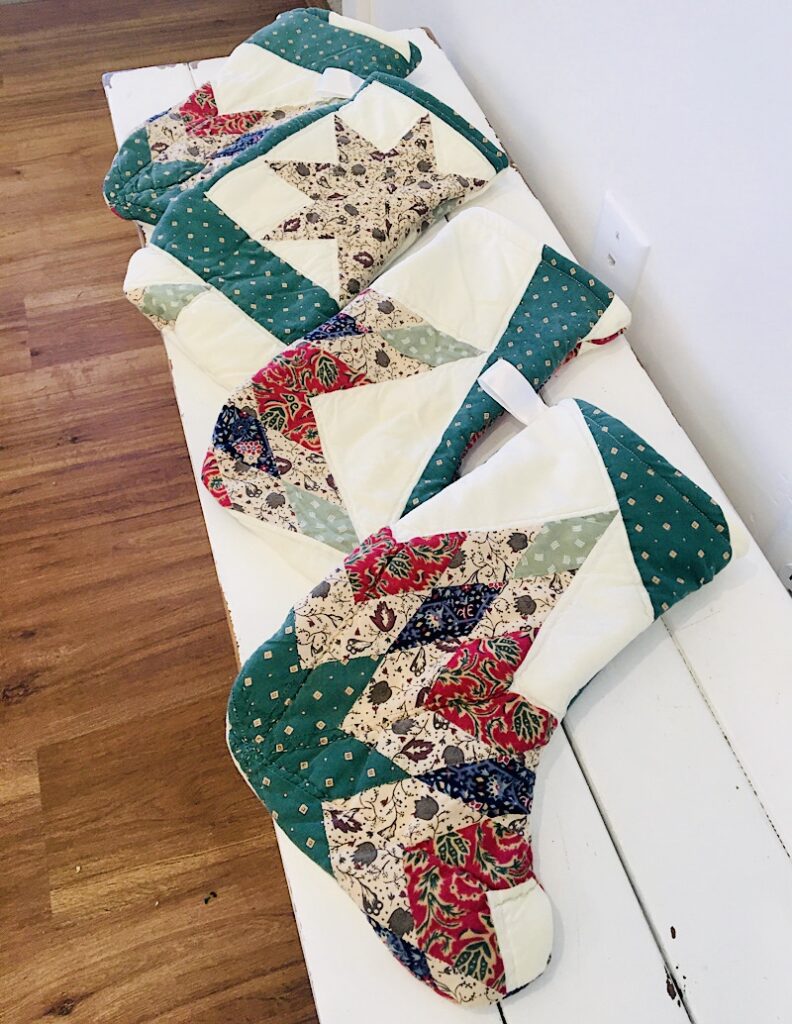
I made a batch of adorable vintage quilt Christmas stockings this year for a craft fair I was selling at, and they turned out SO cute!
I love that they all coordinate since they are made from the same material, but they all look so different due to being cut from different sections of the quilt.
There are lots of ways to do this, let me show you how I did it!
Supplies Needed
- Quilt to upcycle
- Free Stocking Pattern (See download section below)
- Matching Thread
- Pen or disappearing ink marker to trace pattern with (optional)
- Sewing Pins, Scissors, Etc
- Thick ribbon for Hanging loop (or you can make one from fabric)
- Serger (optional)
How To Turn A Quilt Into A Christmas Stocking
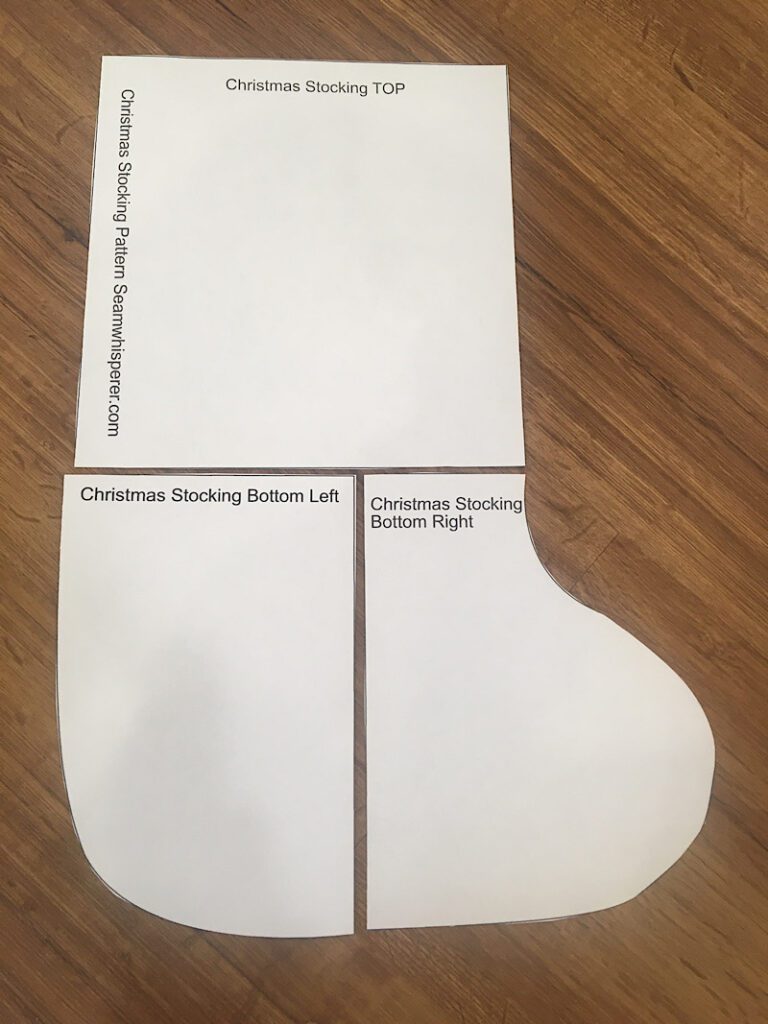
Step 1. Download & Print The Pattern
Download the free Christmas Stocking pattern by entering your email to the box below to sign up for my email list! When you sign up, I will automatically send you the stocking pattern.
The download includes the pattern template only, the instructions are in this blog post!
The pattern is a 3 page PDF that you should print at 100% scaling. Once it is printed, measure the “one inch test square” to make sure it is the right size.
Then, cut out the pieces on each page and tape them together at the edges, as shown in the image below.
Step 2. Plan The Pattern Placement
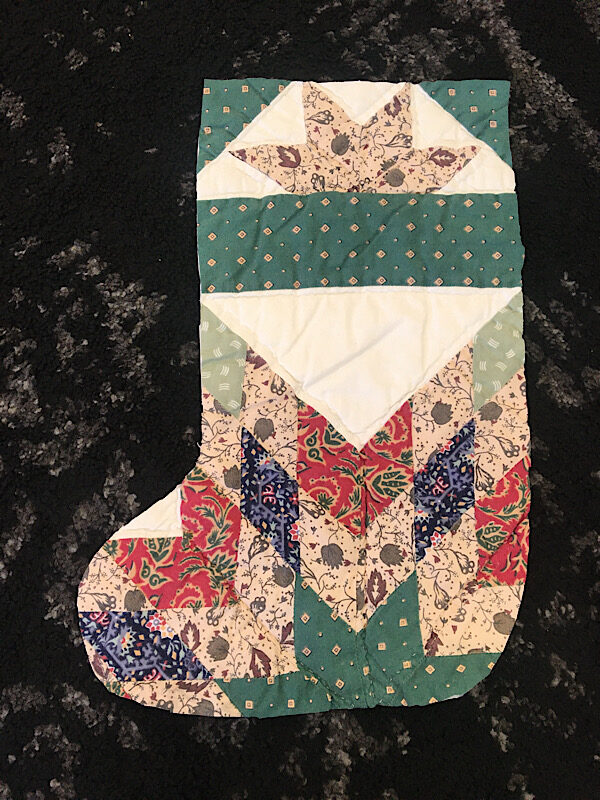
Lay your quilt out on a large surface (I used the floor) and spread it out flat. Look it over to make sure it doesn’t have any rips or damage. If it does have damage, you can repair it or avoid those spots when you cut out your pattern pieces.

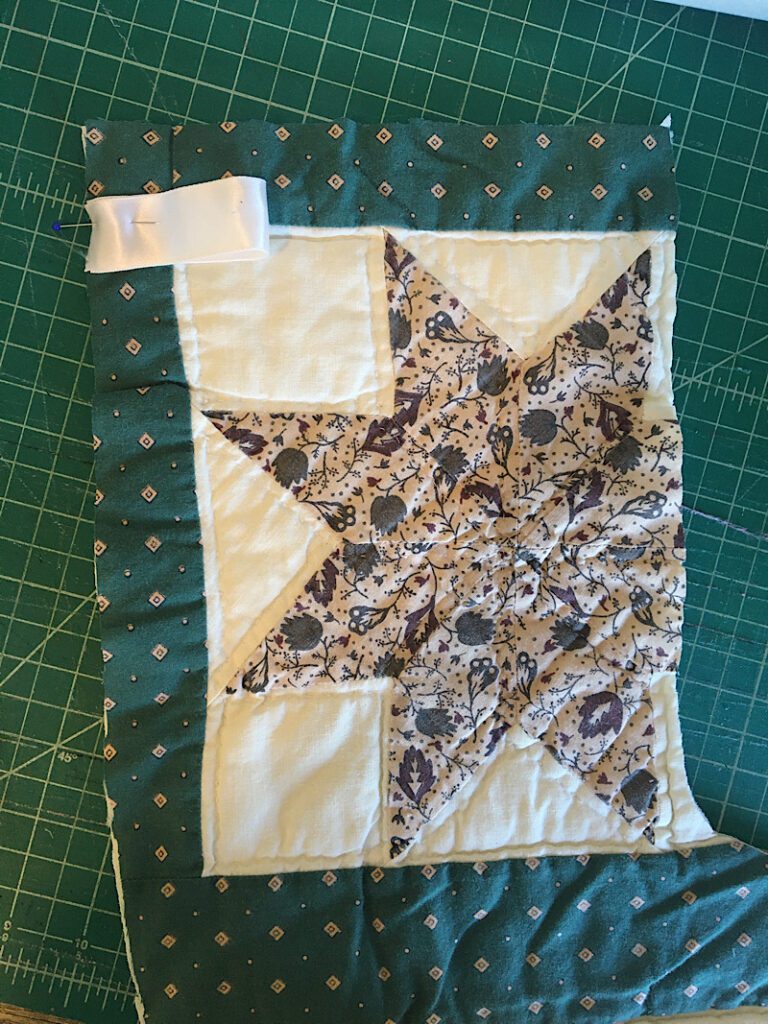
Each quilt is different, so how your stockings end up looking will entirely depend on how you place your pattern onto the quilt. Look at the shapes in the quilt and notice which design elements on the quilt you want to make sure you capture in the stocking.
In my quilt there were a lot of large red and green stars. I placed my stocking pattern strategically around the stars to make the best use of them.
Move your pattern around the quilt before cutting to see where you think you want to make cuts.

Step 3. Cut Out The Pattern Pieces
For each stocking you will need to cut a front and a back. To do so, you will need to trace and cut with the paper pattern facing forwards, and then flip it over for the back side.
You can cut the front and the back of the stocking from the quilt, or you can use a plan piece of fabric for the back side to save the quilt pieces for the front. You will get more stockings this way, but they won’t be double sided. (If you are making a set, make sure they will all face the same direction.)
Trace the pattern onto the quilt, and cut out as many pieces as you will need.
Once you have cut out all the pieces, you are ready to sew them together!
Step 4. Adding A Hanging Loop
You can make a hanging loop for your stocking two different ways:
- By cutting a 5-6 inch length of ribbon and folding it in half, or
- By making a 5-6 inch long tube from a matching strip of fabric, turning it inside out, and then folding it in half.
I chose to use ribbon for my hanging loops.
Place the front of your stocking on the table with the right side facing up.
Fold the ribbon in half, and pin it on the top of the heel side of the stocking, aligning the raw edges with the edge of the stocking. Position it about 1.5 inches down from the top edge.
Then lay the back side of the stocking on top, with the right side facing down, and pin both pieces together.
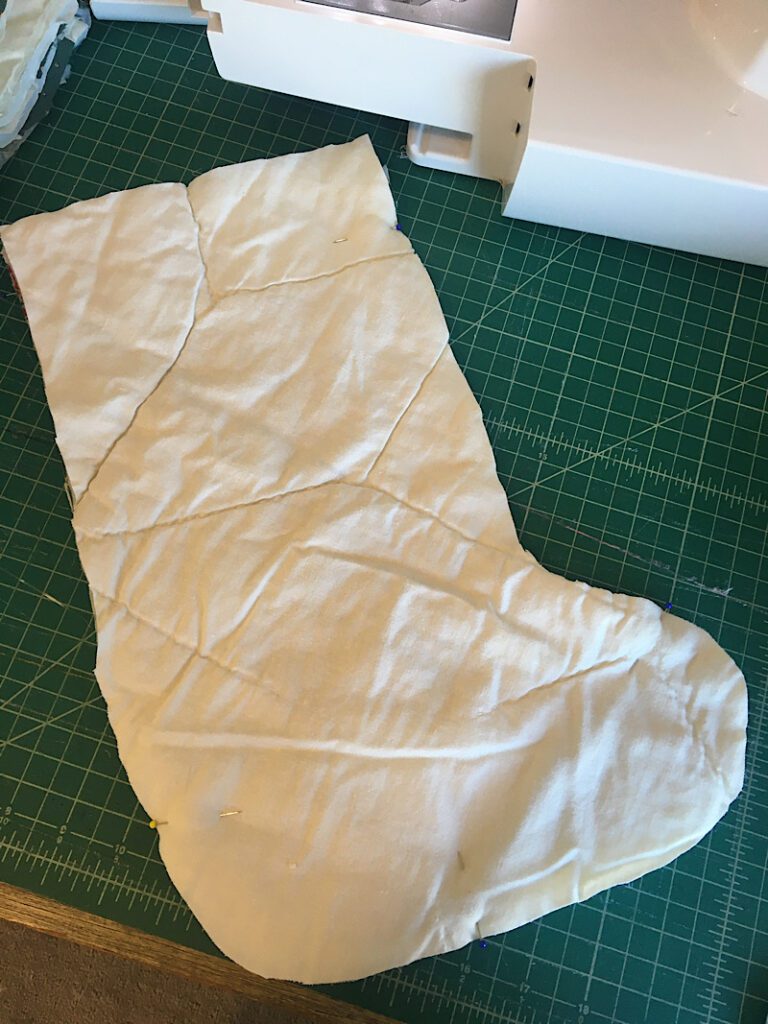
Then, serge around the perimeter of the stocking (or sew it and then zig zag the edge if you don’t have a serger), leaving the top open.
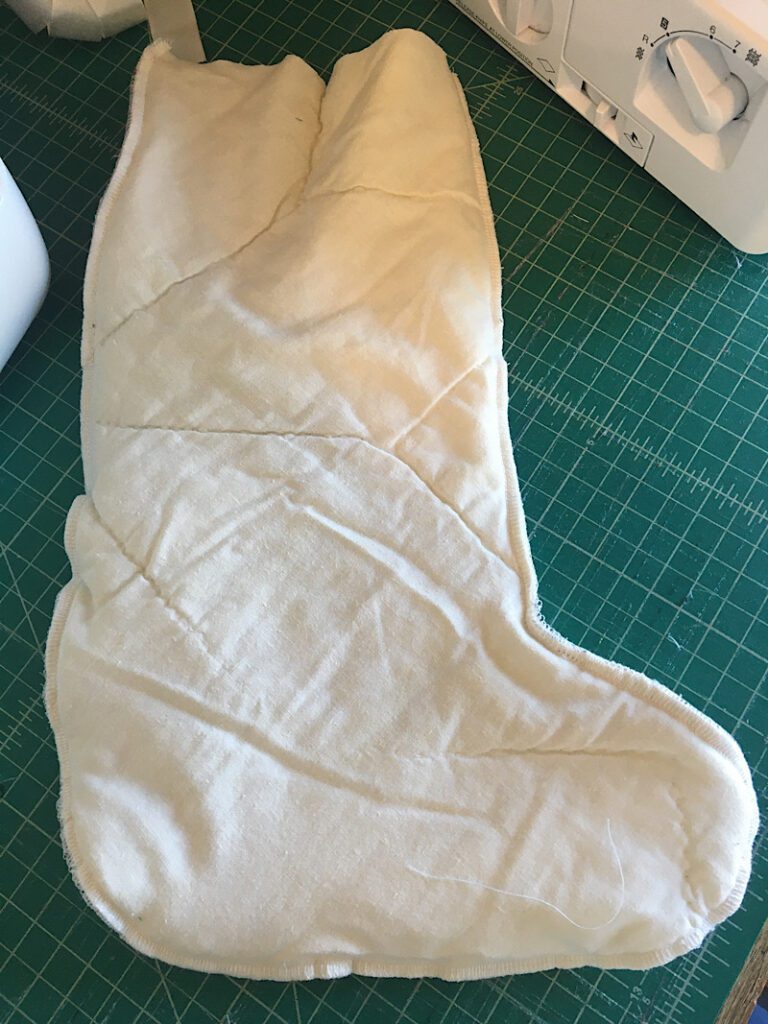
Then flip the stocking right side out to see how it looks.

Step 5. Hem The Top
Serge around the top edge of the stocking, then fold it down until the edge is right above the hanging loop. Pin it in place.
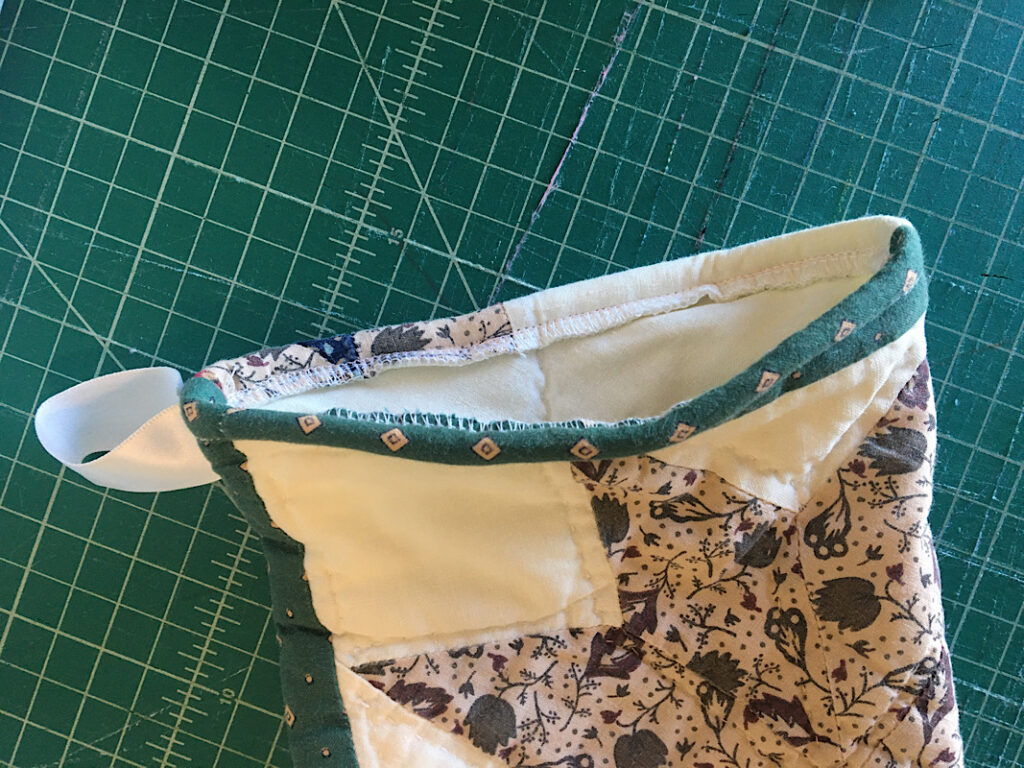
Sew around the fold to hem it.
Then, you are done!
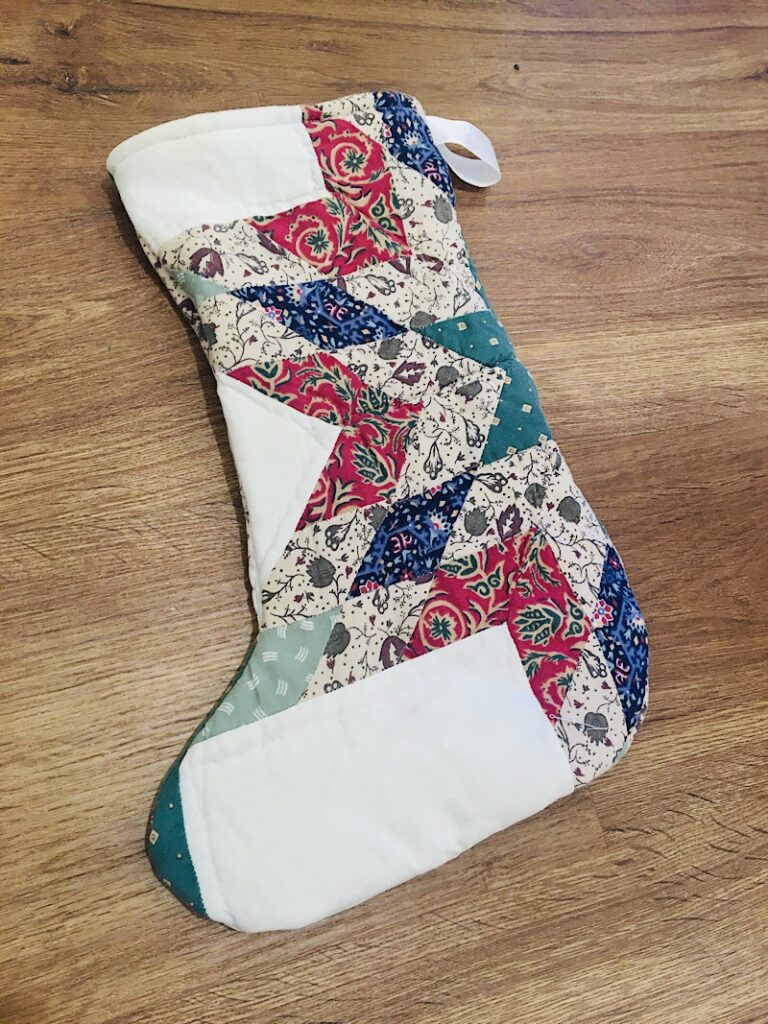
I love how these stockings turned out, and when I took them to the craft fair I sold almost every single one! They are so unique and such a hit.
I love that they are all different, but since they are made from the same quilt they all coordinate and look really nice hanging together as a set.
If you liked this tutorial please send me a picture of your finished stocking and I will add it to this post to share!
You can also pin this to Pinterest to help others find this inspiration.
Let me know if you have any questions!